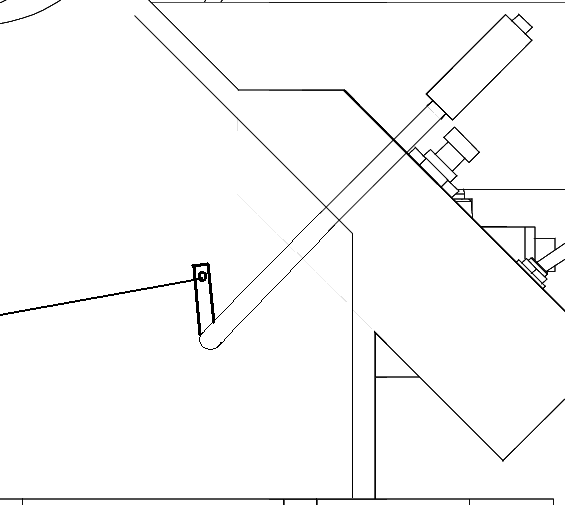
Hello everyone. For the past week, I have been working on getting my neutrona wand to have a spring loaded, extending mechanism for the clear tip of the wand. I’m posting this now because I want others to see how I am doing this and to get some help as well.
This first post will just highlight the inner workings of the trigger mechanism in the gun body. My issue now is attaching my “trigger” to the green lever, which is just a 1/8" brass rod coming in through the wall of the gun body.
This is it in the “set” position. It’s basically just a pin that fits into a brass “arm” extending from inside the front barrel. When the string is pulled, the tip extends.
Here are 2 videos of it. Sorry the one is a little dark.
This one shows the trigger working and the tip extending.
This one shows the trigger working a little better. Sorry for it being a little dark.
So now the part where I need help! Any ideas on how to attach this to the green lever? When all the slack is taken out of the string, it only needs to be pulled like 1/8" for it to fire. Anyone better at physics and see a really simple solution to this? I’ve been working on it straight for 3 days and I need a second set of eyes to give me some ideas.
Once I have the green lever figured out, then I will take the front barrel apart and take pictures, with explanations of how it works. For now, no one gets my “secret” till I have it working correctly!
You could also put the lever in a higher-angled position at default, then wrap your line tightly around the rod, going over the top. By the time you have pushed the lever down to the bottom you should have pulled the line the required distance to fire the barrel.
Yeah, I was thinking something like this, and using an eye hook as the “pull”. Sadly I won’t be able to work on this again till next week, since I have finals Monday and Tuesday to study for.
Yup, just pull back on the green lever and push the clear tube back in at the same time. Once the clear tube is all the way back, you just let go of the green lever and it locks.
Thanks for the ideas so far, I’ll keep you guys updated on how I do this.
Really awesome Burkit, glad to see you came up with something to get this working in Chases gunbox. Looks like ill have to take mine apart and do the same. Looking forward to the parts list and tutorial from you Burk to get started on this. Good stuff.
There are 2 ways you could stop the spring from moving around. You can either compress the spring then insert the set screw for the slide behind it (so the spring is wedged between the clear tube and the set screw) or you can install another screw farther back on the handle. By doing this, you don’t have to compress the spring.
Lastly, I will leave you with a clearer picture of the “trigger” inside the gun box.
Hello everyone! I’m pretty much done. The only issue I have now is the cord to attach the lever to the “trigger” piece. I had this working with 2 strands of nylon out of 550 paracord (for comparison, in the pictures and video, I have 1 strand of the stuff in hand). I doubled them up but they eventually began to shred on one of the eye hooks where there was a lot of tension. The other issue with the stuff is that it stretches so its hard to get the slack out of it.
So I’m posting here to see if anyone else has a better idea of what to use as the “string” attaching the “trigger” to the green lever? It needs to be flexible enough for me to work with. I tried this with 20 gauge wire as well but it wasn’t flexible enough. For that to work, I think I’d need a stronger spring to pull the “trigger” back towards the guild bar from inside the barrel.
wow, crazy good! I’m not very mechanical, so I don’t know if I would try it, but it looks great! And, you are incorporating parts that are already “part” of the wand on the outside, which is a good choice.
Is it just as effective with a toilet spring? I’m assuming you mean the spring inside a toilet paper dispenser. And the answer is I have no idea. I’m sure it would work but I just went to the hardware store and bought a spring I felt would work for like a $1.50.
Everything I used can be found at an ACE Hardware, except the fishing line, which I got at Walmart. None of it is hard to find. It just takes time and a lot of drilling.