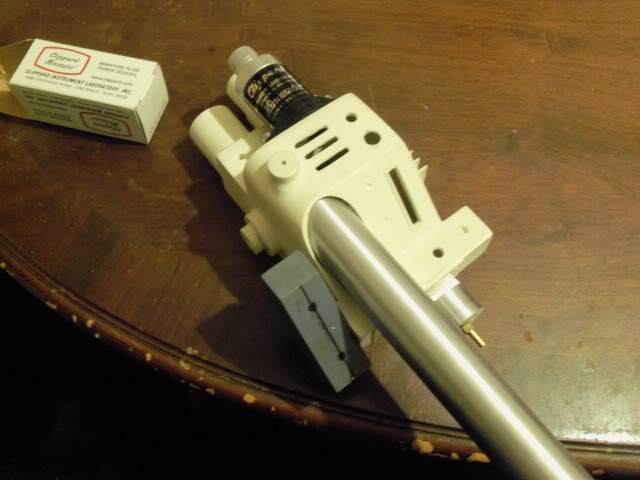
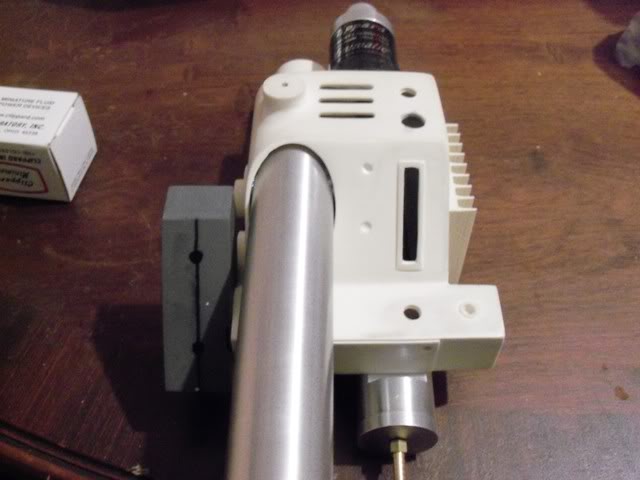
First Timer- TC 2.5 Gun Build (Semi pic heavy)

Welp, so here is my first build, of anything ever really. Starting with just the thrower because I work at subway and I never have money lol. I do want this to be as accurate as possible so I have been taking my time collecting parts, and emersing my self in GBfans, and Libtechinit’s build thread as much as possible. With seller’s like Umoribawar being very accommodating with the payment plans its working out good. I’m gonna need all the help I can get though so feel free to particle beam me with cosmic info, and tell me what ya think!
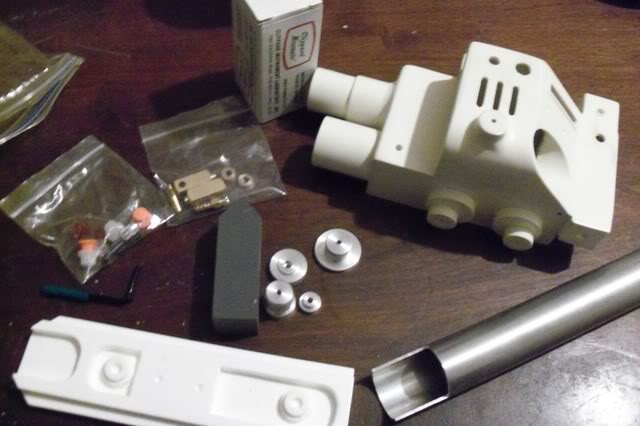
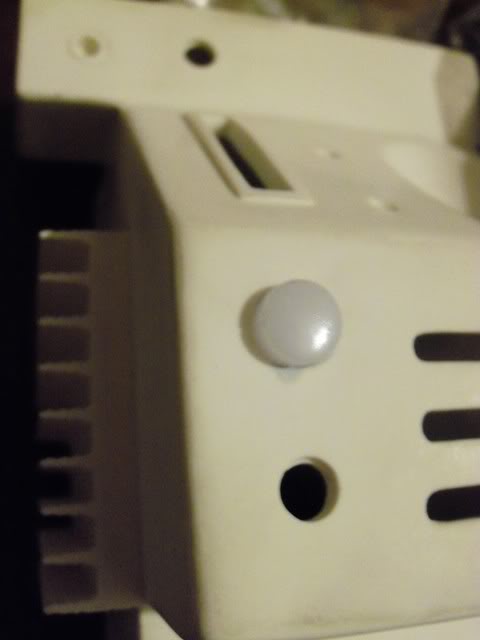
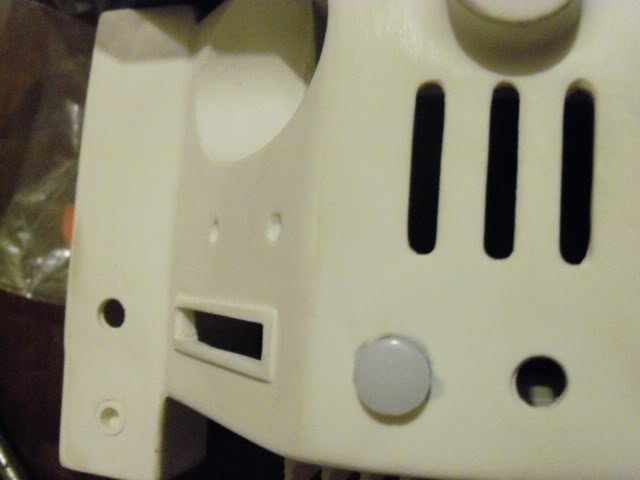
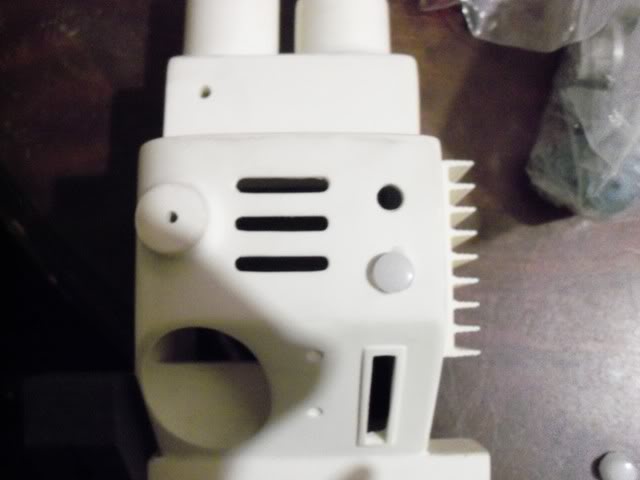
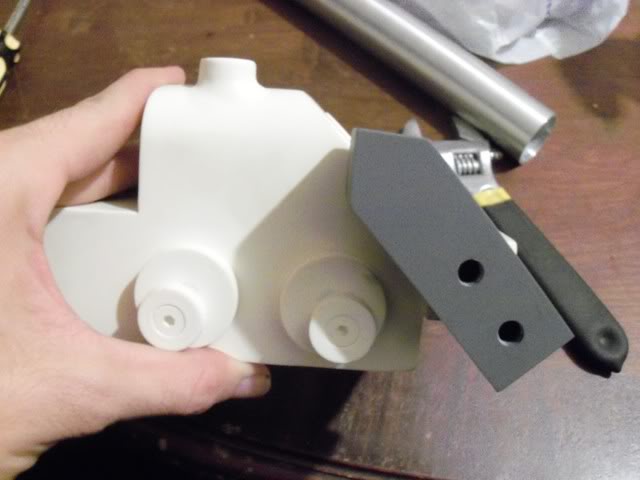
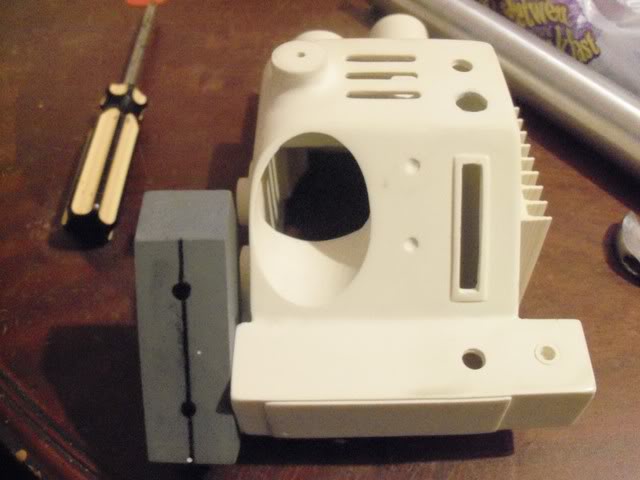
Got my hands on a Throwing Chicken 2.5 gun body and started by pop’in the bottom off, and doing some sanding all around. I’ve been using like 100 grit sandpaper, and sometimes it seems more like im just scratching it instead of sanding it, anyone know whats up with that?
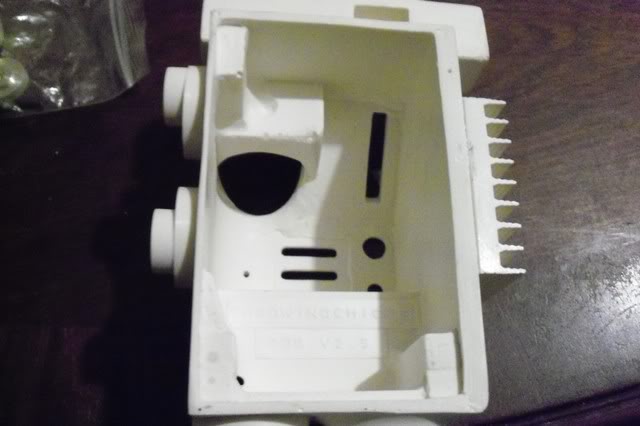
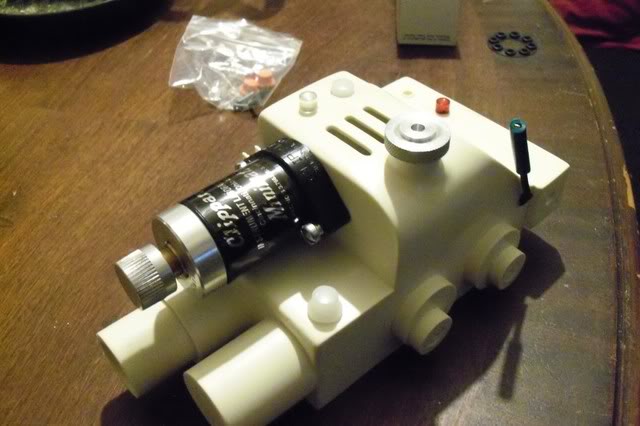
Drilled the hole for the lever. Think its just a smidge too big, with the lever in it’s kinda loose.
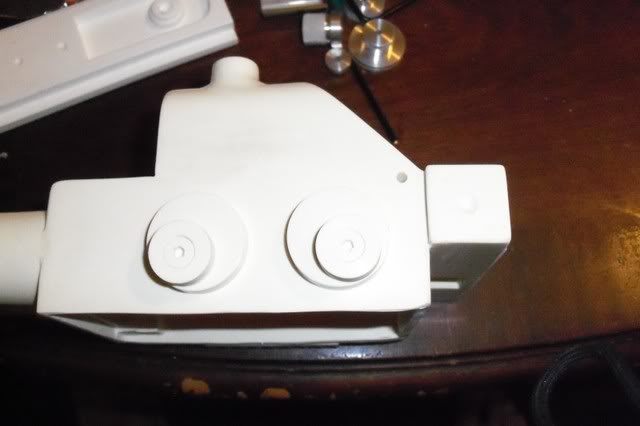
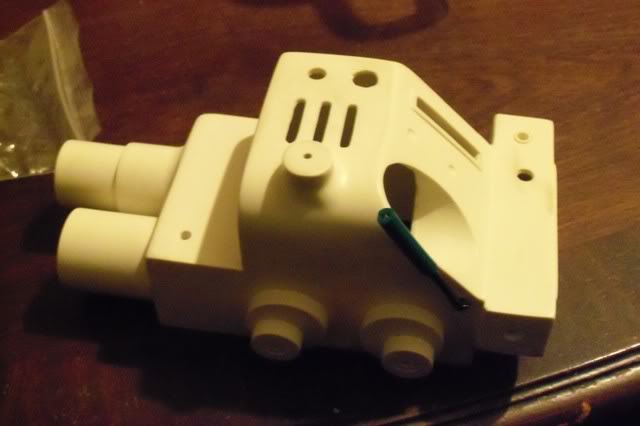
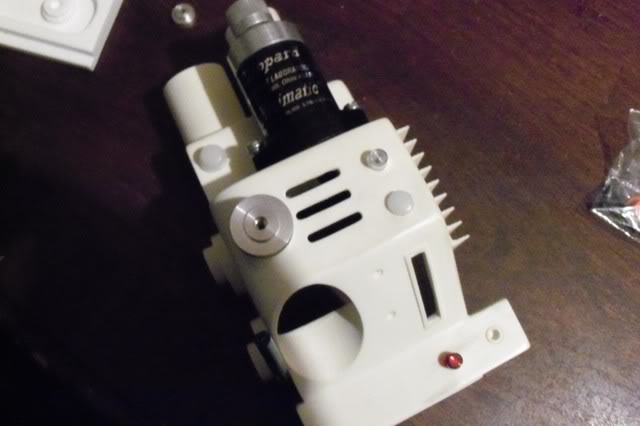
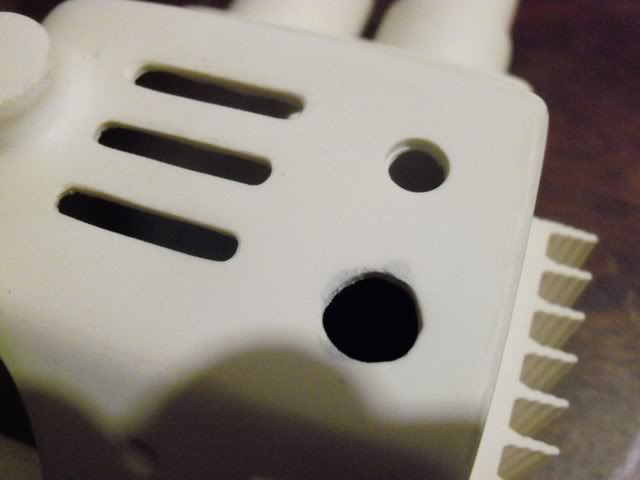
Drilled the holes for the top lights, and slow blow.
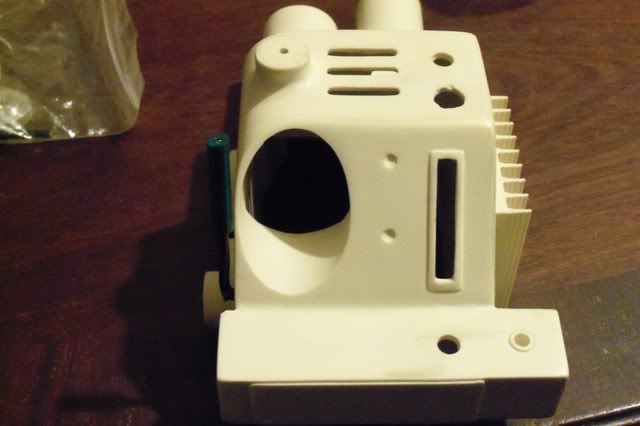
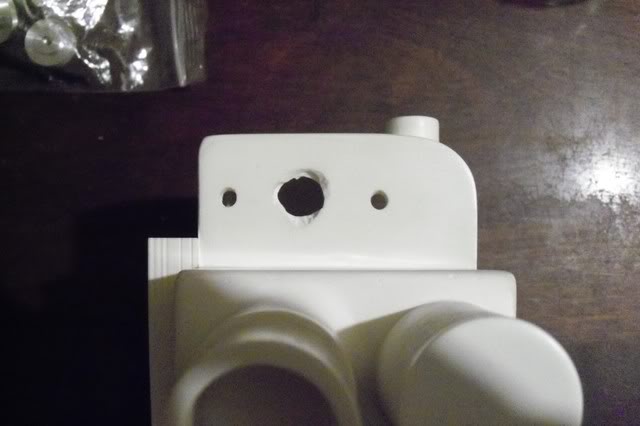
My First real problem was, I kinda cracked around the hole when I was drilling for the top hat light. I’m telling my self I’ll use some like bondo or something to fix it, but I really dont know.
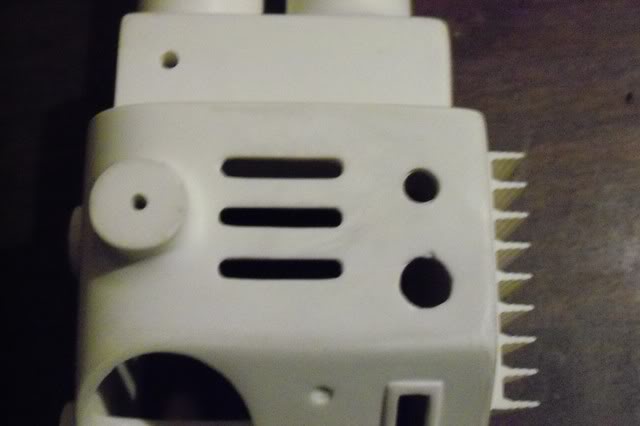
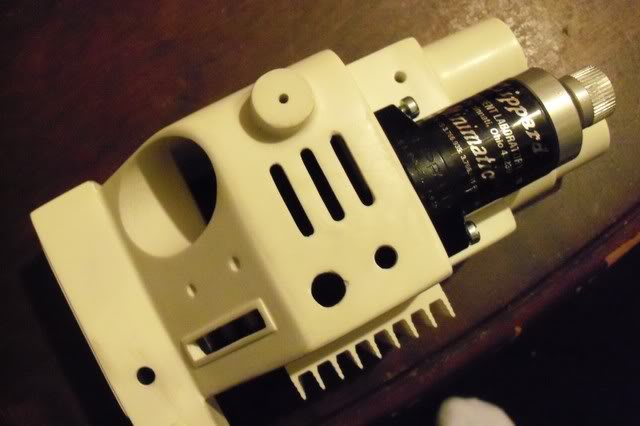
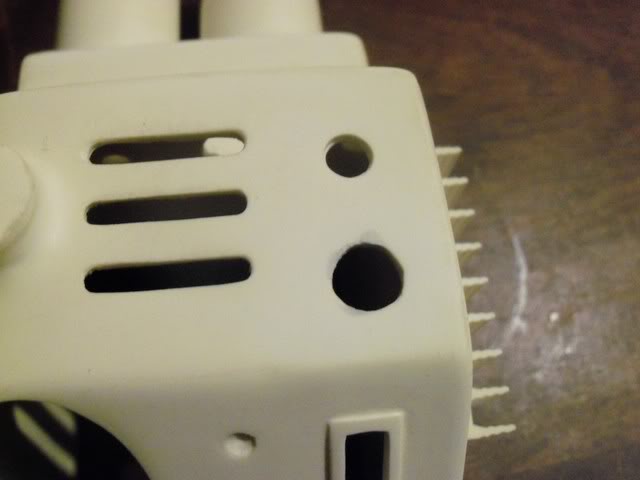
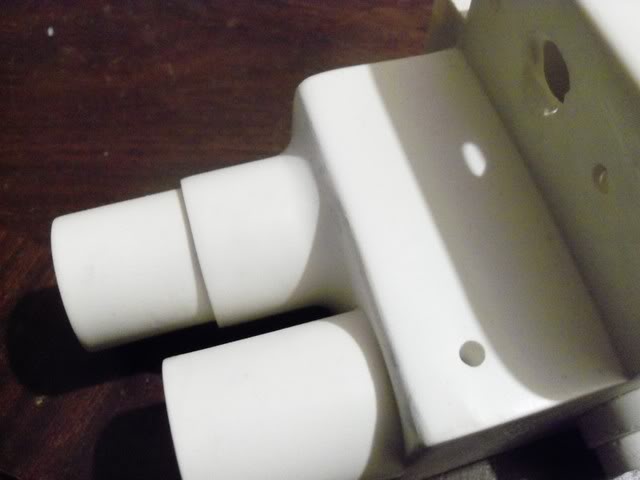
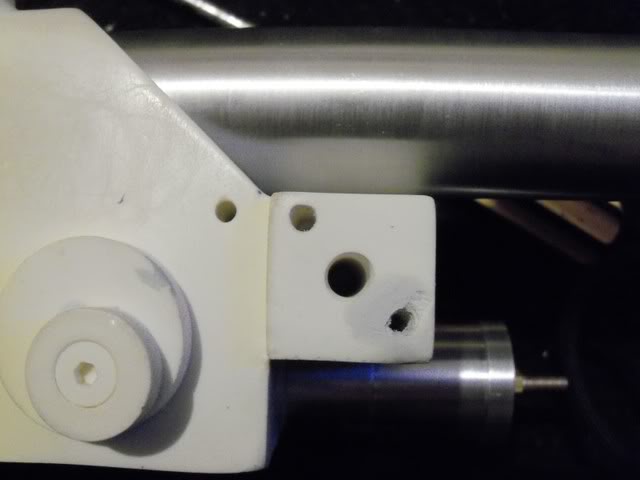
Drilled the holes for the clippard, the middle hole isn’t very pretty, I was scared of doing any more cracking so I just slowly kinda routed it until the clippard fit.
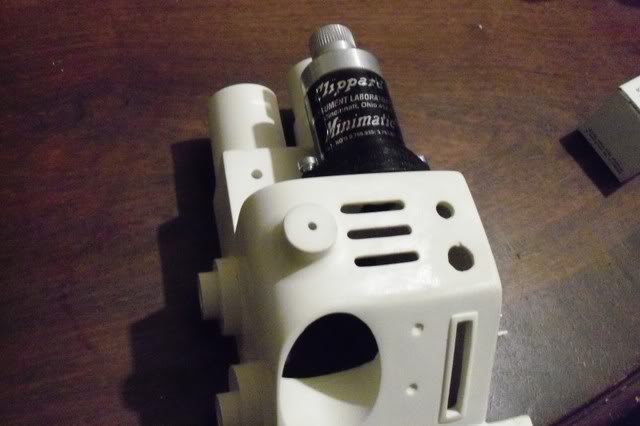
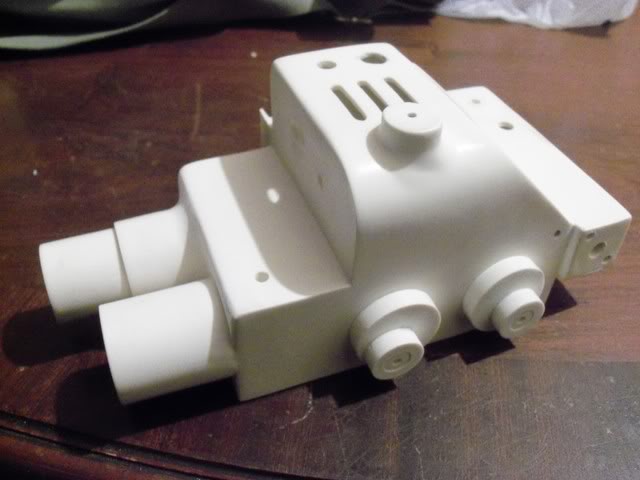
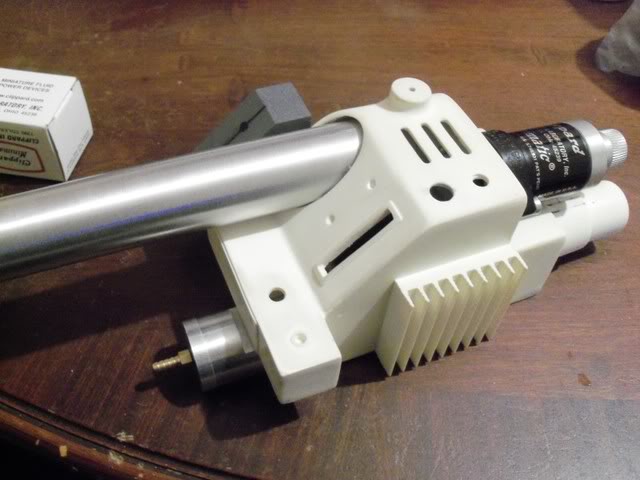
Test fittin’ some parts, I think its looking ok. =D
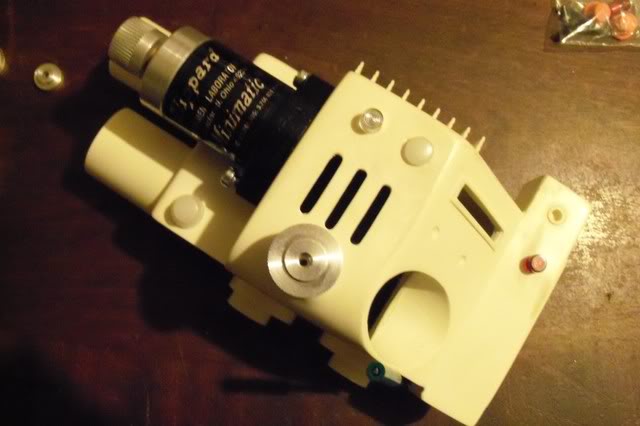
Well thats all i’ve really done so far, next up will be the Trigger box. I’m so afraid of messing it up. I really dont know how to measure on to the trigger box to drill the holes to line up with the holes on the instrument bar. I think I’m going to eyeball where I want the box to go, then I’ll hold it while my girlfriend traces the outline of the instrument bar on the trigger box then I’ll measure, draw then drill, I guess. Waiting to get some more parts and hopefully will be able to get the rear handle, trigger box, and gun knobs on very soon. Thanks for checking it out, update coming soon!

Friggin sweet , keep it coming

That’s looking brilliant so far!

Keep up the good work :smiley:

You’re off to a good start. I can’t recall how many times I measured and remeasured the position of the Trigger Box on my Gun before I finally settled on the final position… and that was probably before I drilled it and the Rear Instrument Bar for the wire hole and bolt mounting points.

I cant’ really offer much advice on that, as my main bit is something you’ve already taken to heart: taking things slowly.

I guess I can say is with the holes you’re planning to drill, measure them three times to ensure the ones for the Trigger Box match the ones for the Rear Instrument Bar as closely as possible.

However, this might be of significant use to you:

Proton Gun V2.0 build thread

Thanks for compliments guys =D. Yea Kingpin, I forced myself to go real slow after i like chipped pieces out of the top hat light hole, I went “Aggghhhhhhh”. Thanks for the advice as well, just gonna measure the trigger box position like crazy and hope for the best. TC thread is a big help too. I really want one of those TC gun tracks if anyone has one for sale let me know!

Jason here has a nice metal track - GBFans.com

Nick has a resin track that looks to be more accurate than my old one - NICK-A-TRON'S STORE *here to take orders and chew bubblegum* - For Sale - GBFans.com

Yea Ive been looking at all the different ones, Yours is the only one Ive seen with the base plate already attached, I don’t know I like it a lot lol. I’ll figure it out, but if you see one layin’ around you contact me! =D

looks great so far.. just take your time and everything will fall into place… assembly can seem daunting sometimes , especially with so many little parts..

The first pack I built last year was the longest two months, as well as shortest two months of my life, aswell as probably shaving a few years off the top of my life as well. Every hole I drilled and every dab of Gorilla Glue I used was terrifying. Not much you can do but eyeball stuff and hope for the best. You’re off to a great start though. Take your time is the best advice I can give. Bondo a hole if you do not like it and drill it out again (after it hardens of course).

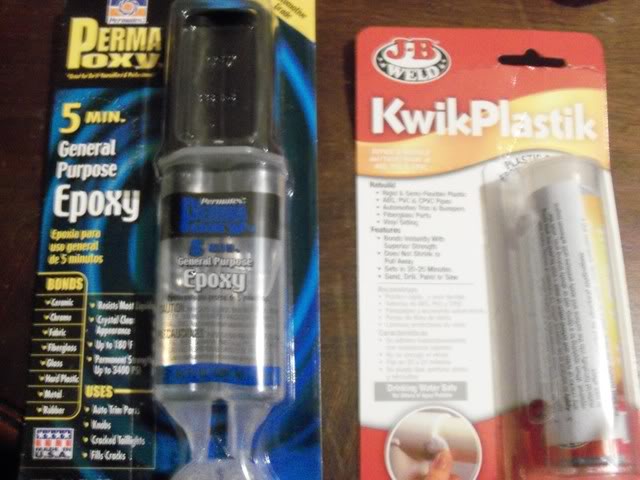
Got a small update, going slowly but surely lol. I can tell this will take me a long time as well, and it’s just the gun lol. I got my epoxy, and the closes thing I could find to magic sculpt, my Home Depot didnt have any, pretty lame. This stuff is made for plastic but it seems to be working just fine.

So I filled some some holes, and parts I banged up trying to get the green lever in. My biggest goal was fixing the top hat light hole I cracked, fixed it the best I could.

Re-test fitted the hat light.

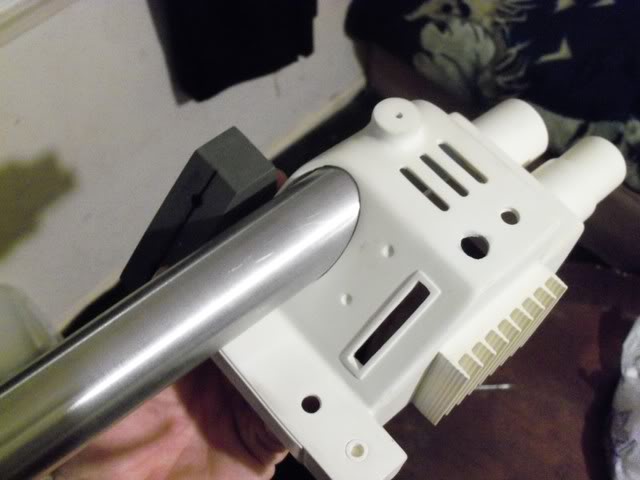
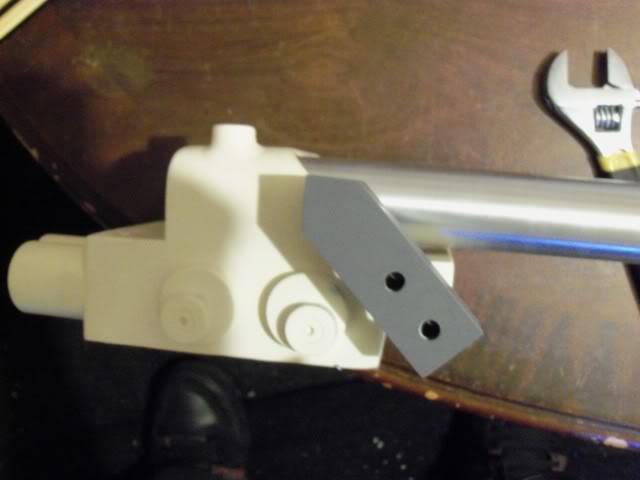
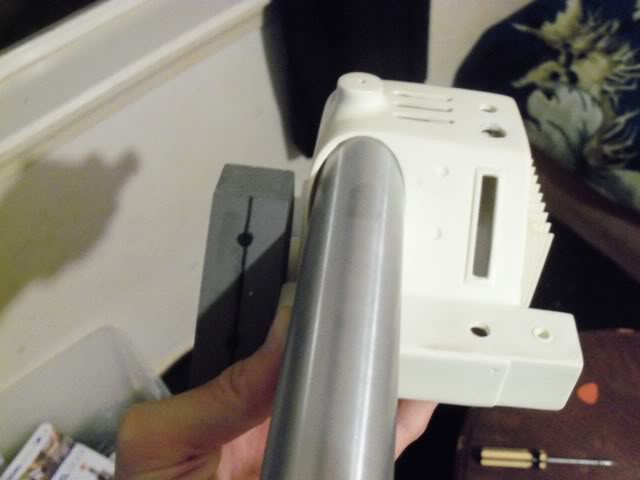
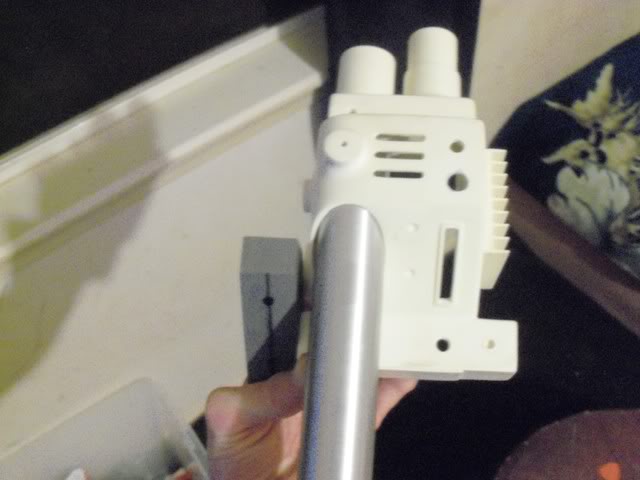
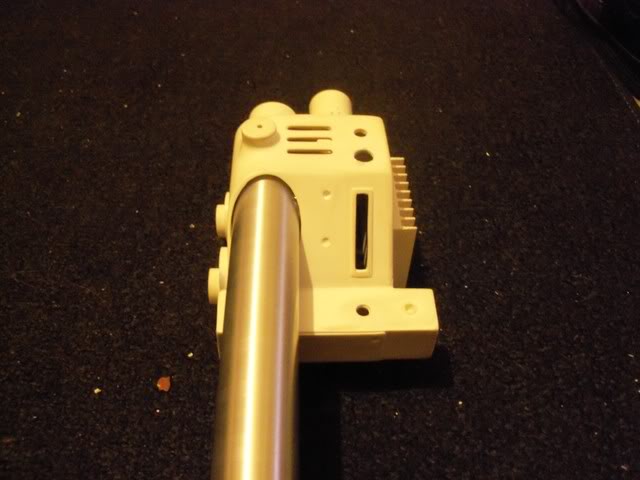
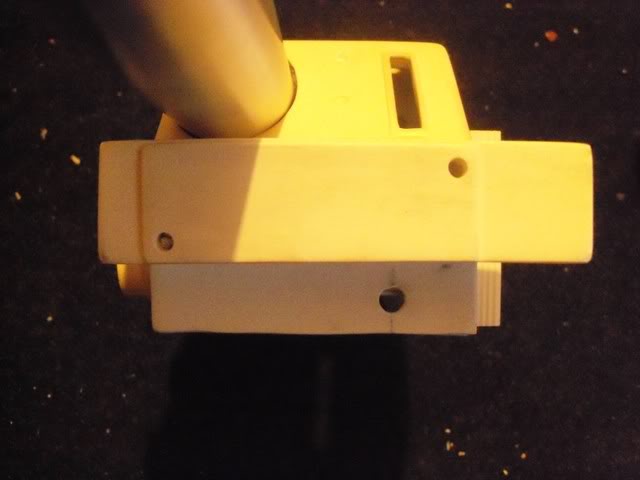
Drilled the holes for the trigger box and test fitted it in. I wish the angle was better, I’m hoping its not angled too far down, or flat like. Please take a look guys and tell me if I should try to re angle it if its too crucial.

Put the rear handle in just for comparing, it isn’t screwed in yet, probably do that next.

Thank you everyone for the comments and help, I really appreciate it. I’m waiting on a lot more parts in the mail and I hope to get them soon, I’m having a blast watching this come together. I do have a question, if anyone knows, do most people have the green lever in while painting? I see a lot of people with there trigger box epoxied in before painting, but the lever would have to be in because I wouldn’t be able to fit it in there with the trigger box permanently in place. Just wondering and brain storming. Let me know what you guys think, more to come soon!

Magic Sculpt is more of an arts item, so Home Depot wouldn’t have it. What you got should work just fine, you just won’t have much work time with it. Looking good!

Ahhh well that explains it. Hahaha , yea I never worked with anything like this before, When I first got it I took just a little bit of it and started filling in holes then I noticed it wasn’t hardening. Then I realized theres like 2 parts to it and you have to mix it, so I had to take it all off and do it over lol.

If the Trigger Box is easily removable, then I suggest leaving the green lever out when painting. If you’re running wires through the Rear Instrument Bar, then there’s a good chance you’ll have to undo it from the Gun Box prior to painting anyway. That’s what I did. I removed it, painted it, fitted the wires and refitted it.

As for the angle, as long as you can comfortably activate the switches whilst holding the gun, the angle yours is at shouldn’t be too much of a problem.

Dude don’t f*ck it up!! Last thing you want is your proton pack falling apart while your trying to bust some ghost lol! j/k looks good man can’t wait to see the finished product!

I’m getting closer! This project is actually turning out to be really fun, although nerve racking at times lol, but really nice to get working with your hands. Getting to the point where theres not too much more to do without the pieces im awaiting in the mail.

I was able to get the rear handle attached, and I think it turned out pretty good.

Secured it in there with a long screw, and smothered it with a 2 part epoxy.

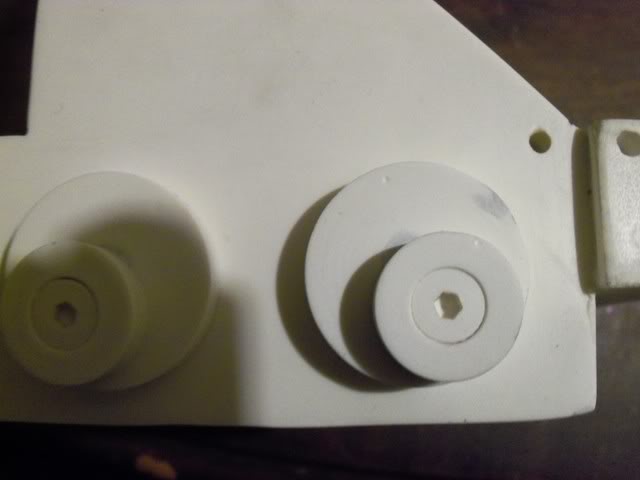
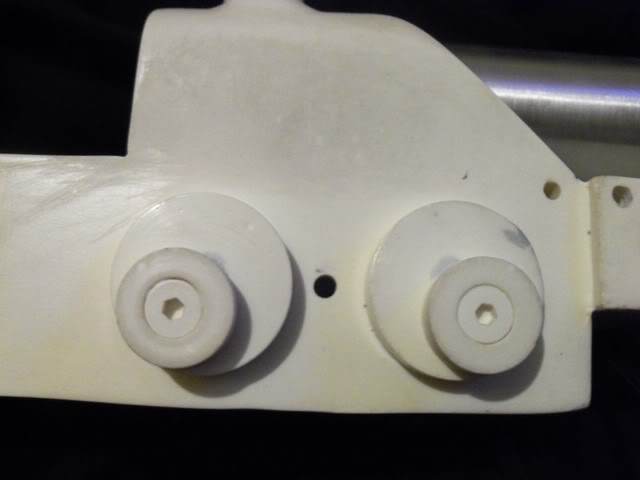
Drilled a hole for the hex bolt that goes between the side disks.

I really wasn’t happy with the angle of my trigger box, so I filled in where I drilled and attempted to re-align it and make a new hole, It turned out better, but I realized the filler putty I’m using isn’t really ideal. So I put in a order online for some magic sculpt and I got that coming in the mail. So once that gets here ill most likely make a more permanent commitment on the placement of the box.

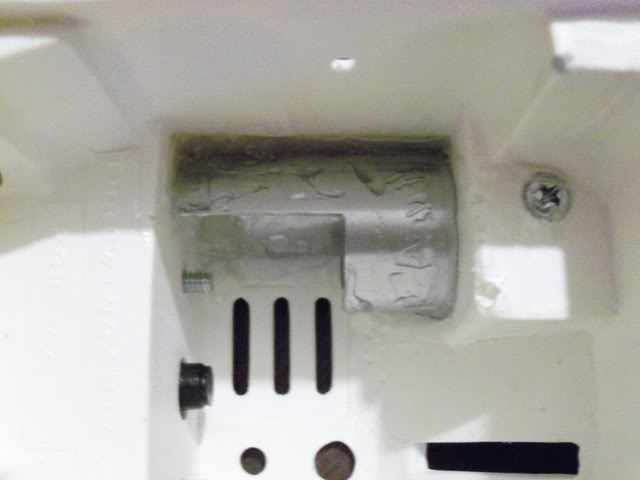
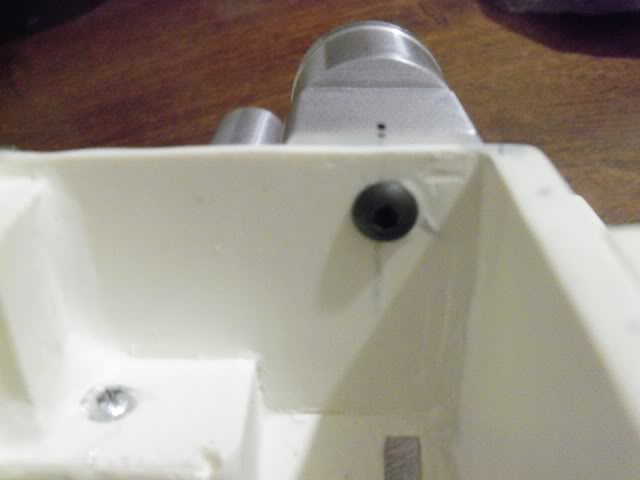
Drilled the holes for the hex bolts on the instrument bar, and for the amazing rear cylinder I just got from jpa35.

I test fit the rear cylinder, and threw on some other parts to see how it all looked together. It’s actually coming together, and I’m really excited to get the rest of the parts.

Just awaiting parts and saving money at this point. I think next I will get the holes drilled for the 2 hex bolt washer deals, finish drilling the holes for the switches and wire running, and maybe start working on the gun track. Thanks for checking it out! Update soon!

Cool thats comming along nicely mate, Im now starting work on my V2.5 thrower, like the screw idea on the handle

Your trigger box seems slightly off, to me.

The nifty little 90 degree angle at the top of the trigger box should be square with the rest of the gun body and rear handle, as shown in green below. The red lines show where you currently have it positioned.

If you’re fine with it, that’s cool. Just letting you know since you asked.

Yea my trigger box is definitely not on right, and I did notice this and knew it would happen lol. I have this putty used for plastic repair that i was using to fill holes and such if i made an error, well it turned out to not work out very well and wasn’t very strong. So i’m awaiting some magic sculpt in the mail and hopefully will be able to re drill and position it right or at least how i like it. Thank you for the picture, thats actually really neat, wish i had that when i was eye-ballin’ my eyes out =D.

You’re welcome. I hope the magic sculpt works a bit better.

As for lining it up, you can just eyeball it, or, set your gunbox on a level surface. Make sure it’s level with… a level. Then use the level on the top flat part of the trigger box. This will get your angle. You can then slide the trigger box up/down/left/right to your preference, without changing the angle and going out of level. Then drill or mark the holes and drill.

Another trick that could help (since you only have two hands): Drill out the screw holes on the trigger box until they are bigger than they need to be (Just the box, not the instrument bar). Then level and position the trigger box, and screw it into place, using whatever size washers you need to cover the larger holes you made. Screw it down just tight enough to hold it. Now you can adjust the angle of the trigger box to get it perfect, since there is some “play” in the screw holes. Then tighten the screws up.

cool man it looks really good. Coming together well! Its so cool to actually see you doing it I wish I was there. Anyways when you finish it blast Brooks with it for me! :slight_smile: