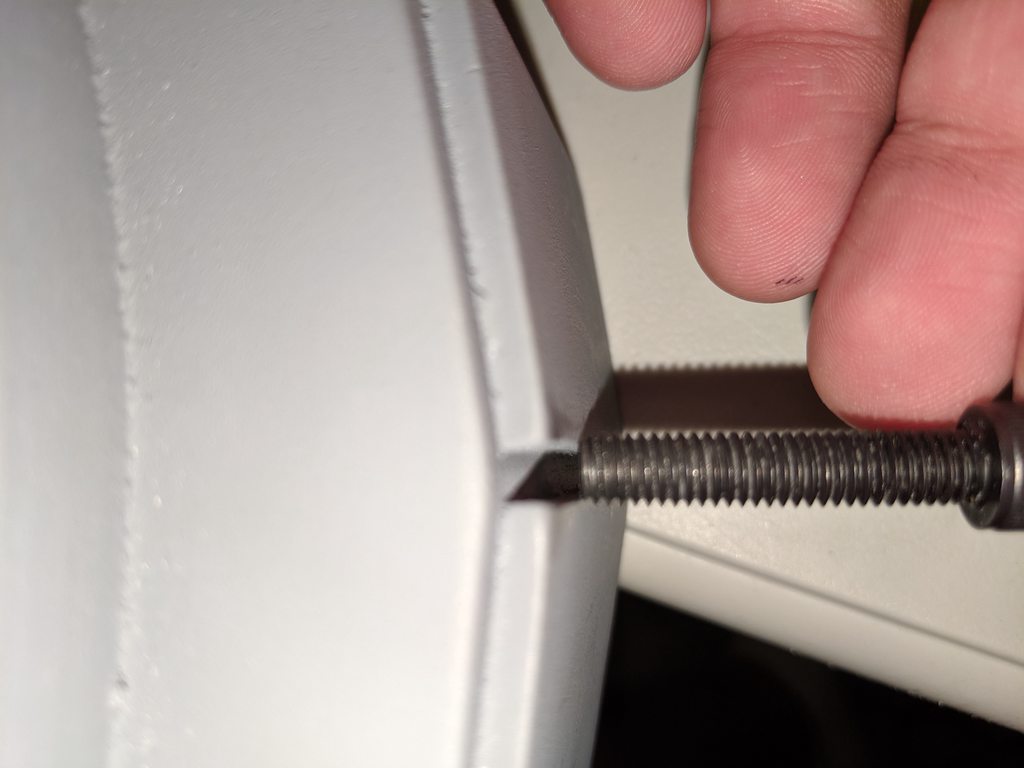
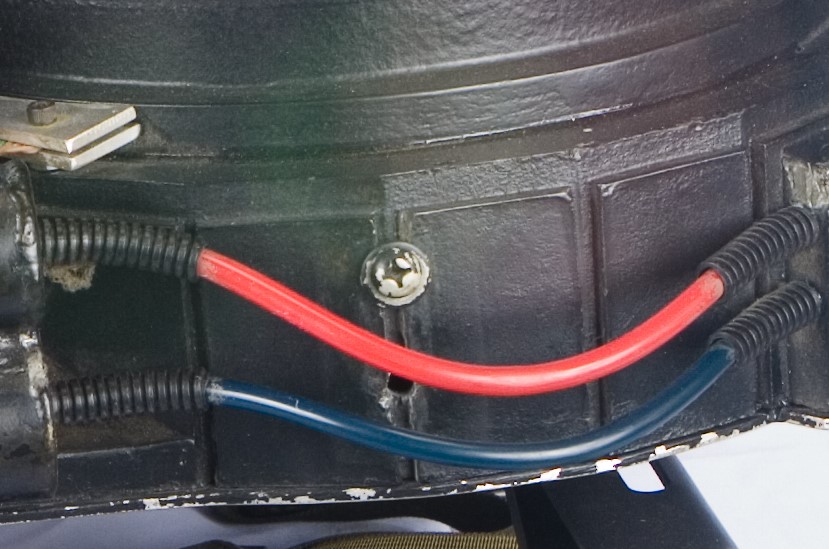
[quote=Fitzhume post_id=4921543 time=1564324535 user_id=15884] The bumper lines up in between two sections of the sync.gen. and I’m curious if people used bolts that fit in between those sections or did you use a thicker bolt that will have to have part of those sections drilled into?
[/quote]
The bumper uses four 1/4-20 Allen head bolts (or pan head for GB2) to secure it to the sides of the synchronous generator.
The bumper uses four 1/4-20 Allen head bolts (or pan head for GB2) to secure it to the sides of the synchronous generator.
[/quote]
I have both types of bolts but I haven’t decided which to go with yet. Now, the threaded part of the bolt does not fit between the sections of the synchronous generator. Do most people still use this thickness of a bolt to then just drill through that space and including parts of those pannels?
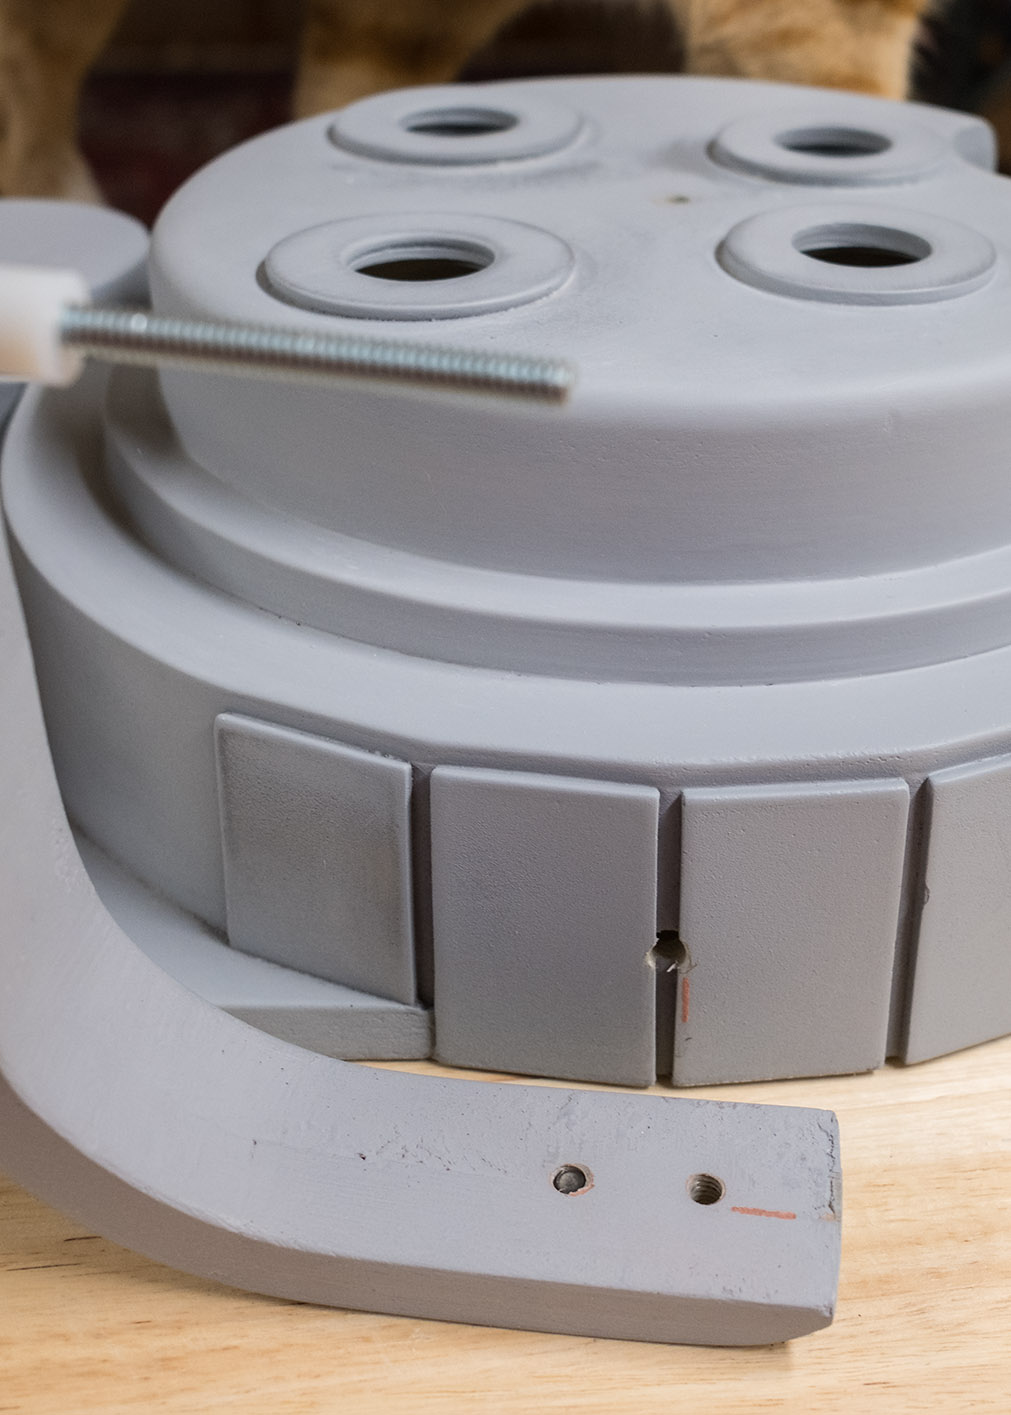
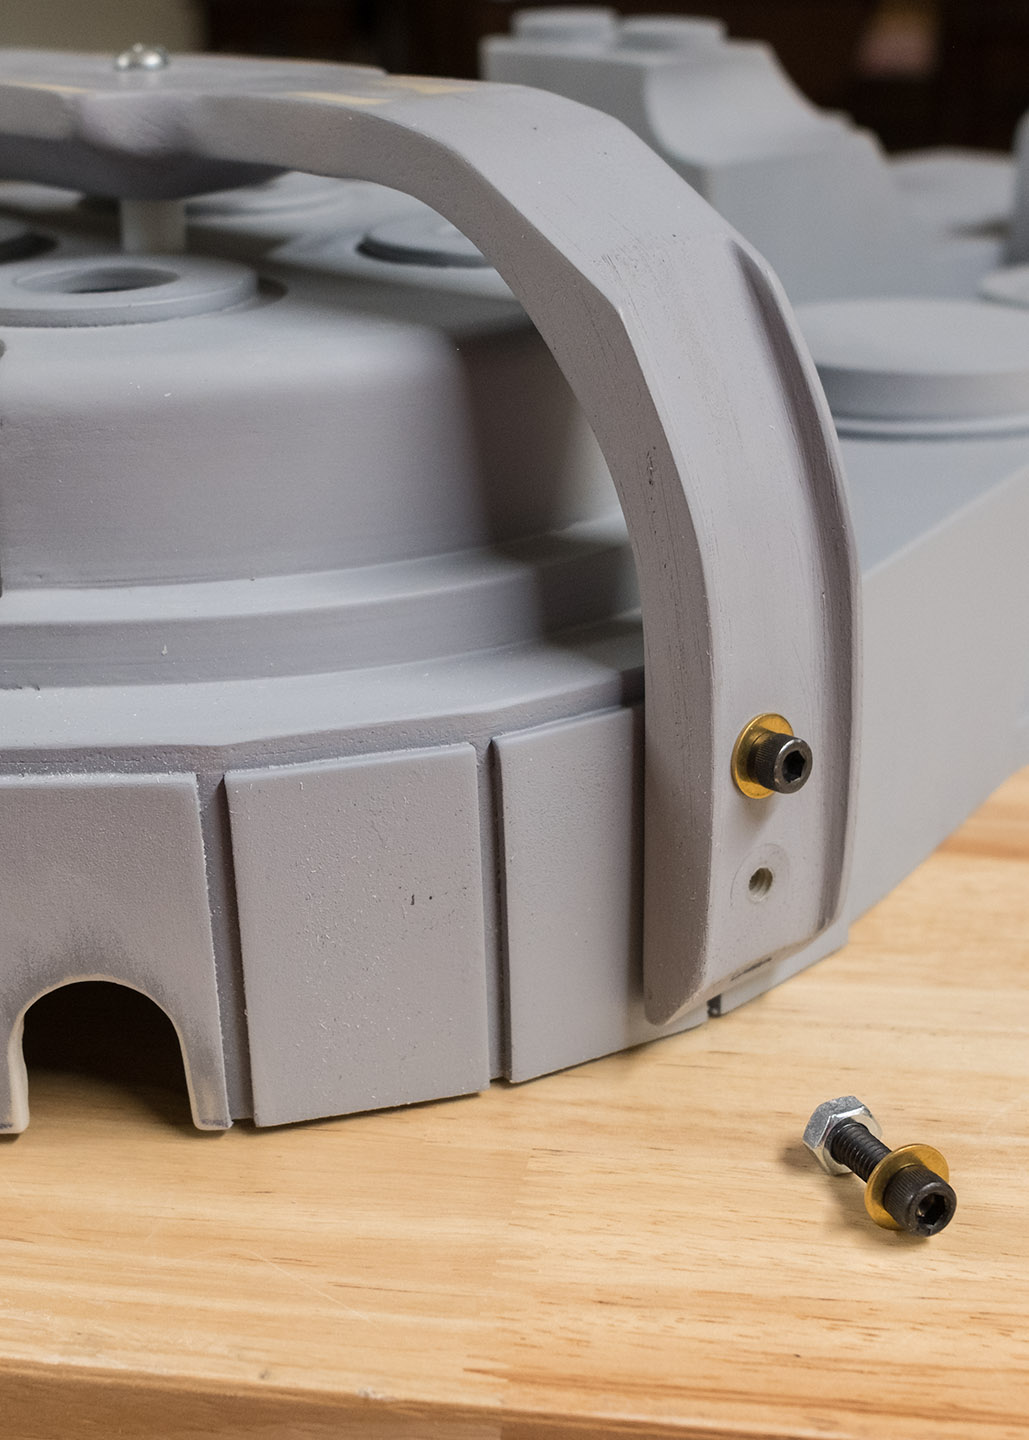
Here’s my BoK shell and bumper with a 1/2 inch spacer on the center mounting point. I made one each of the side-screws cosmetic only, but that’s just me. These are 1/4 screws but you could also use M6-1.00 screws like Ben uses to attach the shell if you want to keep them all consistent.
OH, those are great pictures. Thanks for sharing those with me!
Prologic9, so you tapped your holes in the bumper as well. Did either of you drill these holes at the same time, bumper and sync.gen together? Or did you drill the bumper first and then line it up and mark it on the sync.generator?
Again, thanks for posting these pictures, this is a huge help!
Actually I only tapped the bumper, and that was really just because of the faux screws.
For the shell I think it’s better to drill holes large enough for the screws to pass through and then use nuts on the inside to secure them. This gives your parts a little wiggle room and it’s more secure than tapping into polyurethane.
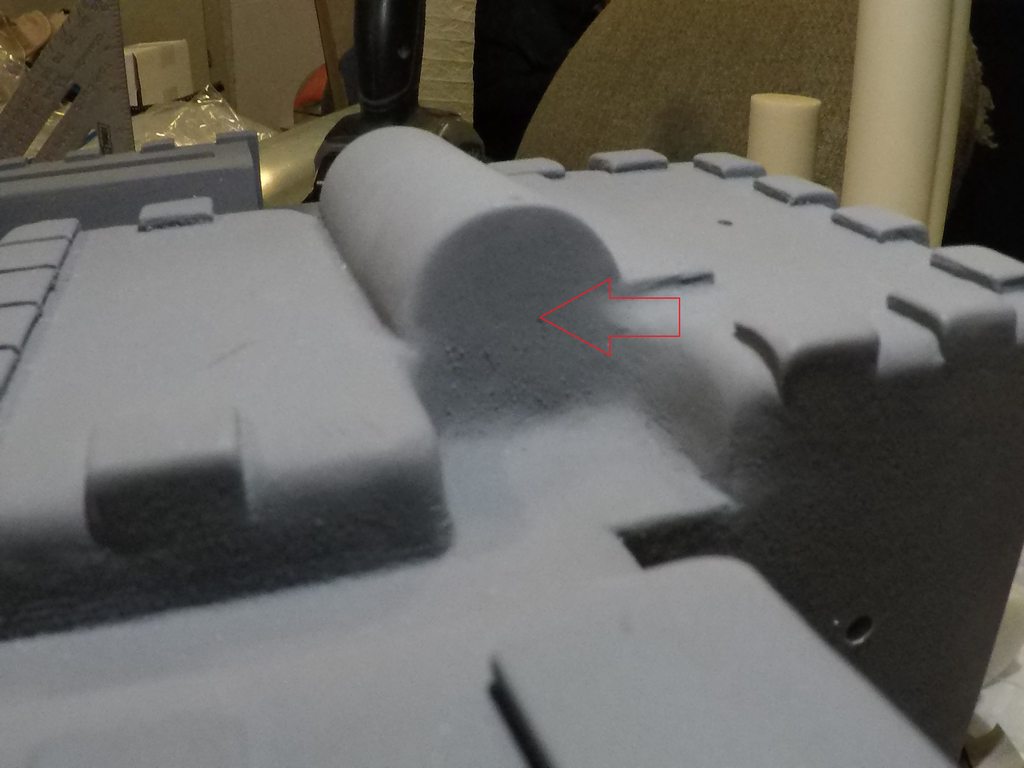
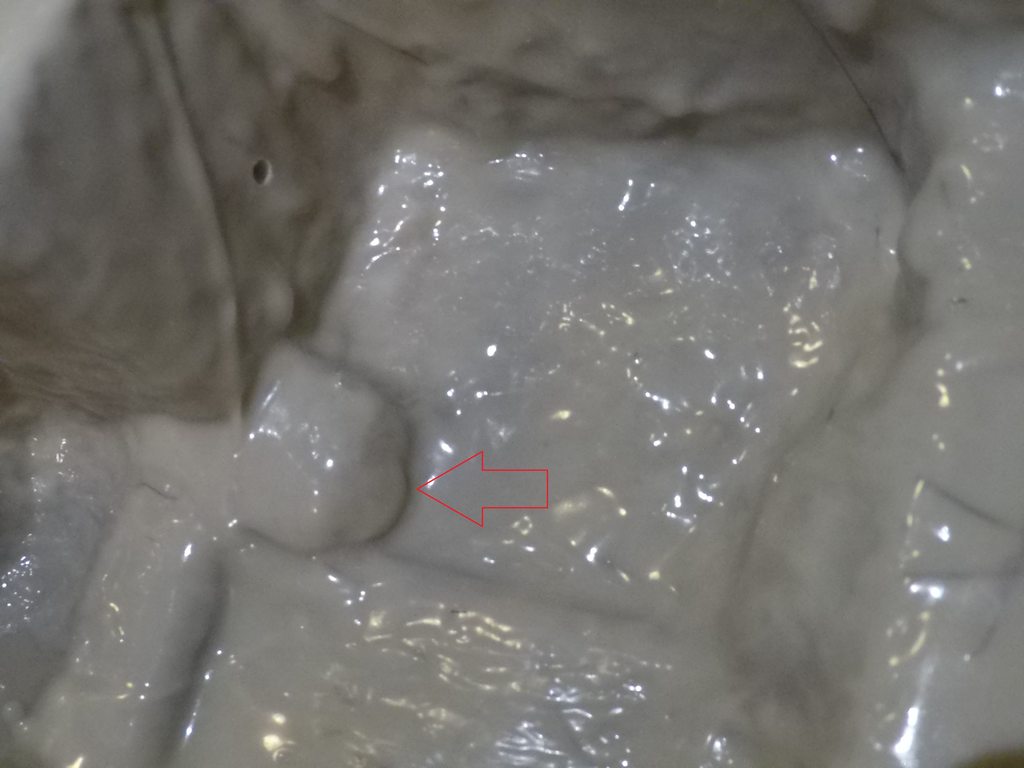
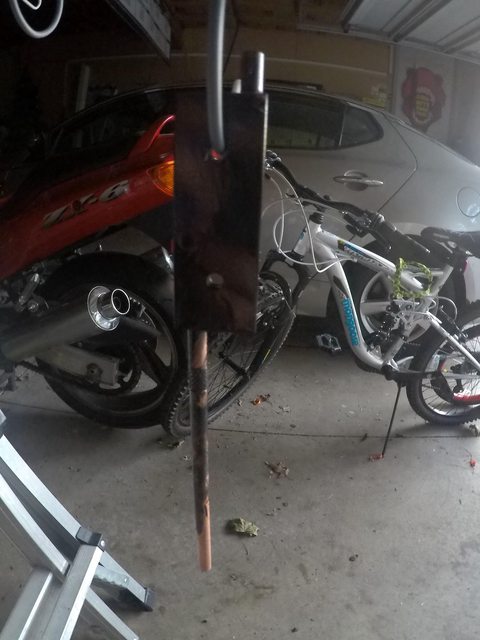
I’m sort of stuck. I have my last hole to drill but I’m not sure how to go about it. In Benofkent’s pack, the gearbox is partially solid where the split loom (hose) will go. I would say that the top half of it or more is solid. What is the best method for getting a nice centered hole here to mount a dowel rod or open it, fix a dowel rod here to allow for the hose to fit properly over it securely?
You could get a long threaded rod. Drill a hole through the center of a short section of wood dowel that is long enough to glue the hose to later. Countersink the ends using a forstner bit wide enough for nuts and washers. Install rod into dowel and tighten nuts with one end flush. Mark a hole in the middle of the gearbox using dowel to center and make sure you leave space on the pack side for the loom to slide over dowel later. Use a long bit, drill hole through gearbox and inset the threaded rod through the hole. Affix with washer and nut on inside.
I purchased a kit from Ben last year and was a bit apprehensive about drilling that gearbox hole, as well.
I ended up using a 1” drill hole punch attachment — the same one to drill for your loom that connects to your wand. I ended up securing it to a hand bit-driver and hand-cranked the punch. It was a lot of elbow grease, but it was gentle on the pack. (Lots of horror stories of people drilling too deeply and cracking their shell or making a hole!)
Once I got that in about an inch or two, I could see the cut I was making from the inside of the pack. From there I used my dremel to cut (gently!) into the hole punch cut.
I hope that made sense. The loom didn’t need any dowels or magnets or anything to sit in there nicely. I ended up just gorilla gluing the loom on the inside along with a zip tie to prevent it from back out, should the glue fail.
Hope this helps! Worst case scenario: bondo and some sanding!
Not really. I used a step but to cut a loom sized hole in the gearbox. I did use magnets to secure. With yours being half solid, figured you’d not want to bore through it.
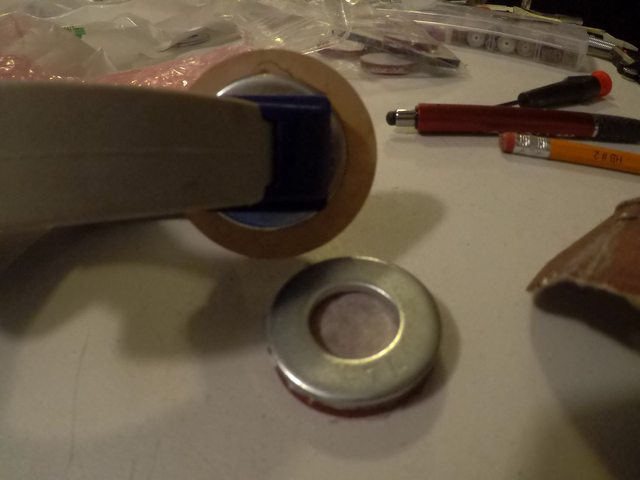
I recommend finding a washer that is the diameter of the beam line cylinder and using that as a template for your hole. You should have about 1/8” around the perimeter where the loom is inserted into the gearbox.
Mark the washer hole and then use that hole saw. There’s a screw tip on the one I purchased that made for easy centering.
I bought that at OSH, but Home Depot and ACE carry them as well. I think I was maybe $10. You’ll also need a 3/4” hole saw for your ribbon cable hole — save yourself a return trip to the hardware store and buy both simultaneously!
I wish I would have seen this beforehand. I’ve opened that area of the pack already without these tools. I used a small drill bit in the center and then would open it further with the next biggest one and so on. Once it was bit enough, I used a Dremel and worked the rest out slowly until I could get the loom in. Since the curve of the gearbox is not hollow, I had to keep in mind what others had happened to them and not Dremel through the shell. Taking my time was a huge factor in this. I’ll get a picture up soon as the primer is drying on the pack and parts at the moment. I haven’t documented this as well as others have. I need to change that moving forward and share as much as possible. Everyone here has been so helpful so far and I want to be able to give back as well in the future. Since the loom has to bend rather quickly out of the gearbox, I may use a short dowel in the line and Bondo it solid in the pack.
How long is this hose line supposed to be from tube to gearbox?
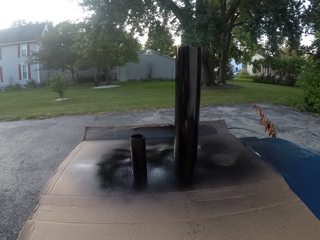
Using a satin finish on the metal parts first and will be giving a second coat tonight after work. The rest of the parts will get the same paint as well.
With the ion arm, I took inspiration from bishop and used a similar technique when painting it. I allowed some of the bar to get paint on it. While using gloves, I then smeared the paint with my gloved hand until it became sticky. This was a great idea and thanks for sharing this. I like the way that it is looking.
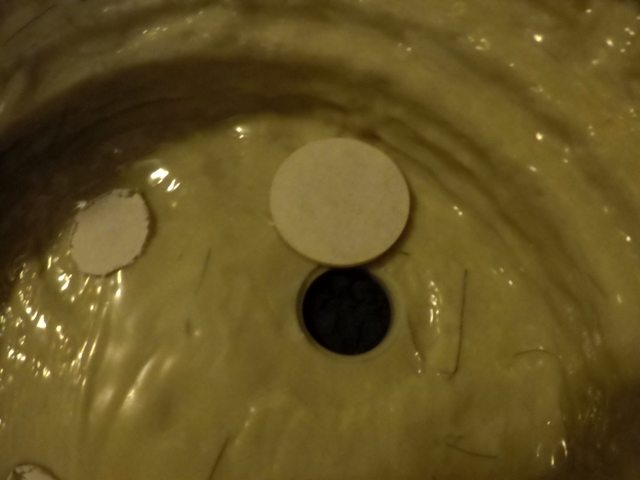
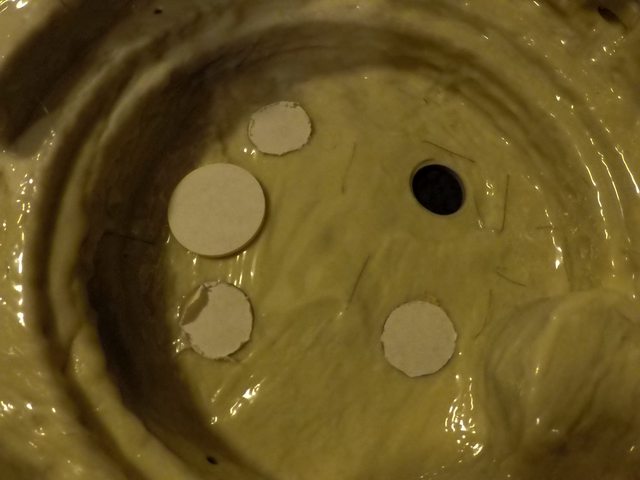
As for the lenses for the cyclotron, I’m still in debate with myself to use a Dremel or orbital sander to shrink the size of these lenses down to fit the holes. These lenses are the ones that I have purchased from Spongeface with his TVG board.
The washer seen in the picture is a perfect snug fit in the holes of the pack. I am going to attempt to make them smaller so I don’t have to attempt a technique to widen the recessed hole in the pack which I am not comfortable in doing.
Next up will be to paint the parts of the pack and prep the pack for a coat of truck bed liner paint. I like the look that others have used in the past so I’m going to test it on something else first to see if it’s worth doing. Otherwise, I’ll be taping the pack tonight to be painted so I can focus on the booster tube and Ion block installation on the pack. This will be my first use of Bondo on the pack. I have to start somewhere as I will need to use it on the wand too when I get to it. Just thinking about it, my mind is starting to drift to all of the other things to do in the future for this pack.
Quick update, grinding the lenses down took a bit of time but it turned out great. The power cell lense I used a cutting disc on the Dremel to resize it and then rounded the corners a bit and it fit great as well. I measured the power cell window first and made sure to draw the lines on the acrylic lens with a thick black sharpie marker. I made sure the lines were a little bigger than the lense because of the recessed section the lens sits in. With the cutting disc technique, I put down a thick piece of cardboard first and then would cut through just a bit along the lines. I kept doing this until I touched the cardboard. The cut was pretty clean but I still took a sanding bit to smooth it out a bit. I didn’t get any images of the cut on the power cell though.
You can see the size that the lense was and how much I sanded them down to.
I definitely will. The last 1/2 of this week was painting and working on the lenses.
I have 1 4" speaker as of now and I’m waiting on my pack to dry so I thought I would start working on the internals a bit or at least map it out. Was it worth mounting two speakers in your pack? With the 2 speakers, did you need any extra batteries or hardware to run both? Did you run the speakers parallel or series?