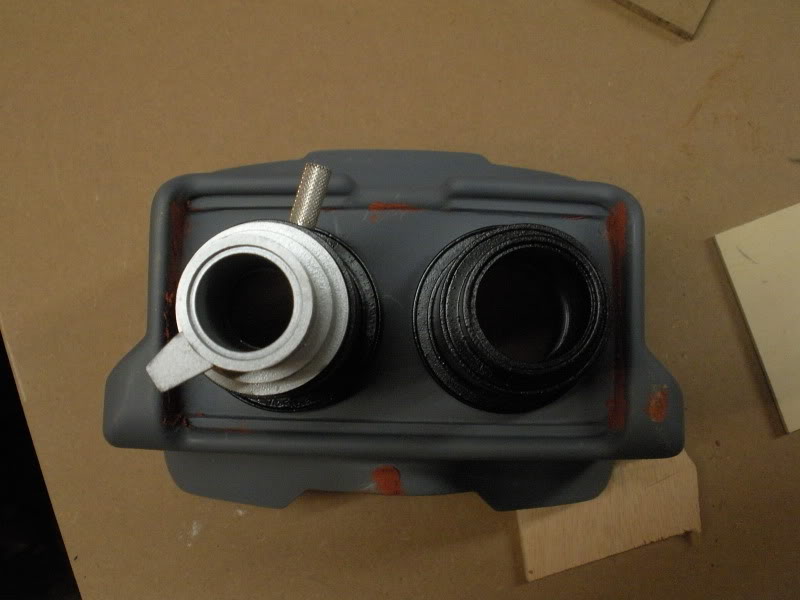
Hey folks. Here we go. I’ve been working on these slowly for the last several months. I forget the origin of the resin frames, but I got them secondhand from SolidGoldCaddy earlier this year. They sat around for quite a while before I started to figure out what I was going to do with them.
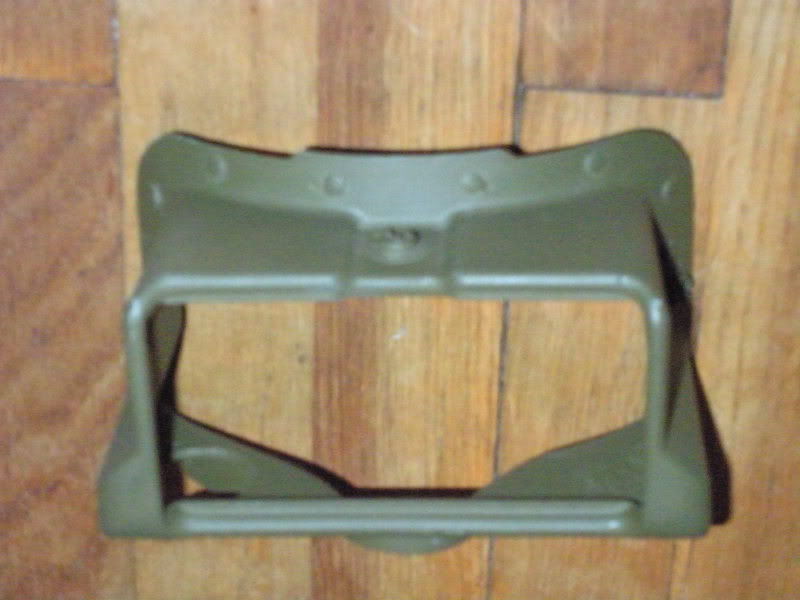
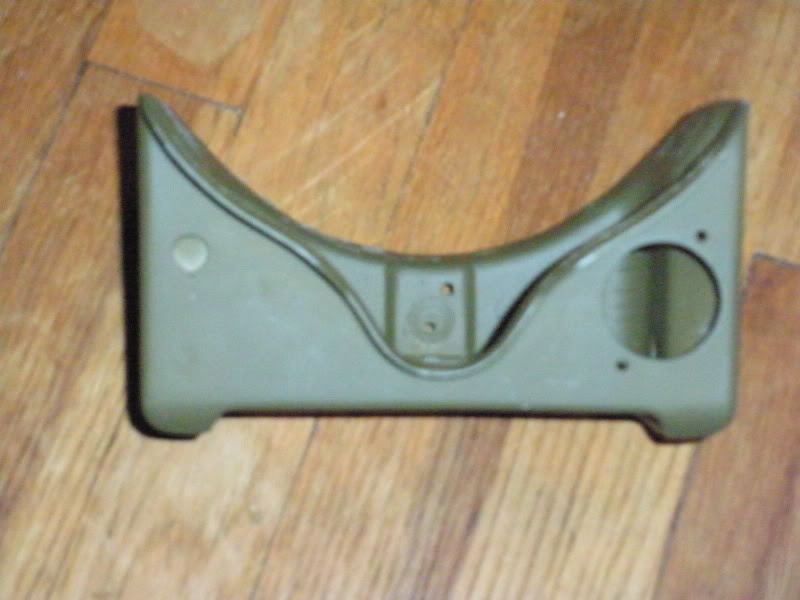
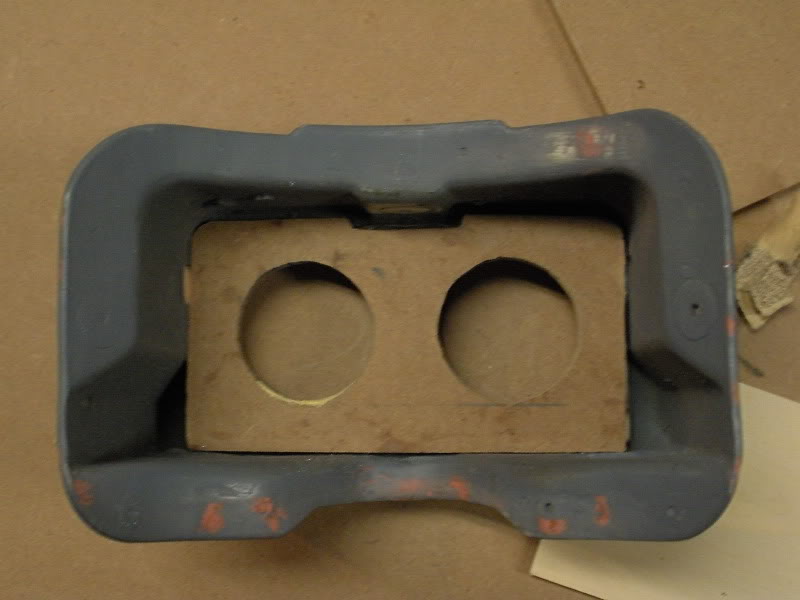
Here’s how they came to me. I decided early on that I was going to sand off all the snaps and bumps and replace them with real metal parts.
So yeah. That’s what I did. They were kind of a pain since I just sanded them by hand, but I trust my hands more than anything else.
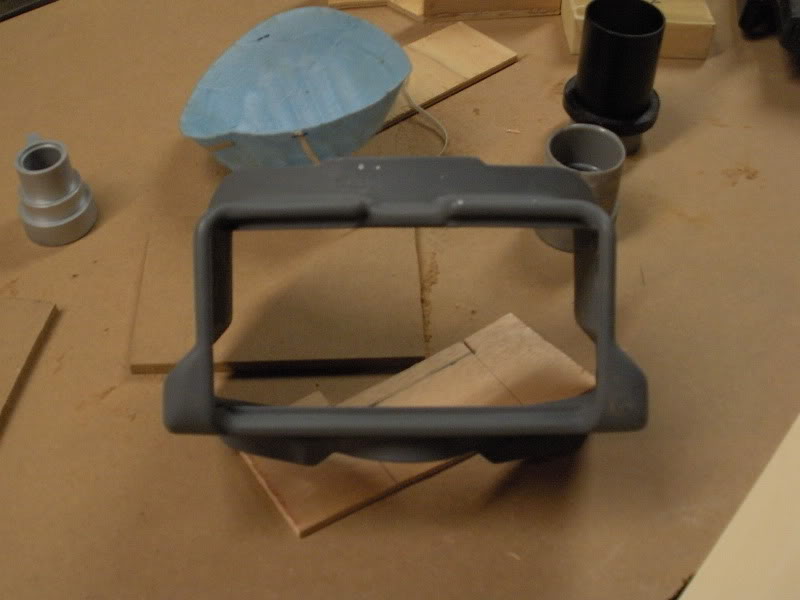
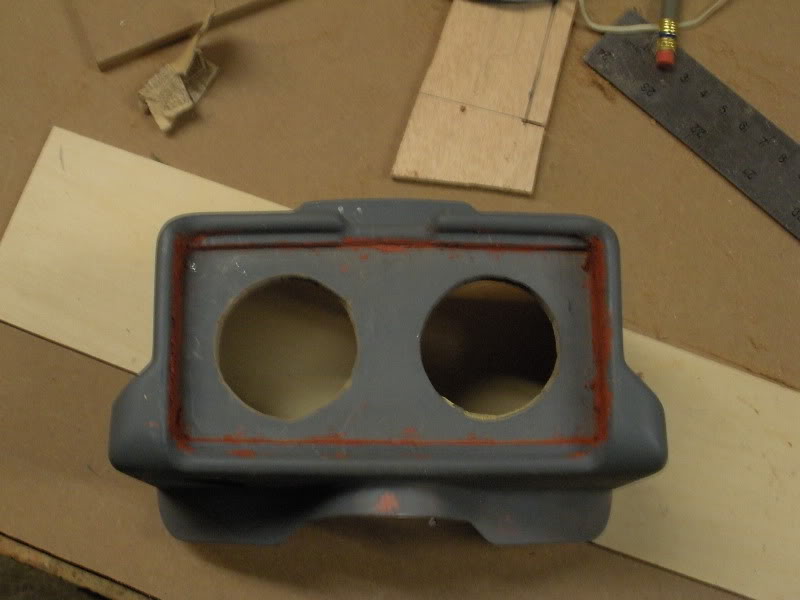
I originally cut the faceplate out of plywood. I had it all glued in and the cracks around it were filled with a Bondo spot puddy. I had that bit cleaned up and they were primed… and then I dropped them. I ended up remaking the faceplate out of MDF because it was a tad thicker which gave the glue more to grab on to. I opted for wood filler instead of the Bondo this time, as I’ve always had good experiences with the wood filler, whereas the spot filler seemed to keep coming out. In fact, when I dropped it, nearly every bit of it popped out.
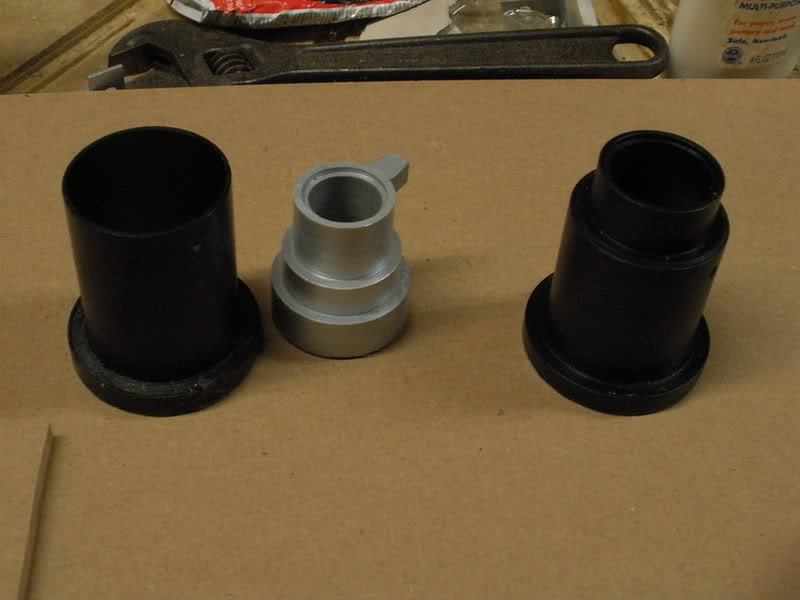
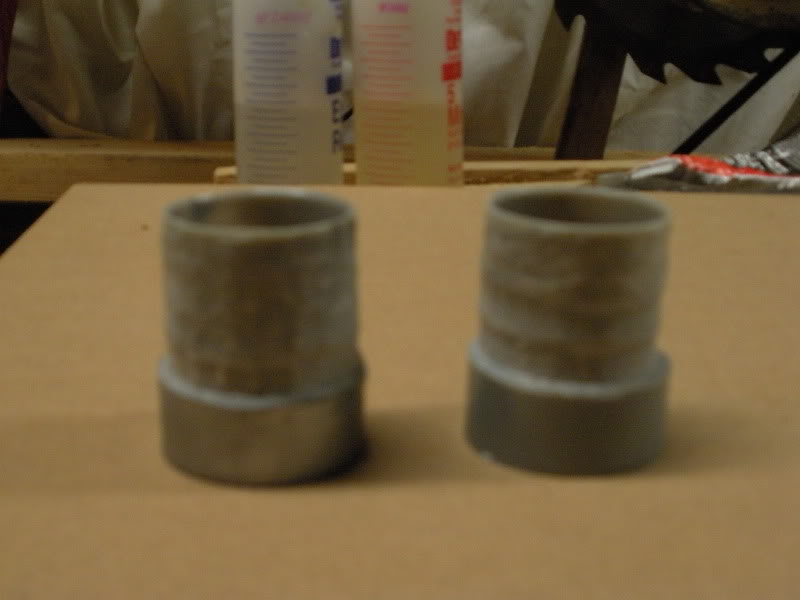
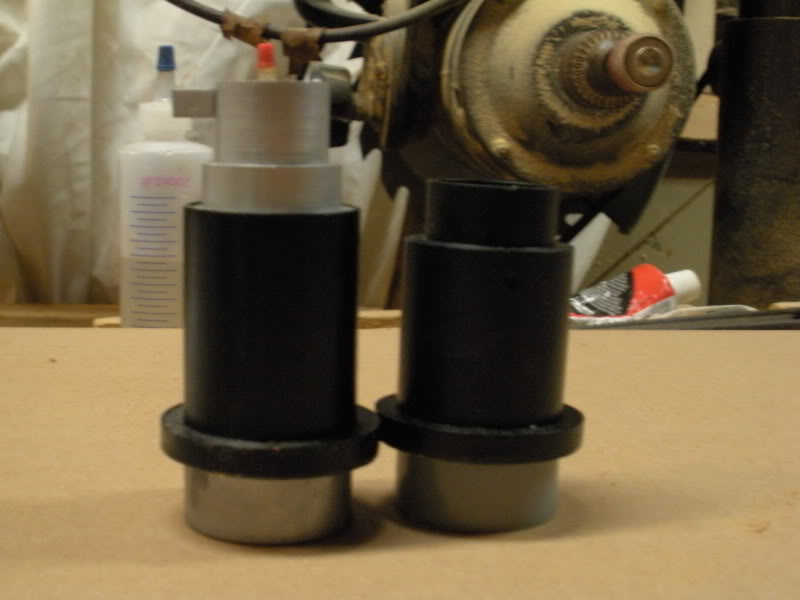
I got the lenses from Thiago over on Proptopia. I really dig them. I was having a hell of a time finding any piping that looked close enough for my liking. I wanted to use the method that Coz_Uk used on his scratch build and add a bit of piping into the bottom of the lenses to pop them through. I figured this would hold better than just gluing the bottom of them onto the faceplate. Since I couldn’t find anything that would fit in the bottom, I had to improvise. I took a couple of PVC couplings to the grinding wheel and just sort of slowly ground them down, checking every now and then to see if they would fit.
These are all fairly old photos, and at this point the goggles are nearly done. I just haven’t gotten around to taking pictures in the last couple of weeks. Keep an eye out, I’ll try to update this in the next couple of days.
I know what you mean, I had to go to two DIY stores in order to get the two different types of pipe gauge and two different pipe fittings to create my own Lenses.
Looking good so far, are you planning to add the screws to the other, shorter lense as well? Are you planning to apply the snaps by hammering them in place, or use a small screw or bold to hold them in place?
I wonder if that’s one of the resin frames that Xenepp produced from my set of real PVS-5 frame…
Looking good, so far ! Keep the progress pics coming ! !
Thank you, sir. Unfortunately, I dropped the ball on progress pics. Tonight was the first time I’ve had the chance to snap any in a long while. You’ll have to make do with finished pics.
Ugh. Those were put in a long while ago, and boy were they a pain in the ass. I hammered them in, mostly. I bought a plastic anvil to put behind them(I should have just bought the metal one on ebay when I bought the snaps and the setting tool because the plastic one ended up shattering, but I didn’t even know I needed it at the time), but frankly it was useless half the time. The shape of the frame makes it really difficult to find a good angle against a flat surface to keep the snaps in place and it also gets in the way of actually being able to set the back of the snap into the anvil. It was kind of slow going, and a few of them got hammered down most of the way and then just epoxyed in place.
Ah, that’s right. They are. I forgot that I figured that out when I saw yours.
So, here’s some pictures:


I painted the snaps black, as I wasn’t really digging the shine they were giving off beforehand. I also added a couple of little pop rivets into the top. I just got gb_dan’s battery cover and knobs today and sort of rushed to get them ready because I really just wanted to finish these up today. I wish I had taken a little more time with the knobs, because there’s a couple of imperfections on top that could have been taken care of with a little patience. But patience is for sissies, I say. I’ll probably pop them off and fix them up after Halloween.
There’s a few more pictures in the gallery, for anyone that’s interested.
They look absolutely great!
Makes me smile to see my side label on it. 
Thanks a lot, man. And thanks for the label, it certainly brings them together. I still need to print out the revised one and replace this one eventually. I’d also like to make a face pad and add a couple of other small details, but these are essentially done for now.
Did you ever get yours finished?
Waiting on the screws for the lenses, I can’t spray them prior to drilling them so they’re on hold until presumably after Halloween once Dan has finished moving into his new place, and gets his backlog out of the way.