Giant Slor's Proton Pack Build

Finally, after nearly a year and a half of research and five months of buying parts, I have begun my proton pack build. I can’t tell you how excited I was to start. Every time I read someone else’s build thread, I always got antsy with anticipation.

I should state that I’m not building a specific movie or scene replica, rather what I consider an “ideal” pack design. That means I’ll be combining my favorite aspects of both the GB1 and GB2 packs. For instance, I’m using a GB2 ribbon cable (the GB1 version looks clunky to me), but mostly GB1 hardware (it’s far less junky looking). I’ll be using real or aluminum parts wherever possible, purchased mainly from GBfans, Anchon (pack parts), Vincenzo (thrower), and FreekyGeeky (misc).

Well, let’s dive in, shall we?

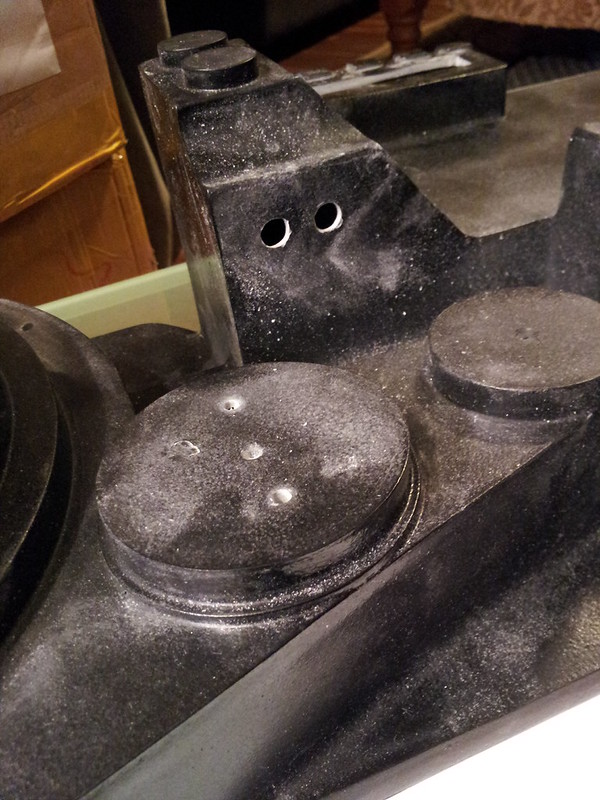
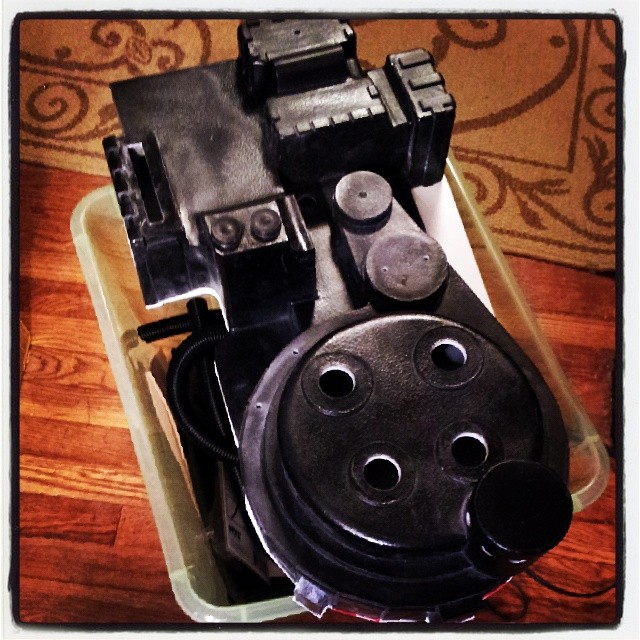
The obligatory pack shell/ Instagram shot. It’s the GBfans/ Bigi shell. At this stage, I had drilled a number of mounting holes, as well as the N-filter holes. One thing I can say from this experience is that fiberglass is real messy. I’m glad I have a good respirator mask and goggles. I can not stress the importance of good safety equipment when working on a project like this.
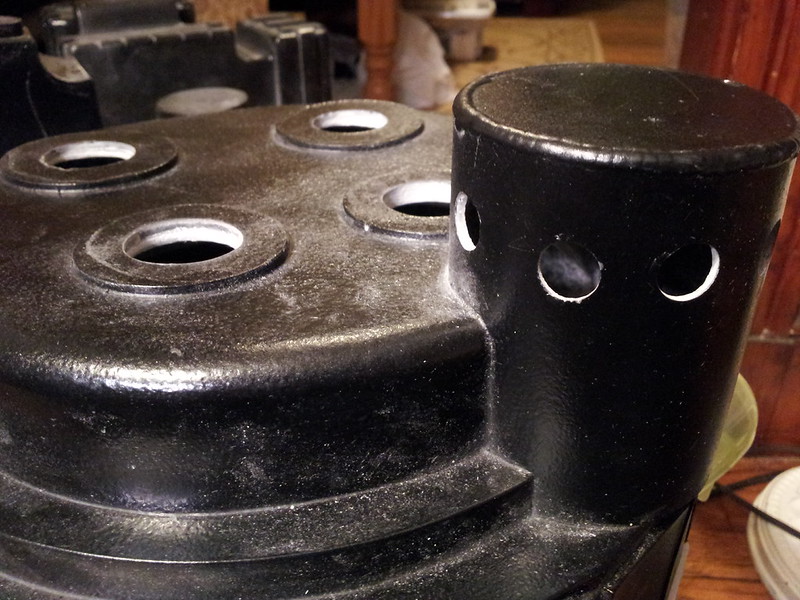
The power cell had a few gouges on it from whoever cut it out before shipping. This unfortunately seems to be a common problem on GBfans shells from what I’ve seen.
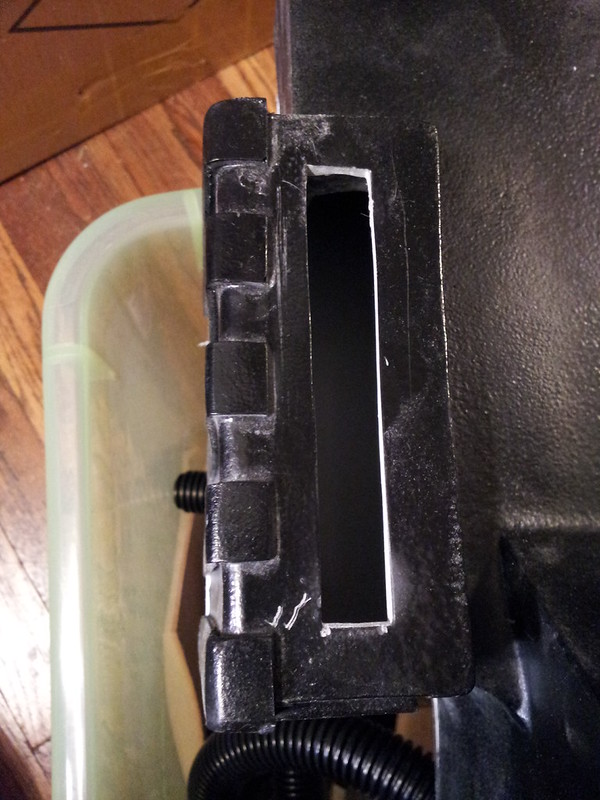
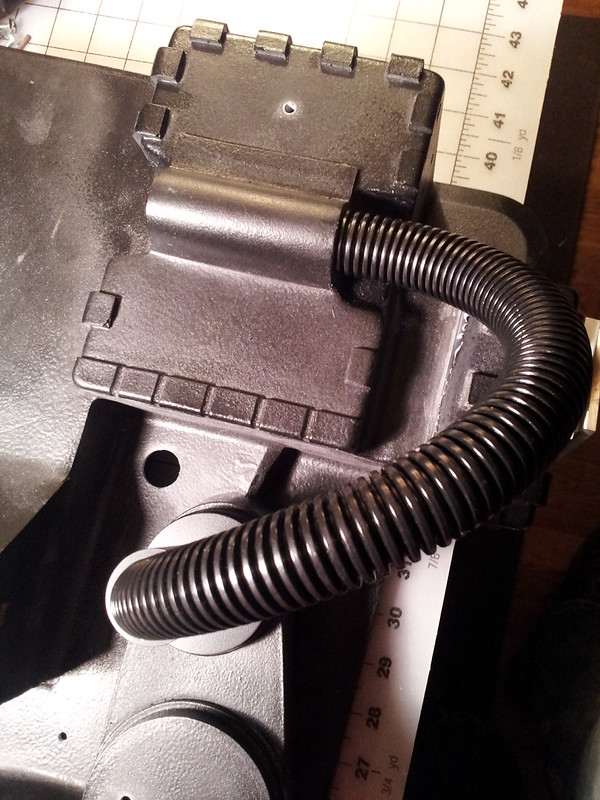
One of the first things I did was cut a hole for Wiz’s hose clamp, mostly because I was terrified of cutting a big hole in my pack and I just wanted to get it over with.
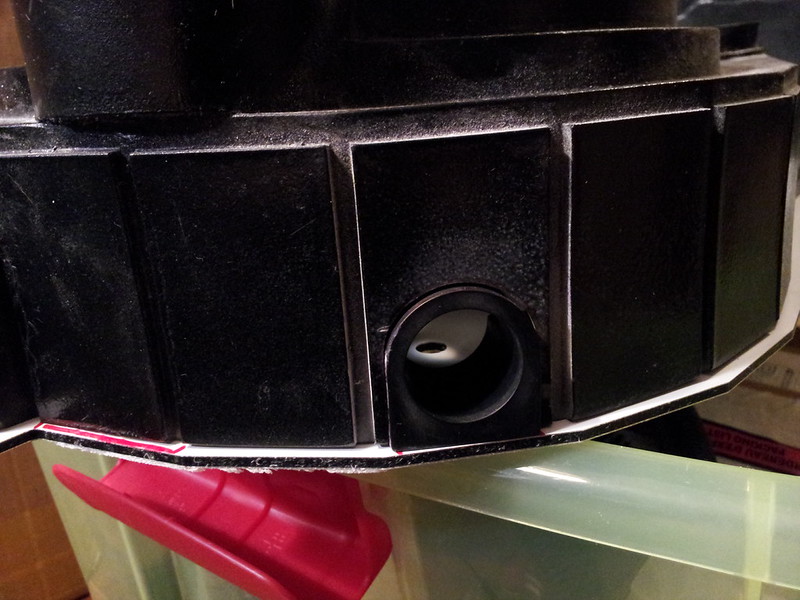
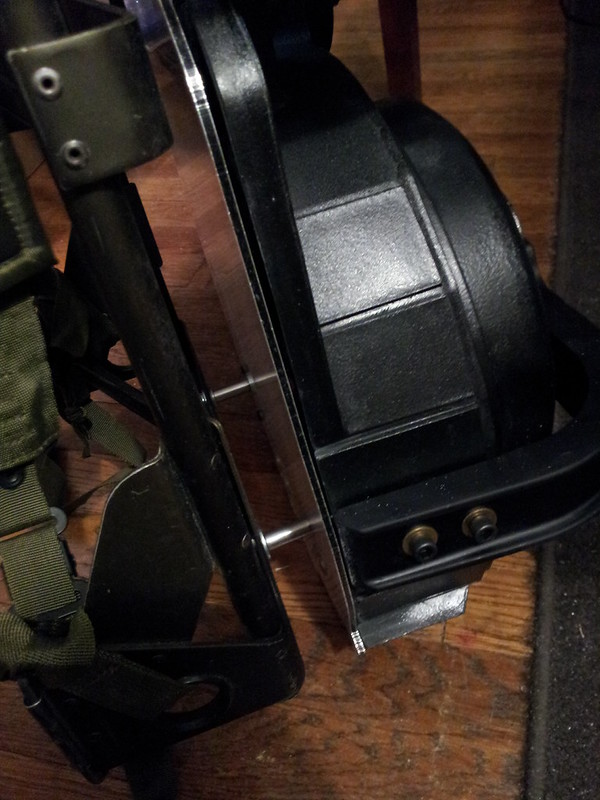
Motherboard and LC-2 Alice frame. The motherboard is a composite plastic sandwiched between thin aluminum sheets. It’s nearly as strong as full aluminum, but weighs a bit less. The Alice frame and straps are from a local army surplus store. Judging by the name tag, I’m at least the third owner of the frame.
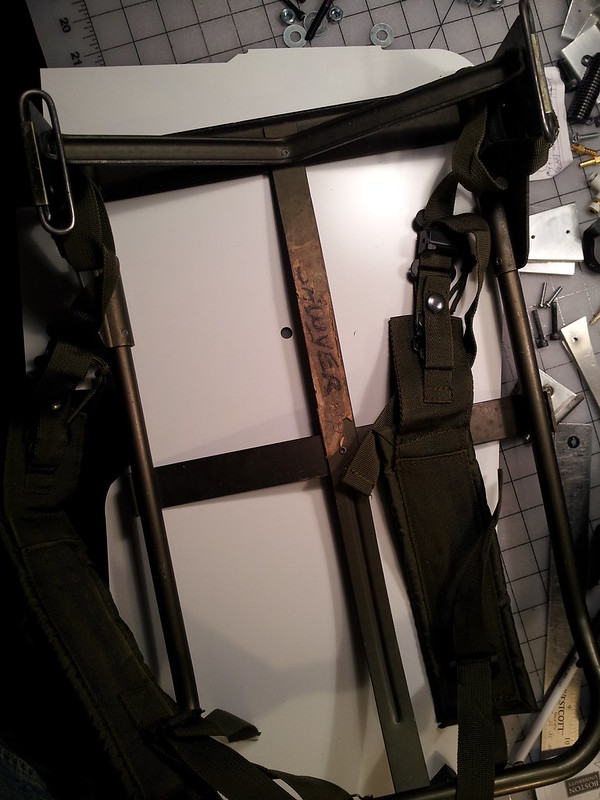
Next came mounting the motherboard to the pack, and the pack to the board. I was pretty nervous about attaching the brackets, worried that I might screw up. But I took my time, measured everything, made sure they were secured well, and it all turned out fine.
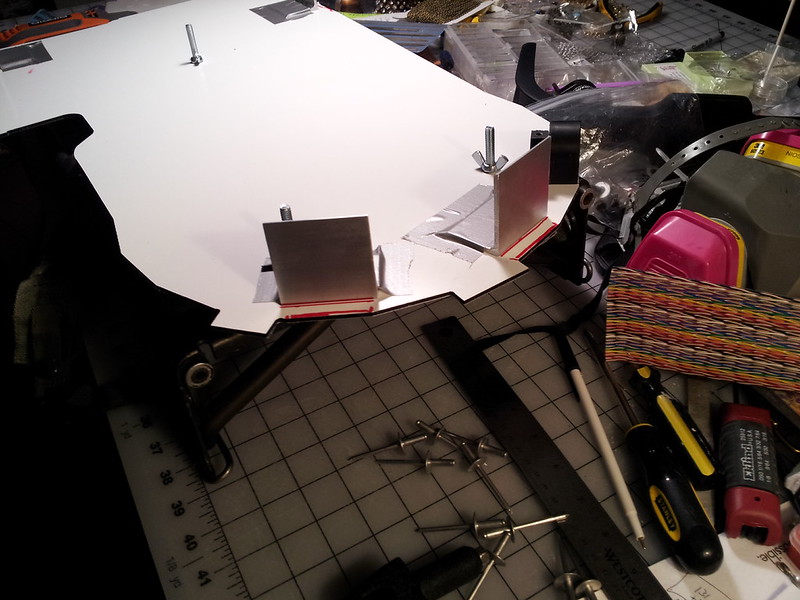
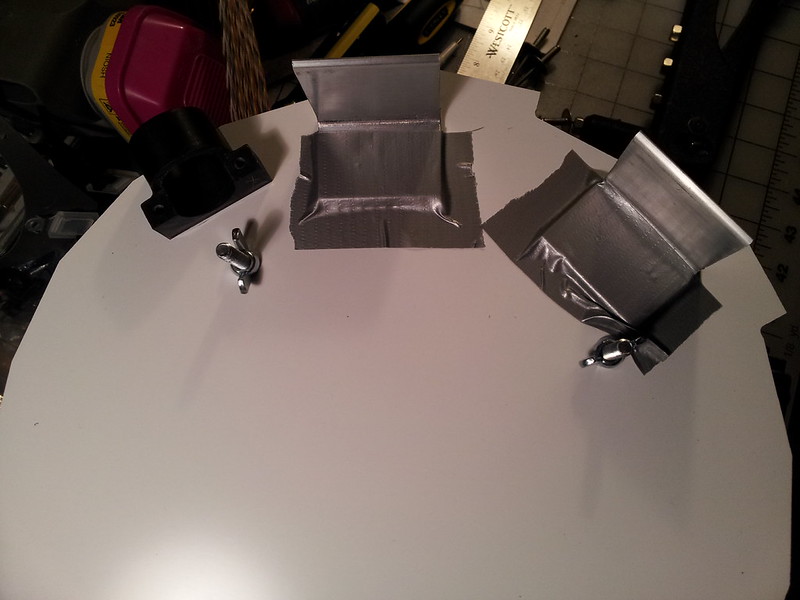
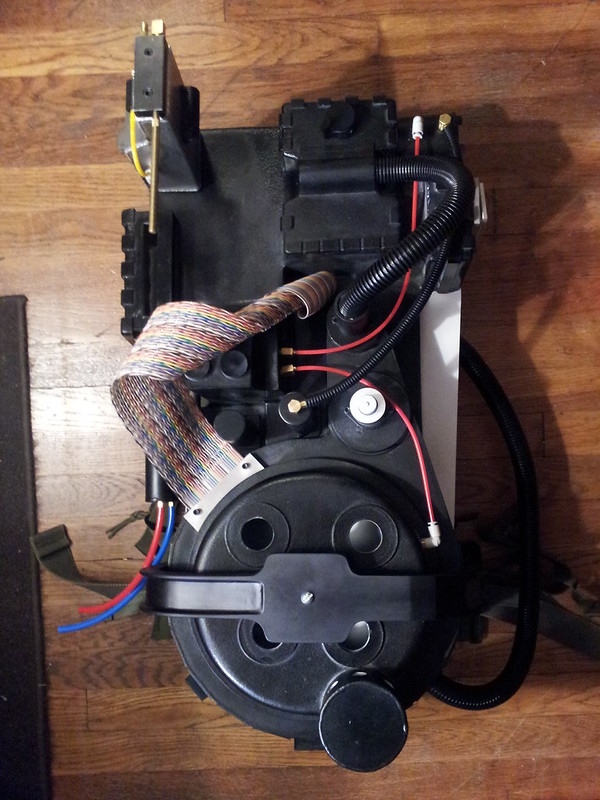
I skipped pictures on the next few steps as I got more involved in the process. A couple hours later, and I had this: a wearable proton pack!
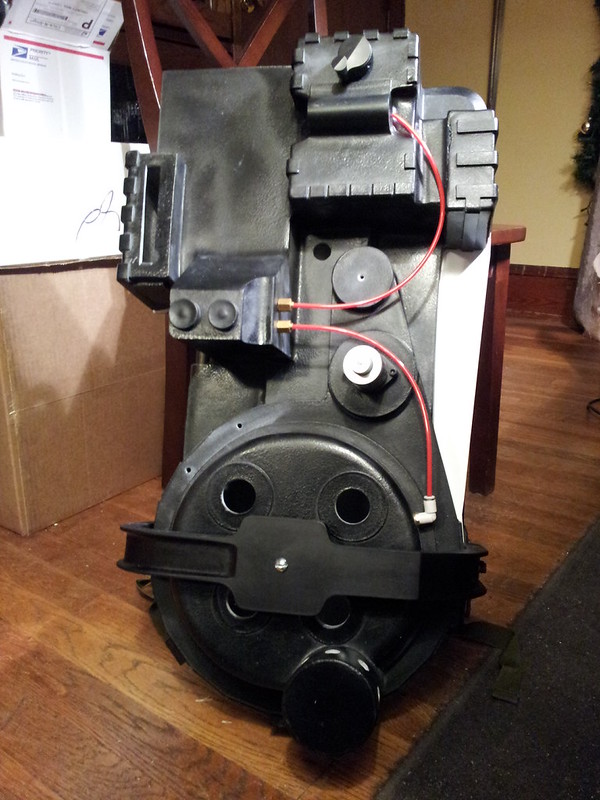
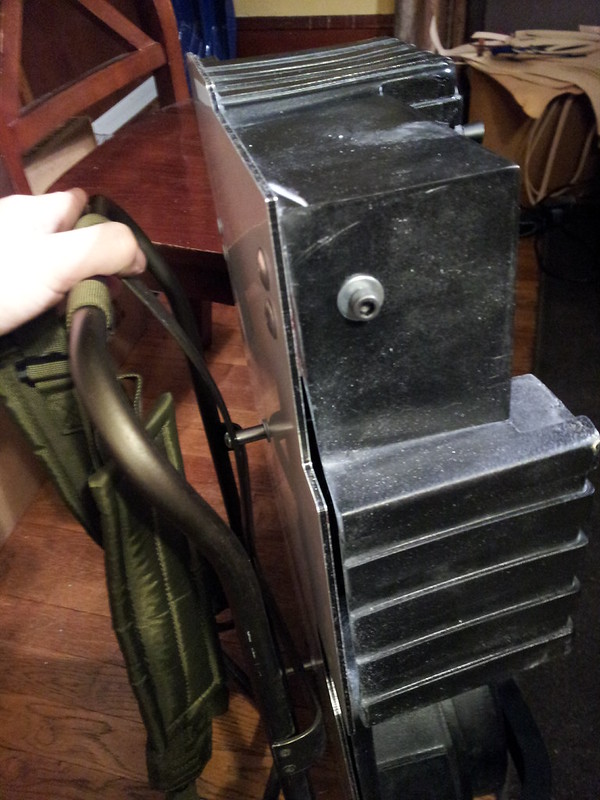
A great shot showing off Wiz’s beautiful Legris straight resin replicas. They’re cast with brass powder, and look just like the real thing.
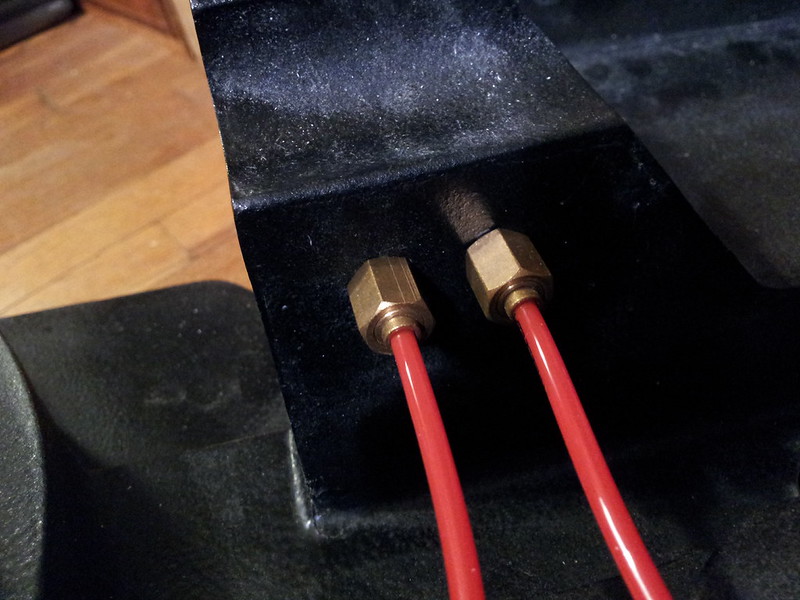
I drilled holes through them to make them hollow, then fed the red tubing through to make the connection more secure. I saw this on another build recently and thought it was brilliant.

Well, that’s all for now. I should have more tomorrow. Enjoy!

Looking good so far, I like the idea for the straights, but how will you keep them from bowing outward?

I’m going to attempt to find a nut that will fit the threads. If not, I’ll probably glue on a larger one to hold them tight.

There should be a nut to fit, on my pack I have real straights, but drilled the holes too big, so I had to build up plumbers epoxy (the clay style) behind them, It filled in around the threads and has held well gor the past 2+ years.

I would however recommend setting the straights with out the hose in place so they dry straight.

Looking good!!

A few days later than I thought I’d be, but I got a lot done over the weekend. I just wish that the joy of working on my pack wasn’t tainted by the sadness of the passing of Harold Ramis. I was actually at True Value buying hardware for my pack when my wife called me with the news.

I got most of my Anchon parts in on friday. They’re gorgeous, great craftsmanship. Well worth the price and a little wait. The booster tube and PPD should be coming later this week.

The HGA with parts dry fit.

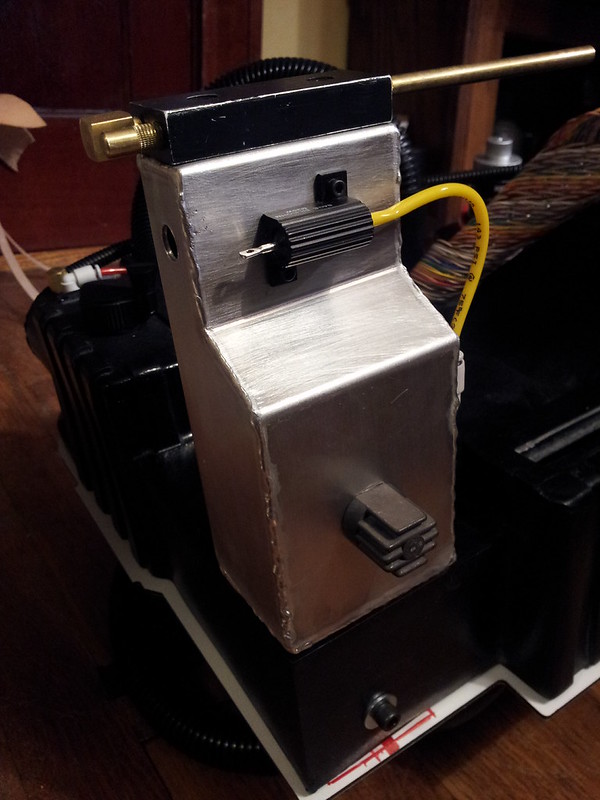
Ion arm.

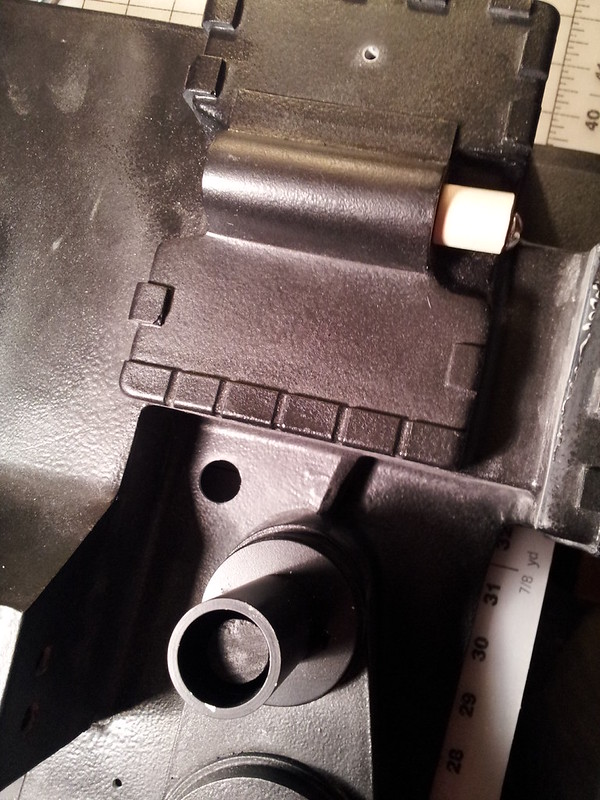
I cut out a larger hole in the back so I could put extra mounting hardware inside. I want to attach as many parts without glue as I can.

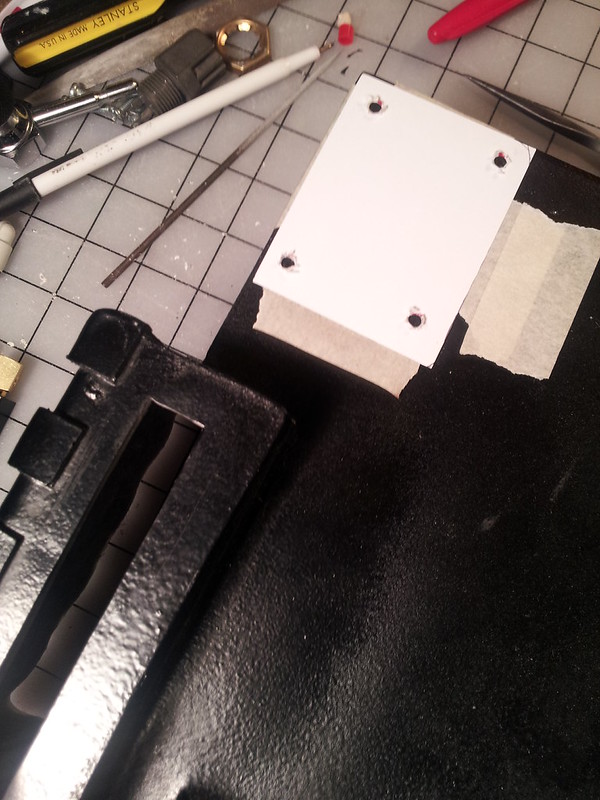
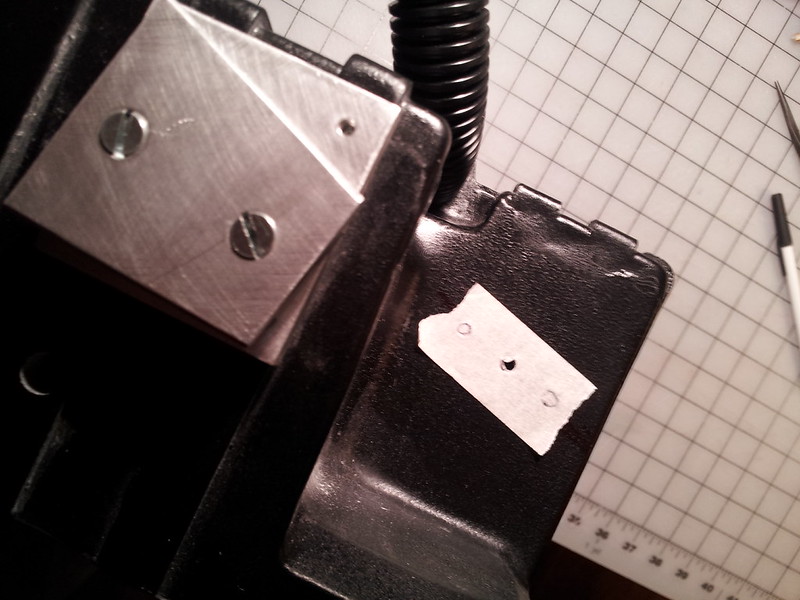
After drilling all the appropriate mounting holes for the resistors on the Ion arm, I made a paper template to line up the holes to mount it to the shell.

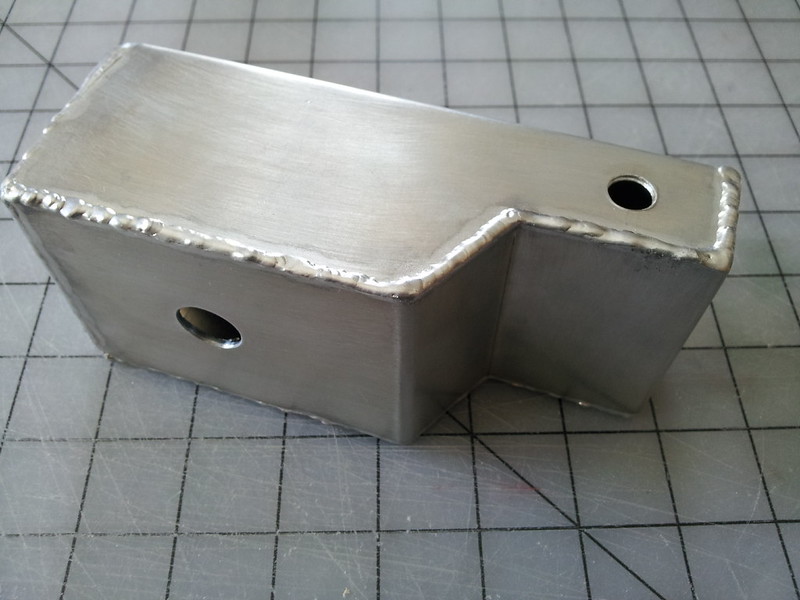
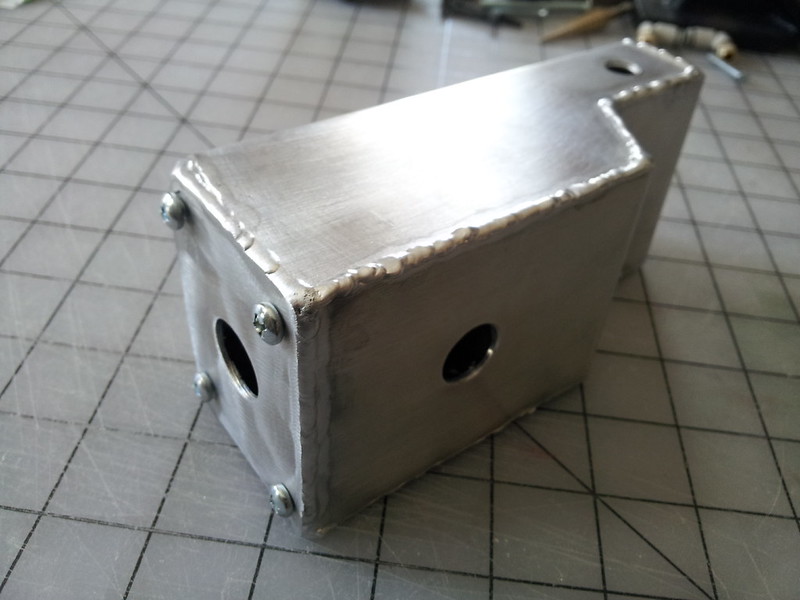
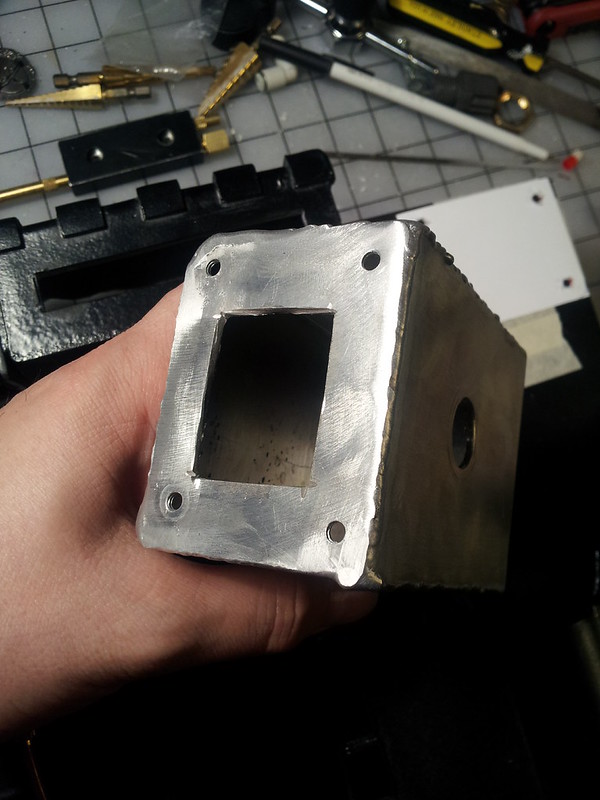
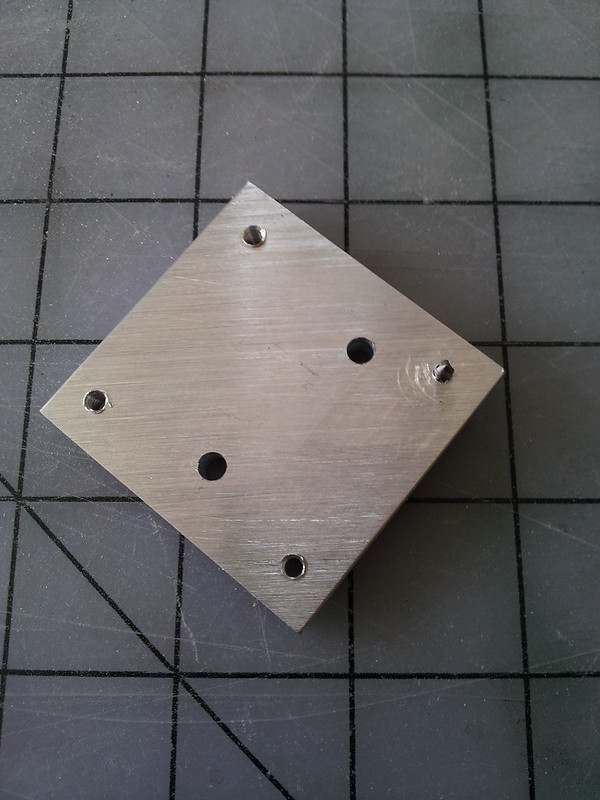
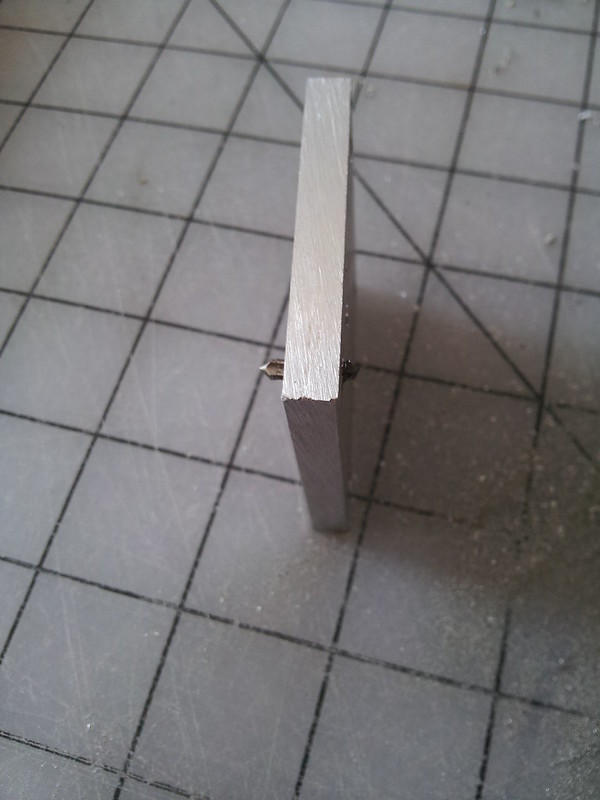
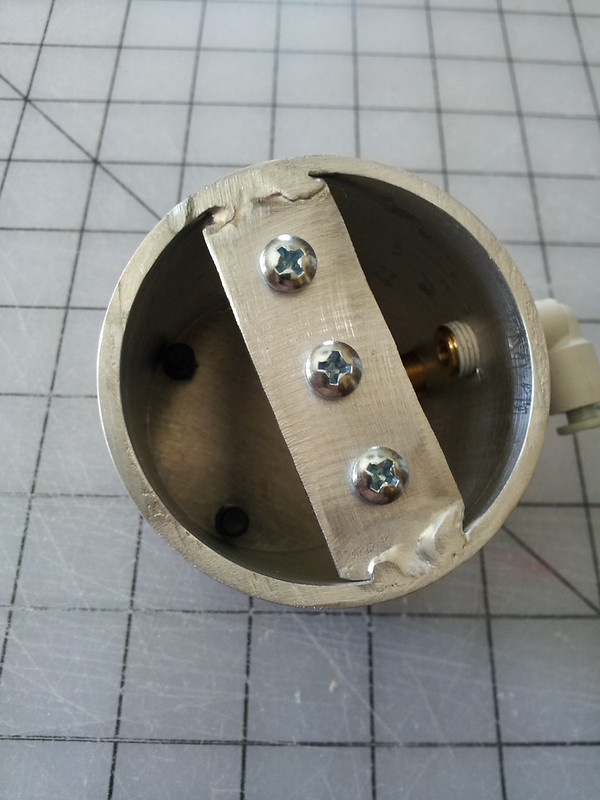
I then worked on the other side of the pack, attaching the gun mount and HGA. While drilling and tapping mounting holes in the FreekyGeeky gun mount, I accidentally broke off a tapping bit inside the aluminum block. Try as I might, I couldn’t remove it, so I sanded it down and worked around it. Luckily, the mistake gets mostly covered.

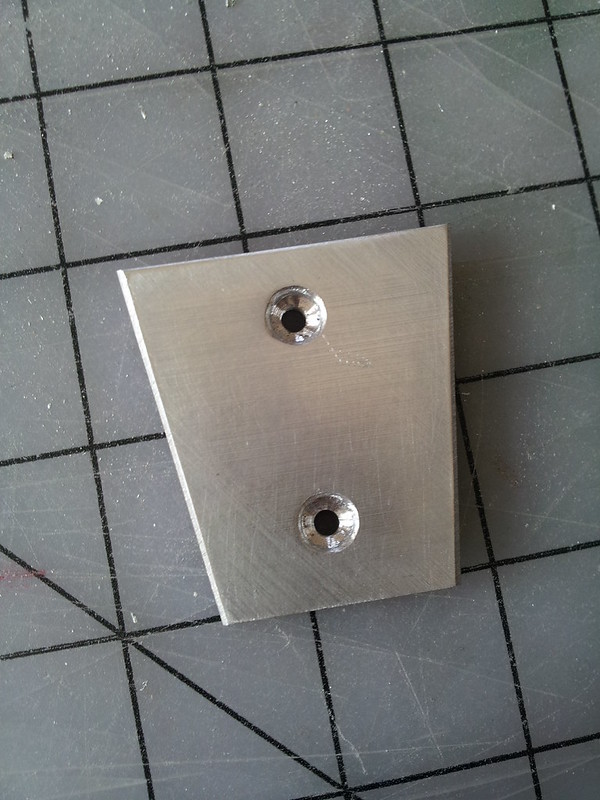
I also drilled out and tapered larger holes for slotted screws.

Unfortunately, I got a little over zealous and mounted the bracket the wrong way by 90 degrees counterclockwise. Again, I was lucky that all the extra holes were hidden. I’ll have to shore up the inside of the shell with a backing plate there to make it stronger.

After painting most of the aluminum parts in Saturday’s decent weather, I attached the injector tubes and bracket, beam line, filler tube, and vacuum line. I used a 3/4" dowel inside the vacuum line to better hold the splitless loom, as well as another bit of dowel bolted to the crank box. The splitless loom connects easily and securely with the dowels. I’ll add zip ties later when I do the final assembly. Thanks to KagaSakai for that bit of inspiration in his build thread here: Mark's NEW Pack/Thrower build! Round Two! Hero Pack! - #91 by Filandrius - Proton Packs - GBFans.com

So far, with everything I have attached, the pack looks like this.

I’m looking forward to getting the last few pieces in so I can finish assembly, then paint it when some more decent weather comes along. The plan is to get it done to wear it in the Boston St. Patrick’s Day parade in a few weeks. I don’t have my gun kit yet, but I have a Matty wand to use until then.

Great work! Crazy about that tapping bit! Were your backing it up every turn?

dude, that’s a damn clean start, good job! I cant wait to see the pack at boston!

1 Like

I was with the other holes, but I pushed that one just a bit too far. Totally my own fault.

Do you have a booster frame already? Im going to be looking for one soon and im not sure who’s making them now.

Nick-a-tron is who i bought mine from. momerath24 makes a REALLY nice CNCd aluminum one.

Id LOVE to have an aluminum one but thats a bit out of my price range. I was thinking of ordering a Nick frame already but i wanted to see if there were any more options since international shipping and exchange rates kind of sour the deal. But its not too bad, and id rather buy parts from a honorable member of the community than others who are selling on ebay.

I’d honestly say go with nicks. I’ve ordered a lot of resin from him and the shipping chargers were never outrageous and I’m just a state below you.

1 Like

Ditto to Canada. I have nicks bumper, grips, and booster frame. Cost was fair, shipping was good, and that time I didn’t get hit with any customs charges.

The only state below me now is Puerto Rico, I moved to FL :stuck_out_tongue:

I’ve ordered nicks stuff before and it’s always quality and well worth the time and money. I just wanted options.

Im thinking about maybe build in my own just to say I did it, but I can guarantee ill spend more money and time than if I just ordered his.

Sometimes I like to learn my lessons the hard way, just to prove to my self that I COULD do that if I wanted to :slight_smile:

Was referring to slor, there. But you know what they say about NH, once you leave, you’re banished from the group and any trace of your memory is stomped out with pink paint and glitter…

1 Like

Hahaha ain’t that the truth!

I wishing never laid my hands on that thing.

1 Like

image

3 Likes

So do I, maybe the electronics would work well.

2 Likes

Not getting in to it with you guy. Im just saying I wish I didnt work on the HK.

I wish you the best with what ever you guys are doing now and it was honestly fun being your friend while it lasted.

We parted ways and for that im sorry.

1 Like