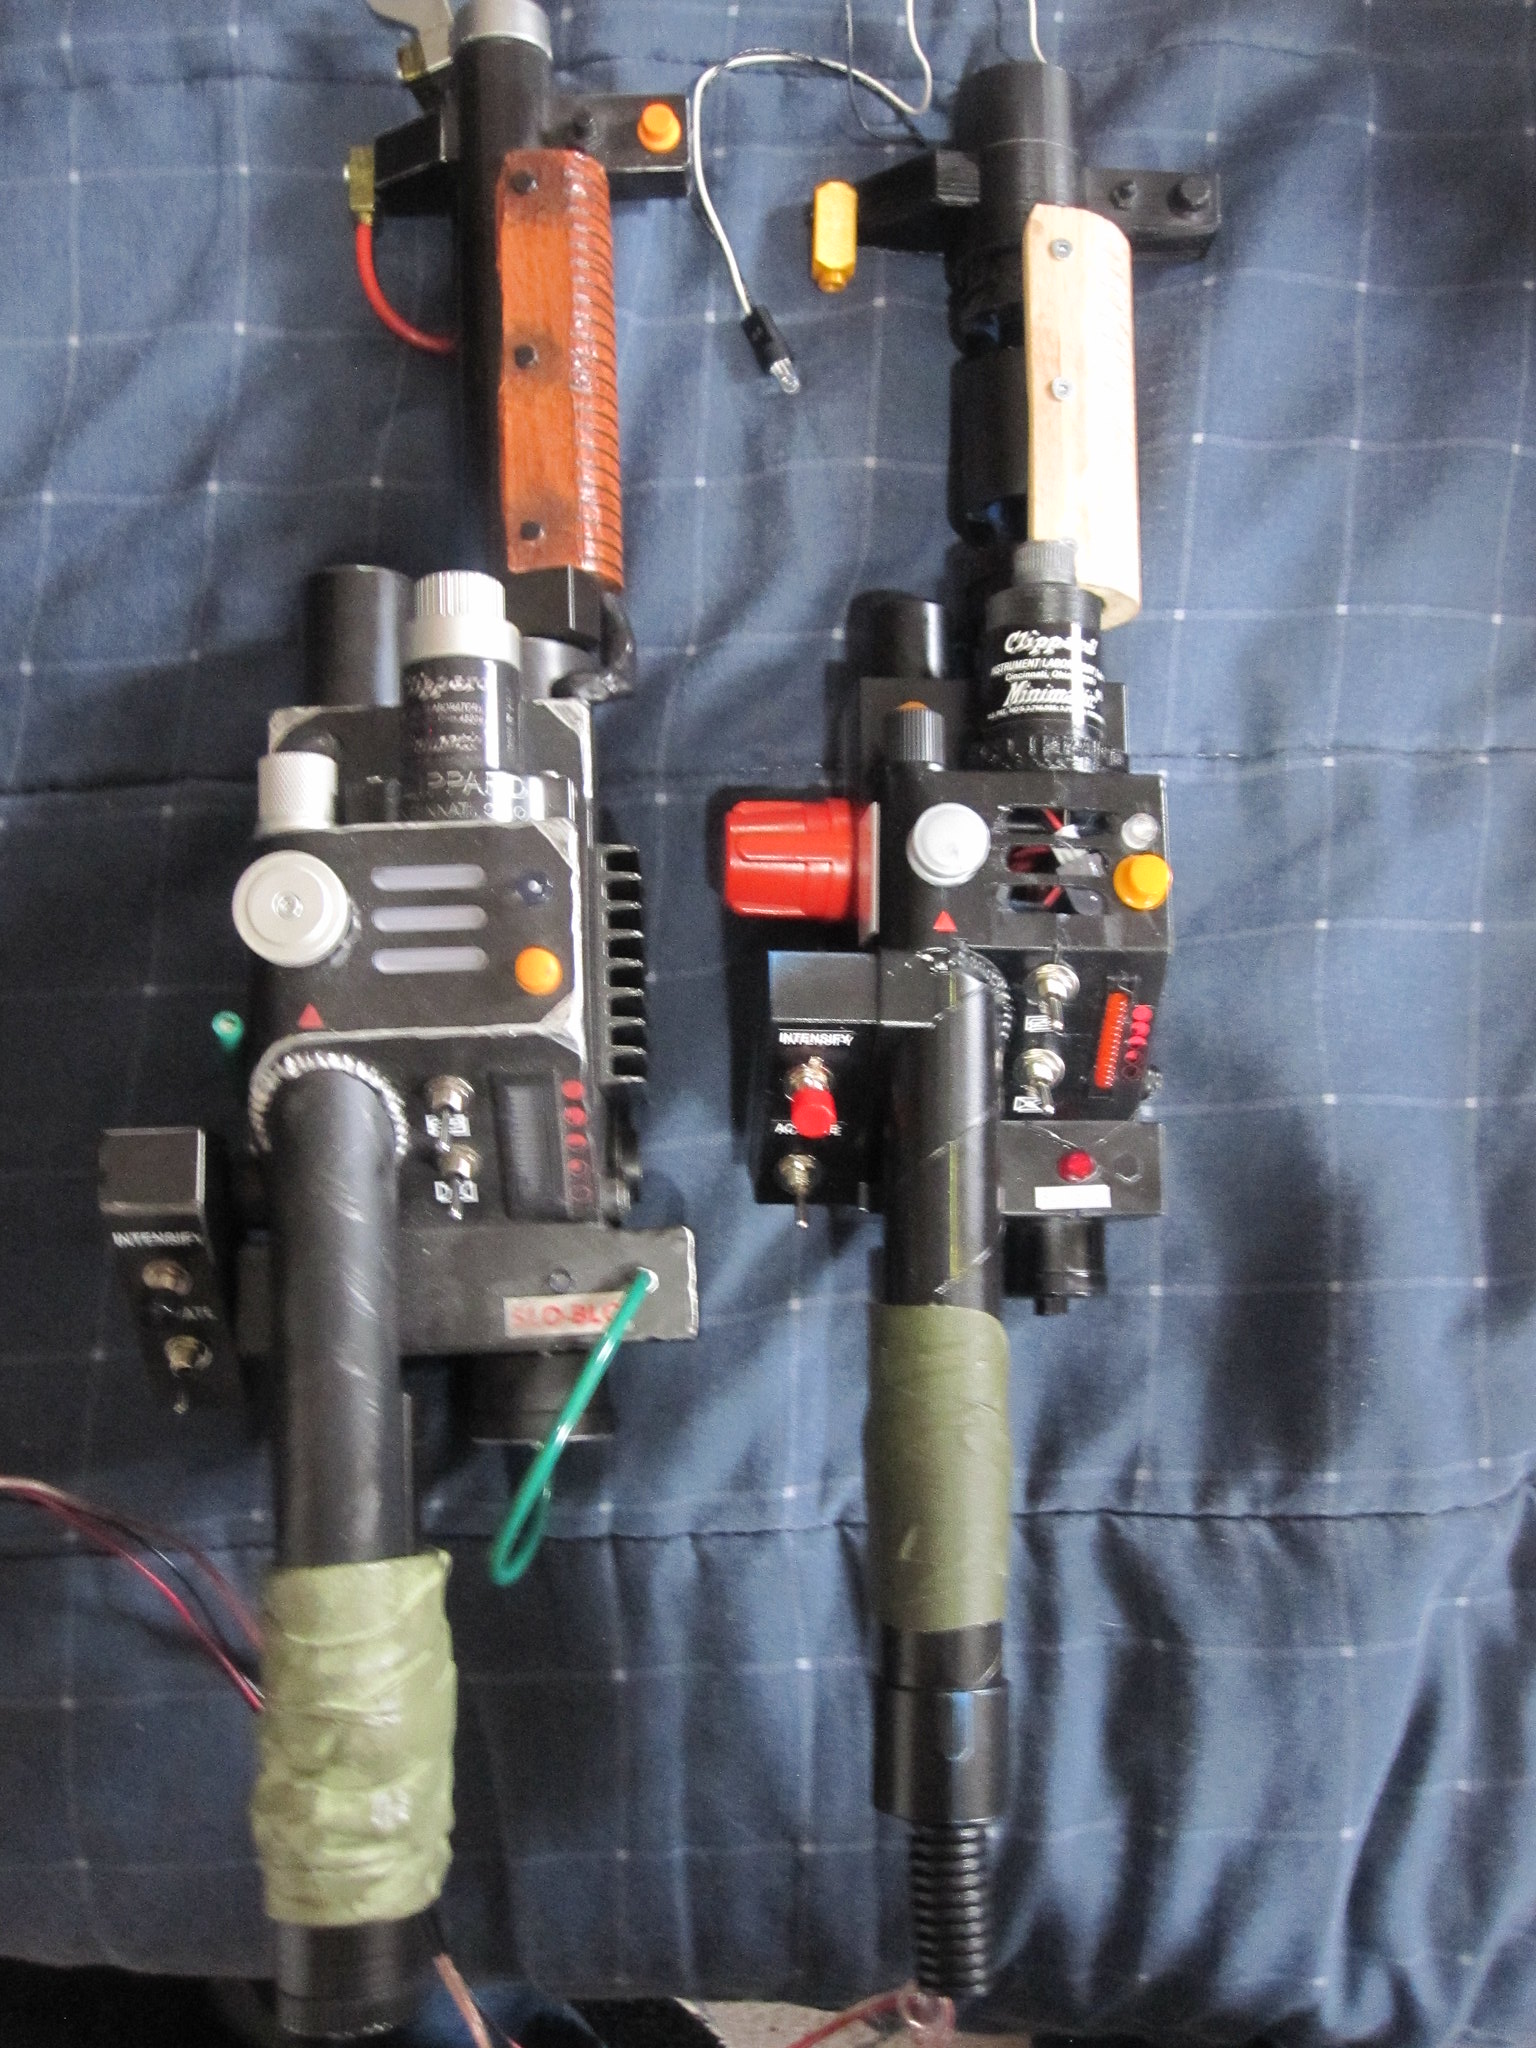
Not a big fan of the Crank Knob molded into the Spirit Pack. While I do have a resin Crank Knob it would be too big. So I decided to use some creative license and add certain pack elements from the video game seen here unpainted.
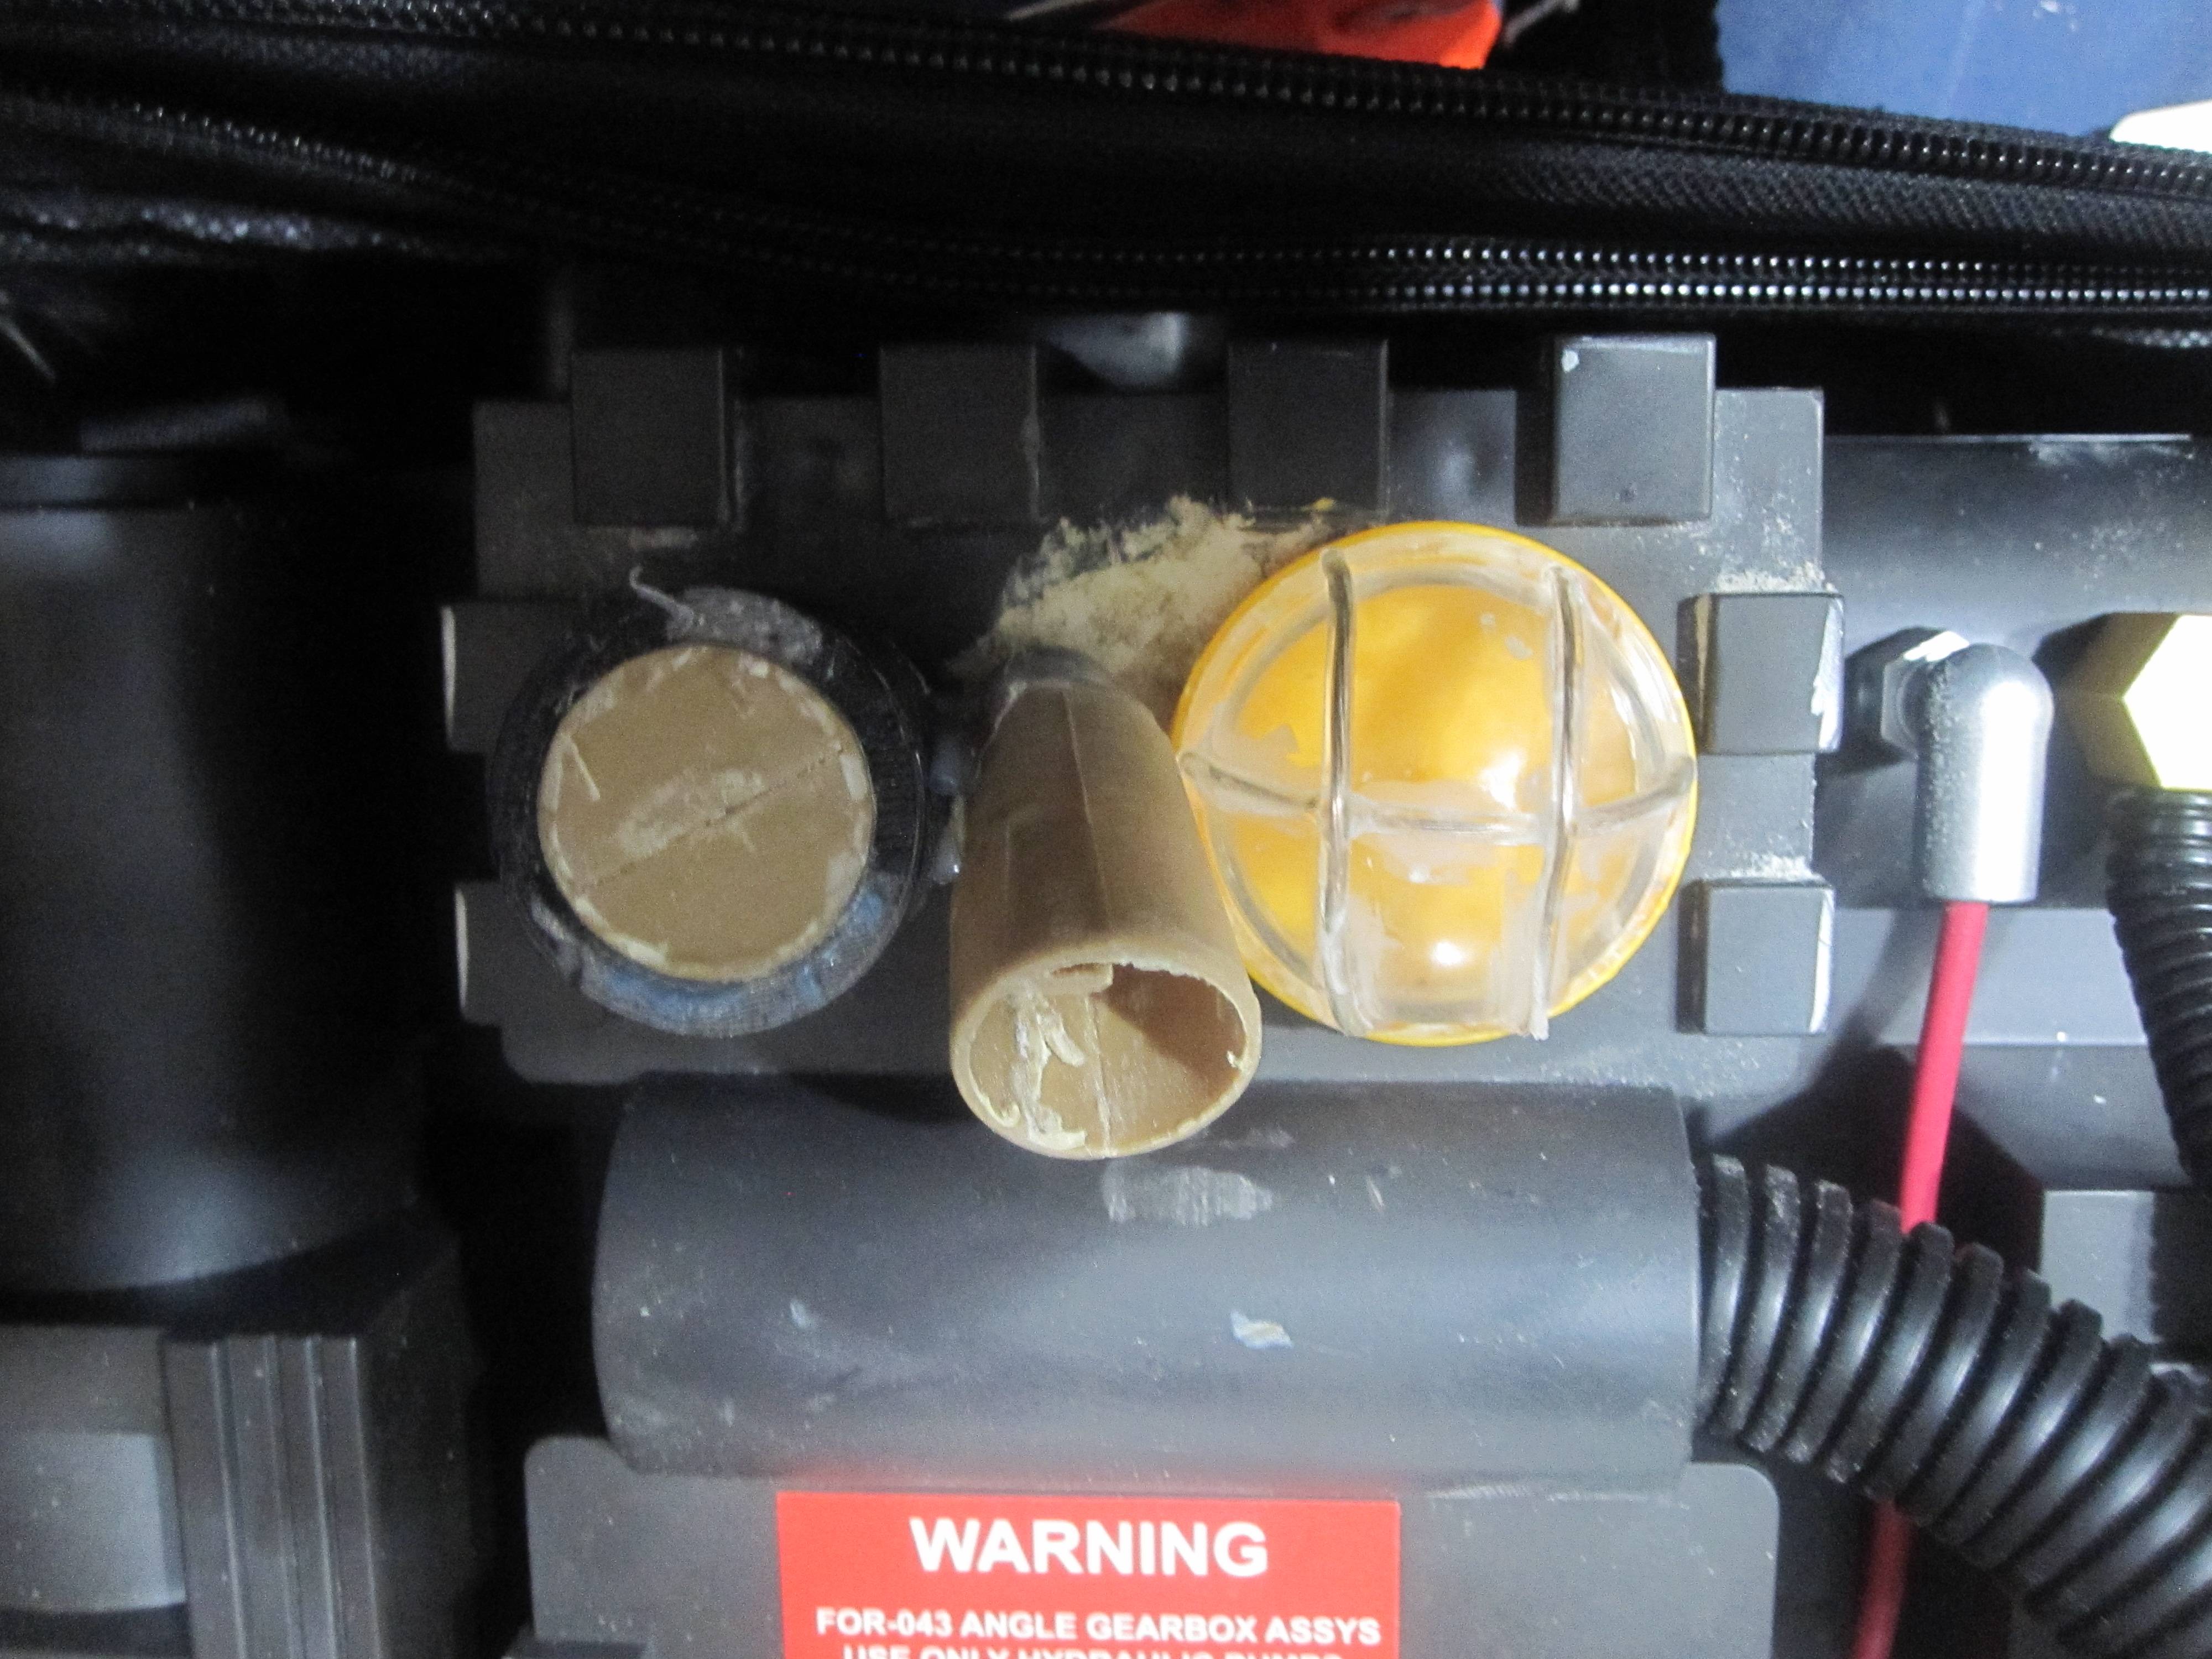
Painted and ready to be epoxy glued in place when the pack is repainted. I’m thinking about adding a lighting effect at some point.
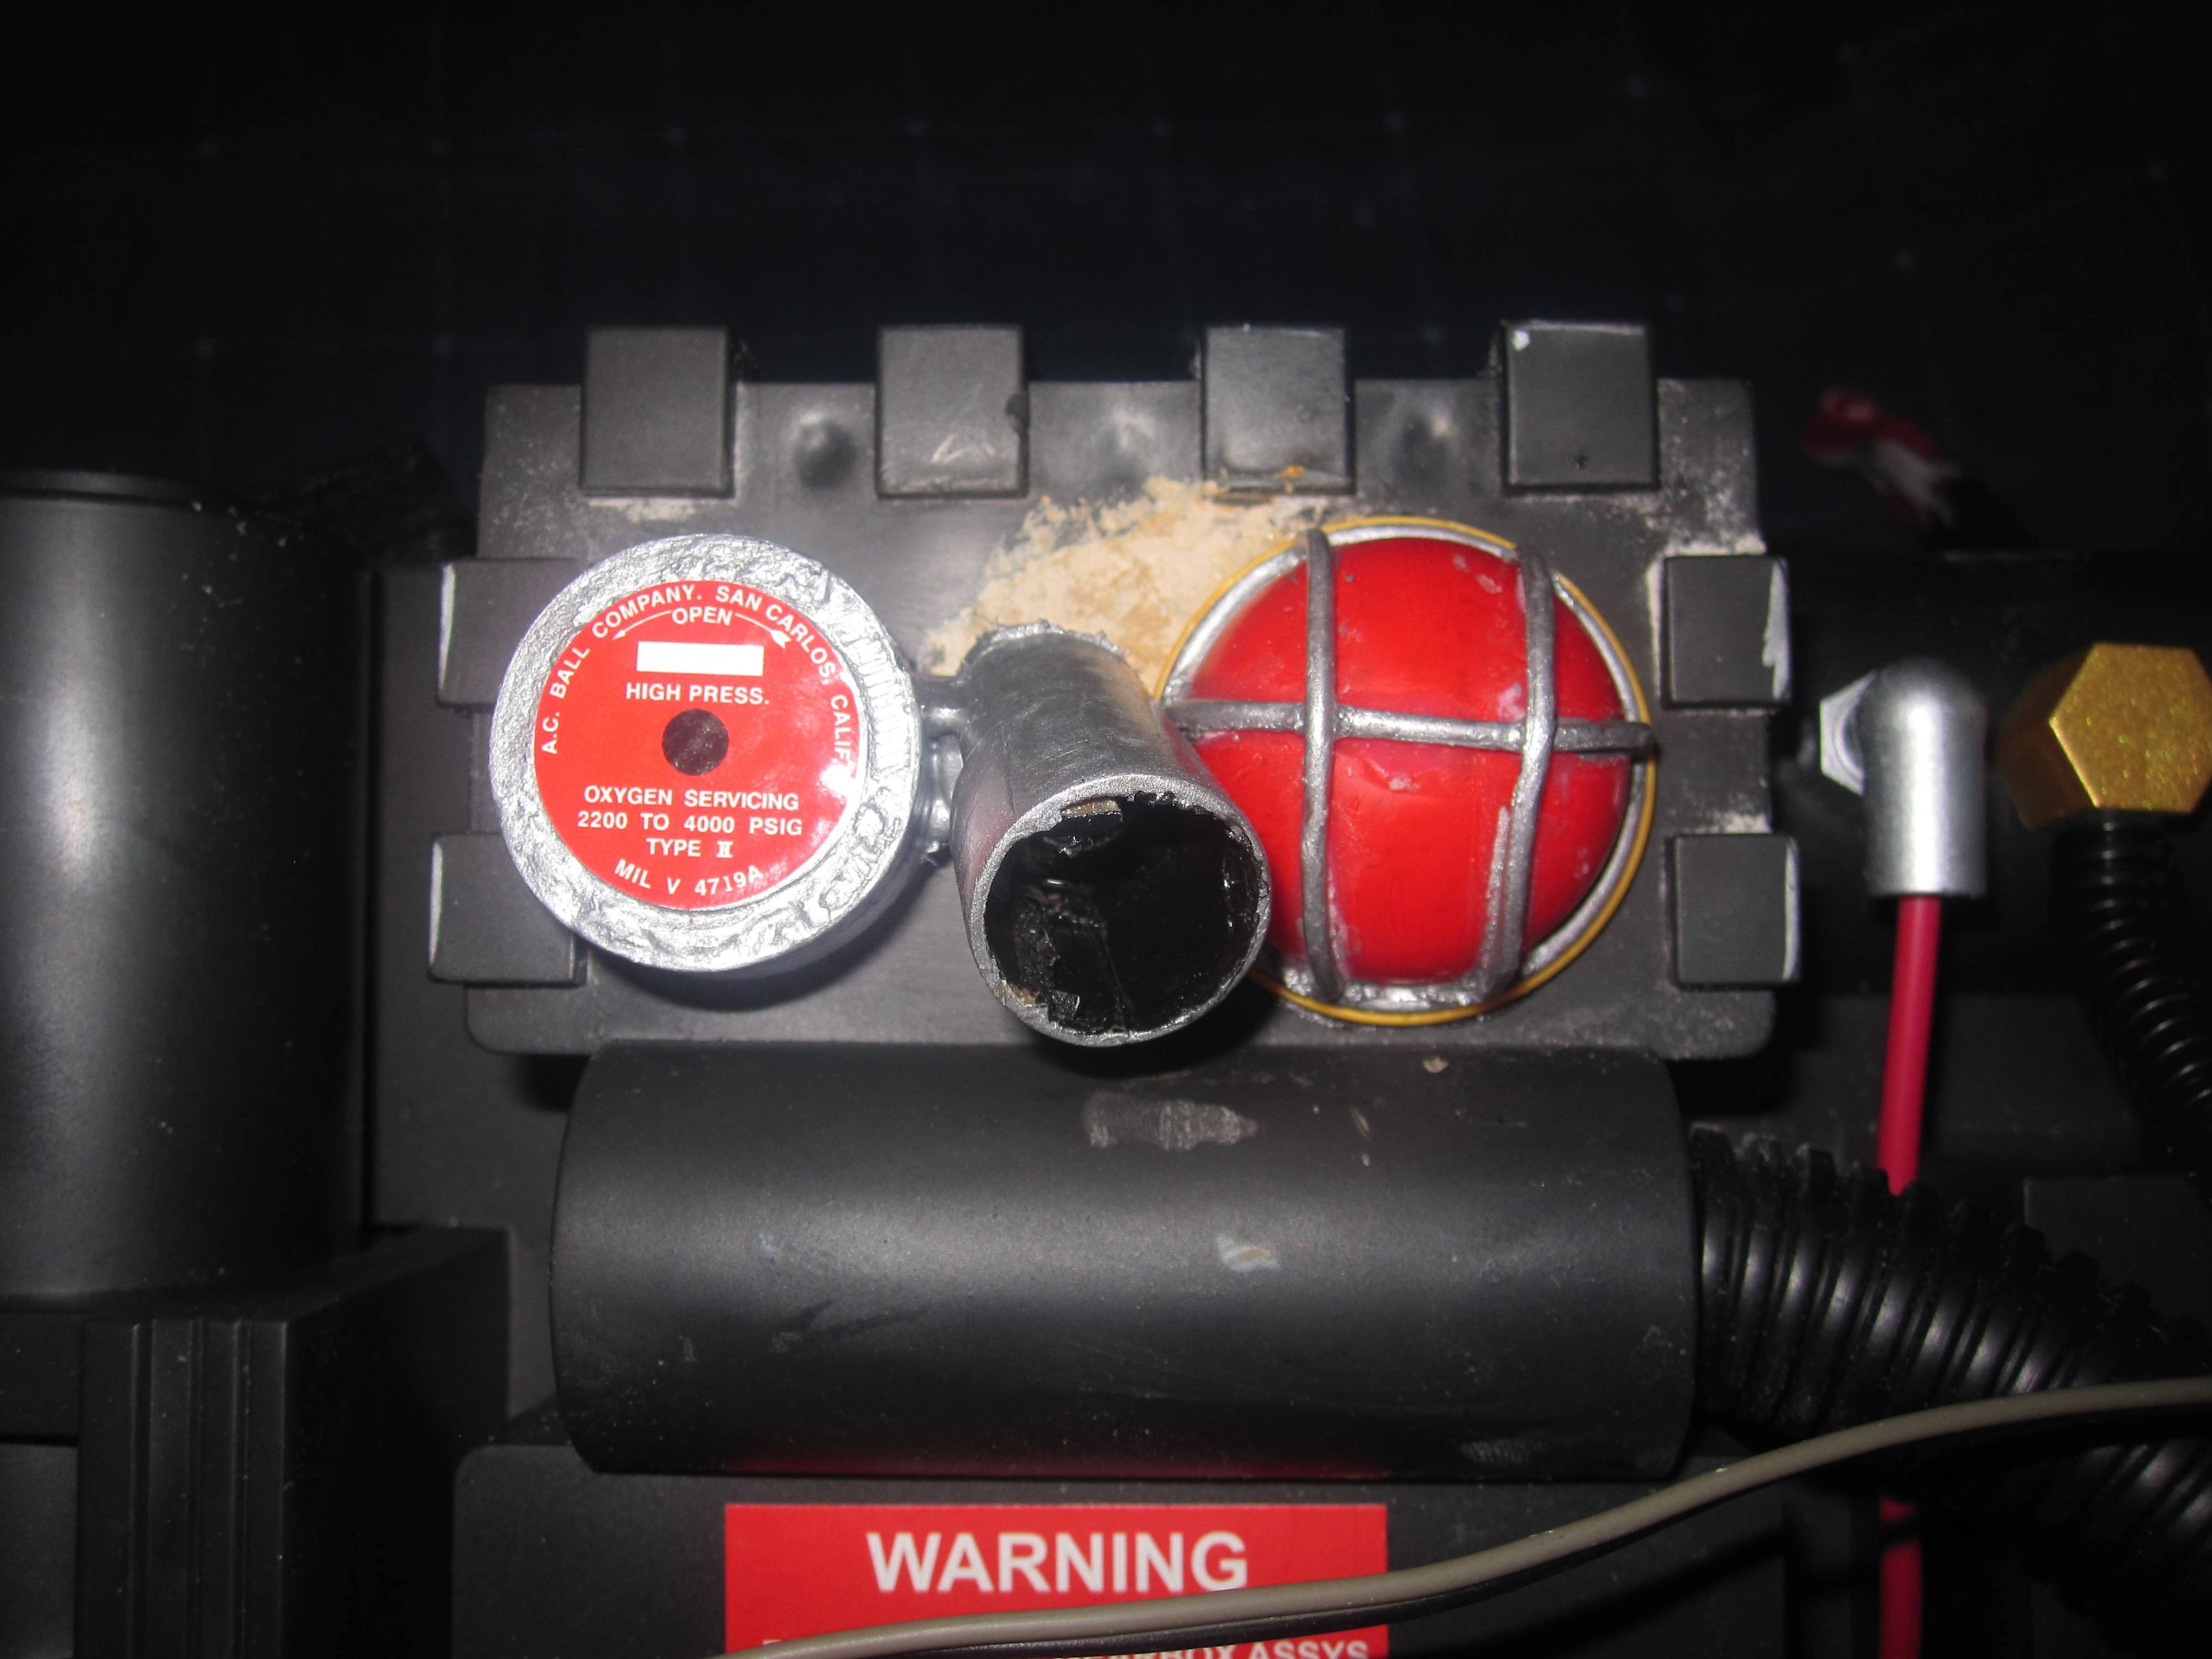
Uh hey may i ask something?, if i were to re-paint the blaster, what kind of paint, brand, and specific color should i use?
I plan to use a Mat Black or satin. Not sure if its screen accurate but its my go to color. I usually use Krylon Fusion because that stuff is suppose to bond to the plastic and doesn’t wear off easily.
Got the wiring installed. Not the proper screws but I can swap them out since this is pretty much a test fit and they have to be removed again when I repaint the shell.
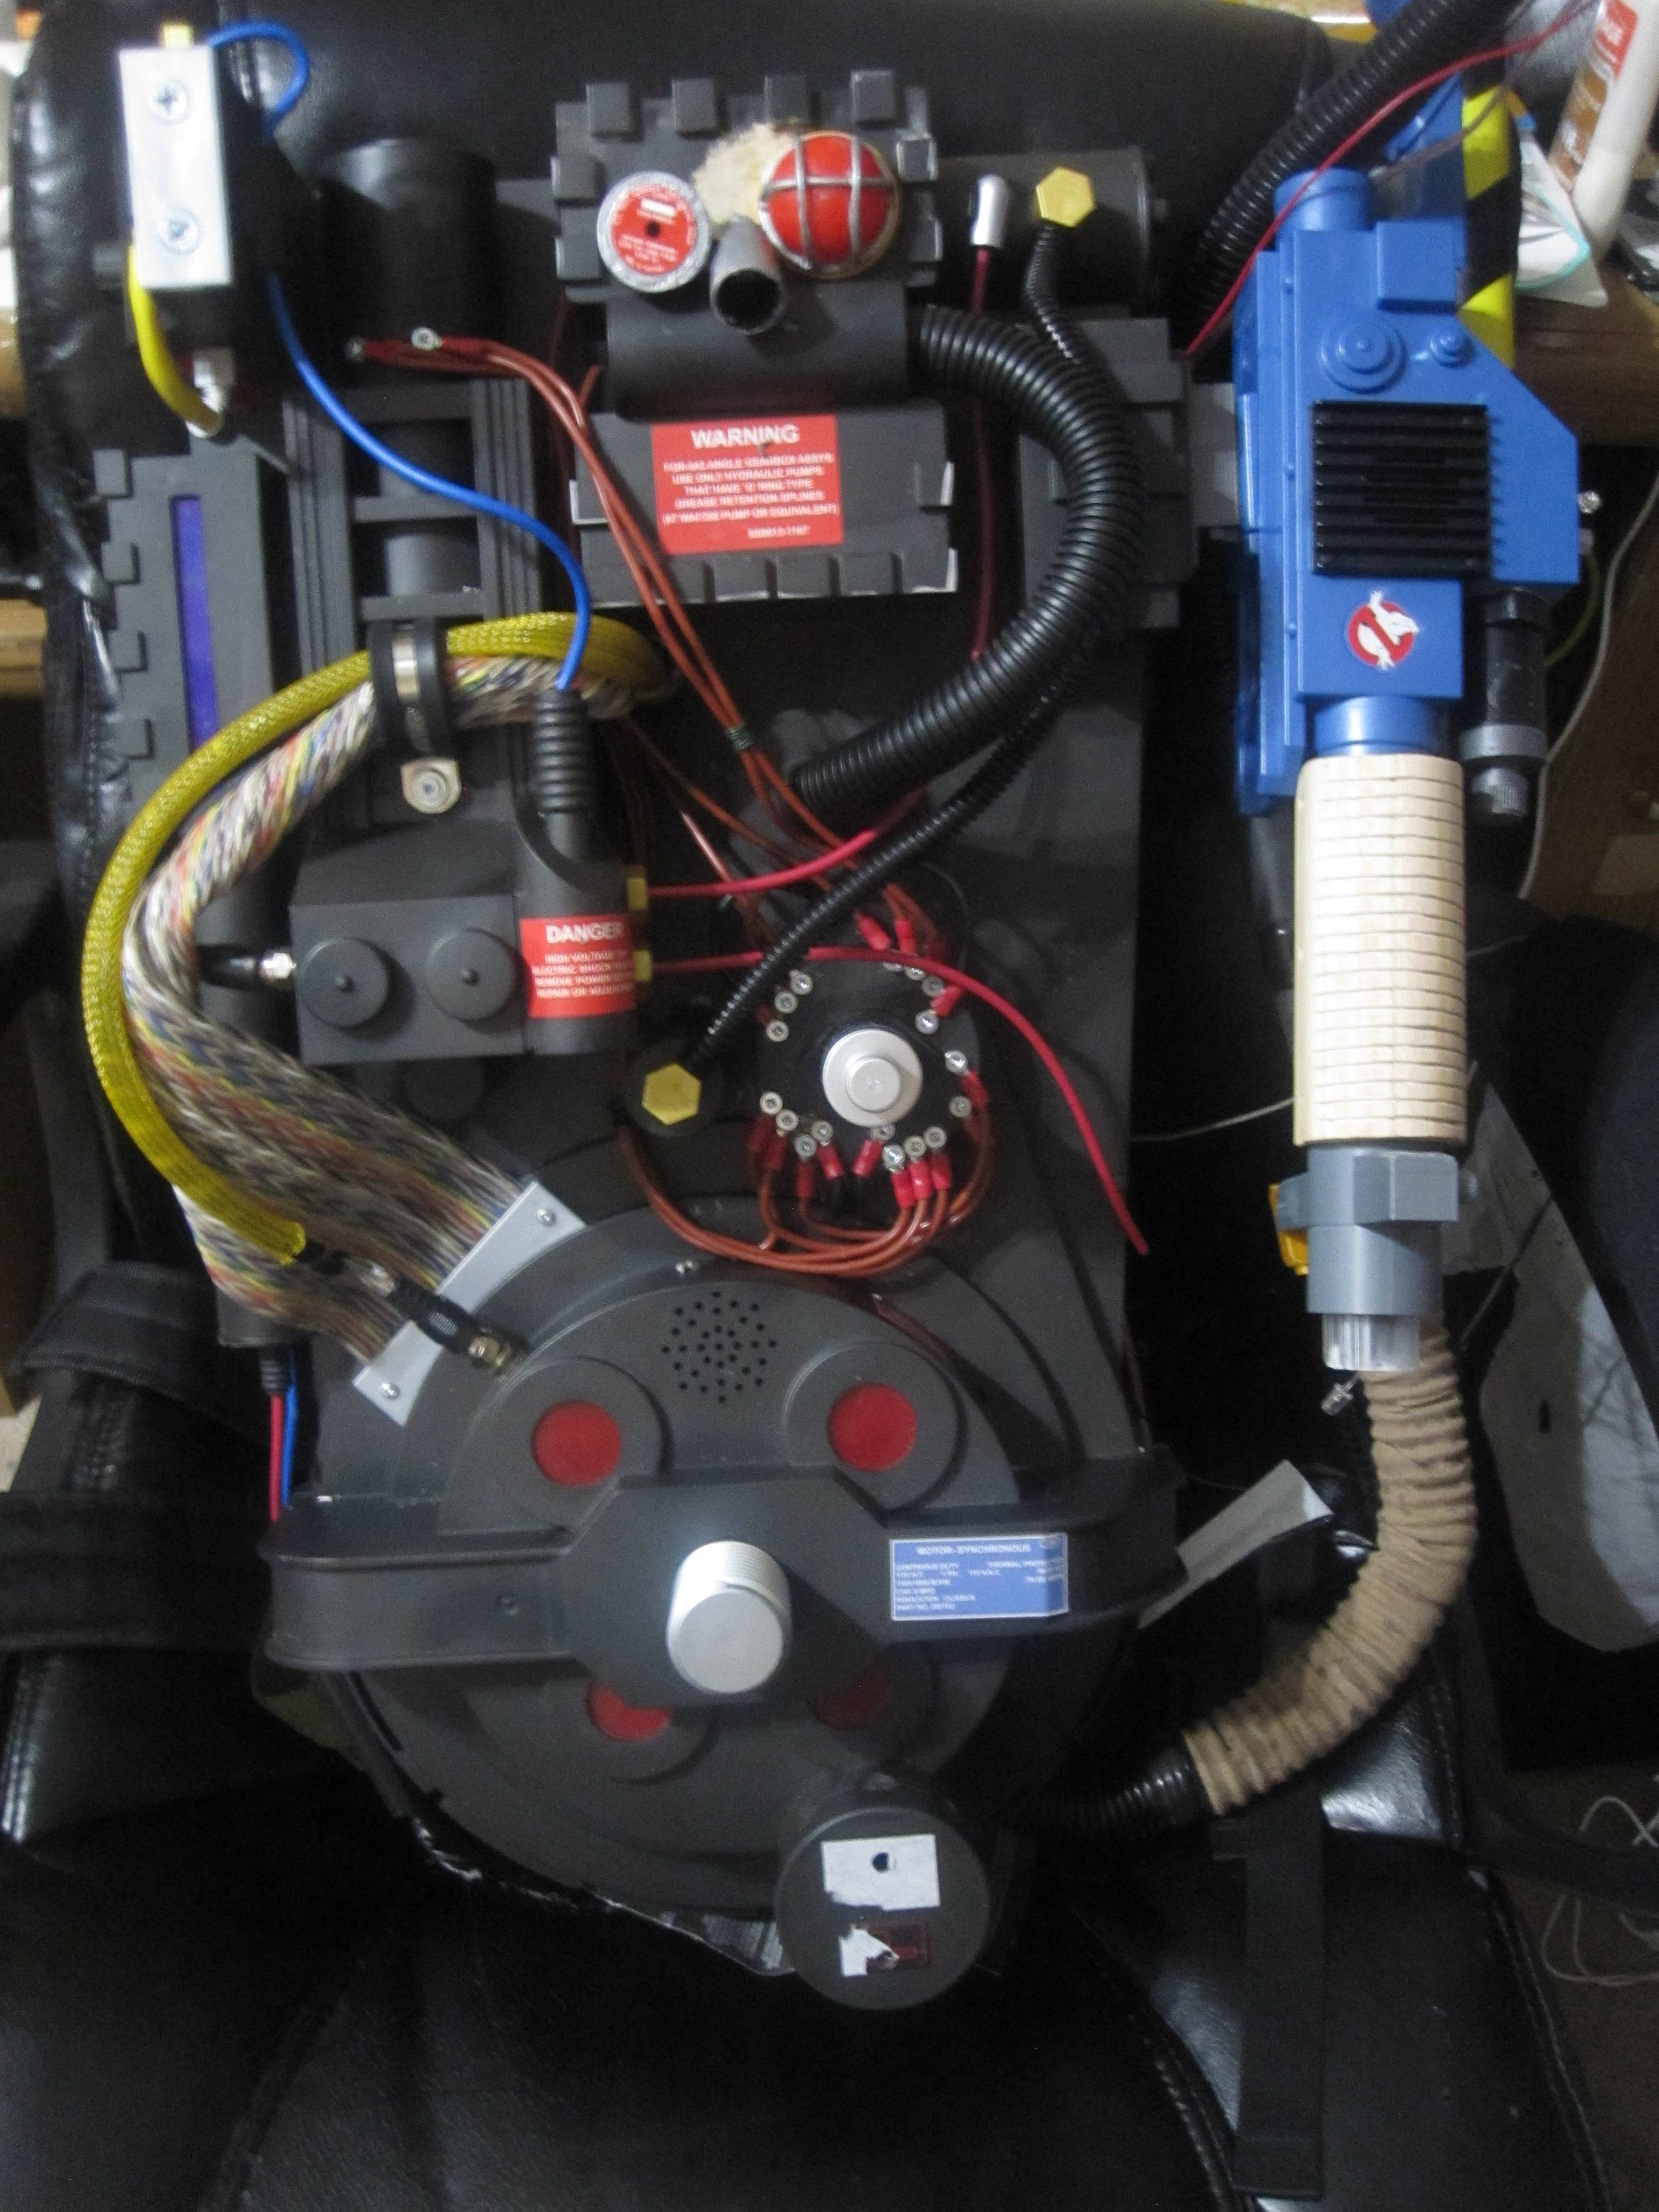
Lookin great. I don’t know if it’ll bother you but for me the GB sticker location sticks out. I haven’t painted mine yet but from videos I’ve seen of people who have painted it up the logo indent is a bit jarring. I took a thin piece of plastic (from an action figure box) and cut it the exact size of that rectangular section right near the heat sink and glued it in place. A simple sort of solution if the indent of the sticker would have bugged you as much as it would me.
I plan to fill it in with some filler but your method might be easier. I have to the spring to figure it out. Meantime I just need some clamps to finish this stage of the project.
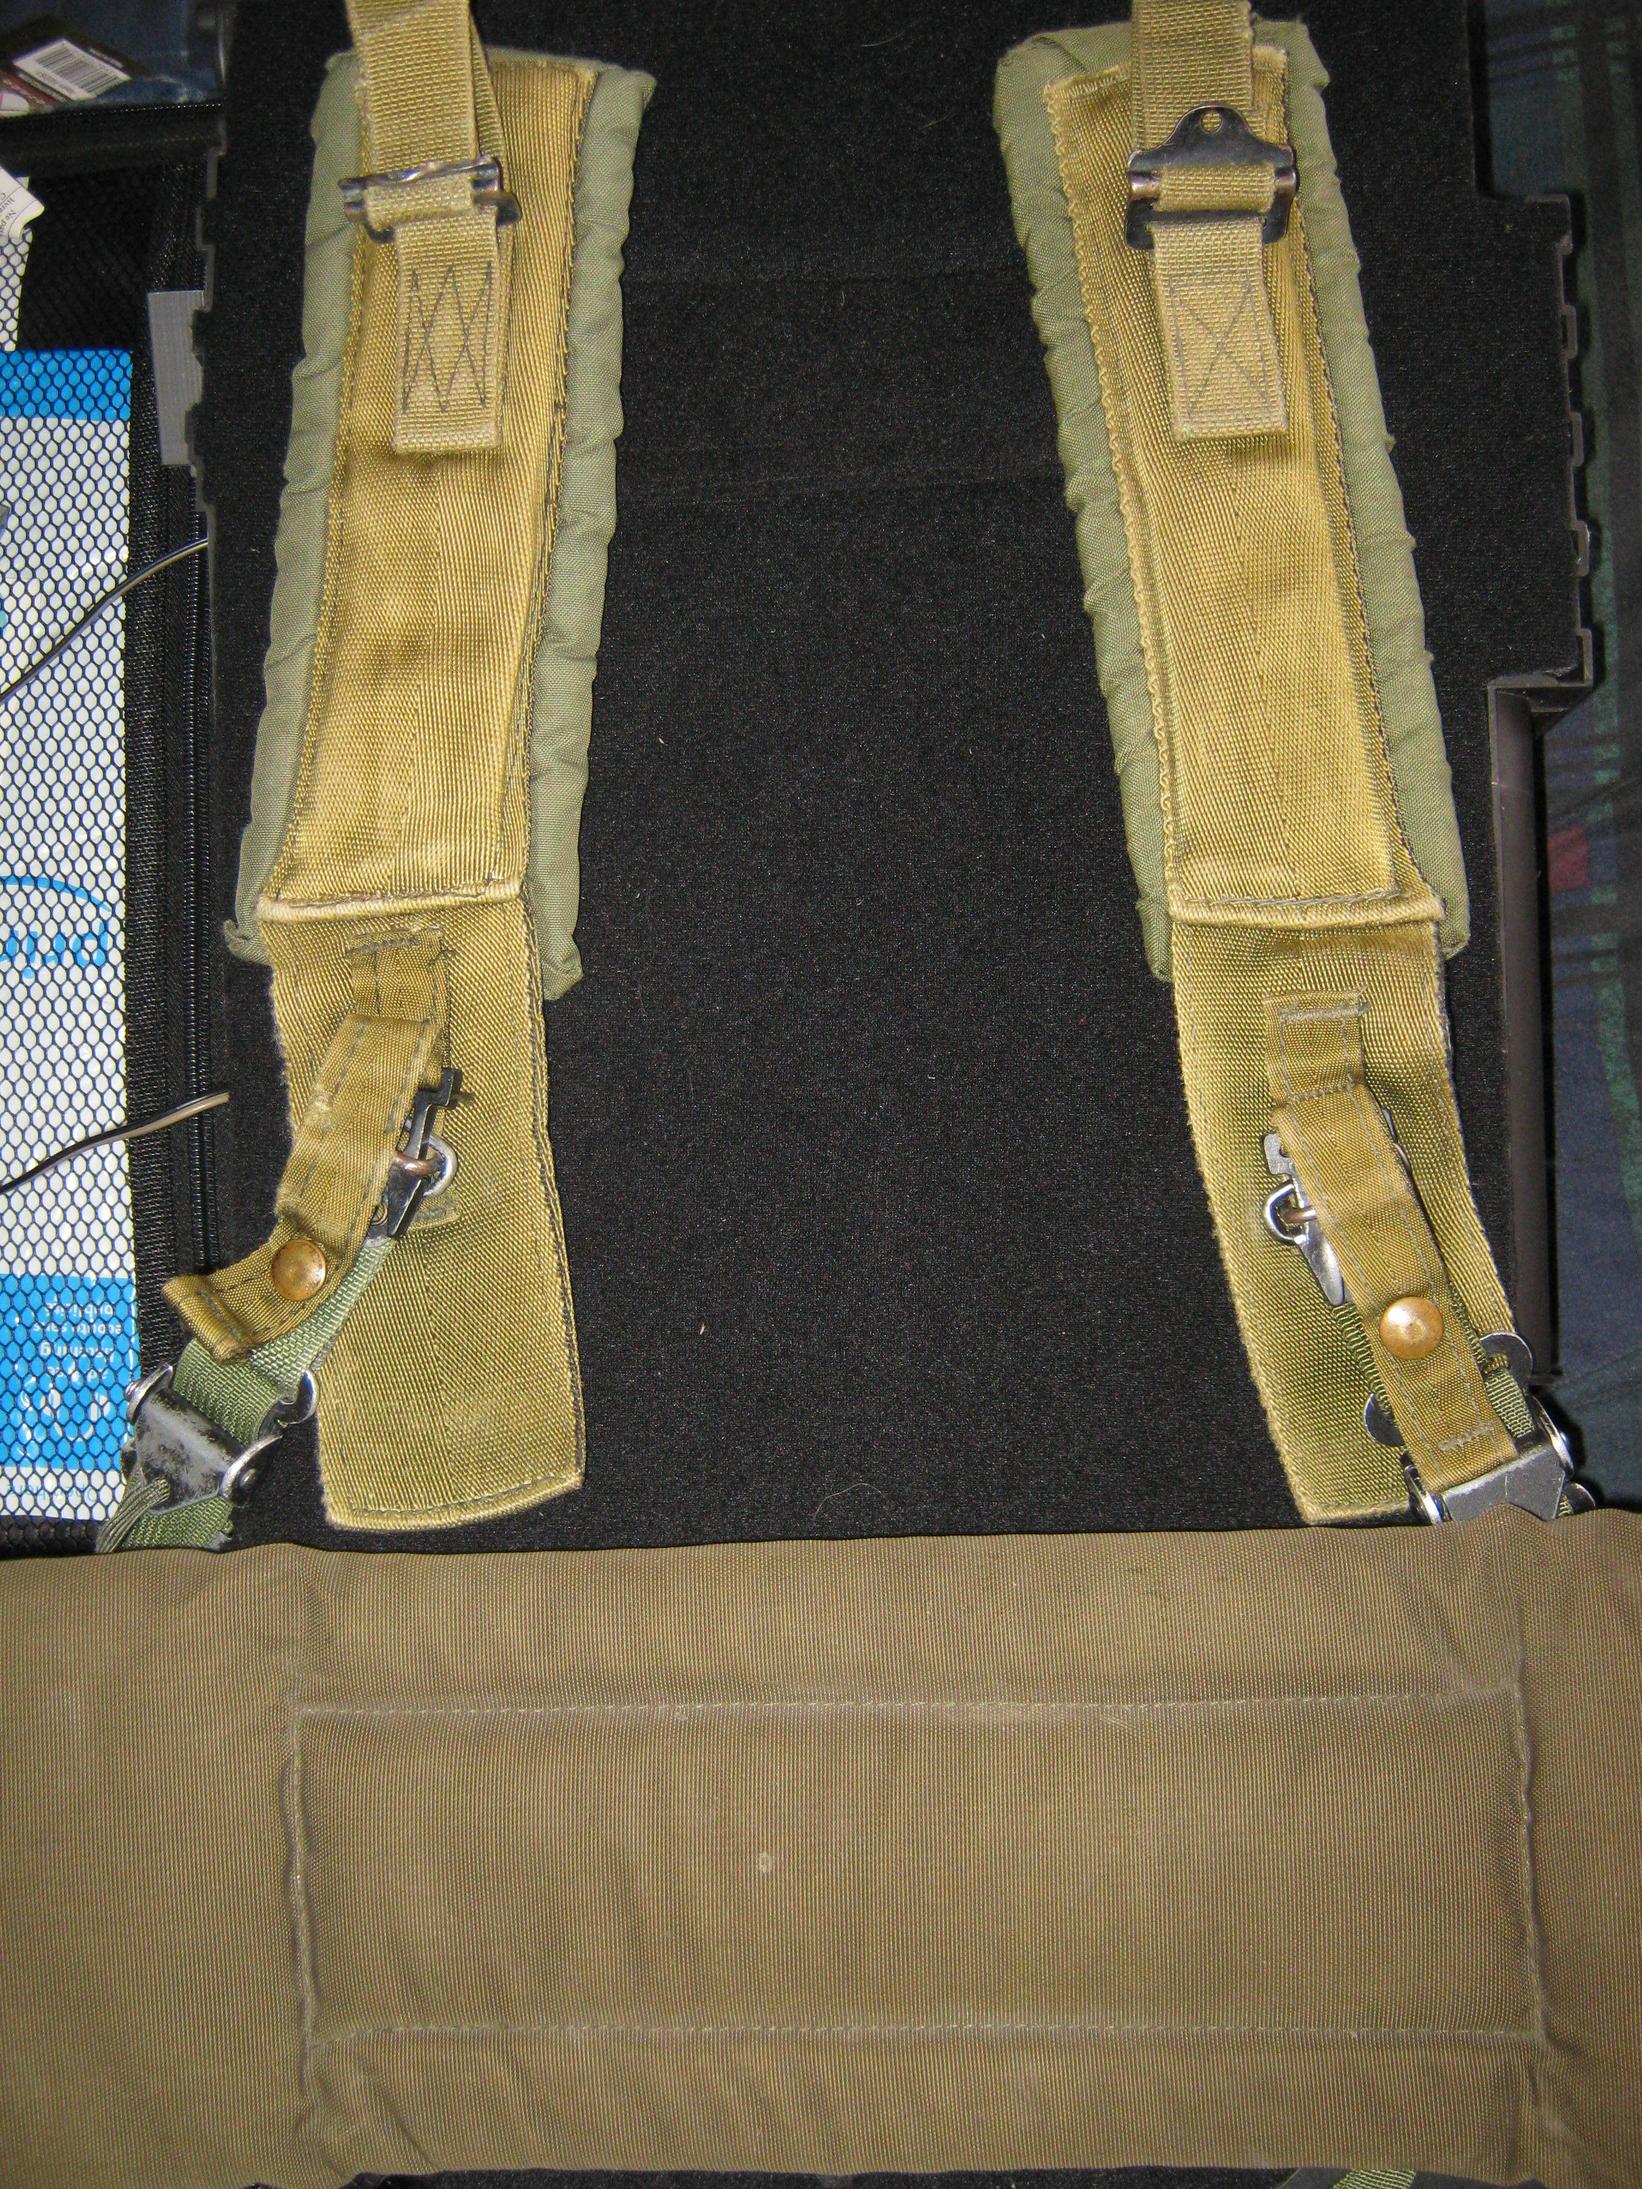
The Alice Pack frame straps and Kidney pad arrived. I’ll either buy a frame or reuse the one I made from PVC pipes. They are used and therefor don’t require weathering. Also received the LED Caps I ordered from this site.
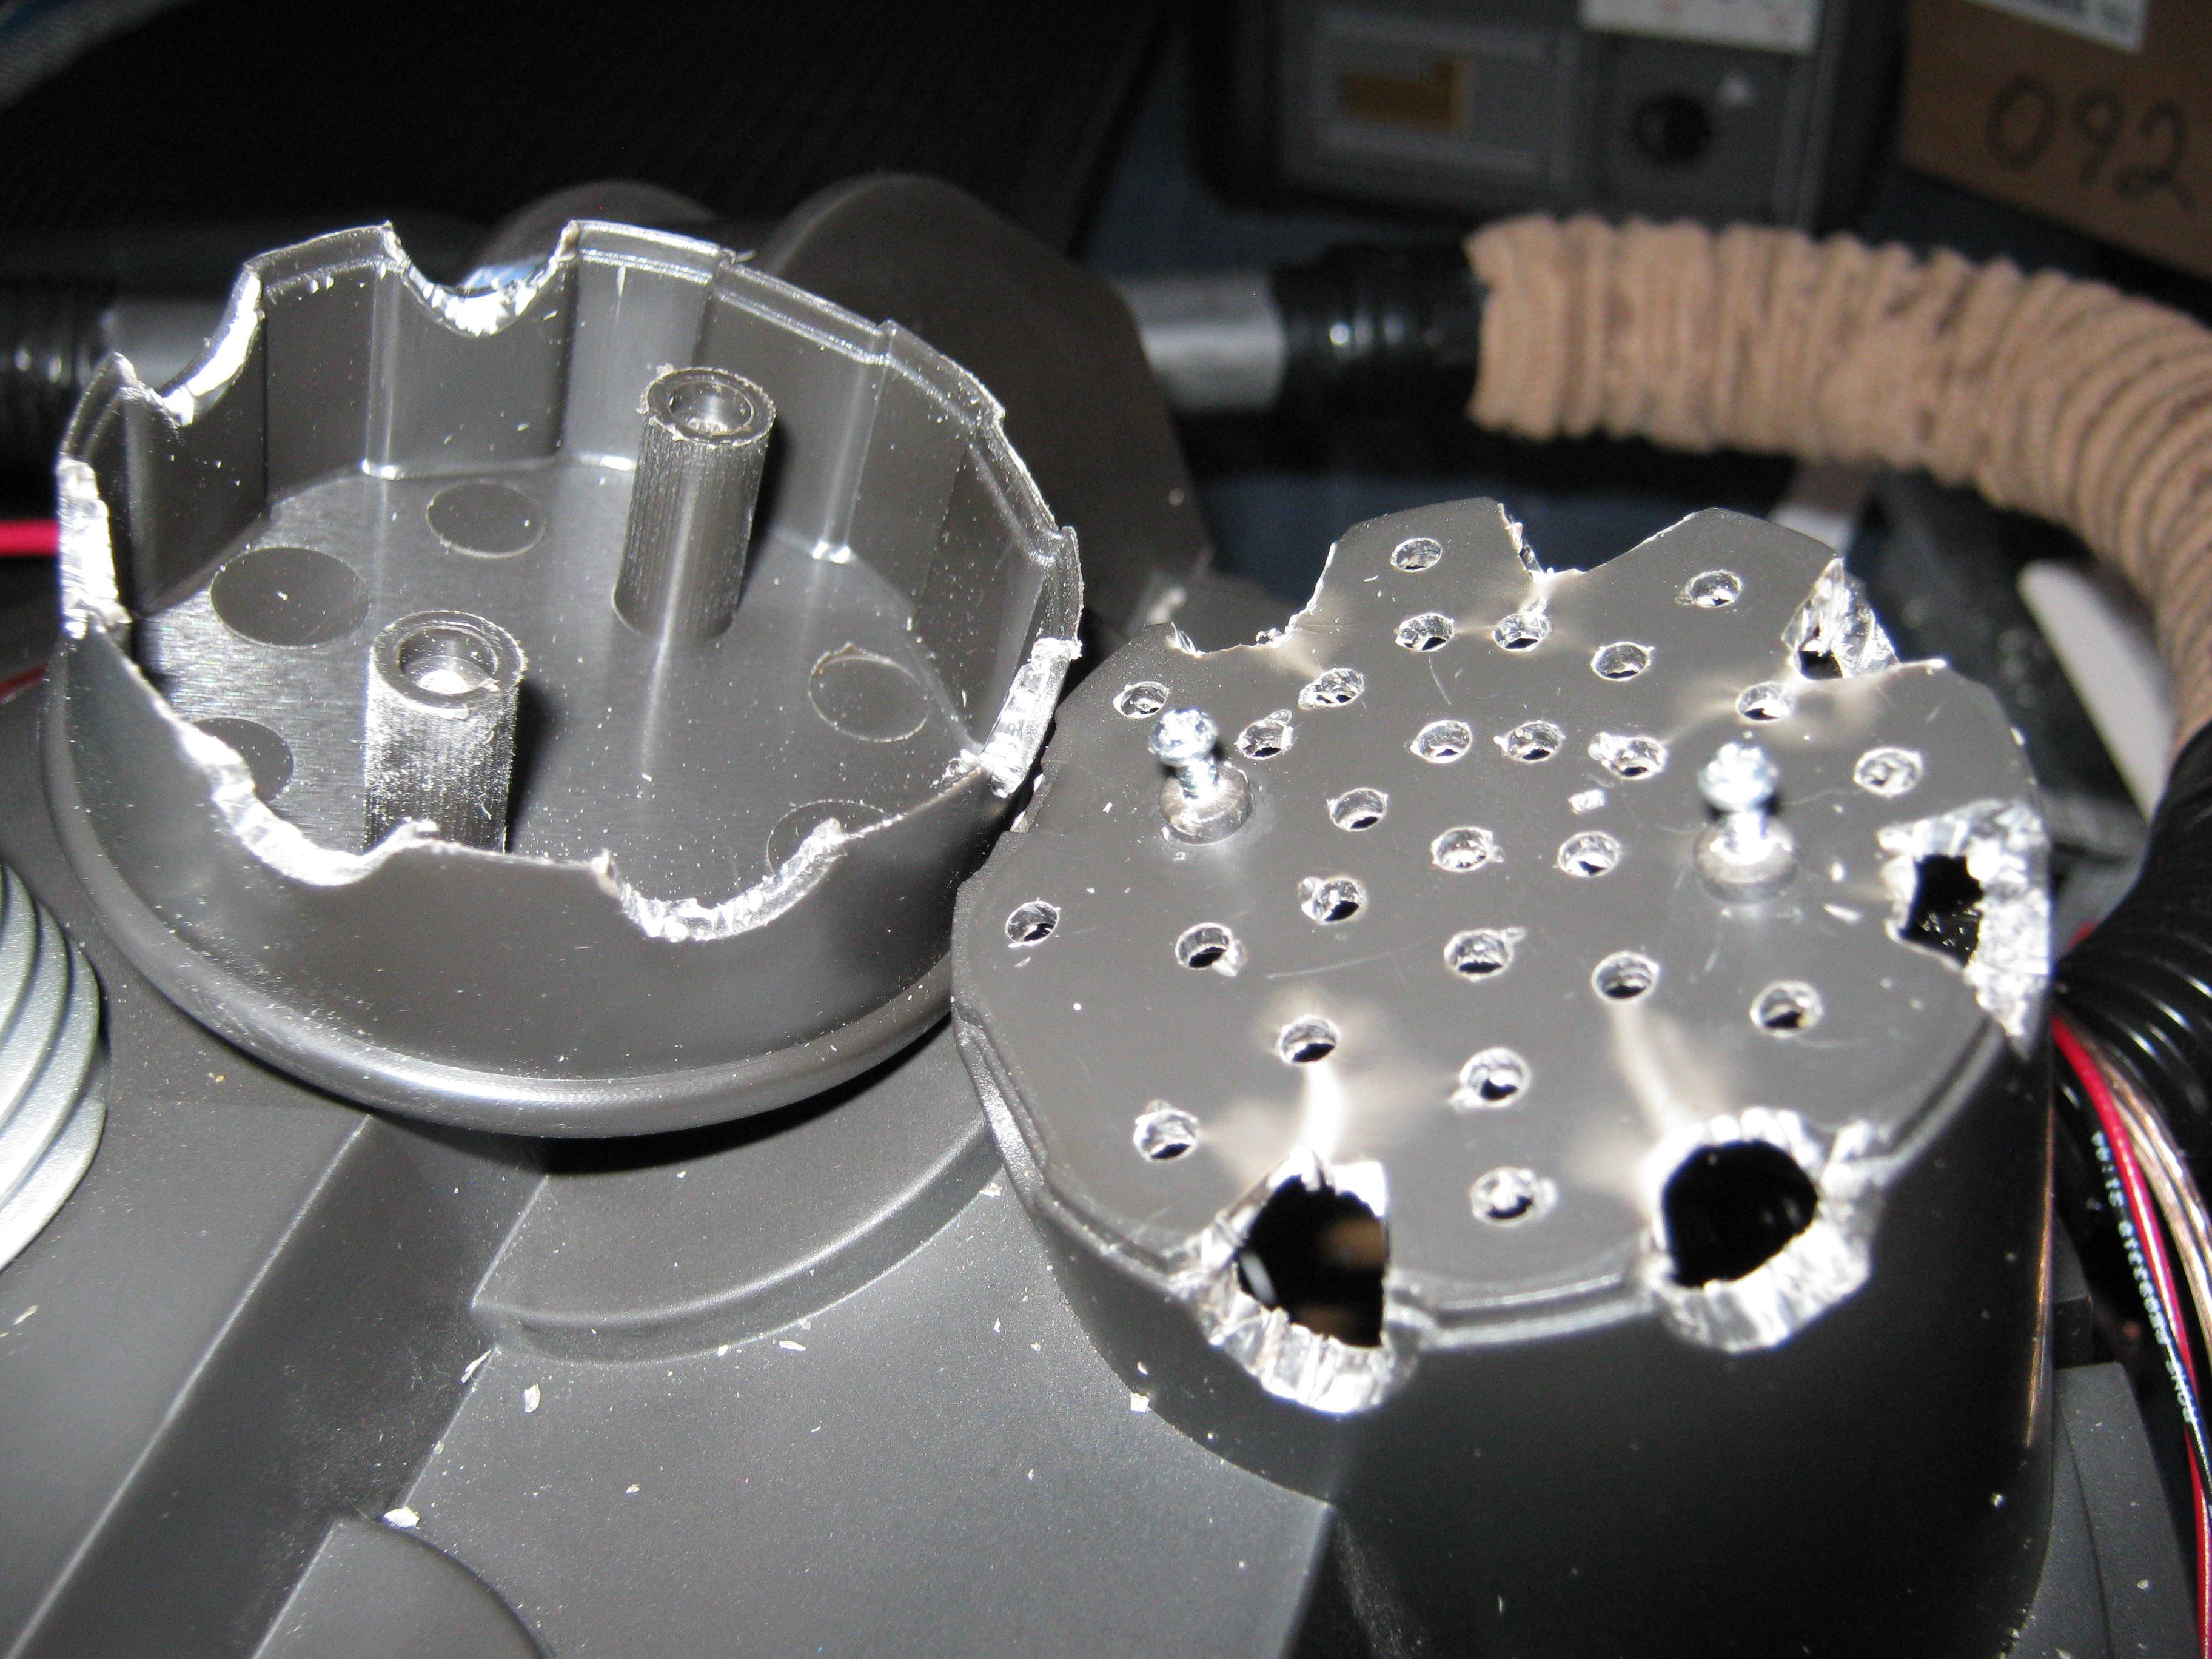
Little something I decided to do. I want to fill in the speaker holes on the cyclotron, but that means redirecting the speaker sound as I’m using the stock sound effects as the power up and the Blaster MOD for the rest. I decided to drill out holes in the N filter to mount a speaker there. It looks rough, but I plan to file the holes and cover them with a mesh. If You are going to do this, use a drill. It can be done with a sharp knife in theory but I’ve had my experiences with sharp knives and nicked arteries so I do not recommend you do it this way.
The Speaker for the MOD Blaster will be mounted in the Booster tube.
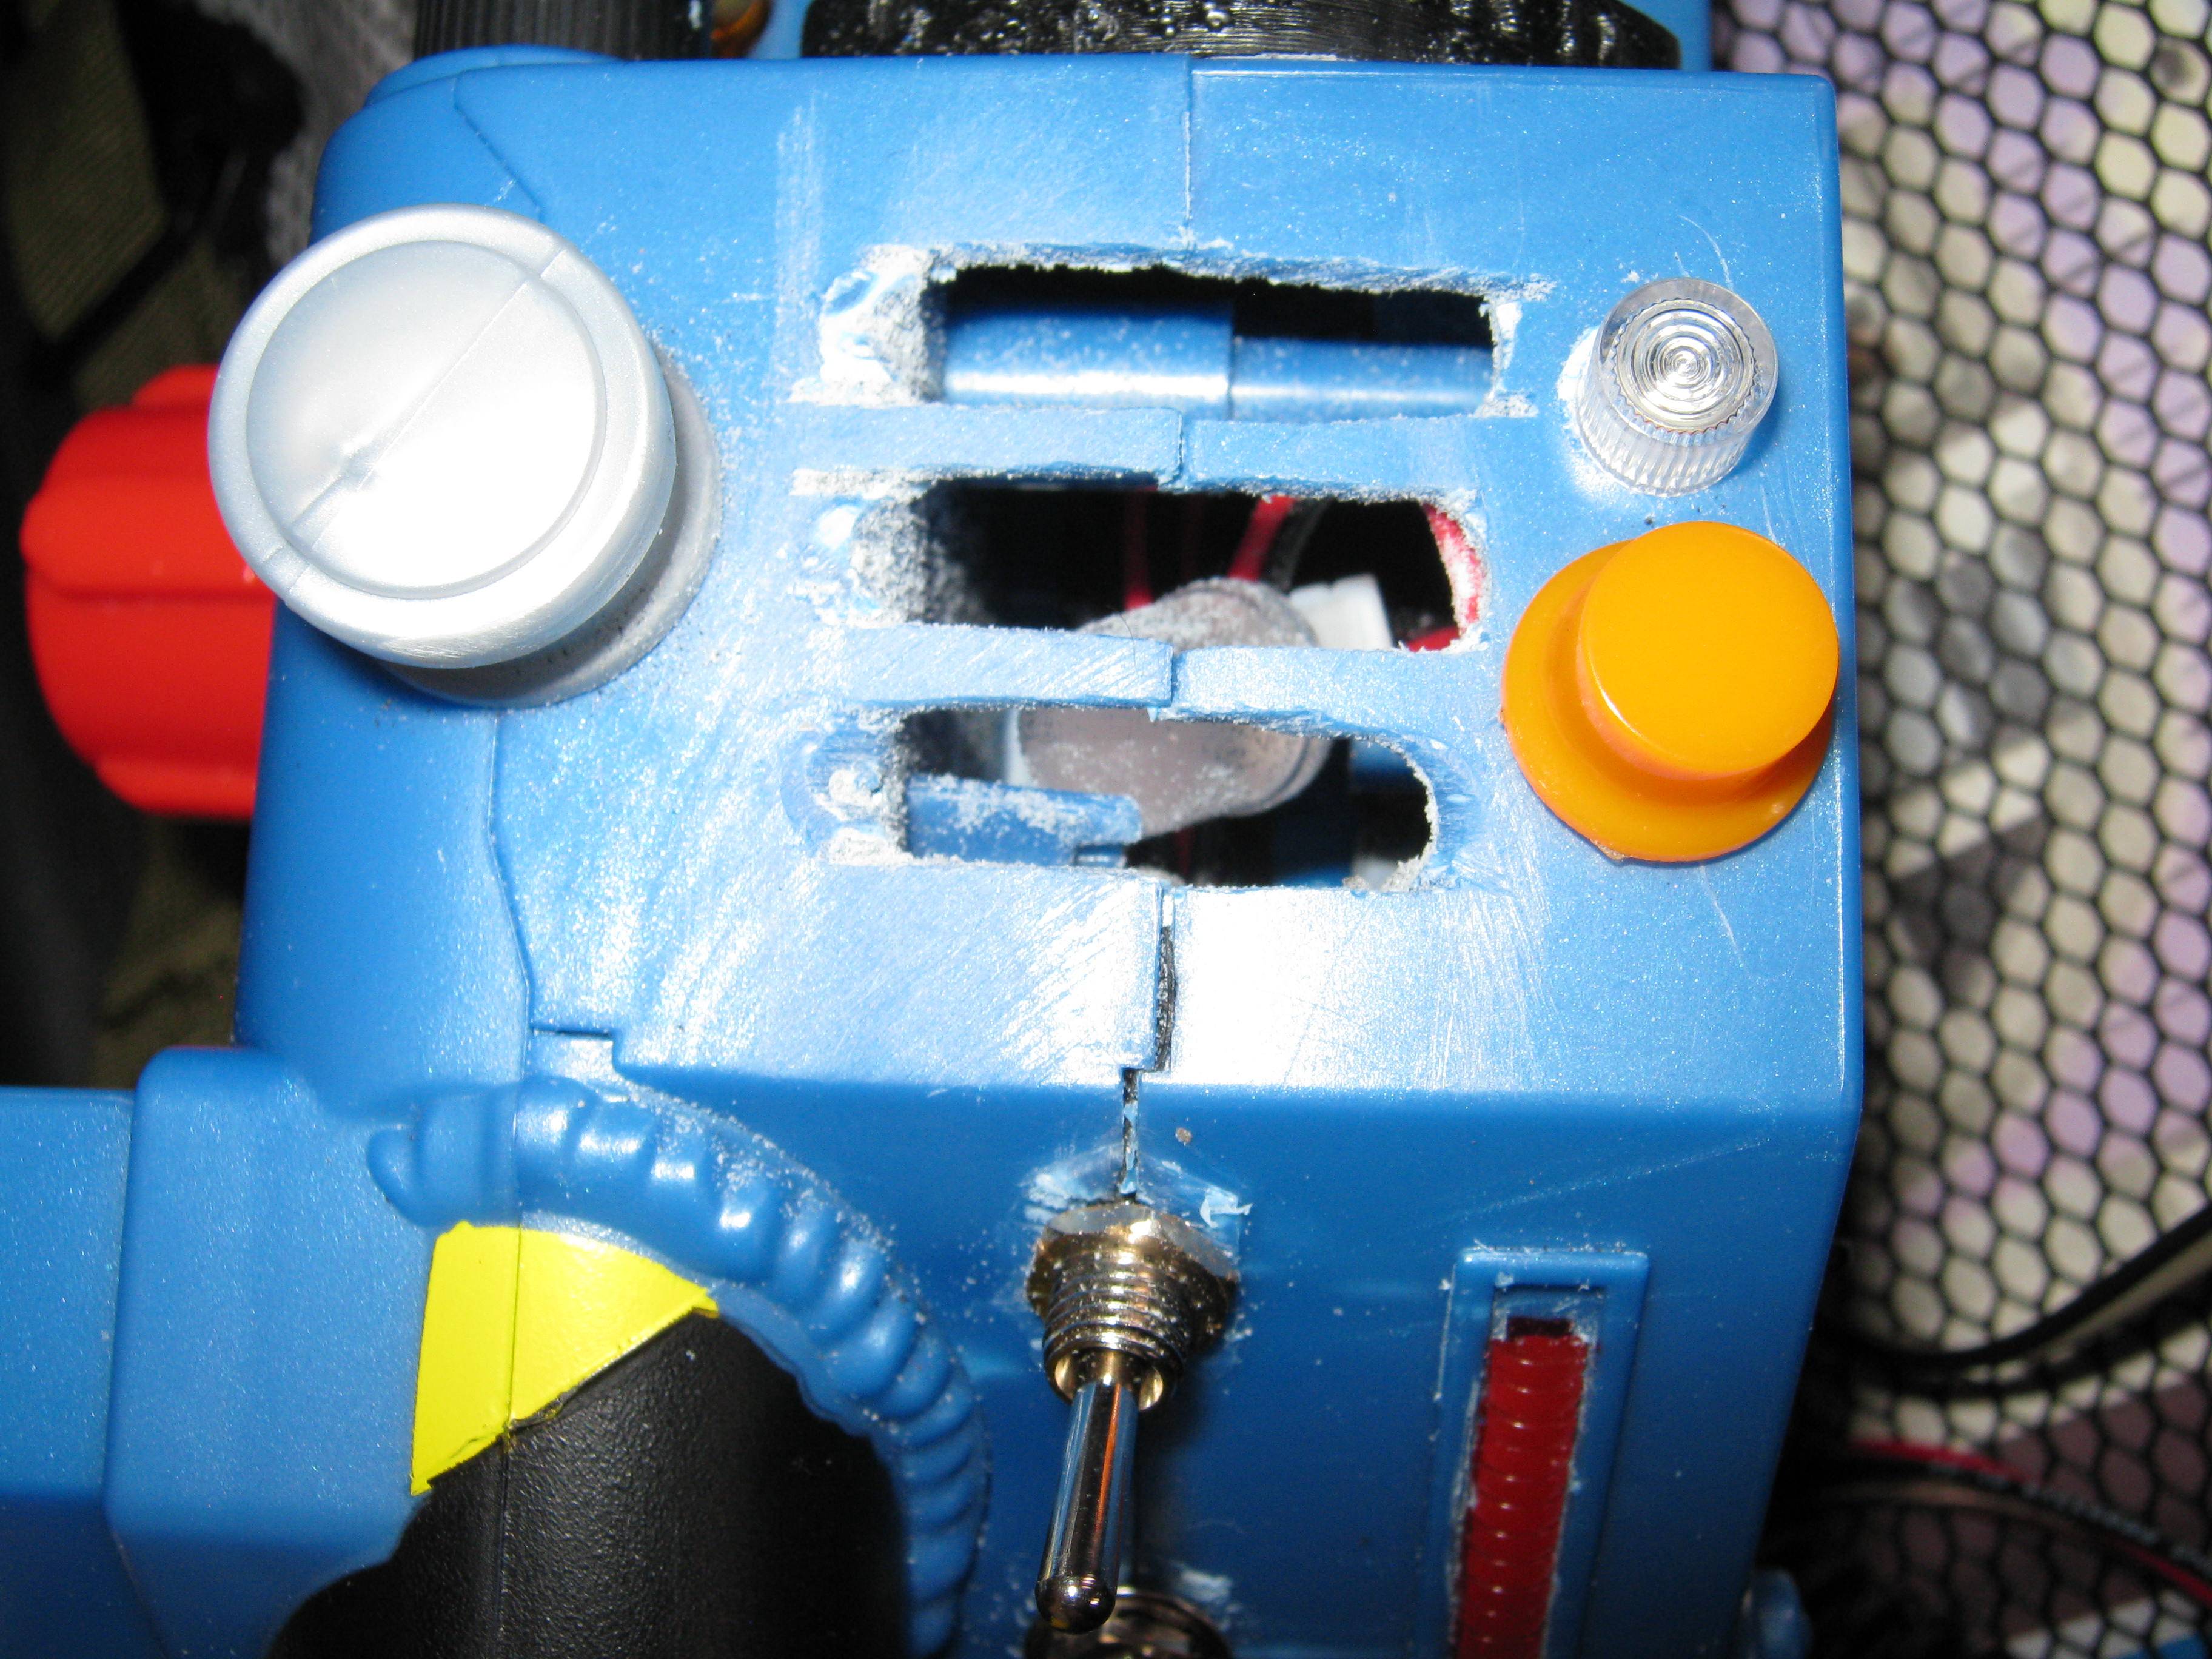
Got the proper Hex screws installed in the new wiring. Of course I’ll have to unscrew it all when I have to repaint the pack, but at least I can’t lose any until then. I wish I could show it but I can’t seem to upload the image. I’ll try again later.
I like your TVG mod replacing the crank knob I did that to one of my Spirit packs :love:
Have you thought at all about adding the light too? I have CatEye HL300’s on both my spirit packs which is whats used on the GBII Slime blowers and the pack lights in TVG look to be modeled after them. I absolutely love the lights its like having a shoulder lamp like the Colonial Marines in Aliens lol! 
They have a cheeper version of the light here in the shop
Thanks for the compliment. I do plan to add a light. There’s a light in the Blaster MOD that I don’t need, It’s the firing light, So what I plan to do is run the light to the pack so that when the thrower is in use the red dome lights up. Additional lighting might be something to look into. Thanks for sharing the link.
Having some difficulty with the Blaster’s sound chip. For starters it isn’t loud enough. I have swapped out the speaker for something louder and that has helped but it’s still not as loud as the Spengler wand. I have tried to use an amplifier but that only makes the idle effect sound like ■■■■■■■. I may at some point replace the sound chip but for now I’m going to work with what I have,
can you do a tutorial for the electronics? i want to do this with mine but im not very good with soldering
I could give it a try. Never did an instruct able before, but it’s pretty straight forward. I’ll need to take the gun apart for reference pics though but that’s not an issue.
thanks!
I bought the switches 2 days ago, it arrives today, I plan on doing it as soon as I get them.
hey dude the switches came today! i am going to do them tomorrow, i wanted to ask if all the switches that you put do something/have a purpose?
Sorry it took so long to get back to you. Work has been keeping me busy. There’s a diagram of sorts that should help with your switches.
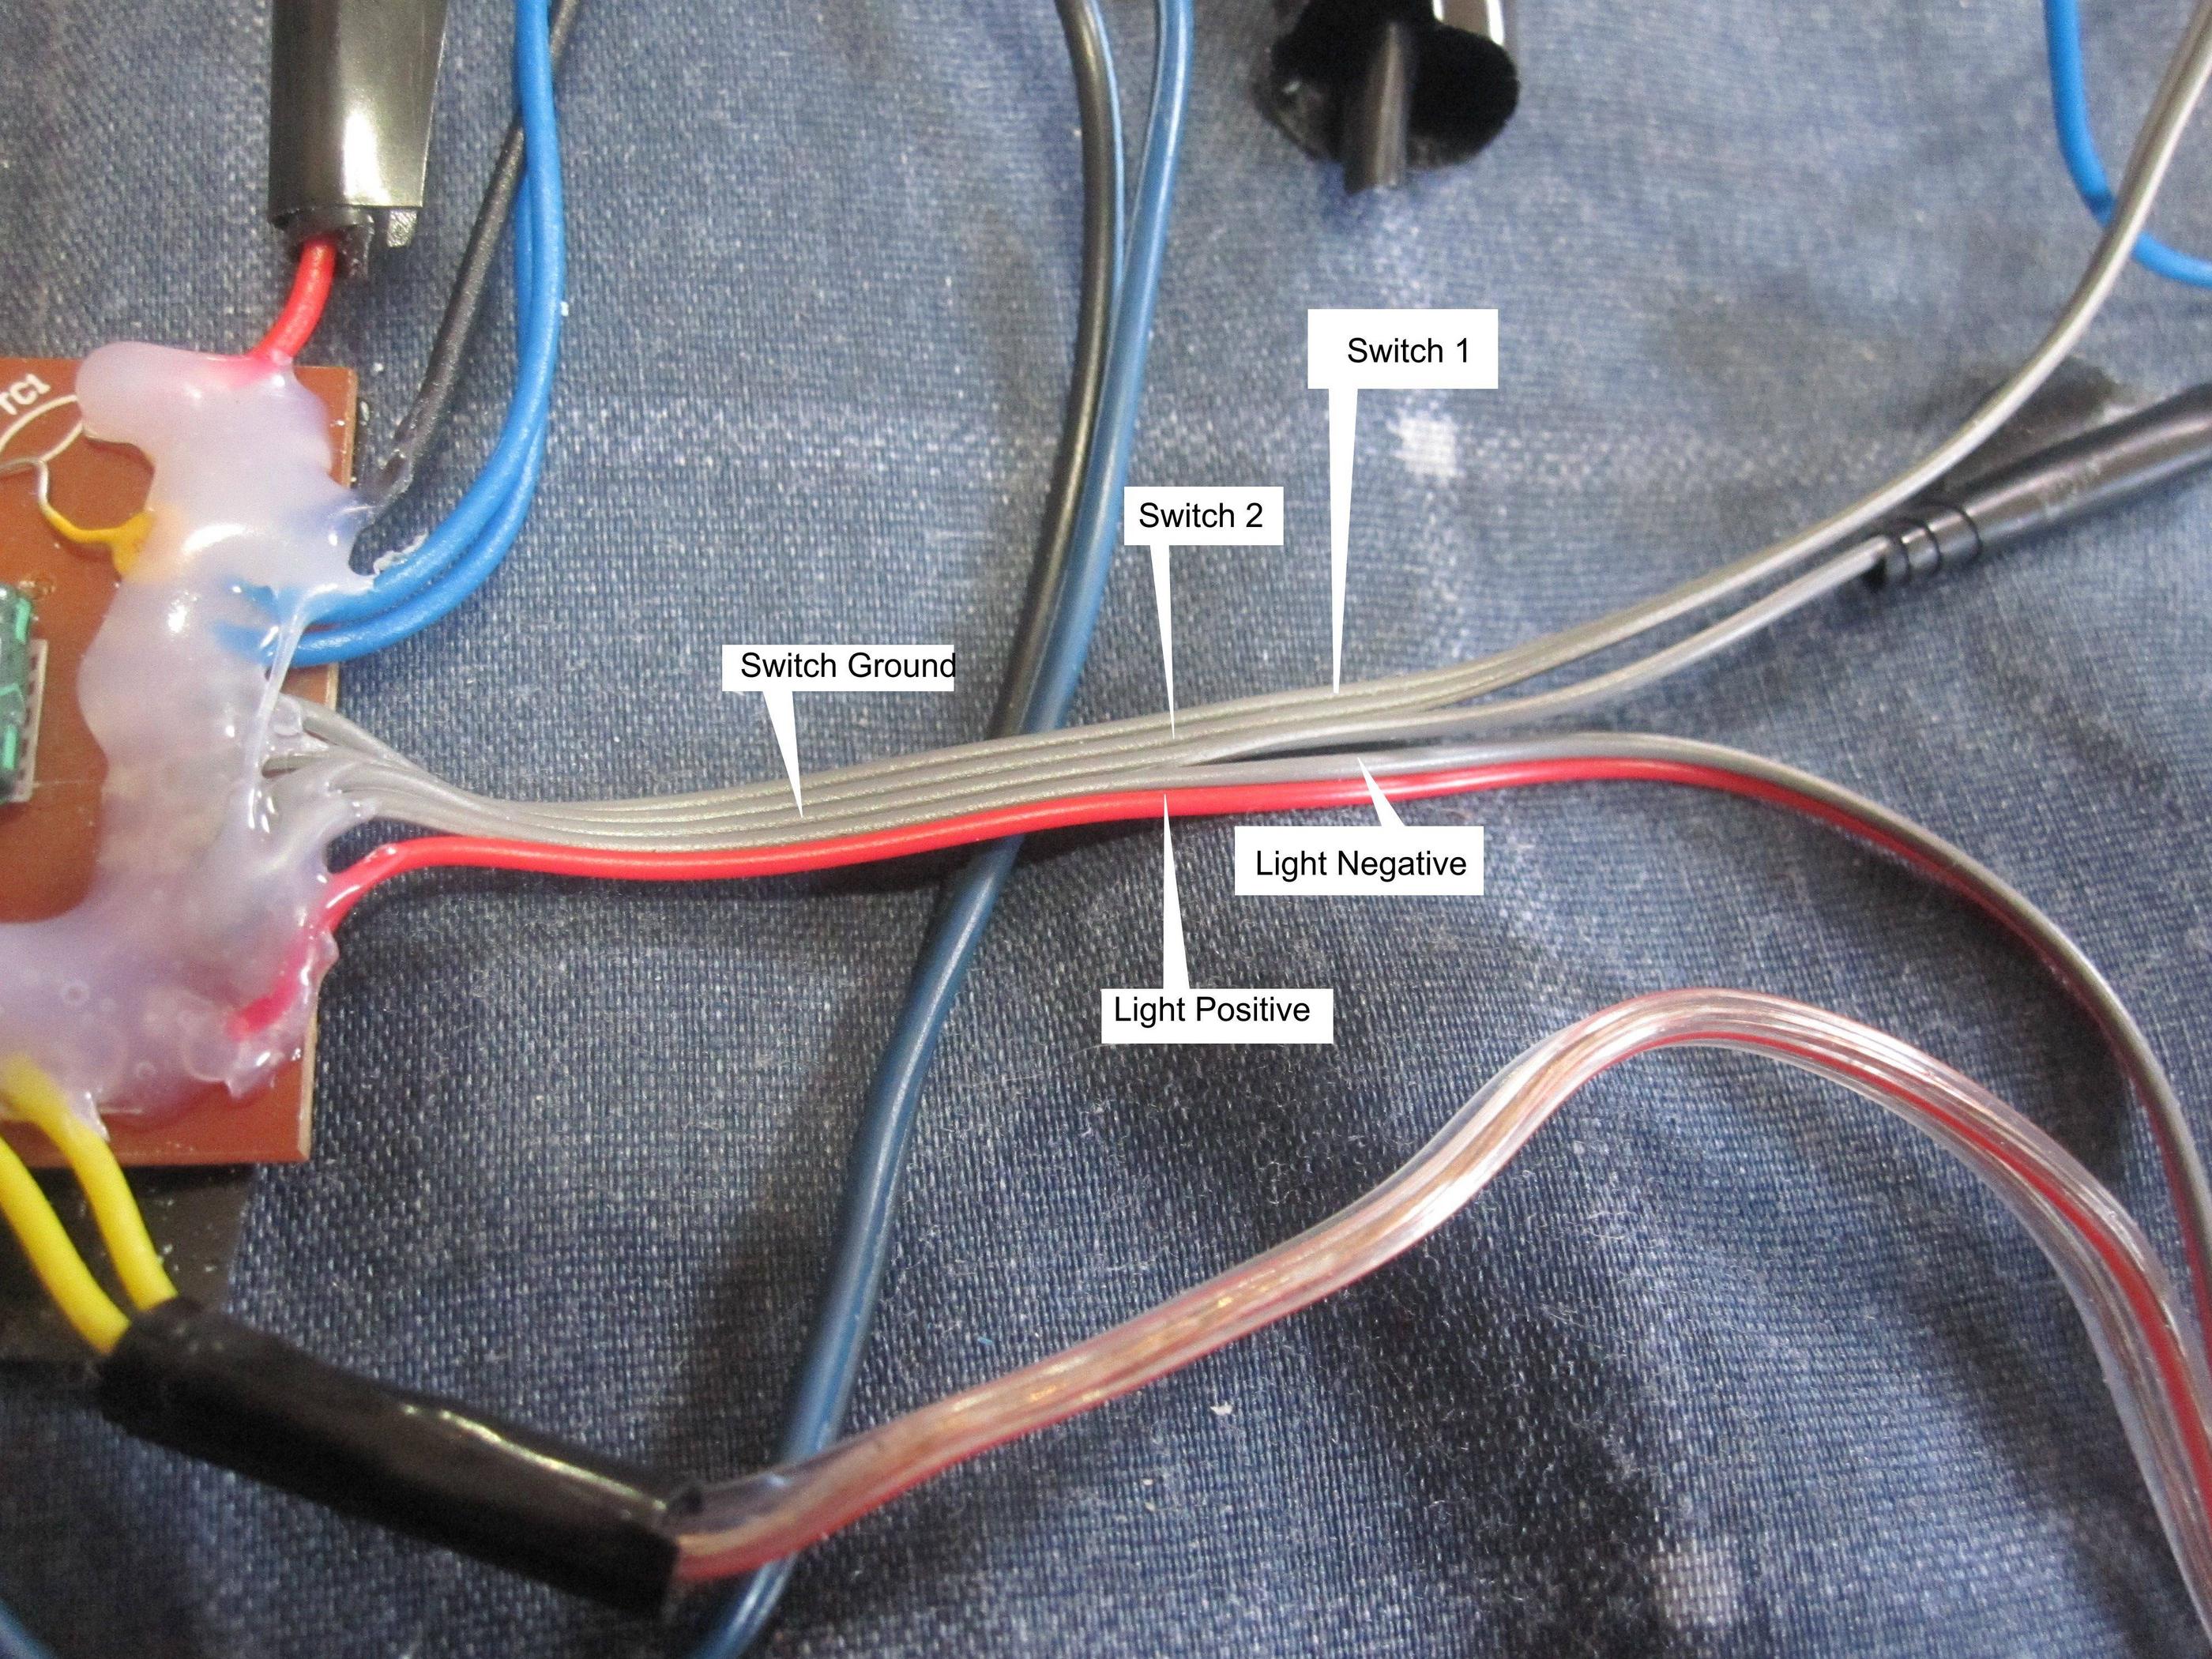
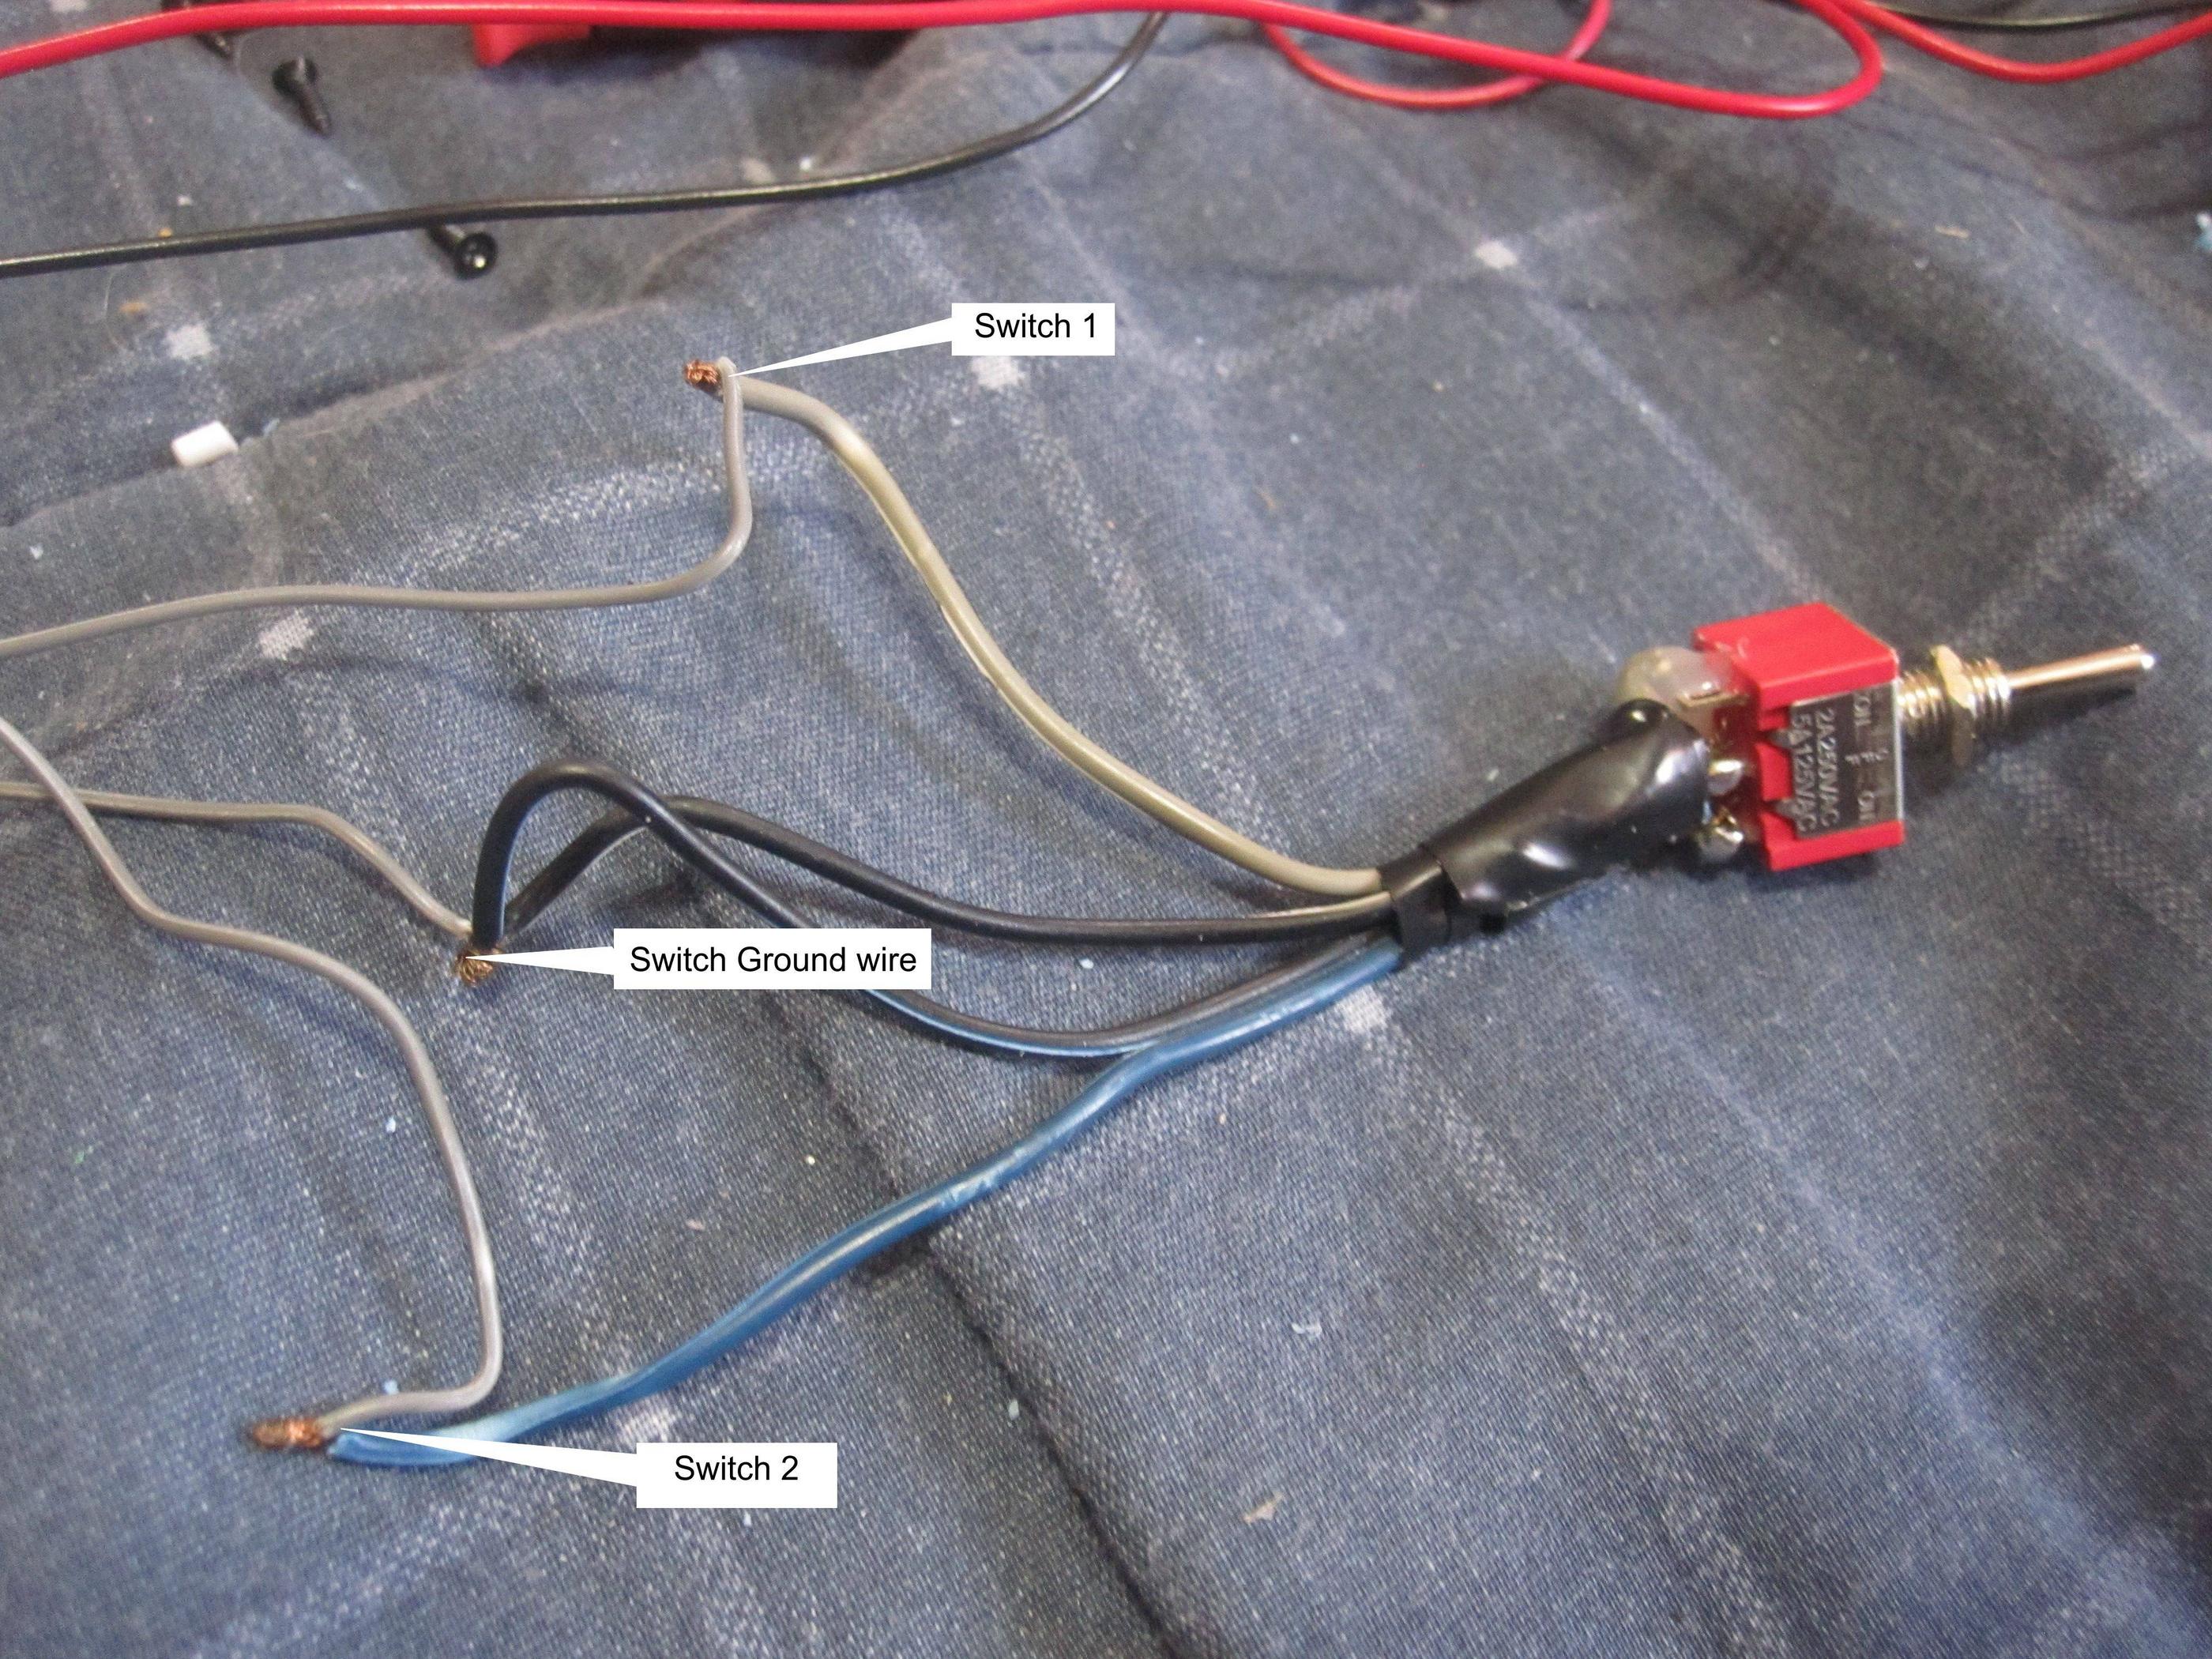
As for the twitches I used, I have a Jupitor electronics lighting kit so one twitch activates that. The other , the one at thew firing button, is a kill switch for the sound effects.