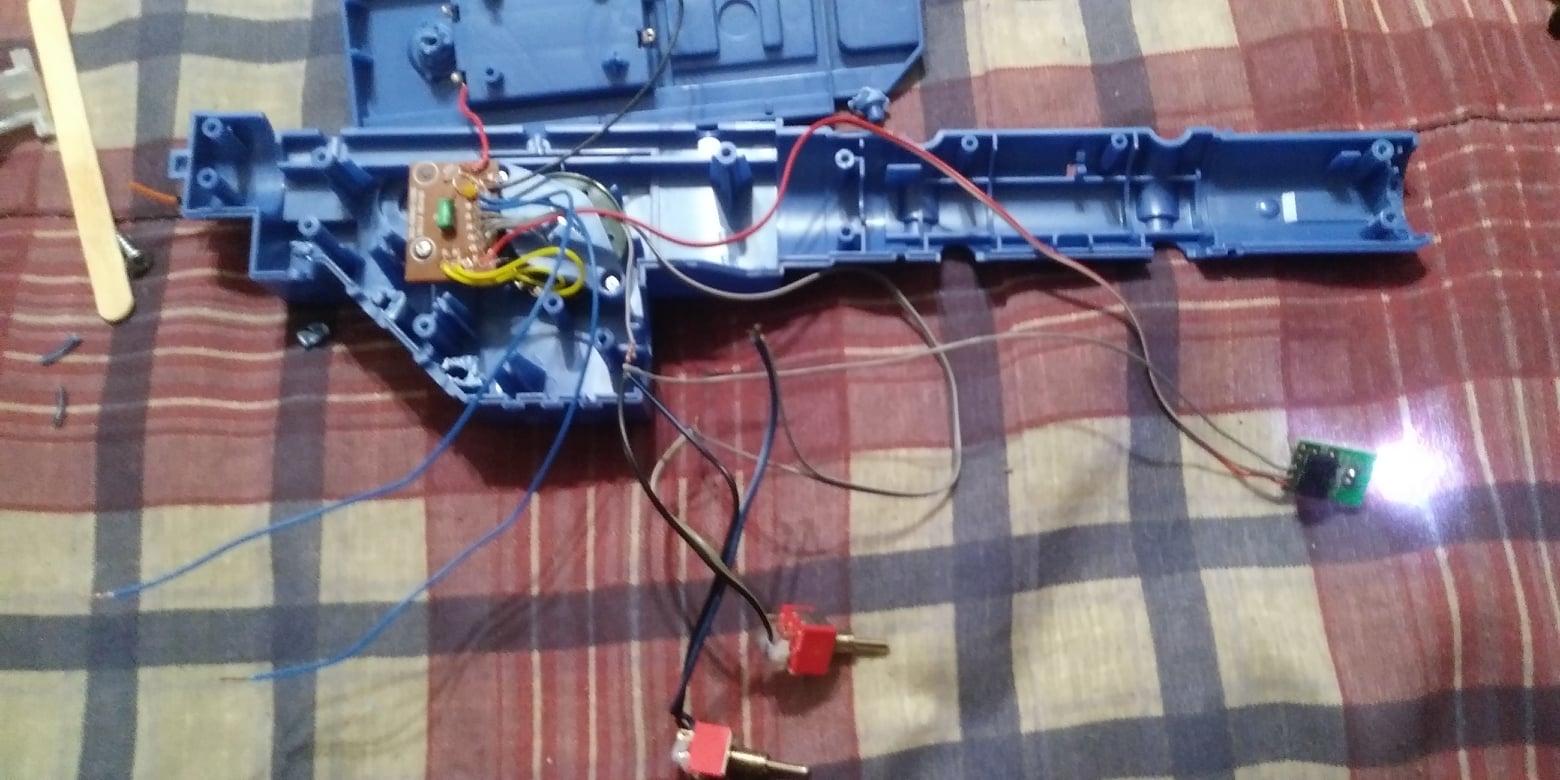
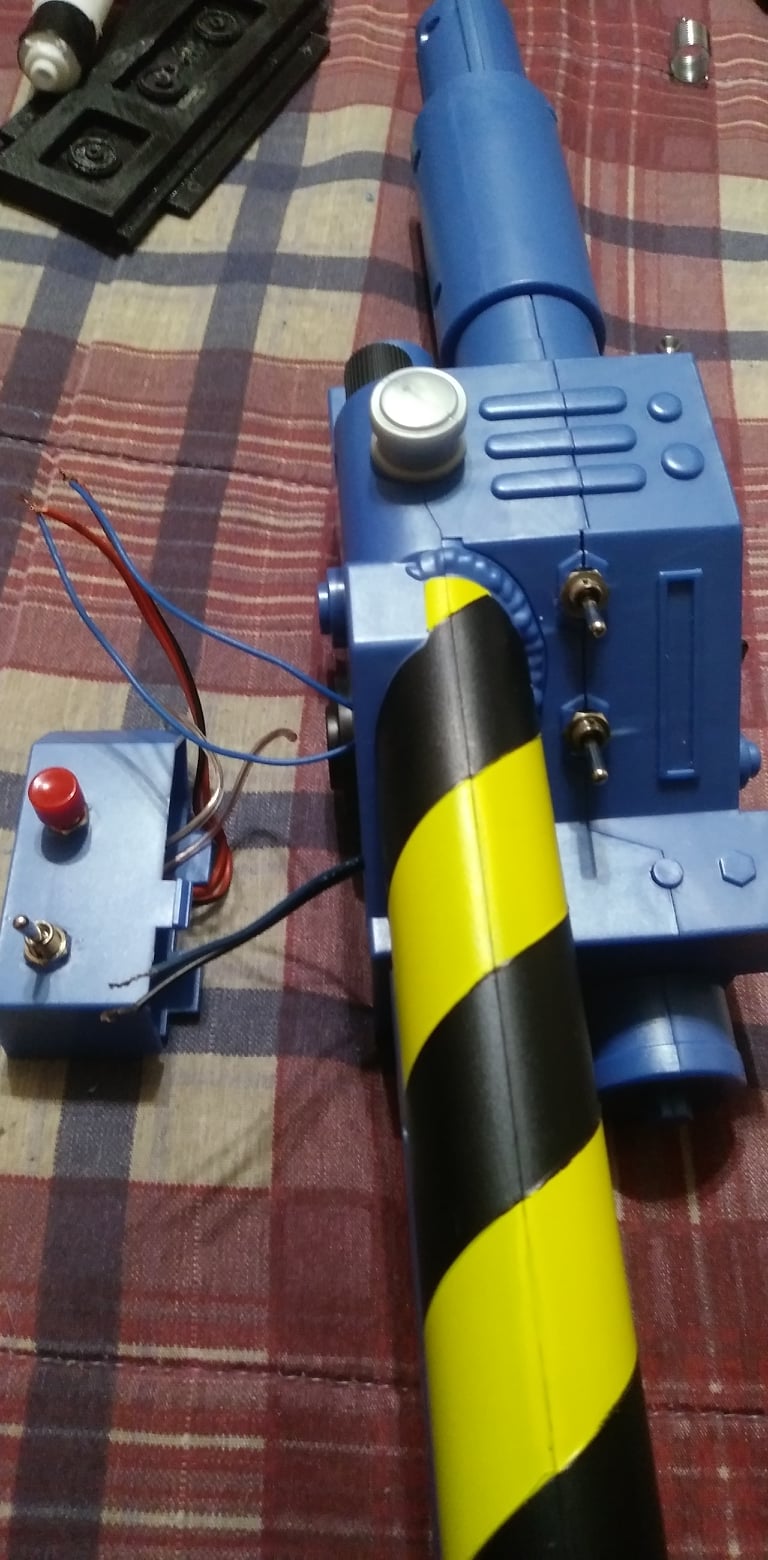
Bought a Hasbro Ghostbusters Proton Blaster M.O.D. toy a while ago to replace the Spirit Halloween Pack wand. Scale wise it looks better. Anyway I pretty much noticed immediately that I would have to make a few changes. For one, once the thing is activated there’s no way to shut it off. You just have to let it run until it shuts itself off. Also noticed two small switches at the tip of the wand. Depending on what accessory you chose to snap on you will get a different sound effect. I still want to use these features but not the fittings.
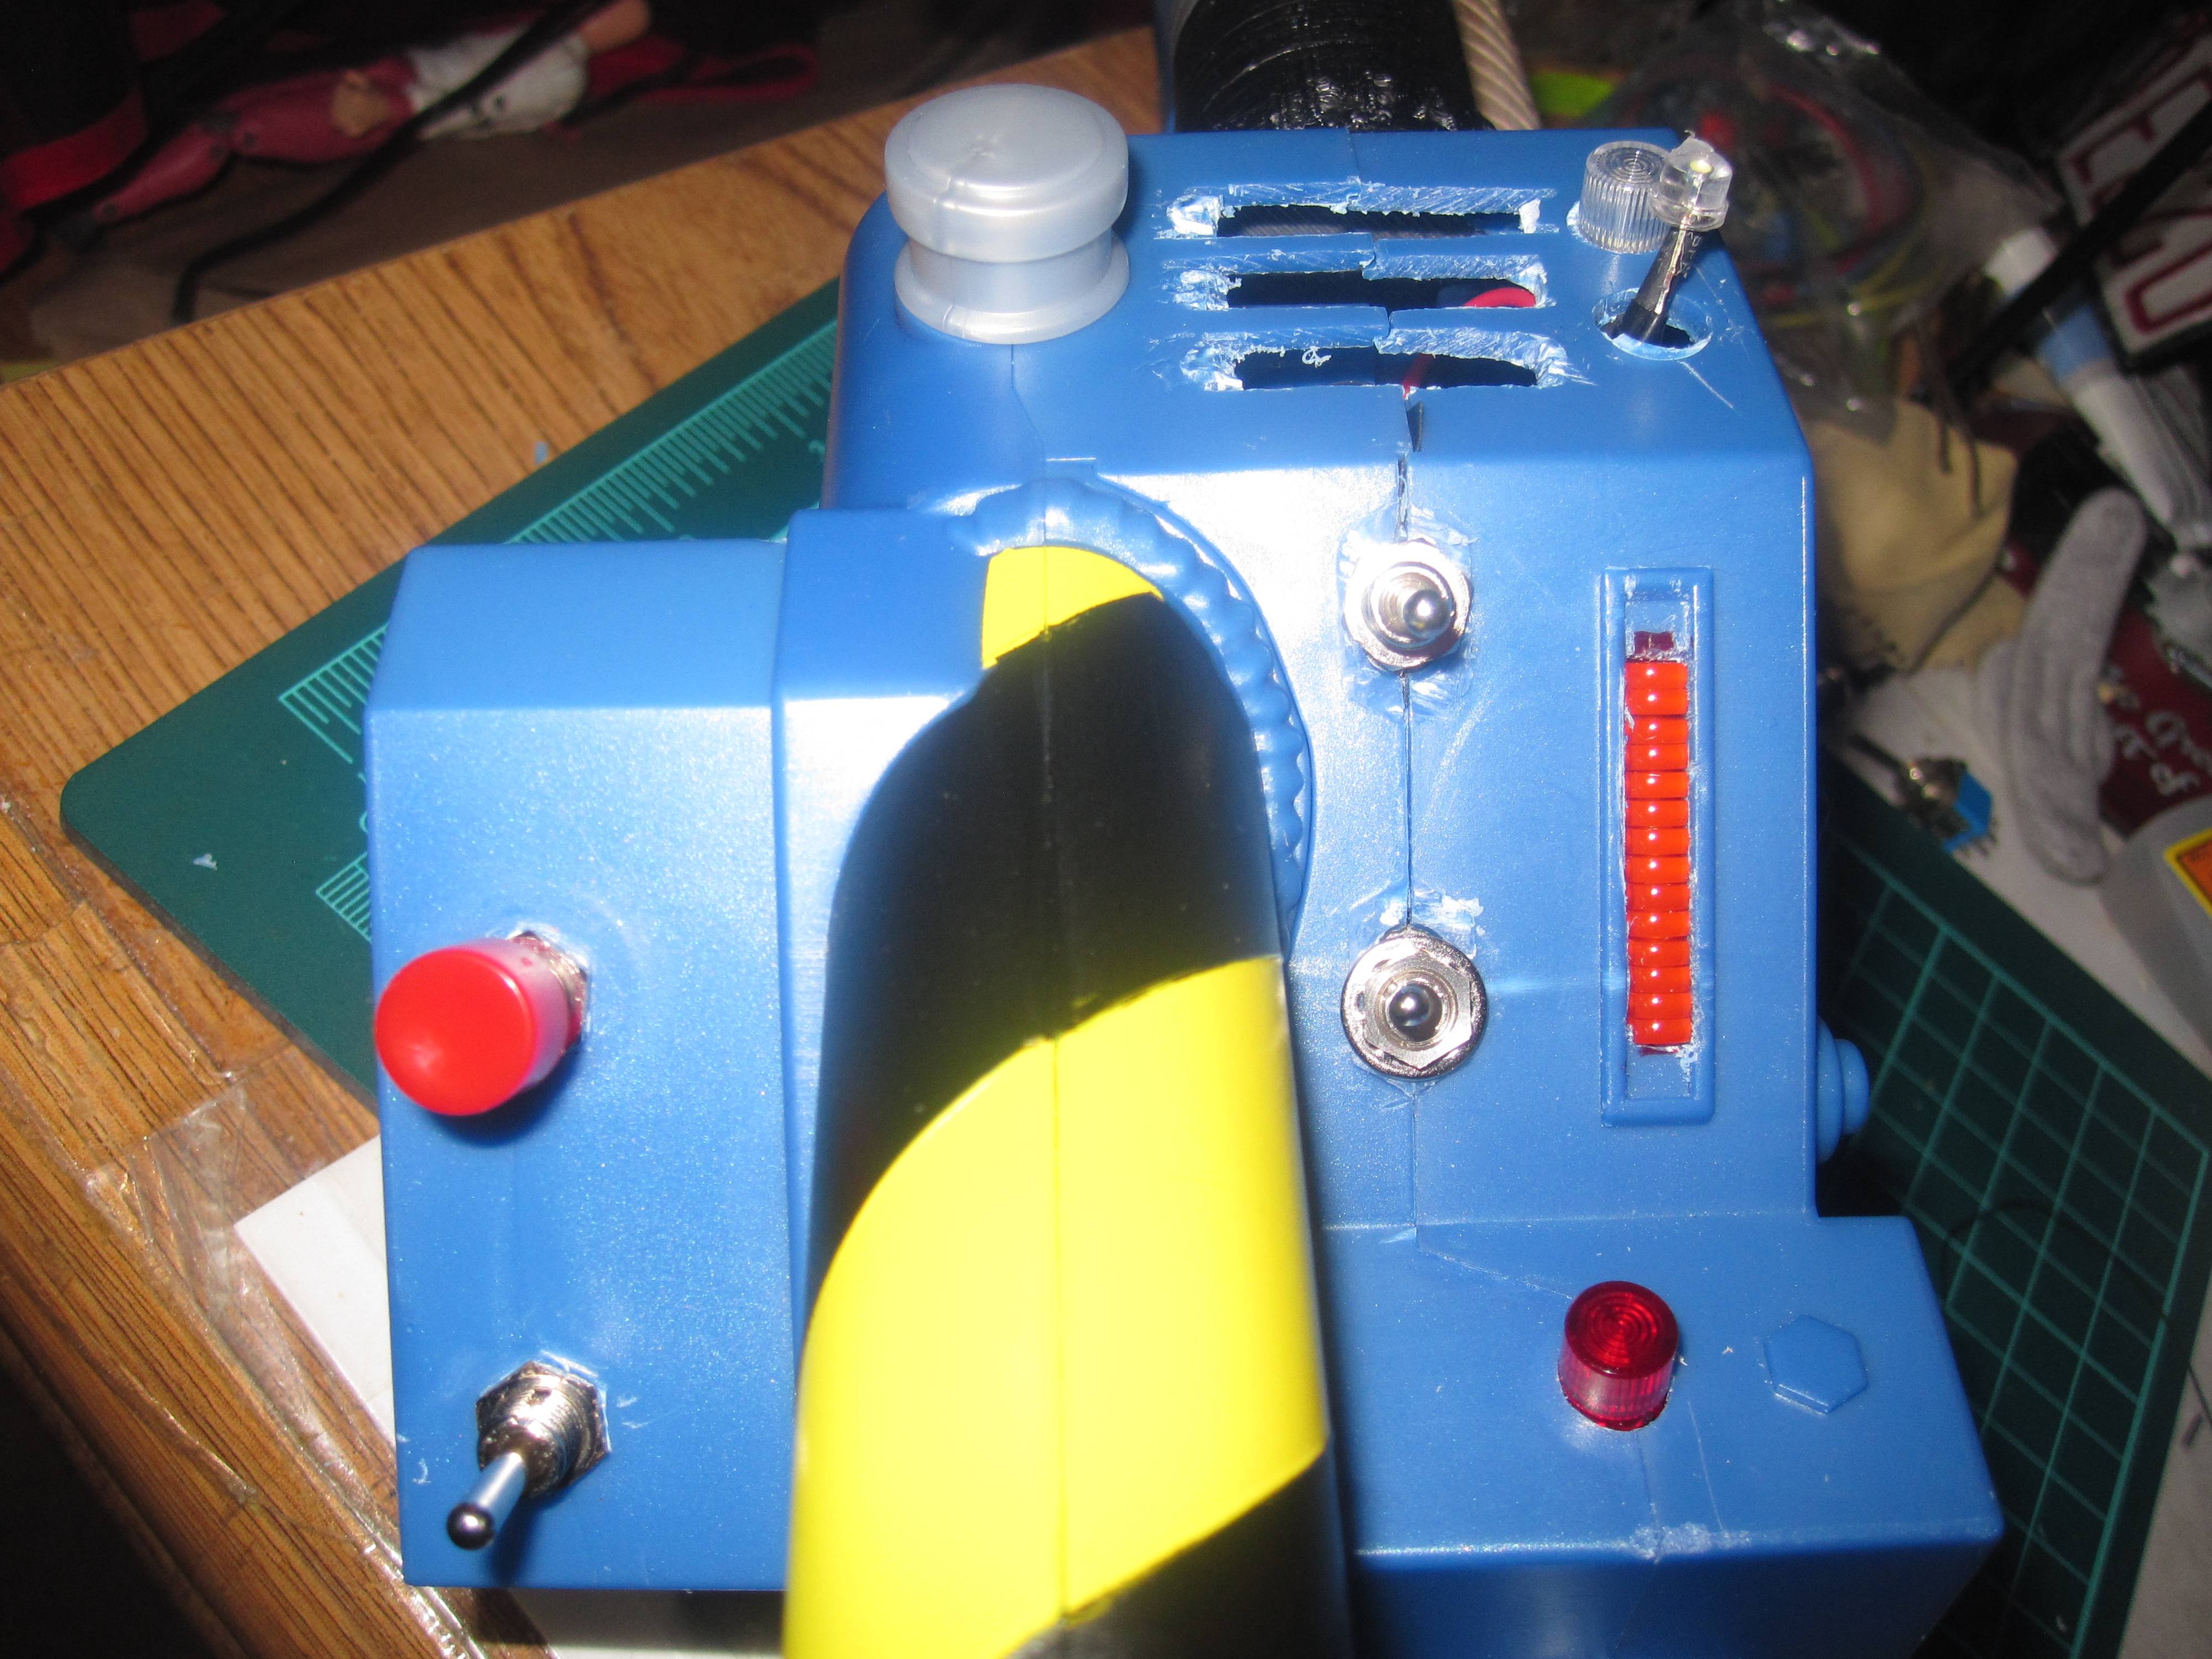
So I added a kill switch, re routed the two switches and activation button so they are now in the gun box. I was actually surprised as to how easy it was to do.
The rest of the customization will have to wait until spring. I plan to repaint it, add a vent light and replace the front hand grip so it resembles the Spengler wand and add the proper cables. Not sure about the light bar yet as I don’t know if there’s enough space inside.
If someone is wondering why I didn’t just use a Spengler wand I consider that a collector’s item and I don’t want to damage the one I have.
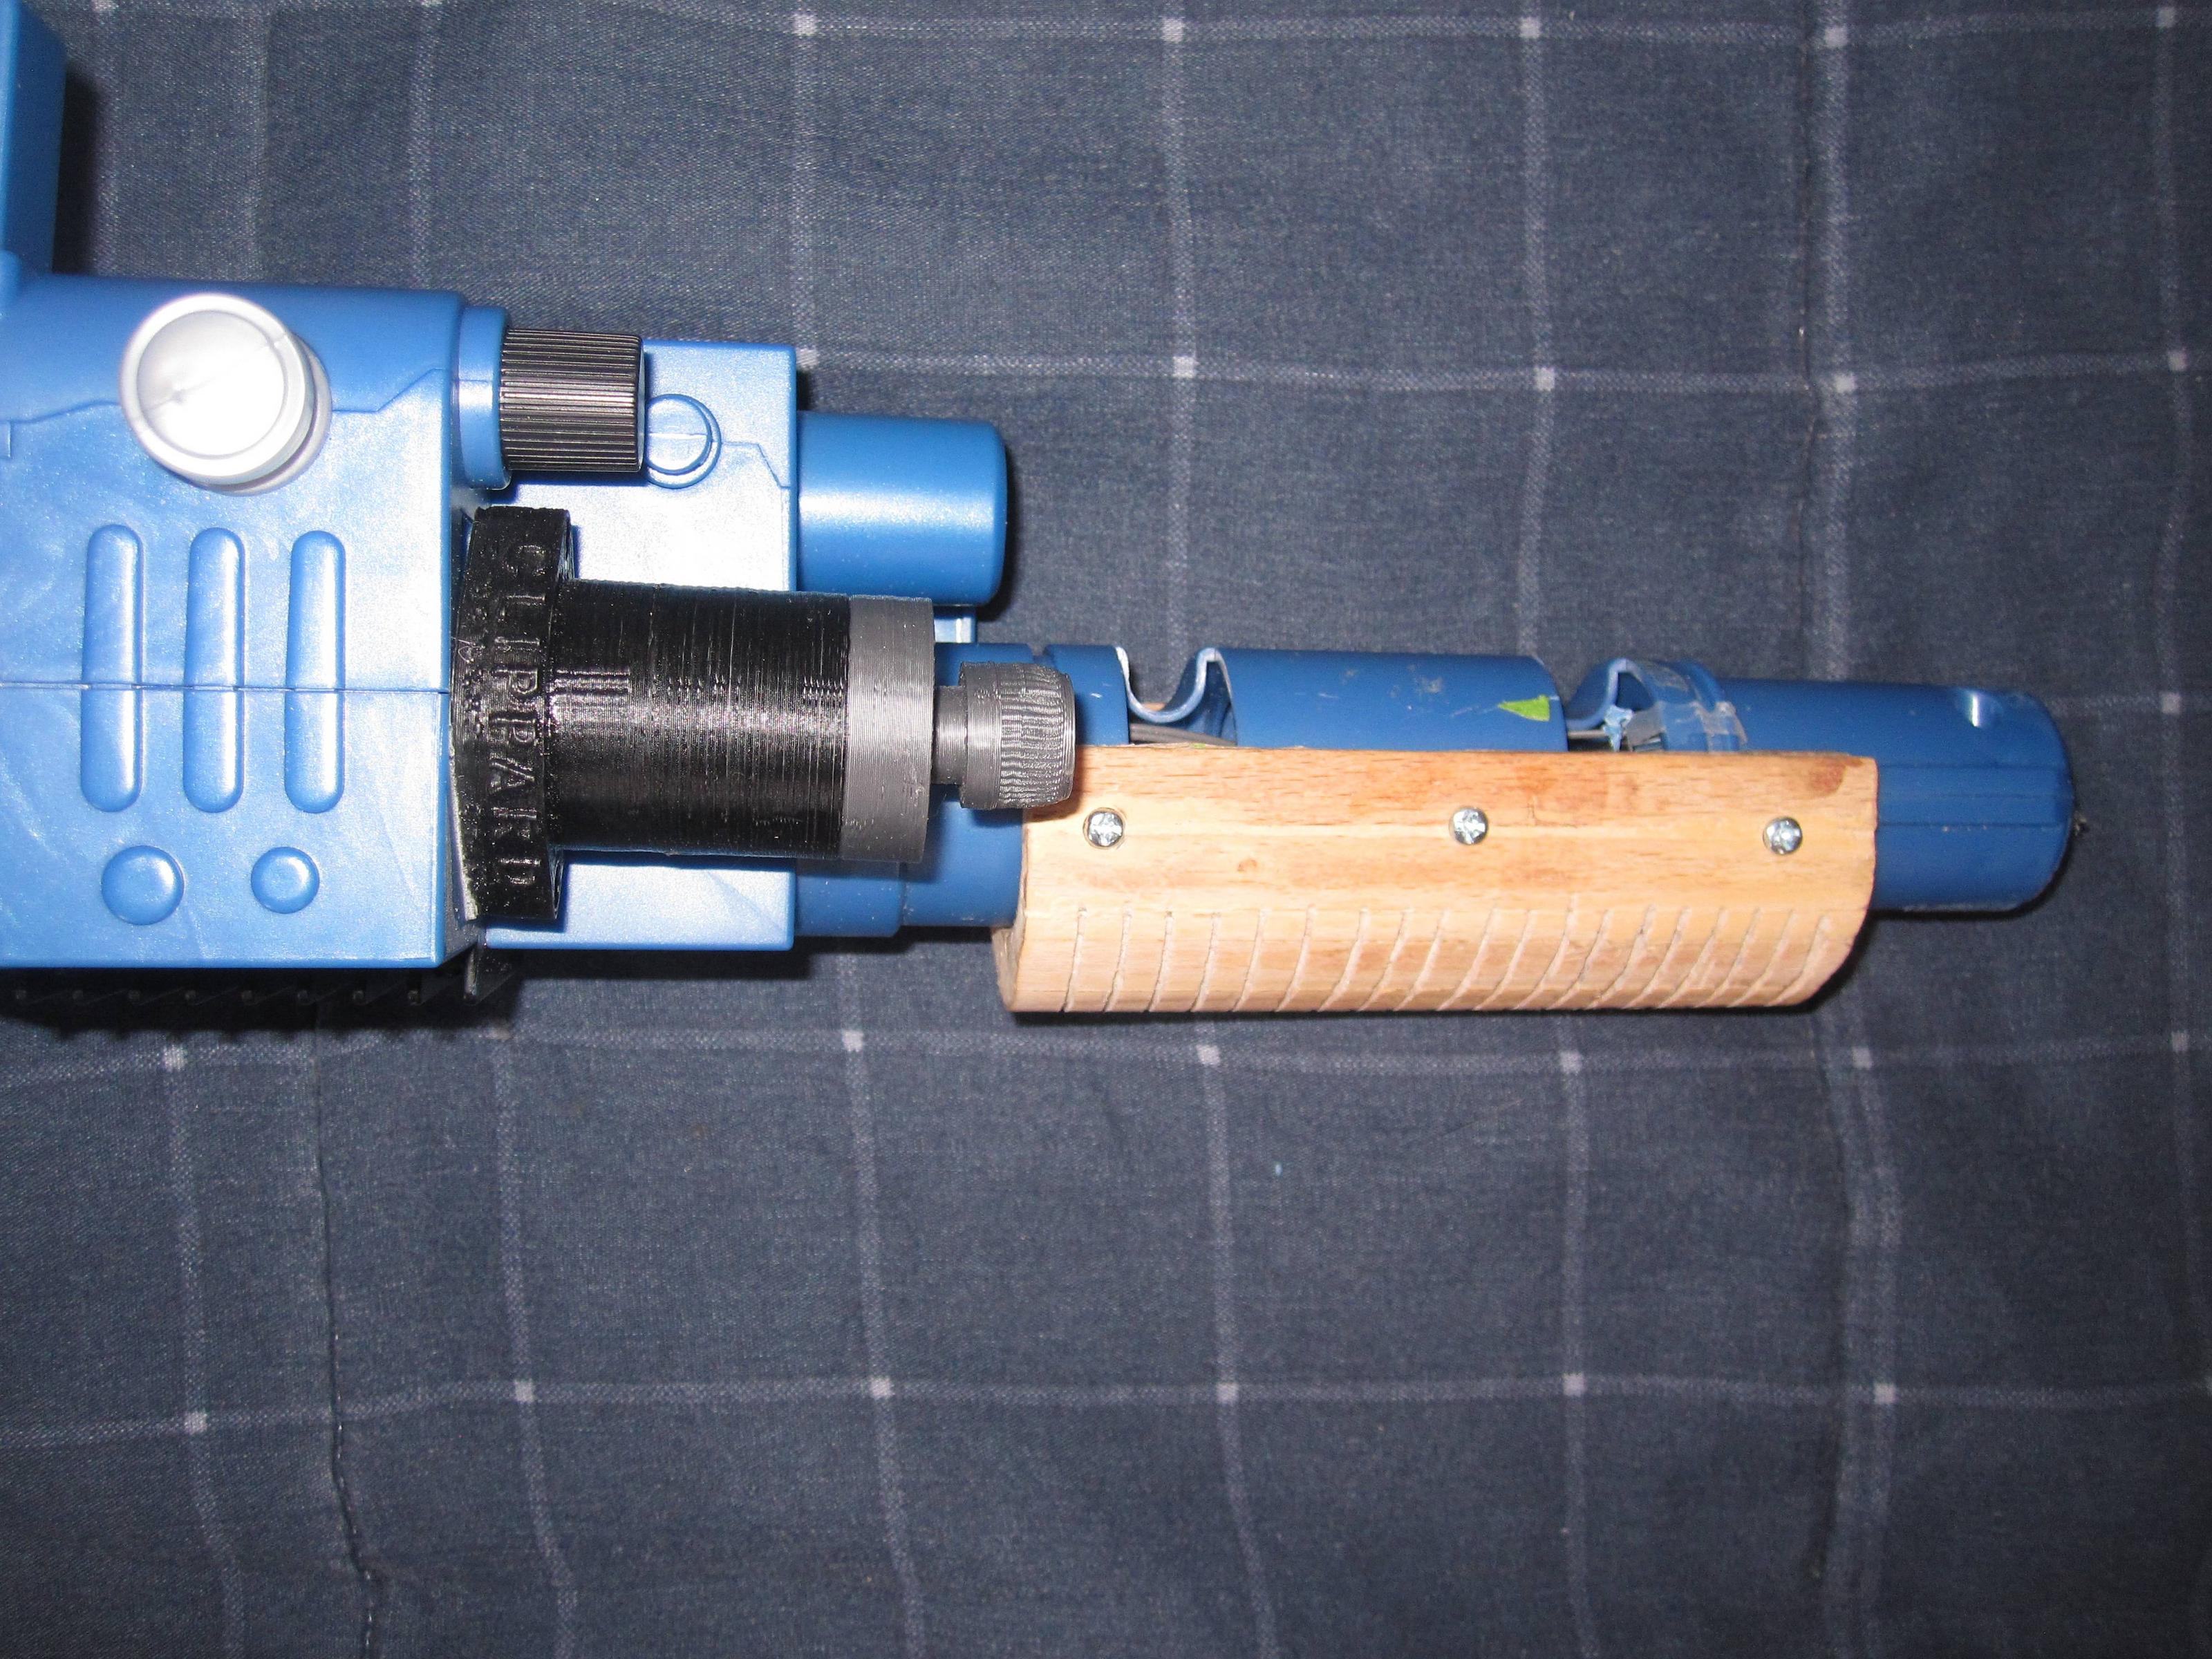
The 3D printed tip is from a 80% scale wand I bought last year. It did the job but there was an accident and… Well you can guess what happened there. So I salvaged the Printed parts that I needed. I plan to make the wand and the Spirit pack as close as I can get to the Spengler wand and pack.
Hey bud, just wanted to pass along that “Ghosbusters gear” on Patreon has stl files specifically for this wand that include the a movie based tip, a v hook set up for the battery cover, and a fitting for the slip loom.
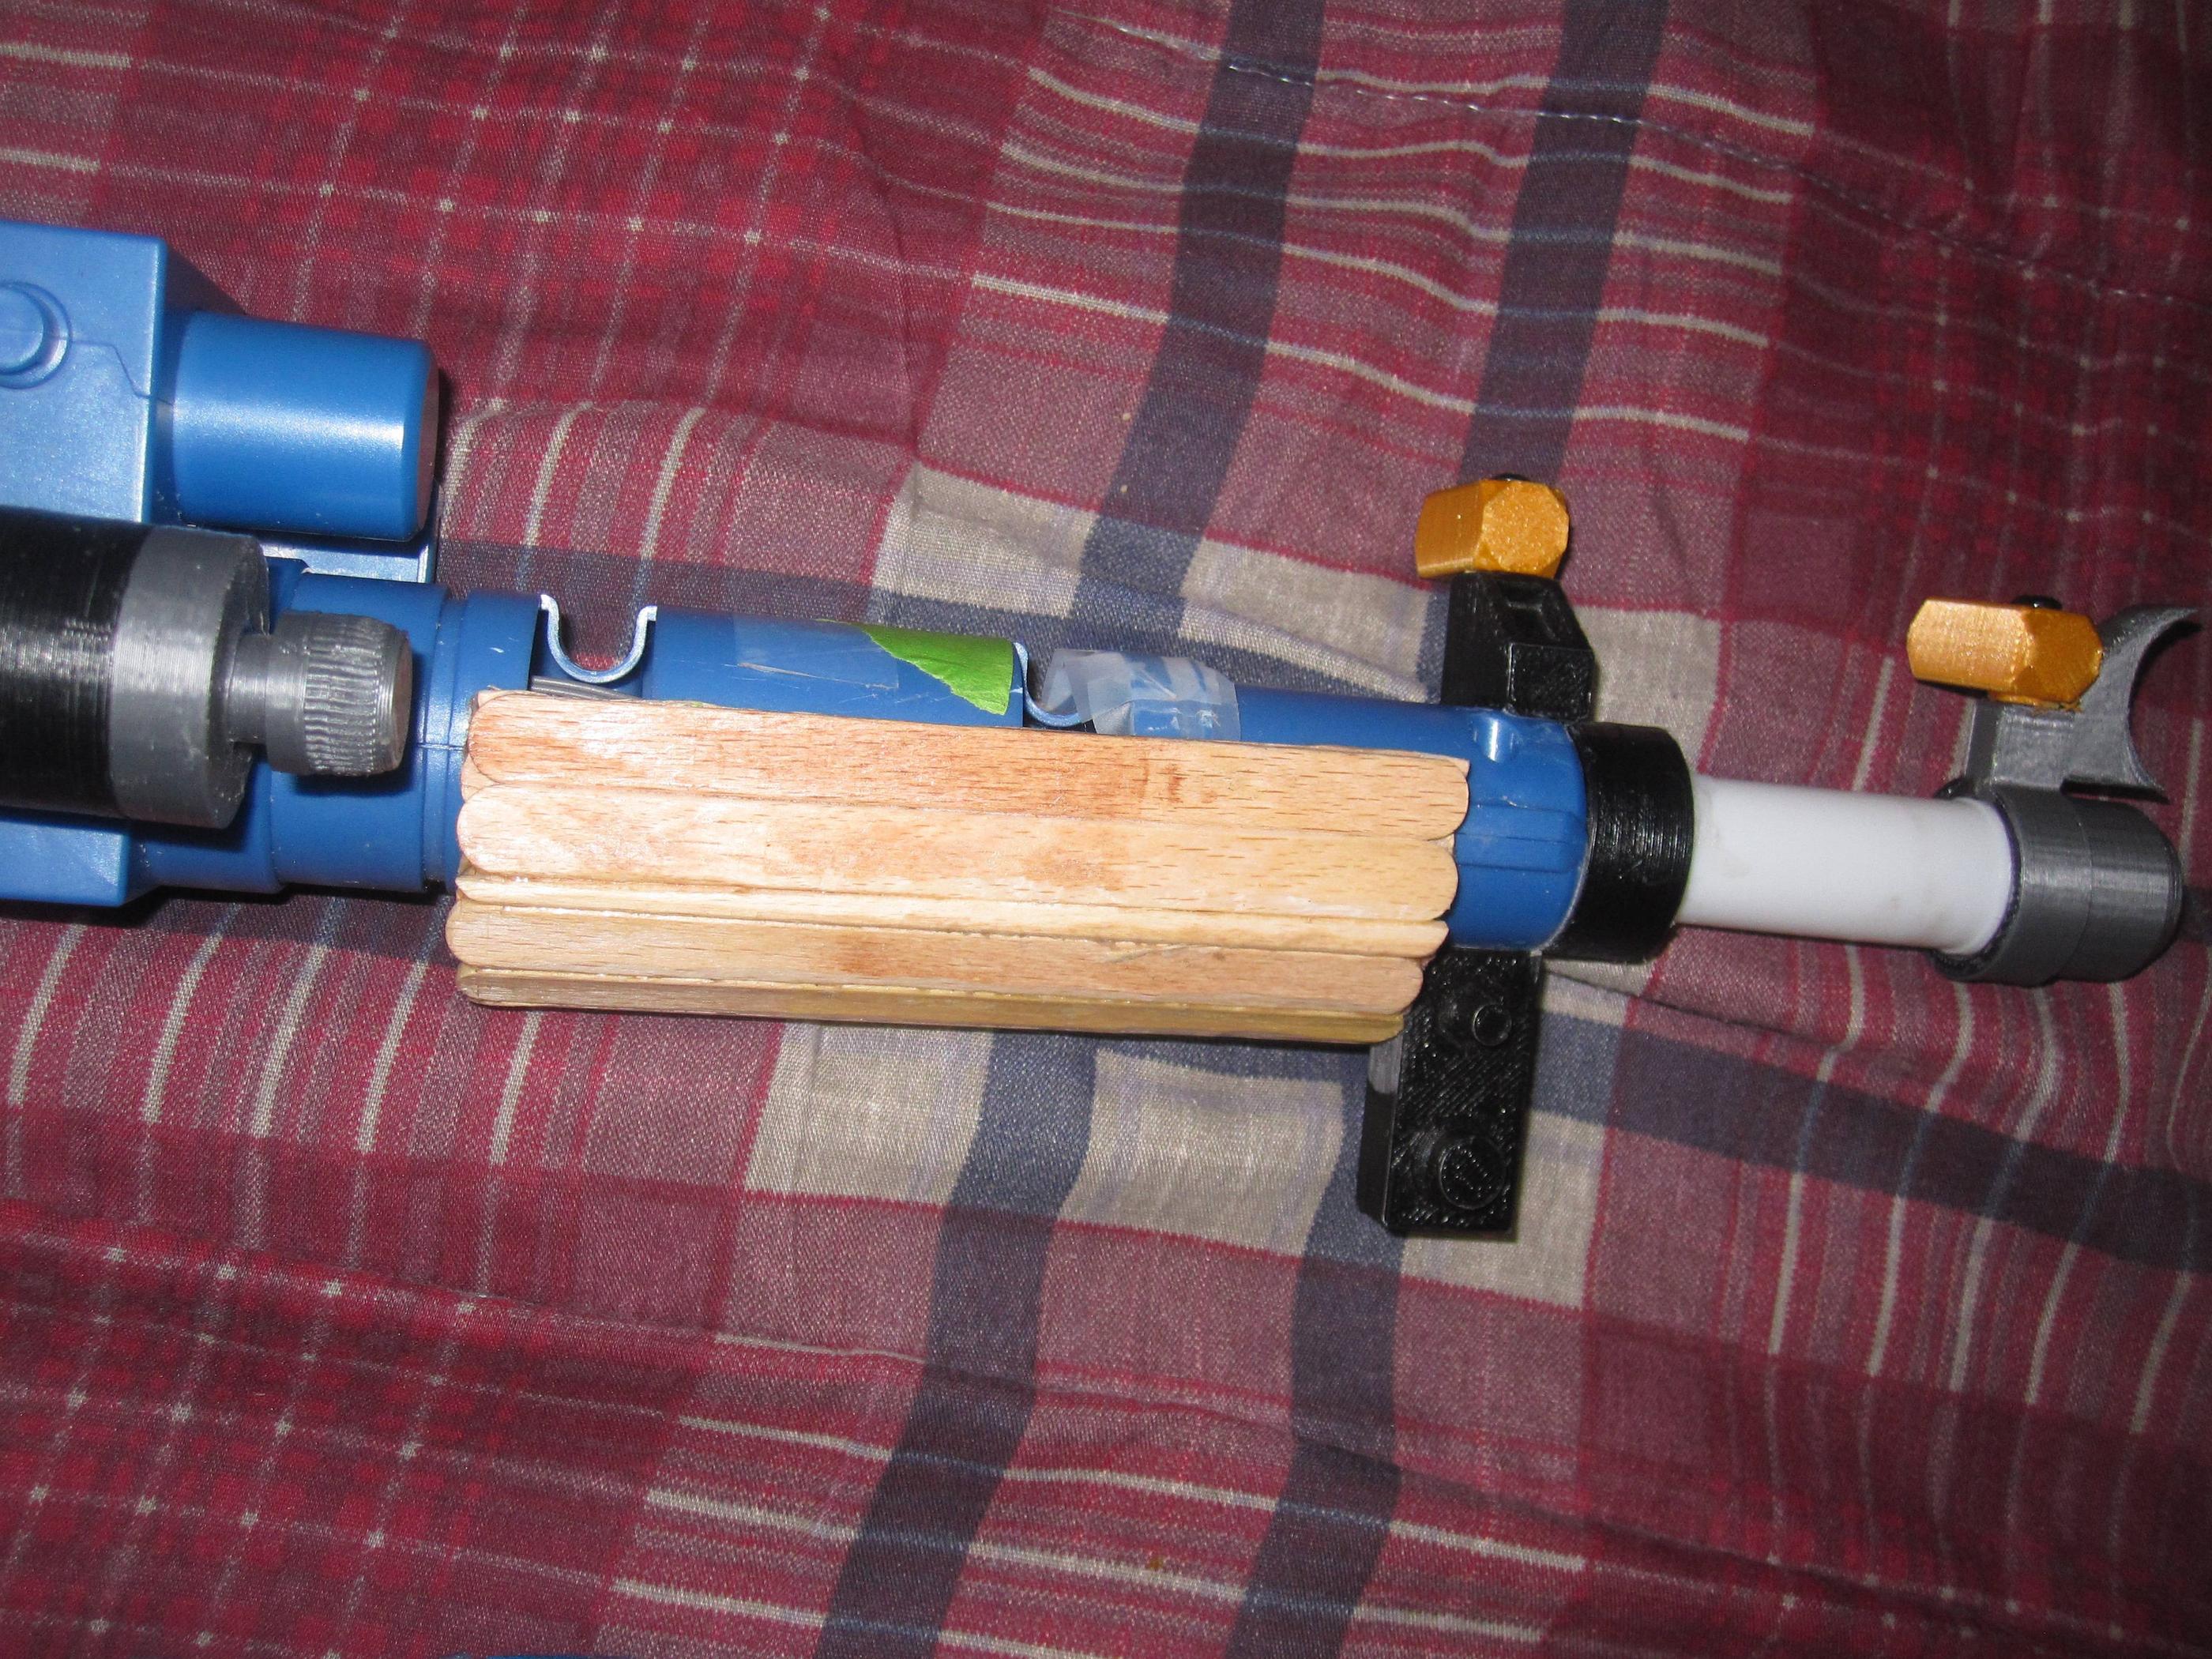
So I thought I’d replace the hand grip so that it resembled my Spengler wand. After checking Ebay and coming up with zilch I decided to try to make my own. Made a cardboard shape and glued layers of popsicle sticks to the desired thickness. Not ideal but it will have to do. It doesn’t look like much but after sanding and staining it should be close enough for my needs.
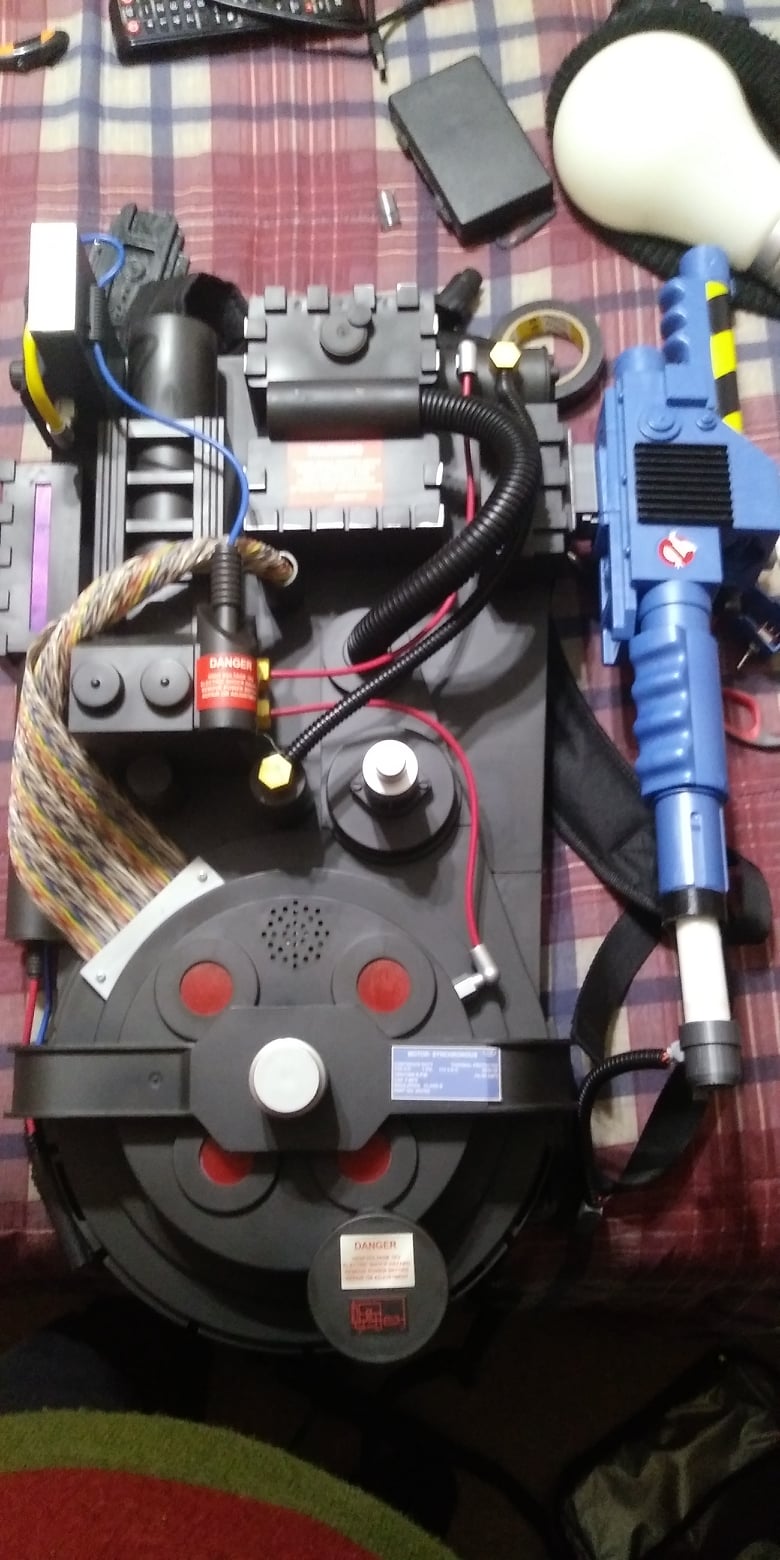
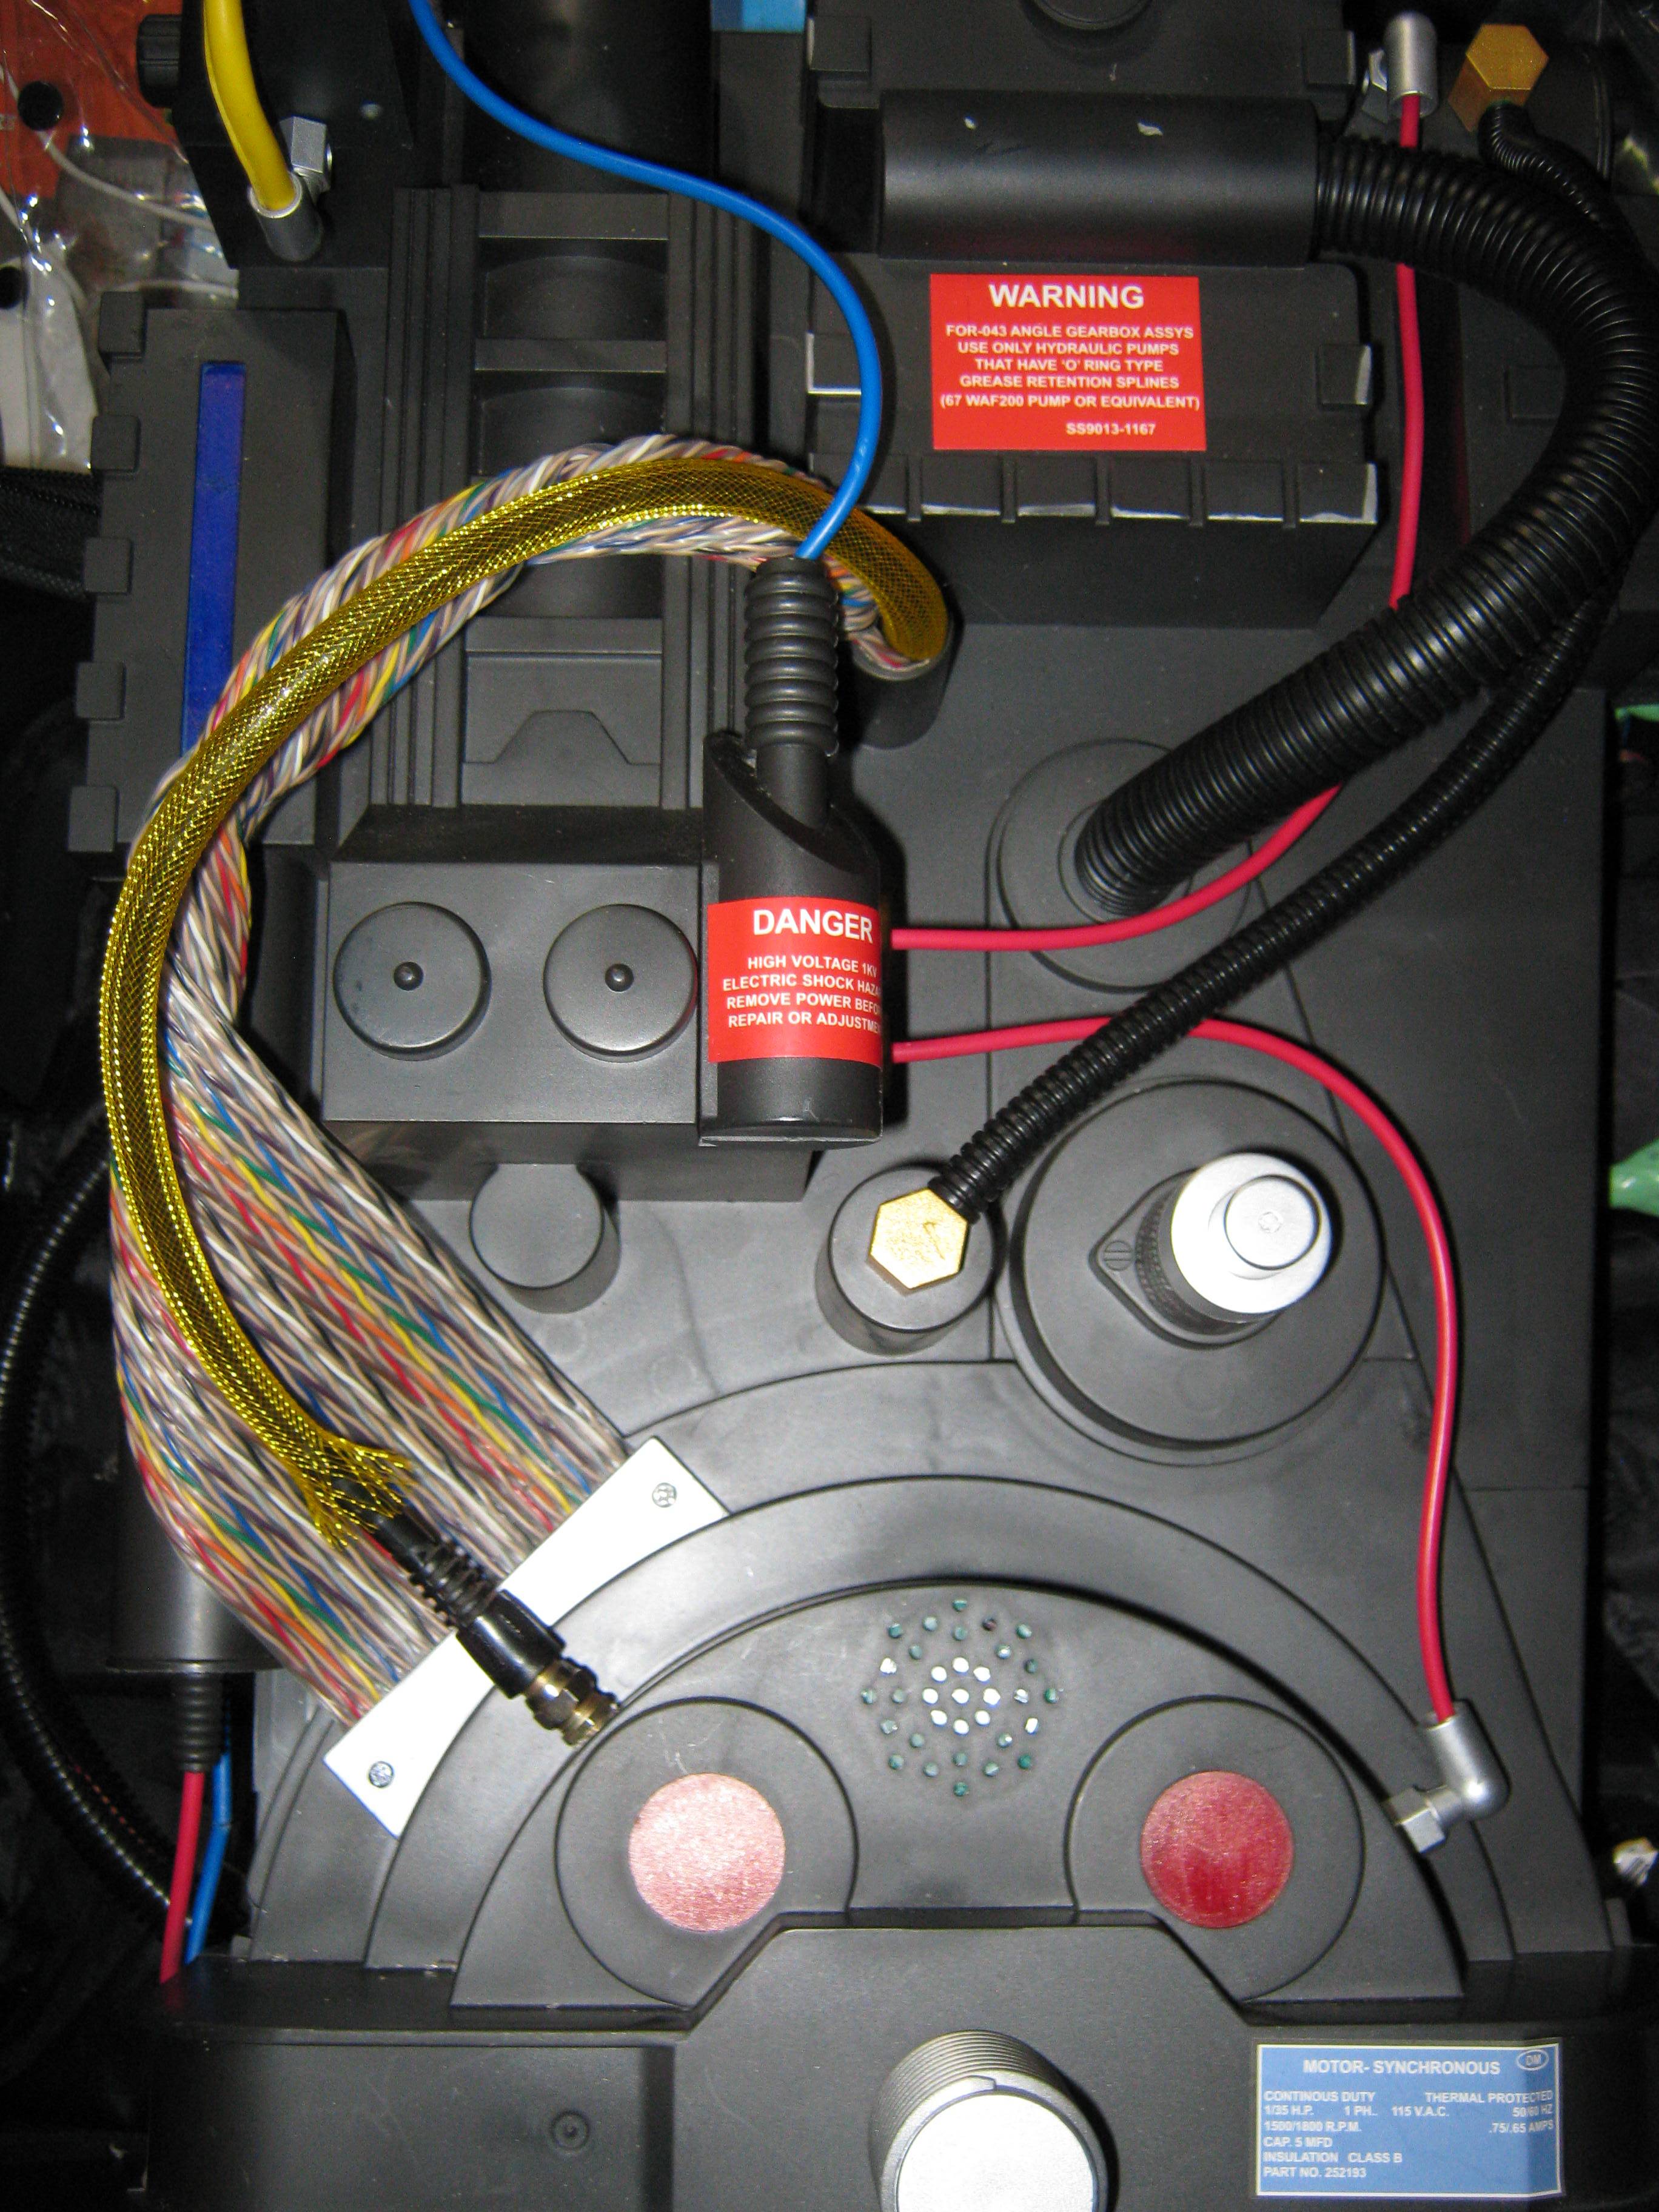
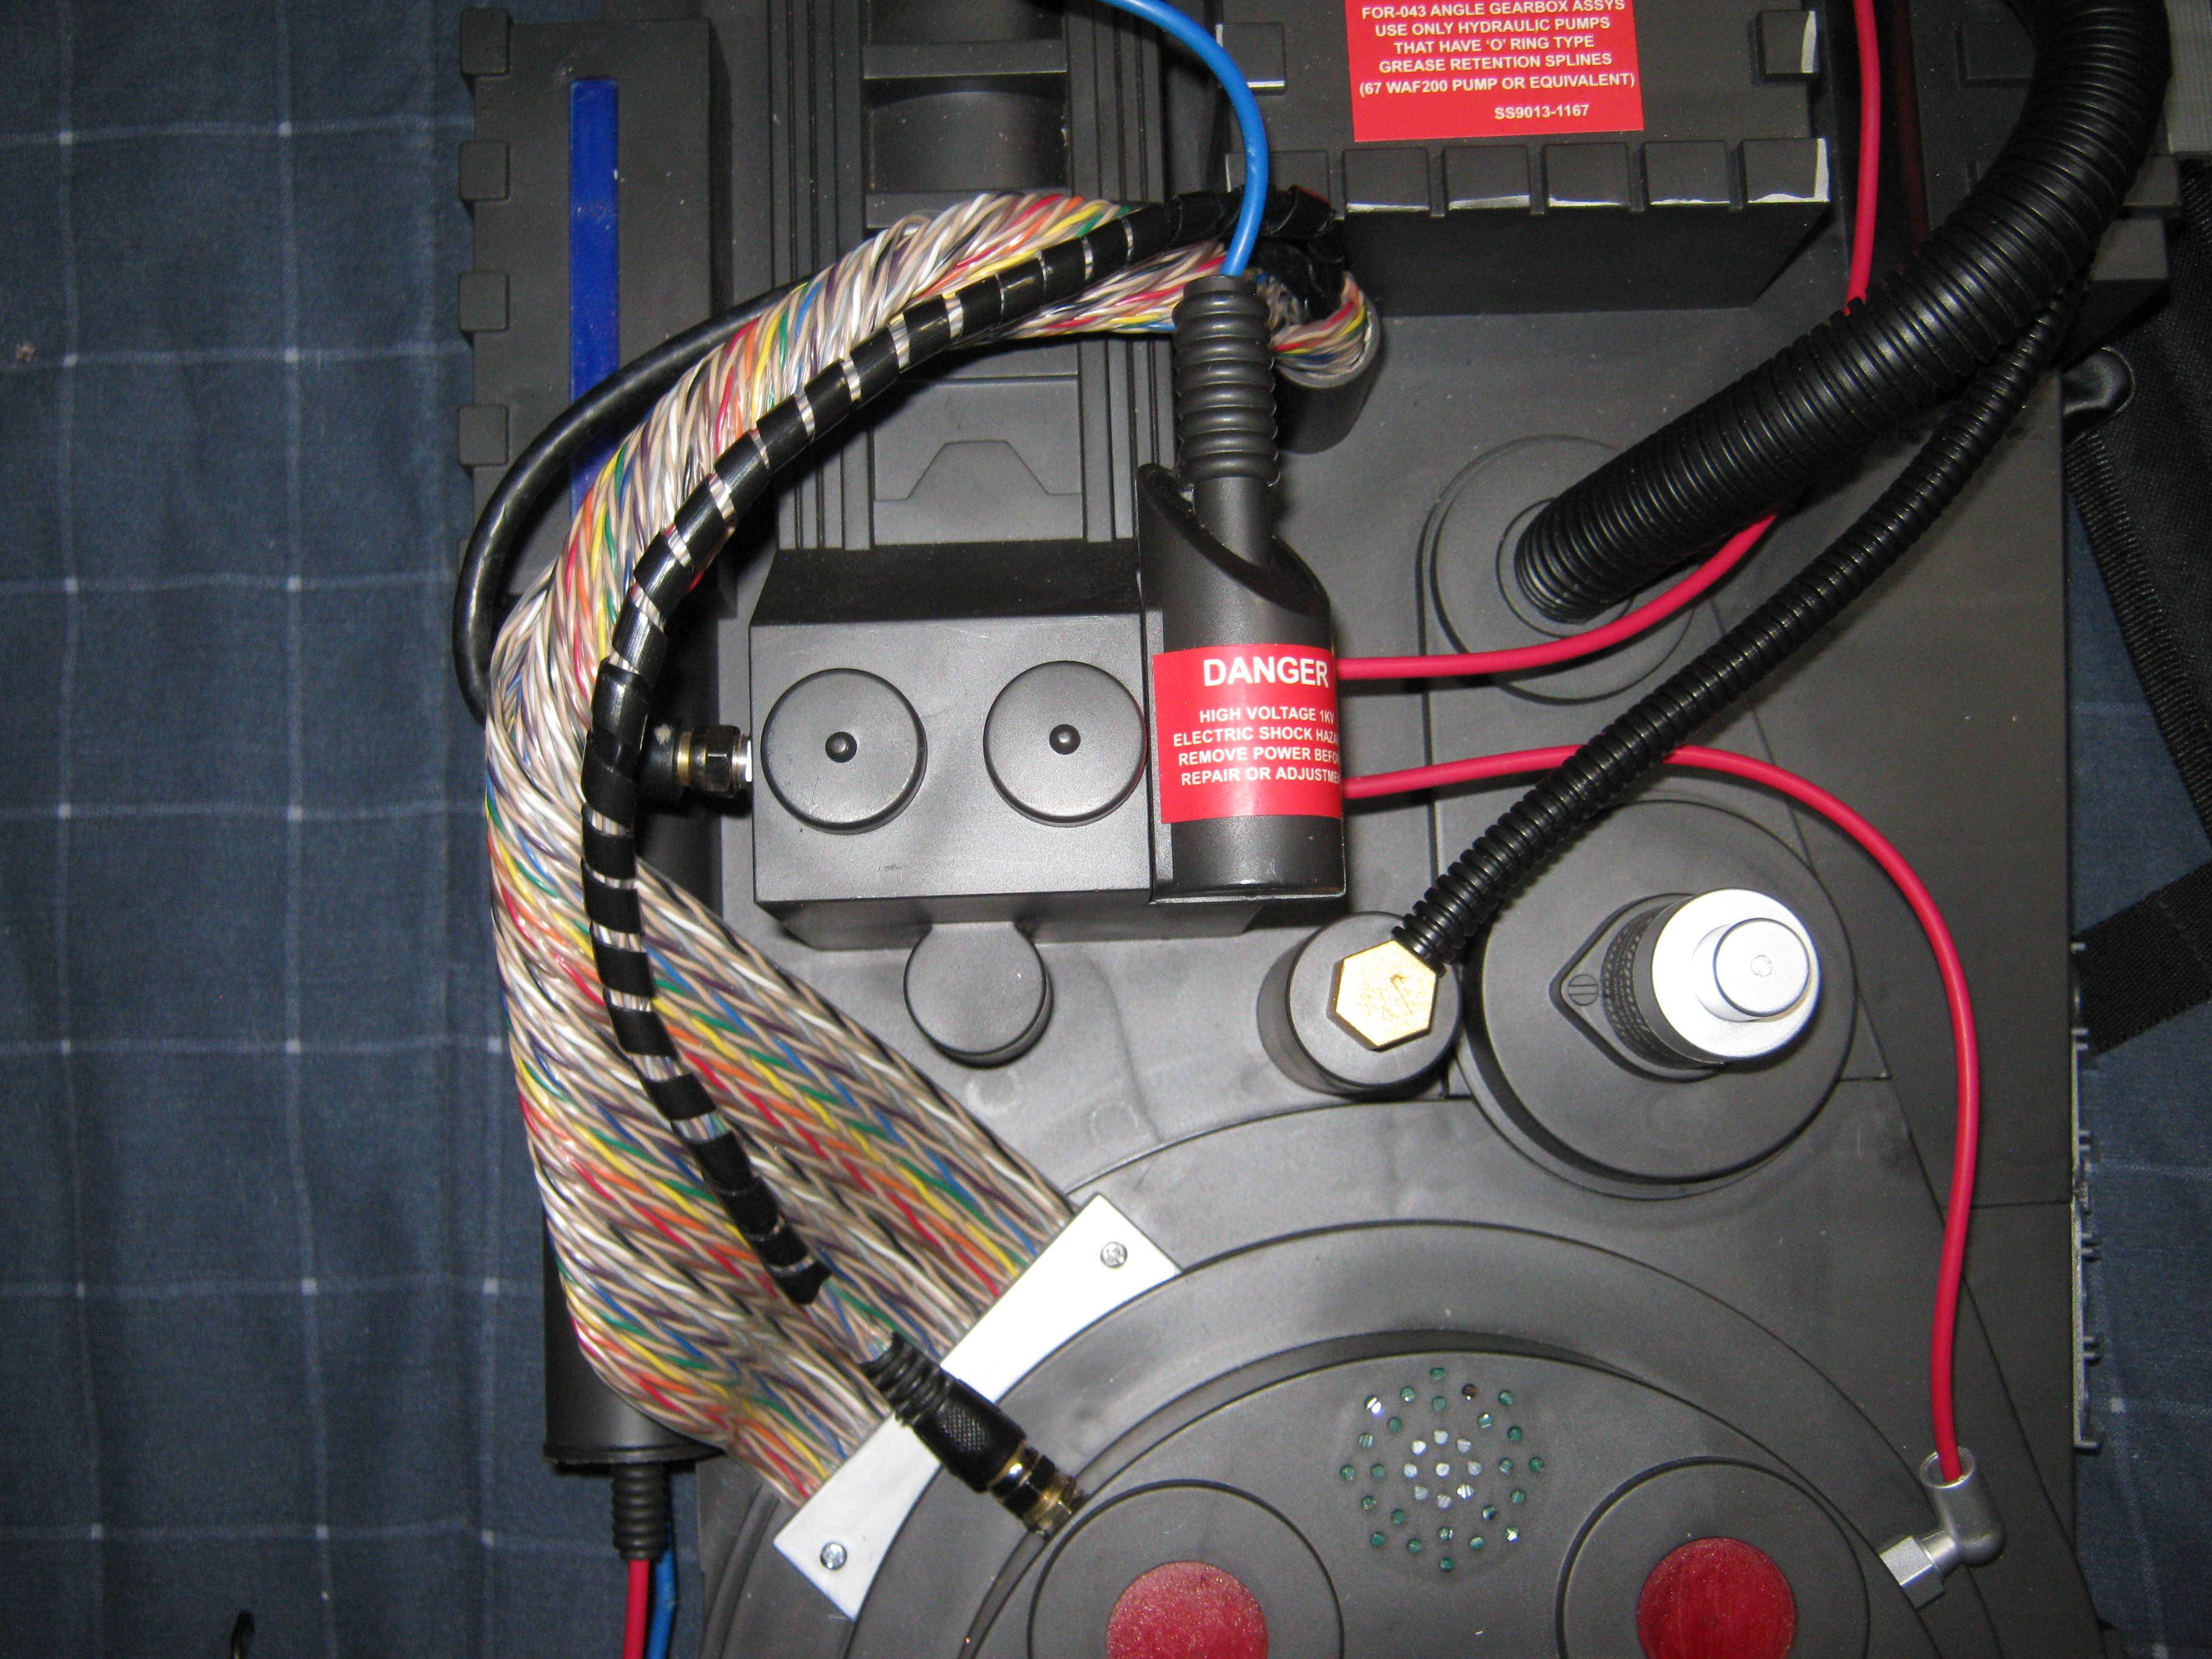
While I await some 3D printed parts I thought I’d begin to Mod the Spirit pack so that it resembles the Spengler pack from the movie. Well I ordered a few items to make up the added cable that runs along the ribbon cable and when they arrived today I discovered, much to my chagrin, That it was the wrong thickness. Looked at it abit and decided “Screw it” and work with what I got. While I wish it was a bit bigger so it stood out more I guess it doesn’t look that bad in this test fit. I’ll leave it be for now until this spring when I can repaint the pack and add more details.
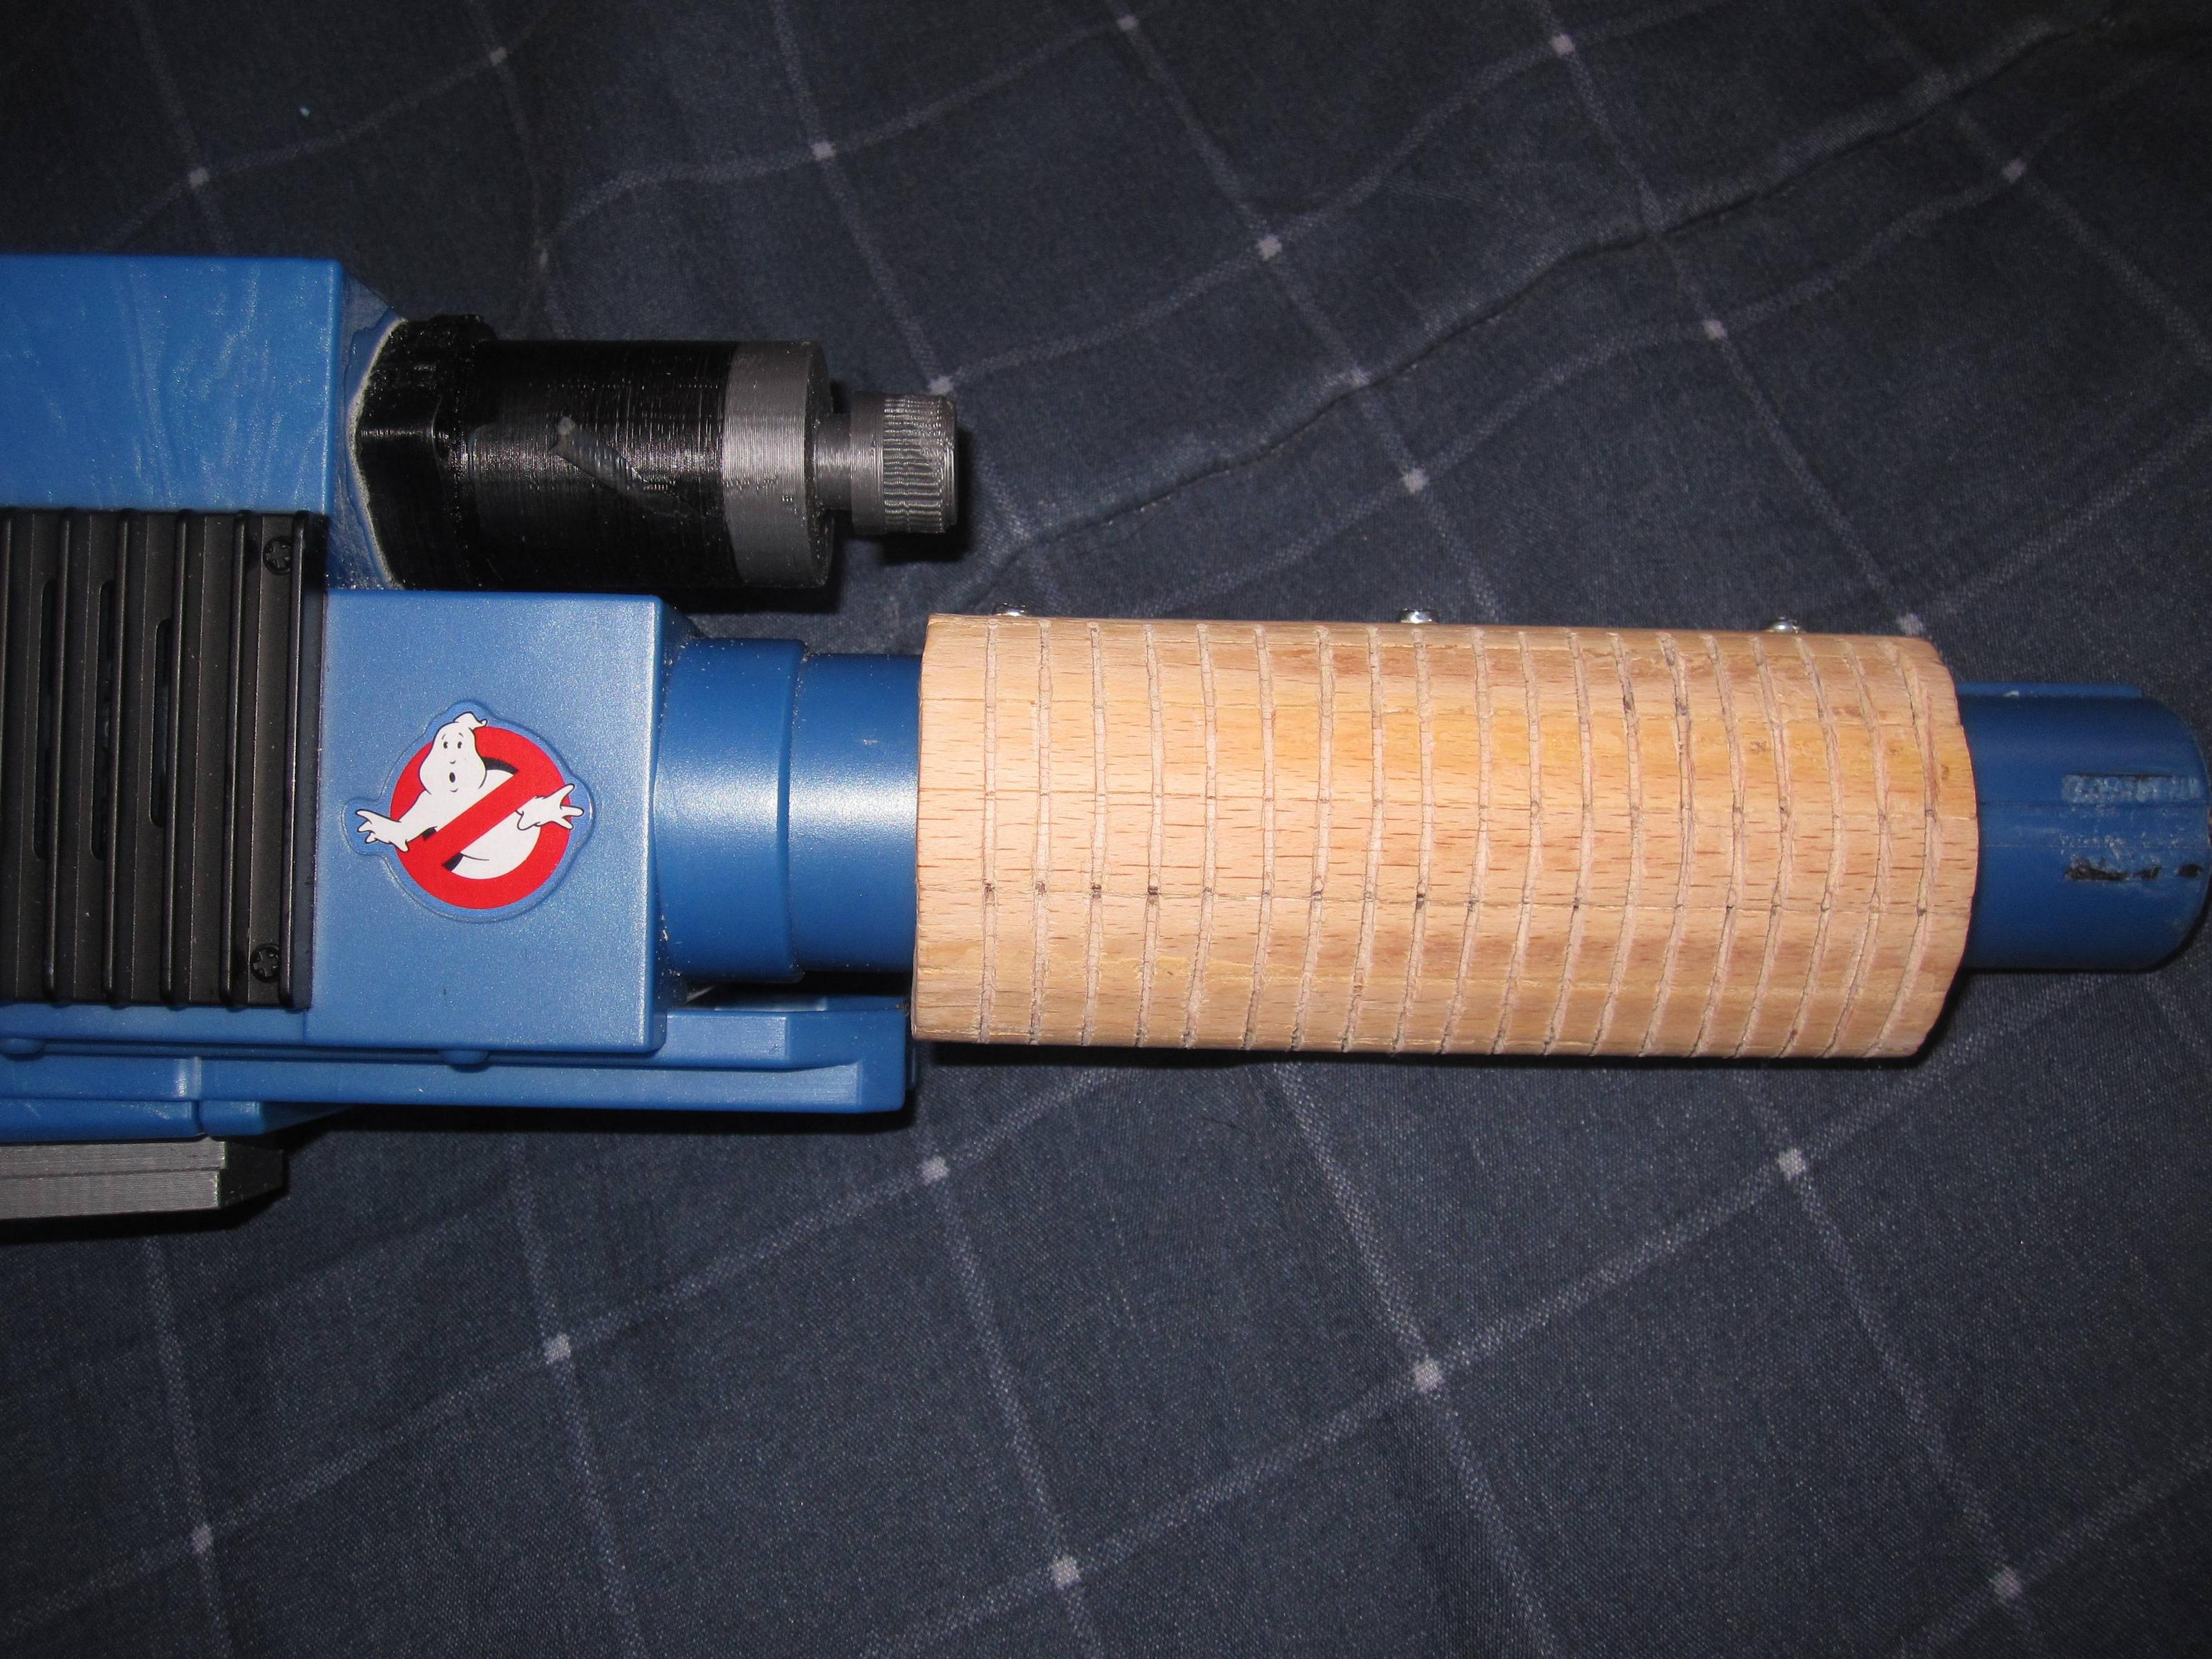
Still waiting on those 3D parts. In the meantime I have the Barrel grip as finished as I can make it until the spring when I can paint and varnish.
The screws are temporary.
The grip is a bit bulky due to the size of the Barrel and I suppose I could cut the Barrel off and replace it later but I don’t want to make a weak point on the gun either. I can get my hand around it so that’s all that matters.
It was something I put a lot of thought into and it was the only solution I could come up with that was relatively easy. If I can’t find what I need I’ll try to make it instead. So for the grip I used wood glue to glue the Popsicle sticks in layers until I had the desired shape and thickness and then sanded and putty filled where needed. It’s not 100% screen accurate but neither is the Proton Blaster, and that’s not my goal.
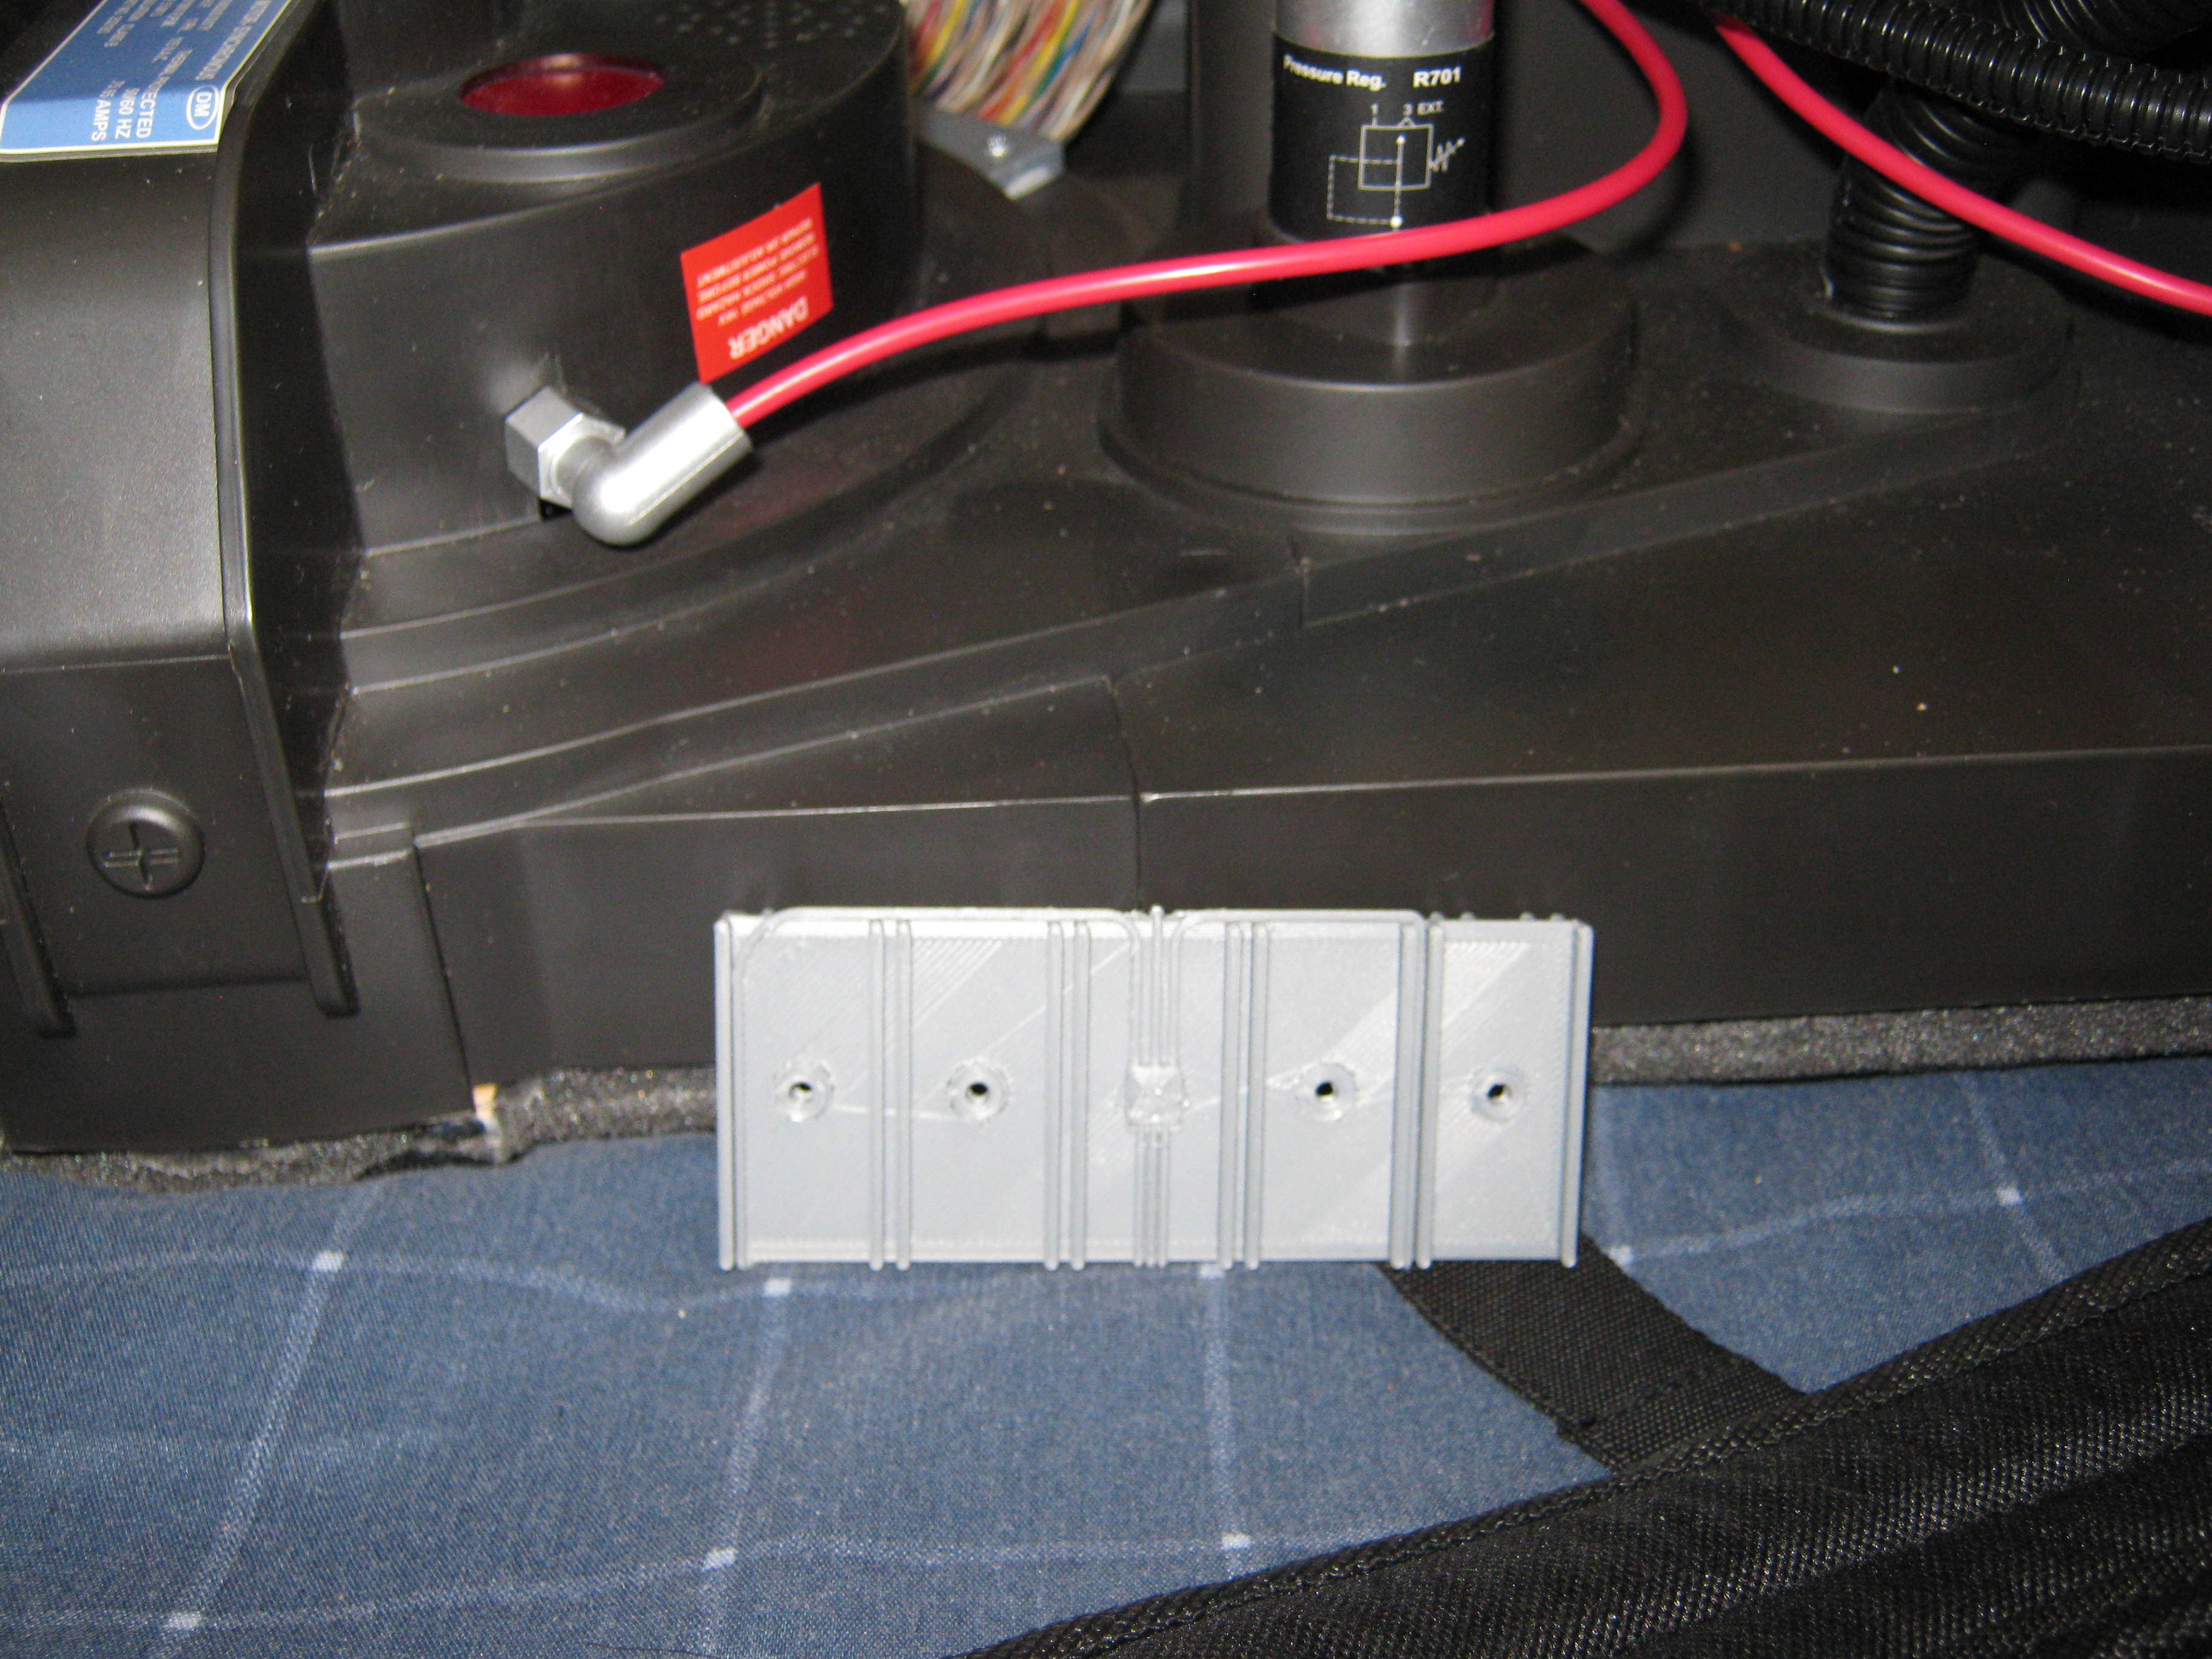
Some 3D parts came in. The gun tip and the heat sink from the afterlife Spengler pack. Why did I get that 3D printed and not just buy the real thing? Well since the movie came out the prices for the actual metal Heat sink has really gone up. It was cheaper to go with a 3D printed version that I can paint and make changes where I want. Not sure if the heat sink is to scale for the pack but it’s the right size for the spirit pack.
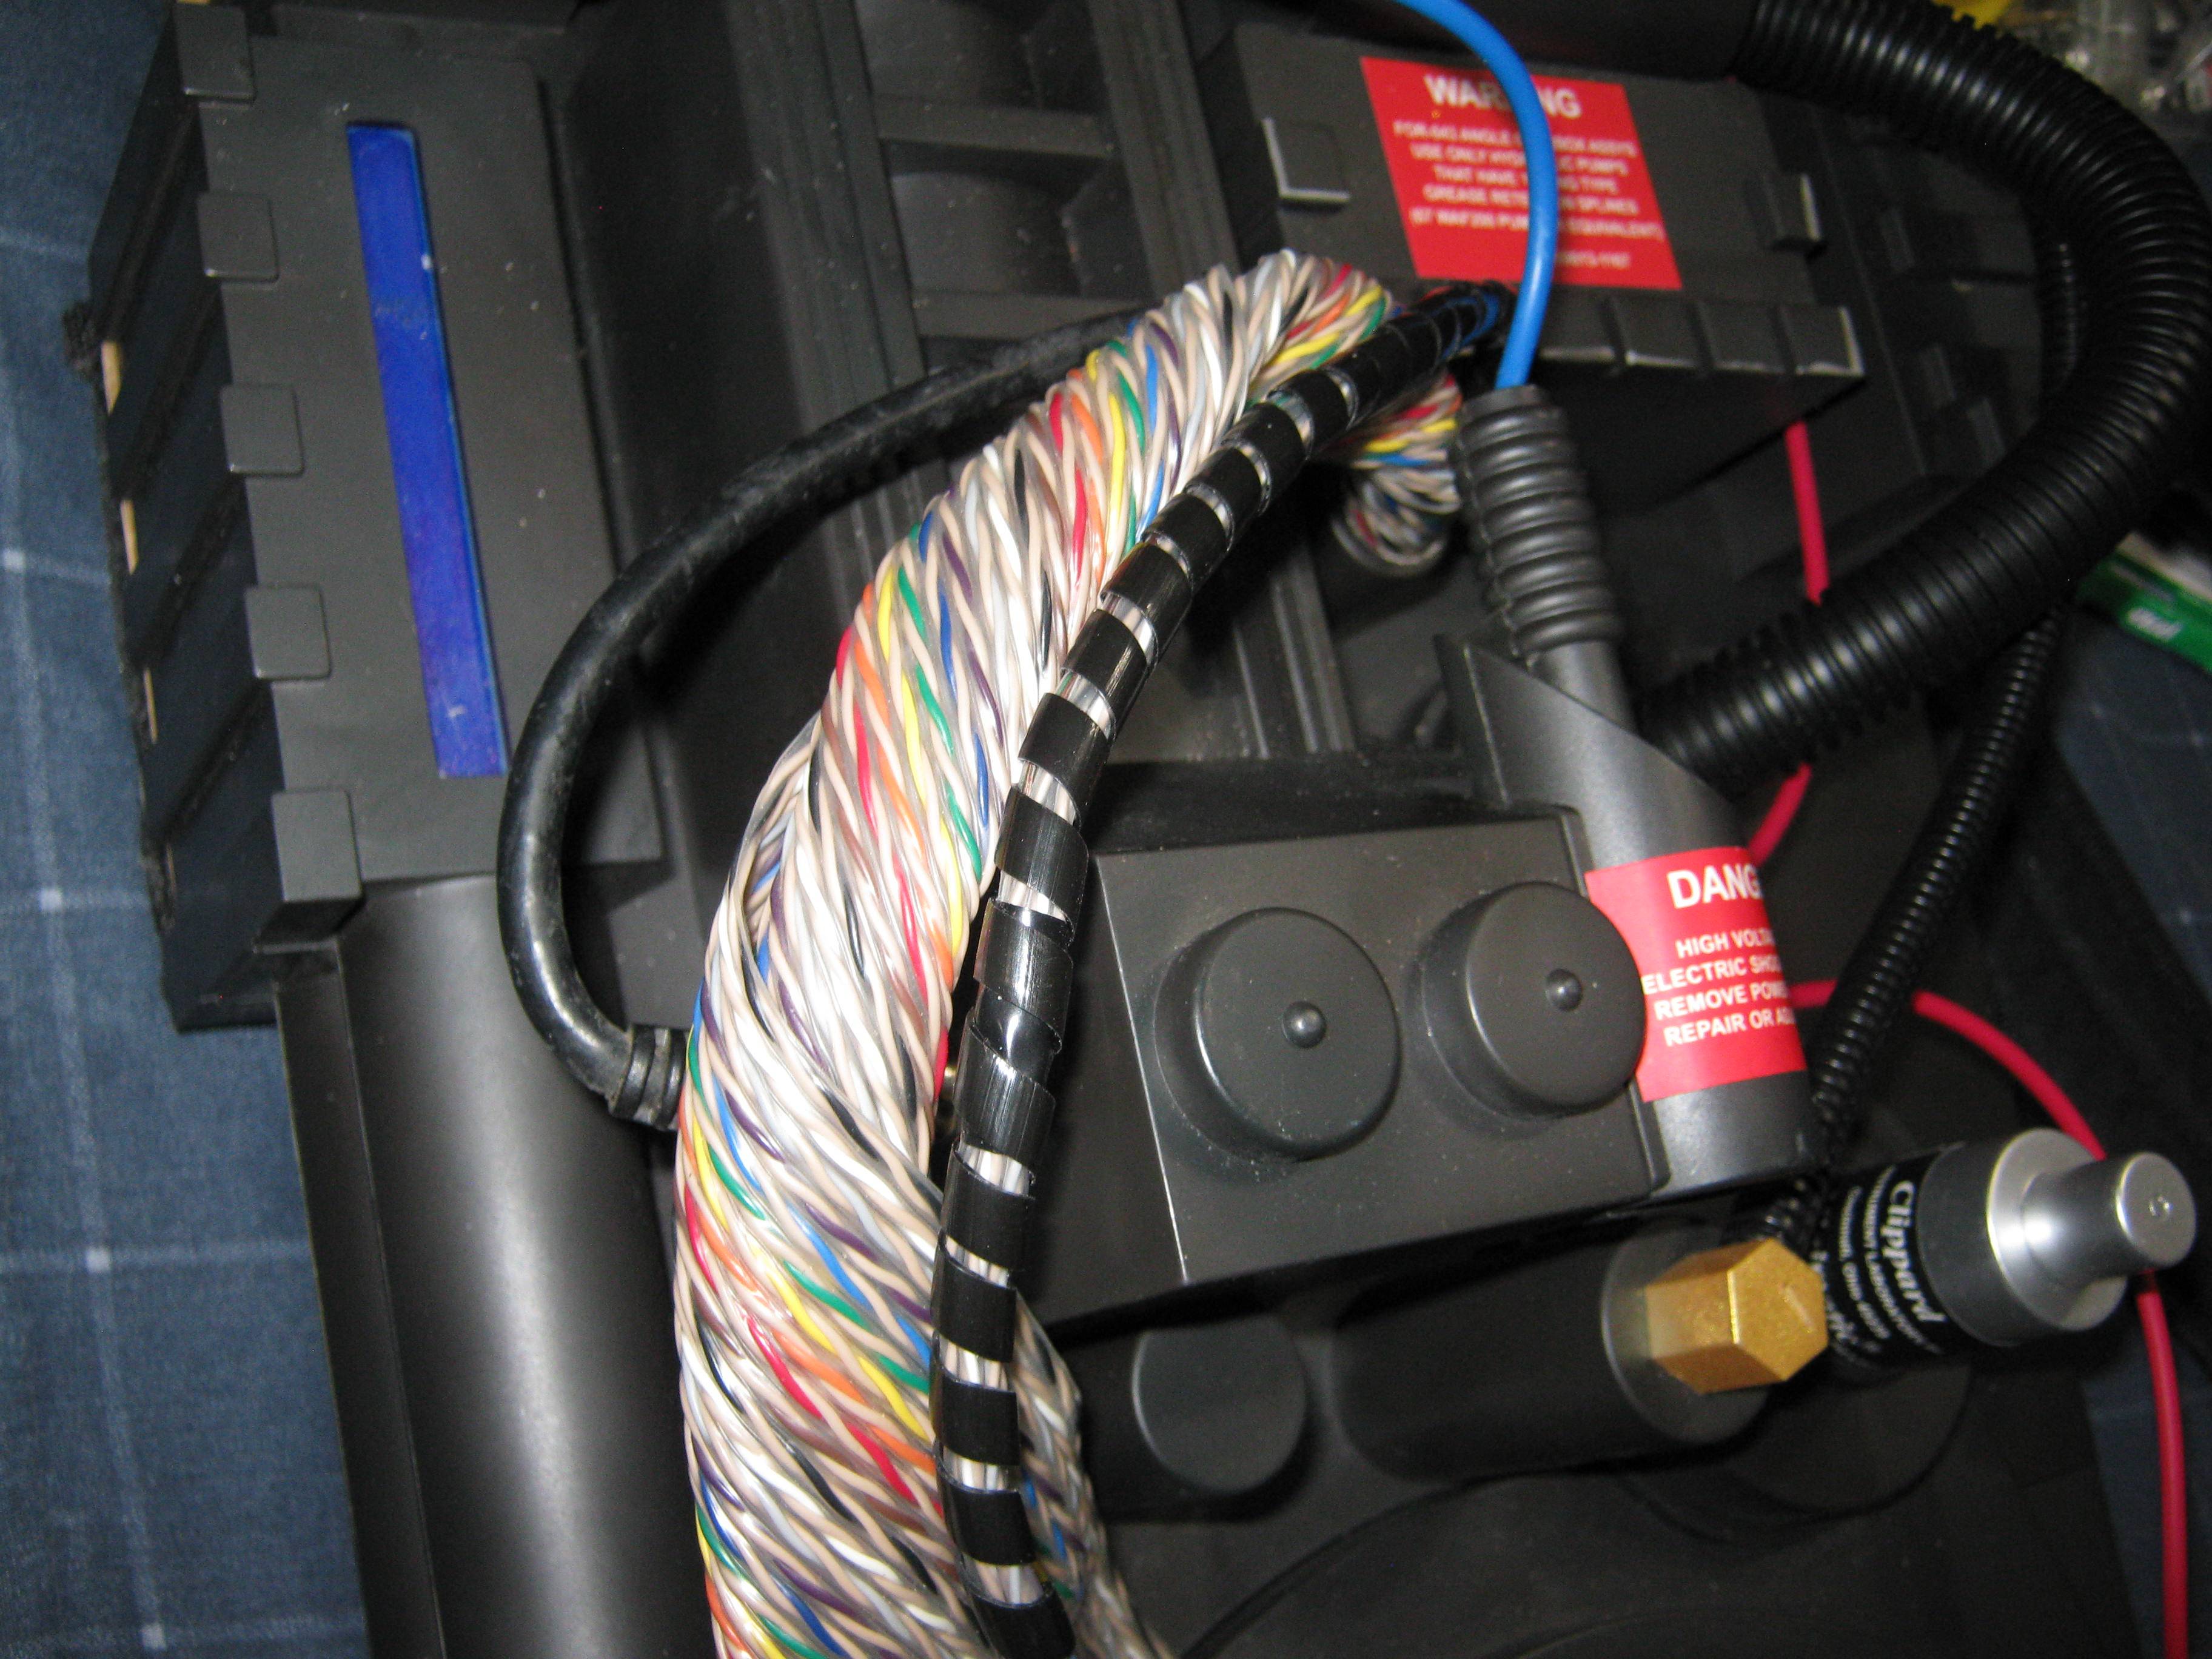
While I was checking out reference photos of the Spengler pack I noticed an extra cable behind the ribbon that I hadn’t noticed before. So I added it to my spirit pack as well as reworking the previous addition. I’m waiting on the correct size FLEXO PET Expandable Braided Sleeving to come in a few weeks. Also this is where I plan to install the 3D printed Heat Sink.
Not much of an update here, The electronic kit for my project came in from Jupiter Electronics. The Bar graph for the thrower is slightly smaller than what should be for the Blaster MOD because it’s meant for a Spirit thrower which is much smaller. However I’m thinking about how much space I have to work with inside the Blaster and I don’t want to cut away too much of the internal structure. if I don’t have to.
Also there seems to be an issue uploading images, I will try again later.
The Lighting sequence is installed. Temporary as I still need to paint the gun. Had to cut away a few things to make room and had to leave out the wimpy speaker that came with the blaster. That’s fine because I plan to replace it with something that has better sound.
Looks a little rough, I know, still need to sand a few spots here and there.
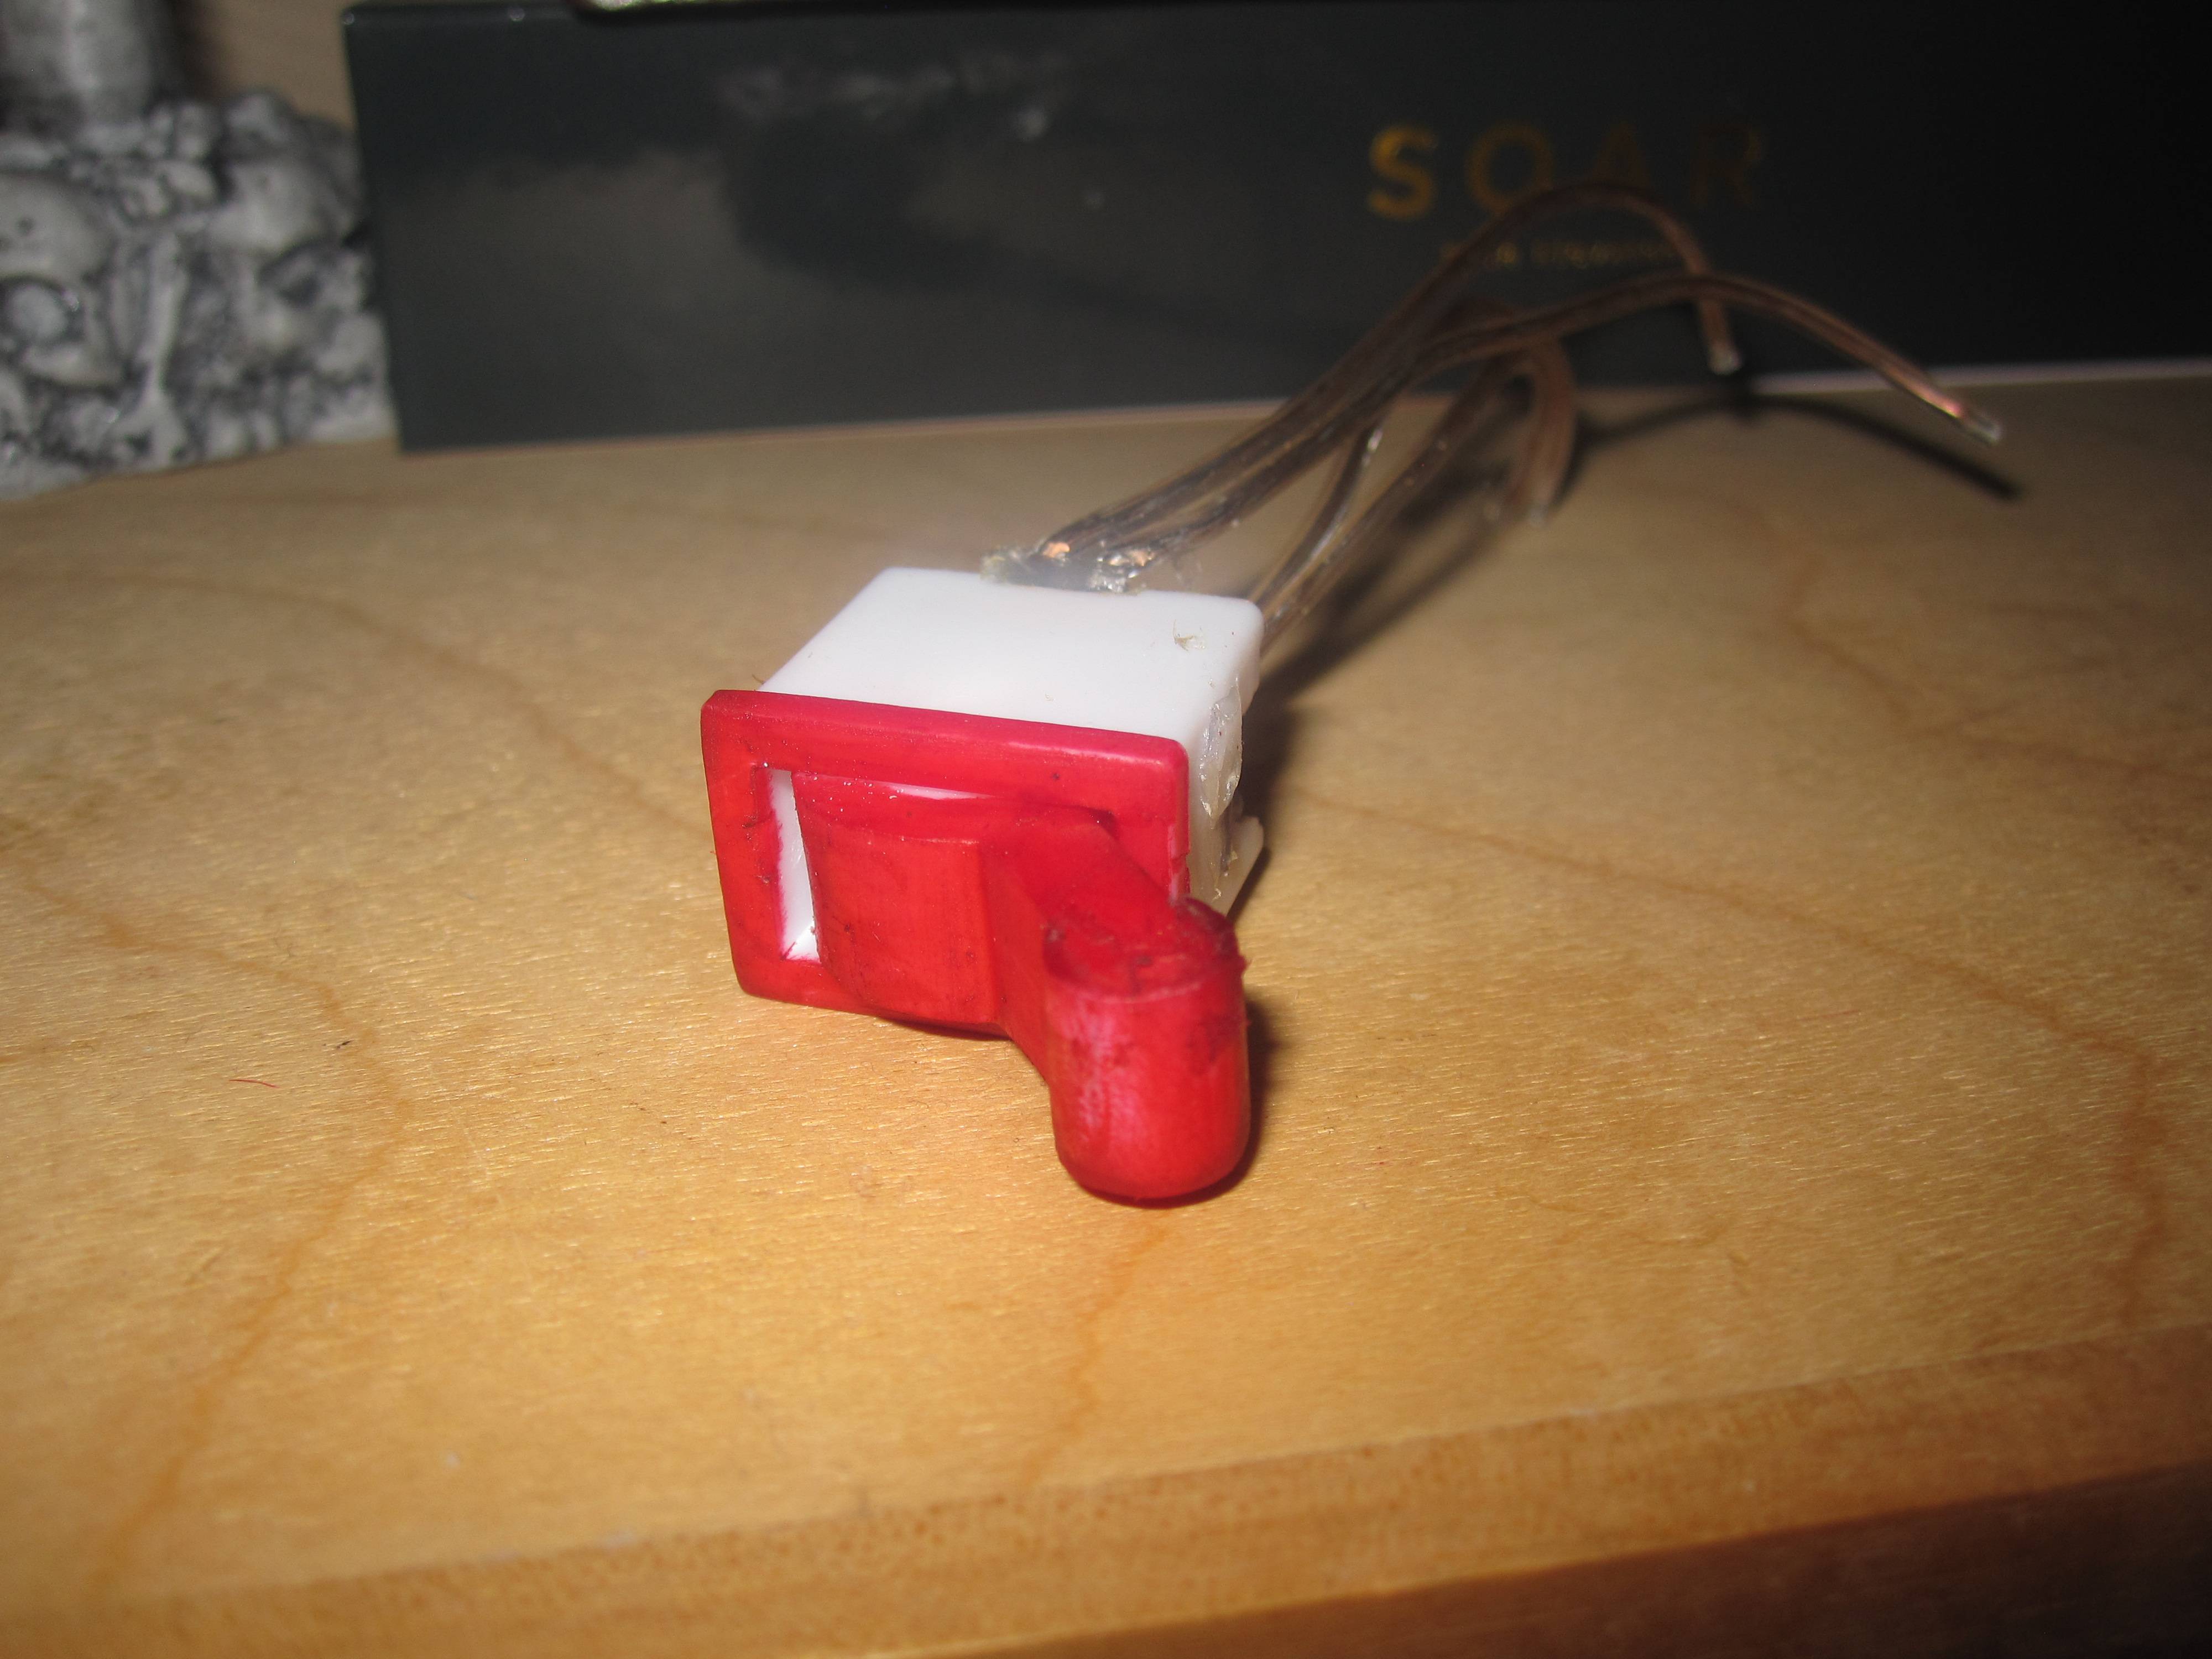
I made the switch myself. I took a Dollar Store flick switch light and removed the switch part. It’s just a Panel Slide slide switch in a housing that makes it look like a wall switch. Because I wanted to operate two circuits with the same switch I replace the slid switch with a 6 Pin 3 Position DPDT Panel Slide Switch. It was slightly bigger than the original so I had to mod the housing so it would fit.
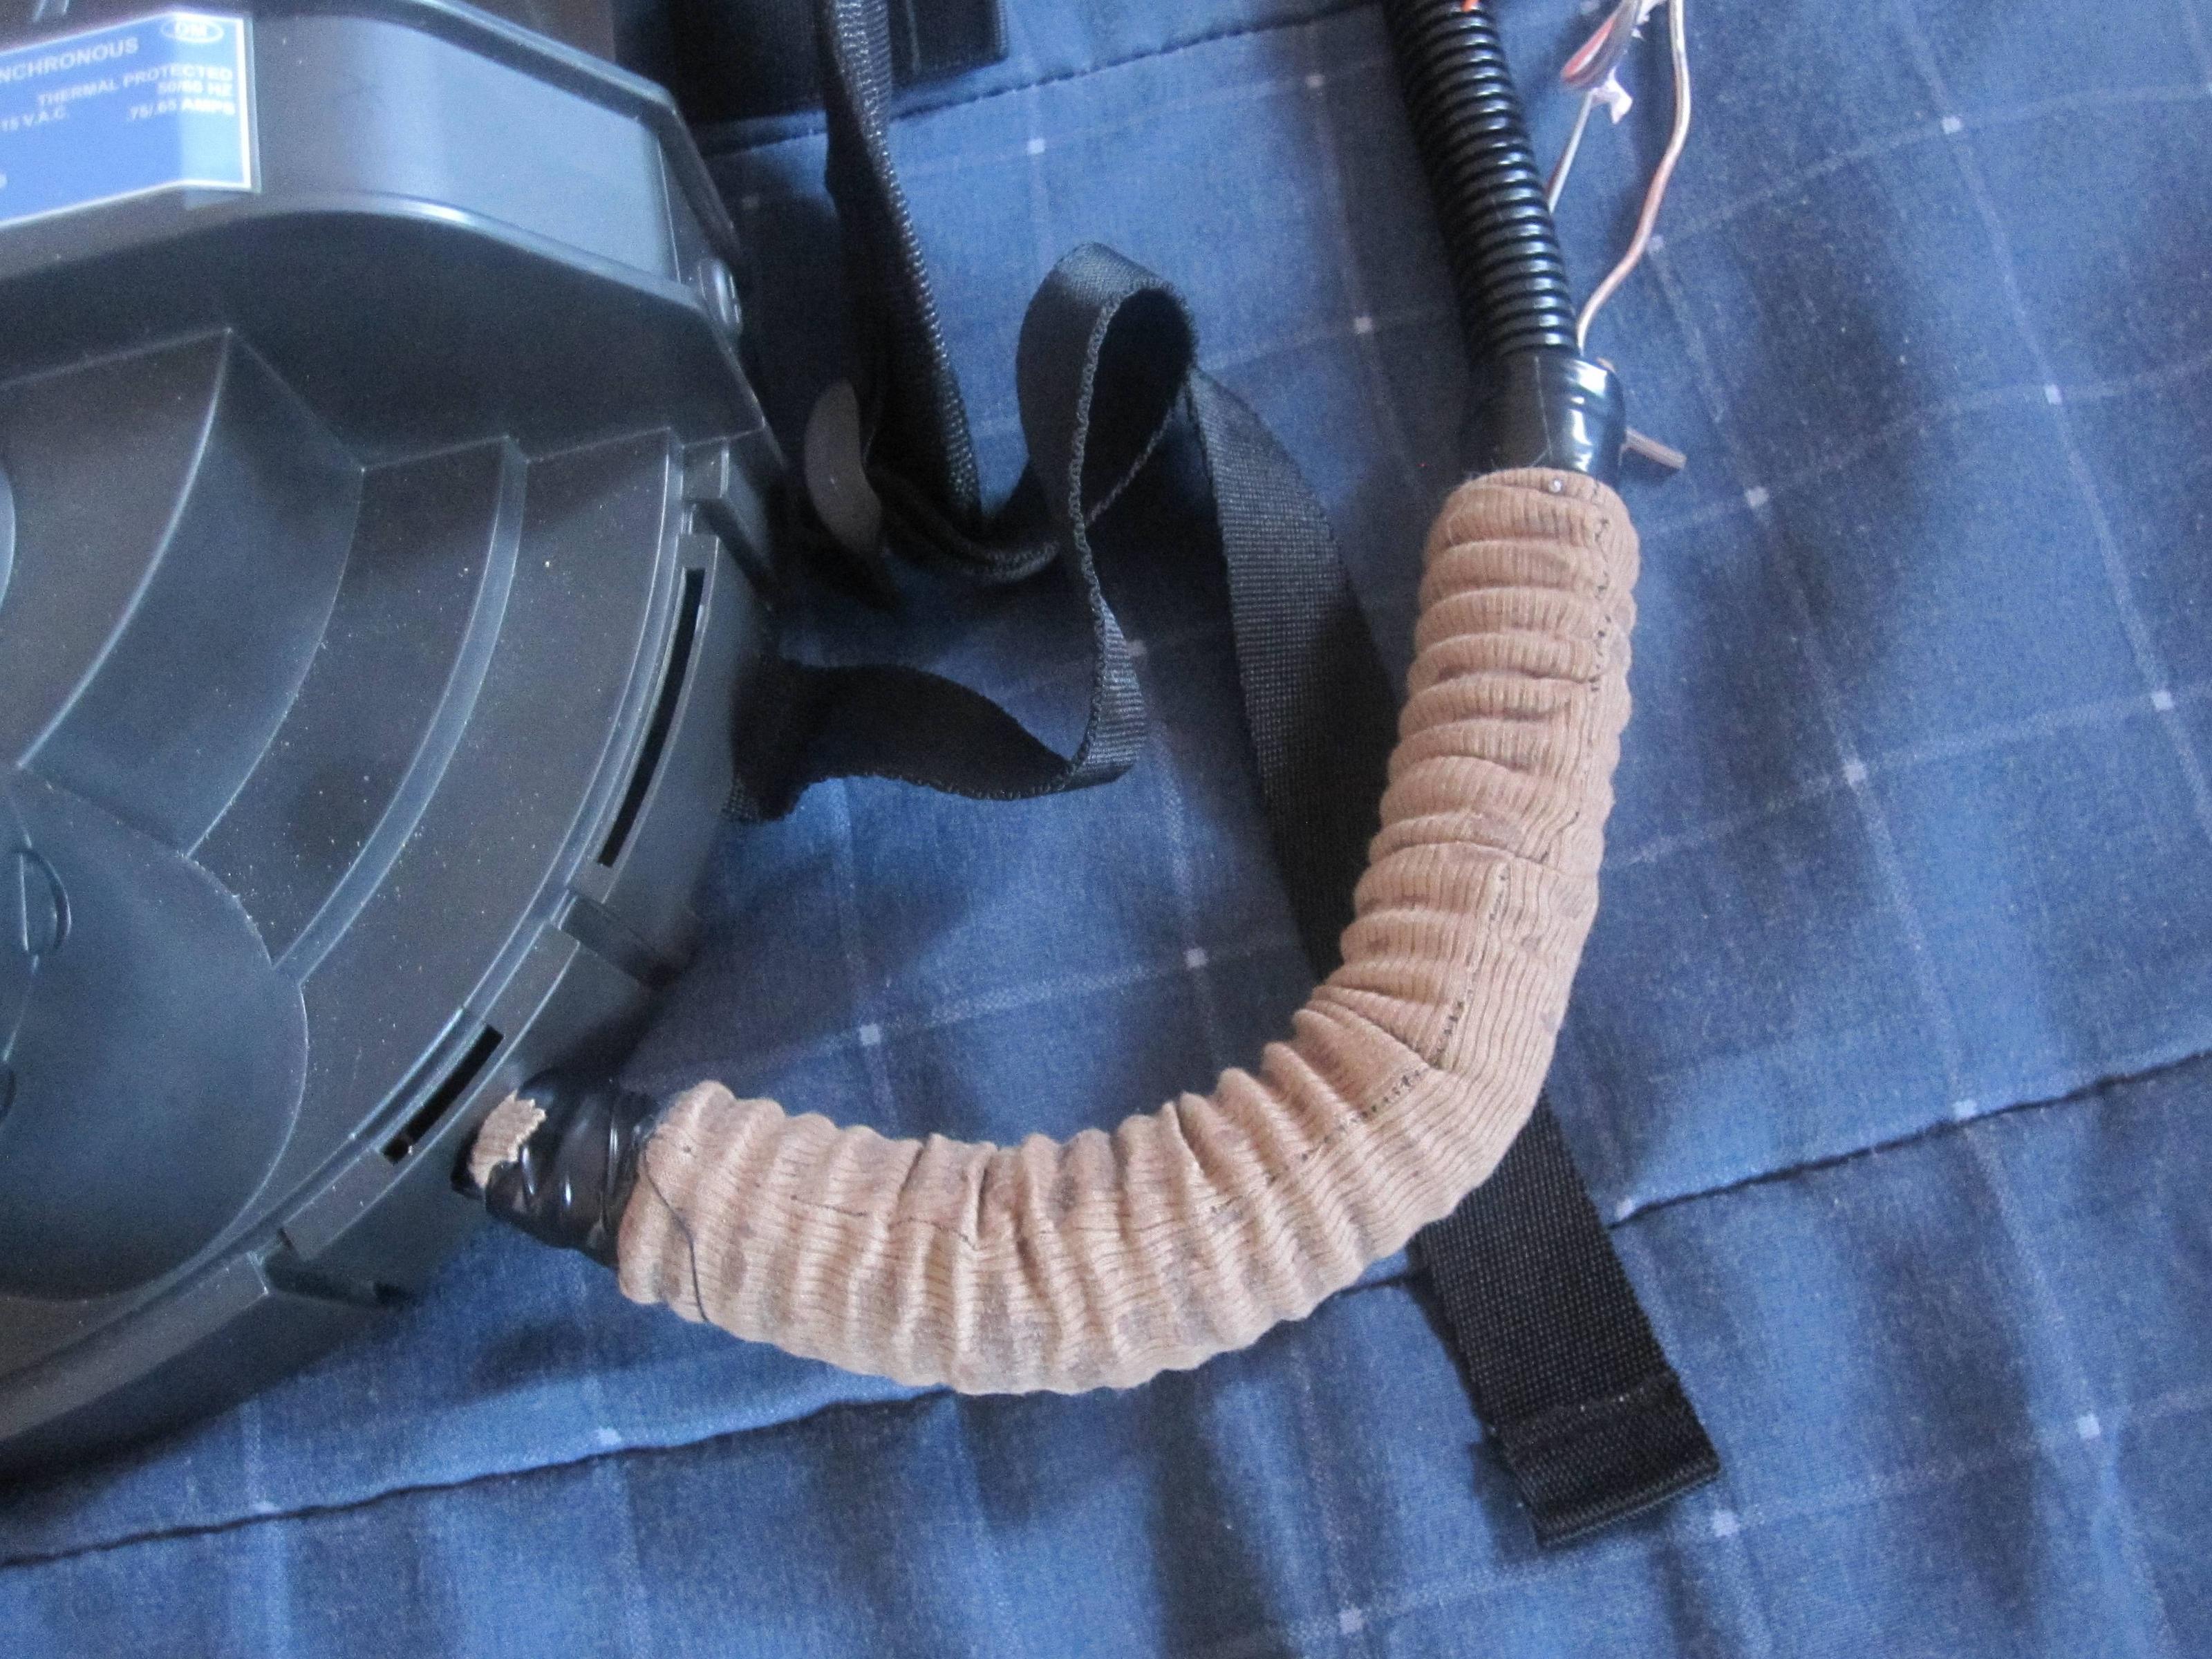
On the Afterlife pack there is a bit of hose covered in cloth. It’s been identified as a Herbert Cooper 35" Mask Scuba Rebreather HC36S M25A1 Oxygen Hose. I’ve tried looking for this hose and haven’t been able to find it at a reasonable price and most of them include the mask and everything that comes with it.
So I made my own. A crinkly hose covered in a cloth glued in place.
Does it look screen accurate? No, it’s the wrong color as well. But it does the job and unless you are a serious prop builder I don’t think anyone will notice. Beside, if I happen to come across the right color of cloth I can always make another one.