I’m wondering if anyone has come out with a light or sound mods for the new spirit full size proton pack? Or cosmetics? I’ve seen them for the smaller versions, but wasn’t sure since the full size is relatively new.
Yeah, Spongeface has some great ones listed on ebay right now, search under Ghostlab42. He has a light kit and cosmetic upgrades available. I’m using the light upgrade in mine right now and its awesome and easy to install.
Spongeface’s instructions are very easy to read too. Should make using his kits straight forward. 10/10 fully recommend.
TacoBeli has a cyclotron bumper mod on his etsy page that I have on mine. Makes the pack look a 1000 times better.
Frankengeek has some really nice resin cosmetic mods already and a motherboard, and is at work developing an electronics kit.
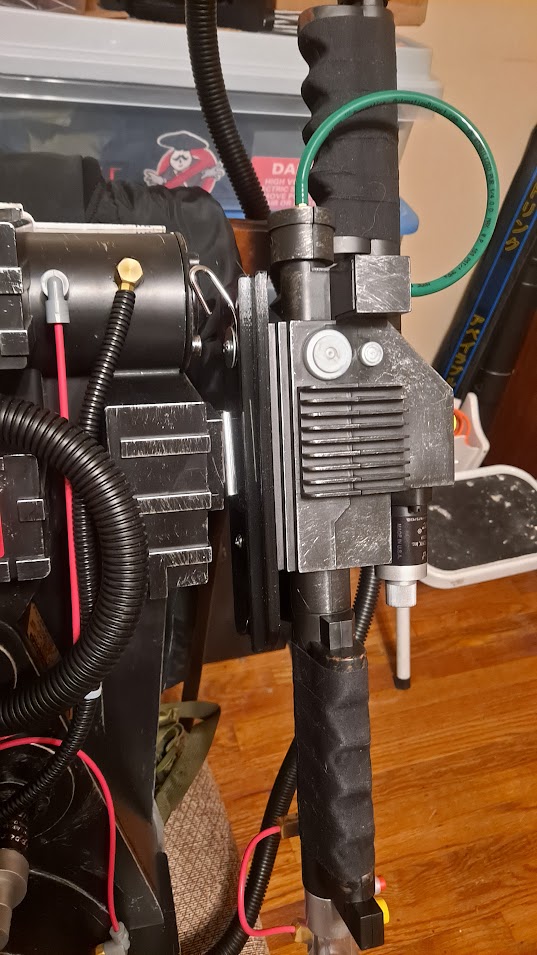
Hello fellow busters! I am doing some heavy modification to the entire full size Proton pack and wand. So far so good. However I came across a problem when trying to install a real Clippard Valve on the wand. I was able to use some tools to cut off the plastic one which comes with the wand, and was going to install a real one on top of the base of the plastic clippard, but the real one is slightly bigger, so I can’t use the base part to simply drill in holes and be done because it extends just a bit over. Since it’s heavy, I need to have it screwed in. One side is screwed and the other can’t in this setup. My best solution was to buy some plastic moldable epoxy (J-B Weld 8237 PlasticWeld Plastic Repair Epoxy Putty) and I was thinking of building out the plastic fake clippard base just enough so the real one can go on top of it and I can drill a screw hole in that to get everything to fit nice. A bit more of a job that I initially set out to do, but I think it will work. Just curious if anyone has tried to do this mod on their life size spirit packs, if so please let me know. The area is weird because that part of the wand actually slides out and if I were to cut the entire standard plastic clippard base off, there would be nothing to screw the real one into, which is why I left it for that purpose. I’ll add some pictures if I can later as well. THANKS.
Spo0ngeface mod kit installed on an otherwise stock Full Sized Spirit pack:

Speaker cover mod and crank from Etsy. Taped both front and rear grips.
But wait there’s more…

I an trying to figure out if I want to cut the battery hatch in the aluminum board or run the wires
through the board with a disconnect and have the battery pack sit on the alice frame…
What are your thoughts?
So… Cut the battery door out or no?


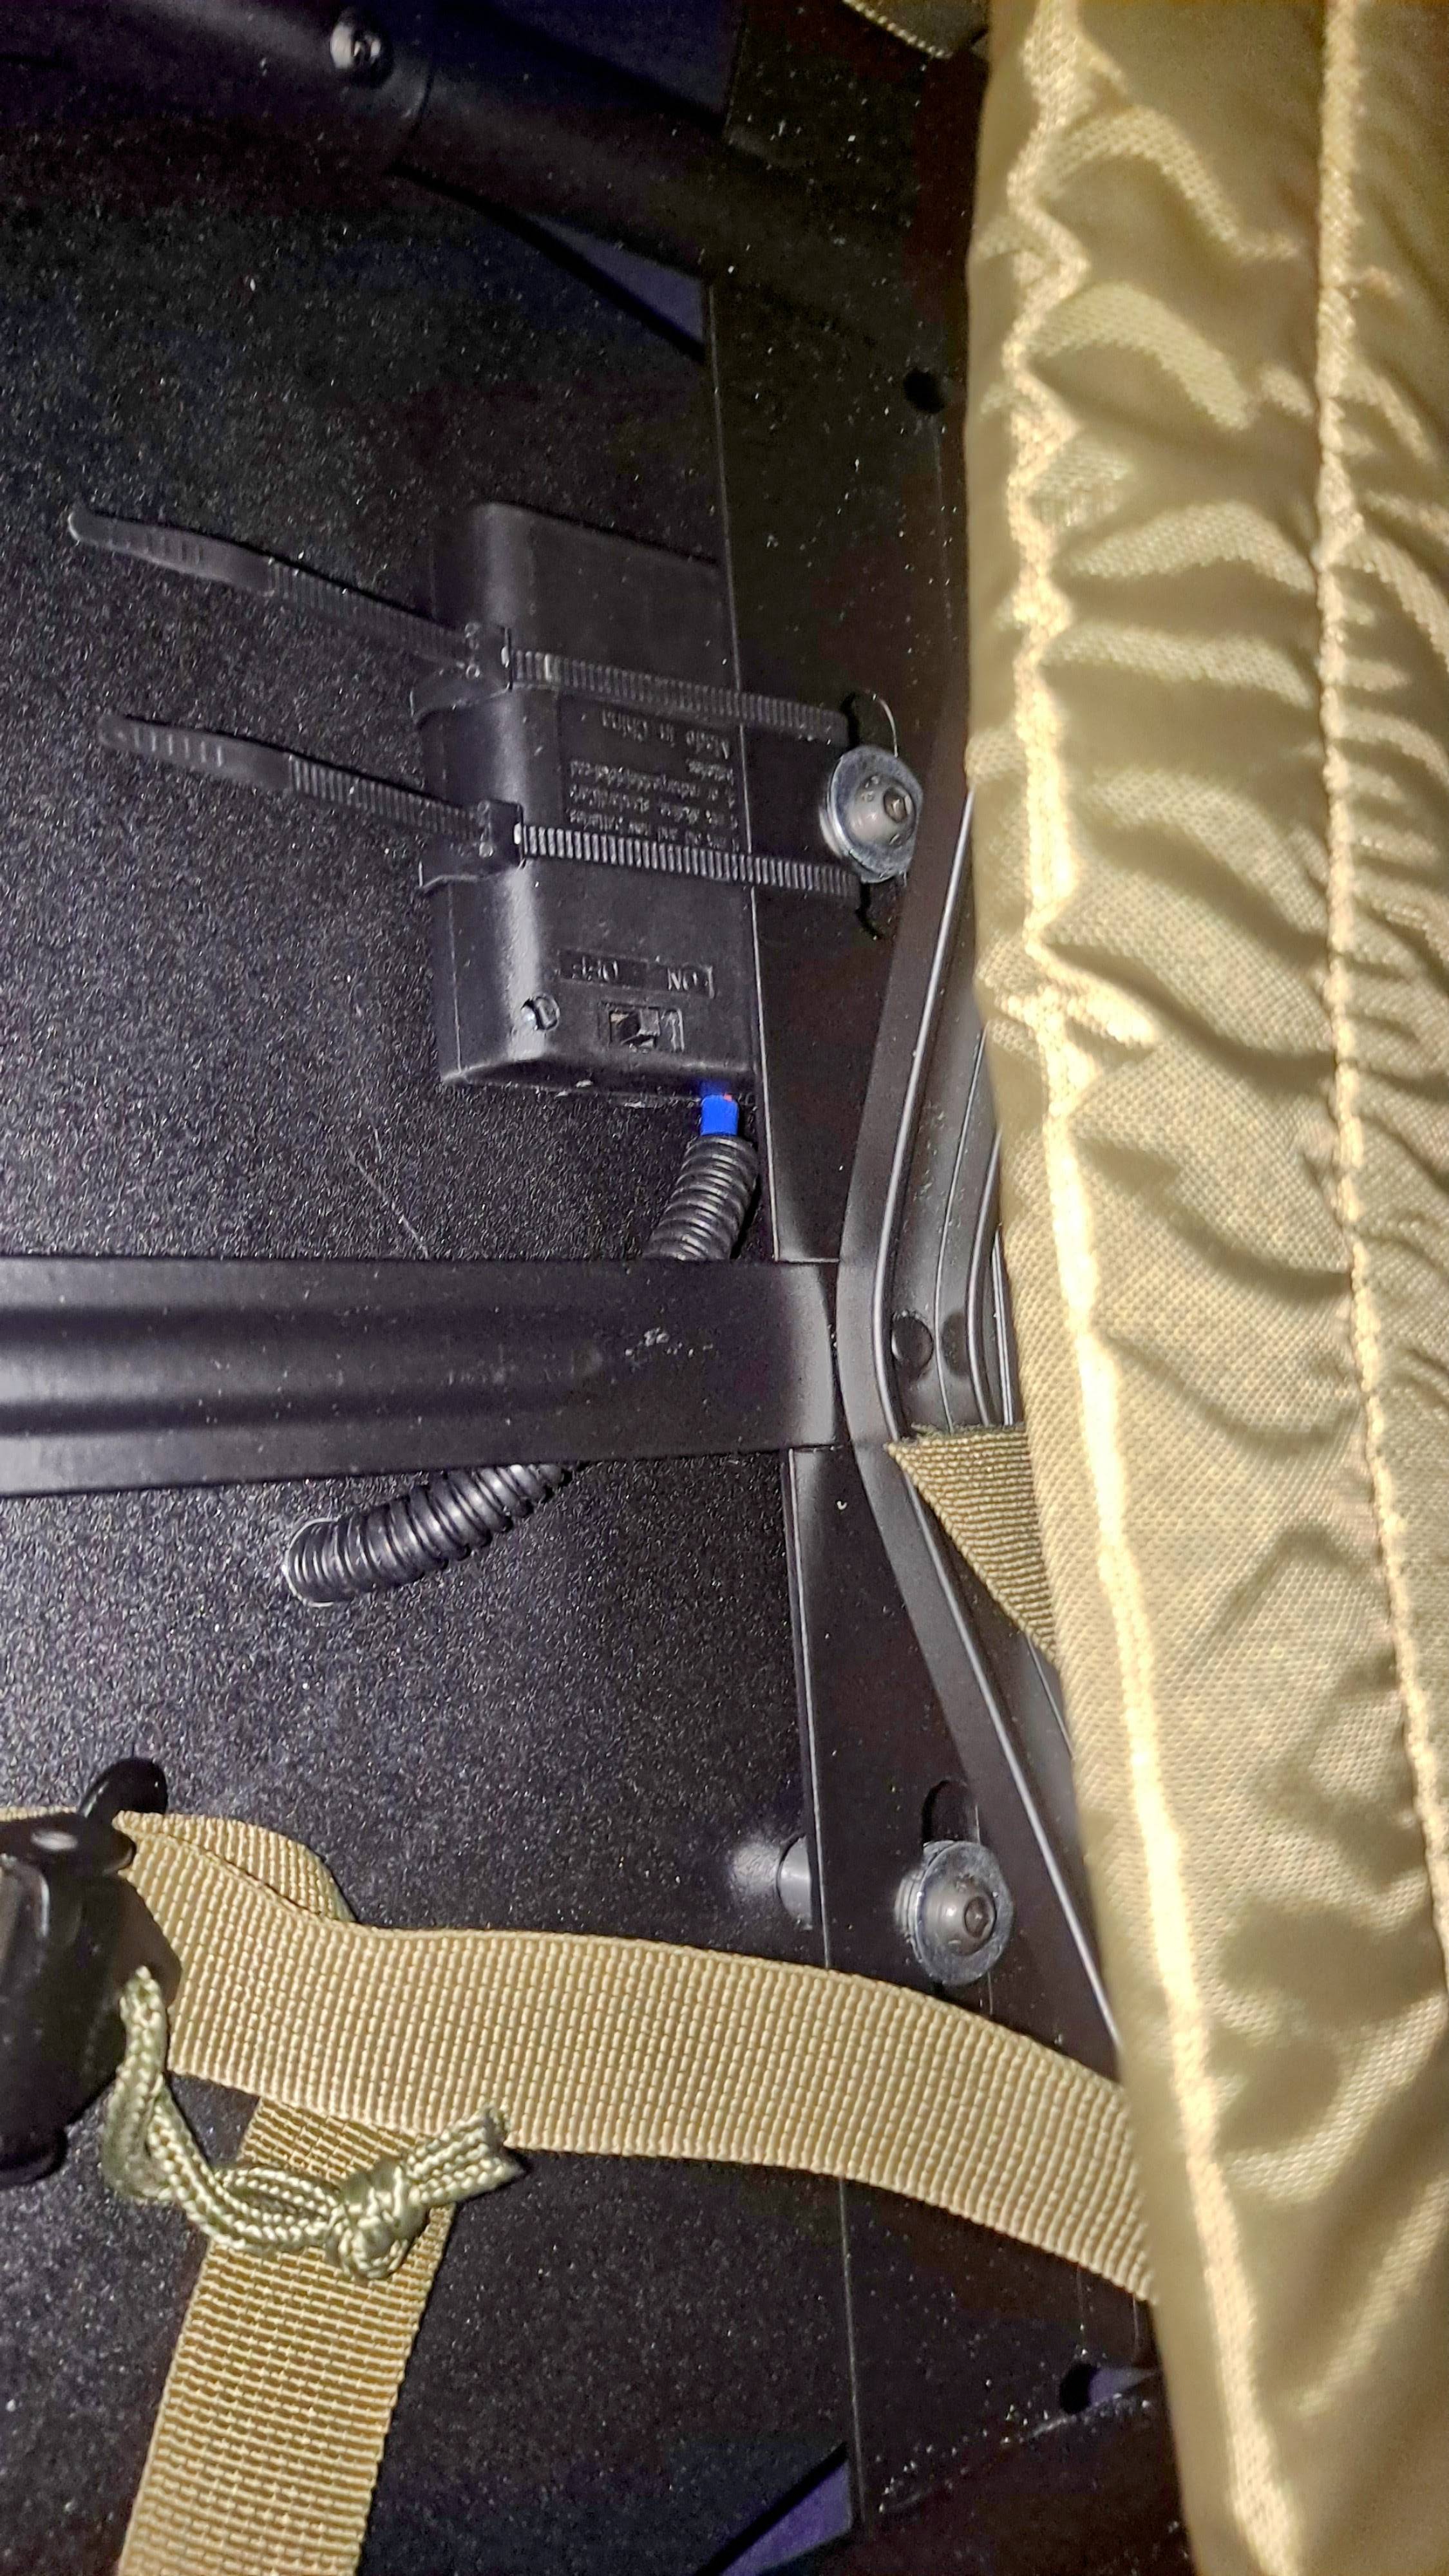
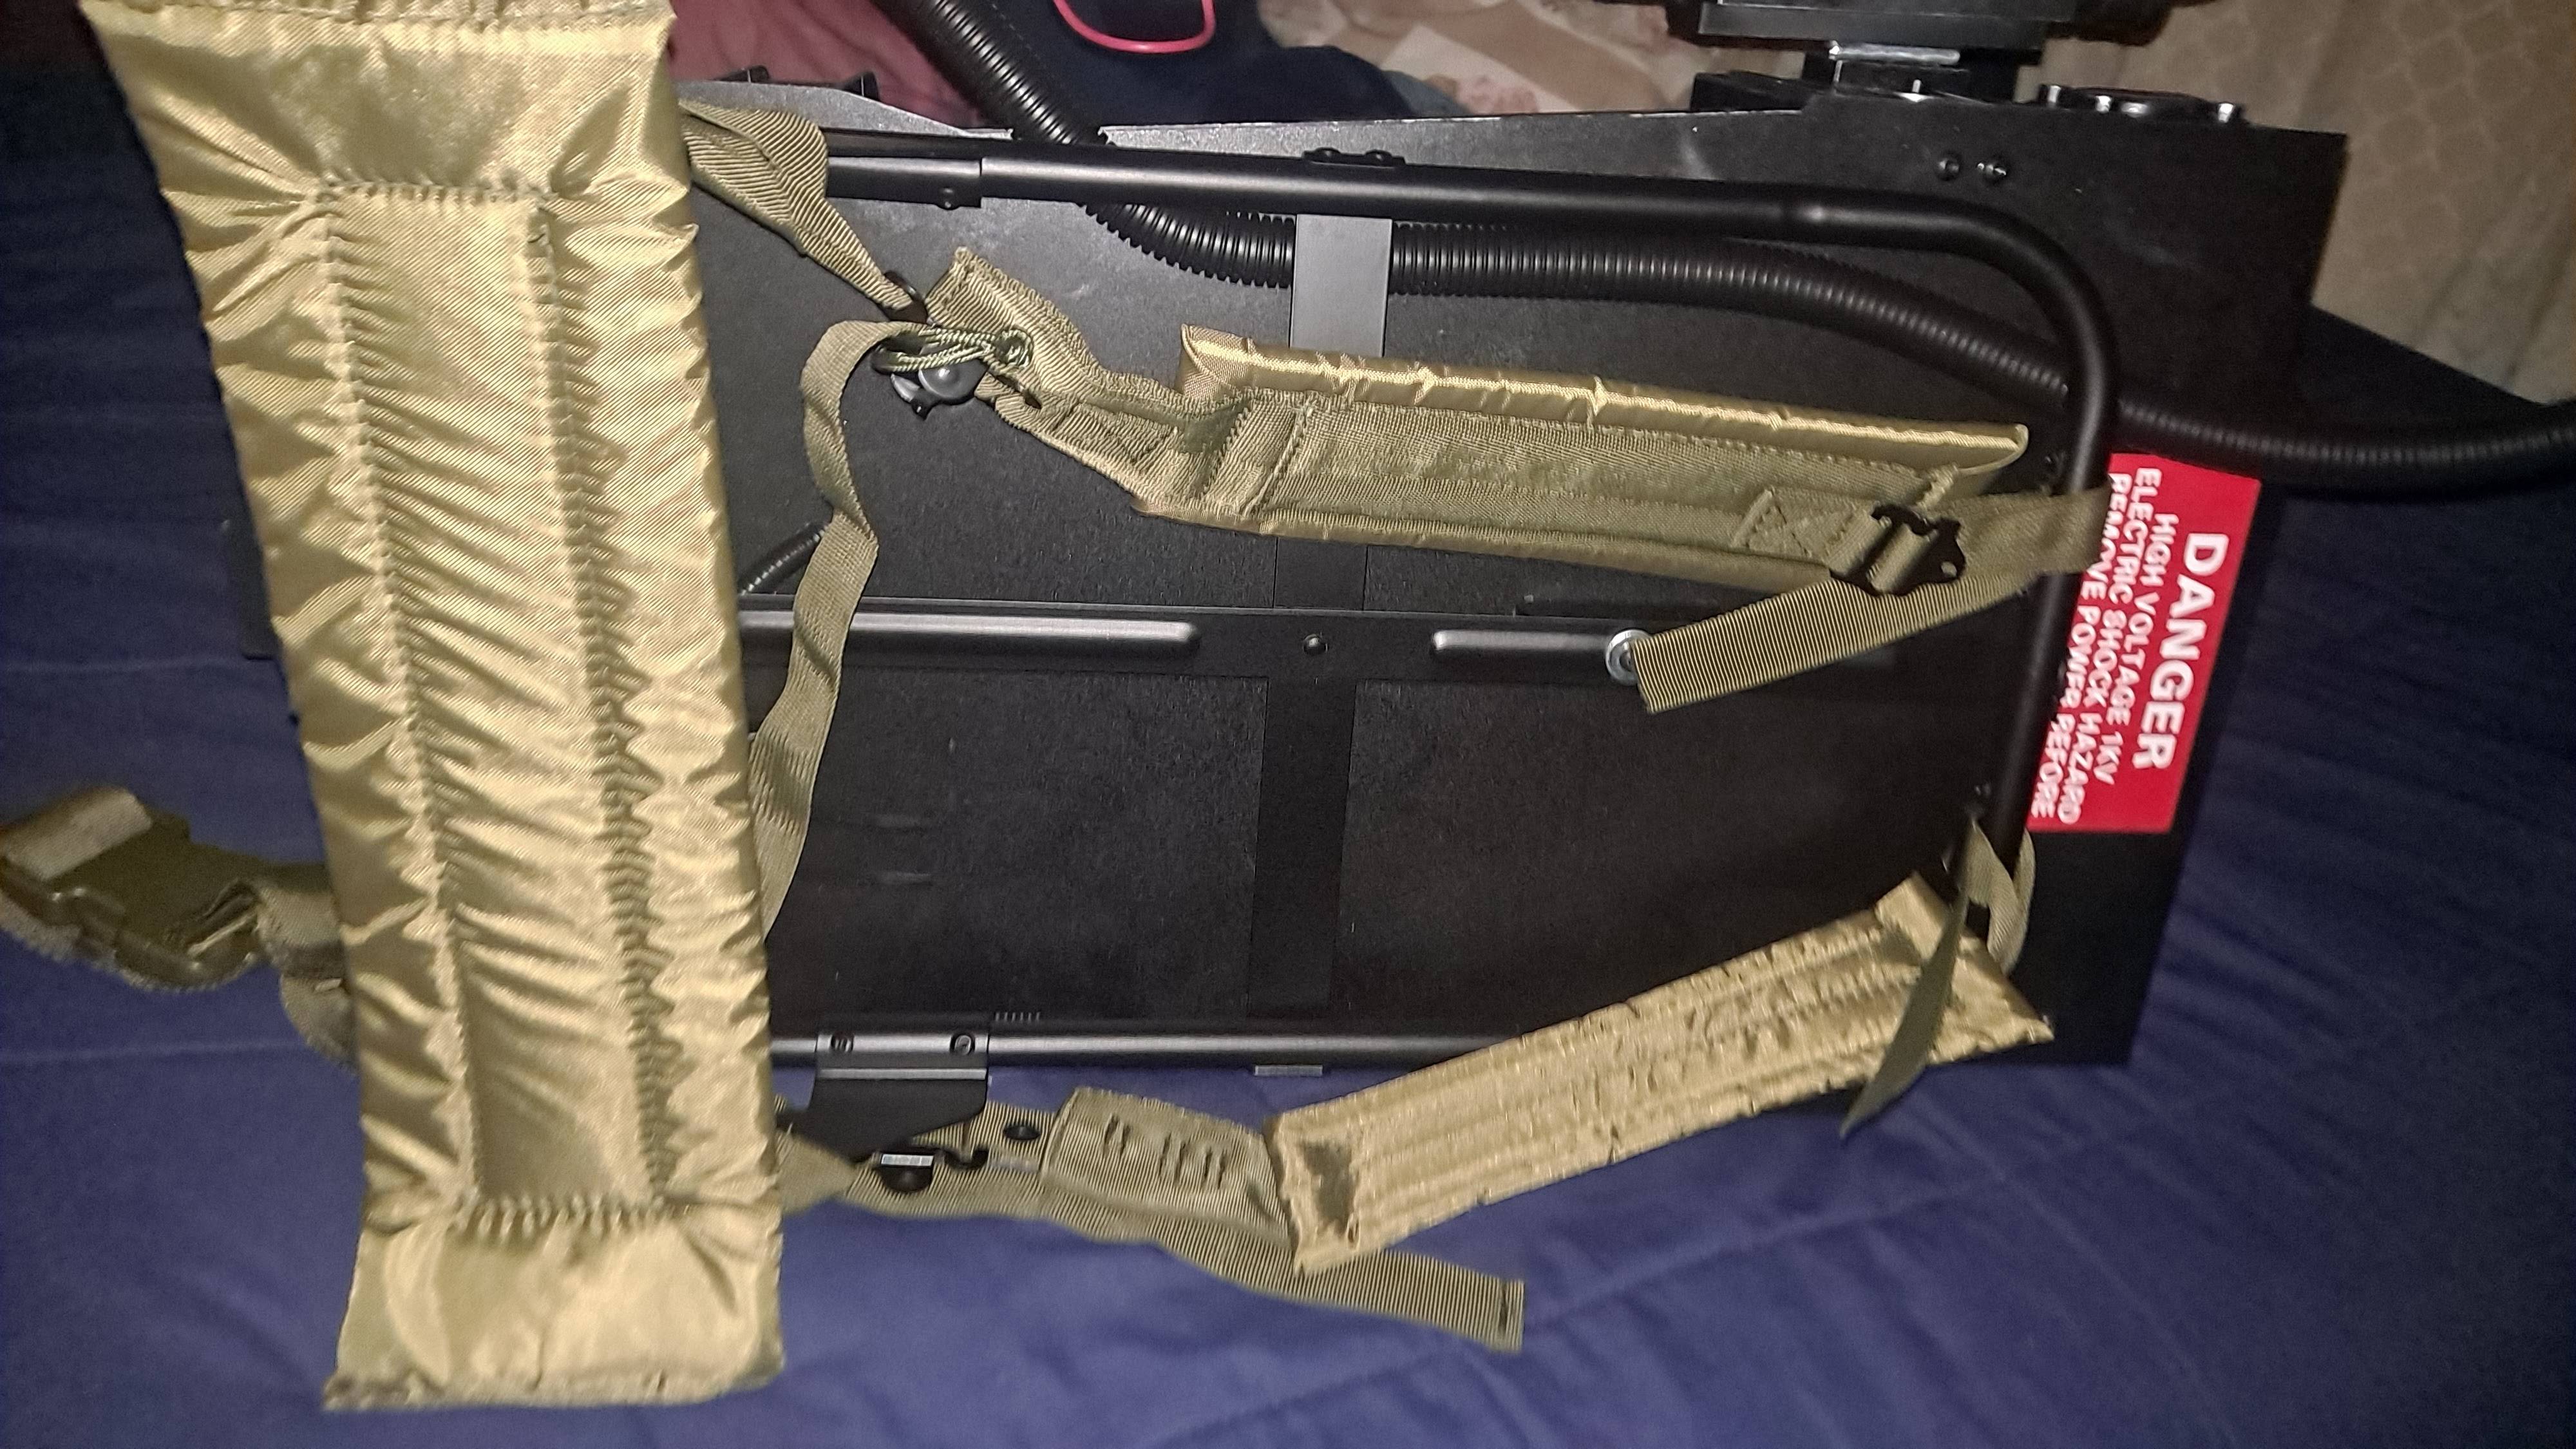
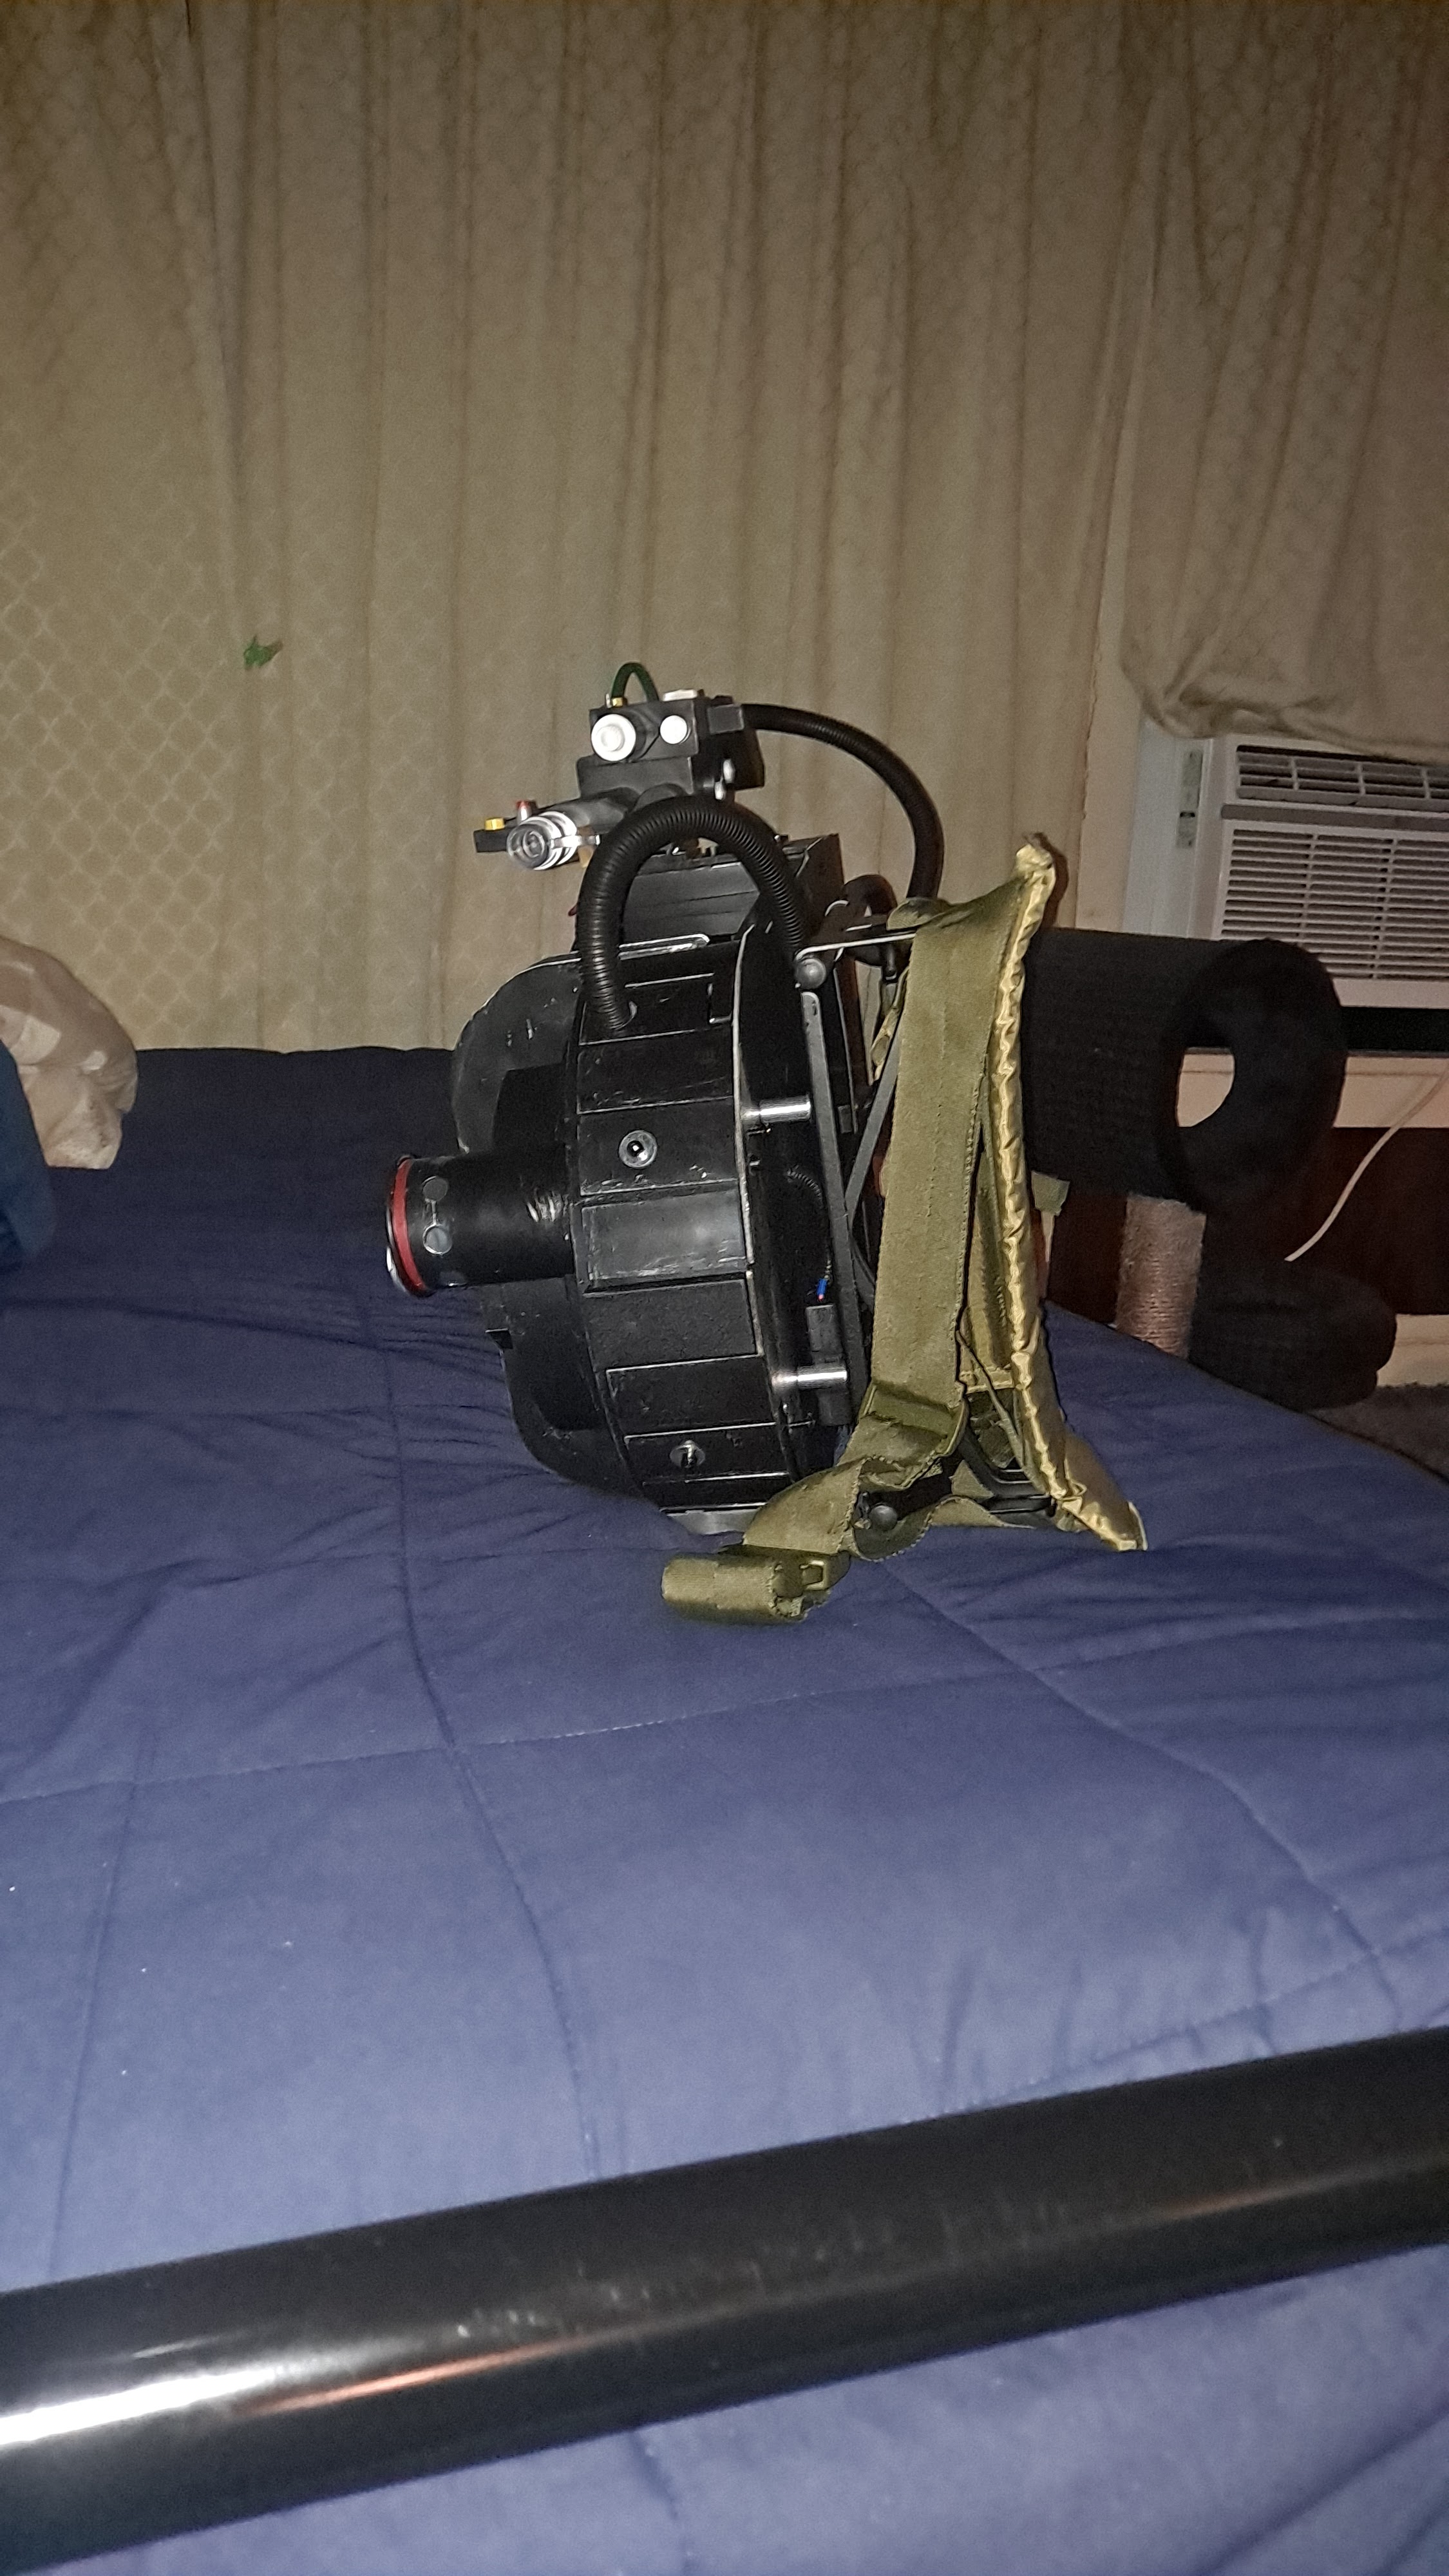
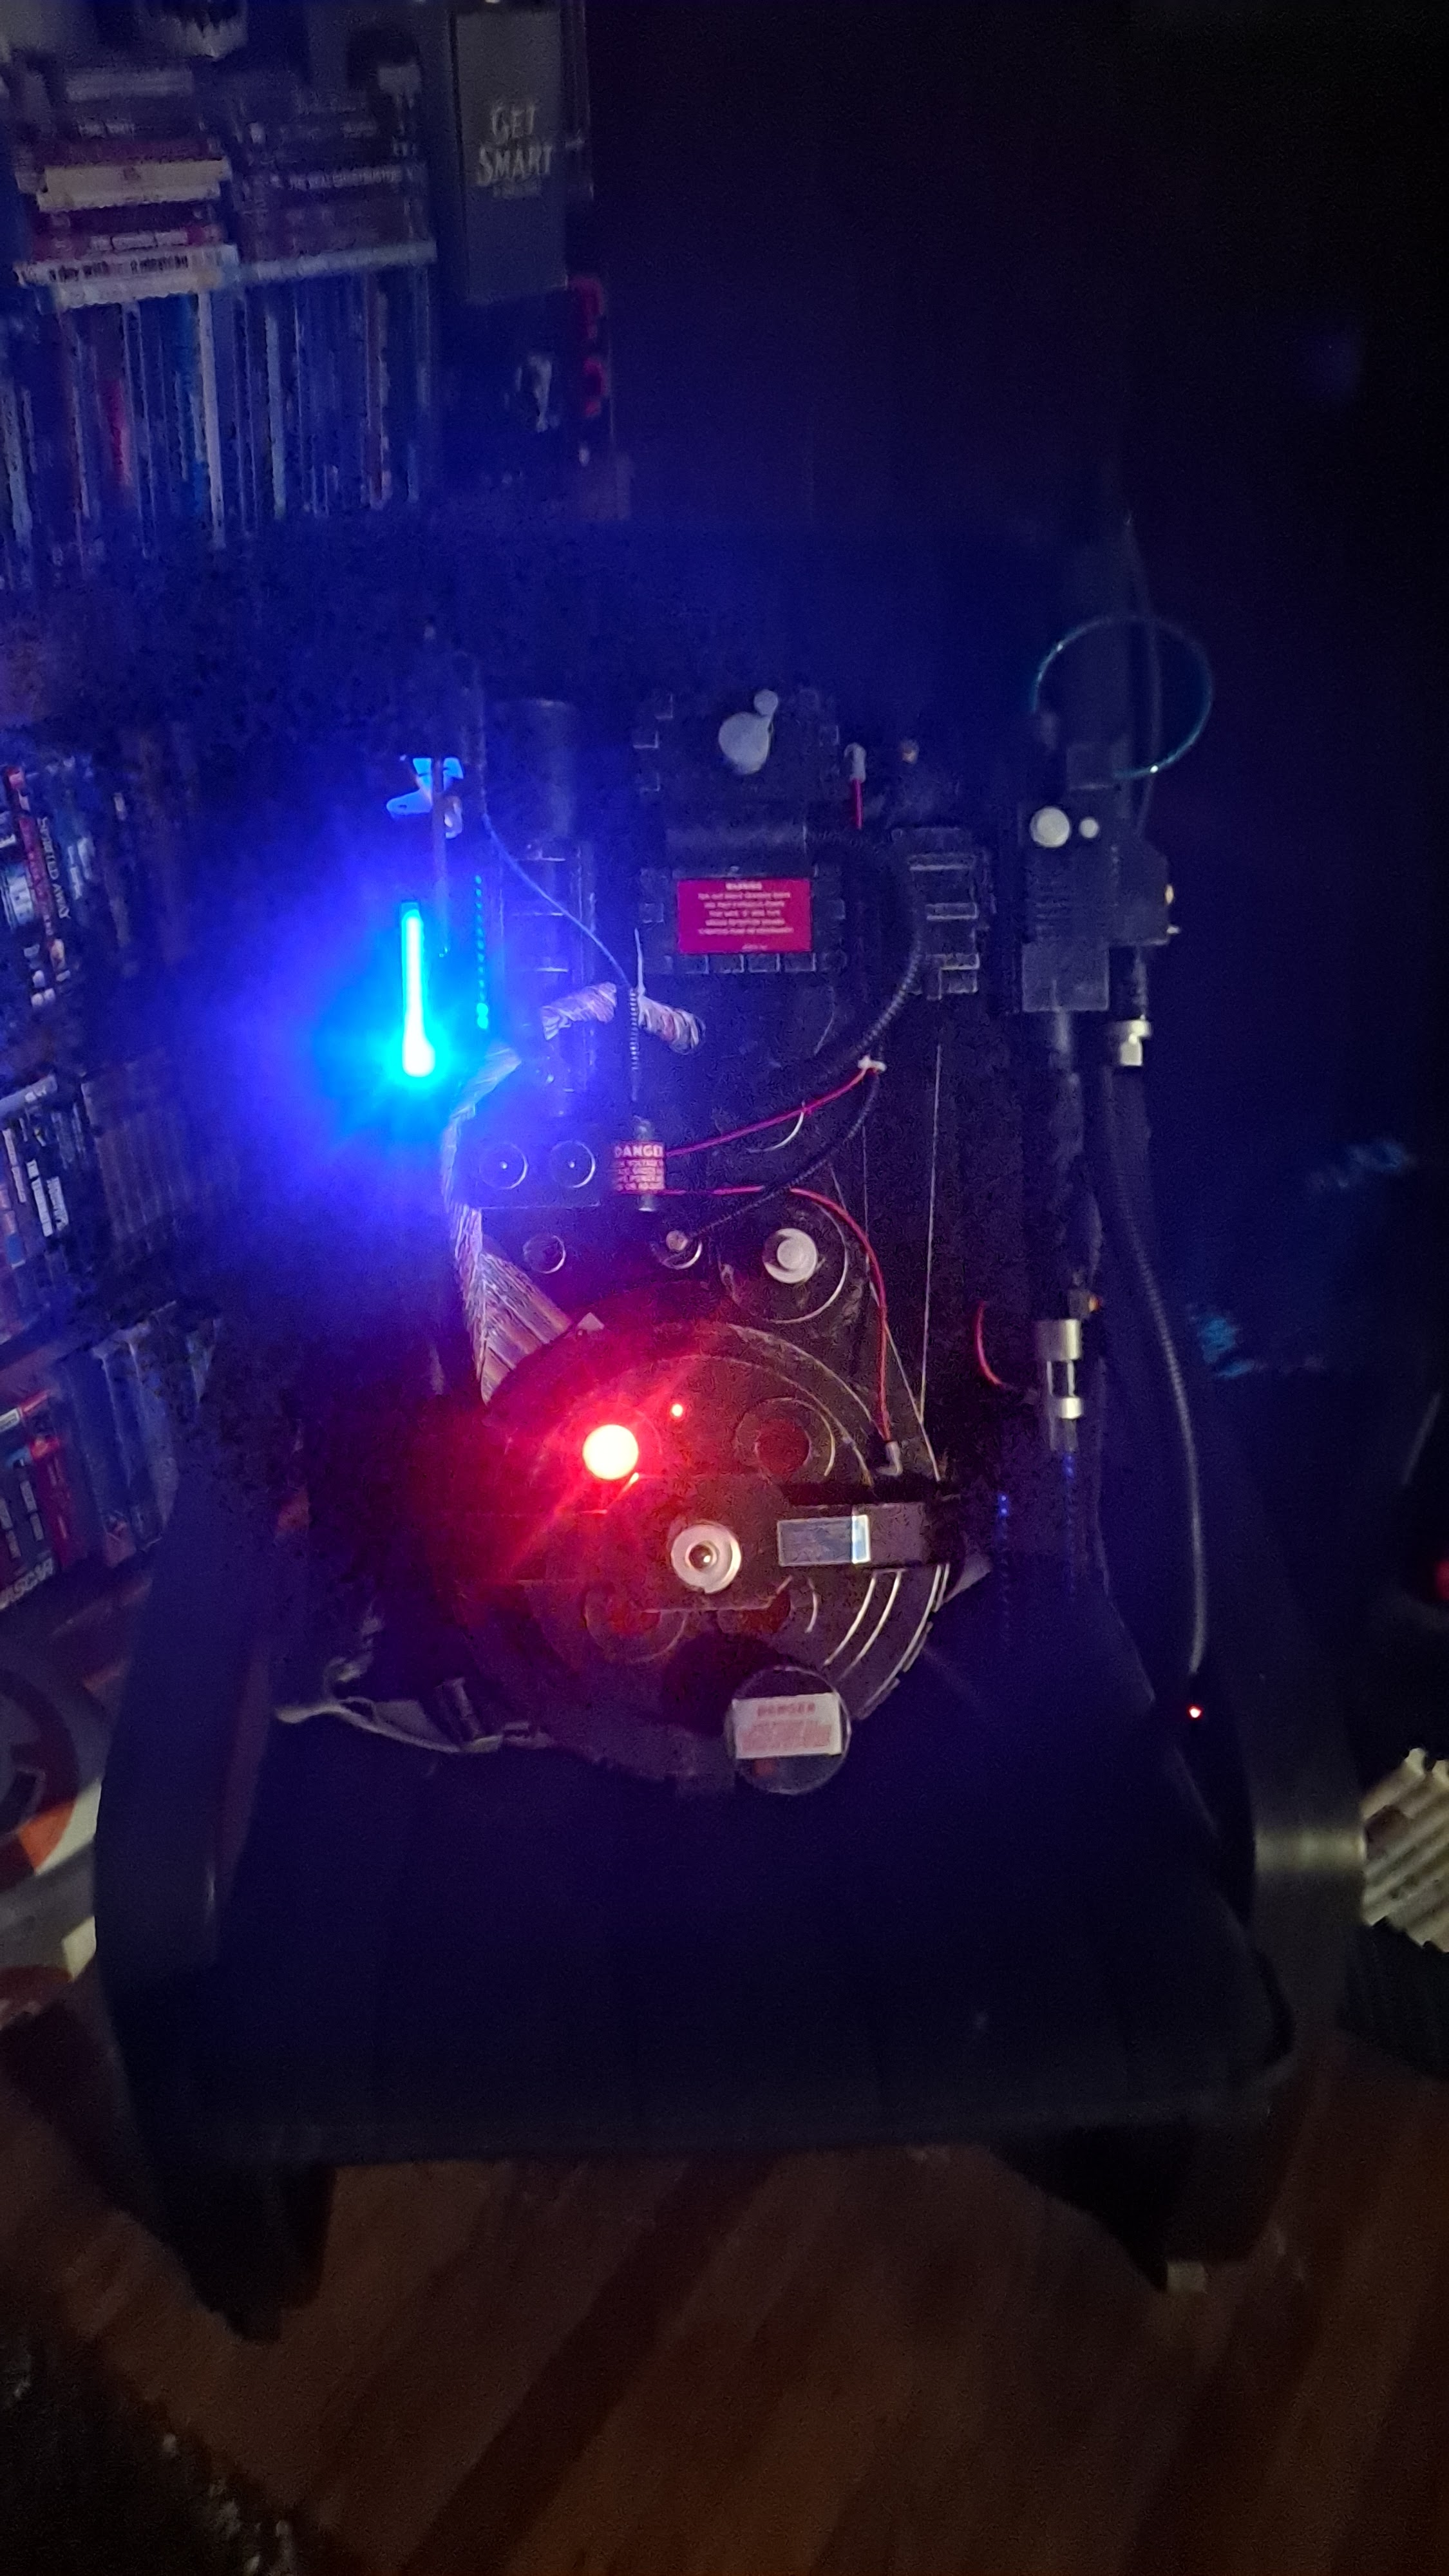
Where did you get the aluminum motherboard from, by the way?
I am getting close to getting my LSSP set up and I am loving it so far. Running everything off a talent cell. It was a touch tricky fitting the wand kit in but it works. I will post photos soon for you guys to see if you like what I’ve done or give feed back.
My setup as of now consists of:
Spongeface/Ghostlab42
Light kit
Ear and hat light
Vent relay
New wand trigger box
GBfans
Sound board
Wand kit
Cables for the kit and board
Light covers for the wand
Wasteland Industries
Vent kit with USB cable
Random suppliers
Acrylic tubing
Talent cell
Stickers
Alice frame
Random hard ware
Nightlight for upper vent and lighting
But it’s cool to know a totally functional set up can happen for these packs! Can’t wait to see what you all make! Share some pics when ya can!
That sounds amazing, definitely share pictures when you can! I’m just getting back into all this after a 12 year hiatus haha. Instantly bought the full size spirit pack once I heard about it. I’d love to spruce up the wand with a light kit eventually. If y’all have any advice on safely & cleanly cutting the plastic for the vent holes & whatnot that’d be much appreciated!
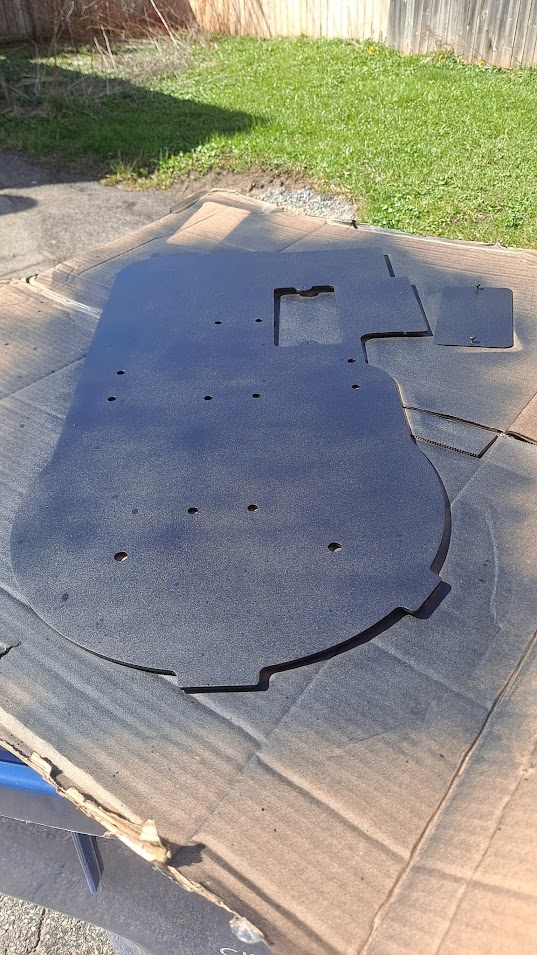
Redman Studio Workshop under “No Ghosts” I also have their Haslab overlay board.
His stuff is top notch and looks good installed on my pack.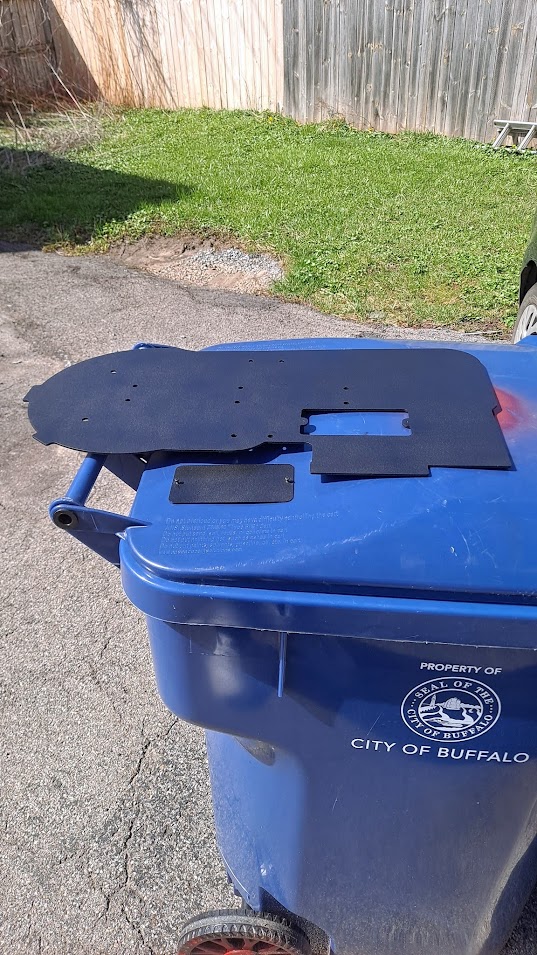
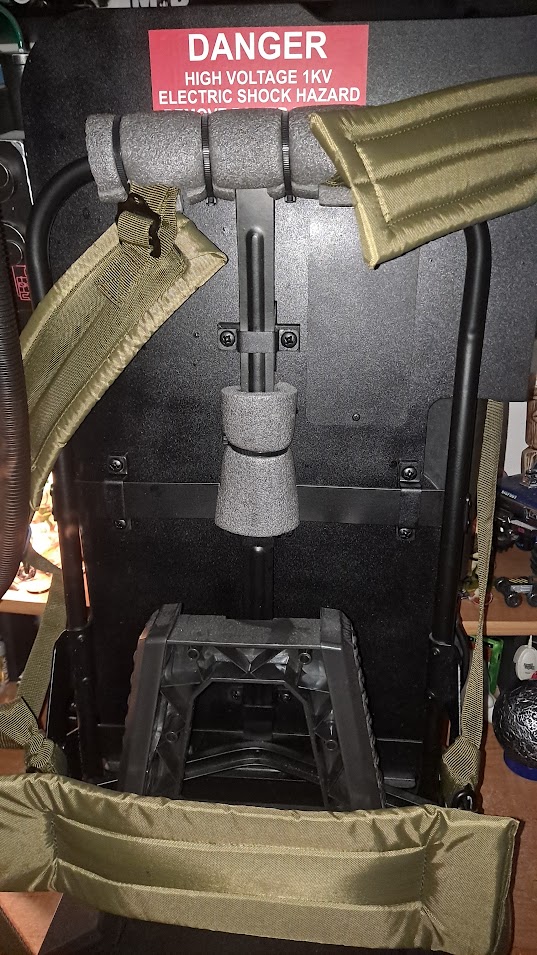
3D Printed Cyclotron bumper installed:
Gun Track added to the wand: I decided to get the metallic labels from Moby Sign Company just like I have on my Haslab pack on this one.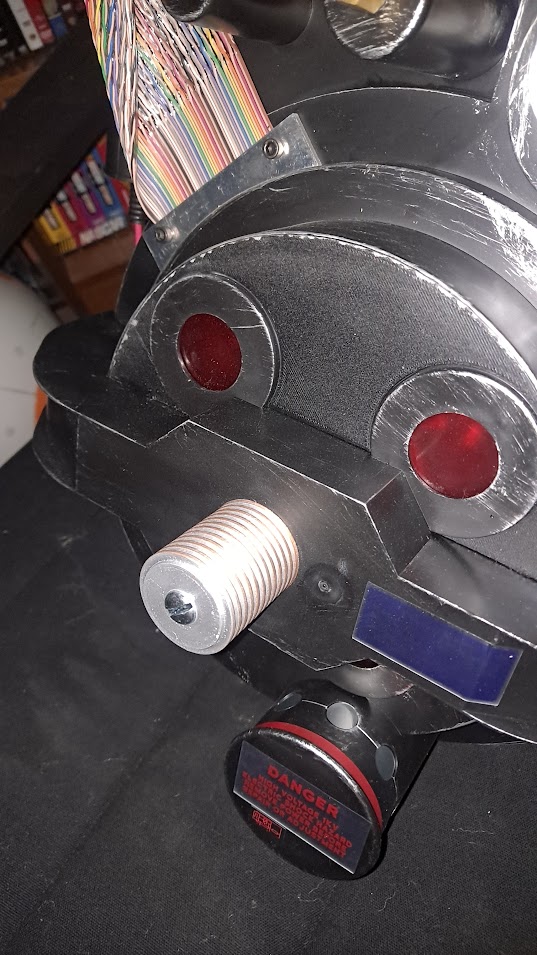
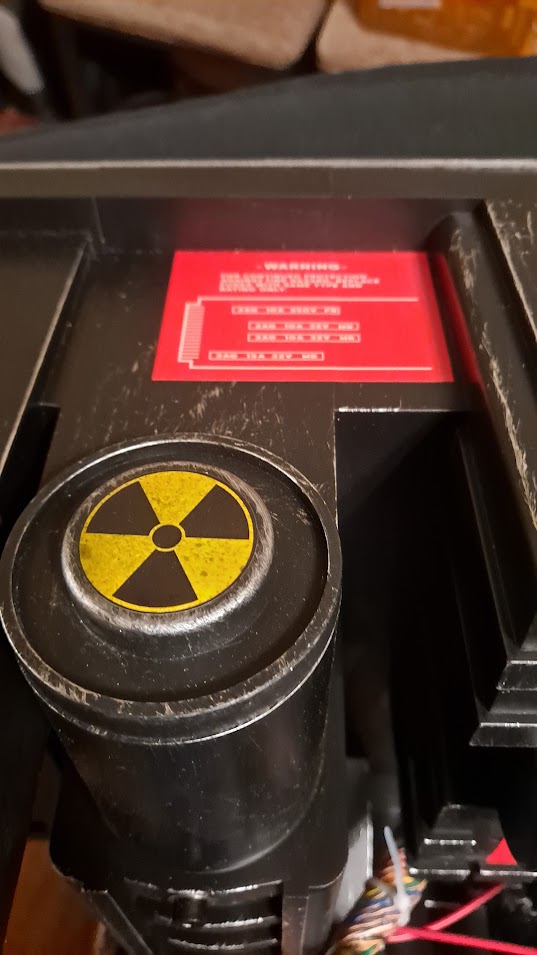
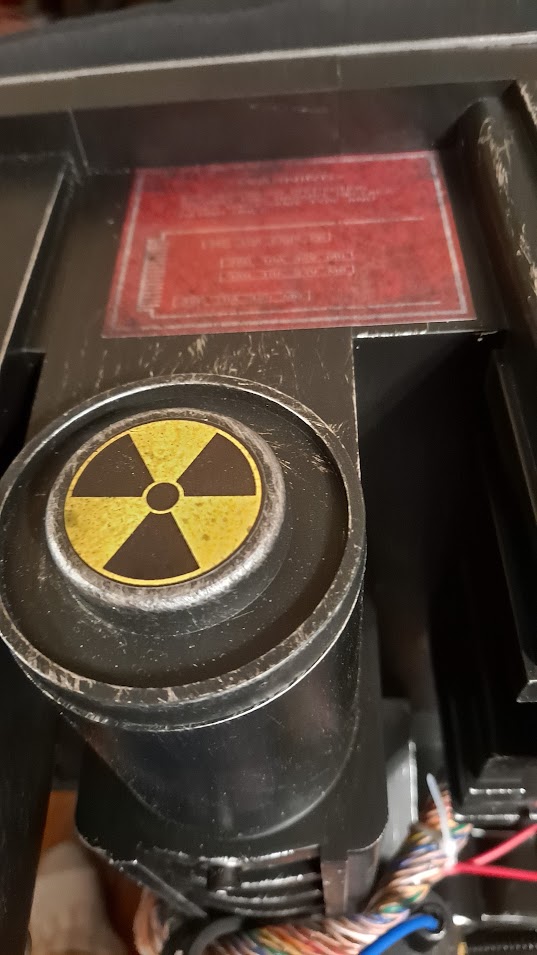
Originals:
Moby Signs Metallic Labels: Originals:Metallic:These are the “weathered” ones and the difference is like night and day! Pictures do not do them justice.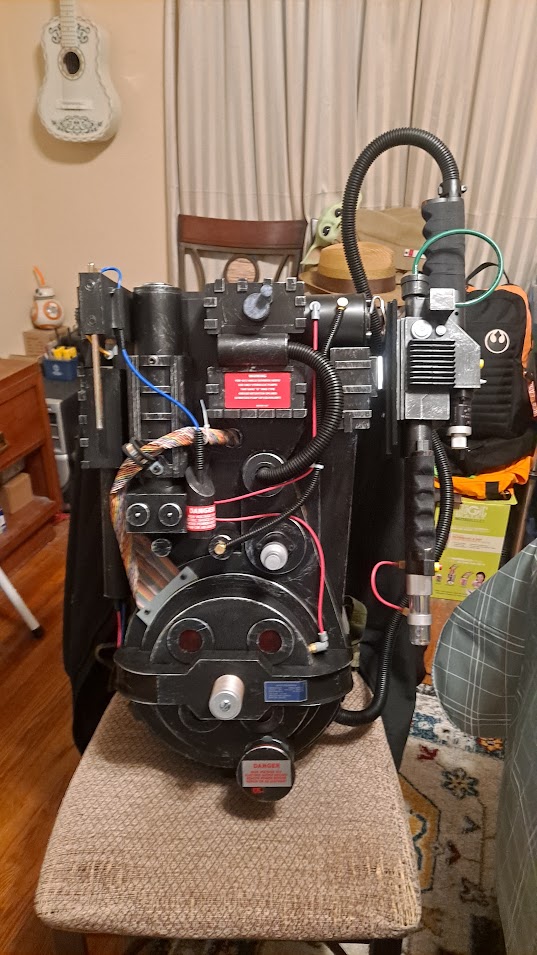
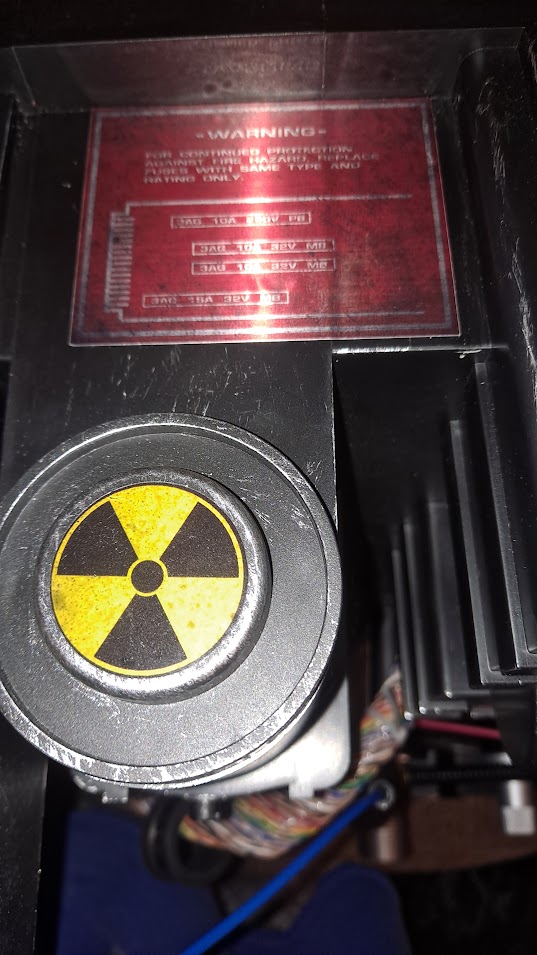
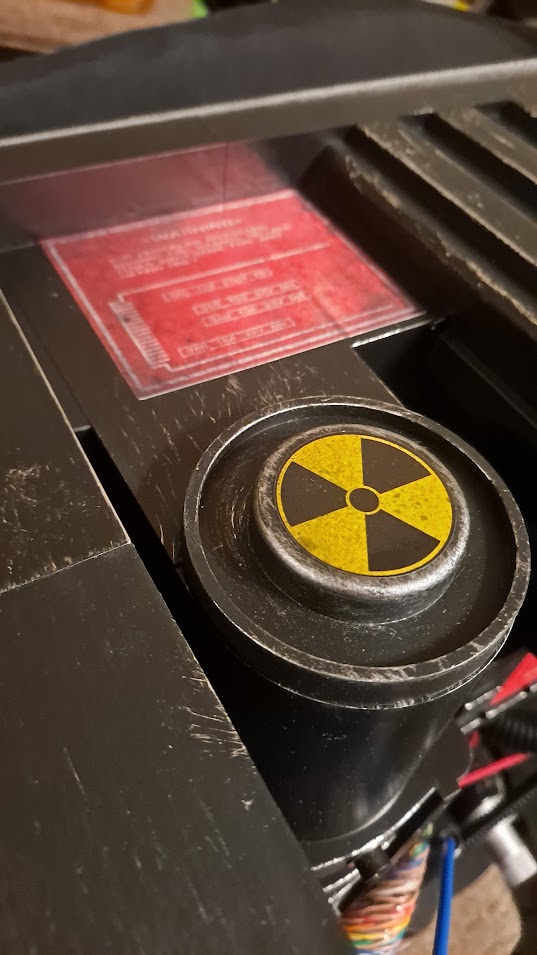
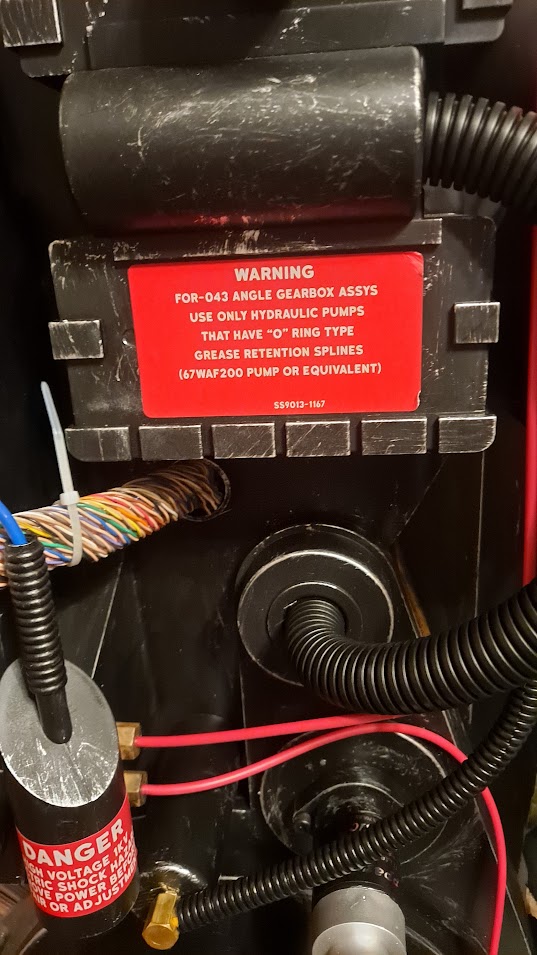
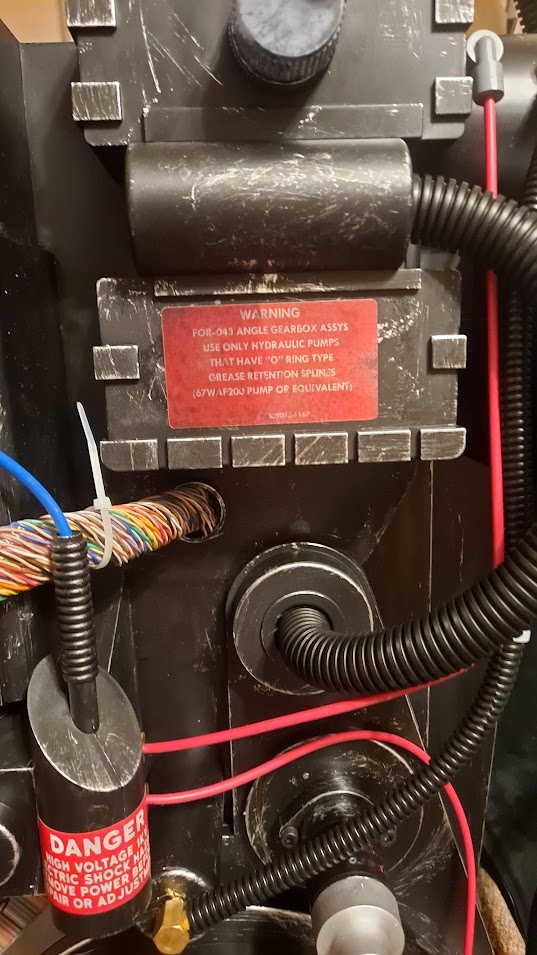
Sent from my Samsung Galaxy using a hacked pirate satellite in a decaying orbit
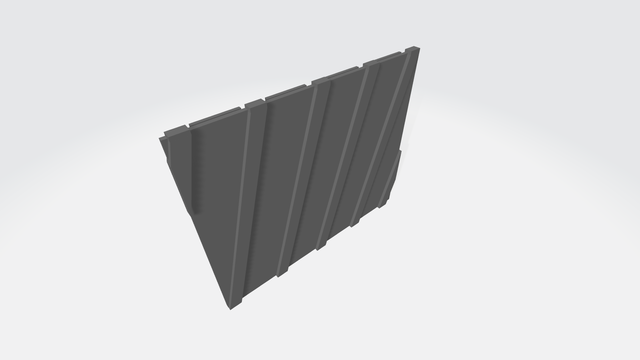
By any chance, can someone take measurements of the power cell and the riblets? I’ll be at home for awhile and would like to work on a 3D model for print to upgrade that area for spirit pack owners that will match the Frozen Empire upgrades. Would be much appreciated.
Does this help?


Thank you!! Is there anyway you can get in between the gaps with a MM ruler and see the length between one of the ribs and the base? Like Stephan’s plans:


If anyone has a 3D printer and would like to try to see if this fits on your power cell, lemmie know and I’ll email you the .stl file. I’m not an expert (and I’m sure someone with way more talent than I will release one soon) but it was a fun project. It’s the Frozen Empire mod.
Jumping on the full size spirit mod train! I’ve had really good luck sourcing cosmetic parts from Etsy (BIG shout out to Sean Charlesworth and GreatScottPropShop for quality products and rapid fast shipping). As for electronics, I’ve been adapting them from various other projects. I really enjoy the DIY part of building out my pack, so as much as possible I avoided off the shelf solutions which I acknowledge isn’t everyone’s jam. If that’s something that sounds like fun to you, keep reading 
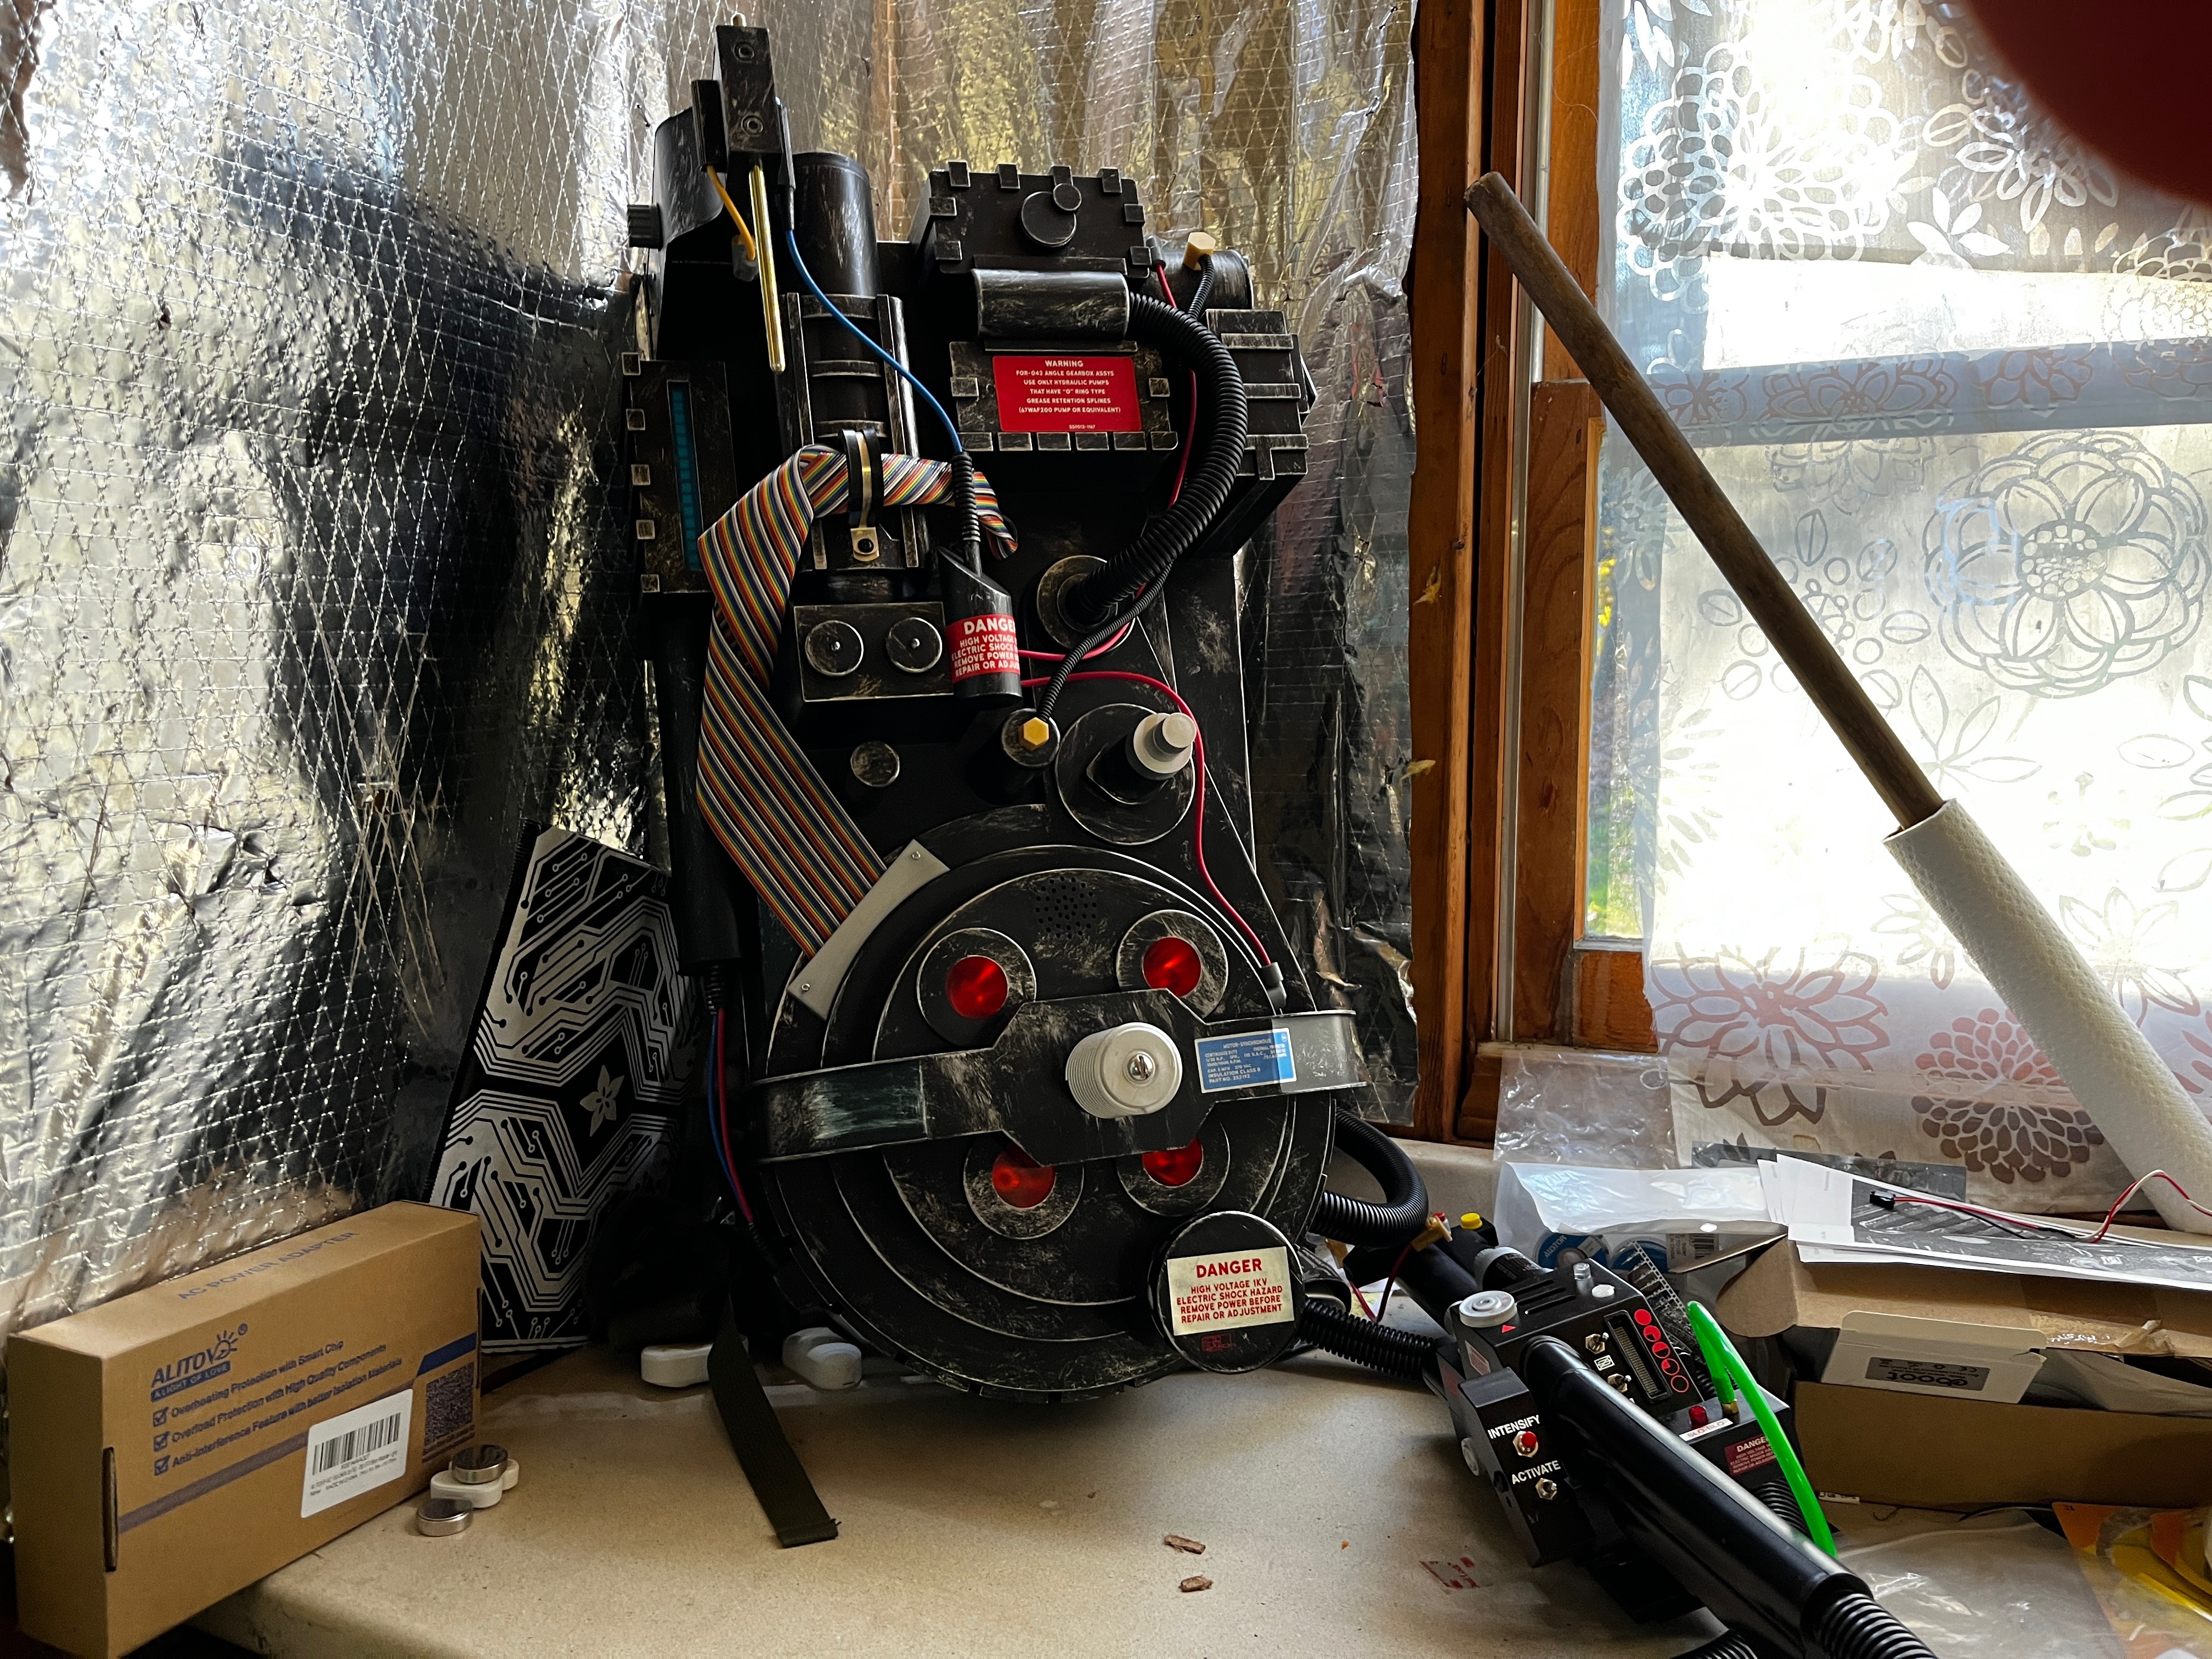
First thing I did was revamp a few Arduino projects I’d previously used with my Spirit 80% scale pack to work with a state machine. This greatly simplified the logic of the pack and made it 10x easier to work with. I’ve published the code on GitHub, but the README leaves out a lot of the slimy details (like hardware, wiring, etc). If people are interested I’ll backfill these details.
I used some mouth words to describe why a state machine and some of the coding choices I made were so impactful:
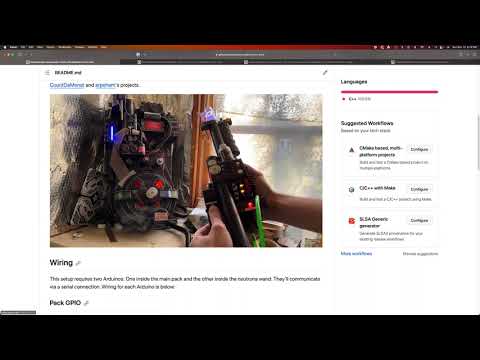
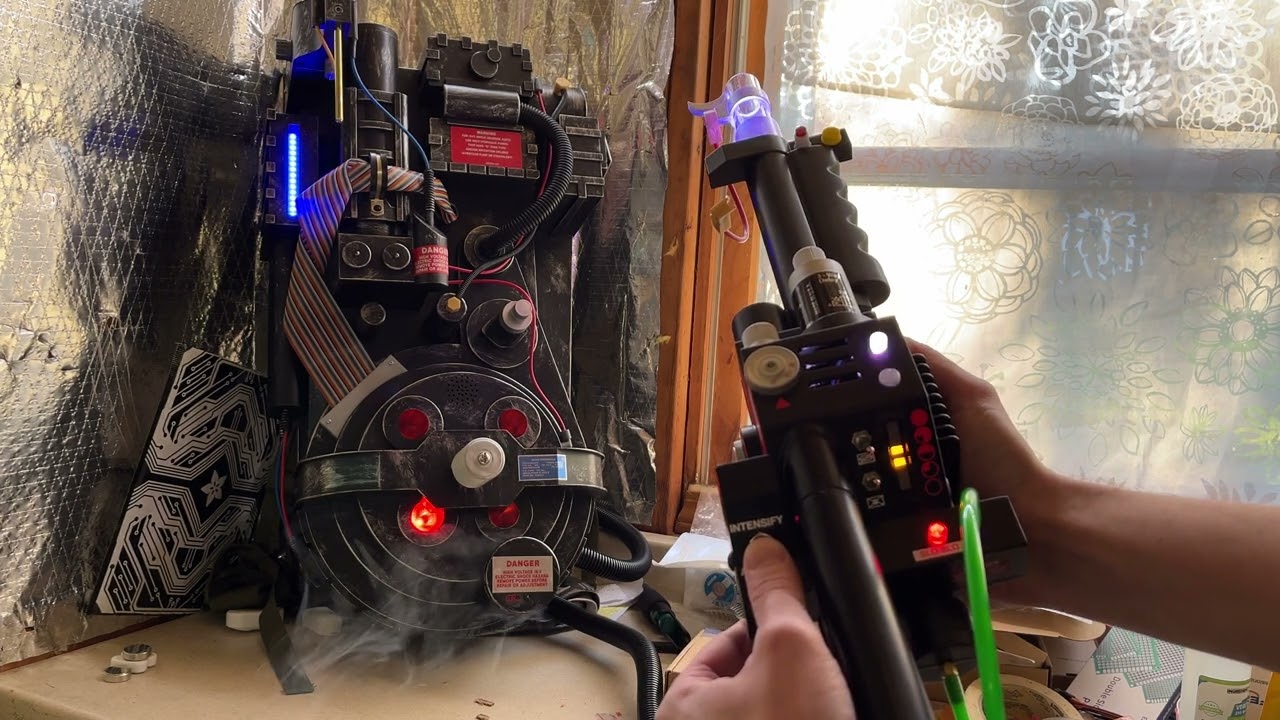
Also if you just want to see the pack in action I’ve got that video here:
I’ll post a few pictures of the interesting mods I made. Because I wanted to make sure I was “Halloween Ready” I didn’t end up taking on repainting and replacing the hardware on the main pack body, but that’s on my list of “things to do”. I also hope to introduce a pack attenuator.
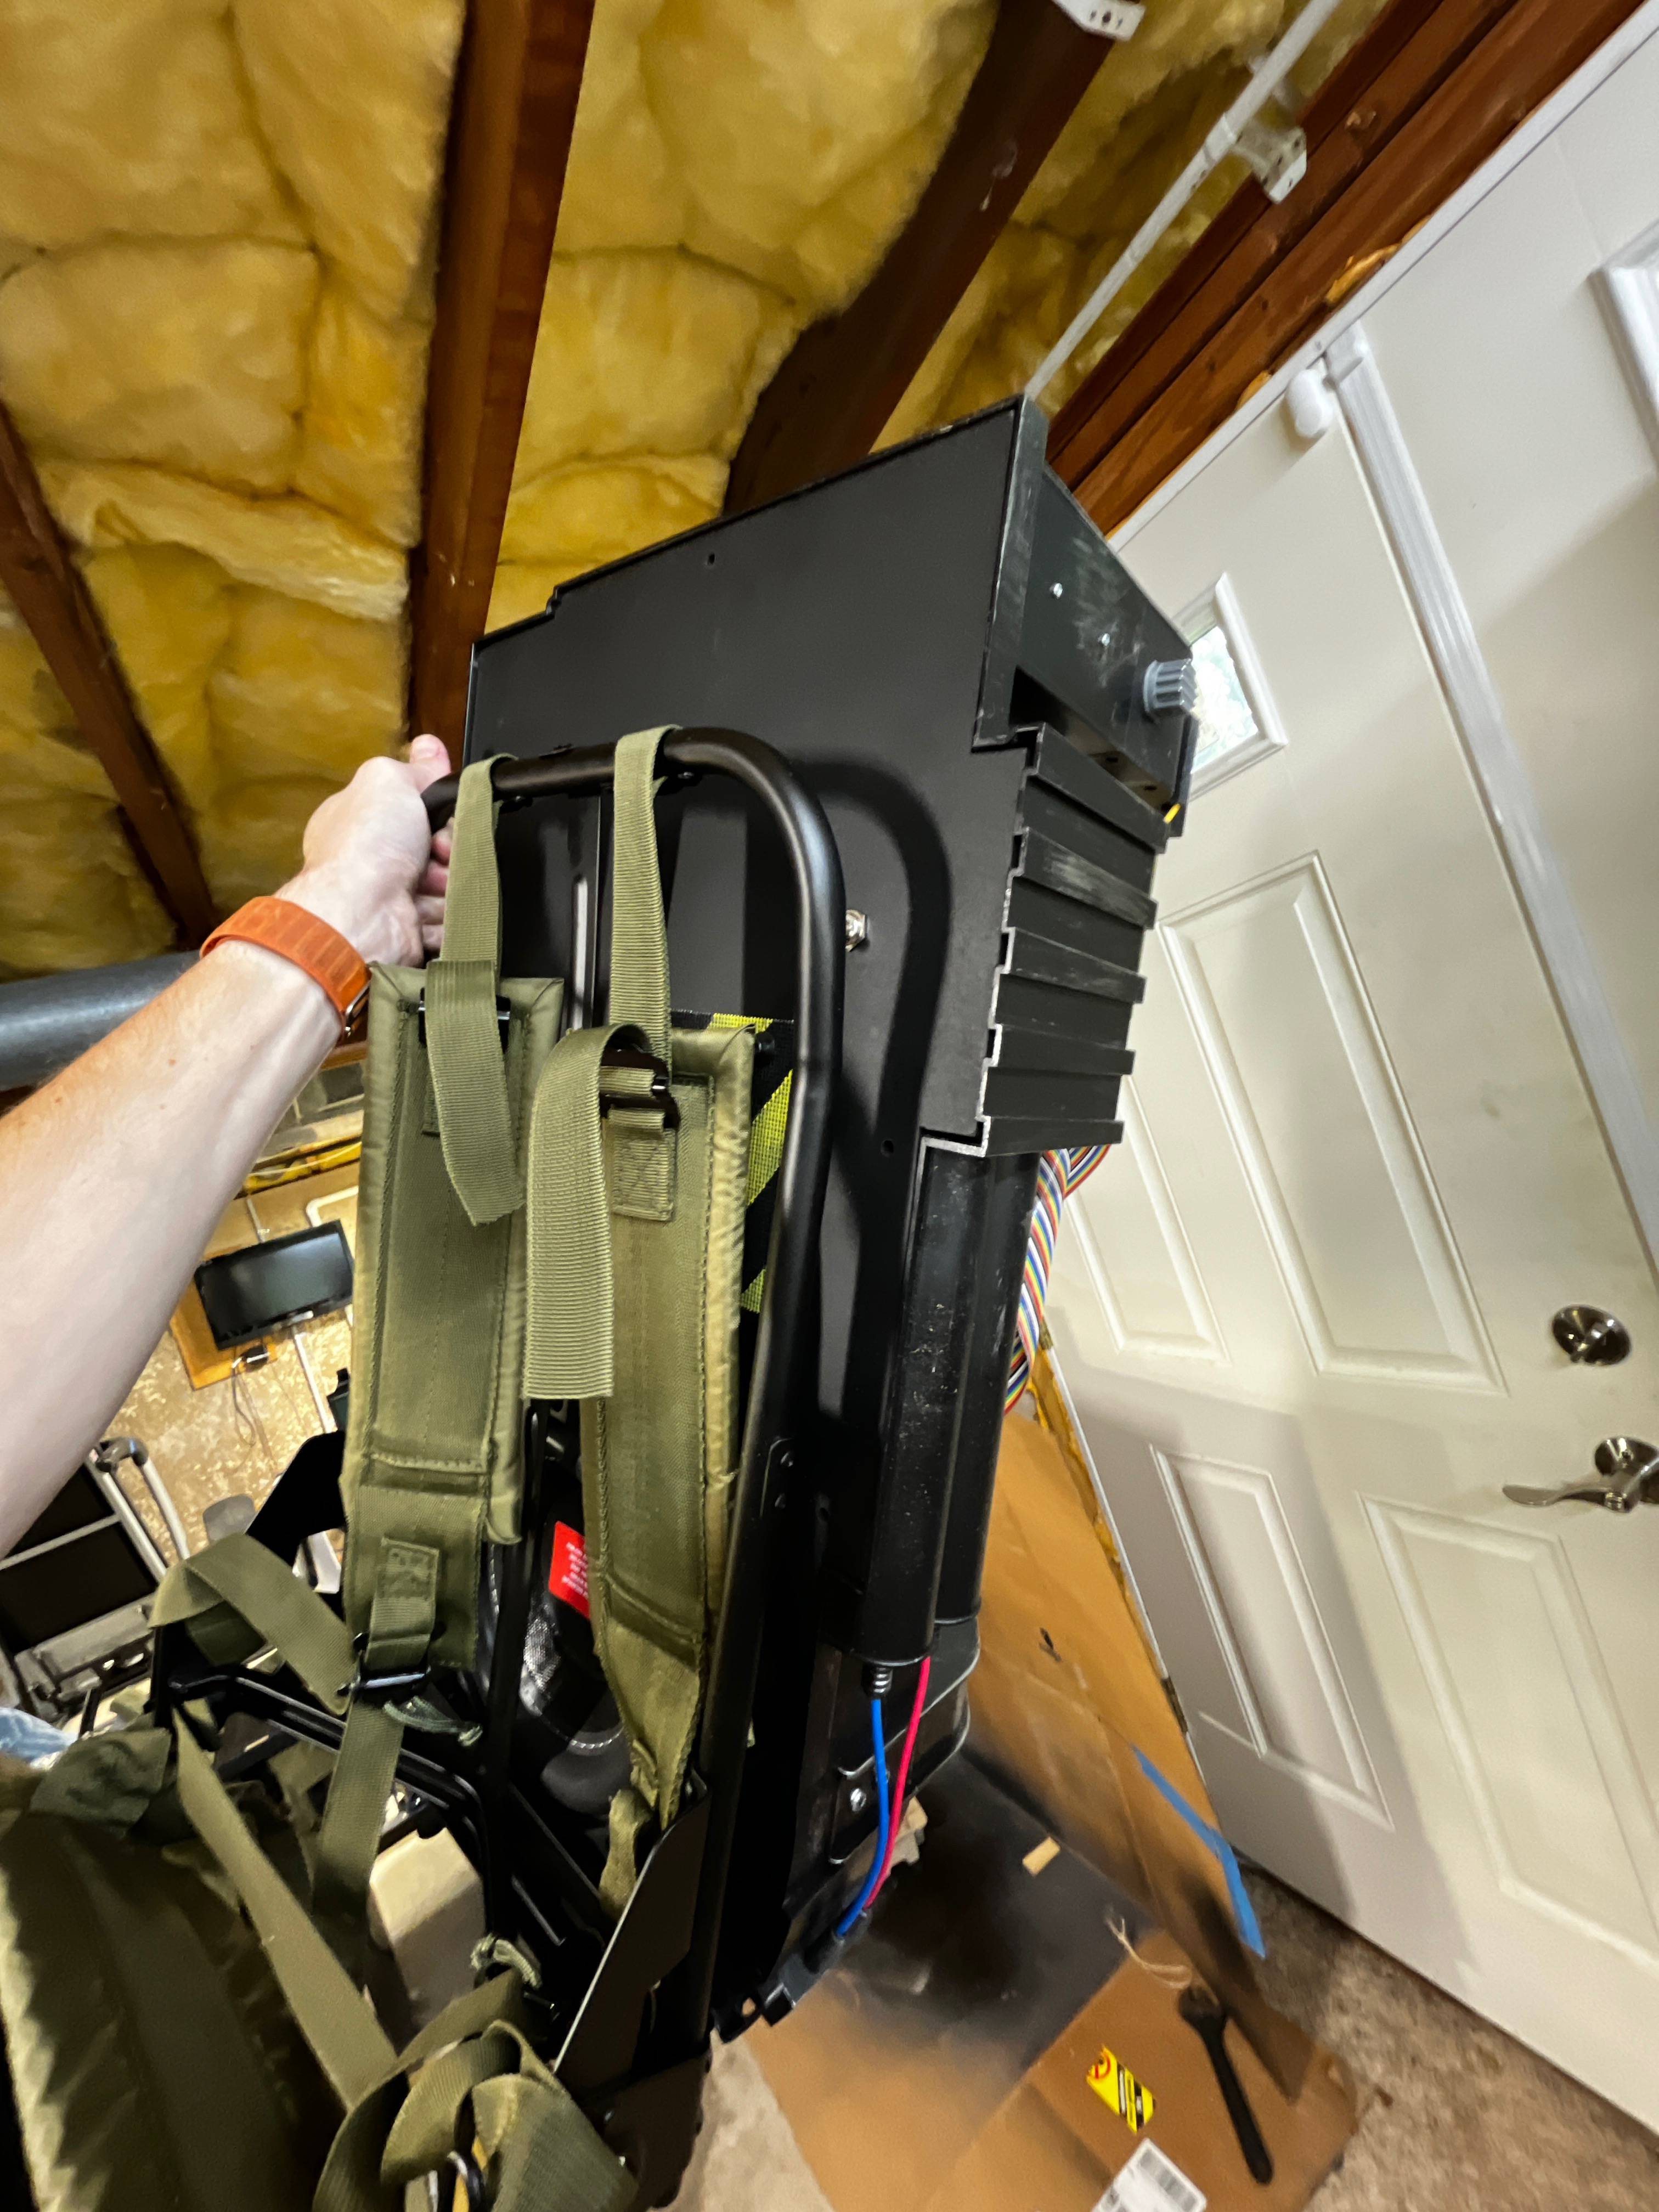
Motherboard is MDF painted black and cut to fit the shell. I decided to use rare earth magnets to hold the shell to the motherboard. The fit is nice and snug and the majority of the weight is anchored to the motherboard itself. I wore this thing trick-or-treating all Halloween 2023 and had zero issues. I have a poorly manufactured ALICE frame attached to the motherboard via a few 3D printed stand offs. The motherboard also has my 2.1 audio system and batteries attached to it.

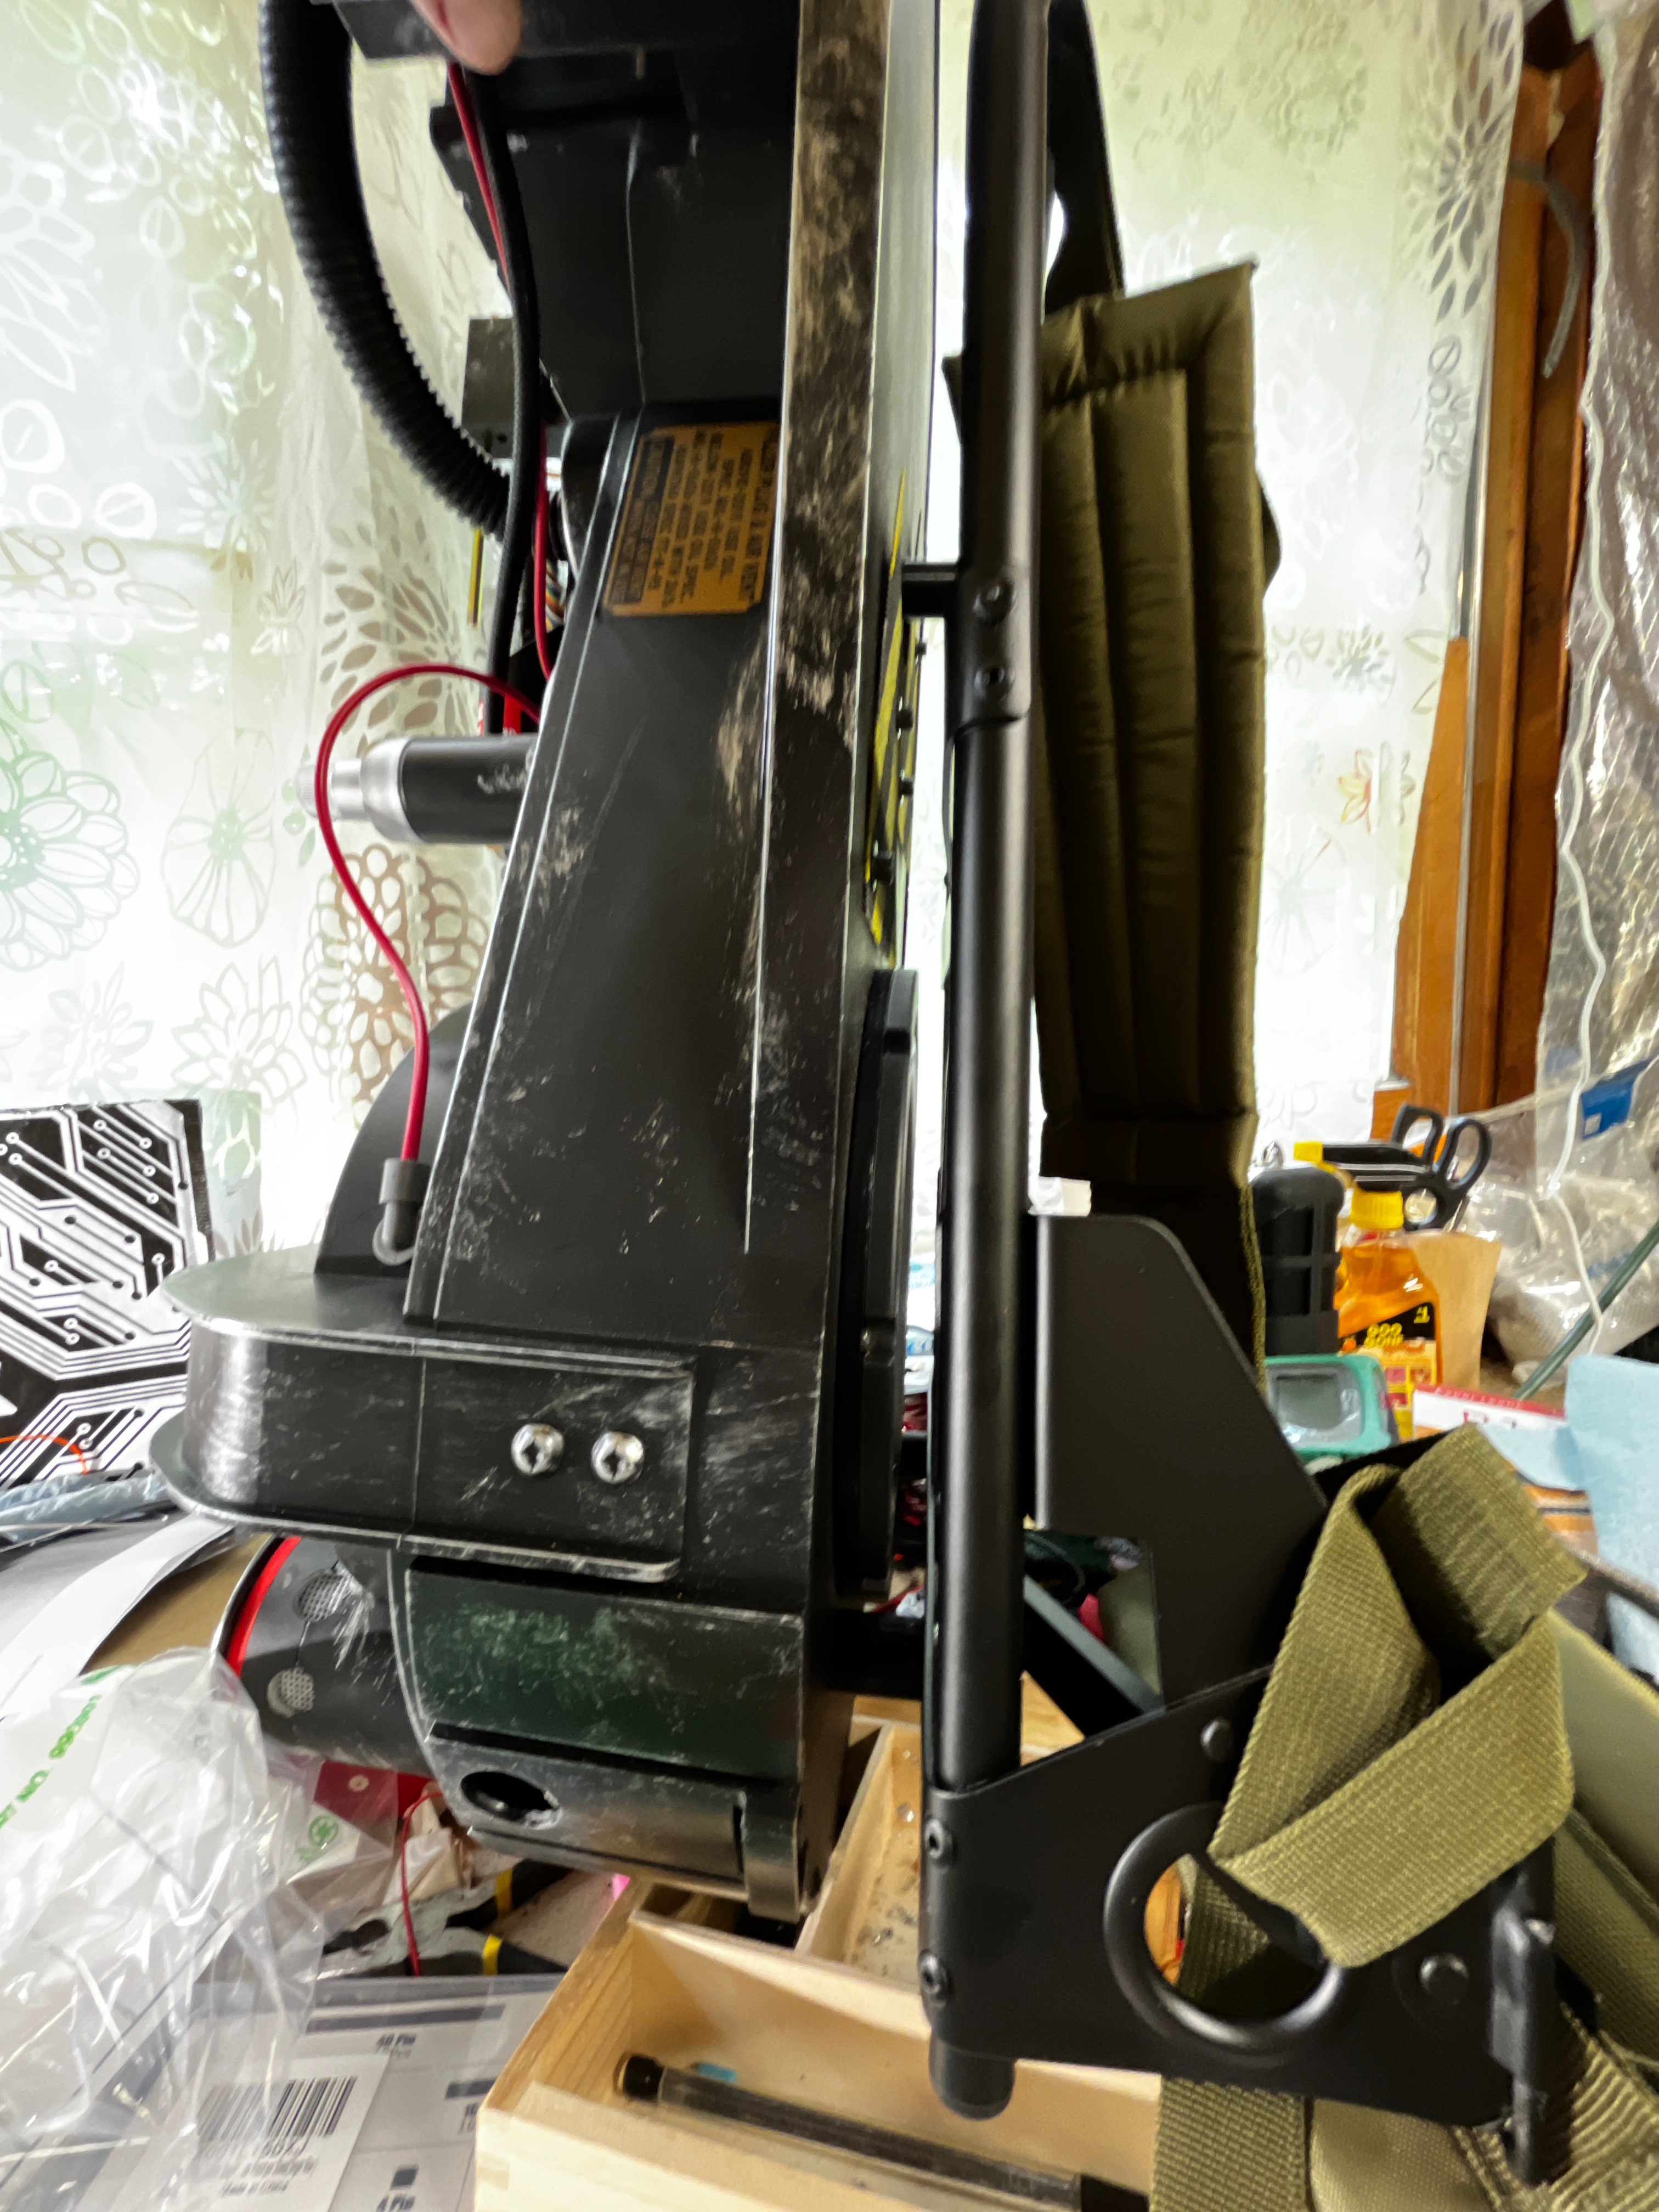
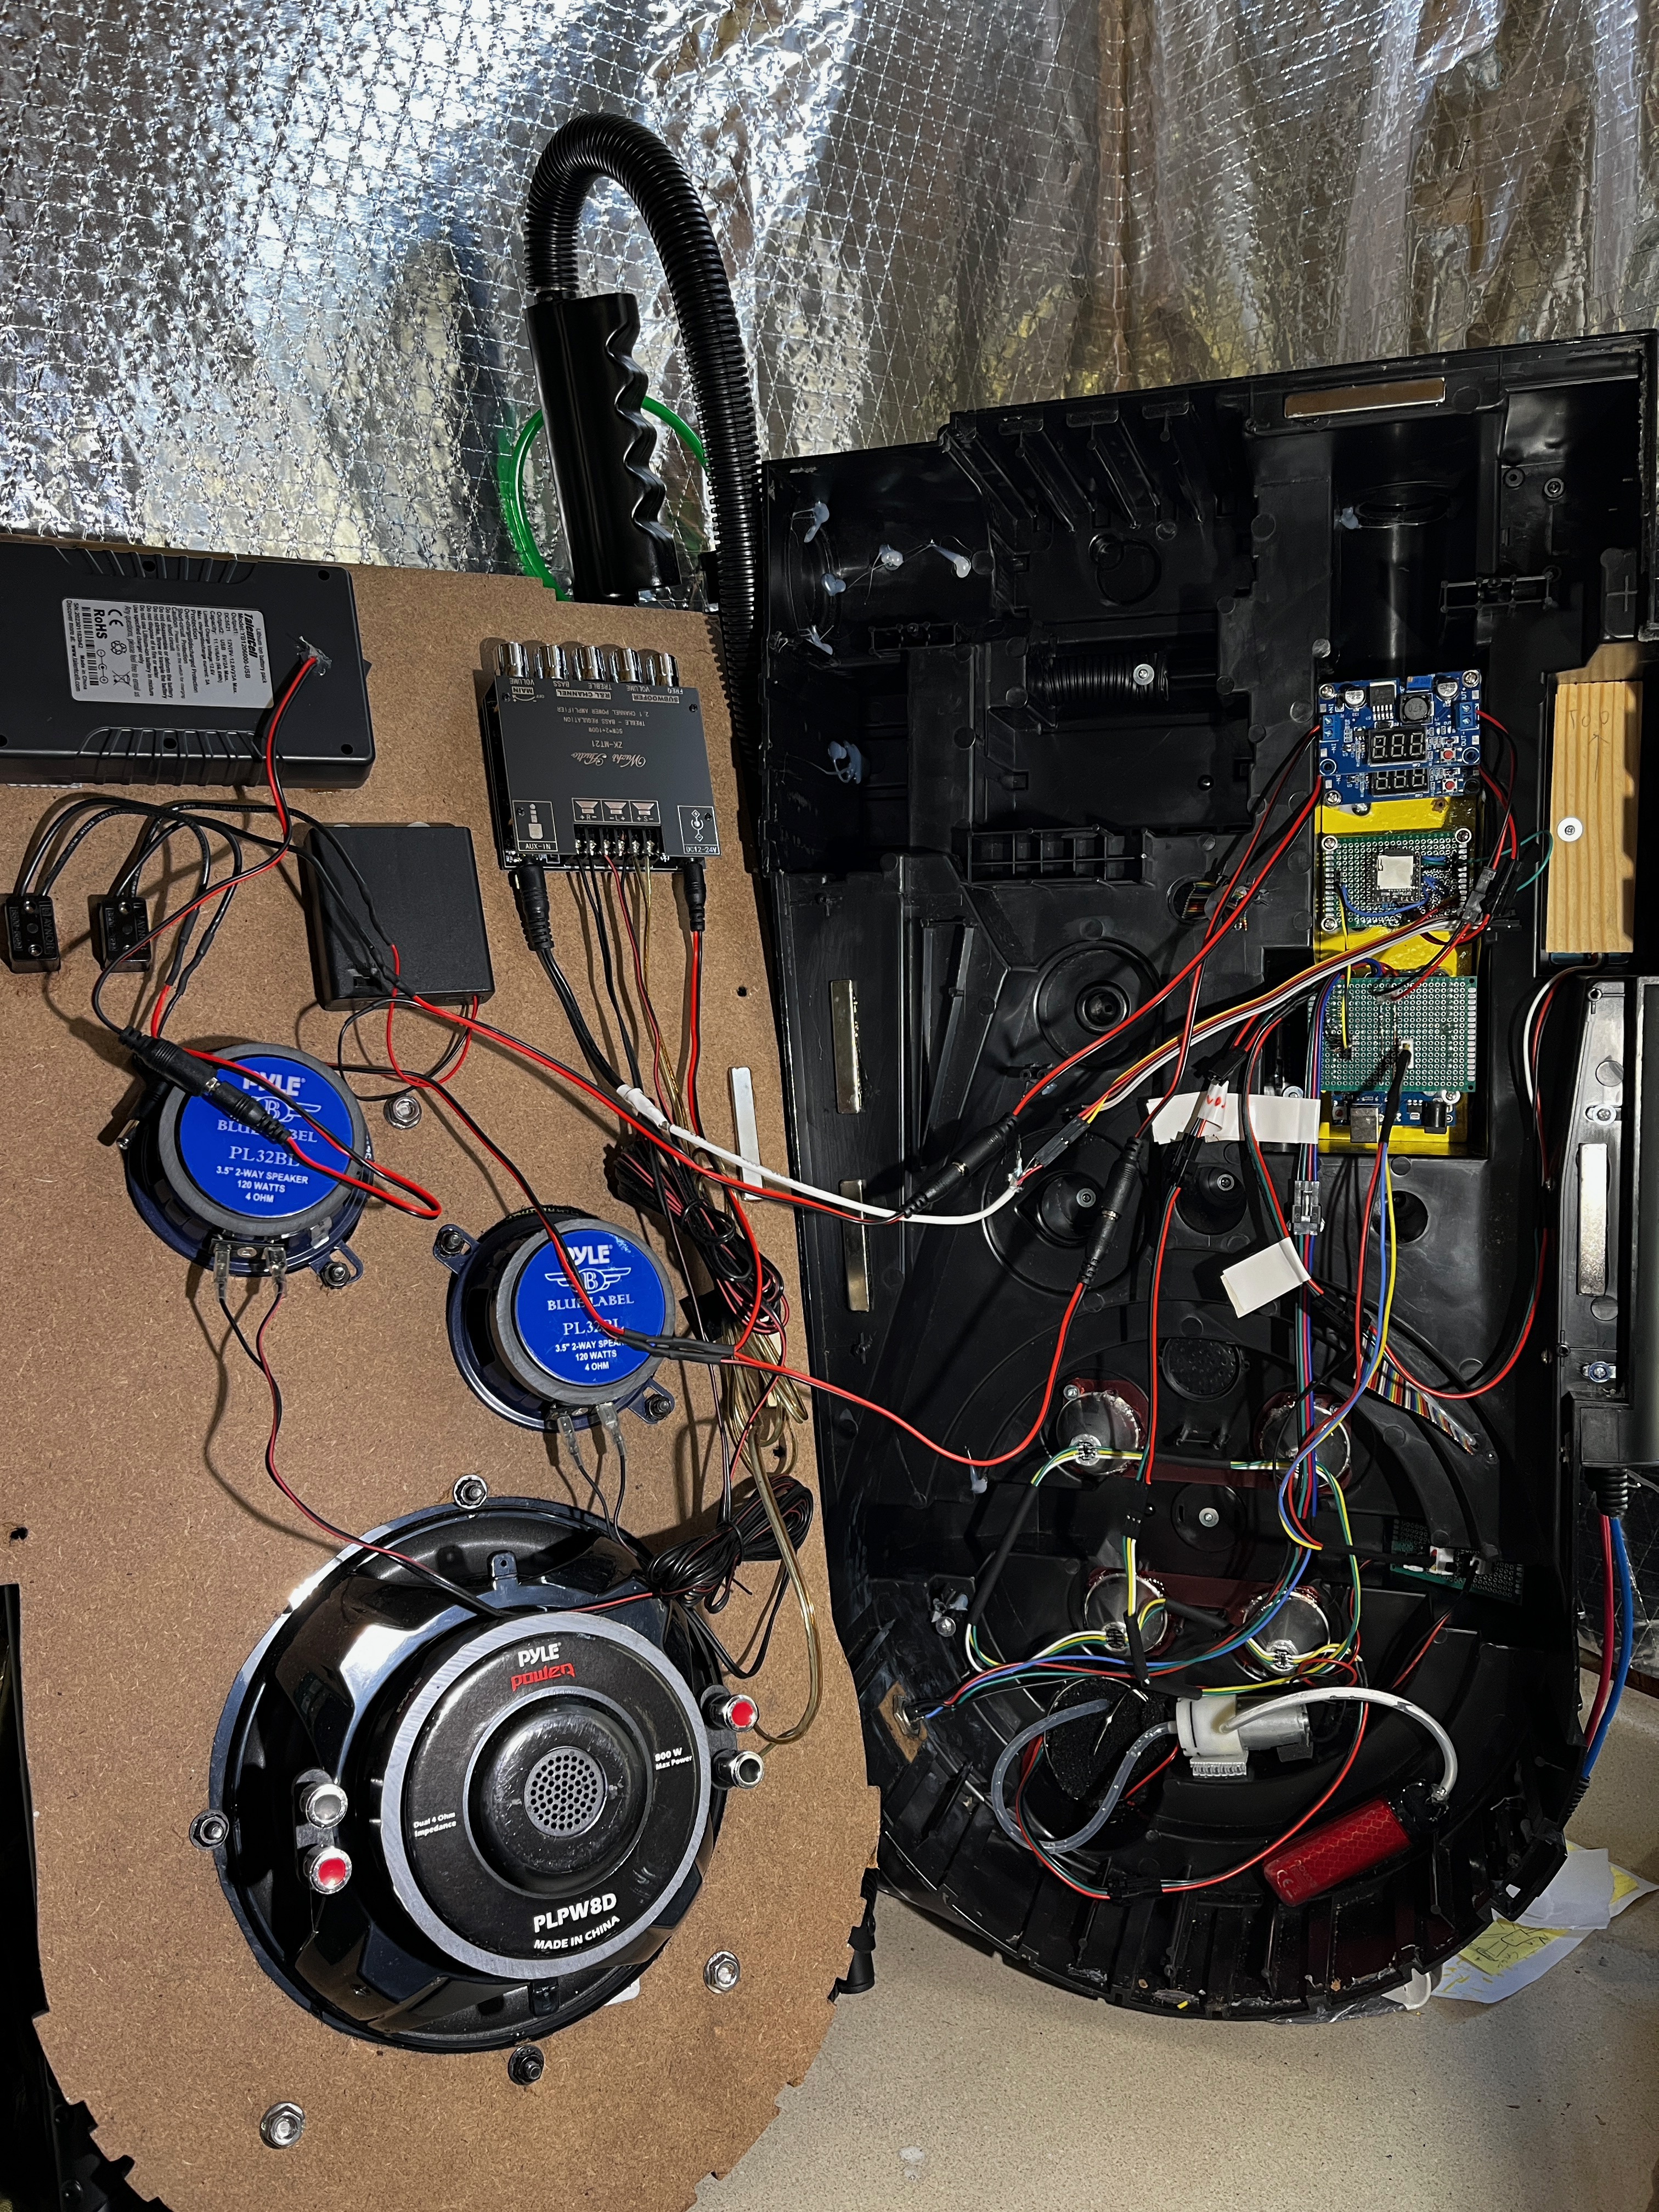
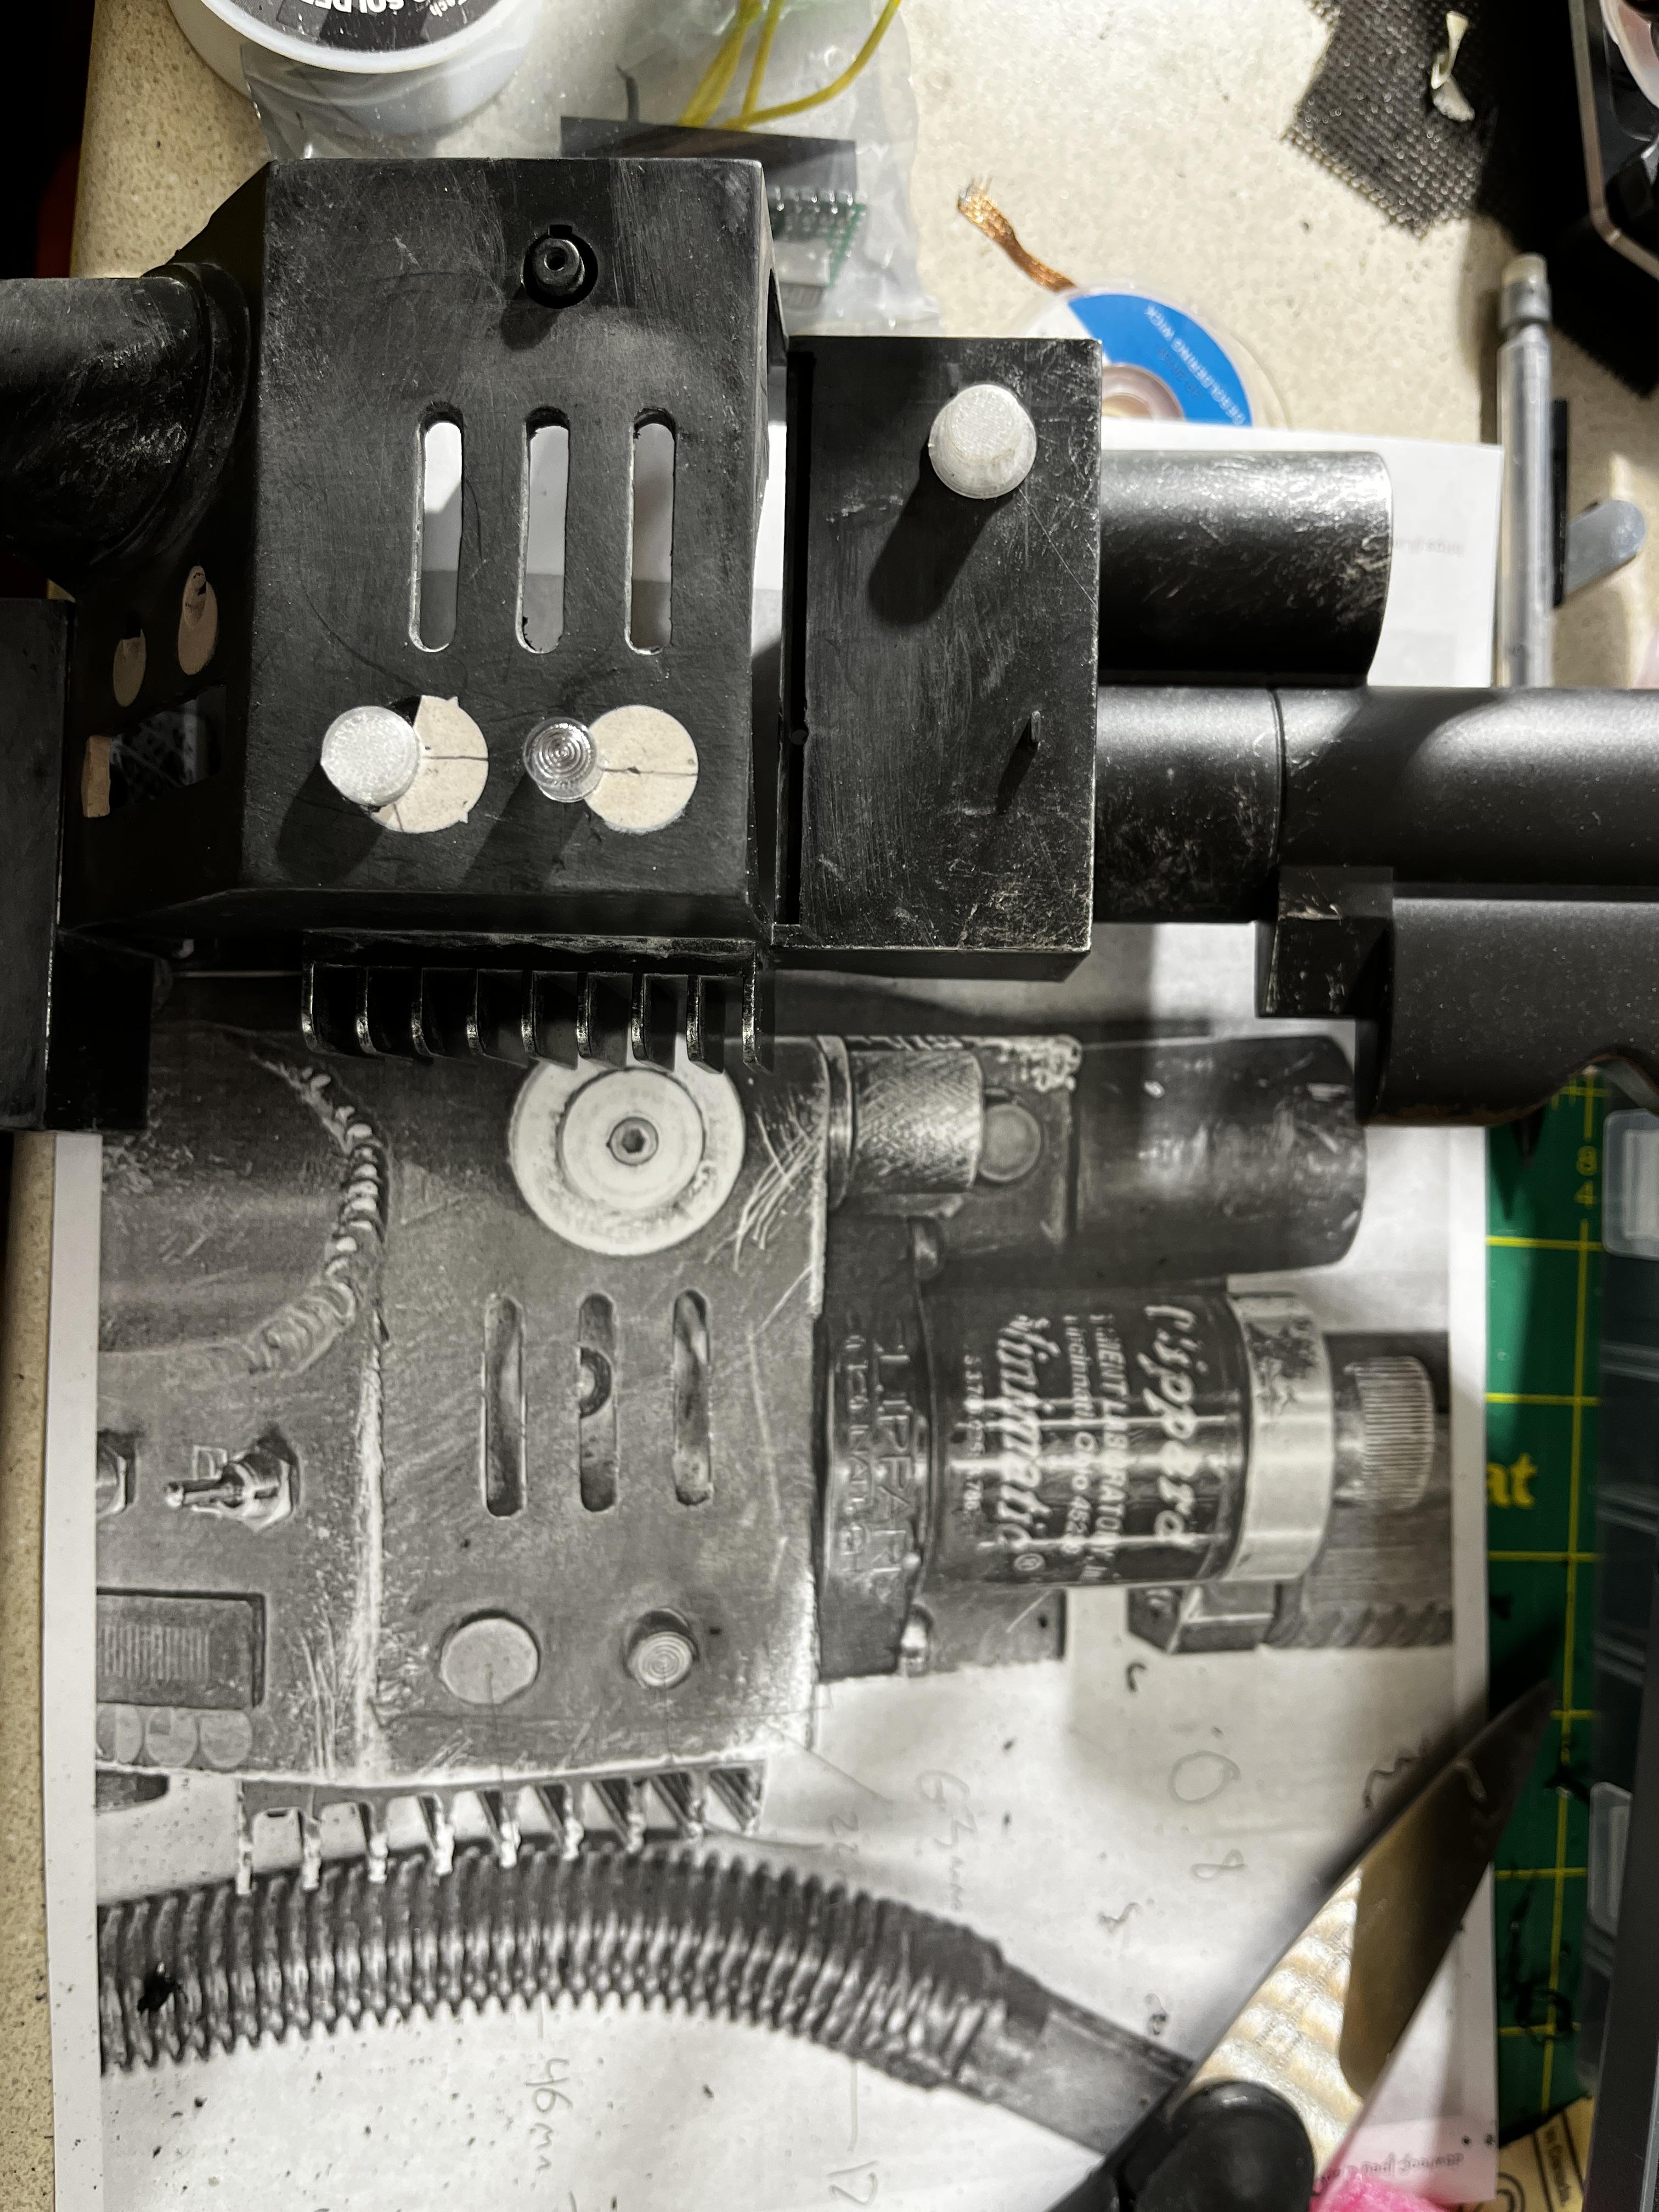
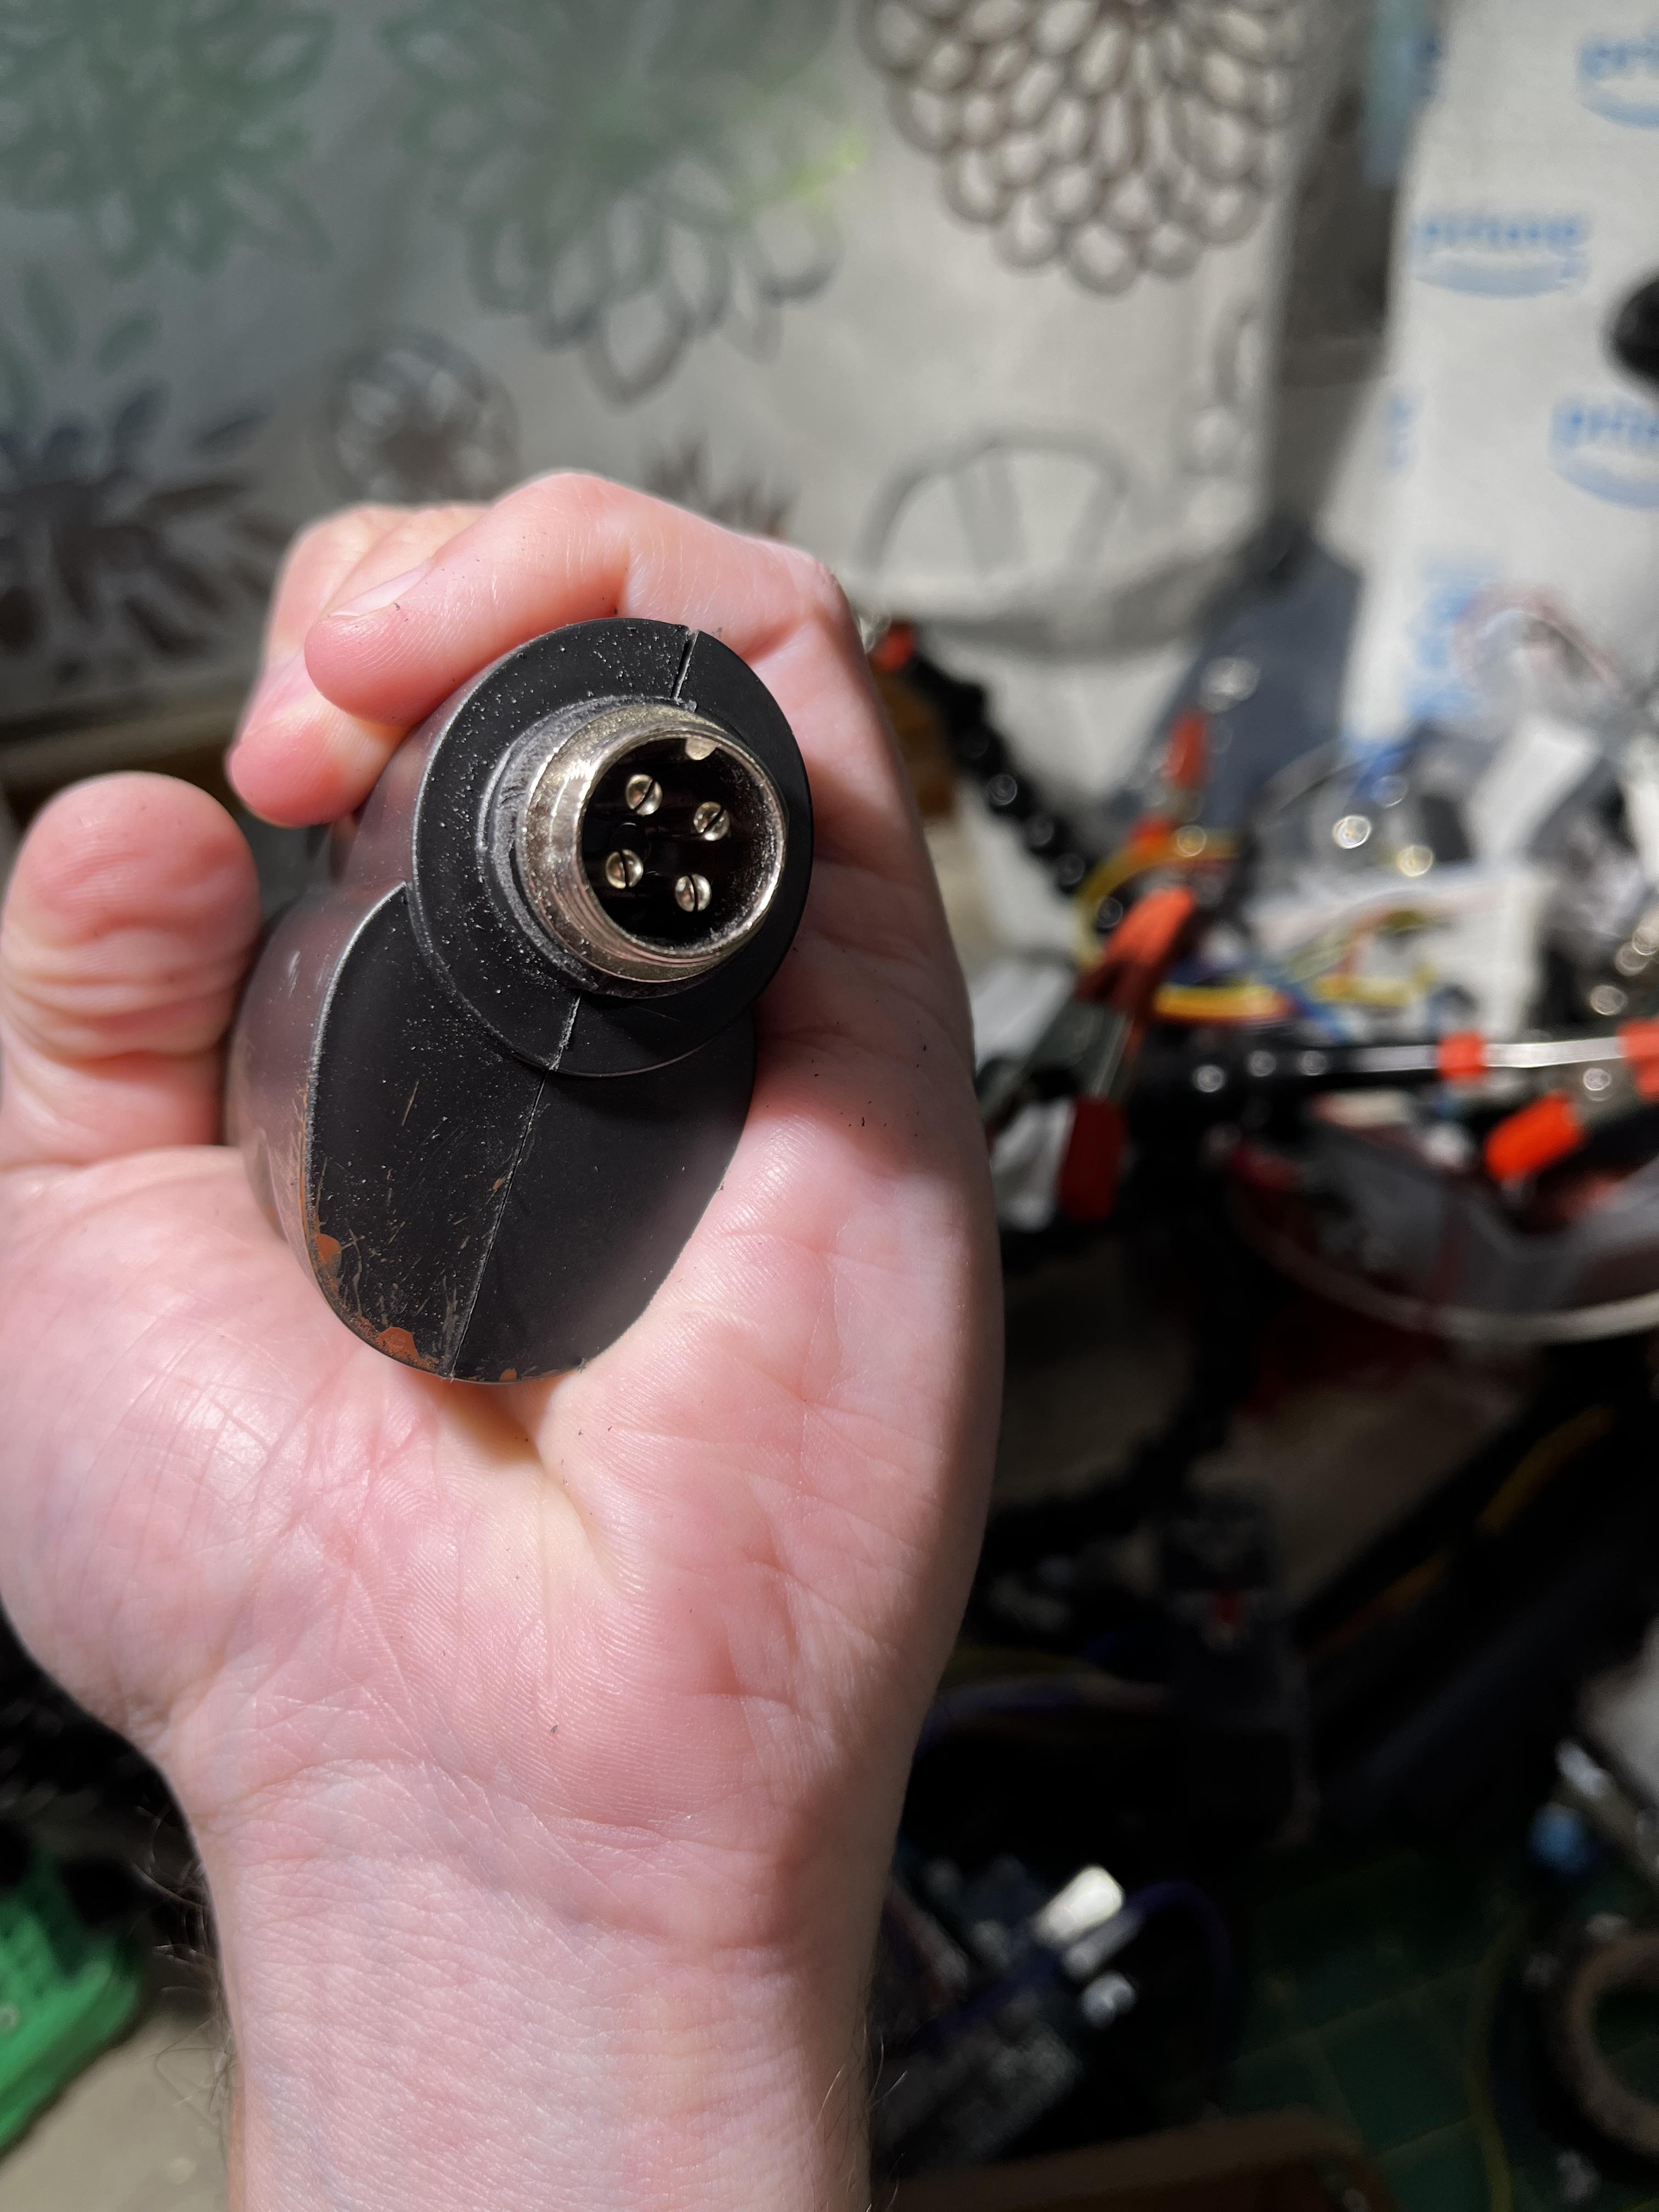
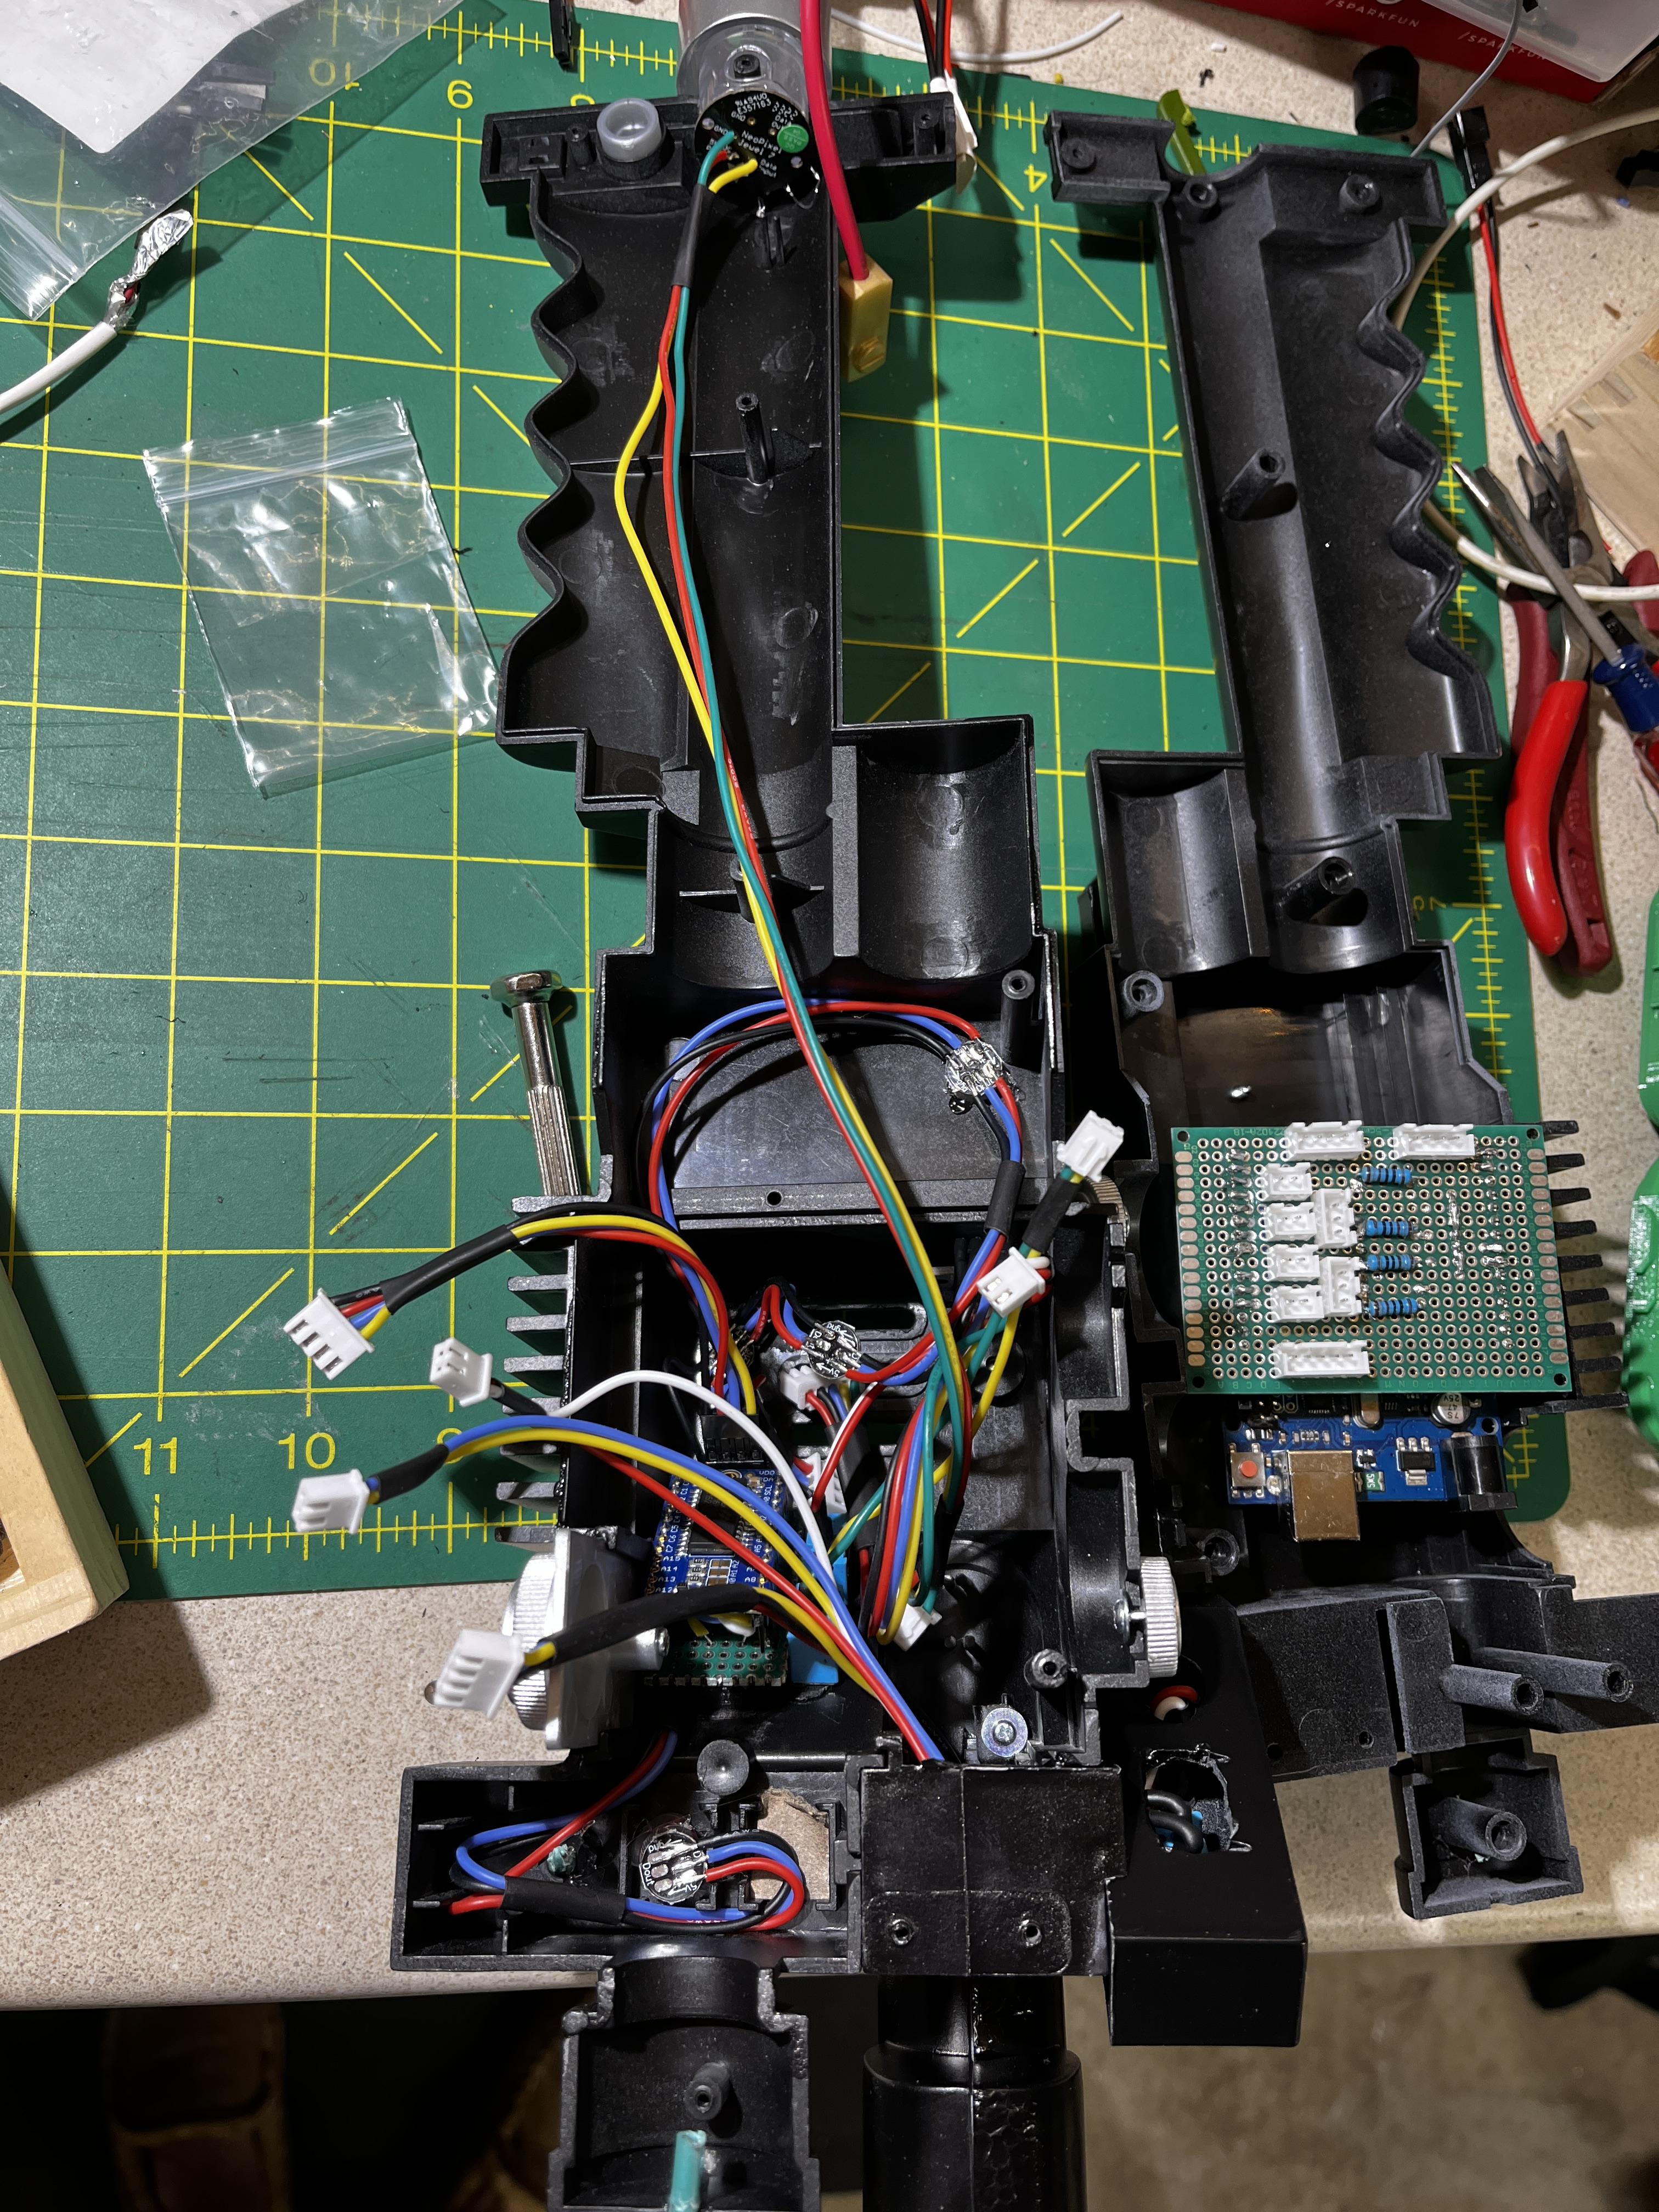
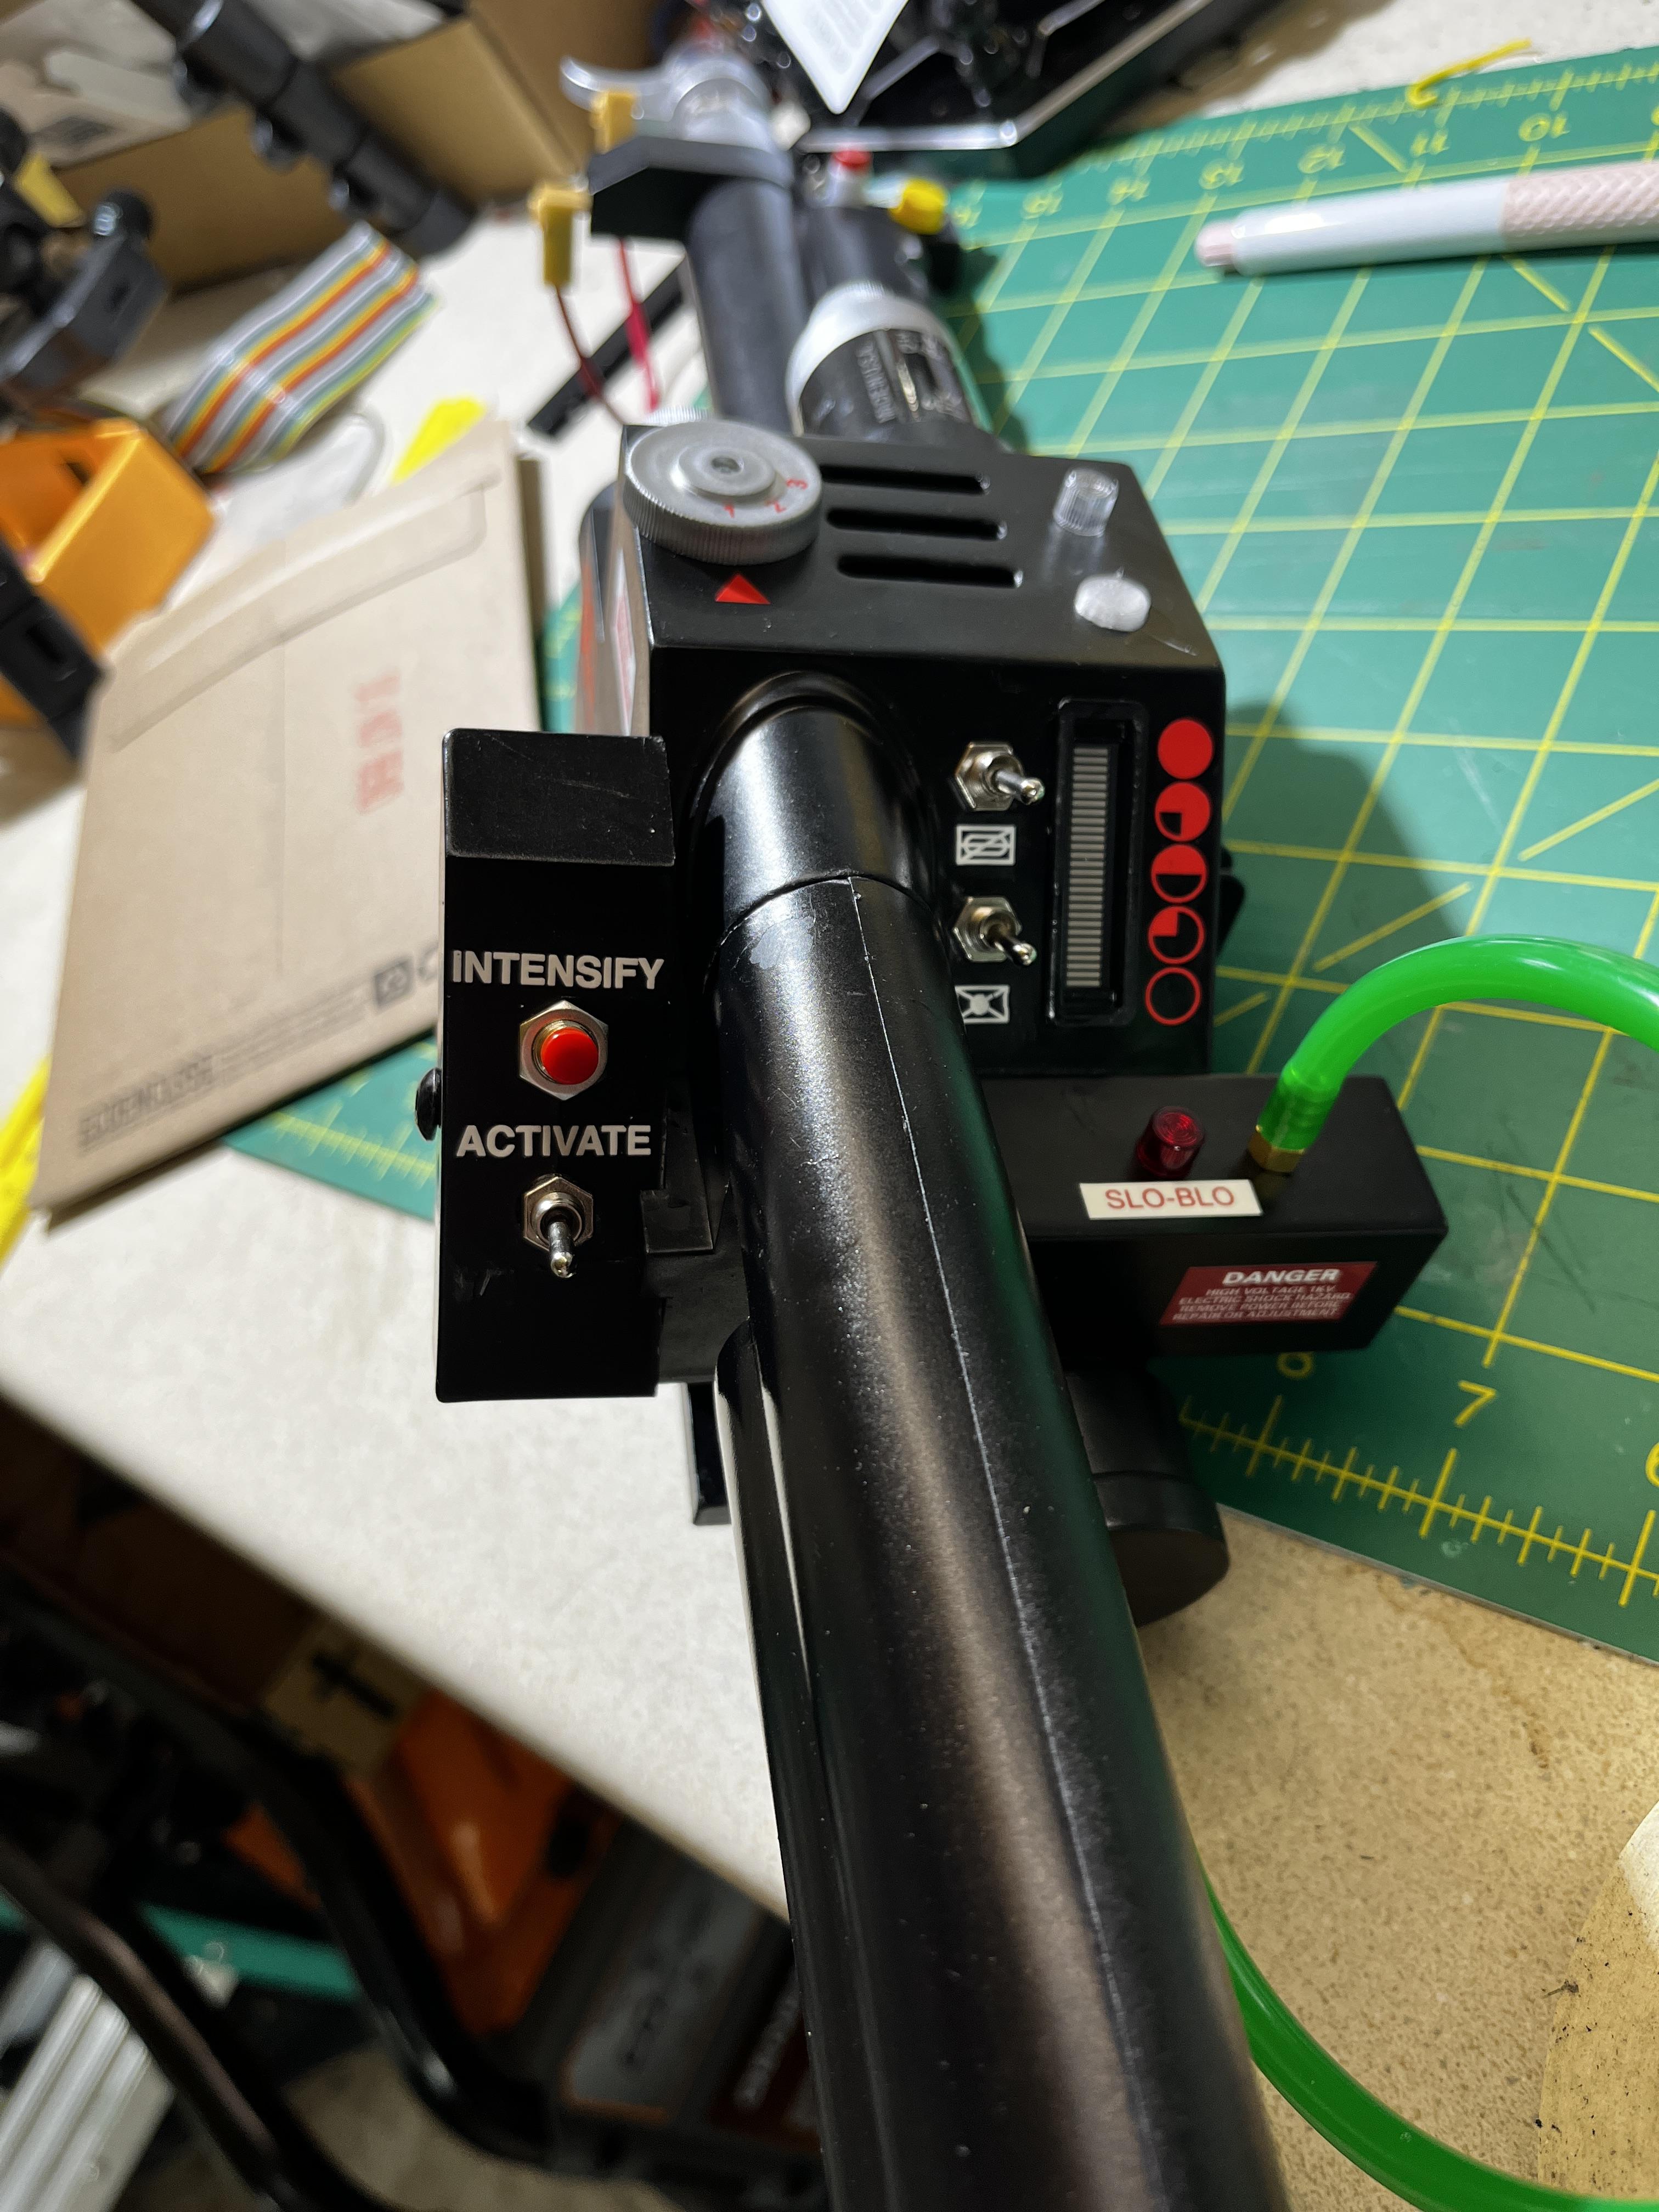
The wand underwent the most modifications, including adding working toggle switches, buttons, opening up the vents, bondo filling the existing holes, cutting a slot for the bar graph, and fitting the aviation connector into the wand hilt. I’ve also added a volume control / push button inside the front knob (inspired by arpehem’s build). The end result allows me to switch the pack into “music” mode and FF through different tracks while still enabling the normal animations and functionality to play out.
A month later so you’ve probably moved on, but:
Maybe epoxy a nut on the inside, and then thread that second mounting screw right into it? Should hold it nice and sturdy.