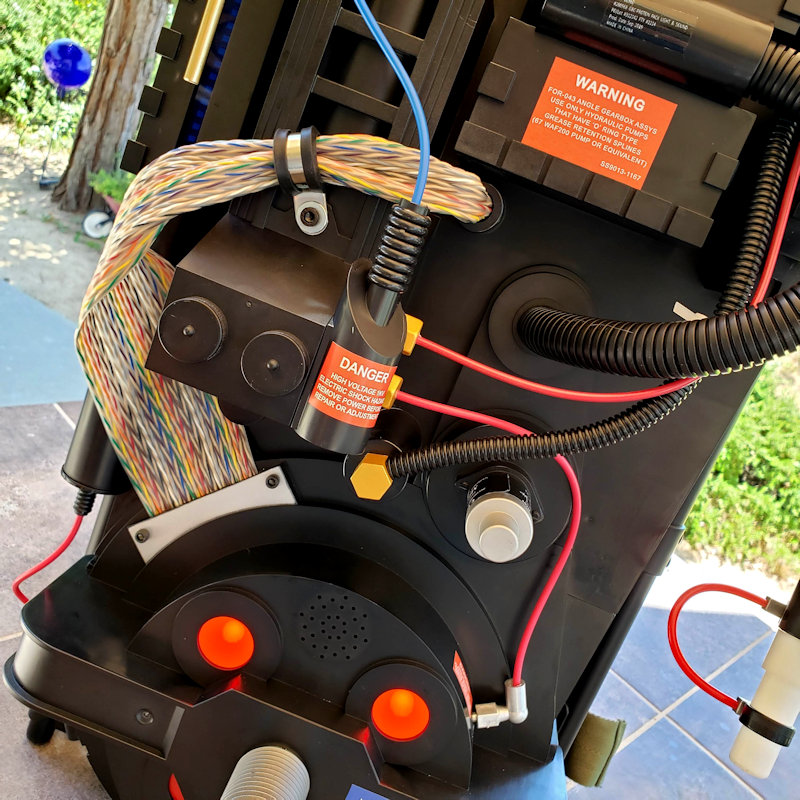
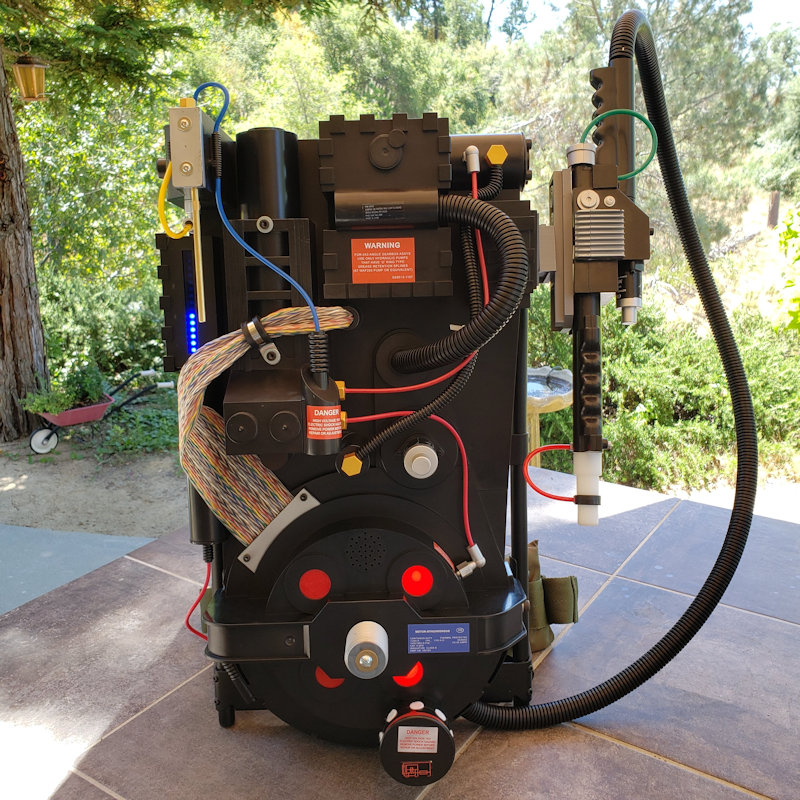
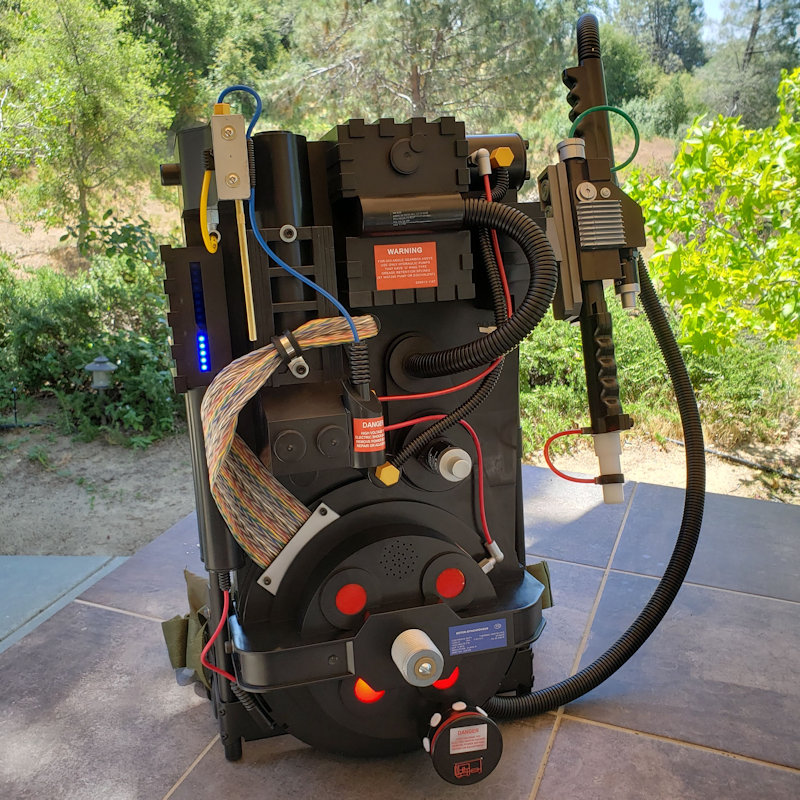
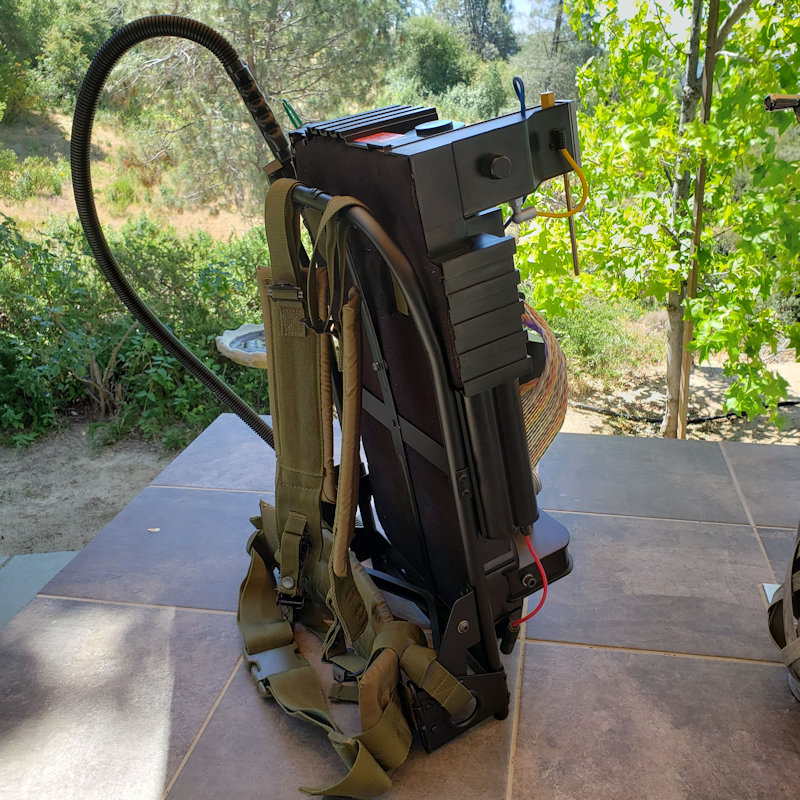
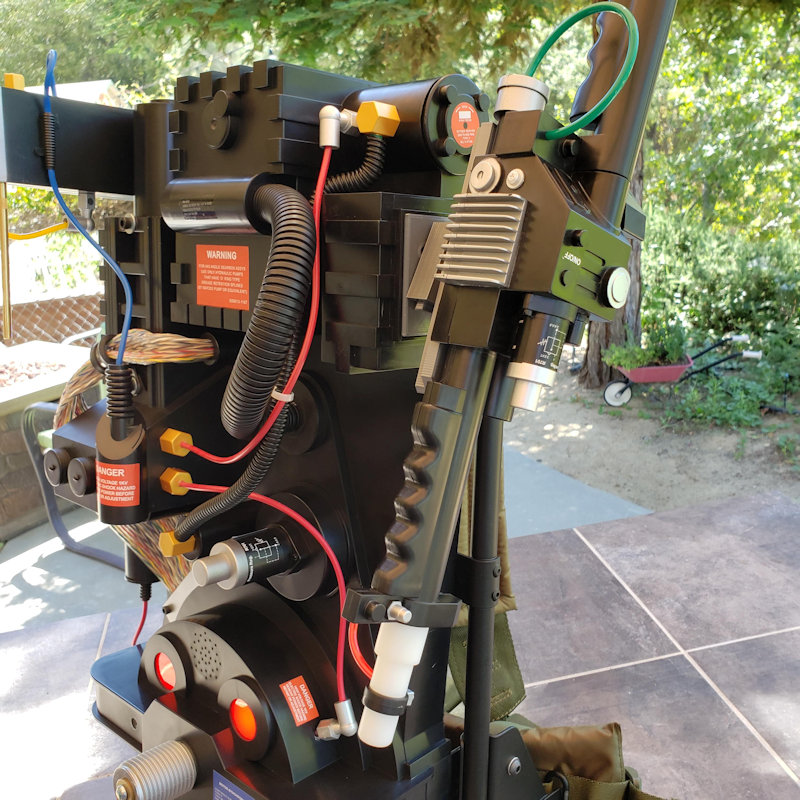
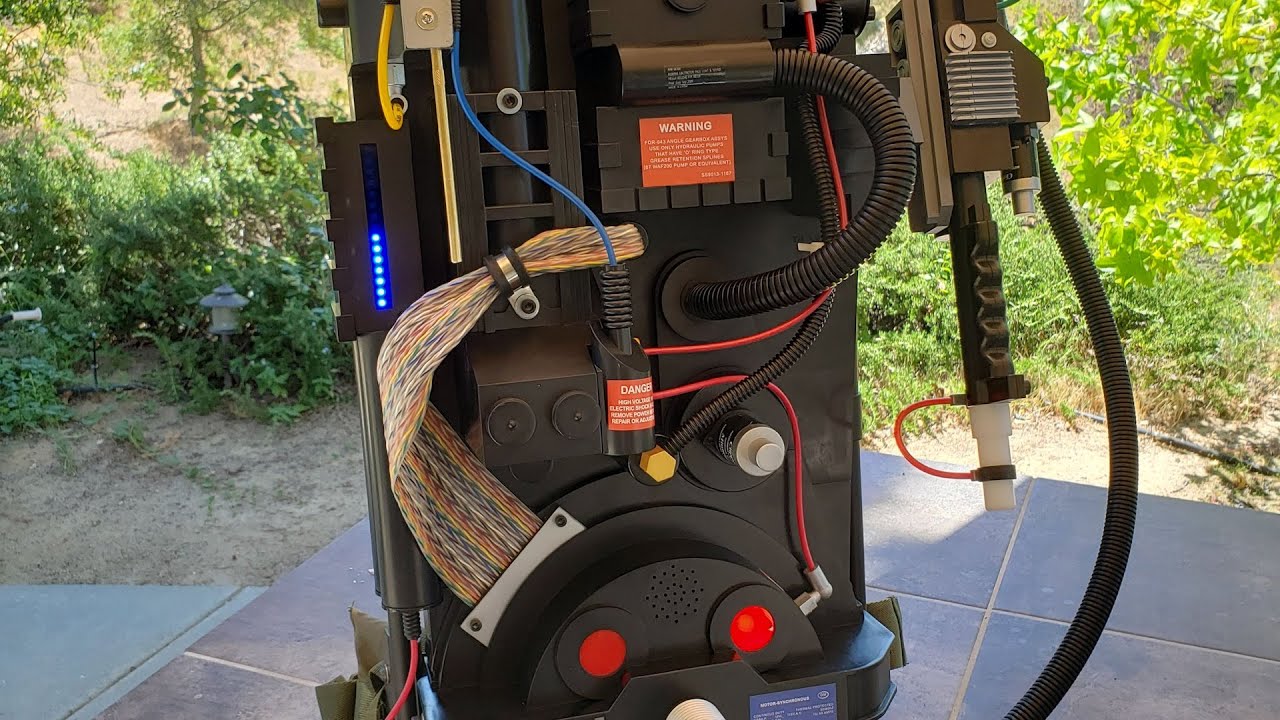
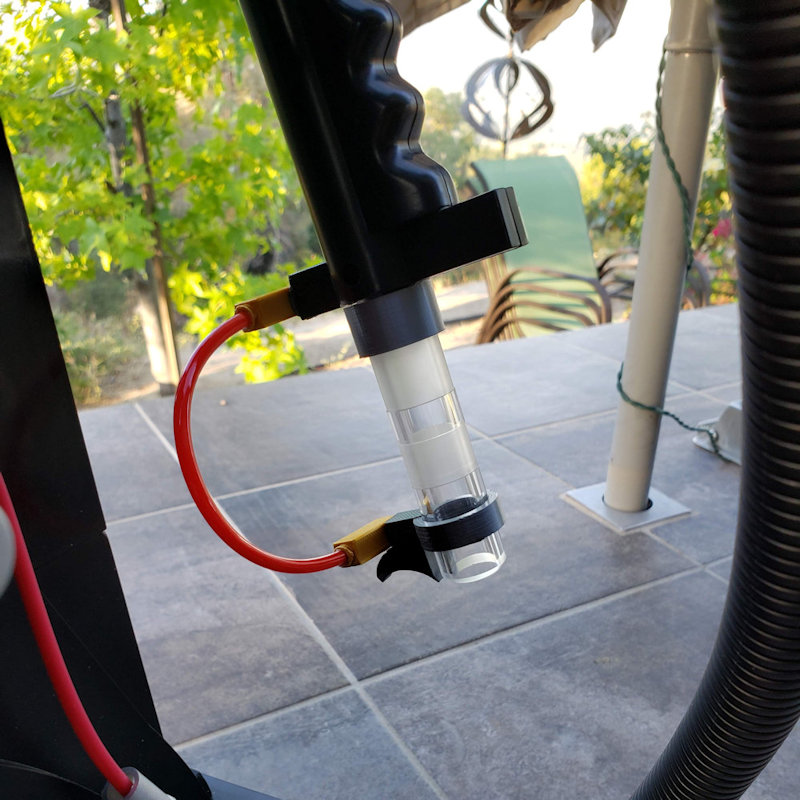
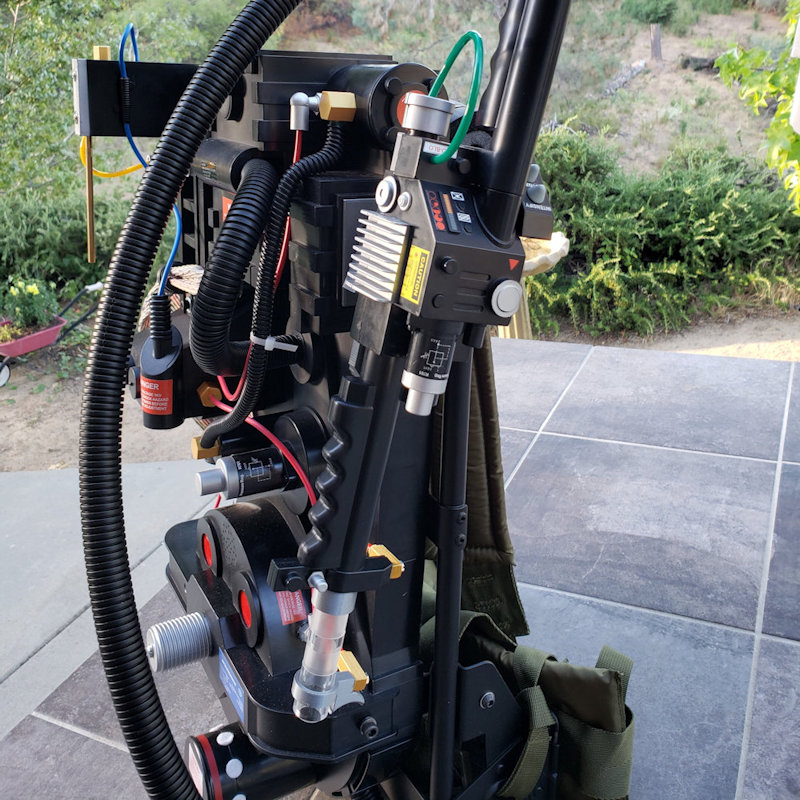
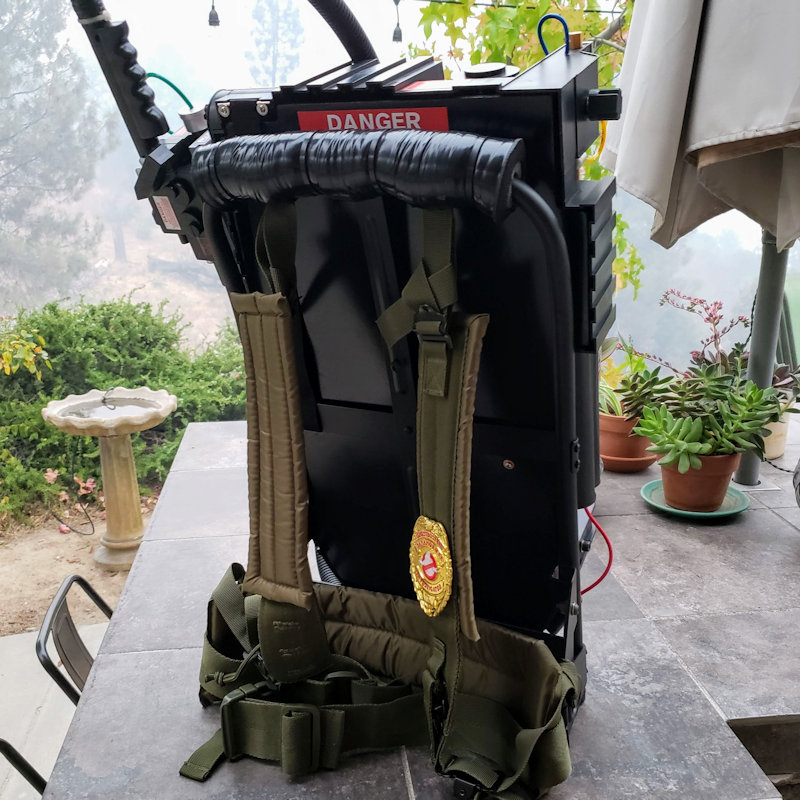
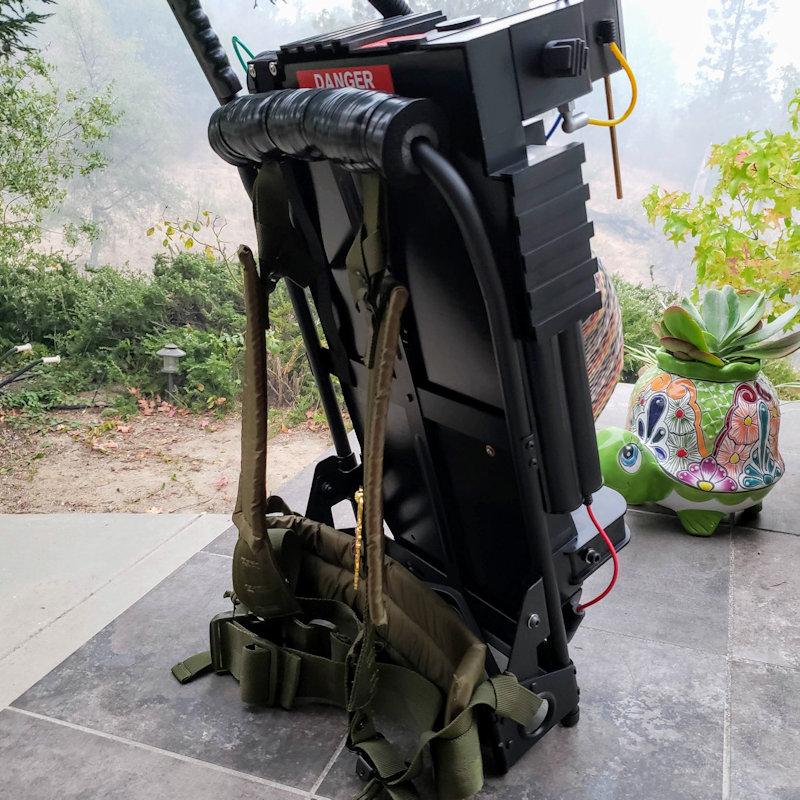
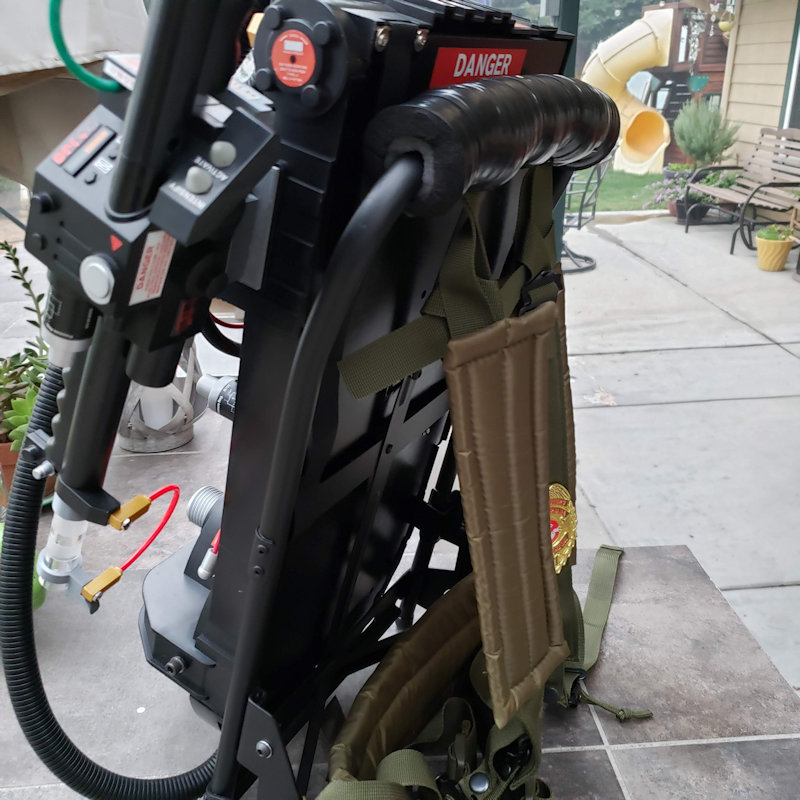
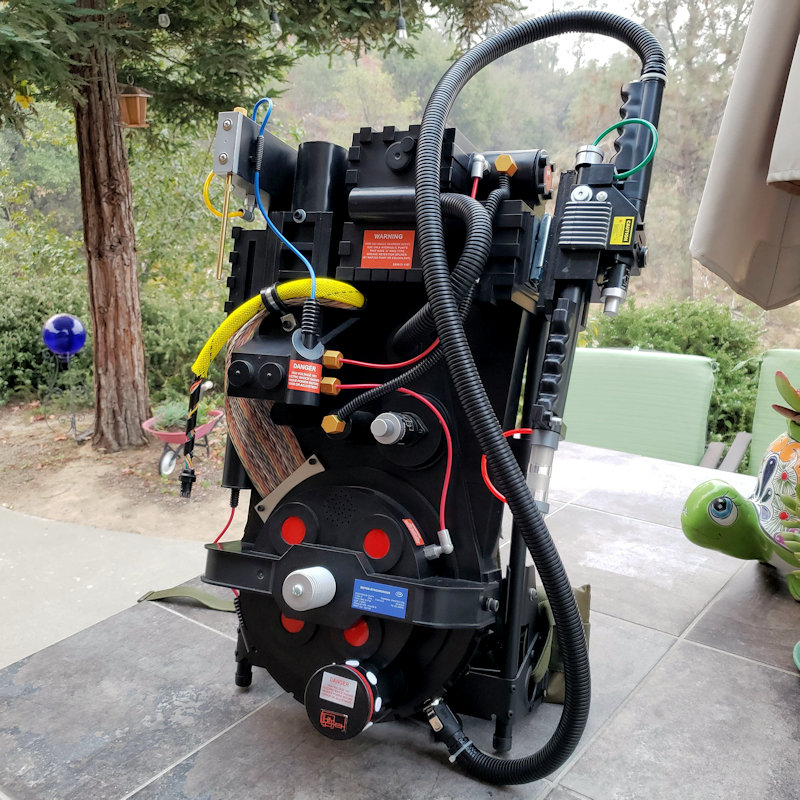
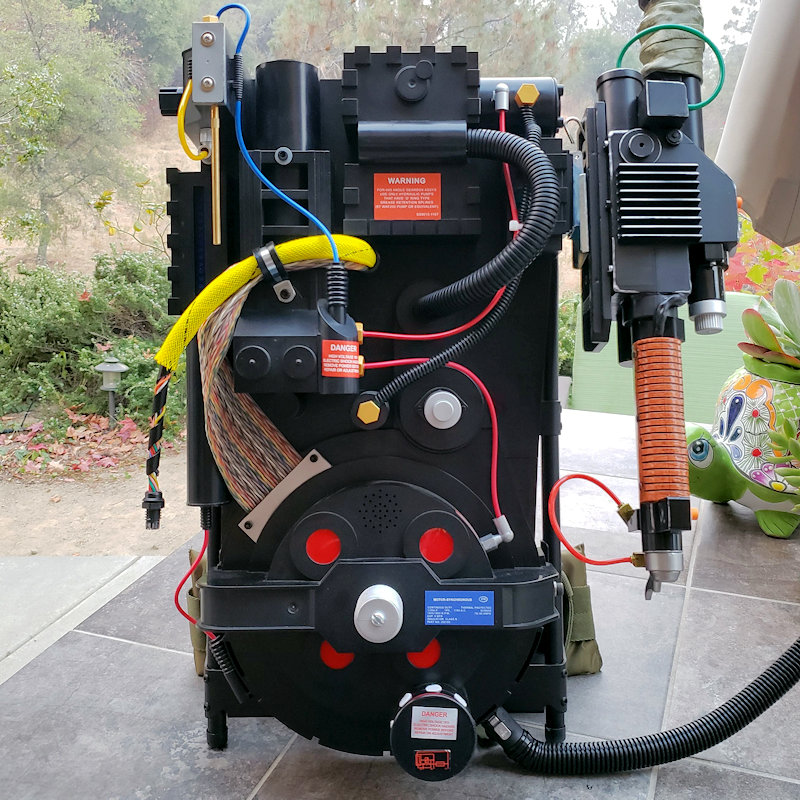
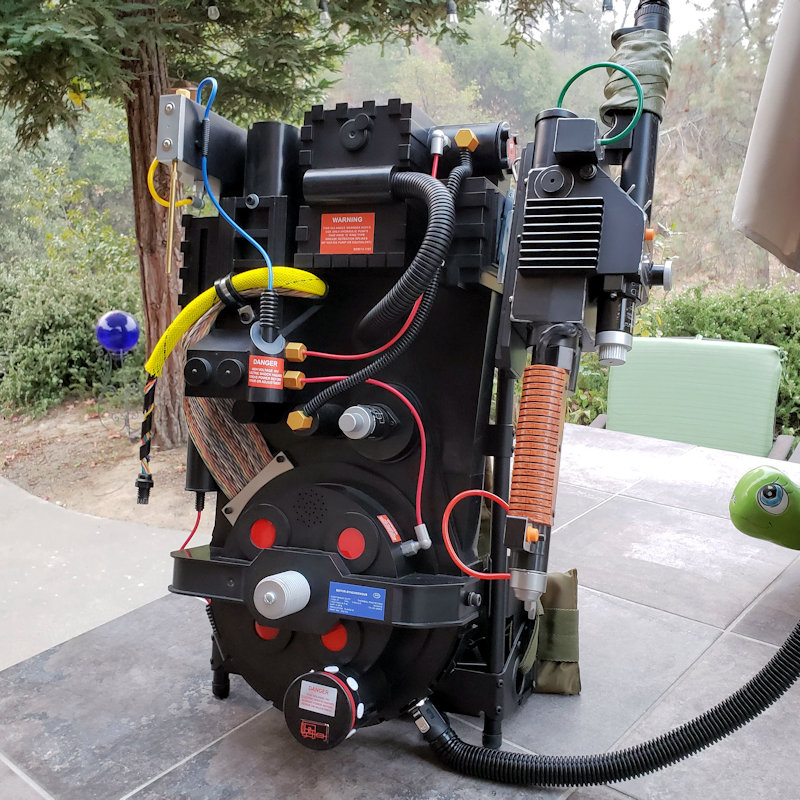
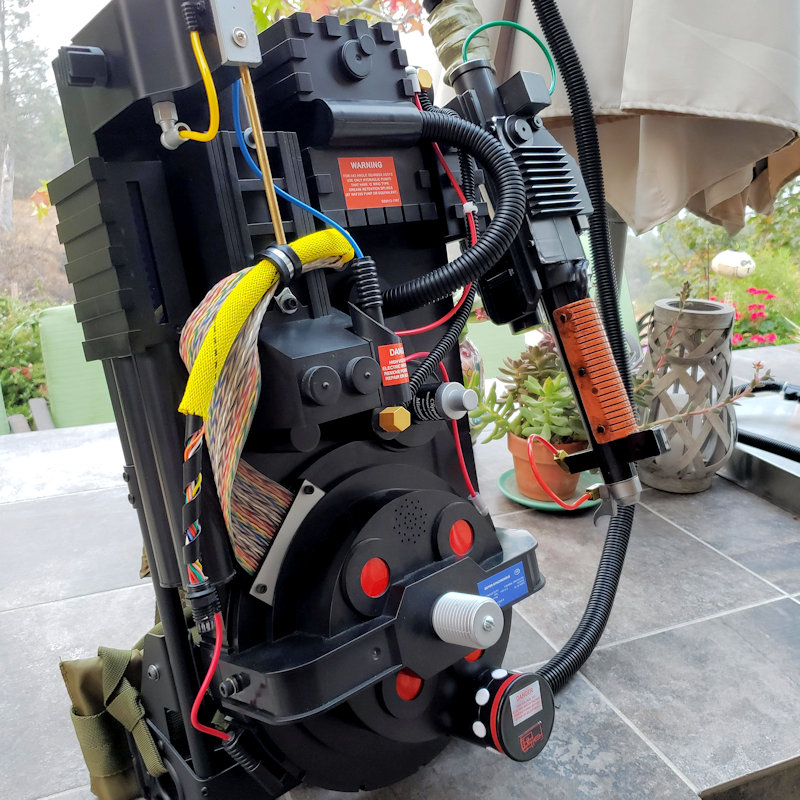
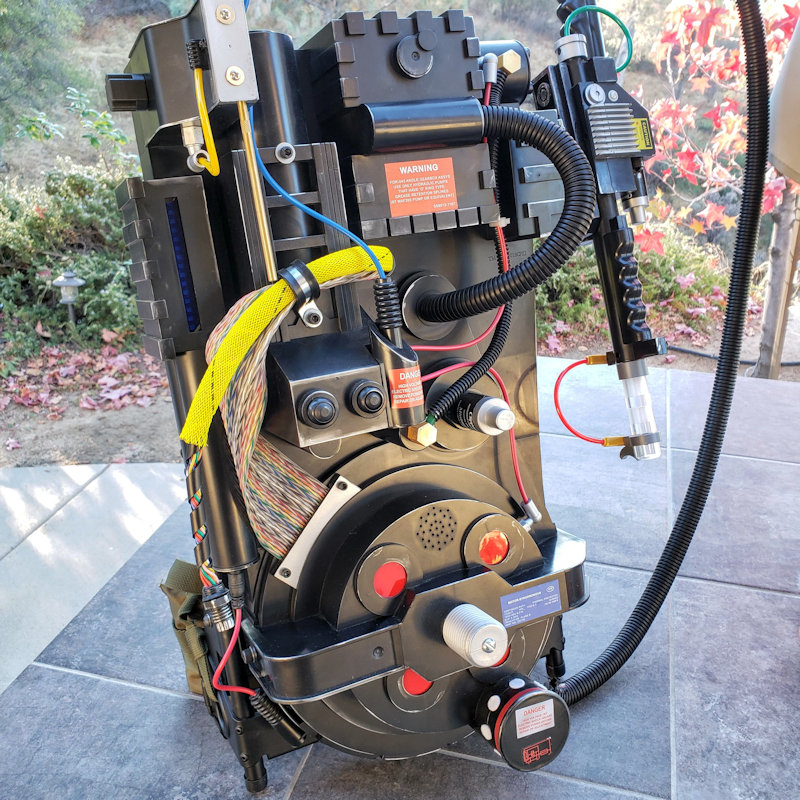
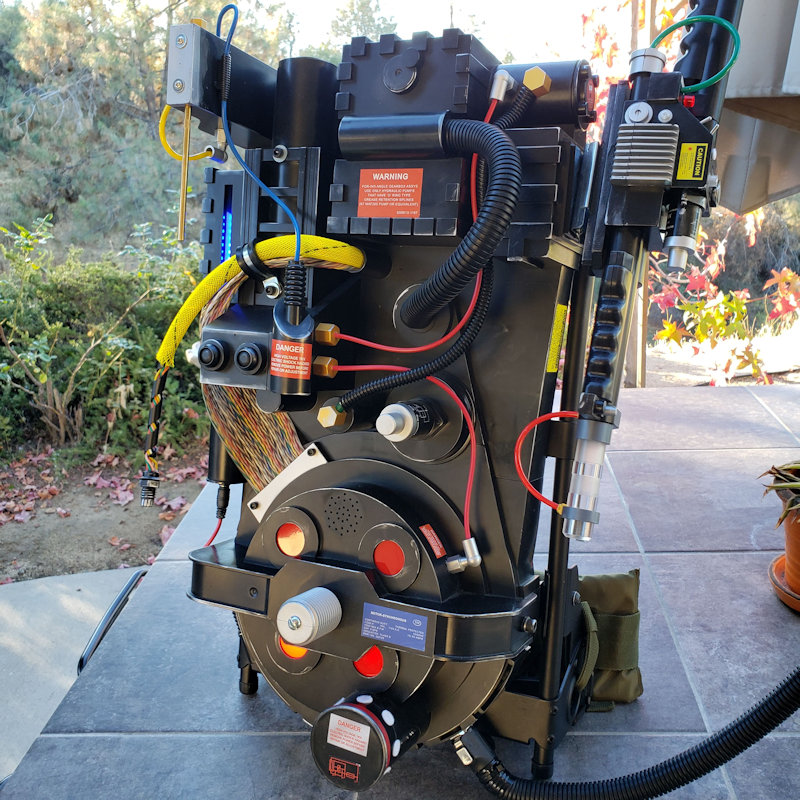
So far I added Doug’s(GhostLab42) light kit and cosmetic dress up kit, a 3D printed vhook setup, along with a full A.L.I.C.E. frame that I picked up on Amazon. Next I will concentrate on the Neutrino Wand, adding a clear tip and sticker pack.
Added Doug’s(GhostLab42) Dale PH-25 Replica Resistor and Wand Tube Upgrade. Also added a foam neck pad and wand sticker kit. I attached replica resistor to a rotary switch, so now I can easily turn the pack on and off.
Future upgrades include replacing the motherboard with Masonite and adding Doug’s(GhostLab42) wand light and pack sound board kits when they are back in stock.
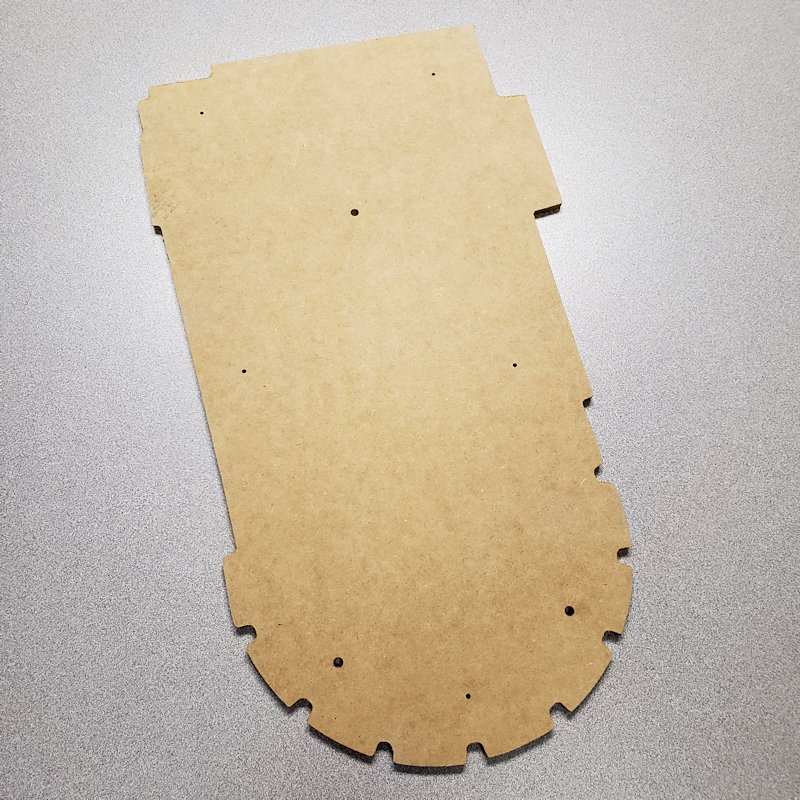
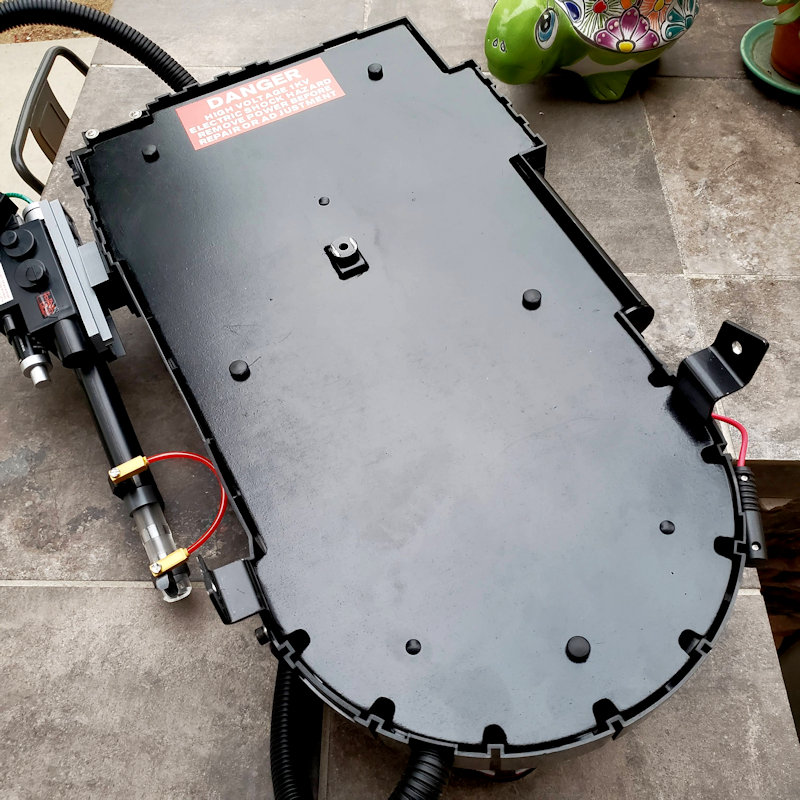
Well, my quest to create my own motherboard for the Rubie’s/Spirit Pack was a little harder than I thought. Living in a rural area I couldn’t obtain the MDF I needed to use for my pack. I had seen a pre-cut MDF motherboard on eBay but it was very expensive… but thanks to an eBay coupon that popped up I was able to get it down to a price I could live with.
I was going to go with a larger cut, more like the movie boards that stick out a bit wider than the pack shell, but for this 80% pack I actually like the way this board fits inside the shell. I utilize Doug’s(GhostLab42) A.L.I.C.E. frame mounting hardware so I had to measure and cut out a little rectangle for the middle mount, but after that I threw on a few coats of paint and it was done.
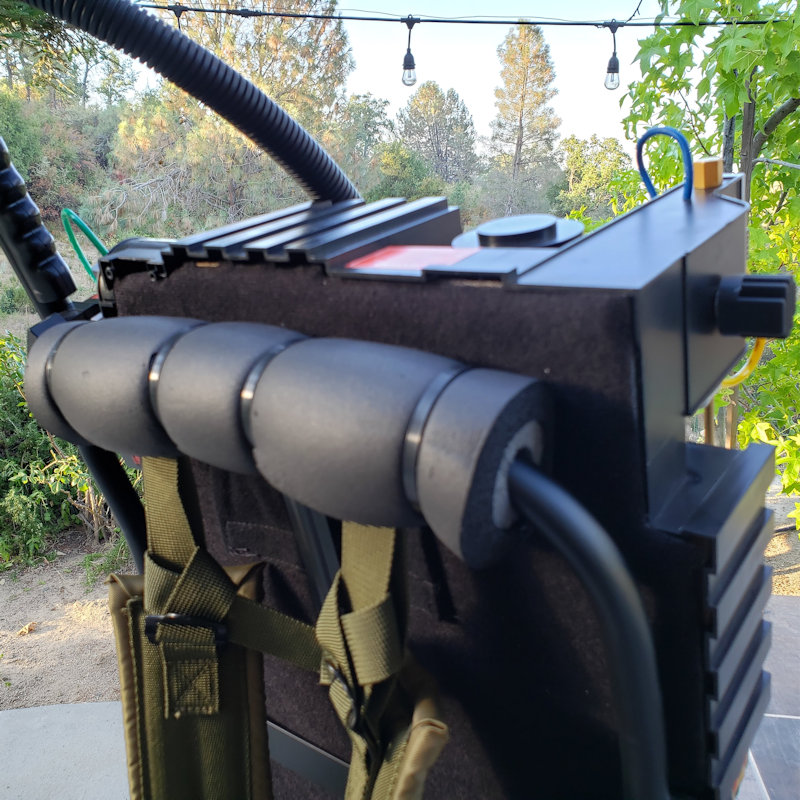
While I was pulling the frame off to begin this mod, I noticed the foam neck pad started to tear where the straps are mounted, so I decided to wrap them in tape. I’m not sure if I’m liking it too much, so I might pull it off and try a different kind of foam padding.
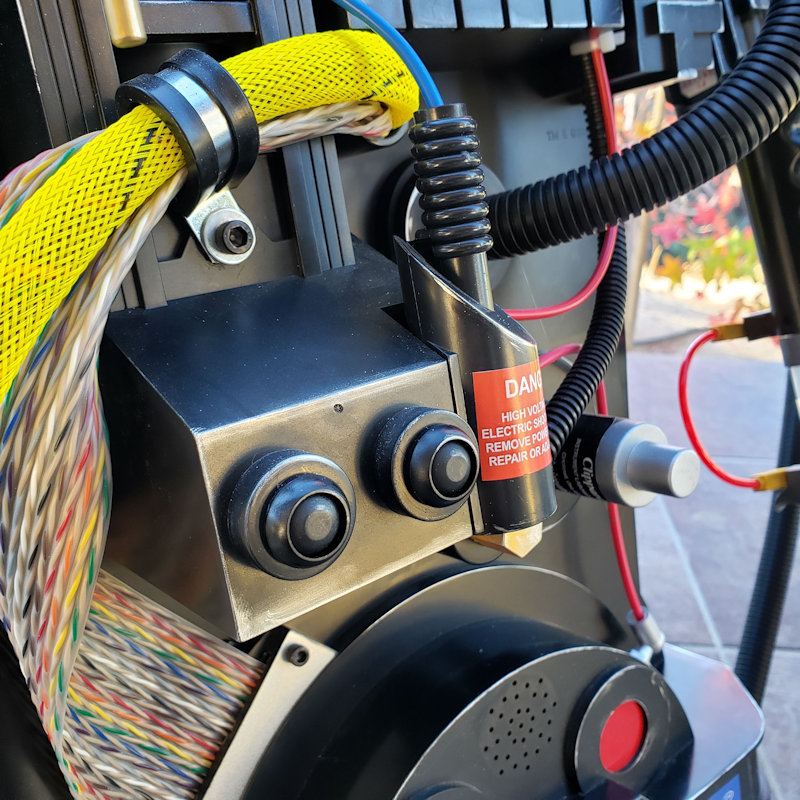
So much better than that flimsy cardboard/cloth motherboard the thing came with. I was finally able to put the “Danger” sticker on the back which I feel really finishes it off.
For now, I think I’m done. I’m pretty happy with the way it looks now, and I think I will wrangle my efforts into creating a true full size replica.
You said you found the motherboard on eBay… was it sold by a seller called “katrynvandeve_0”? Because I’d been looking at that one and was wondering if it was any good.
It wasn’t cheap, and shipping is quite expensive, but the seller has great communication and shipping was fast. It’s pretty thick, and just needed a little light sanding on the edges and I had to cut out a piece for my Doug’s(GhostLab42) A.L.I.C.E. mount but other than that it was good to go. Mine came with the stock holes for mounting(you’ll need longer screws & some washers), and also three additional holes(eBay ad doesn’t show them) I believe are there for mounting the A.L.I.C.E. frame in a more standard configuration. I didn’t need them and if I had to do over again, I would have mentioned that when I ordered. It’s not a deal breaker though and I love the way everything turned out.
Looking good Kahuna! I have used that MDF motherboard for my Spirit pack mod as well. Holds up really nice. I found that I also had to file down a couple of minor spots around the bottom for it to fit but it was easy and it was ready for paint within minutes. Much better than the stock cardboard backing and when paired with an ALICE frame really helps the look. When I upgraded the electronics (lights and sound) with Doug’s kits I found I had to cut an access to be able to reach a blue brick battery that I opted to use (to turn the battery on/off without having to pull the motherboard off every time). If I remember correctly it’s recommended to upgrade the power supply for the speaker mod since the stock battery holder won’t have enough juice. I then used some black sheet styrene and small screws as a cover plate.
Yeah, that’s why I swapped out that cheesy faux resistor for a nice 3D printed Dale PH-25 replica resistor and rotary switch as I was planning on doing the motherboard upgrade and I wanted to switch the pack on and off without having to open it up every time.
I talked to Doug’s(GhostLab42) and he confirmed that for the sound board upgrade you do need the bigger battery, but if you’re just doing the pack and wand light upgrades, you can use the stock battery pack.
Going forward I was planning on doing the wand kit first and then the sound board and speaker when they are back in stock, but I’m now leaning to just leave it as it is now, and focus on building a full size pack.
Yes, I guess I should have started off with those mods. I have now added the info to the original post.
I purchased an entire sticker pack thinking I would remove everything, repaint and then re sticker, but then decided against it. So I only used the sticker pack to dress up the wand. I think it actually looks pretty good, WAY better than having nothing on there like it comes out of the box.
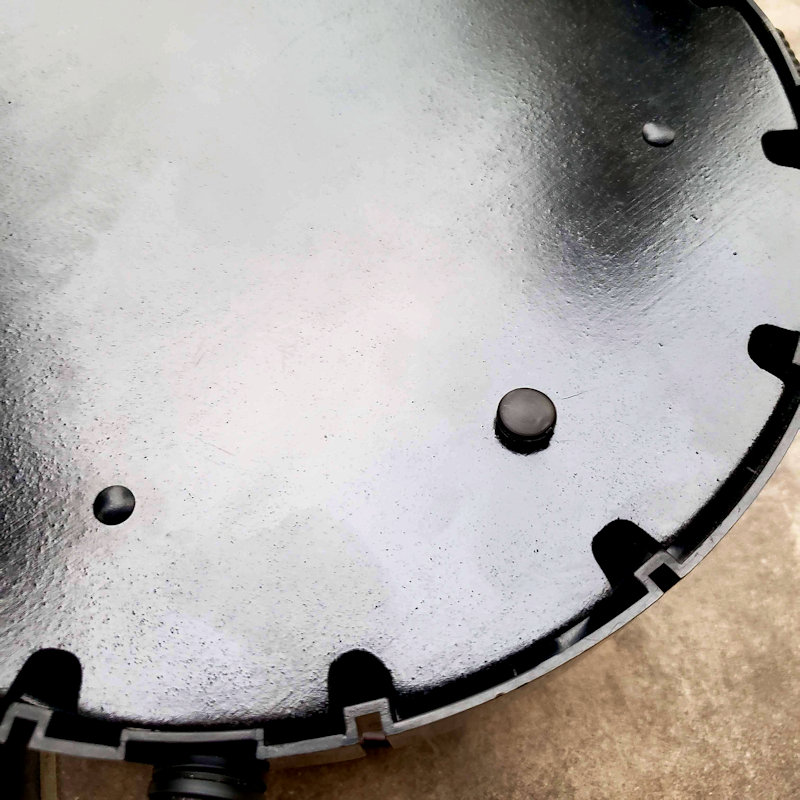
Well, I thought I was done but I had a few things about the motherboard that were just driving me crazy. Truth is, I’m pretty meticulous about things that don’t really matter and I just couldn’t sleep knowing there were three empty holes in the board, and five bright silver screws messing up all that beautiful blackness.
So, I went down to my local hardware store and perused the nuts and bolts section and was thrilled to find a few fixes for my dilemma. I picked up three little plastic plugs(guessed on the size), and five little hinged screw cap covers that ended up working out perfectly on my board.
Hey, I now it’s no much, but in this current world(I live in crazy California) of mask wearing, stay at home, no eating in restaurants, no in-school classes, no movies, and no gyms… adding in the fact that I’m literally a few short miles away from the largest fire in our area’s history, also causing the worse unhealthy smoky air on record for the past two weeks… it’s nice to get a win, nonmatter how small it is.
it looks really good! I was thinking of buying this motherboard, but now i am thinking of cutting my own and attaching it to the spirit pack so that it is flush with the back rather than recessed in. More like a 1:1 pack, but I haven’t figured out how to connect it yet. I haven’t got that far in my research. having said all that. I think you have done a superb job. The pack and decal finish looks really good!
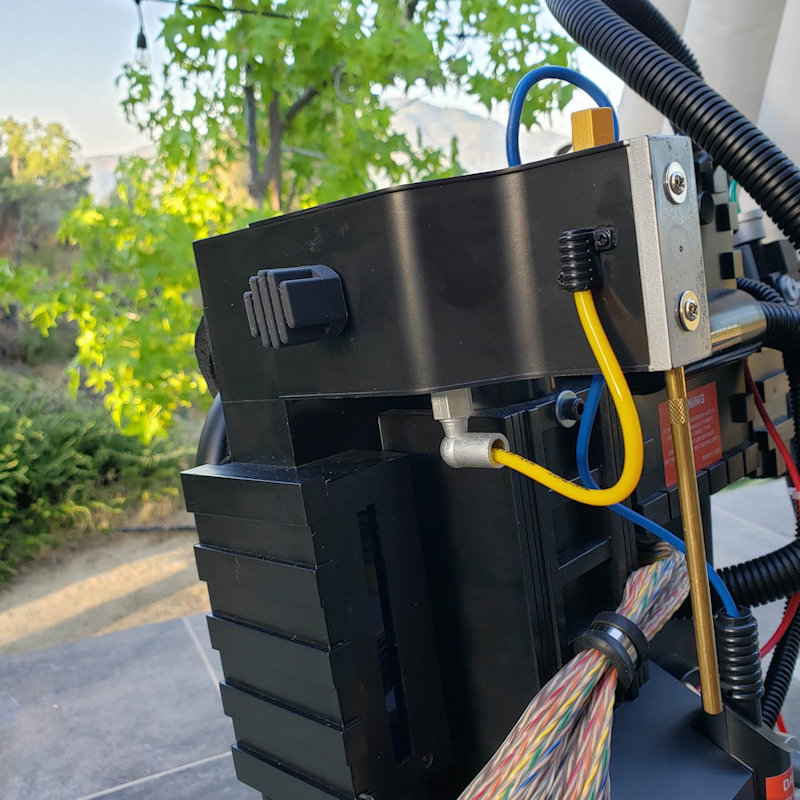
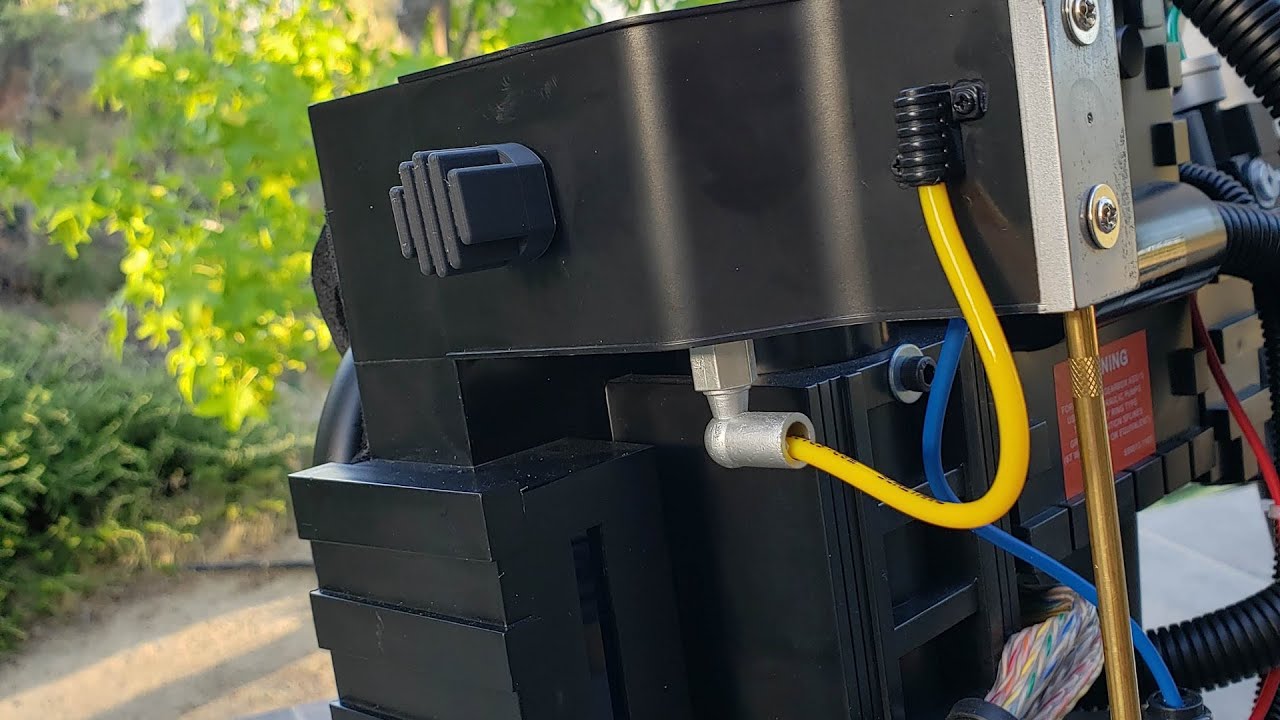
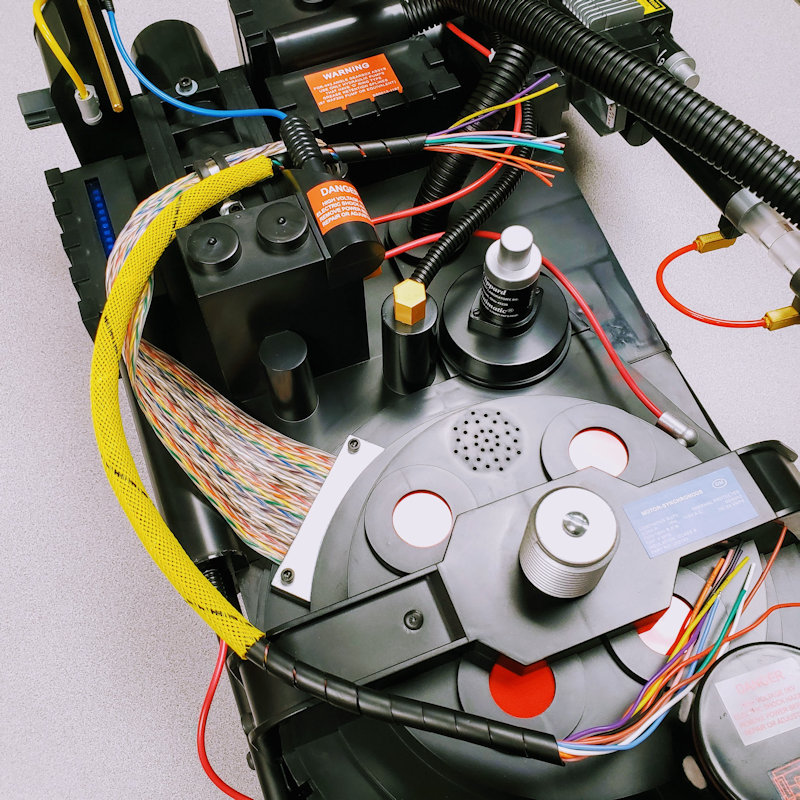
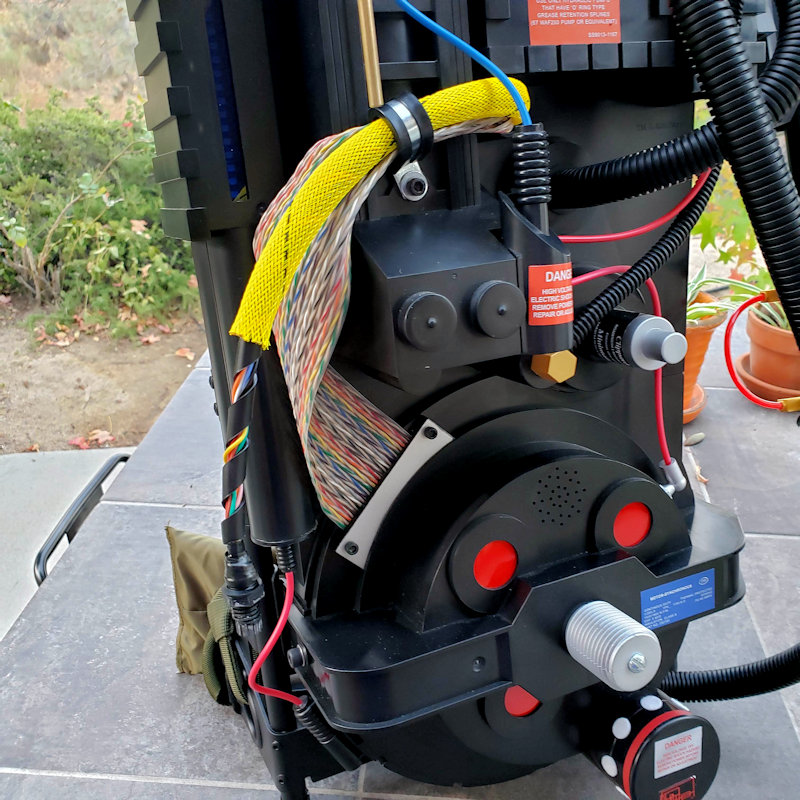
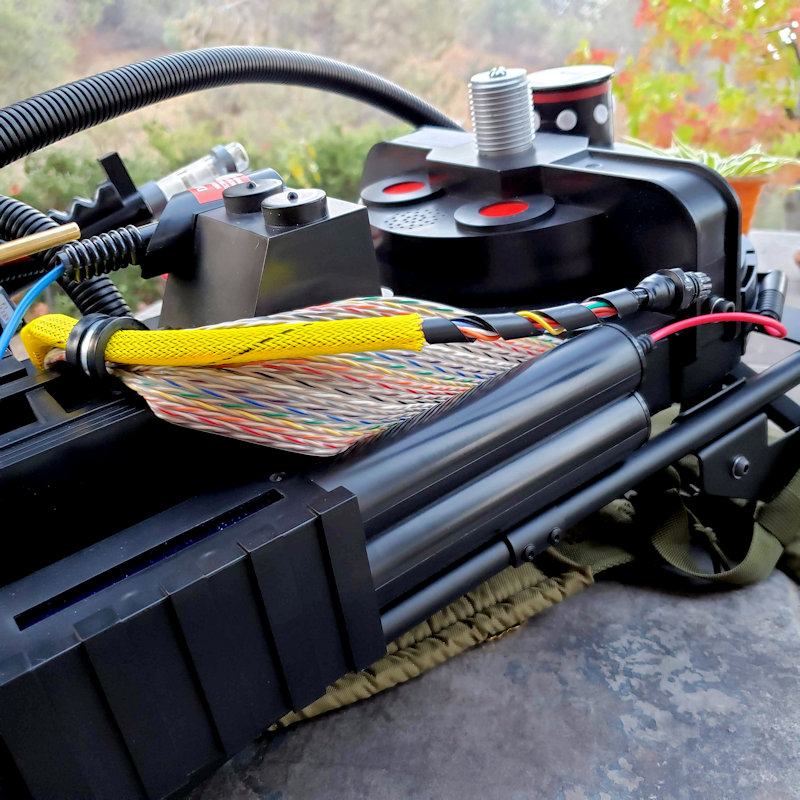
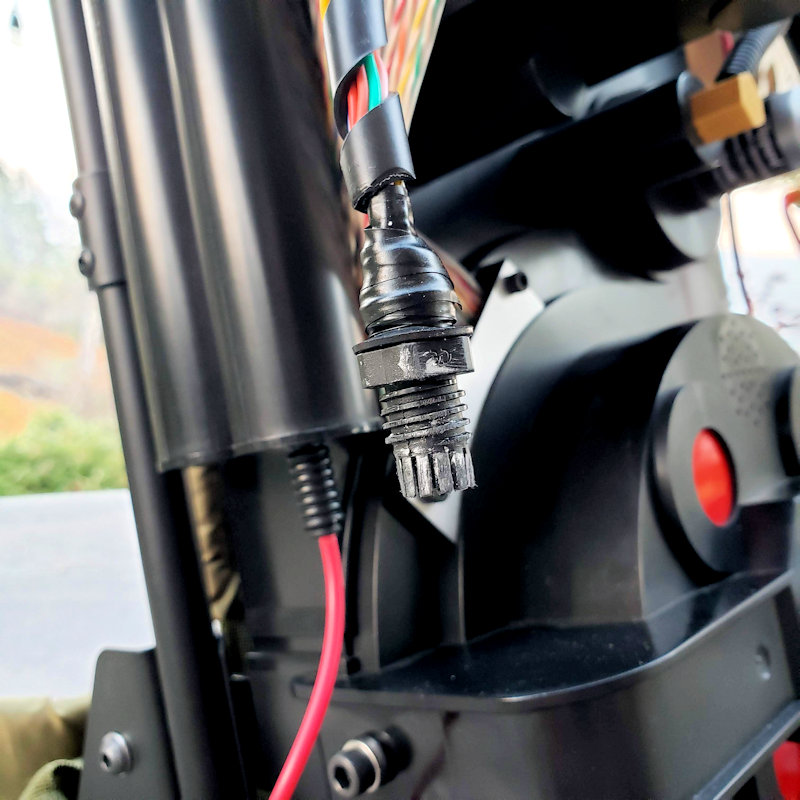
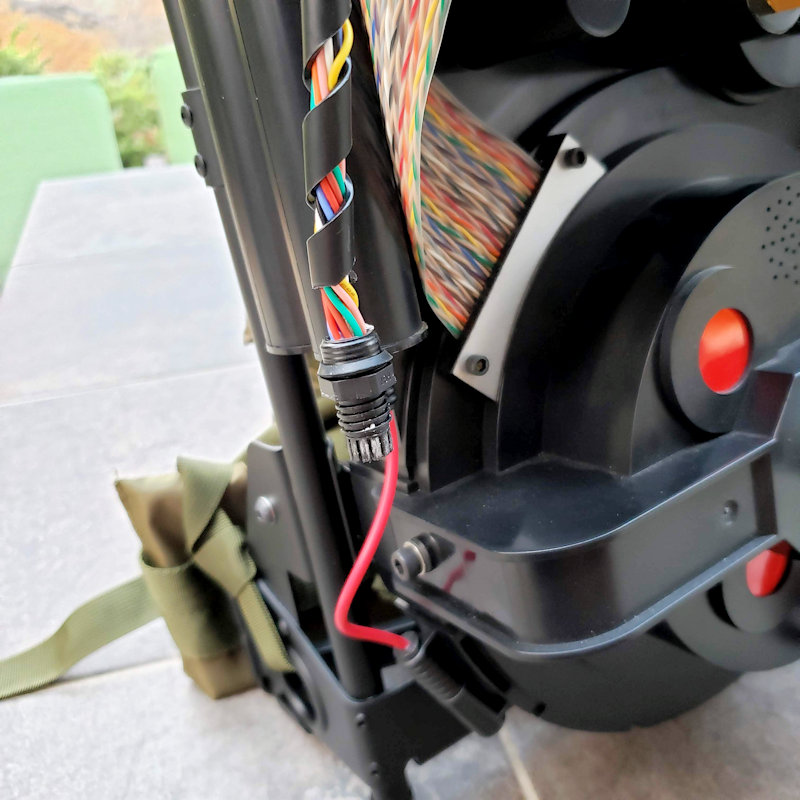
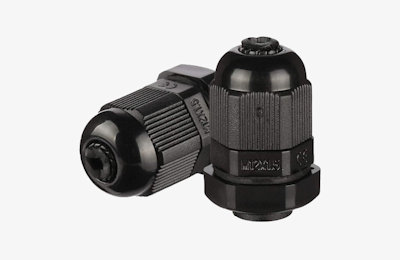
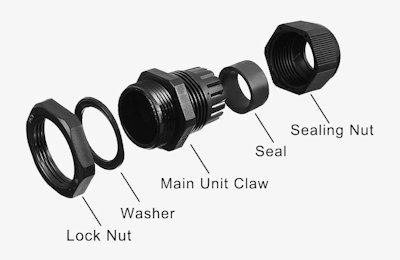
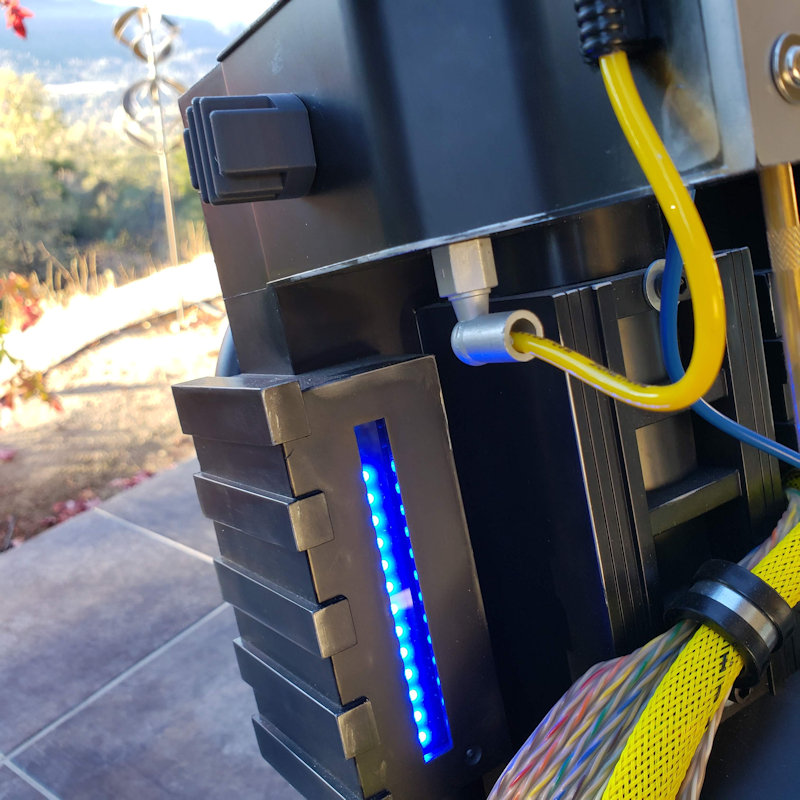
Okay, all done. I had to enlarge the hole for the ribbon cable to its max to get both in there. Also heated up the loom so that it would stay spread out a bit as it continuously wanted to close back up. Hot glued the wires into the a PG7 (3mm-6.5mm) Cable Gland for the end. and used a little silver Rub 'N Buff to highlight the edges.
I think I’m going to use a Spengler wand for Halloween, so I wanted to add a bit to reflect the pack from the film. Of course no one will even notice, but I know it’s there.
I need to figure out a good way to use some sort of quick connect to attach the wands . I would like to be able to swap them out and have the Rubie’s wand on there for display, but be able to quickly connect the Spengler wand on occasion.
I few final mods to accommodate the new Spengler wand. I wanted to be able to swap out the Rubie’s wand I use for display, and the Spengler wand I’ll be using for my costume.
I first swapped out the 3D printed v-hook setup I was using with a standard Dixie® Cup bracket that would accommodate both wands. The new v-hook setup strengthen the mount on the inside of the pack, as the Spengler wand is much heaver than the Rubie’s version.
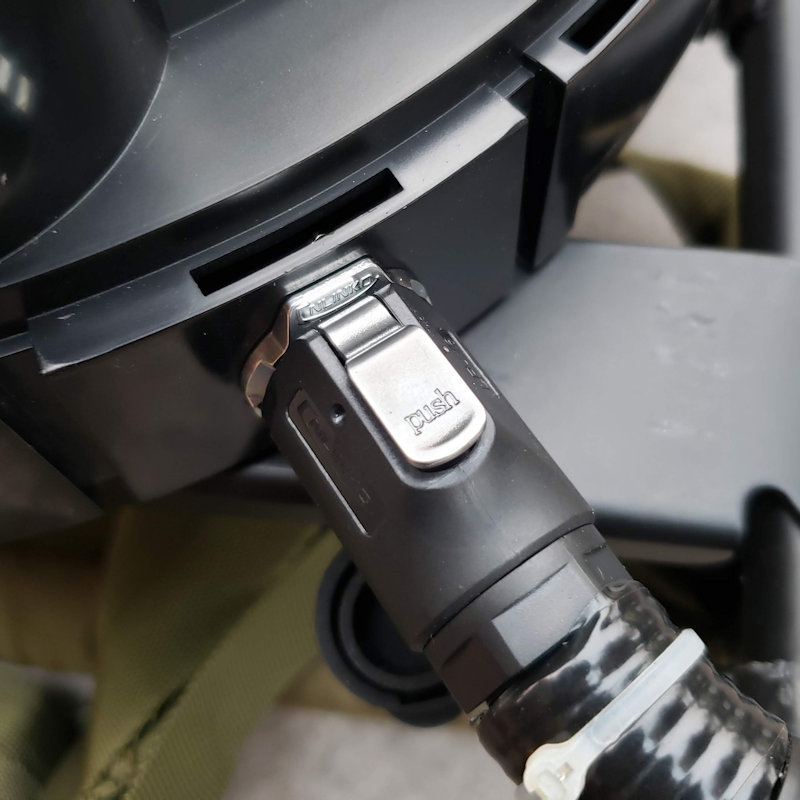
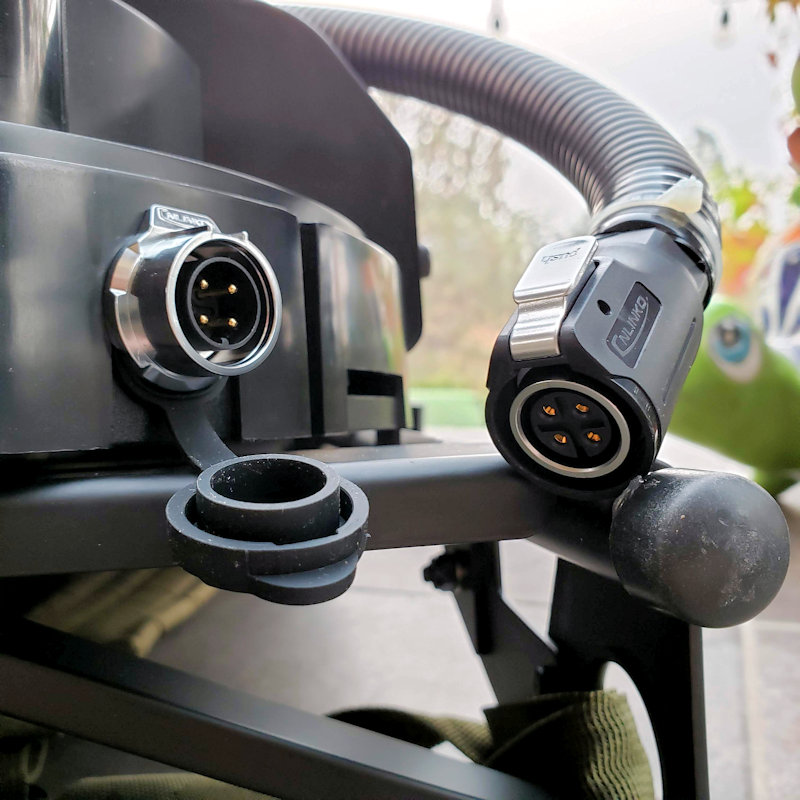
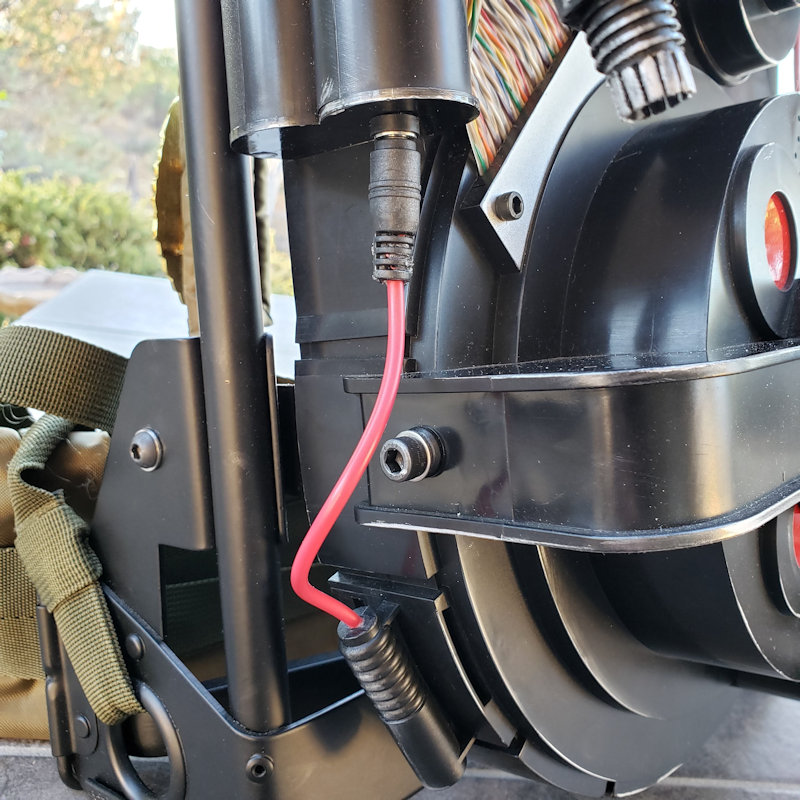
I added a small four pin quick release connector at the bottom of the pack which allows the four wires needed for the Rubie’s wand to remain functional when connected. The connector I chose fits prefect in the stock hole, so no additional drilling or modifications was needed.
I didn’t like the way the electrical tape looked on the end of the extra afterlife cable, so I removed the tape and cleaned up the faux plug a bit to make it more presentable.
The Spengler wand hooks in using the same type of plug, but I didn’t wire anything up as the wand itself handles all the sound. I know a lot of people have opened up the Spengler wand, tied into its speaker and routed it to the pack, but I’m just not ready to do that yet. At this point, I’m happy with the sound emanating from the wand.
I was planning on doing the whole wand light and pack sound kits, but I think I’m happy with the way everything turned out. I’m going to switch my focus towards a full sized pack. Although I love my little Rubie’s setup, a full size pack with all the bells and whistles is where true Ghostbuster happiness is found.
Where did you find the faux plug to go on the end of your yellow cable? I was thinking of adding one to a Spirit pack I’m working on, and the vendor I found on Etsy is only selling the yellow tube and black wrap.
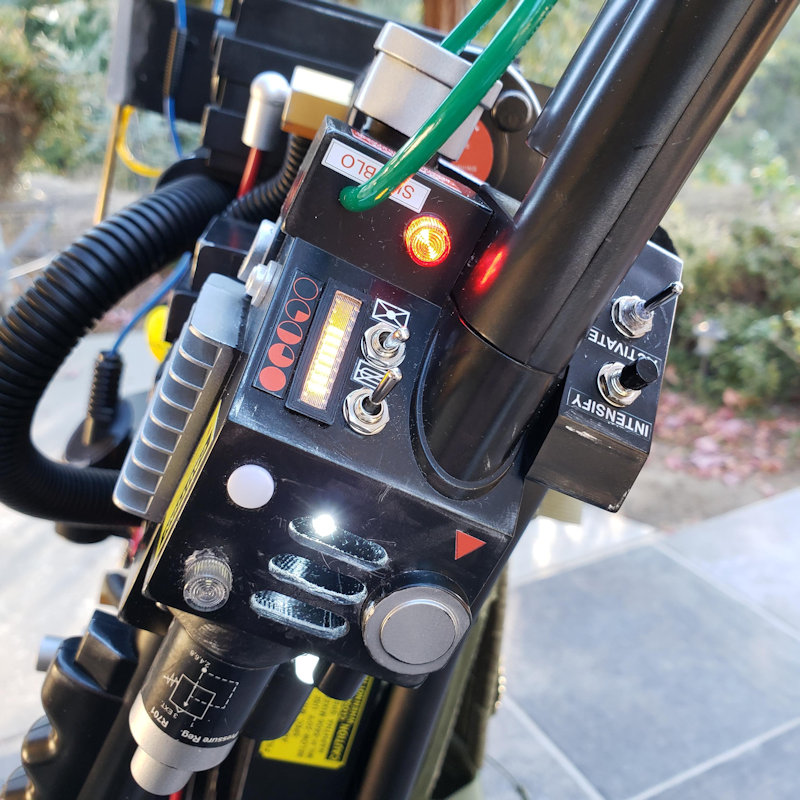
So, I thought I was done modding the pack, but then decided to just bite the bullet and officially finish it up with the GhostLab42 Wand and Sound Bard kit.
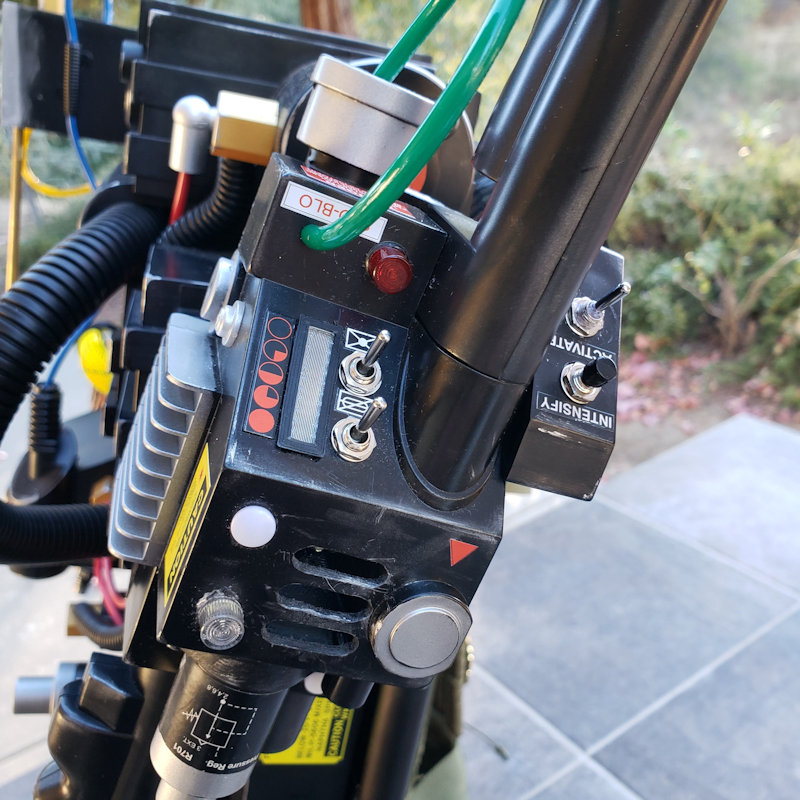
I was pretty worried about hacking into the wand as it’s pretty darn small and the installation documentation was huge. I did the LED light bar first and it was actually pretty easy. Took my time and used the Dremel (on the slowest speed), sandpaper and an emery board to finish it off. The vent holes were a little more tedious. I used a circular drill tip to round all the ends first, and then used the same tip to punch holes down the vent. A steady hand is important here, and though they are not perfect, I’m very happy with the result. By the last vent hole I was pretty good at it and it is by far the best of the three.
Found some differences inside the Rubie’s wand. I needed to do some grinding on the tip housing to get the wand tip in place. Looks great. Also, the Rubie’s fire button does not have a screw holding it in place so I had to grind the vent light housing a bit and glue it in place. Not a big deal but all that took a little more time.
I swapped out the awesome rotary on/off switch for a volume control knob for the sound board. Although I really loved the old setup, I couldn’t find a better place for the volume knob.
How thick is the MDF used for the motherboard? The price of the board plus shipping is around $95 CAD and I can’t justify that. But I can probably buy MDF and cut one myself.