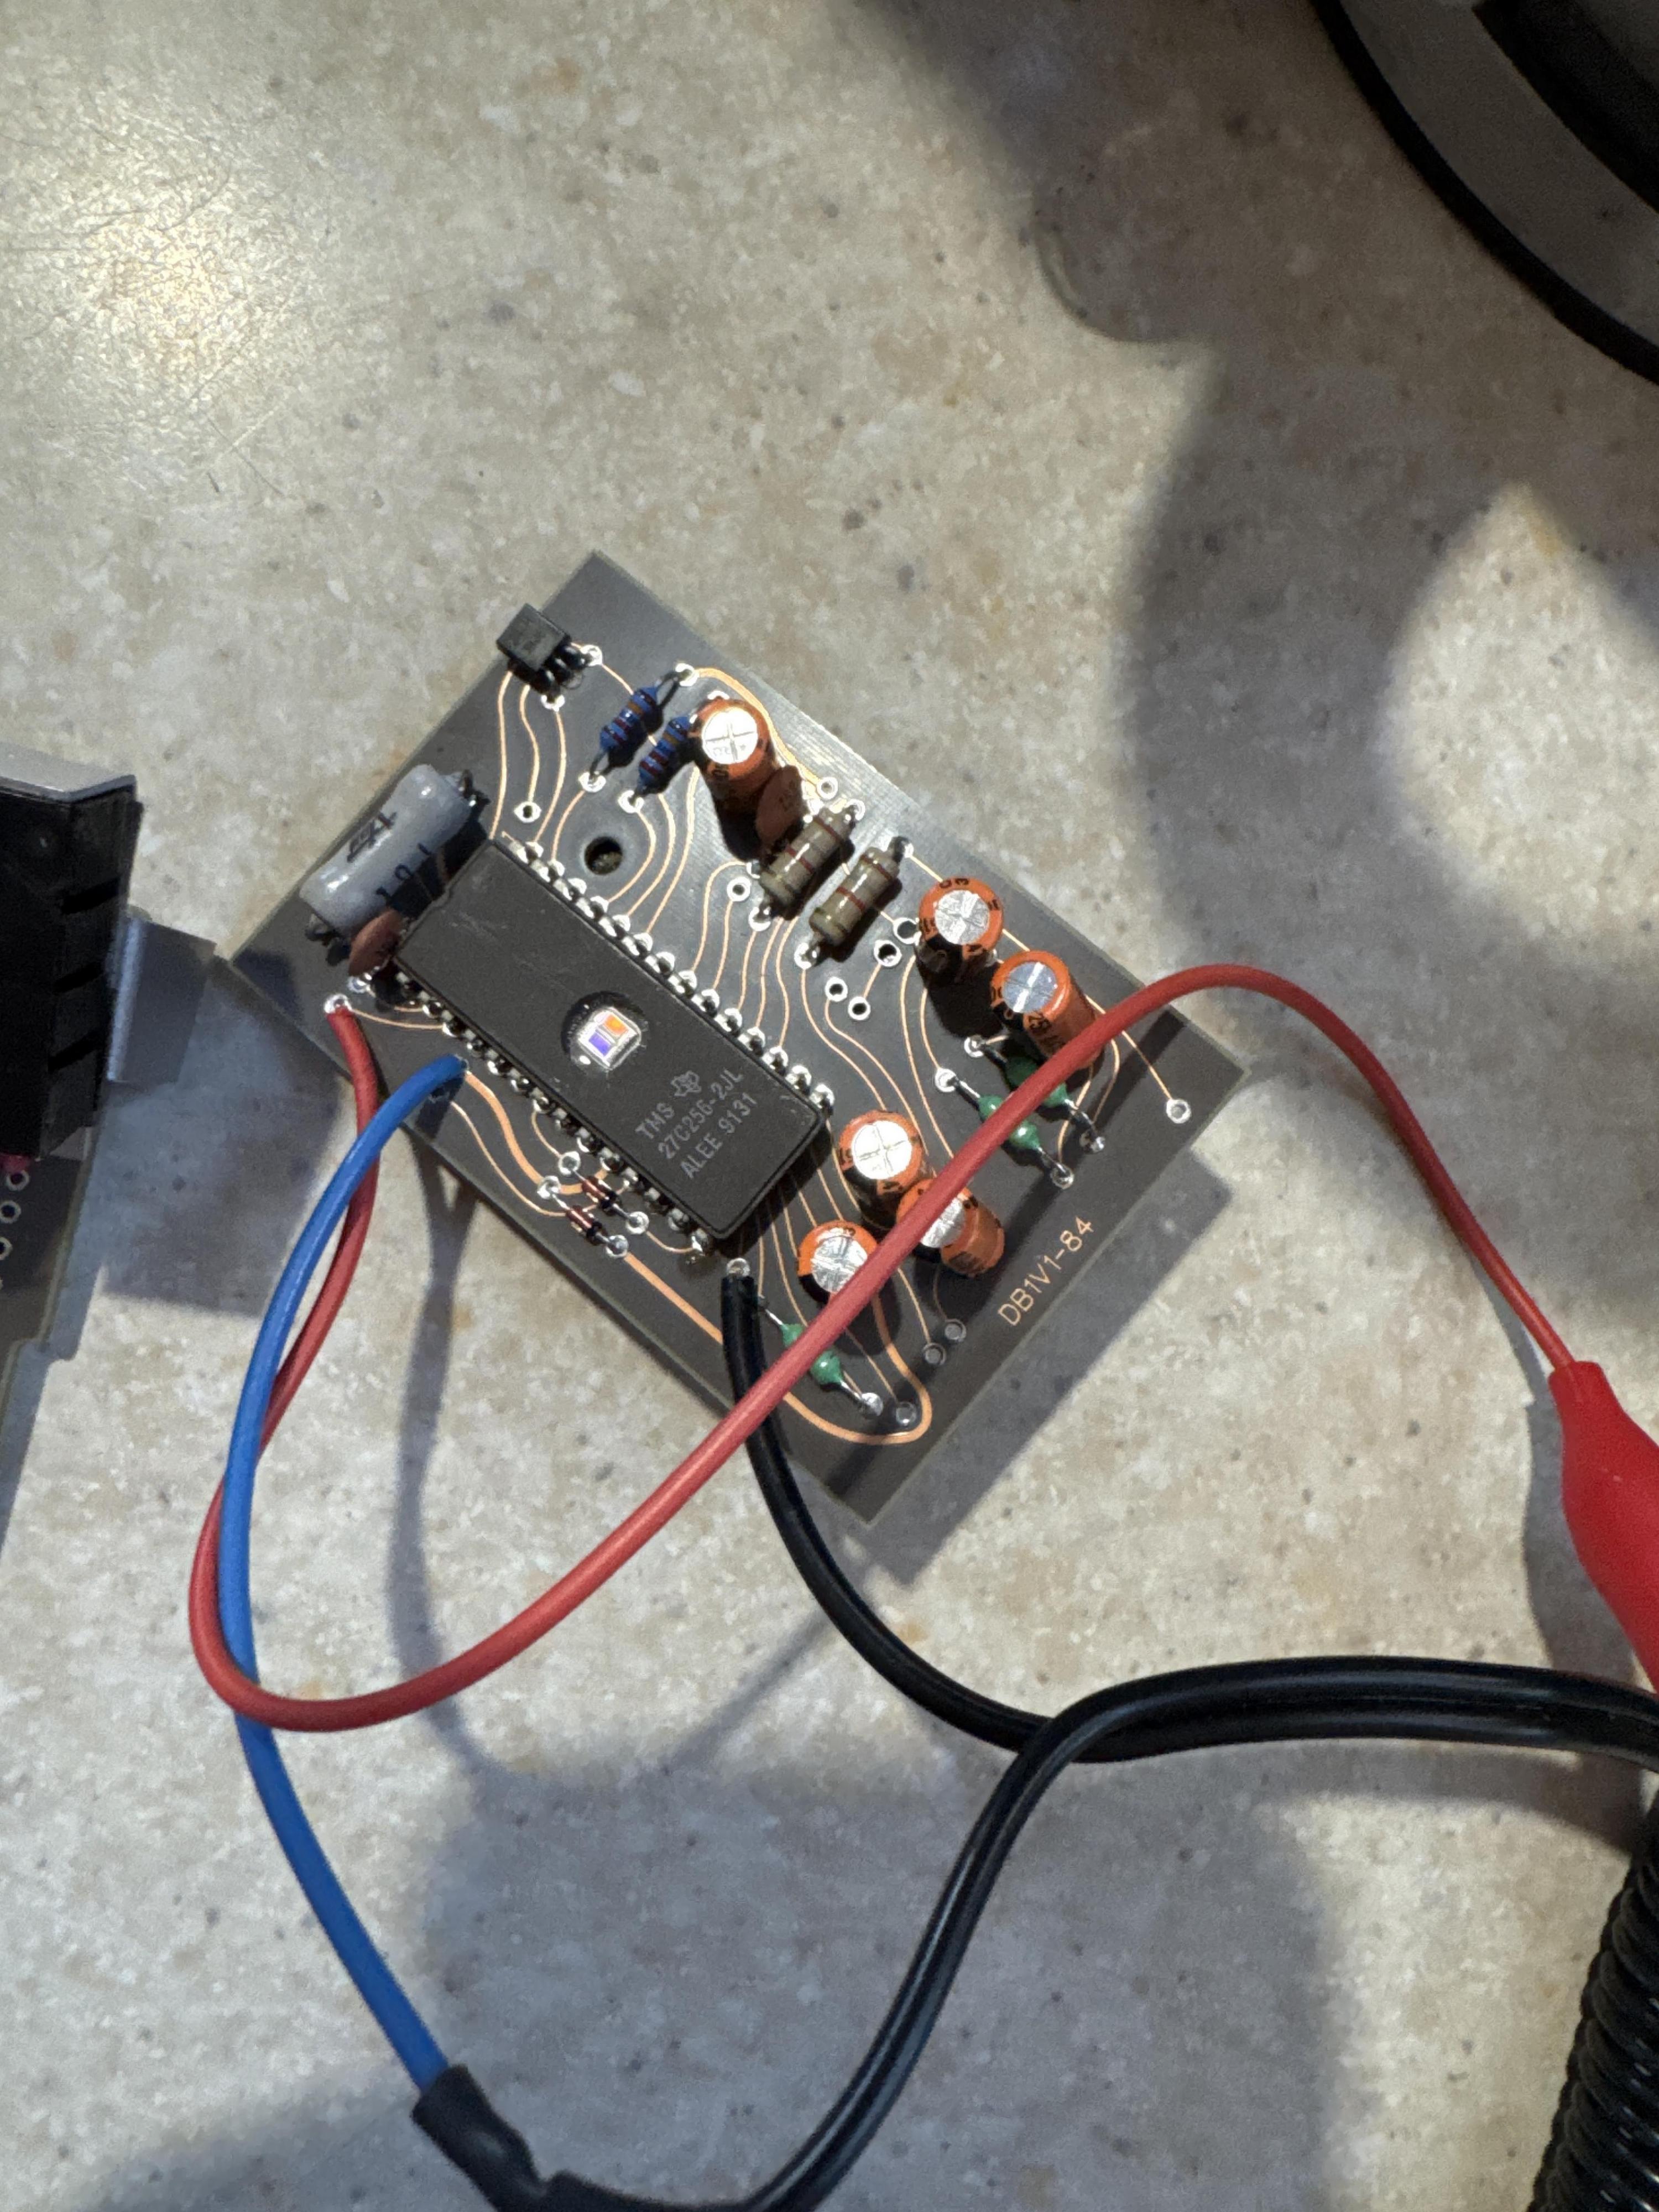
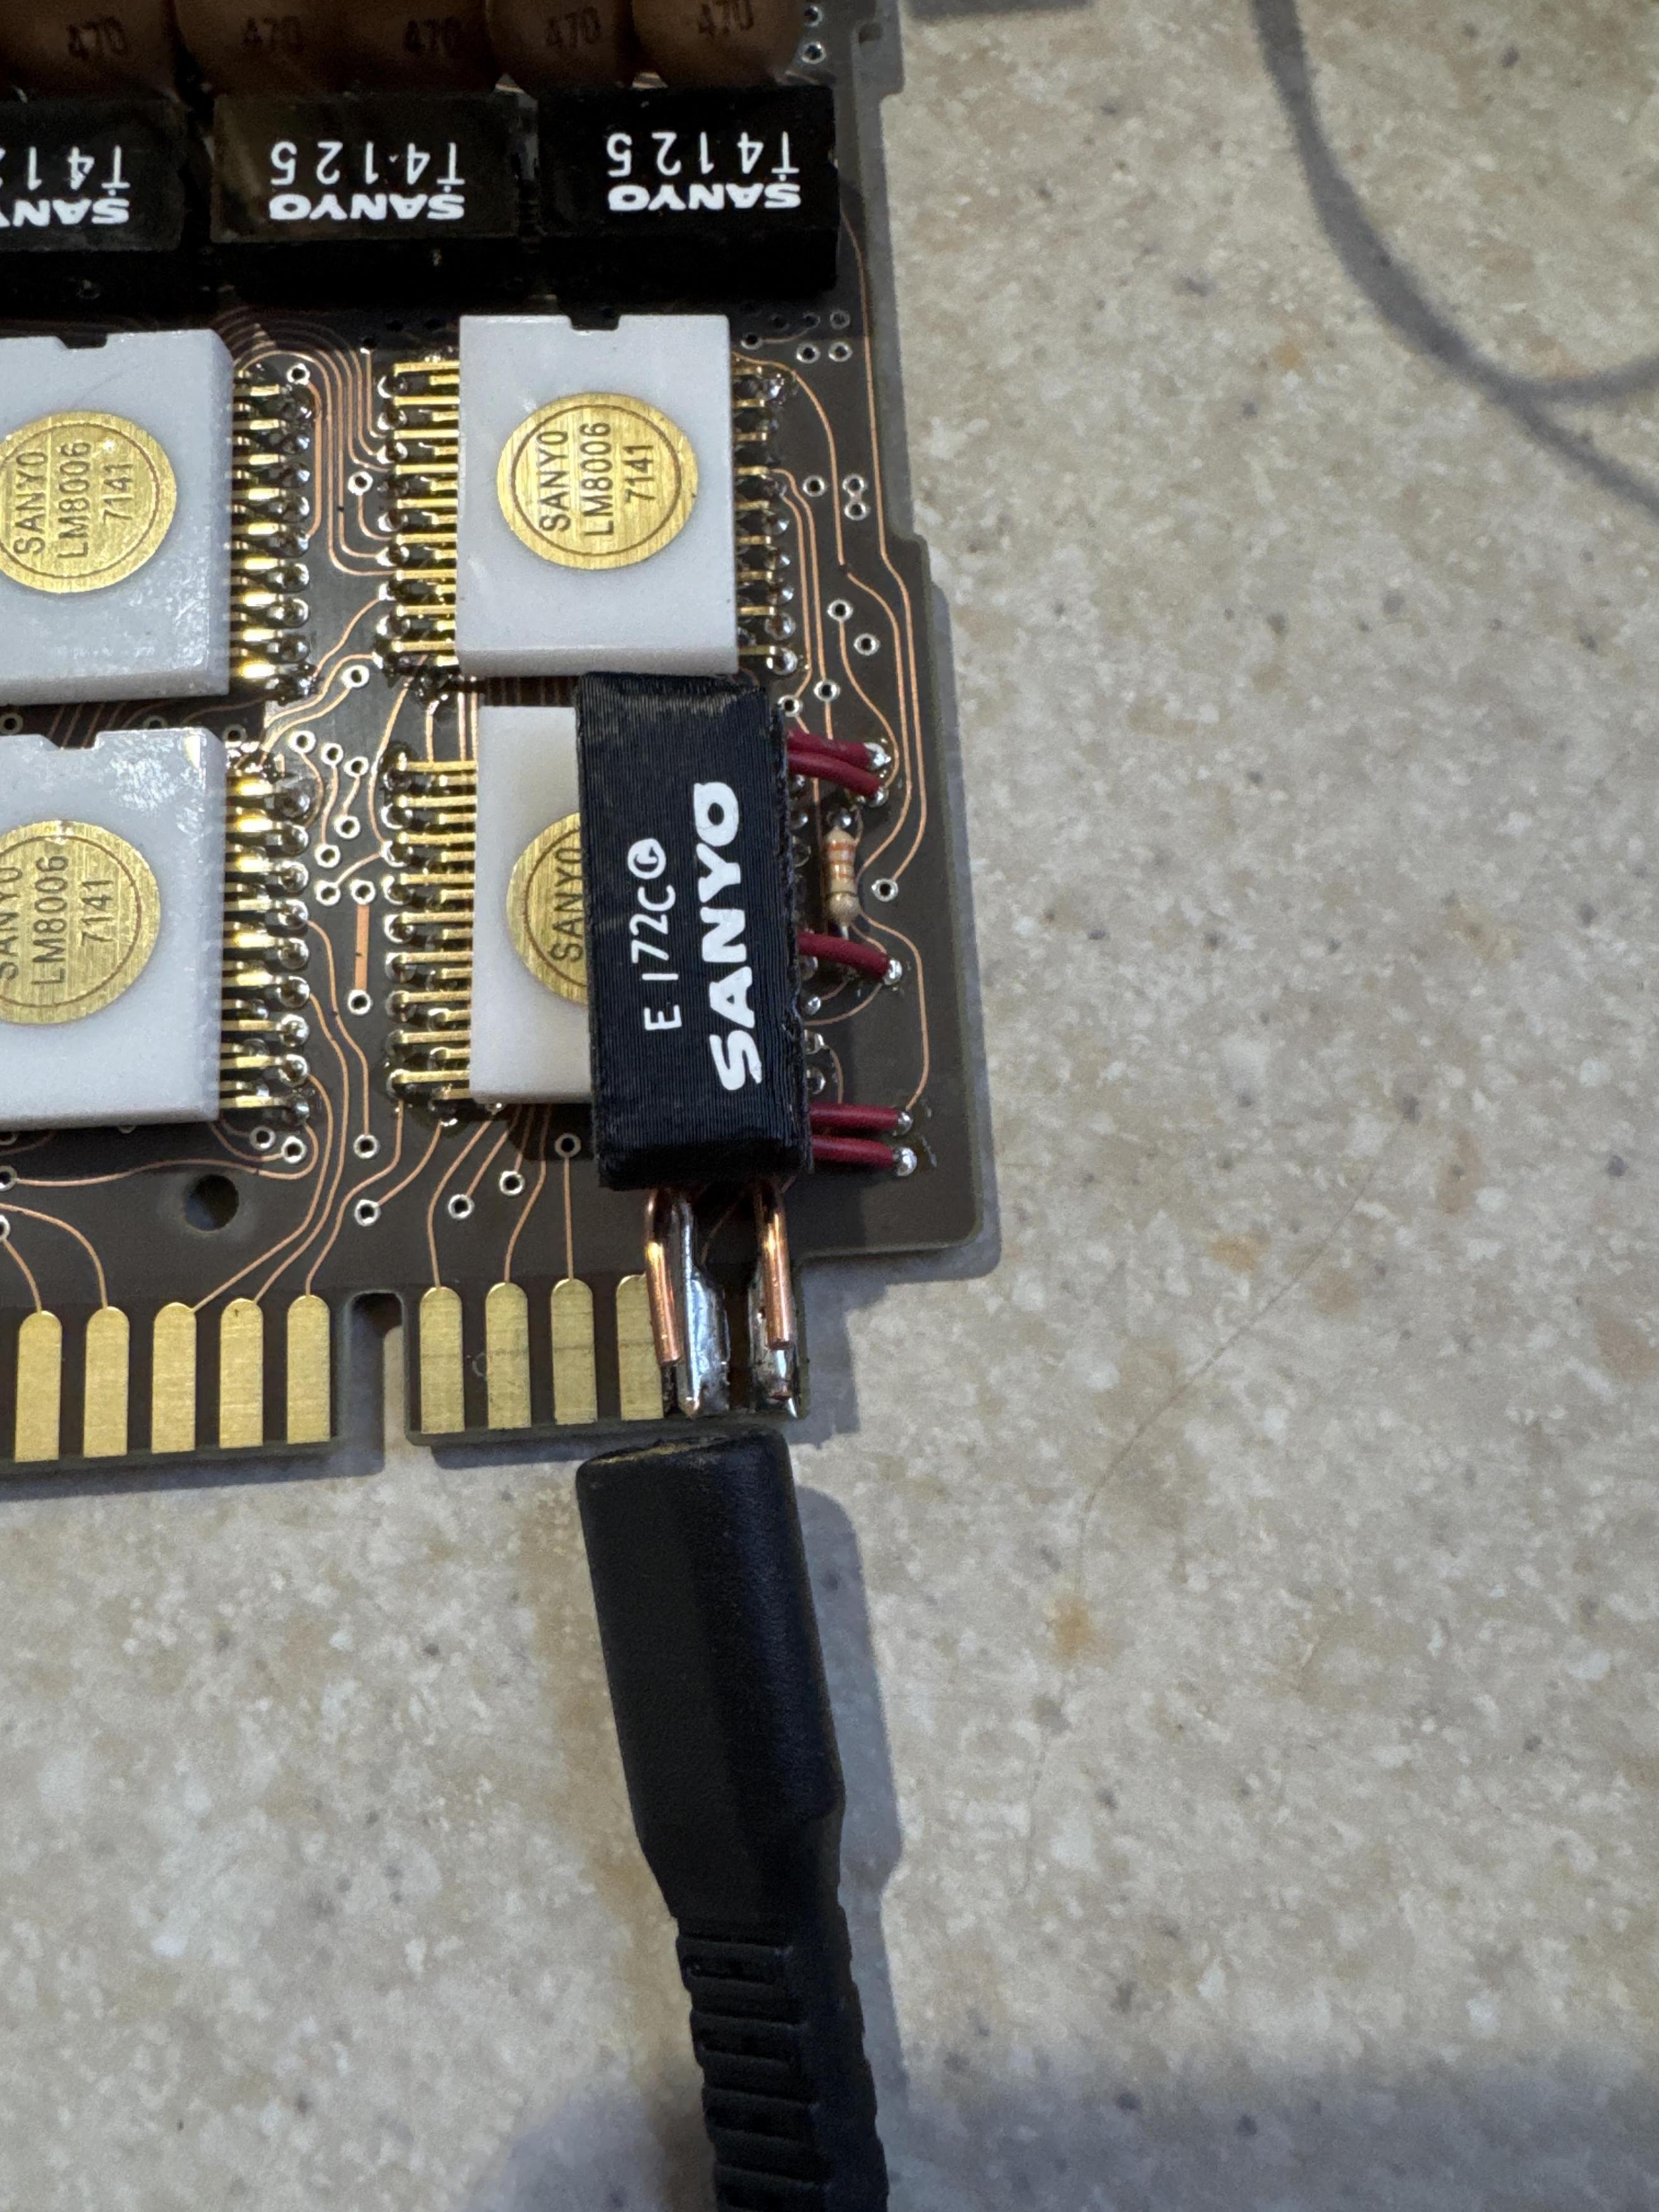
That’s absolutely insane, but no judgement from me! :lol:
So I haven’t done this build personally but as someone familiar with the prop, and working with vintage electronics, I’d say there’s a few key things you’ll want to keep in mind.
Disassembly
There’s photos of the insides of the calculator in the Reference Library:
I’d recommend reviewing these carefully to figure out how everything is held together before starting the process. There’s nothing worse than cutting wires only to realise you could have just unplugged them! For example the blue edge connector at the bottom should just unclip easily. Honestly it doesn’t look too bad though, just a few screws here and there holding everything in place.
The Build
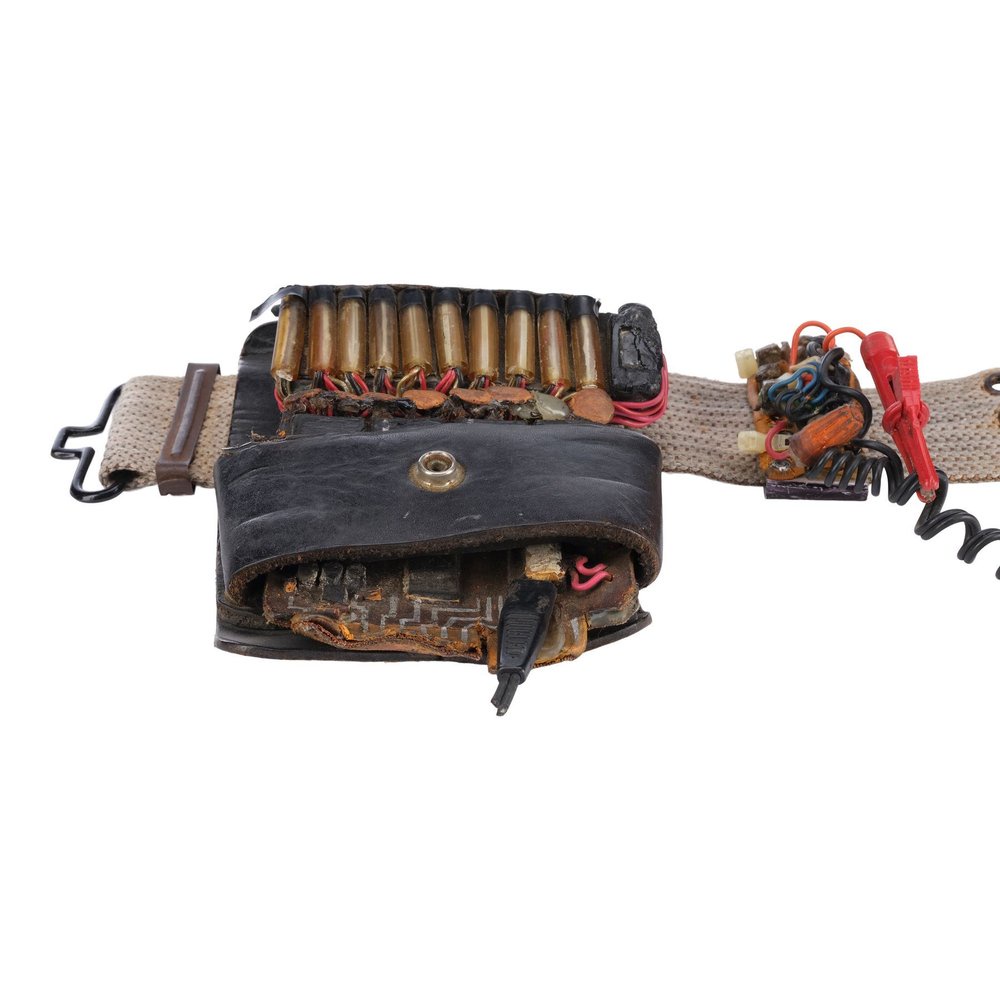
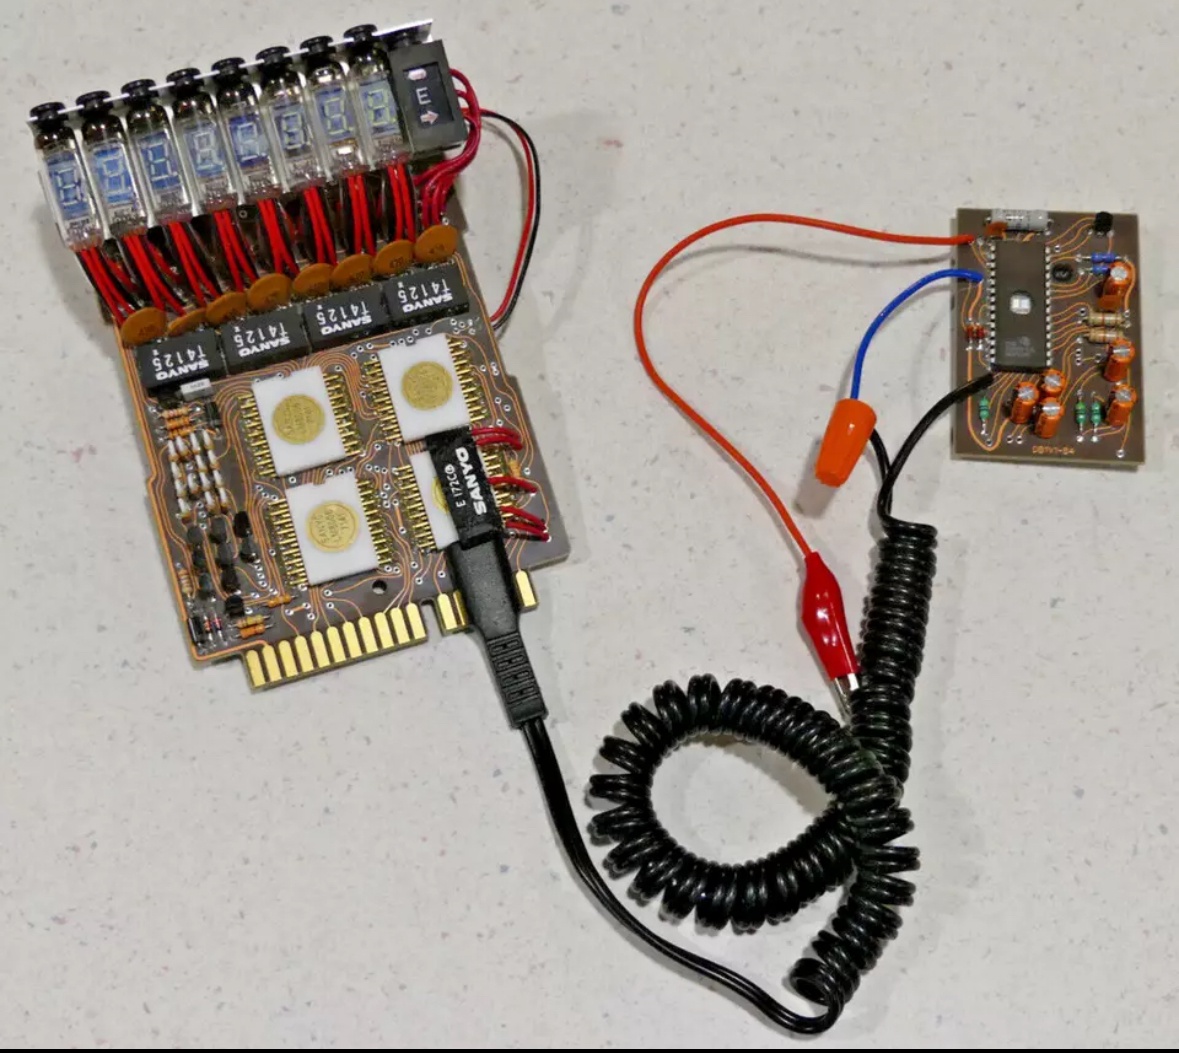
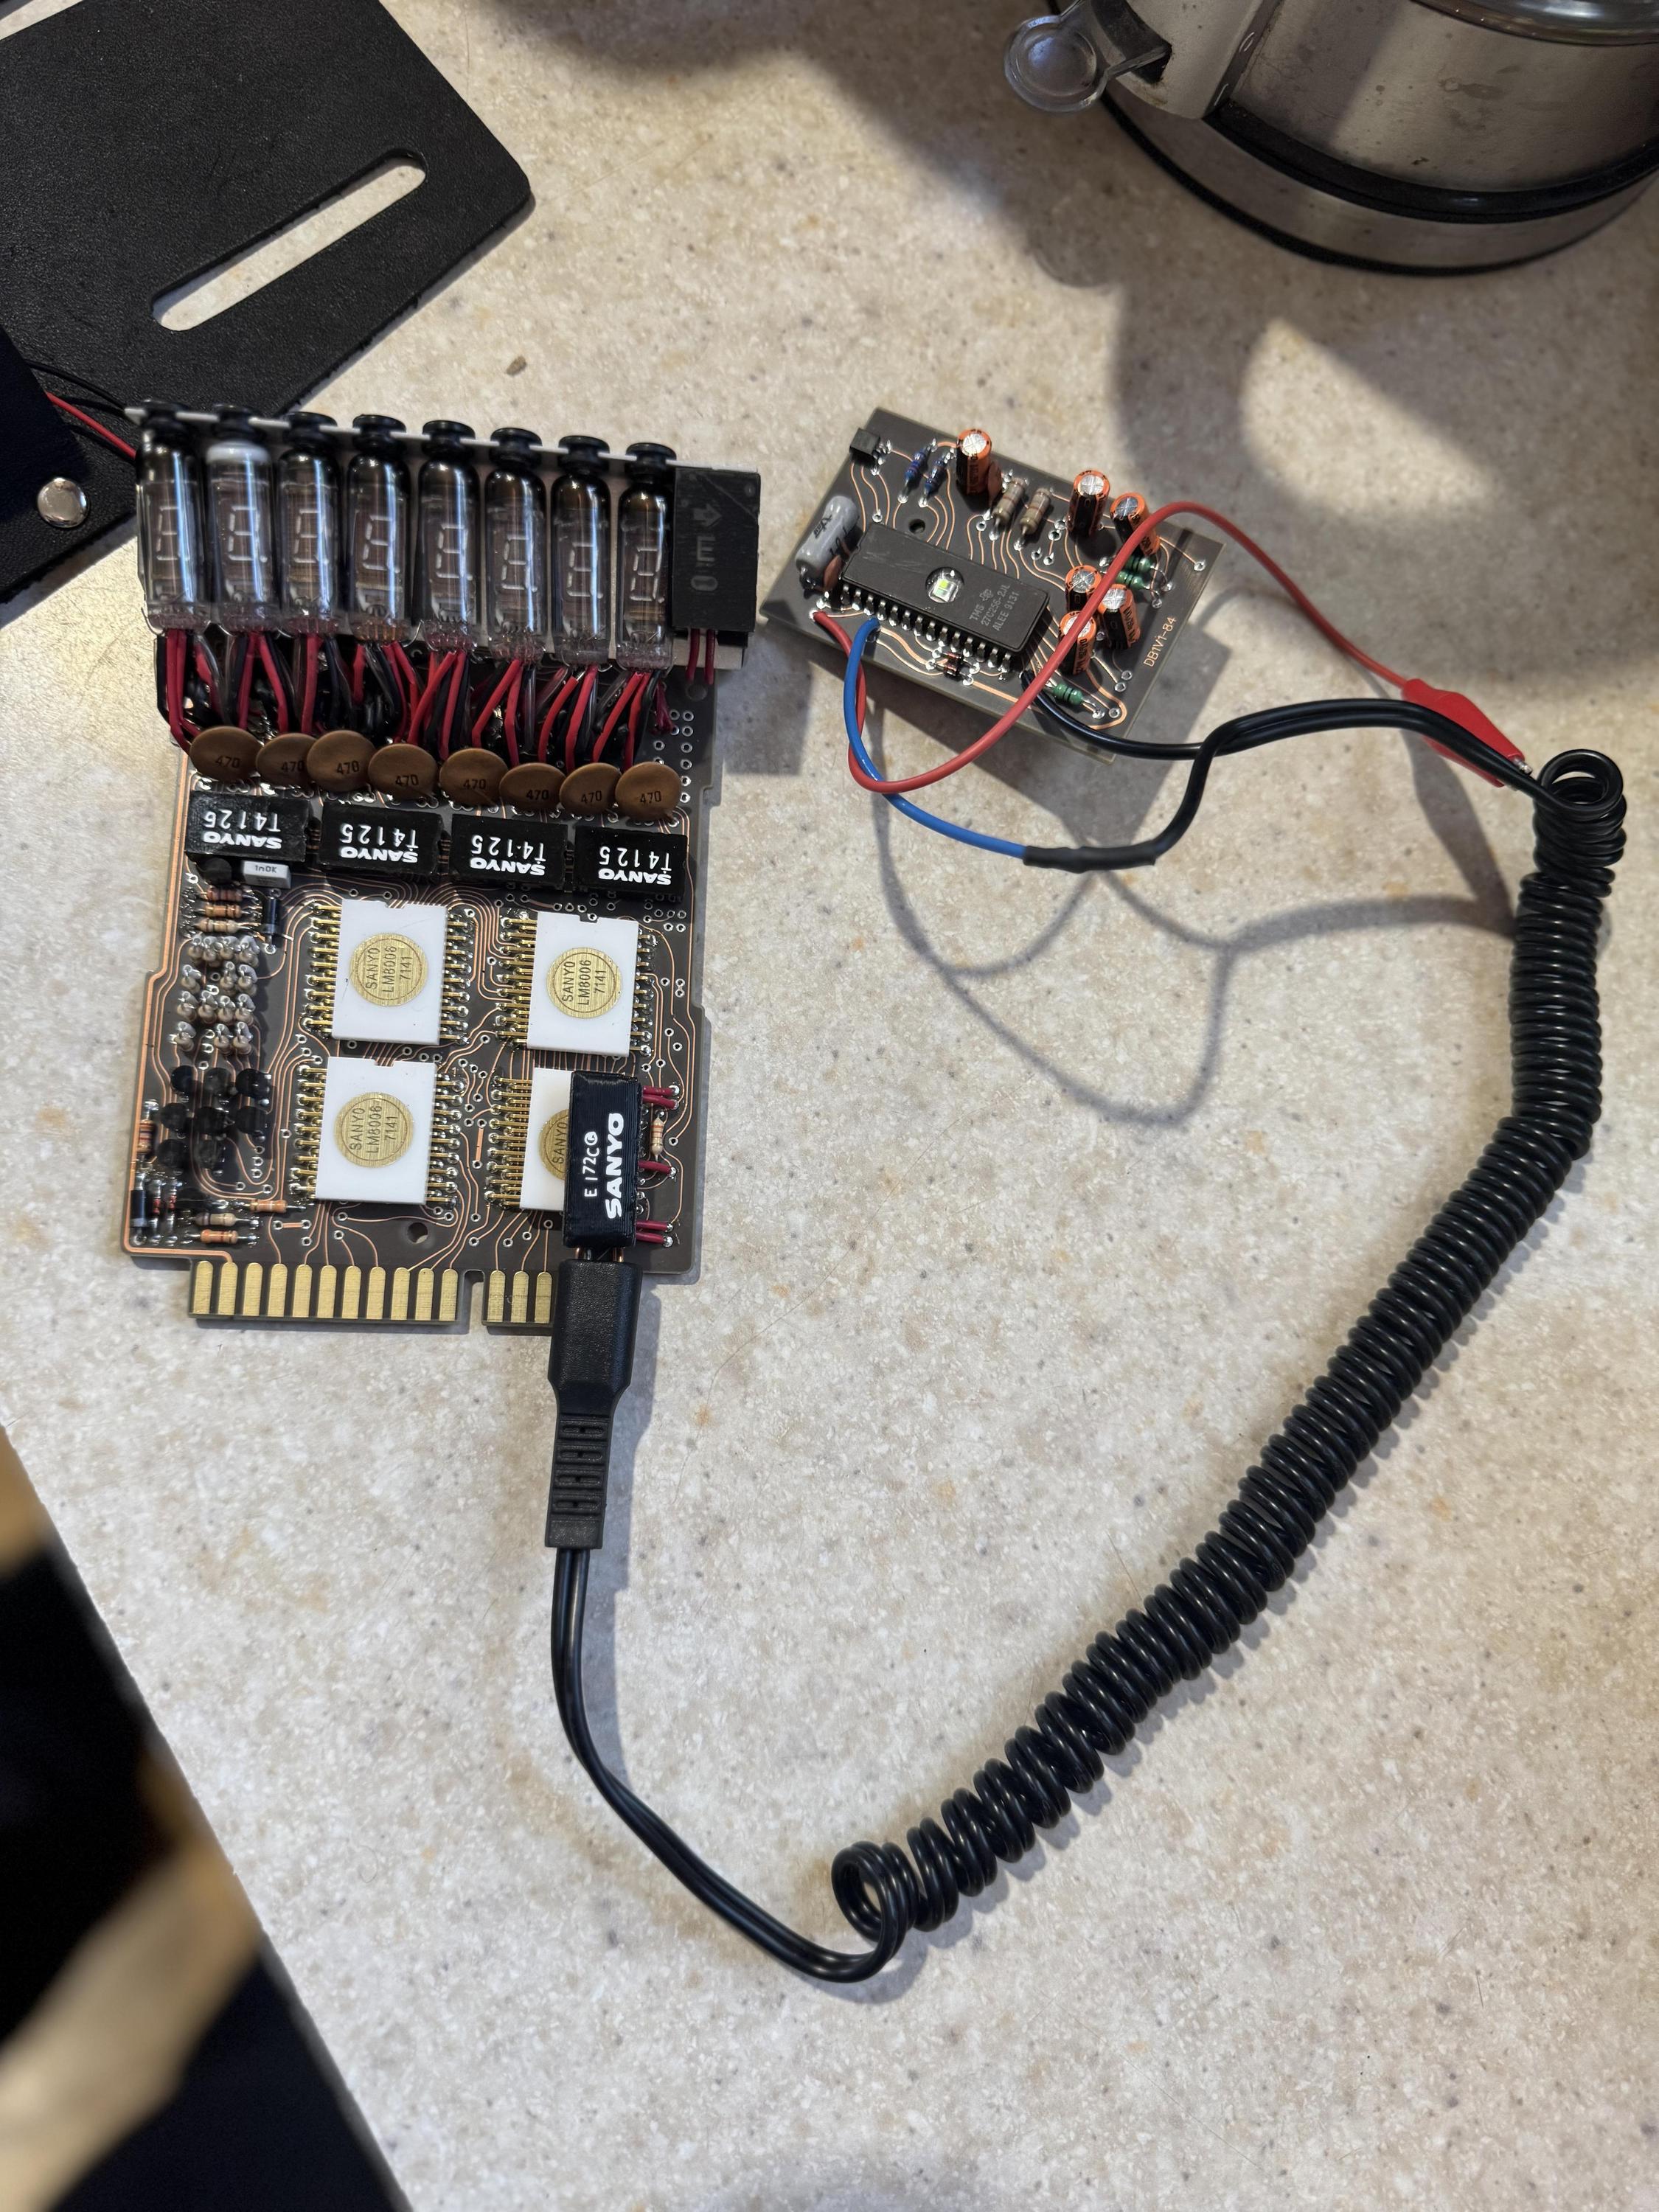
You’ll need a daughterboard, coiled cable, and some connectors as well as the actual gizmo holder (originally a tape measure holder I believe). I’ll leave it up to someone else to explain how they attached theirs to the holder to keep it secure. There’s some great third-party vendors within the community who sell kits, so perhaps it’s worth reaching out to one of them to see if you can get hold of just the missing pieces plus a good quality replica belt holder.
Off the top of my head: Spongeface42, EctoLabs, and Do-Ray-Egons.
Cosplay
Honestly, the thought of wearing a flimsy circuitboard that cost $700 on my belt terrifies me. I’ve had my gear bumped into many times and had to do quite a few repairs, but I wasn’t too worried because it’s almost all stuff I built myself. But with this, if someone bumps into it there’s not really any way of fixing it. Even walking upstairs might be enough to snap it in half.
In fact as I understand it, the original belt gizmos all broke within days/weeks of the start of filming, so they had to be replaced with rubber stunt versions for the rest of production. And for GB2 they didn’t even bother using real PCBs, they just used rubber ones.
I’m not sure if you’re planning to actually wear this or if it’s just going to be a display item, but if you do decide to wear it I’d be wanting to minimise risk of damage as much as possible.
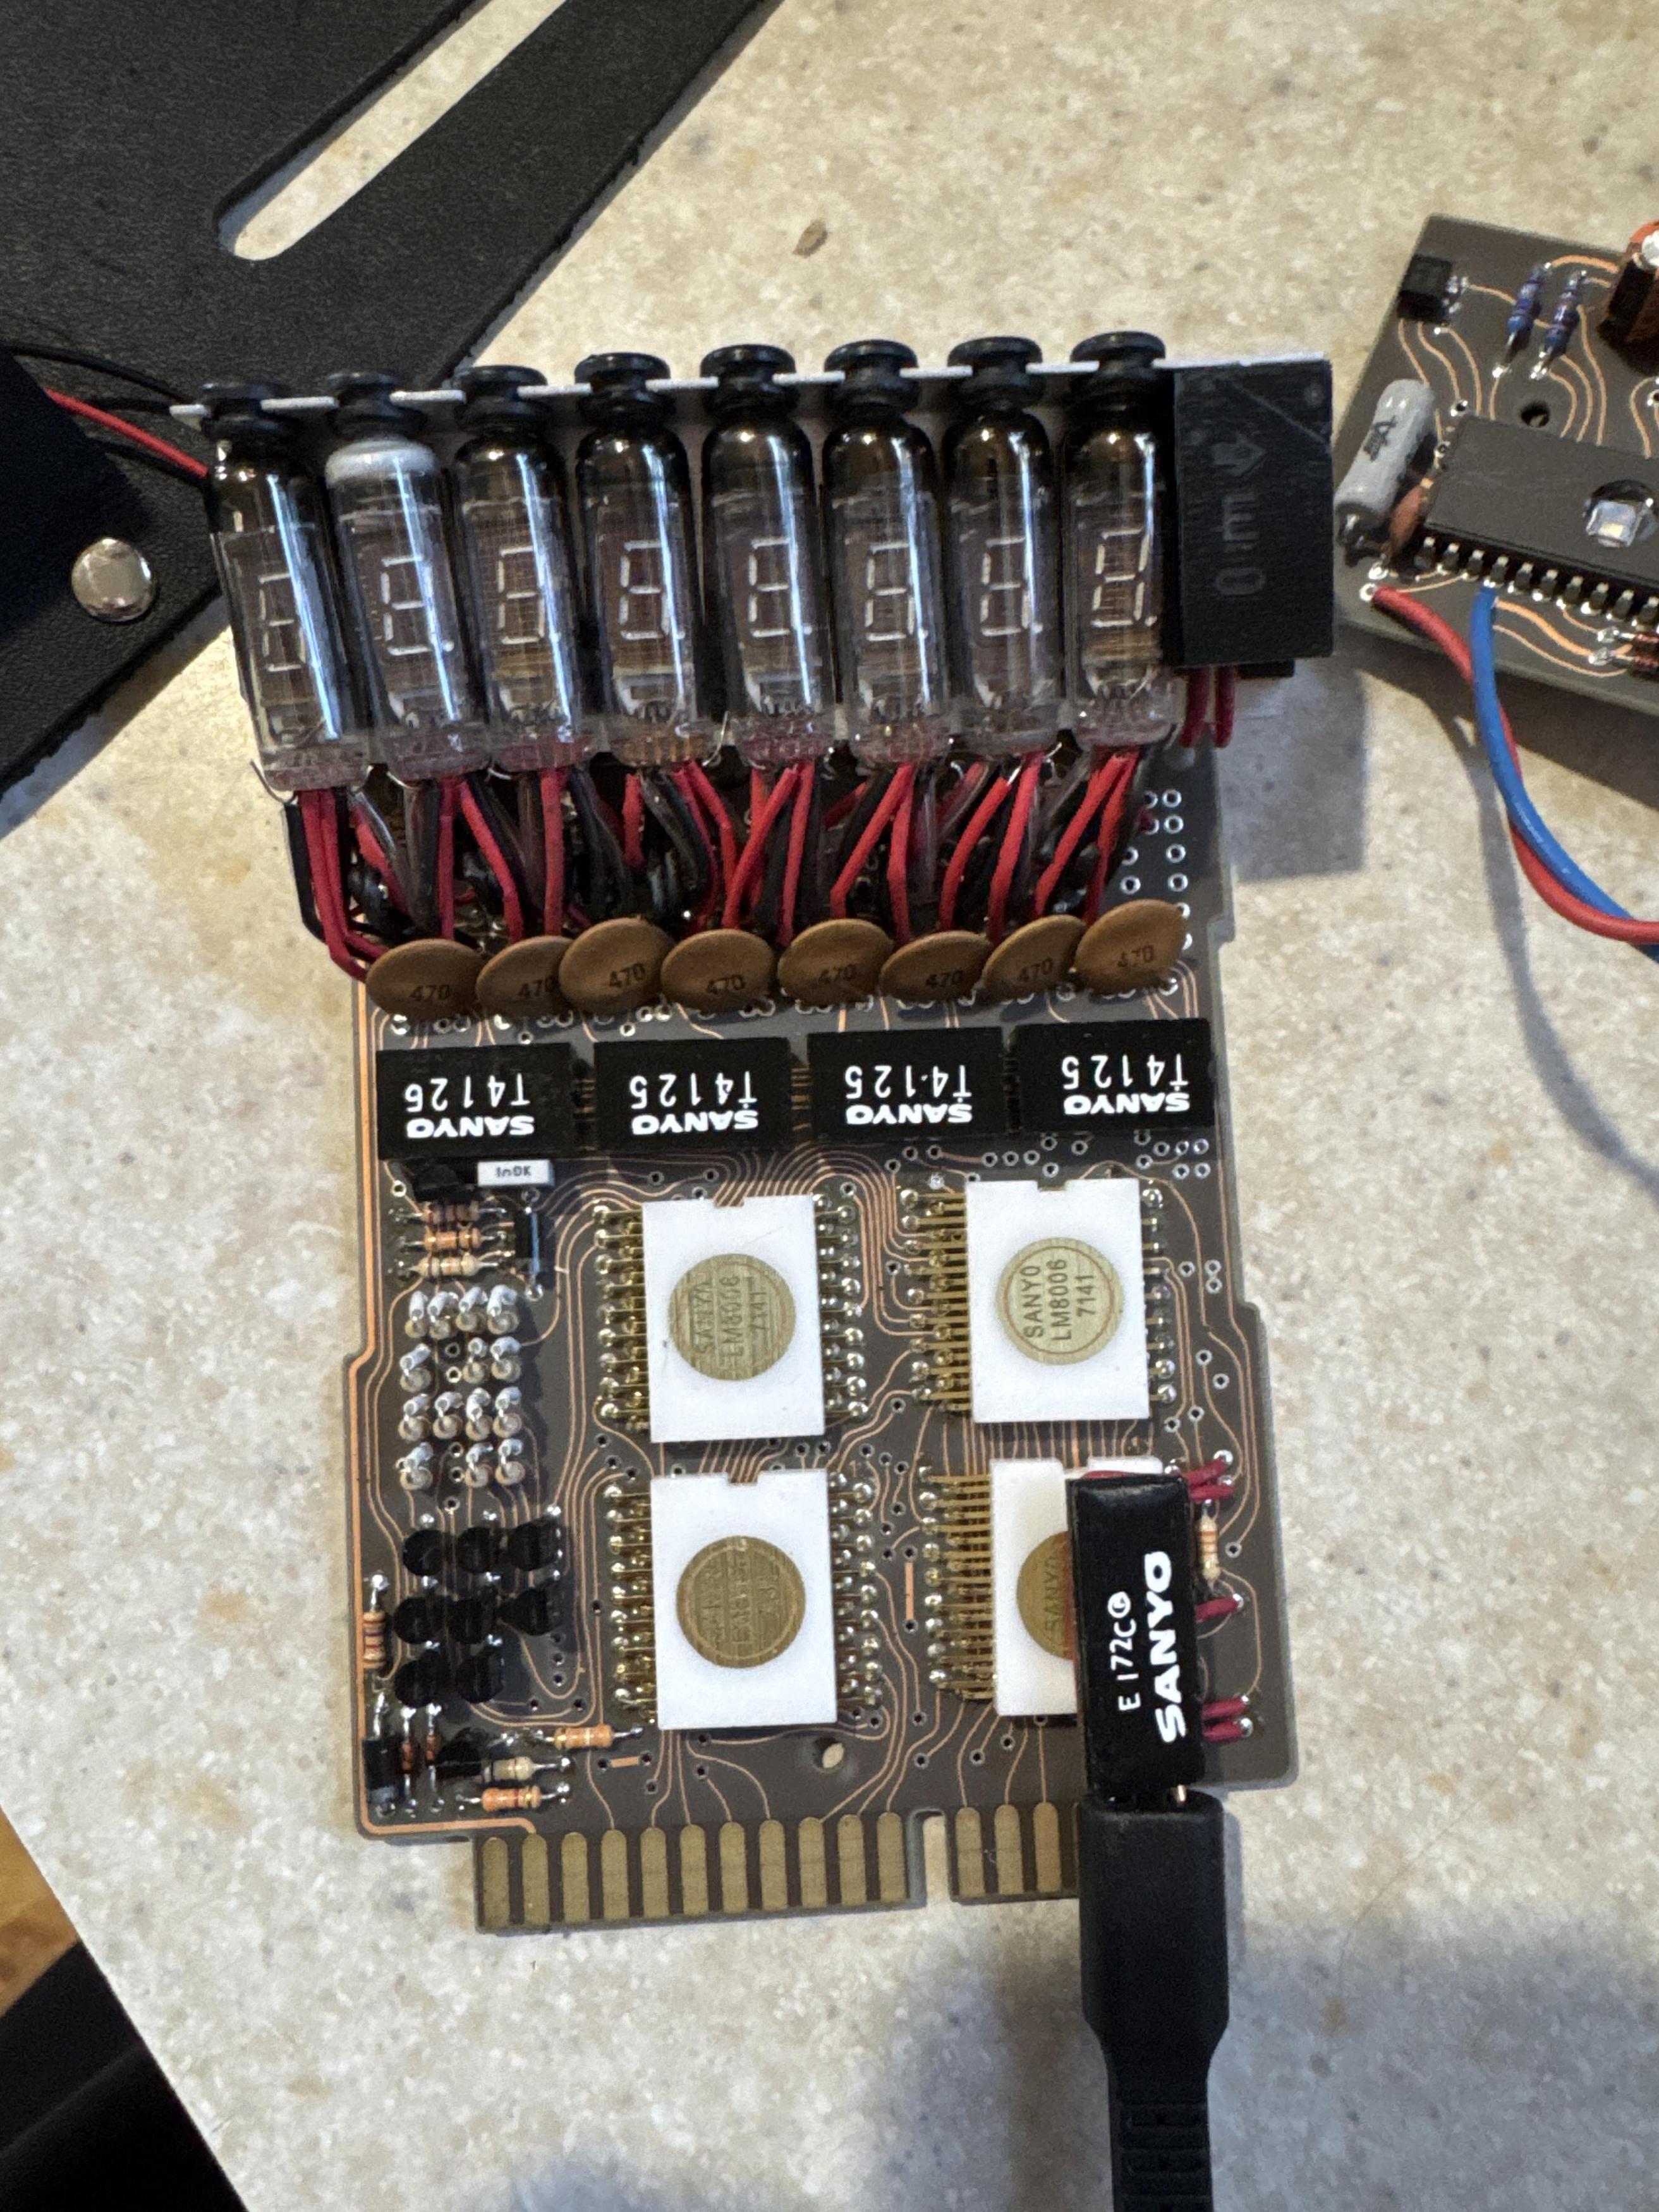
Firstly, can you strengthen the circuit board by attaching it to a metal sheet hidden behind it? It might be less likely to snap in half that way. In theory you could use the existing screw holes on the PCB, but I’d want to make sure that there’s no empty space behind it for it to flex if you happen to lean over a table and accidentally put pressure on it.
Secondly, are the LED (Nixie/VFD?) tubes made of plastic or glass? If they’re glass, is there a risk of them breaking? If so, do they seem to be removable? Perhaps you could swap them out with plastic replicas. I don’t know too much about this aspect unfortunately.
Finally, if the coiled/telephone cable gets snagged on something, you don’t want it to damage the PCB. Maybe you can have it attached with hotglue, or a magnet, or some other kind of quick release. Better to replace a $2 cable than a $700 calculator!
If the above worries you too much, you could always just sell it again and probably get all your money back. I’m sure a vintage calculator collector would love to have it (those guys hate Ghostbusters as much as the vintage Cadillac ambulance collectors :lol: ). And then you could use those funds to buy a cheaper (but equally accurate) replica.
That’s up to you though, like I said there’s no judgement here!
Really hope this helps a little, good luck!
(And if you do go ahead with this project, please keep us in the loop! I’d love to see photos as you go).