First, a huge shout out to bishopdonmiguel for his amazing DIY threads in the tutorial sections. I’ve been able to knock out a leg hose holder and some key fobs while I wait on pieces I’ve ordered to come in. :crunch:
The idea behind a lot of what I’ll be building is that it’s an updated/idealized loadout. So I’ll be more focused on what looks pleasing versus trying to maintain some weird screen accuracy (OMG, the nametape is 1/16" in the wrong spot versus this specific screen shot).
Currently I’m waiting on my Tru Spec flight suit to arrive from Sportsman Guide (yeah, I bought the $20 getup. We’ll see if it’s at least up to Tru Spec’s normal quality, but for the price, I’m not expecting it to) as well as some odds and ends from the GBFons store such as the No Ghost logo, elbow pads, and chem gloves. So to bide the time, I’ve been cracking at some little things while I wait like the leg hose, belt, and name tape.
I don’t have any pictures of the process from making my mag lock leg hose holder, but suffice to say, it went together pretty much identical to bishop’s tutorial. I made two changes since I was using a different set of magnets. I couldn’t find the 1/4" barrel magnets he had found, and the local Depot was out of the disc magnets. I ended up with some 0.3 mm disc magnets to replace the barrels and a 3/4" ceramic magnet for in the holder. That necessitated enlarging the ID of the hose barb to accept the slightly larger magnet, and I had to shave a bit off the 1" of electrical conduit to keep the holder from looking too long.
I’m up in the air if I want to do a GB II style of leg hose where it stays clear, or go with the GB I style of yellow. I think the yellow stands out better, so I’ll probably end up going that route. The nametag came from katarra on ebay. It took from Thursday to Monday to have it stitched and snail mailed across the country, so I’m very pleased with the quality and speed of her service.
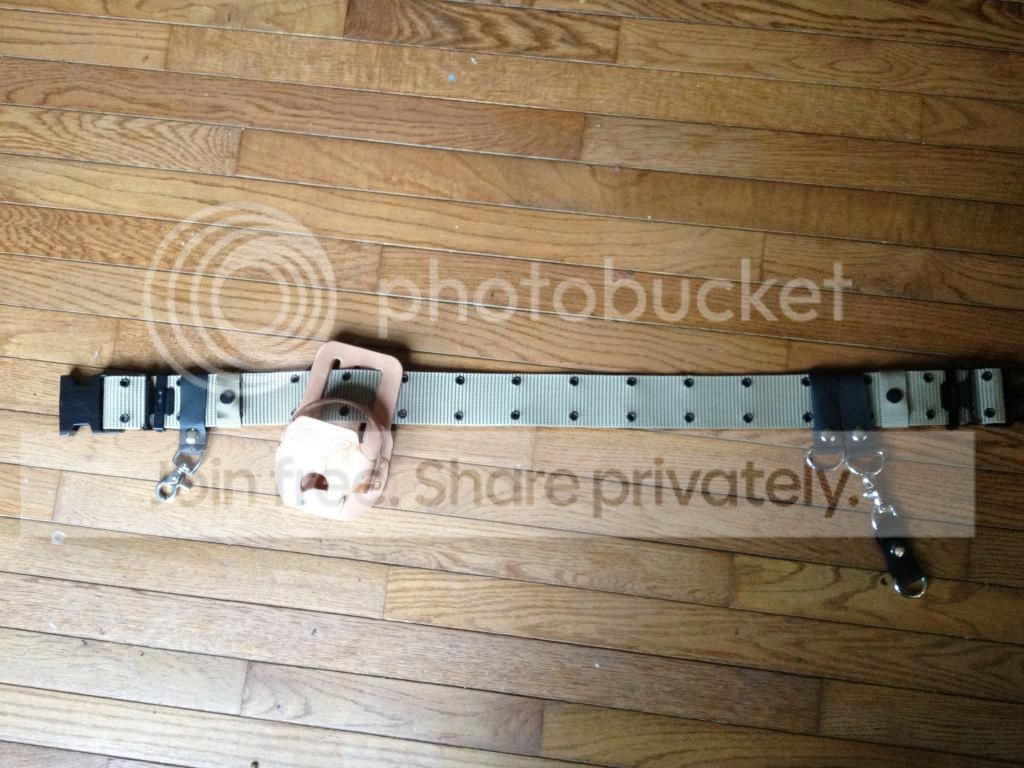
The only pistol belts available at my local surplus store are the updated parachute clip belts. My older GI style with the metal rings is OD. To be honest, I’m not going to lose much sleep over having a more convenient latching mechanism on my belt than trying to stay screen accurate.
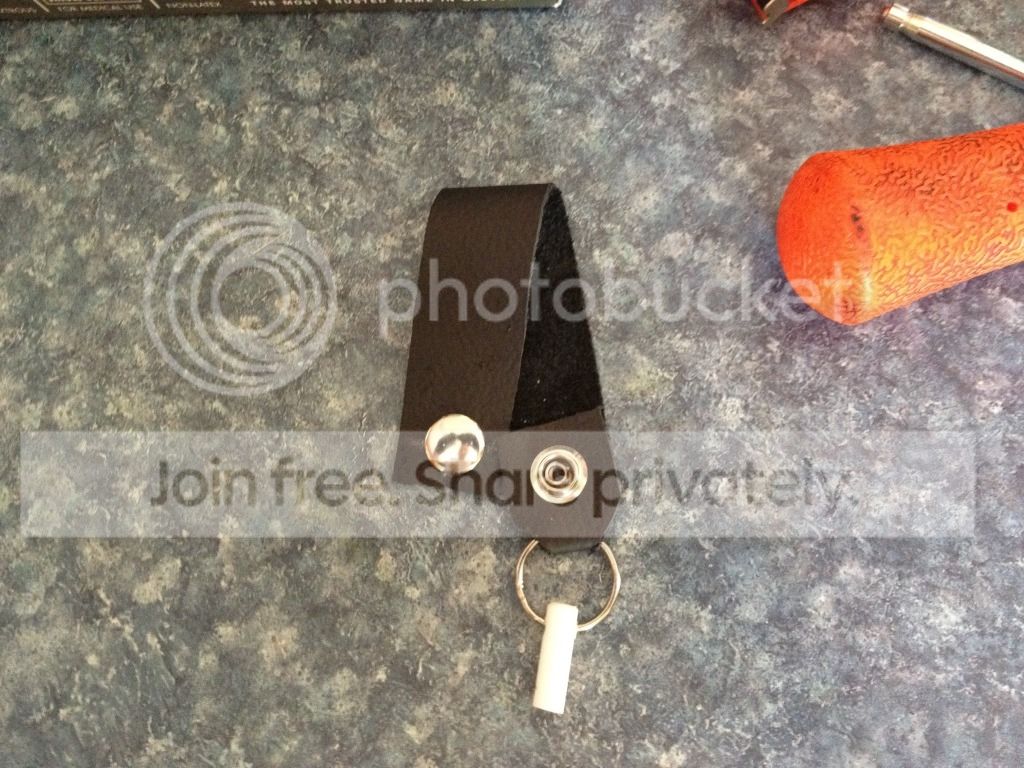
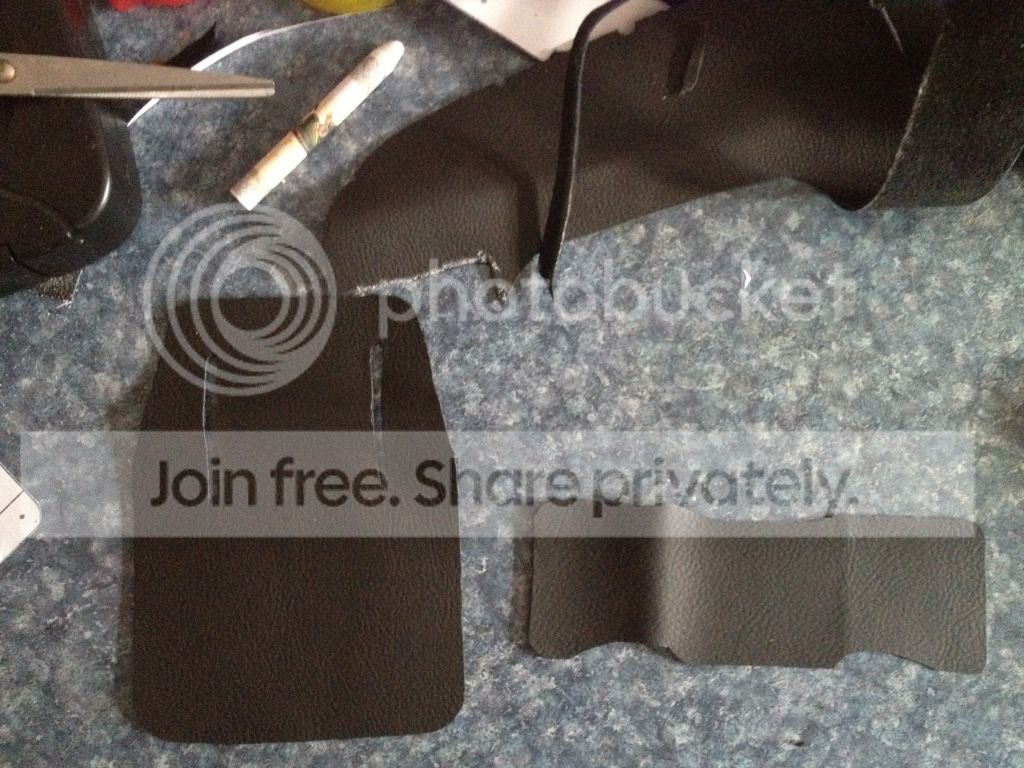
As for the belt fobs, I took Alan Hawkin’s nylon tutorial and just subbed in leather scraps I picked up from Hobby Lobby. I think the two I’ve done so far have turned out great! I need to hop back over to Jo Ann’s and pick up some D rings to finish the last two fobs.
-The scraps only cost $6, so going leather really didn’t increase the cost of doing this project by much.
-I don’t have a rotary punch, but after experimenting with some of the other color of scraps, I found I could use the stem and my mallet to punch through the leather without deforming the stem beyond use.
-With a little love, I can still coax the stems back into mushrooming properly and securing the snaps
-One done!
-The wand clip is done, but until I go back out and purchase some more D rings, I’m stuck on the last couple of fobs.
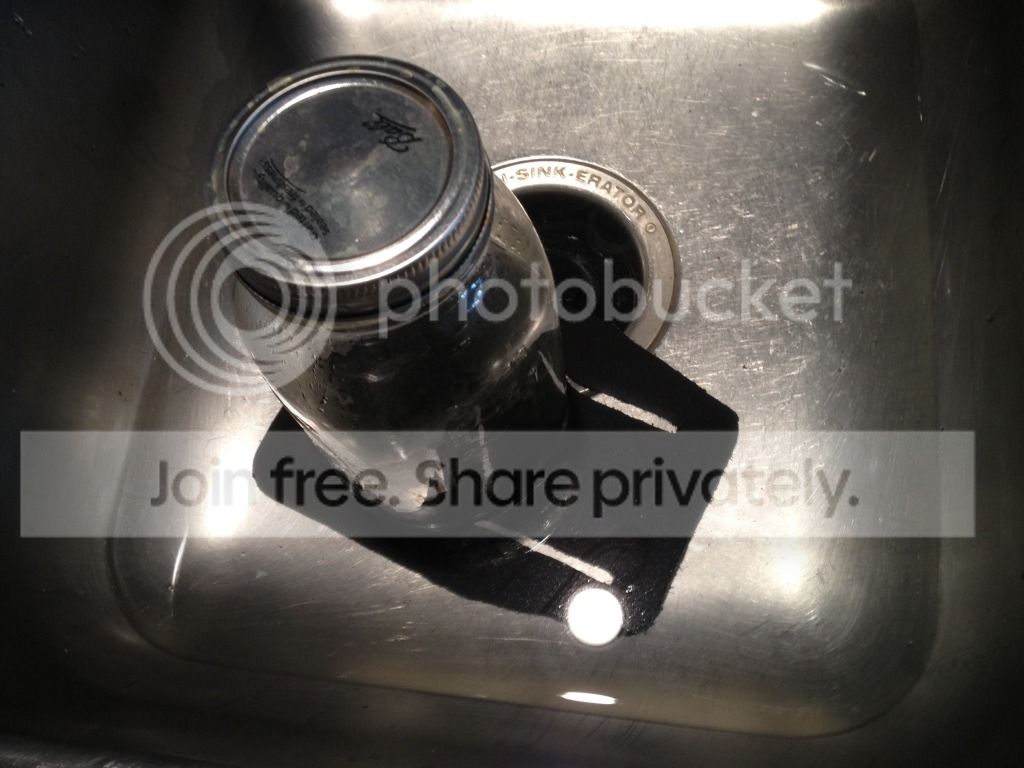
I have a cheap measuring tape holder that will be acting as my gizmo holder, but I’m still in the process of blackening it. Again, bishop’s tutorials are really saving the day as I’m making ferric acetate per his write up. And who said chemistry was a useless class?