So i Should sand out the bottom of the hole a little bit at a time to try and fix the angle then? Shouldn’t be too hard. Luckily I have bondo if there are gaps to fill.
Fix that handle! You need to pull it out and widen the hole until it fits in more or less level. I would block it up on a sturdy surface underneath to the height of the bottom edge of the handle, and dremmel out the tight spots, probably on the bottom, until it sits level like the forward handle.
Everything else looks pro! Unless you need it done tomorrow, take your time and do it right! 
so after some sanding, I have managed to get my rear handle ALMOST straight out, I am happy with it as is and will use this experience to my advantage when/if I make another thrower.

At this point I have bondo curing to fill in the gaps around the PVC pipe, the I can sand, prime, and paint away. Am I forgetting any steps here?
ok, so last post I made? Forget about it. the bondo I used ended up breaking, and my pipe was a bit off after cleaning it, so I recut a longer length of PVC, extending it about 3 inches, and got the handle straightened out all the way

I think it looks much better after all. Thank you to Gareee for pushing on the change in GB Chat.
looks much much better! I find if you start saying “oh its not perfect but it will do” during a project you’ll never be 100% satisfied with it when it’s complete
Looks much better with the handle straightened out.
i did something similar to this recently (substitute plexi-glass for plywood). came out great, but i found key points to re-enforce after using it for a good 12 hours straight. if you are looking at the gun as you are holding it, take notice of the switch box that you are probably going to mount to the gun on the left side. when you attatch it, make sure you get a long screw (2 inches plus) and screw though the top of the box, then the gun, then finally though your pvc handle. doing this will re-enforce all 3 pieces at once, and will avoid having to rely on just bondo for a piece that has constant weight-test, the handle to the gun body i mean. if none of that made a shred of sense, i apologize lol.
also, the front piece of your gun body, the piece that you bondo the front pvc handle to. this is another high weight-test are. i reccomend getting L-shaped brackets to bind this piece on the inside of the gun. inaccuracy be damned. a painted over screw in the wrong place is much worth the headache of your gun coming apart on you during use. have you chosen a paint yet? if not, i HIGHLY recommend:
http://www.amazon.com/gp/product/images/B000QD7J7I?n=228013&s=hi&tag=gbfans-discourse-20
VERY realistic look and feel. has the finished consistency of black primer and takes the platic look and feel right out of the pack/gun.
good luck man, looks good so far
Links in this post may be affiliate links. Purchases made through them help support this site at no additional cost to you.
So…your using hot glue to hold everything together? I was too lazy to read thru most of it, just looking at your pics.
COOL! As Nick said, if you don’t do the best you can that you know about during the build, once its completed thats all you will see. the issues you could have resolved, but didn’t.
Looks much better now! 
i think he said something earlier about it being a temporary hold to see how things fit together.
Ah gotcha. Idk how good hot glue holds things together.
i like to think it starts with magic. and the blood of dinosaurs.
lmao Waaaah?
well, today I got my Sloblo and Trigger box attached to the main gun body, Comments and suggestions are welcome.
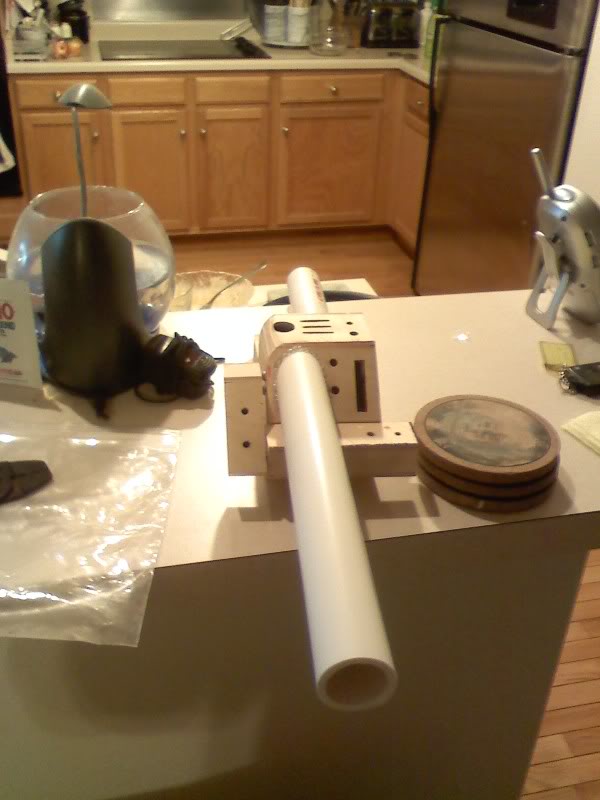
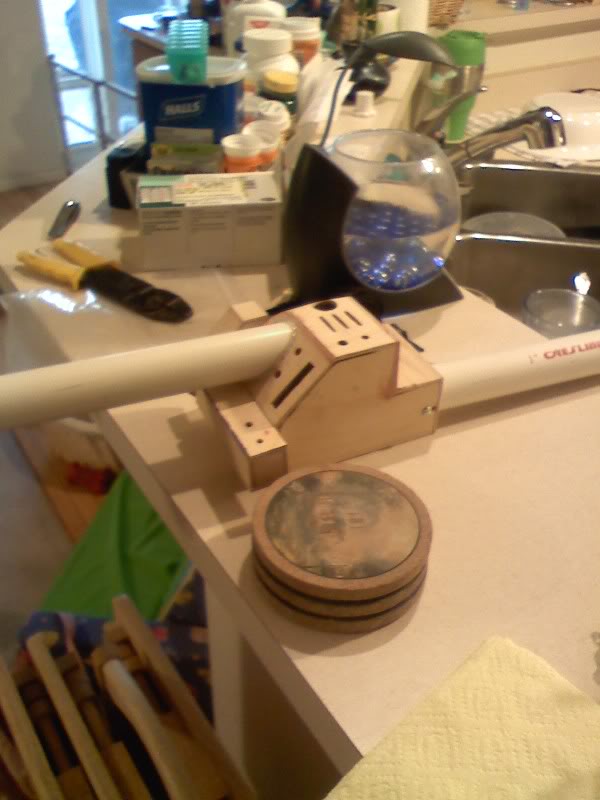
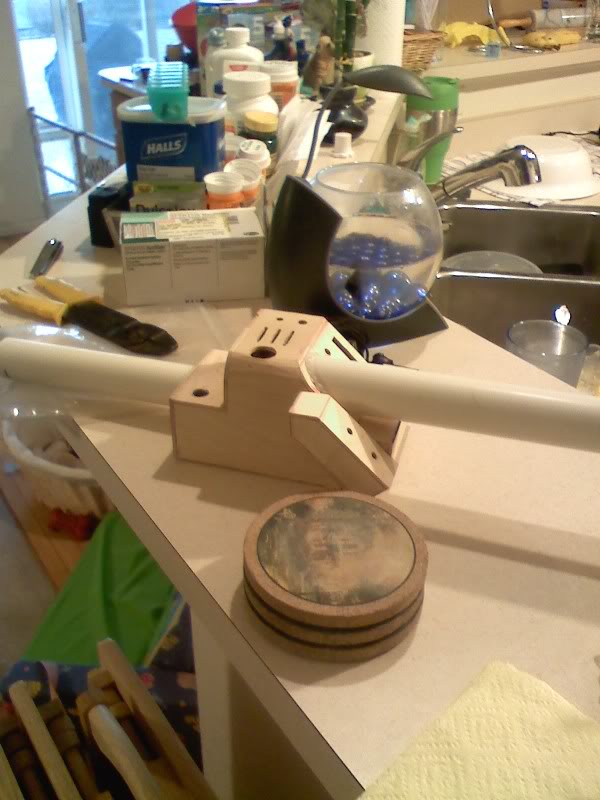
Soooooo…still using hot glue to hold everything together?
I haven;t used Hot glue to hold anything together for a while. What hot glue you can see in the photos is for fake weld lines when it’s all painted. Right now it’s all screws and Gorilla Glue.
Another reason to avoid hot glue…we did the christmas parade here, and it becomes so hard, that any minor knock can break it loose.
Just a few minor damages, but enough to make me stay the hell away from hot glue if possible.
lol, i kno i kno.  We went over this.
So a temp hold as in… “Oh look! The guns done! Looks nice!” tears gun apart “Now time to use something that will really hold it together”
I think it depends on the hot glue that’s used, as in temperature wise. Also it depends on the material thats being bonded. I’ve found that it works really good with porous wood. My pack as well as a few others i’ve built are put together with hot glue, I’ve had my pack for 5 years now and only had something fall off do to my own fault. The beauty of hot glue is in a pinch, like say a convention, grab a lighter, heat that glue up and stick the part back on. It sucks that you had so much trouble, Gareee. But I’m a believer in hot glue, but to each their own. Also, sorry for the sidetrack, the gun is looking great!
I wasn’t implying that you were using mainly hot glue.. just relaying more hot glue intel.
And as far as you being lucky with it, more power to you. I still recall one of the texas guys posting about his experiences with the Texas Game launch party, and how it got so hot his pack had parts falling off left and right.
After surviving two mad packed halloween parties, dragoncon, and a 20 degrees chirstmas parade, I’m pretty sure our packs have been doing very well, considering.
But most of the issues with attachement have been caused by hot glued parts or, hot glue connect assists. Everything that was epoxied, screwed, or gorilla glued has been rock solid.