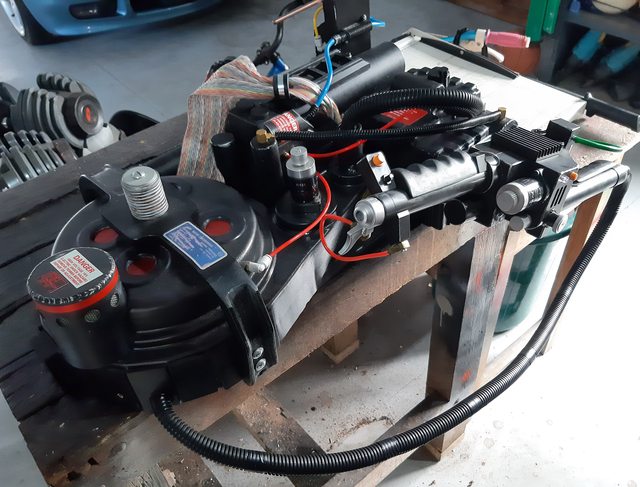
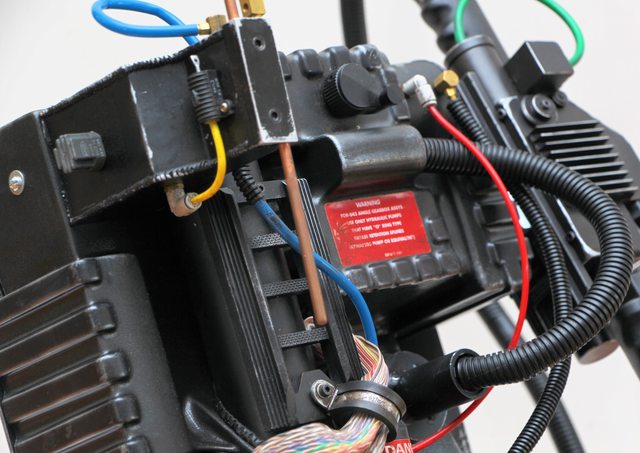
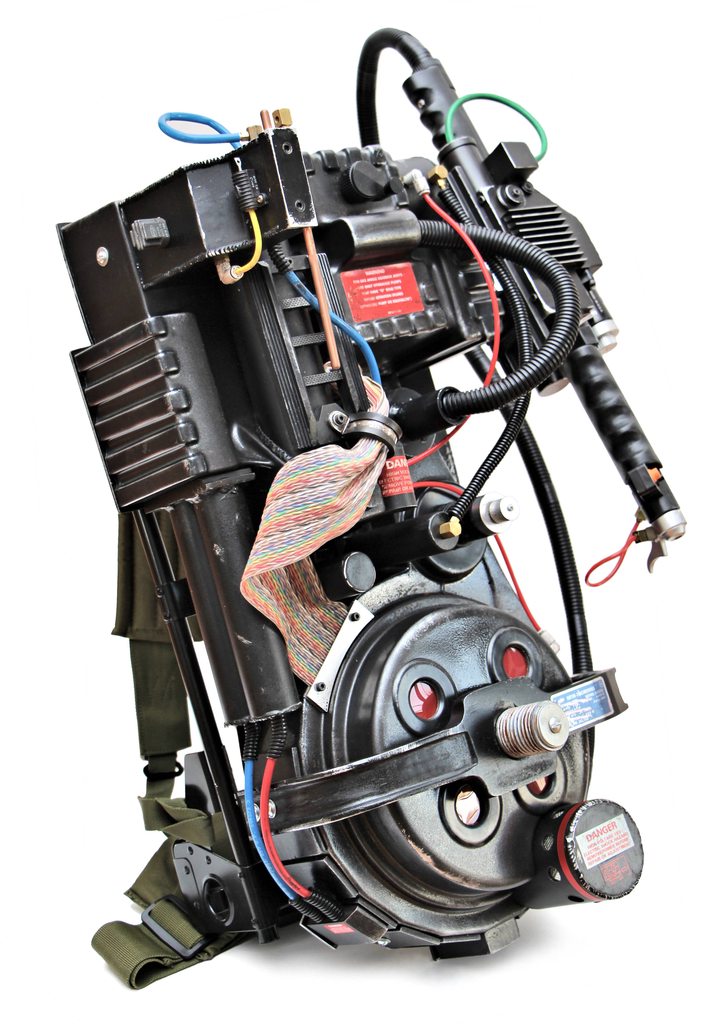
Magnoli Proton Pack Build (including Hasbro Afterlife Wand mod)

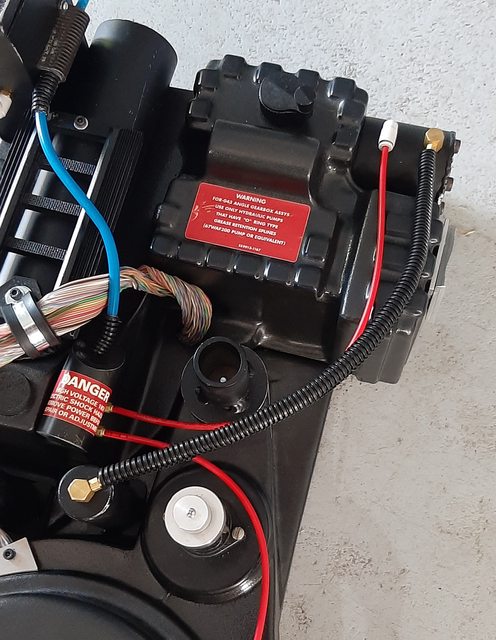
I finally mounted the ion arm to my pack. I added a block of wood into the base of the resin piece, to give me something to attach firmly to the pack. I drilled two holes into the pack:
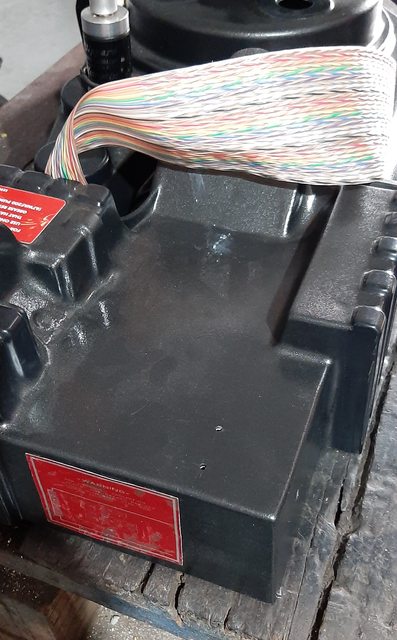
Then screwed the ion arm into place:
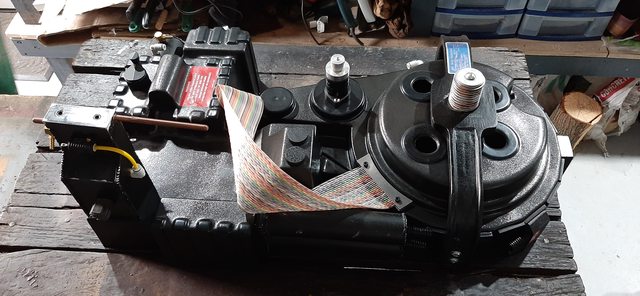
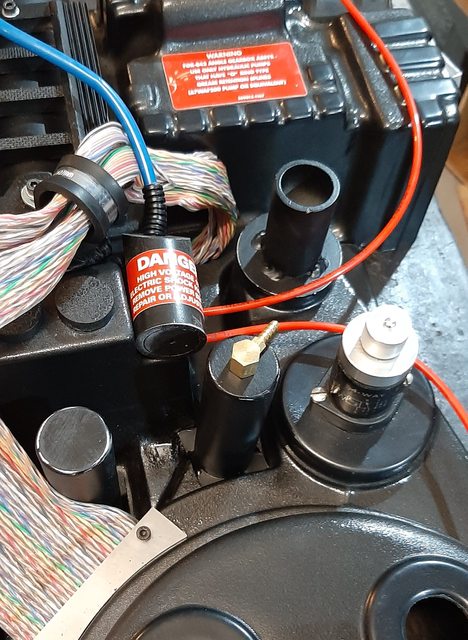
Added a couple of tubes:
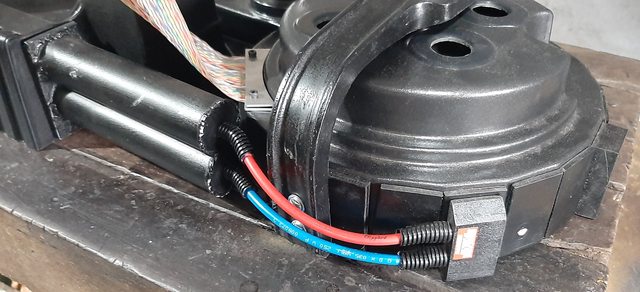
…and just got a package with a bunch of bits and pieces!
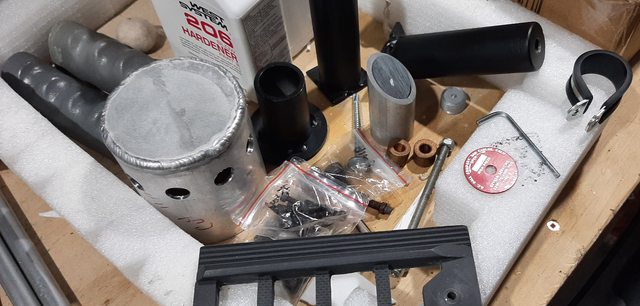
…now it’s time to get to business!!

Screwed the vacuum tube into place:
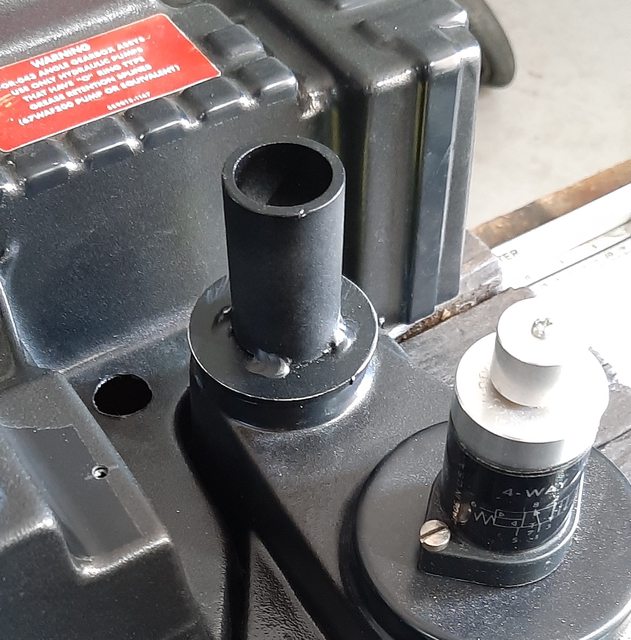
The booster was the very first piece I collected for this build SO many years ago… and I’m excited to finally get the frame and cable clamp added to this:
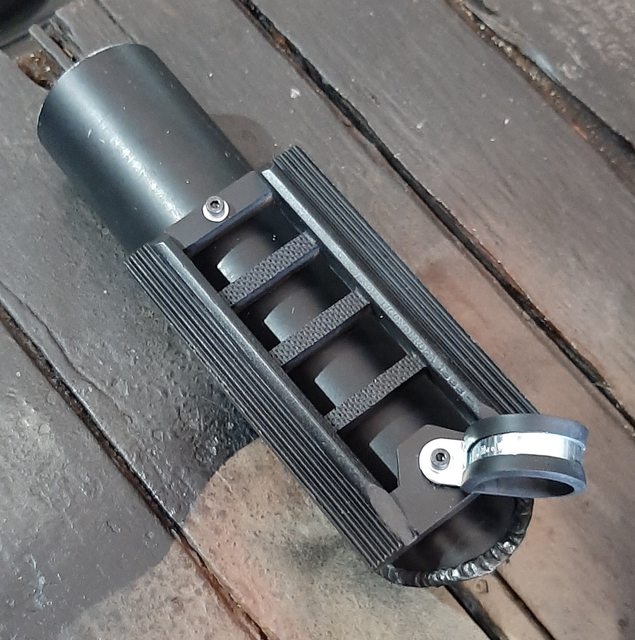
Drilled some holes out for the booster:
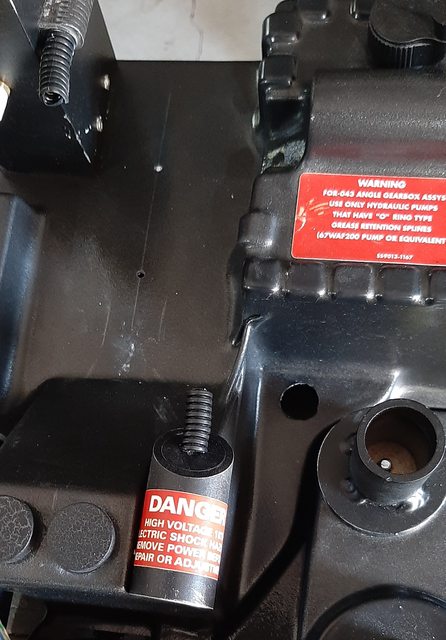
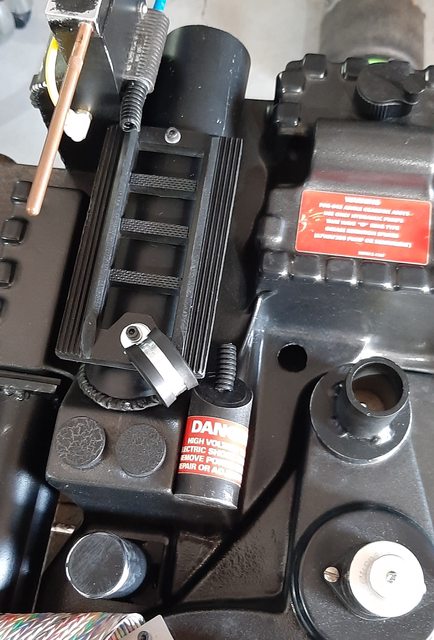
Because the booster I’ve got is fairly “closed” I ended up using pop rivets to secure it to the pack:
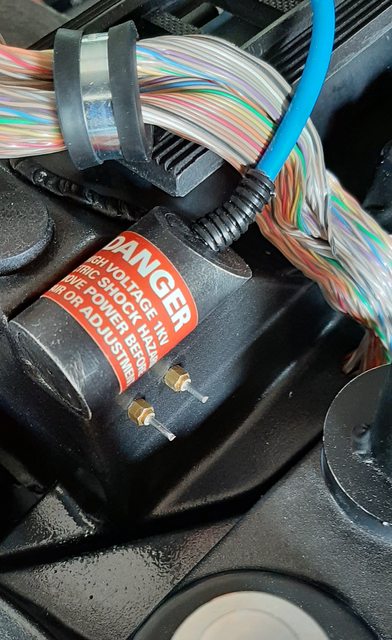
WARNING: Purists… look away! I didn’t have any Legris straights on hand, so I had a couple of spare hose attachments that I decided to cut down:

They’re quite a bit smaller than the original straights, but with a couple of wires (pop rivet posts) to hold the hoses in place, they work for me:
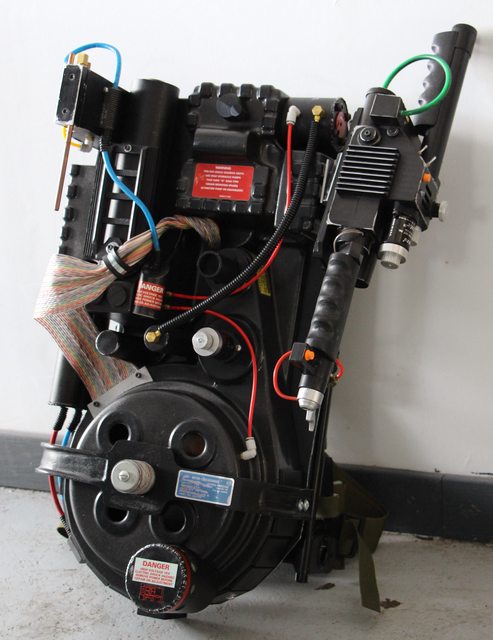
And here we have my pack so far:
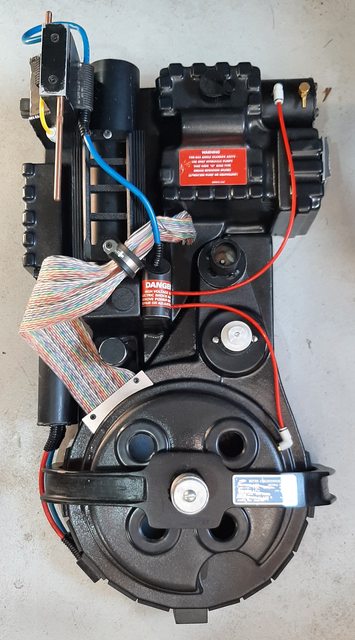
I keep saying it… but each step of the way is so exciting seeing this become closer and closer to a finished proton pack! And a BIG thanks to all of you who have been helping me out with this project!
That looks amazing! I look forward to seeing you mid the afterlife wand to the original. I wanted to do the same but am afraid of messing it up

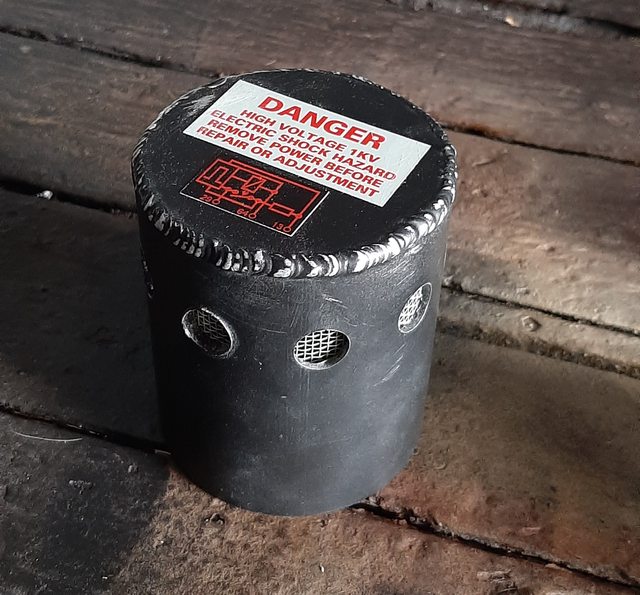
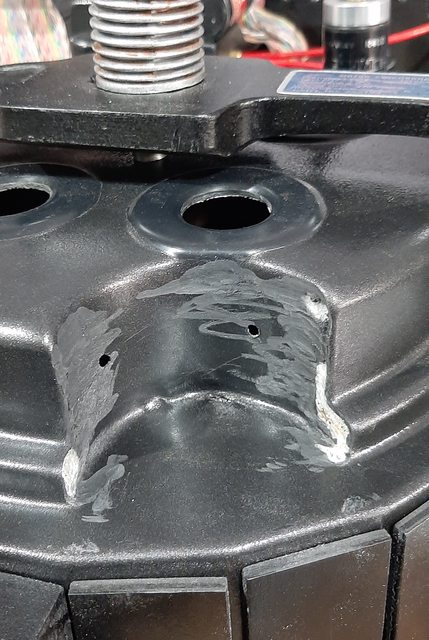
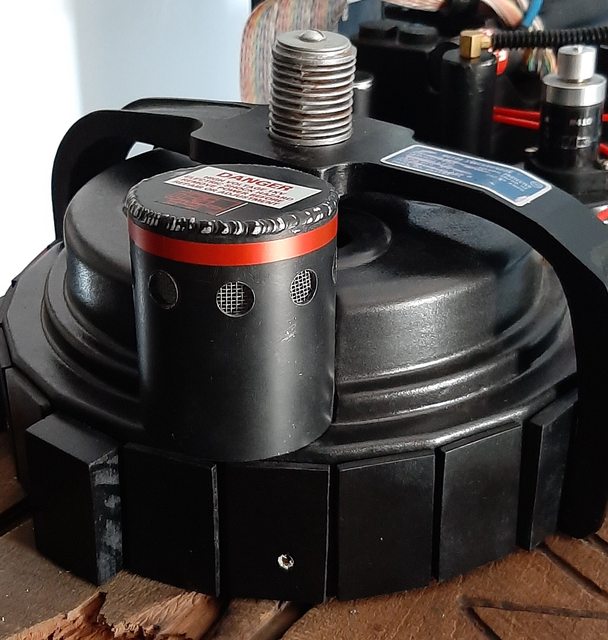
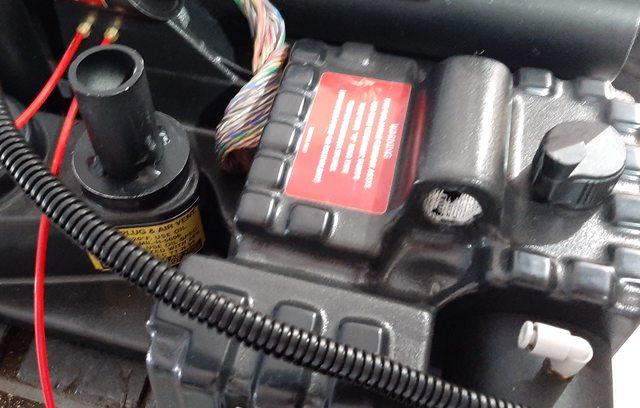
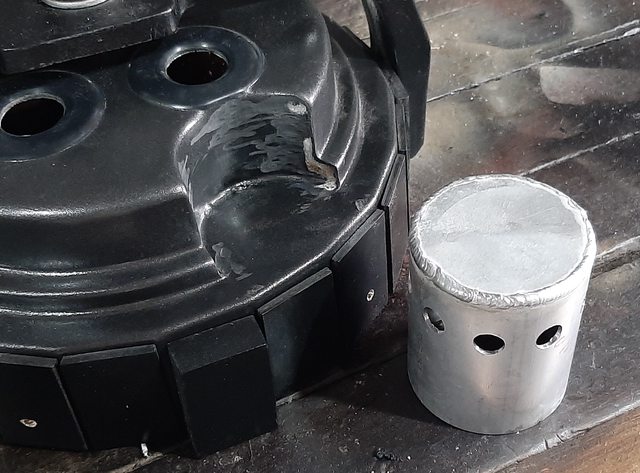
On to the N-filter. I was sent a nice aluminum piece. Unfortunately the fit wasn’t quite right with my shell, so I had to do a bit of dremel work and heat-gunning to get it to fit the hole:

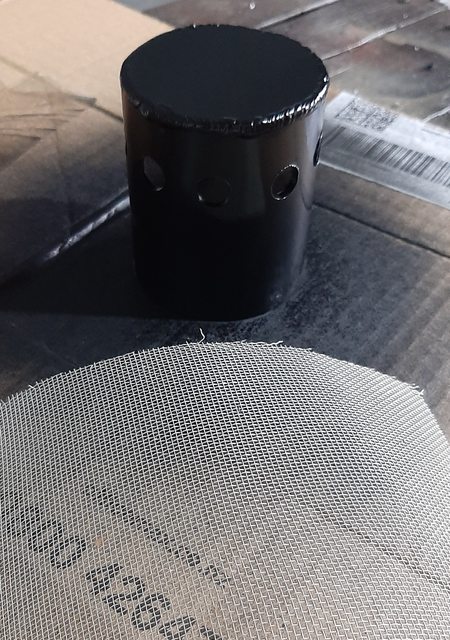
Earlier I said that the booster tube was the piece I’ve had the longest but when looking for the mesh to put in the N-filter, I discovered a roll of wire mesh that was left behind by the previous owners of our house (which we bought over 20 years ago)… so I guess this wire mesh is the first piece I was saving (unbeknownst to me):

Added some stickers and distressing (the red pinstripe I added later, but forgot to photograph):

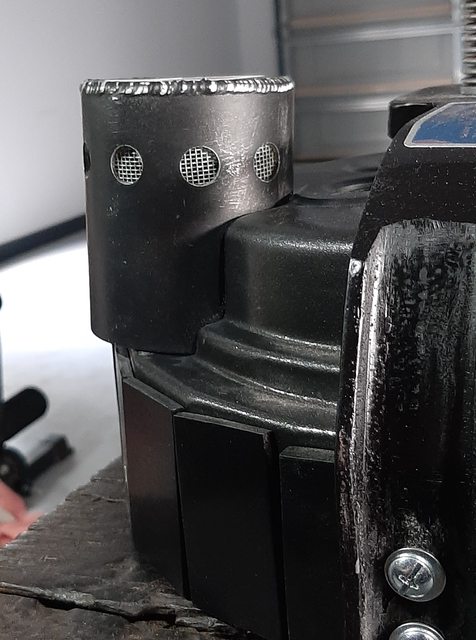
I drilled a couple of holes to my shell, marked out the spots on my n-filter and drilled holes into it so I could pop-rivet them together (seemed to be to be the most secure option):

Unfortunately the n-filter I’ve got is a bit oversized for my pack so there is a little overhang:

I’m not too worried about it… just need to figure out if I want to add anything in the gap.

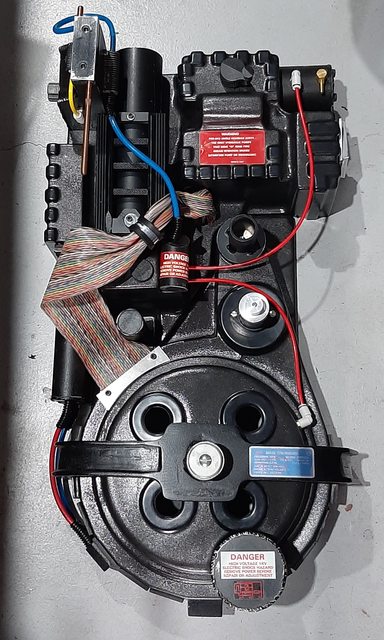
Here’s the pack so far:

Looking good the real ones have a slight overhang too

So better to have it than not.

Are you using Ethernet cables or are those official GB cables? I can’t tell but The blue one looks like an Ethernet cable to me

The overhang is fine! Looks great.

jonogunn, those are pneumatic tubing.

Thanks guys!

Finally added the beamline tube… though the base was a bigger than the space my pack allowed, so needed to dremel some extra room:

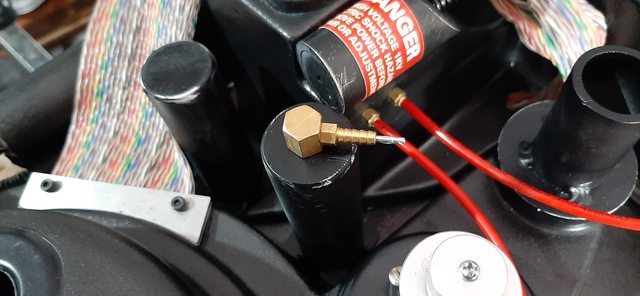
I ran out of clippard pieces, so I removed the one from the ion arm and replaced it with a 3d printed one (since I figure it’s less visible than this one on the beamline tube:

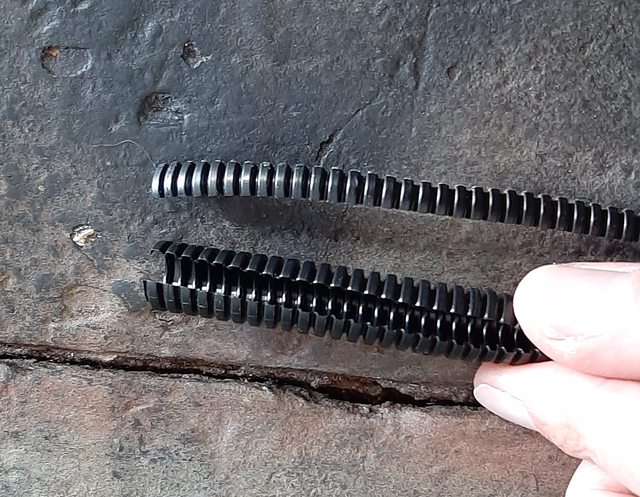
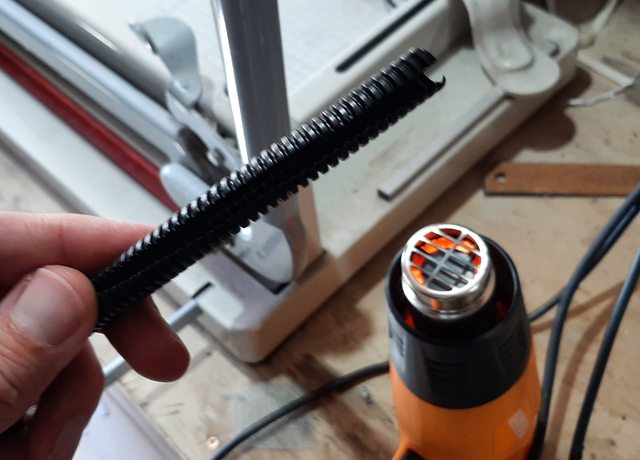
Next was to add the beamline loom tube… but the tube I’ve got is a bit wider than the original:

No problem! I trimmed out a bit of the split loom:

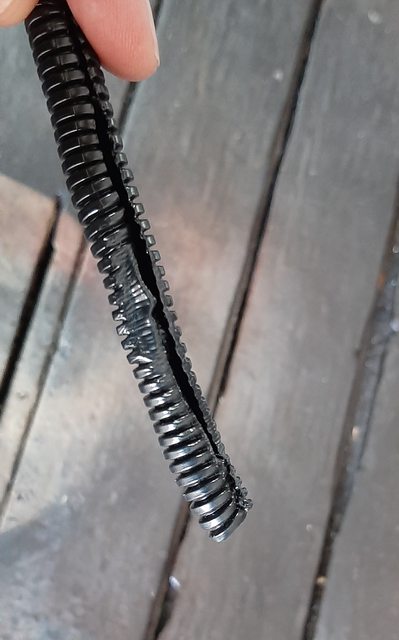
A little heat gunning will soften the plastic:

But do this sparingly… it doesn’t take much to melt this stuff:

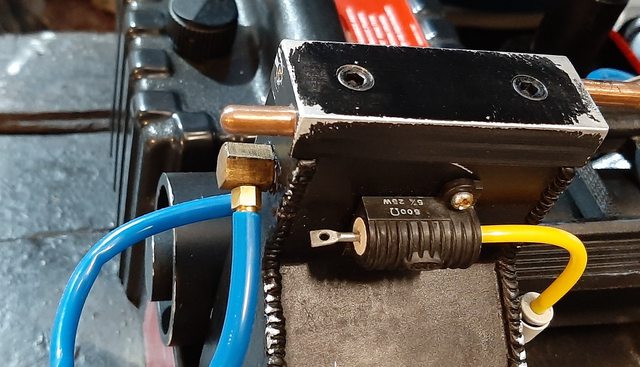
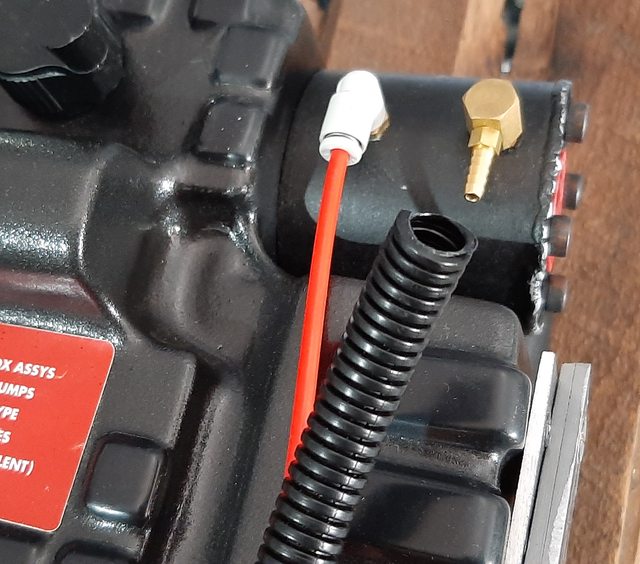
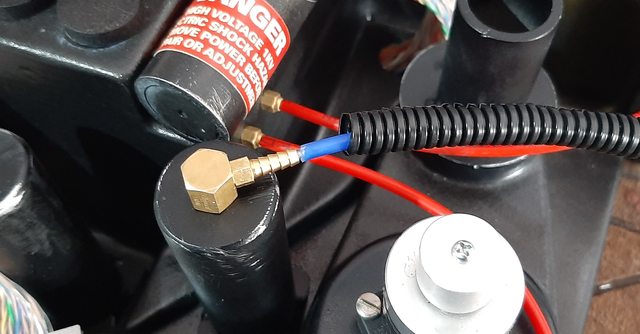
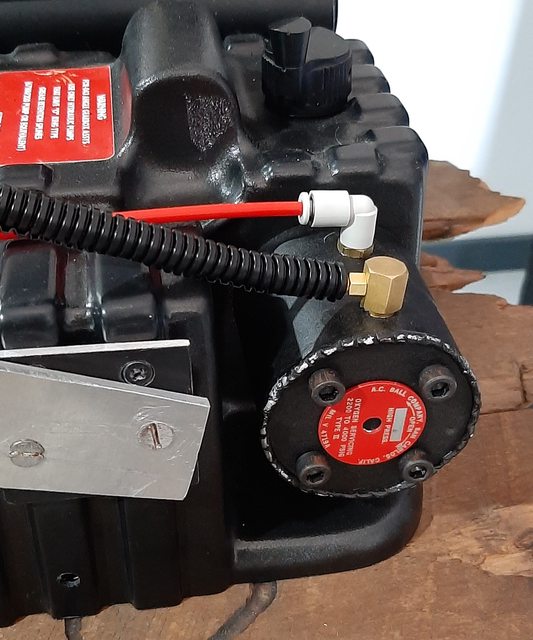
I’m not sure how the originals are attached, but it seemed weird to have a split loom tube attached to a pneumatic barb, so I decided to add a blue tube to the barbs (via my pop-rivet off-cut method):

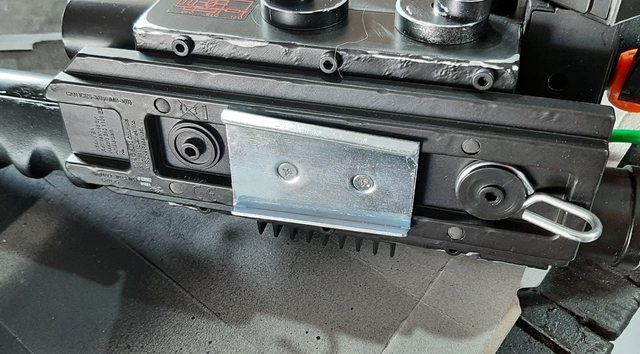
You can see I also added a nice metal plate to the HGA. I LOVE all these little details!

Oh… and here’s a shot of the metallic red piping I added to the N-filter:

Still waiting on the 3/4" loom tube. In the meantime… I’ll start working on the wand!

It was 1/4" pneumatic tubing over the barbs, with split loom over the top of that :slight_smile:

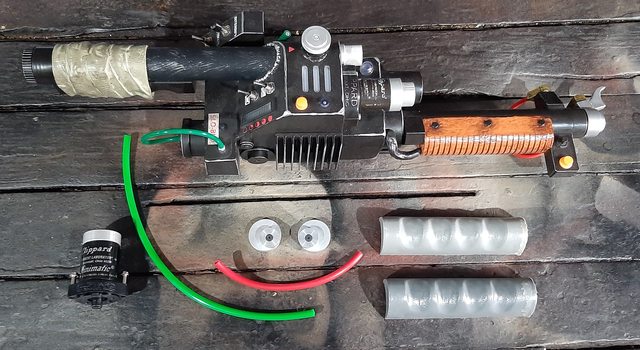
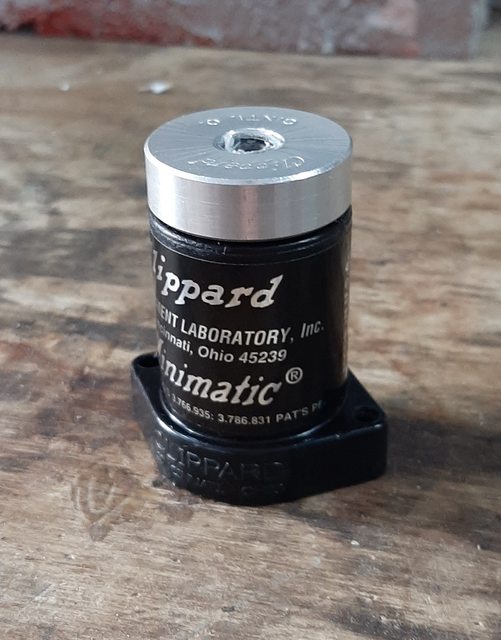
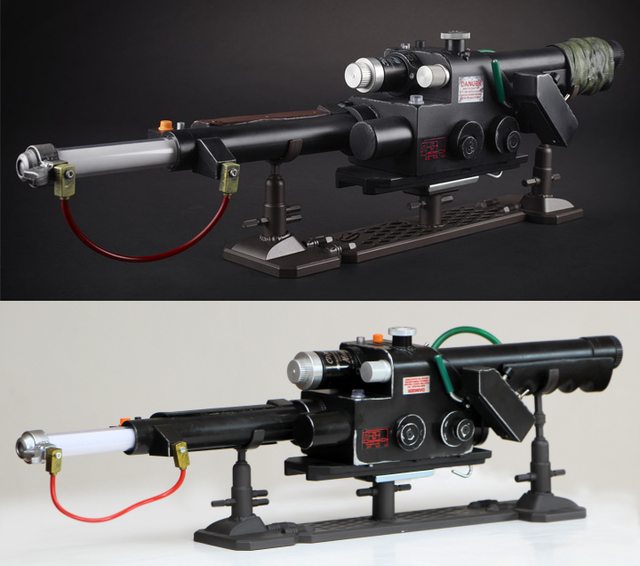
When Hasbro released the Afterlife wand, I knew immediately what I wanted to do with it… mod to a classic “legacy” version! I already had a few parts from trades including grips, aluminum disks, some hose and a Clippard valve. As you can see… the new parts are happy to start:

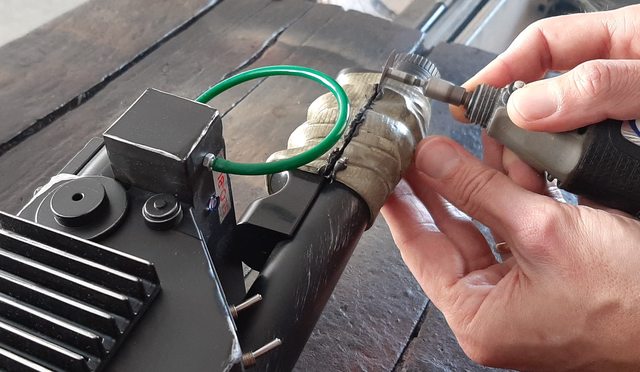
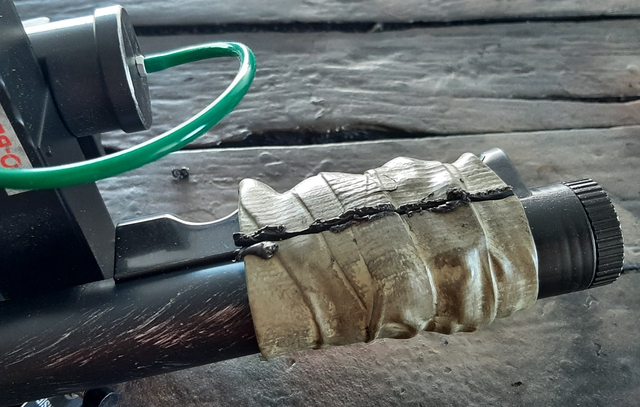
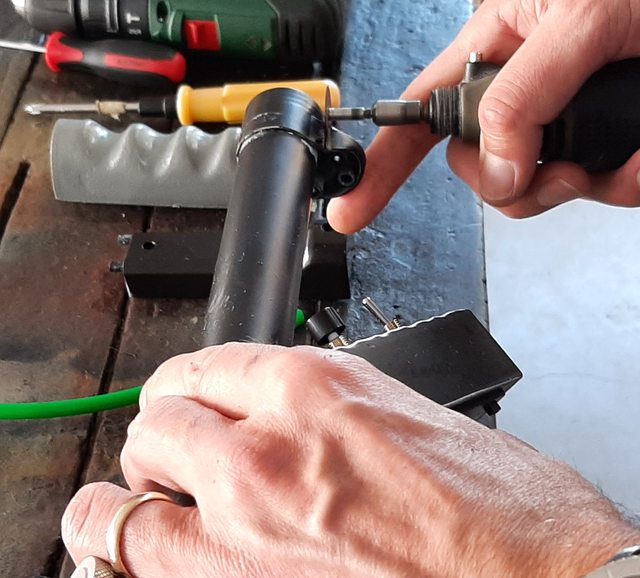
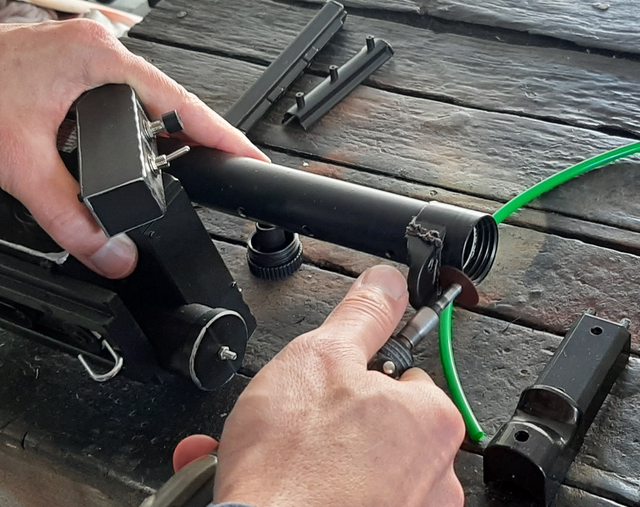
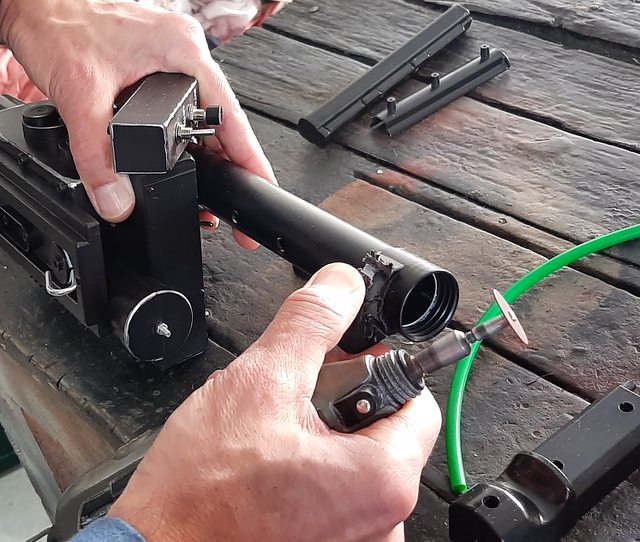
First thing to do is cut off the rubber “tape” grip with a dremel wheel:

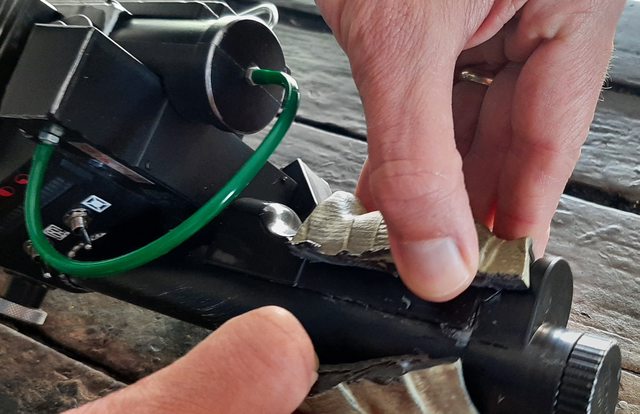
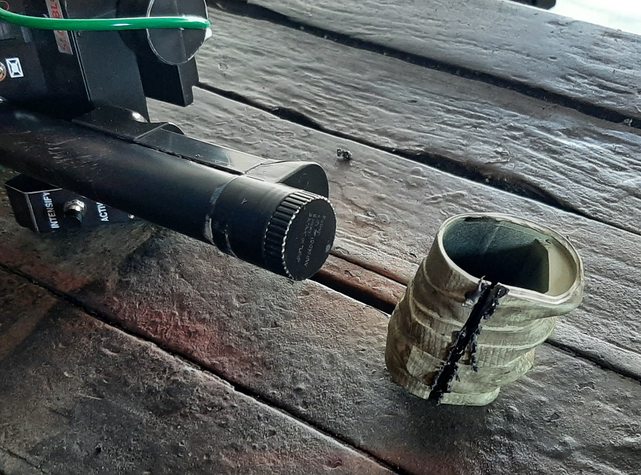
Once you cut through, it peels off pretty easily:

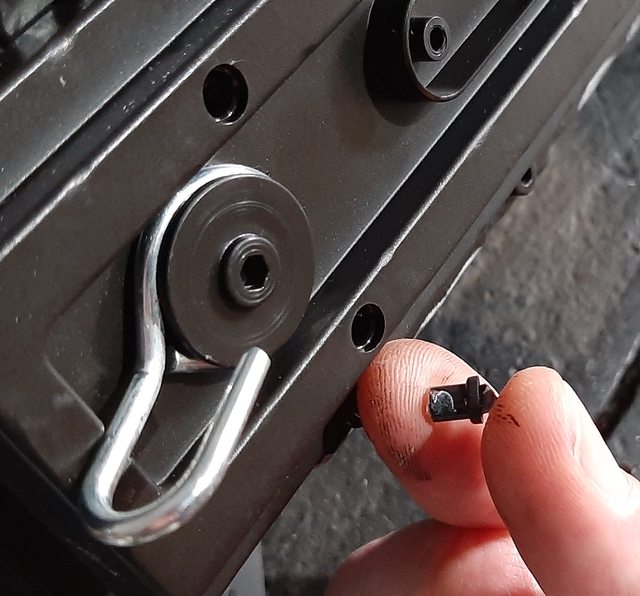
The faux grip is held on by a couple of screws which are easily removable but most of the screw holes on the bottom of this piece have been filled in will little plastic plugs. These are pretty simply to remove by using a slow turning drill bit (I think I used a 3.5mm bit) to drill just a little bit into the plug, then they should just pop out:

I saw some guys on YouTube completely drilling out the plugs which can be messy and also risks scratching the screws underneath, which could make their removal challenging.

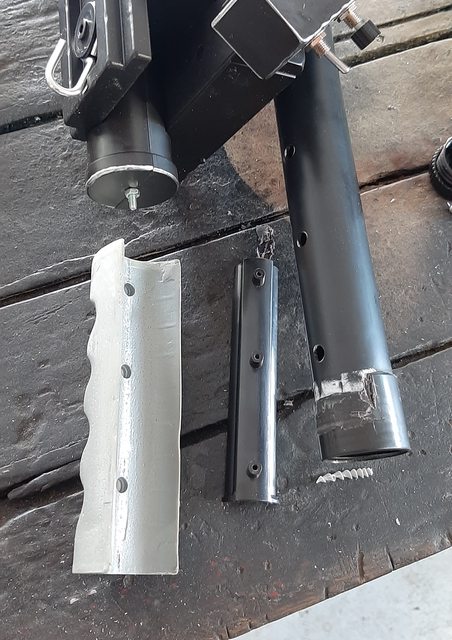
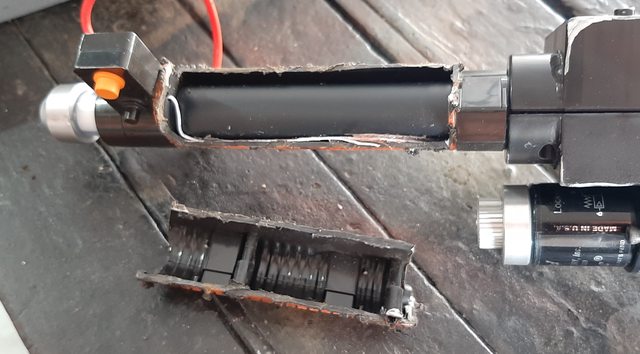
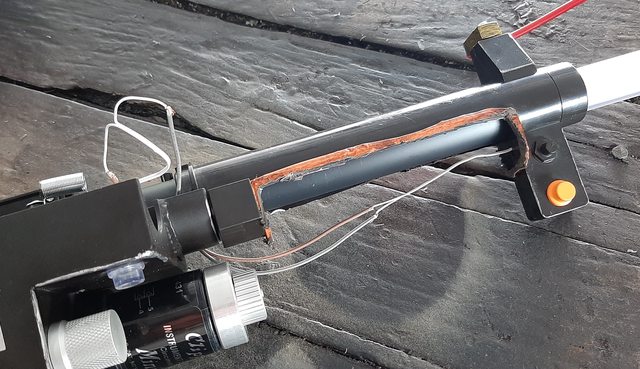
Anyway… once I removed that faux grip, I set to dremel cut the back end of the grip:

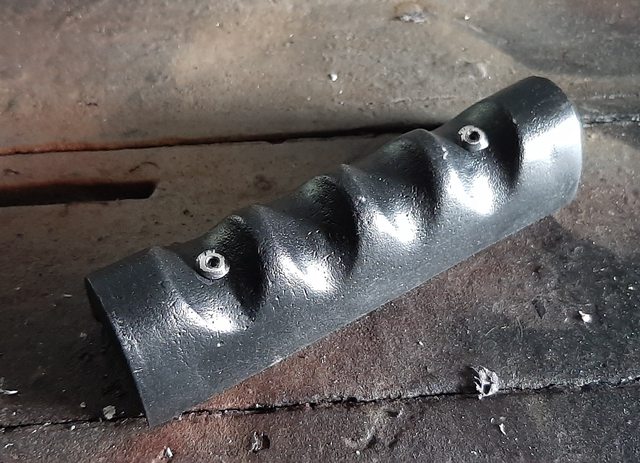
The three screws that held the original faux grip on actually drilled into this piece that is inside the battery housing. So, instead of grinding these down, I incorporated them into my new grip by drilling recessed holes for them to sit into:

Unfortunately, the pipe has that step at the end and the plastic looks too thing to grind down to match the thickness of the rest of the pipe, so I decided to just leave it. I used the heights of the plugs to keep the new grip parallel with the original pipe.

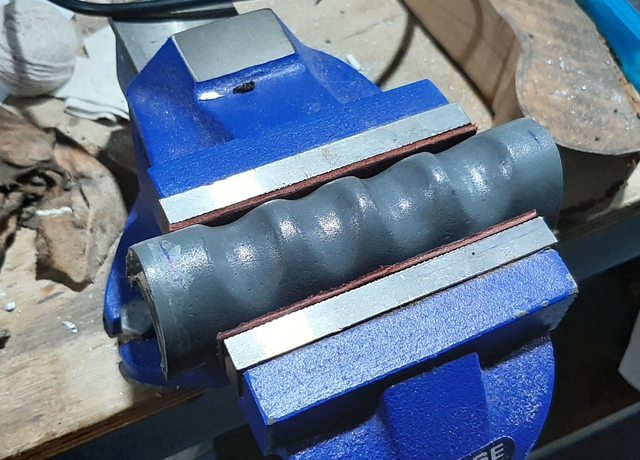
After spray painting the grip, I drilled a couple of holes and added some pop rivets. Painted those black and then scratched some of the paint off:

I repainted the pipe as well since the silver painted “scratches” looked a bit cheesy to me… also added a new, thicker green tubing:

More to come…

If your going with external aux speakers or spongefaces board, I would think about swaping the heat sink. Not a big fan of hasbros. Im still hoping they come out with an '84 wand or I’ll have to hack mine up too

If I could find a similar heat sink in my collection of greeblies, I’d swap it out in a heartbeat… but I couldn’t find anything to fit the bill, unfortunately.

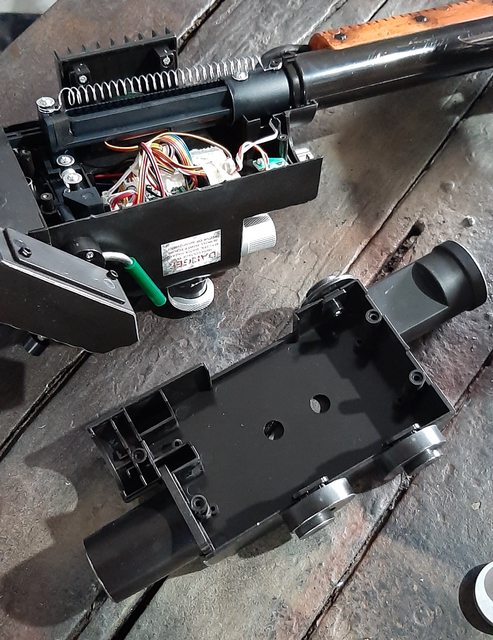
Once you pop out those screw caps on the base, it unscrews pretty easily:

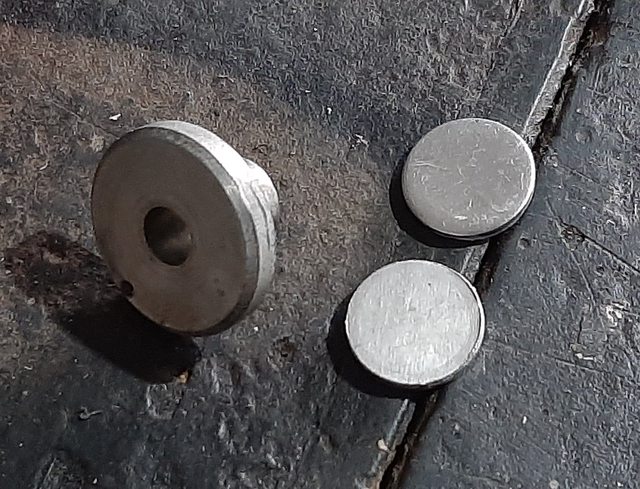
As you can see in my previous post, I already had too aluminum side disks for the wand… so I thought I’d make a disk for the other side as well. If found some junk in my greeblie box:

I glued the two thinner disks together to make a thicker piece:

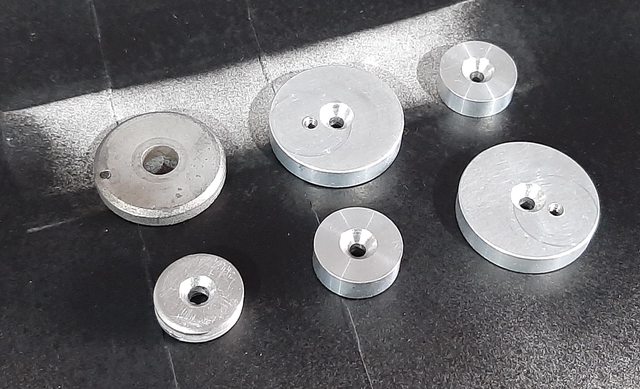
I sanded the edges, drilled a hole and counter sink. Here are all the pieces before painting:

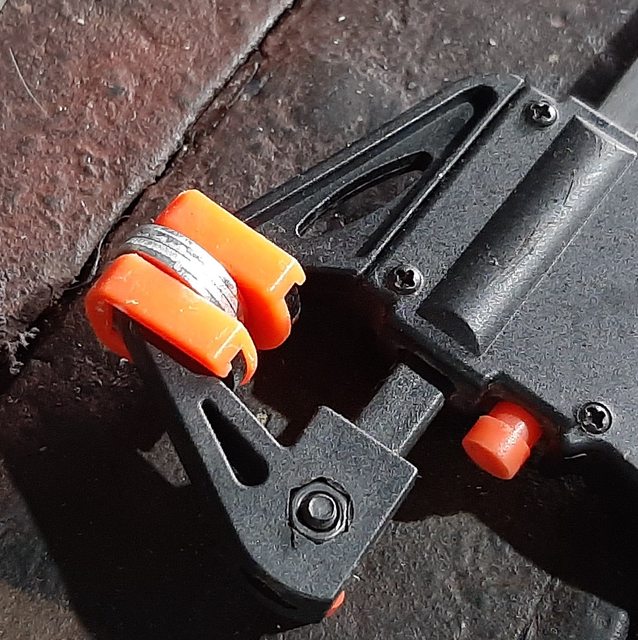
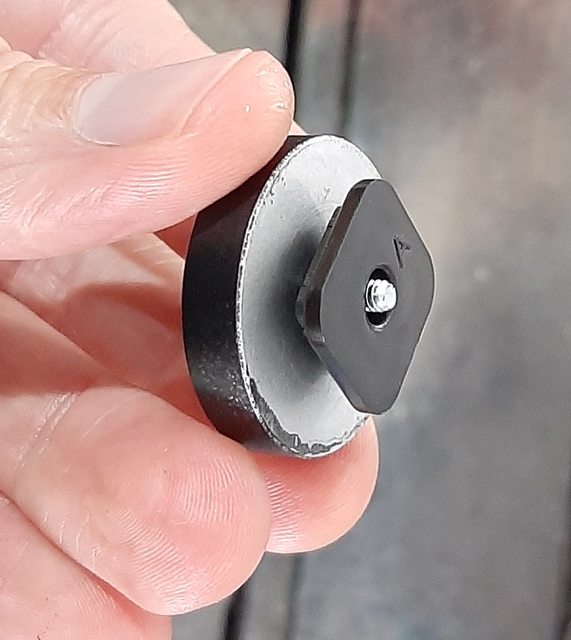
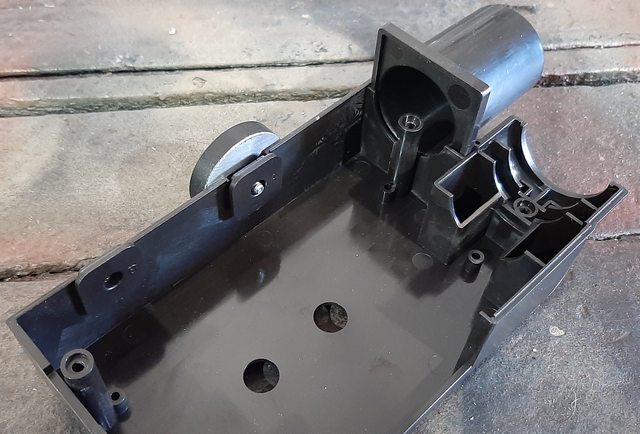
The original plastic disks were screwed to a plastic piece that held them in place to the side wall. So I used this same piece to attach my new metal disks:

This allowed them to slip perfectly into place:

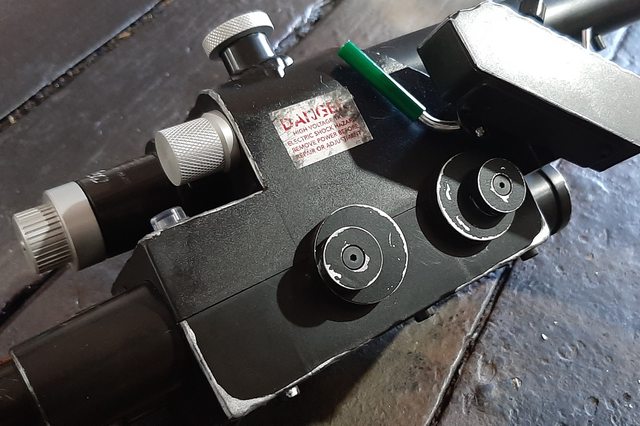
All three disks in place:

In place with a bit of sandpaper distressing:

Looking forward to seeing more!

Time to replace the Clippard valve! Unfortunately, when I tried unscrewing the plastic one on the wand, the nuts were spinning inside. I tried EVERYTHING to unscrew the bolts & nuts but I think the nuts on my wand were actually GLUED to the bolts… so I only had one choice:

Dremel cut off disk did the trick! :slight_smile:

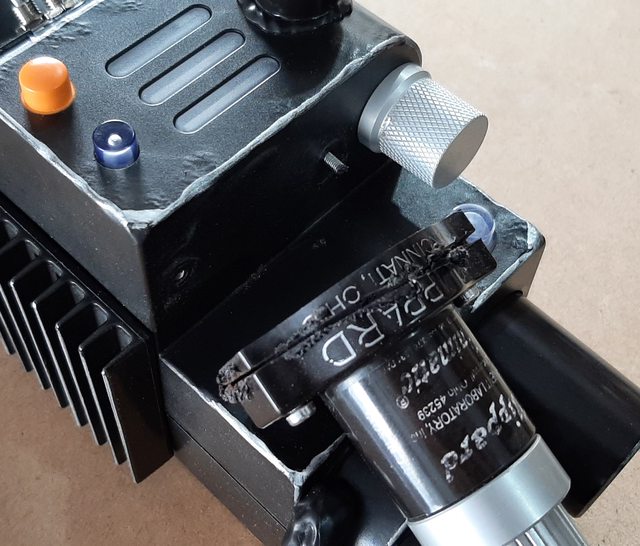
Now, unfortunately, I don’t have the correct model Clippard, but I do have this:

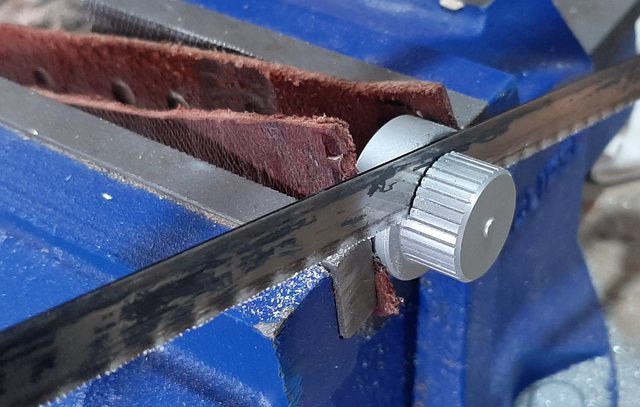
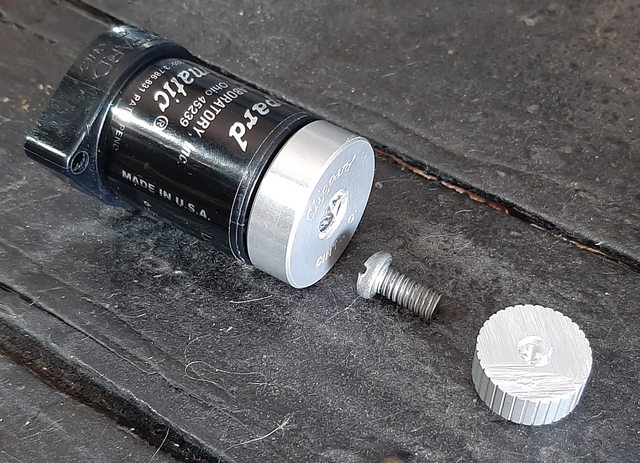
So, my idea was to use the top of the Hasbro Clippard since it is aluminum. The top unscrews easily… popped it into my vice and got sawing:

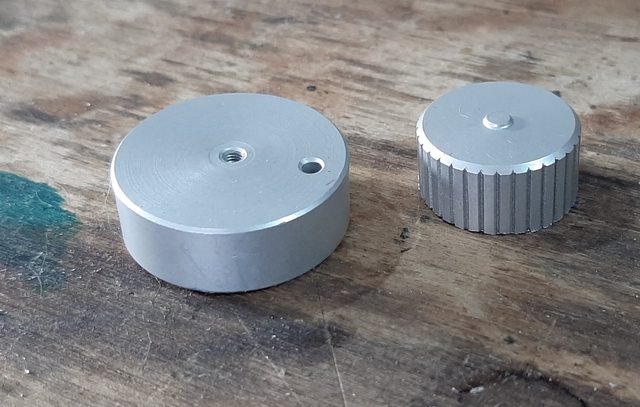
Here’s the top piece successfully sawed in half (the bottom piece will be saved in my greeblie box for a future project!):

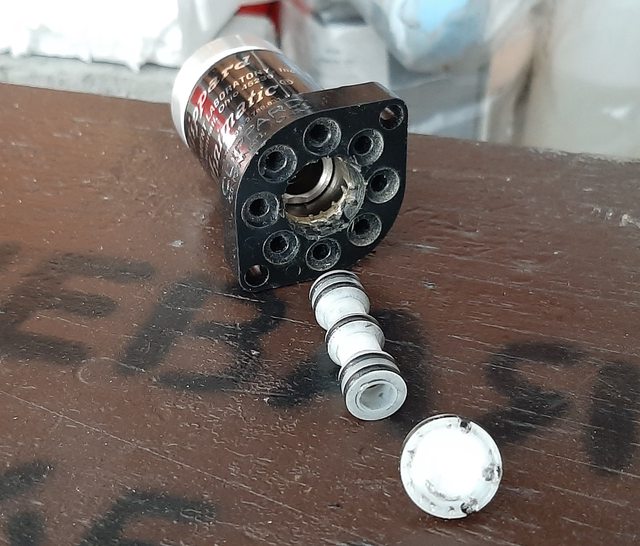
Unfortunately, the R-431 valve does NOT have a screw off top, so I drilled through the bottom to remove its “guts”:

I chopped the top “bubble” off with a dremel and drill:

I drilled a bit more into the Hasbro tip and found an old bolt that would allow me to attach the two pieces:

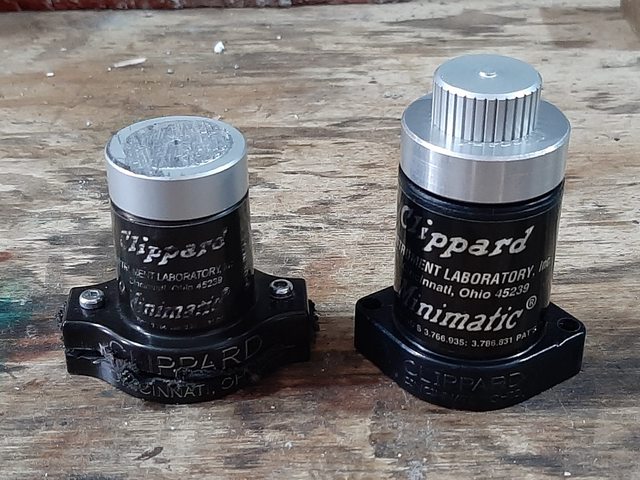
Here’s a comparison between the old piece and the new one:

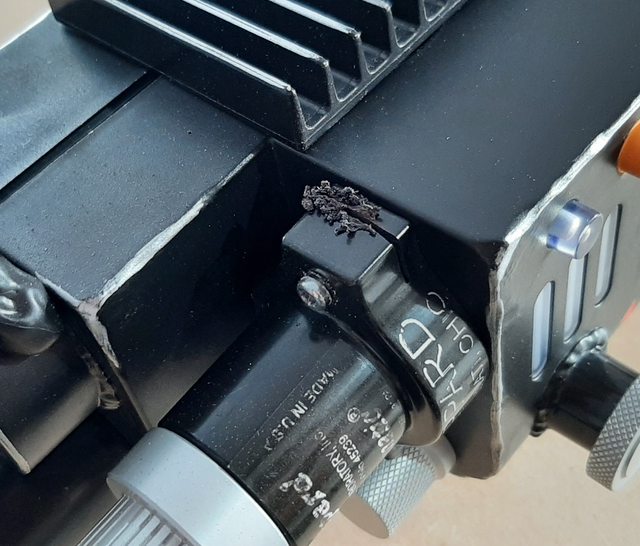
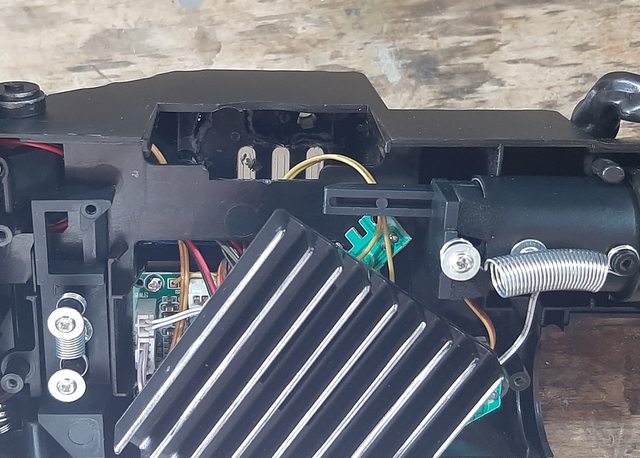
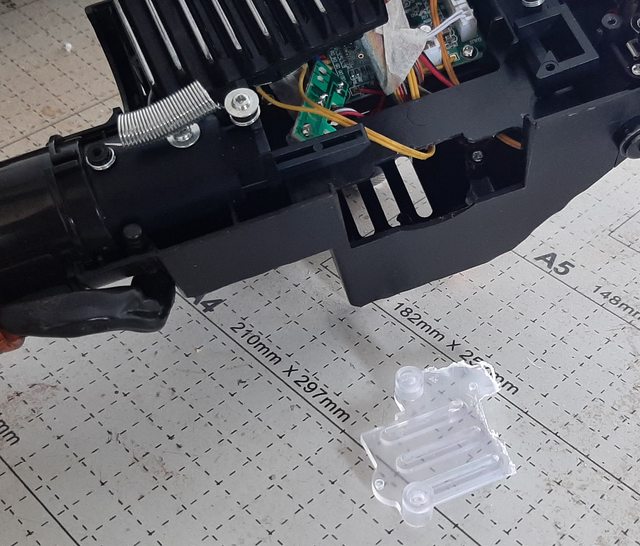
While I was trying to dig out that original clippard, I found another easy mod I could do… remove the plastic thing from the three vent slots on the top of the wand.

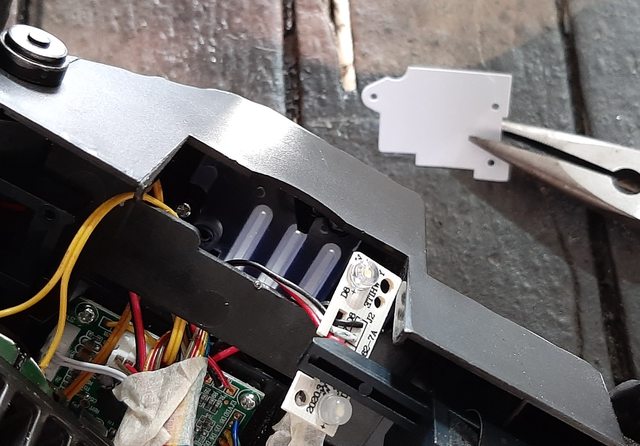
The first step was pulling out the white plastic piece with a pair of needle nose pliers:

Next, I used a dremel with a pointed bit to route a line around the three vent holes:

Successfully removed:

Testing the electronics (to make sure I didn’t screw anything up while fidgitting around in there)… and really happy to see that bright like peaking out through the vent:

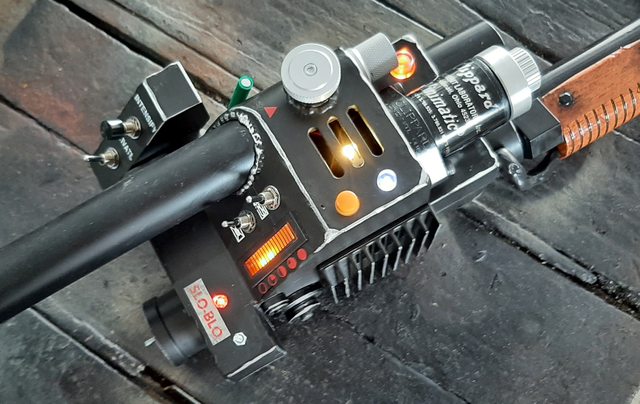
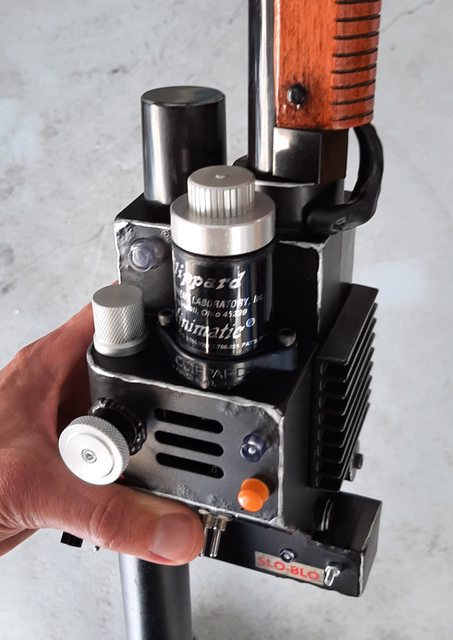
And a final shot of the new Clippard in place attached with hex bolts:

Very nice build. Will you ever consider building a wand from scratch that includes the proper lightbar sequence? This thread brought me back to when I built my back and I honestly felt like building the wand was as hard as the pack itself.

I’d never say never… but for now this wand has certainly scratched my itch (though there are several mods I still want to do to it). If a full aluminum kit showed up at my door one day… yeah, I’d totally dive into that build! :wink:

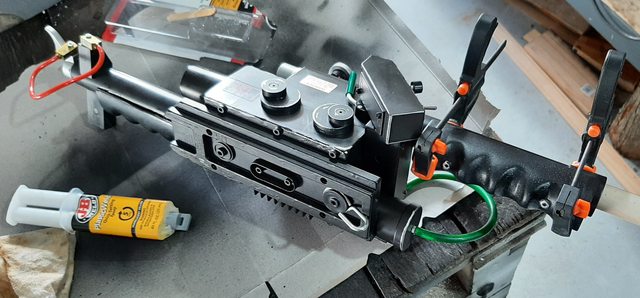
I started hacking off the front grip with a dremel and had a bit of a Bob Ross “Happy Accident”:

The wire running to the front switch is actually taped to the grip… so I ended up cutting through half of the wire. I was planning on removing that rubbery thing and replacing it with a wire as on the original… so now I could use real wires serving a real purpose:

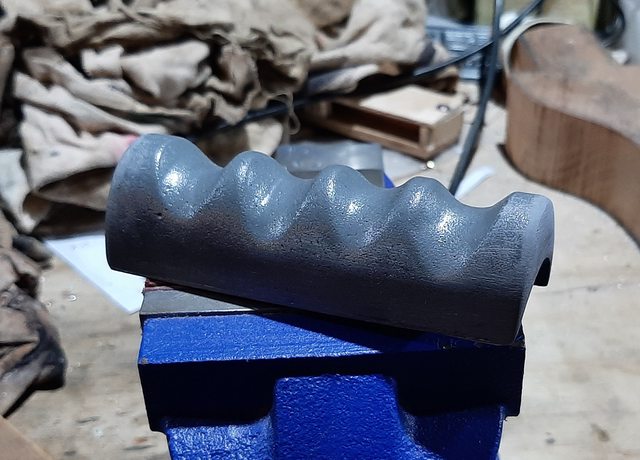
The resin grips I had were a bit oversized, so I cut them down and reshaped to fit the Hasbro wand:

After a bit of black spray paint, I glued the new grips in place with plastic weld:

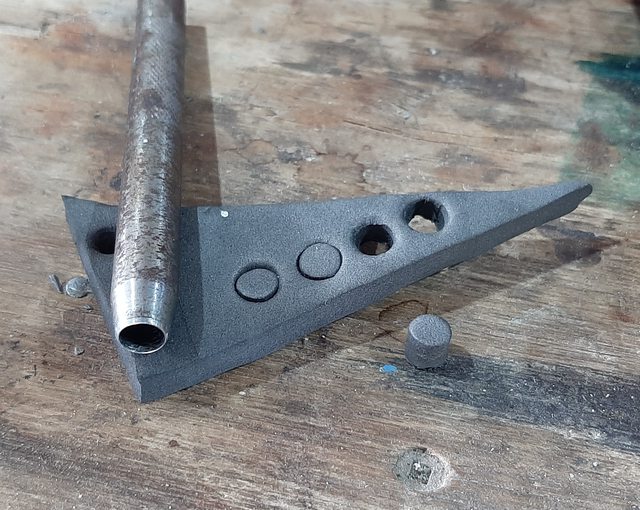
To fill the drilled out holes on the base plate, I used a leather punch to make some little foam fillers:

These could easily be painted black, but I left them “as is” for now. Also, seeing this shot… next time I work on this wand I am definitely sanding down all that “Made in China” text!
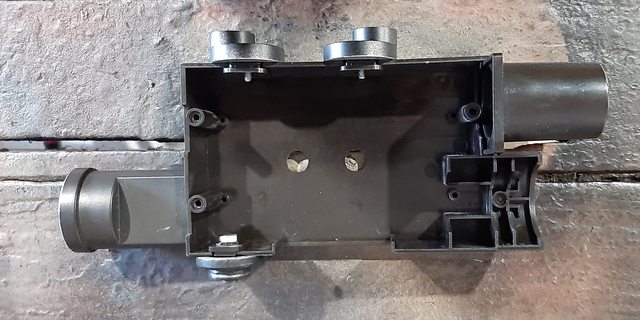
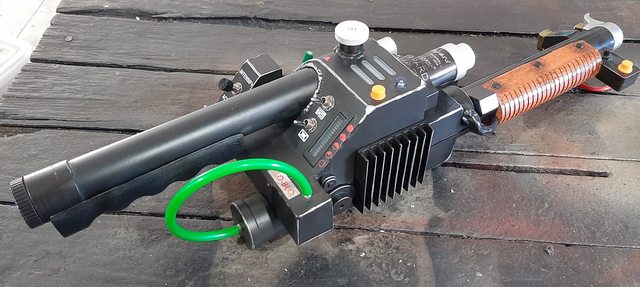
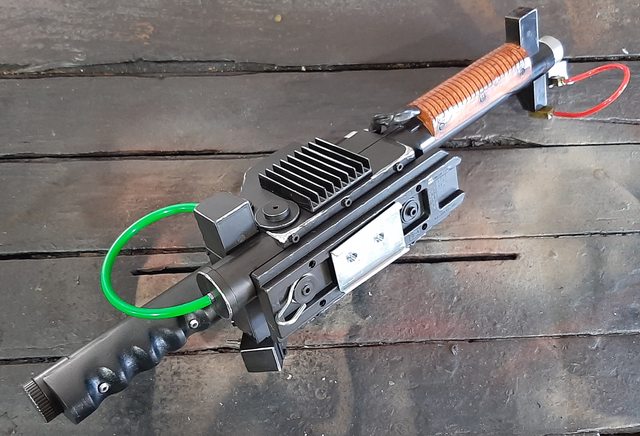
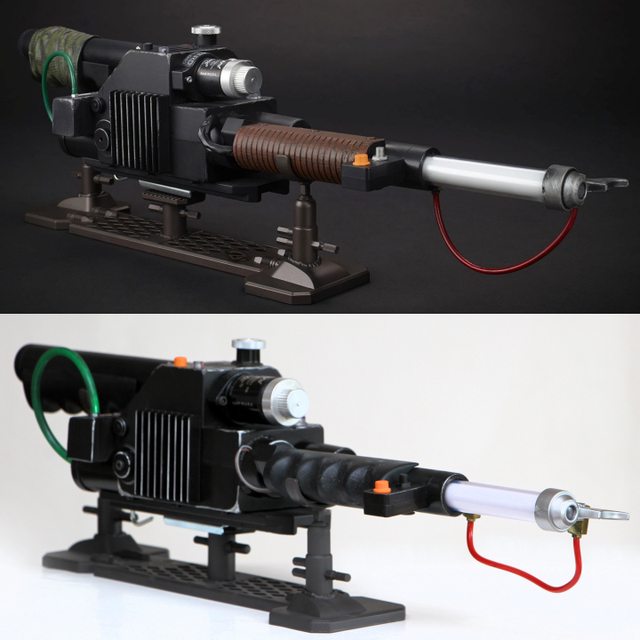
I changed a few stickers and the green hose. I’m still planning on changing the two banjo fittings to brass and hopefully the tip to an aluminum one and then do my own weathering but, for now… here are some comparison “Before and After” shots…

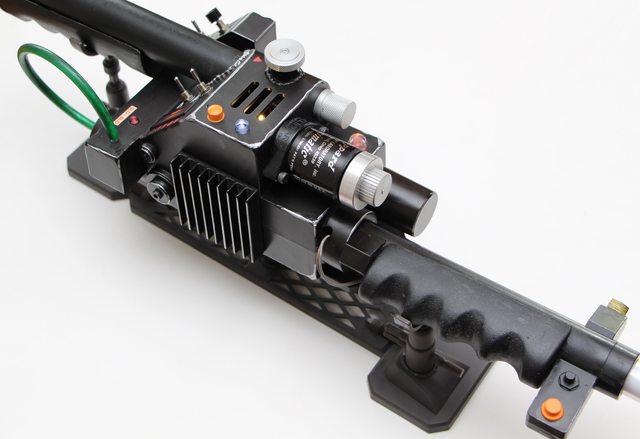
Close-up of the current mods:

Here’s the wand on my WIP pack:

WOW!!! That’s awesome!!! The mods to the wand are outstanding!!! May have to do the same to mine when it arrives.
My loom hose finally arrived, so I’m getting close to finishing this up… drilled a 20mm hole in the pack and used dremel to open it to match the hose size:

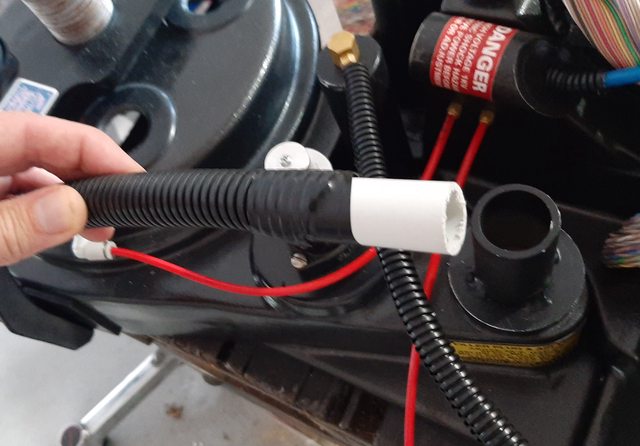
For the vac hose, I taped a pvc pipe to give me something to glue better into the vac tube:

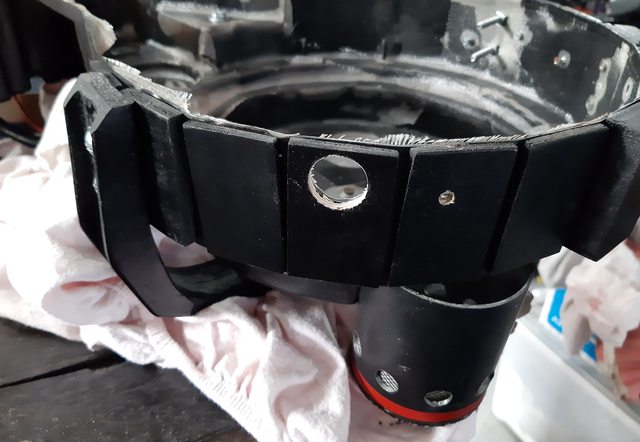
Drilled another hole into the bottom of my shell (decided not to cut all the way to the edge as I figured this will give better grip to the hose:

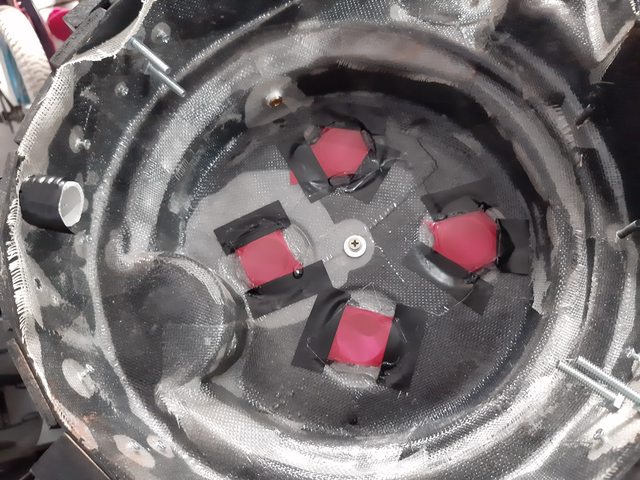
I taped another pvc tube piece into the hose (on the inside of the pack) to keep it from slipping. You can also see my temporary red film I taped in until I get my lighting set up:

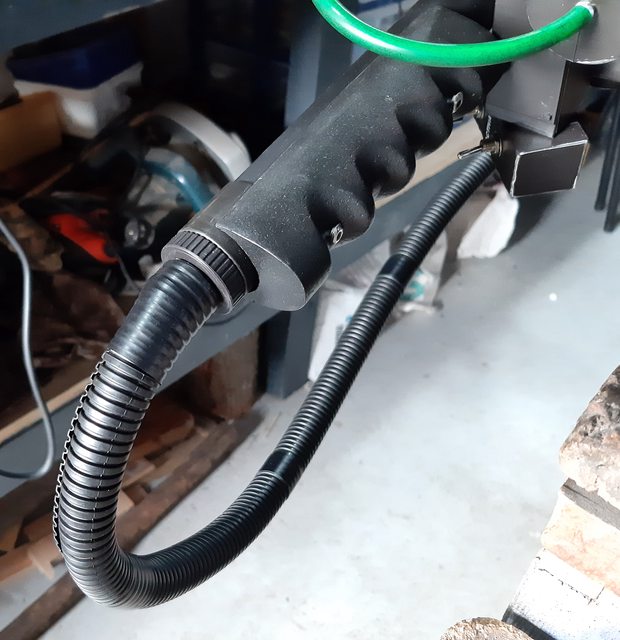
I connected the hose (about 3.5 feet worth) to my wand using Hasbro’s connector piece and added some tape at various points of the tube:

Looking good!

I finally decided to do the final aging. I started by spraying some silver chrome spray paint onto a palette then dry brushing the pack with a 2" brush. I added additional distressing using a brown acrylic wash (just brown paint with a little water) and brushed it into all the nooks and crannies:

And here is my nearly final beauty shot (just need to add lights, which will include cutting the window for the blue LEDs):

Just posted this to our social media and thought you guys would like to see it too:

NB: The color differences between the GB1 and GB2 khakis are exaggerated in this photo due to the photo processing. I liked the contrast so left it as it was. And the lights on my pack are photoshopped… I’m still figuring out how I’m doing this part of my pack build.