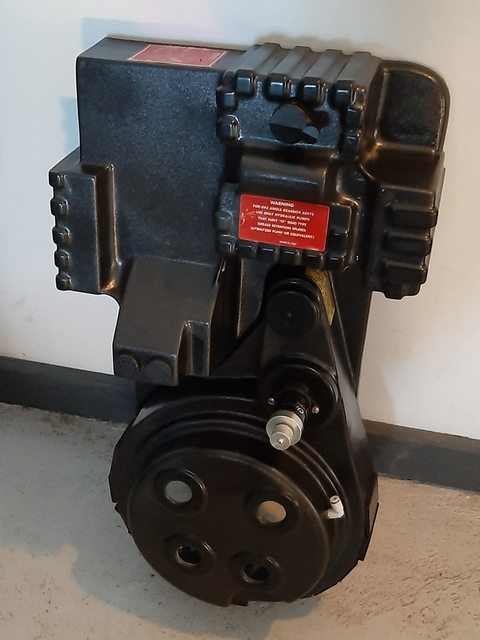
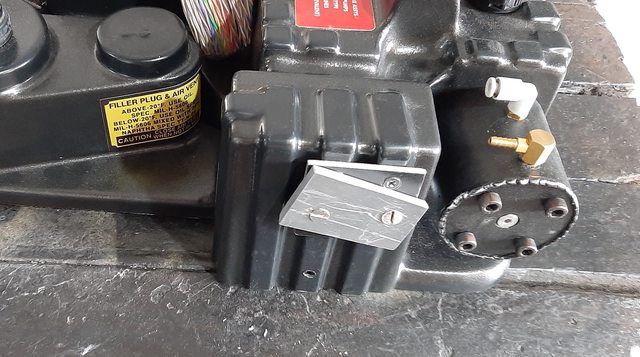
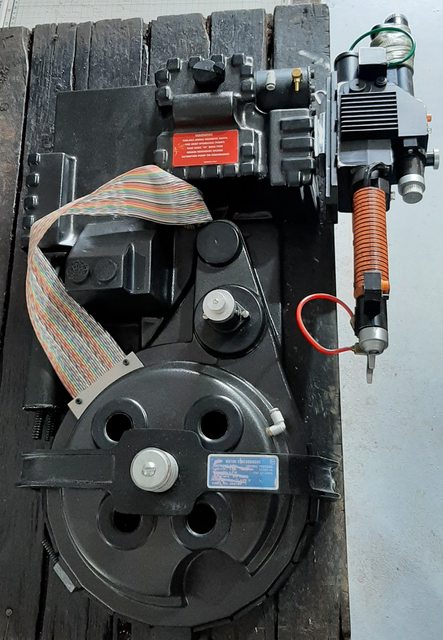
As I mentioned in my introductory post, my very first prop replica was a proton pack! When I was a kid, I assembled a proton pack from a cardboard box, round cookie tin for a cyclotron and a karate belt for shoulder straps. The neutrino wand was a wooden dowel, foam and electrical tape for the grips and another cardboard box for the main unit. Although I’ve been making prop replicas ever since, I’ve never gotten around to making a proper proton pack… until now.
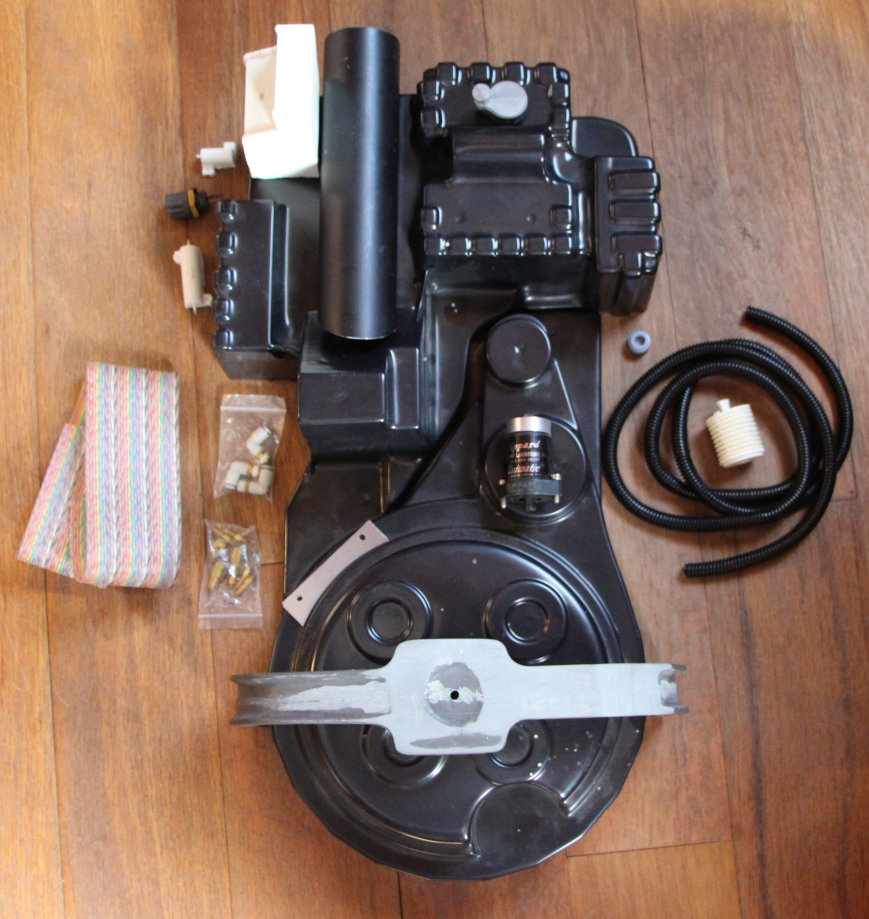
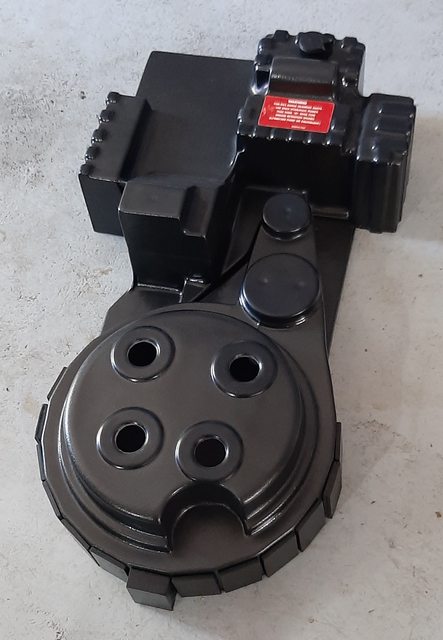
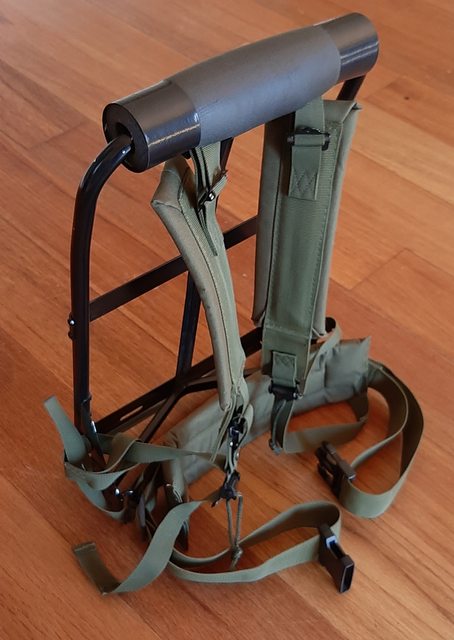
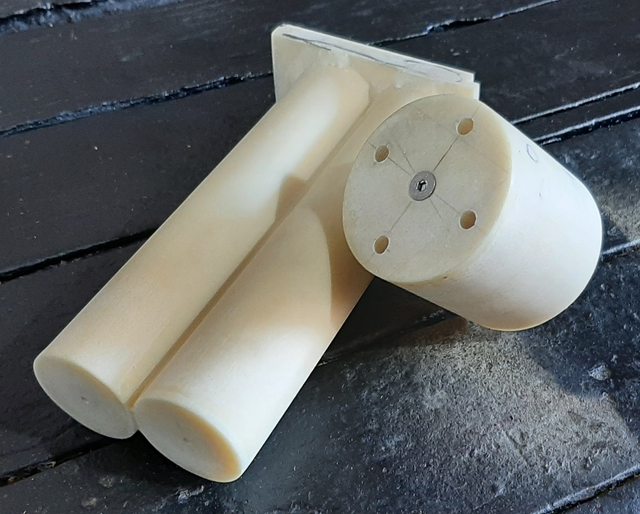
So far, I’ve got a good shell, ALICE frame, a resin booster and one Dale PH-25. I’ve got the Afterlife wand, which I might mod to a classic wand at some point. But… that’s all I’ve got so far.
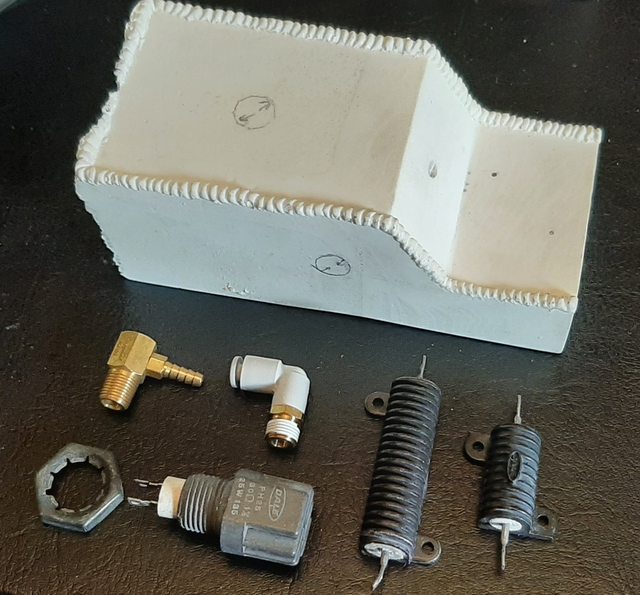
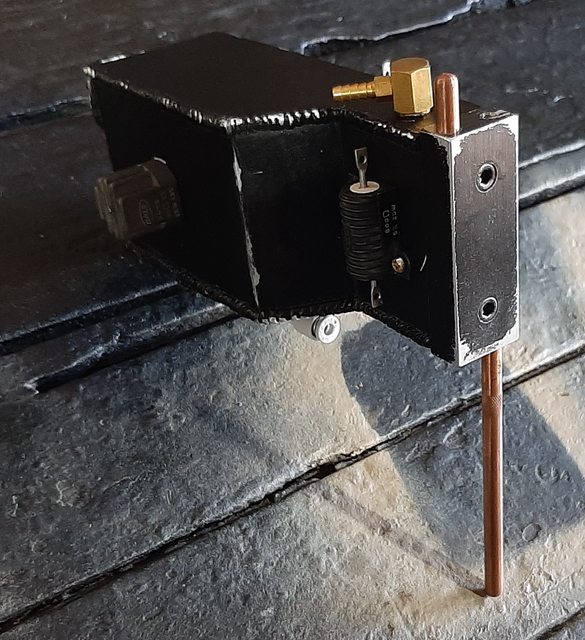
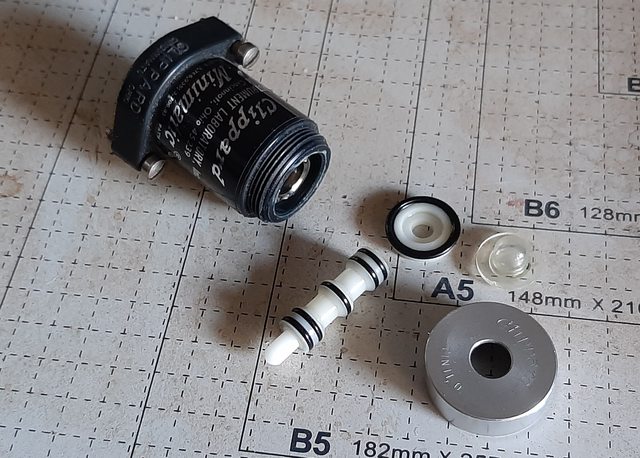
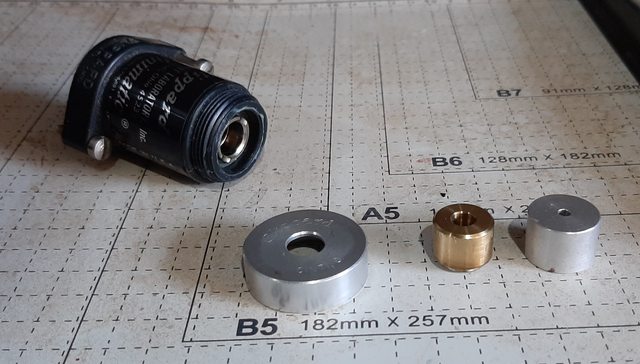
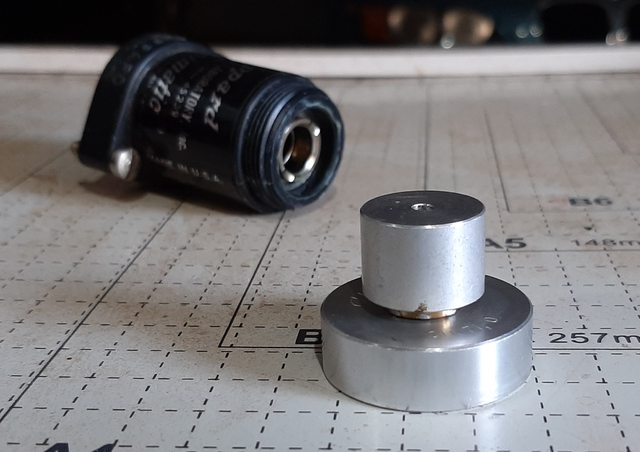
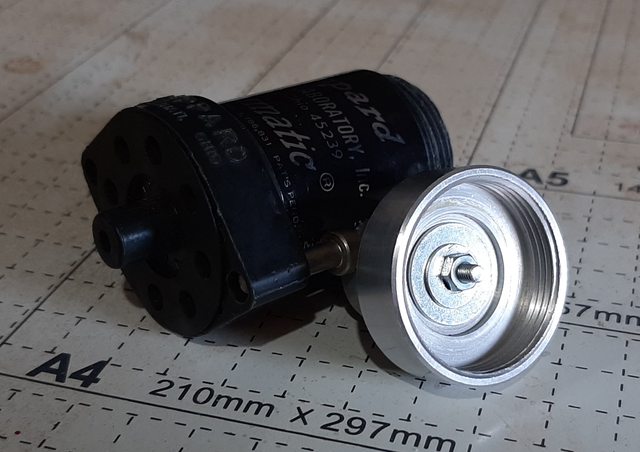
I’ve also just picked up a bunch of Clippard pieces locally for cheap. They’re not the right models, but I’d rather have some real-world parts (and I love the challenge of doing everything on a budget or by trading with other fans) than resin castings. So, at the moment, I’ve got:
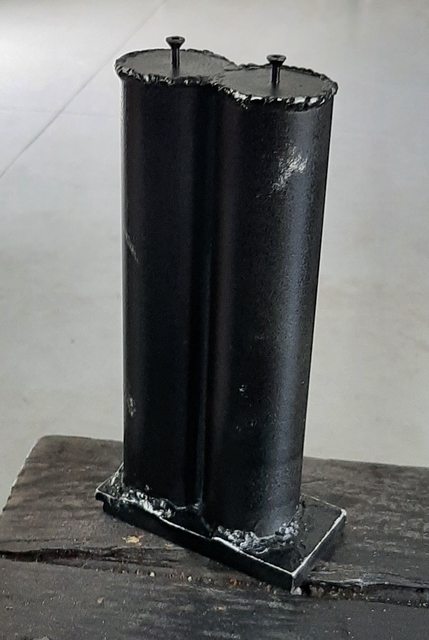
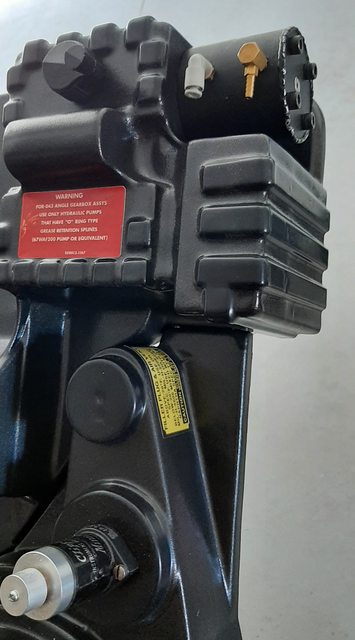
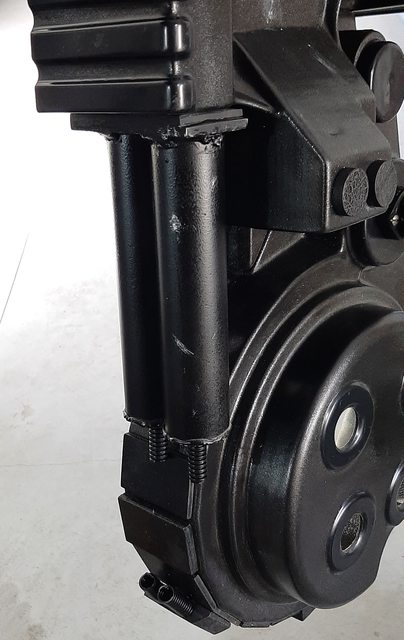
Two R-305 valves:
Three R-431 valves:
And one R-731:
If anyone would like to trade for some parts, or donate to the cause, drop me a line!
Once I get my shell, I’ll start posting some photos of the build.
Not pictured here is my Afterlife Wand (which I’ll probably try and mod back to a standard wand) and the ALICE frame.
So, if you see something missing (there’s plenty!) and you’ve got a spare, drop me a line. This includes any sound and light kits you may have. I love horse trading, so shoot me a pm or e-mail so we can talk.
Once all my ducks are in a row, I’ll start assembling and post progress pics.
I know it’ll never be in the realm of accuracy of many of your packs, but I’m having a great time putting this together… and what an upgrade from my cardboard box pack from when I was a kid!
I have a few resin pieces left over from my old eBay store days. Shoot me a PM with what you need and I’ll see if I have anything I can send you (they may not be in great shape).
The weld lines were in the casting already, though I’m probably going to add some to the base of my booster once I add it to the pack using epoxy putty.
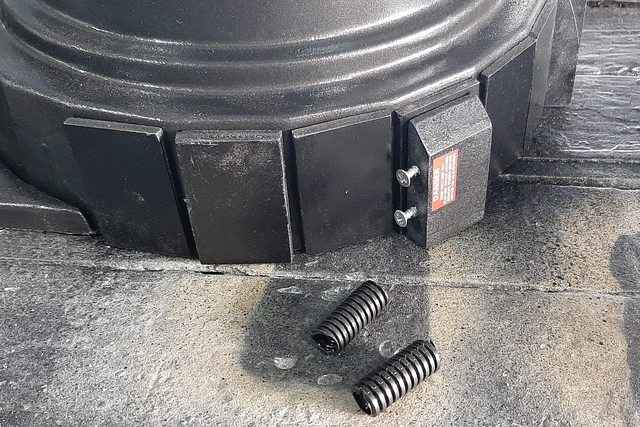
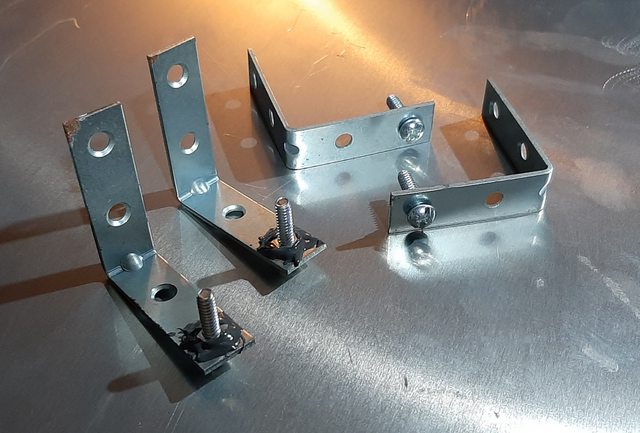
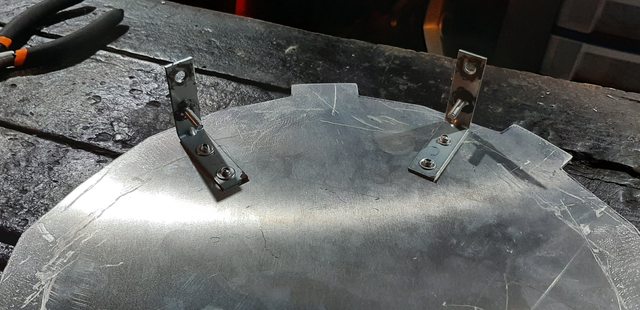
I added some more to the base of my pack, using a couple of screws (and some hot glue) to mount the loom hose:
The bumper I got was a bit rough and too big for my pack, so I trimmed it, reshaped it a bit with some files, dremel and sandpaper… I had to putty the holes up (since they no longer matched up to my pack) and drill new ones:
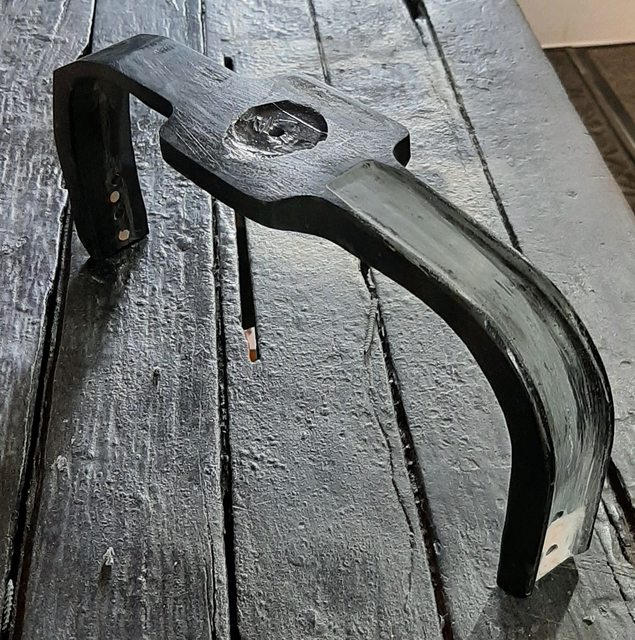
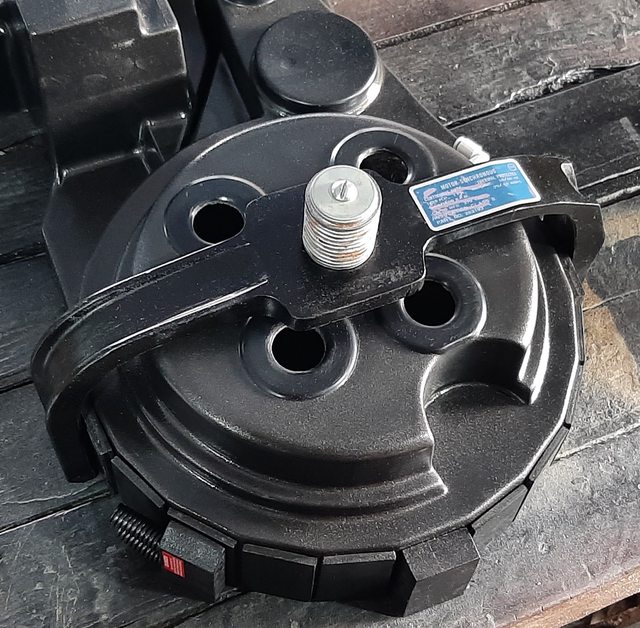
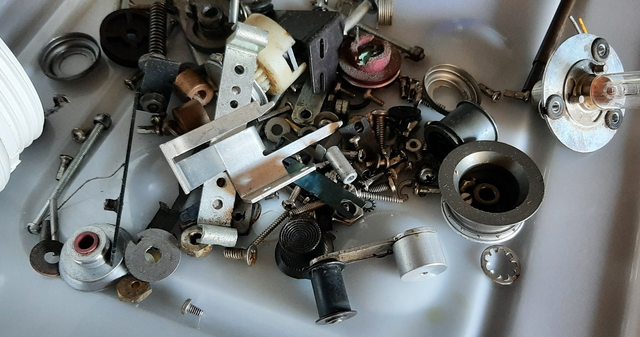
For the top piece, I thought I could 3d print an accurate knob, but I like having metal pieces when possible, so first I thought to dig through my greeblie collection:
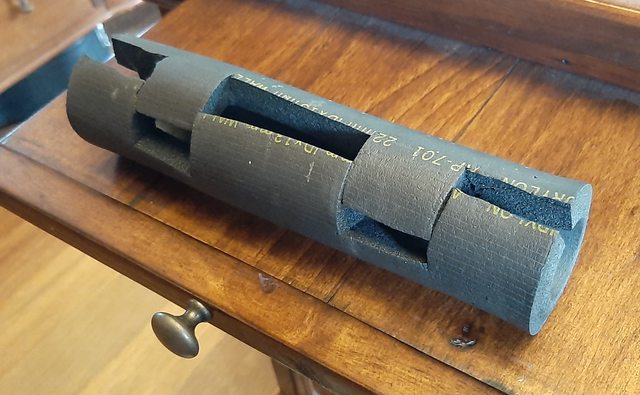
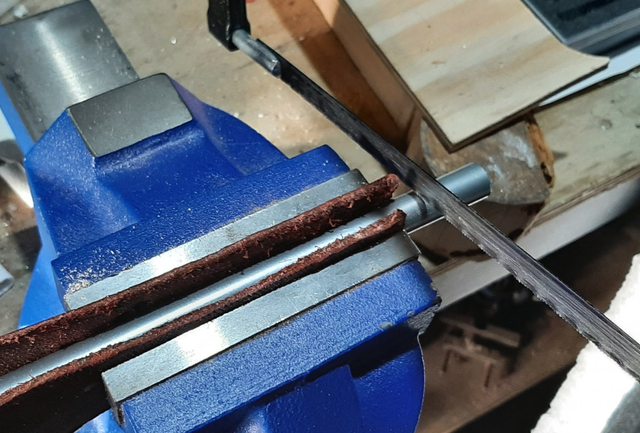
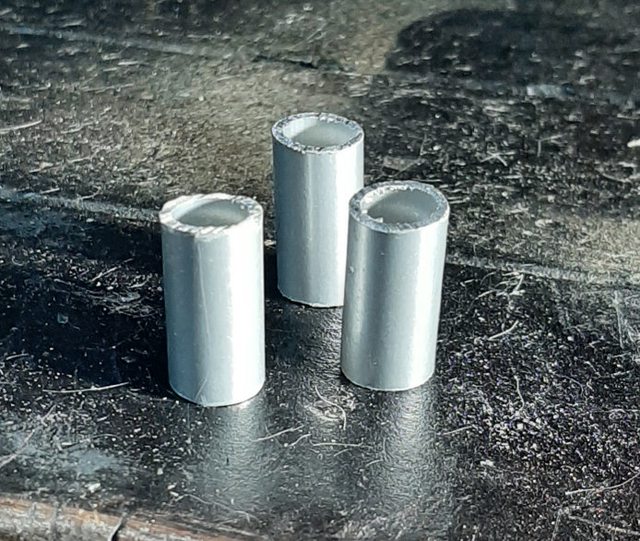
There is an easier way to mount the tubing into the shell and injector tubes. Keep the tubing long and drill a hole the same diameter as the OD of the pneumatic tubing. Shove them into the drilled holes on the shell and injectors and voila!
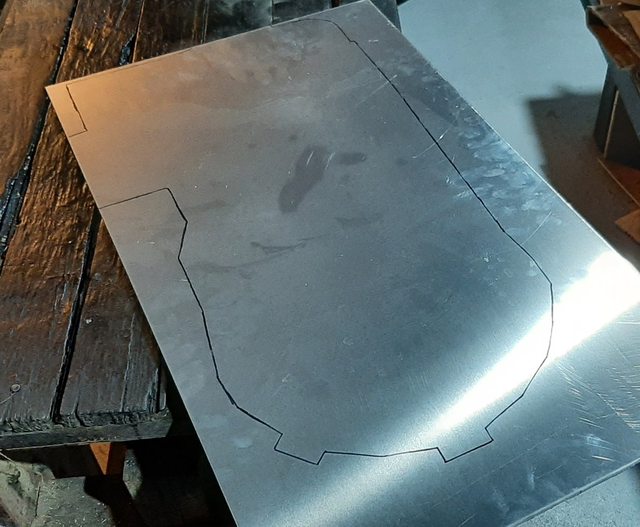
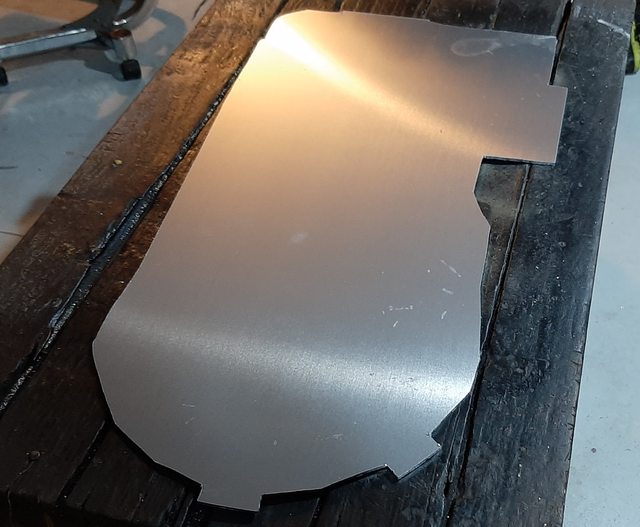
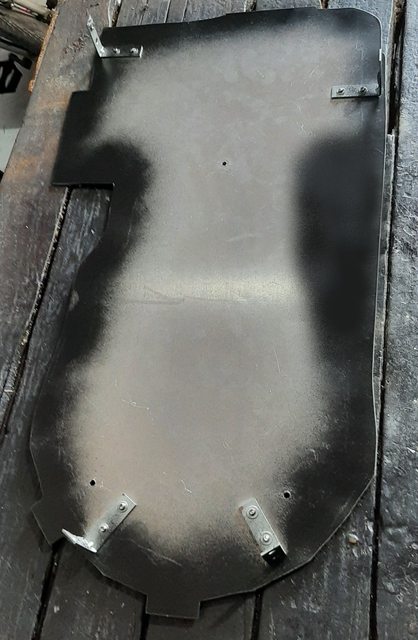
Time for the motherboard: I was debating what to use for the material… I ruled out MDF early on as many said it was too heavy. I thought of using ACM (basically an aluminum/plastic ply) but discovered it wasn’t much lighter, nor much cheaper than aluminum itself… so I ended up just getting a piece of 3mm aluminum and tracing an outline of my pack:
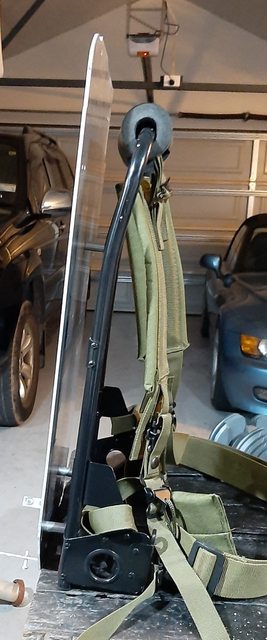
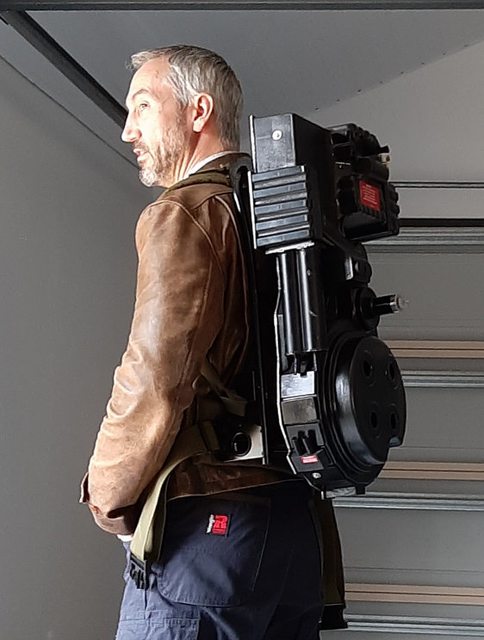
I was surprised how light it felt on my back and was giddy to have a proton pack on my back for the first time since I was a kid wearing my homemade cardboard box nuclear accelerator!
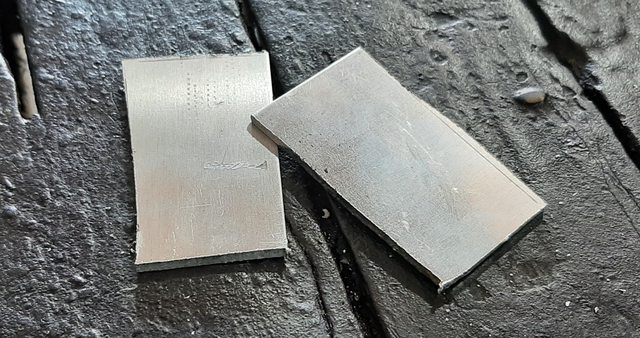
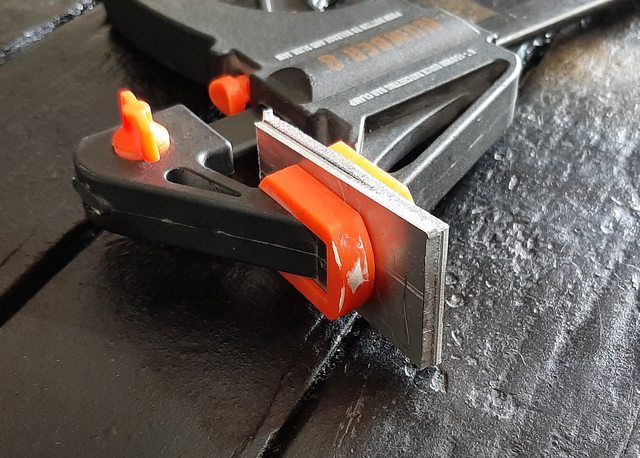
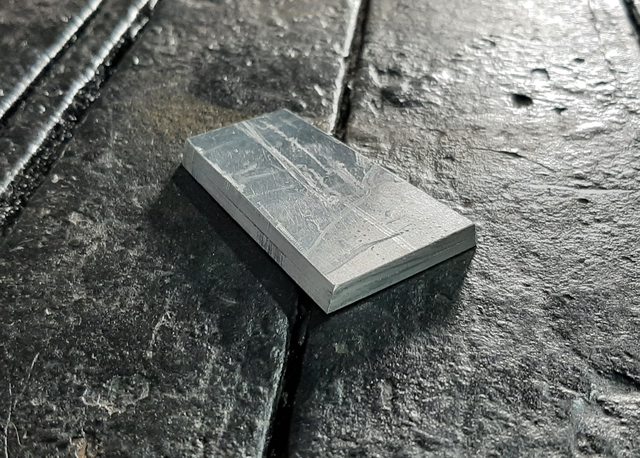
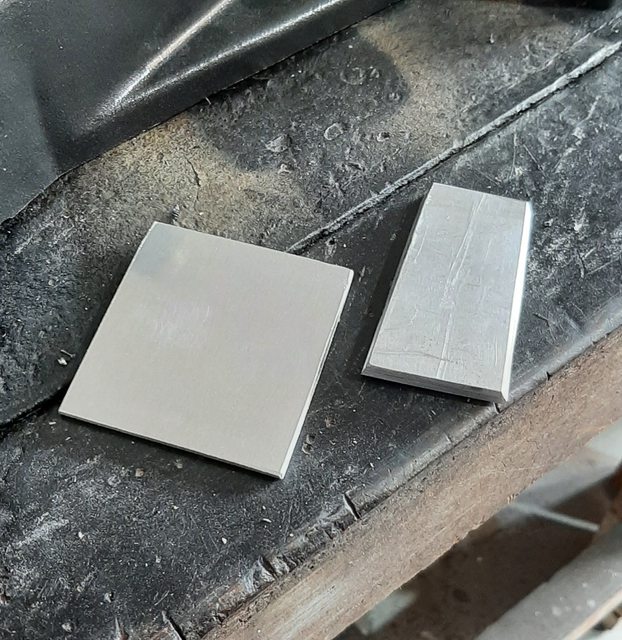
Even though this piece is thicker than 3mm on the original, I left it as a single layer since it set my wand far enough from the body to do the job.
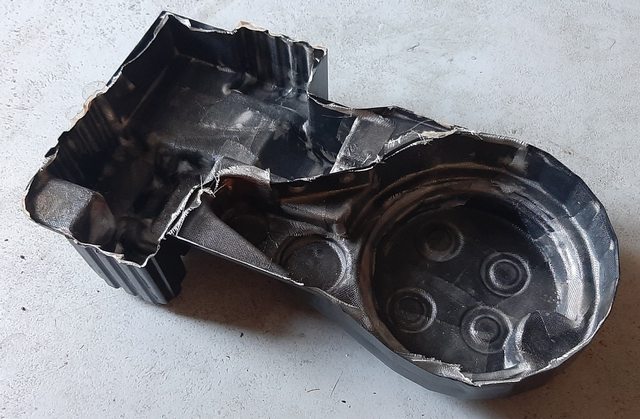
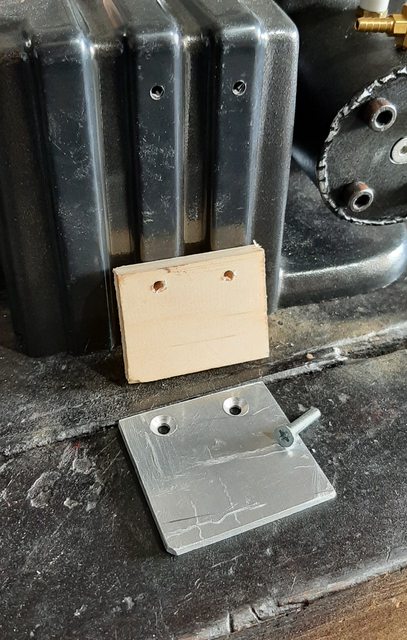
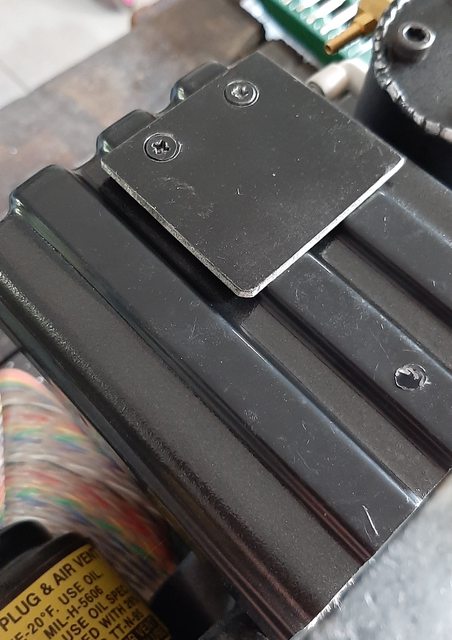
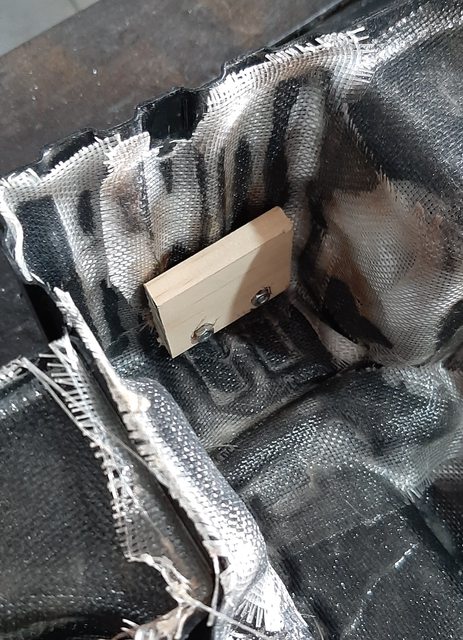
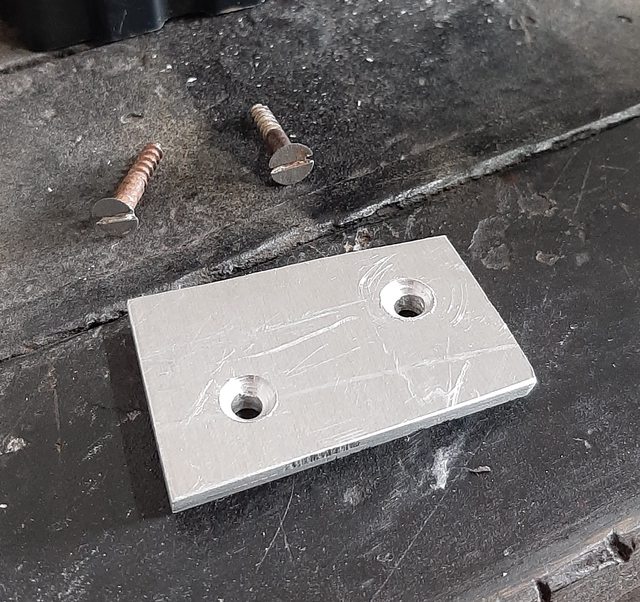
I drilled two holes and counter sunk them to fit the bolts I had. I also used a block of wood as extra backing since my fiberglassing is relatively thin: