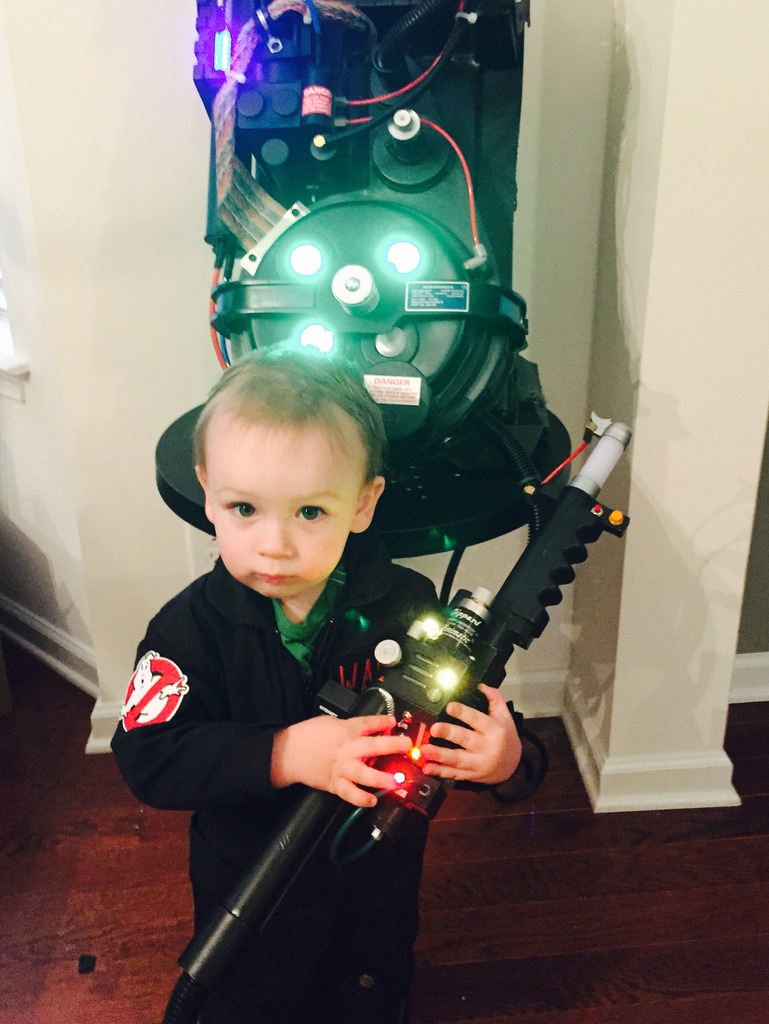
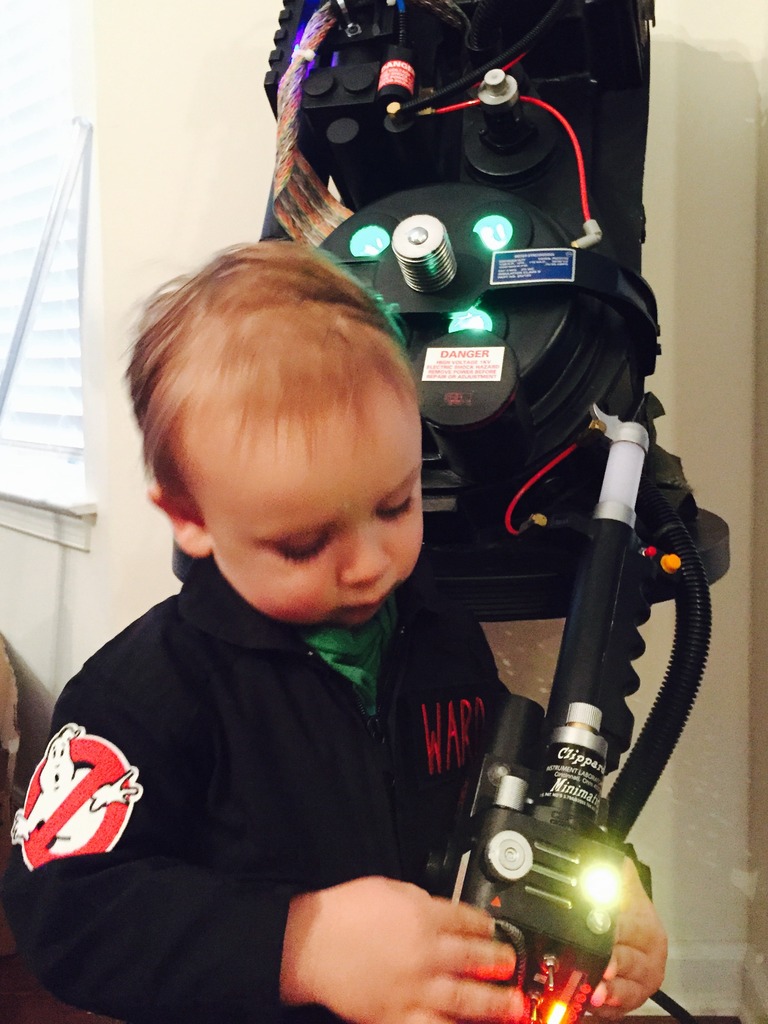
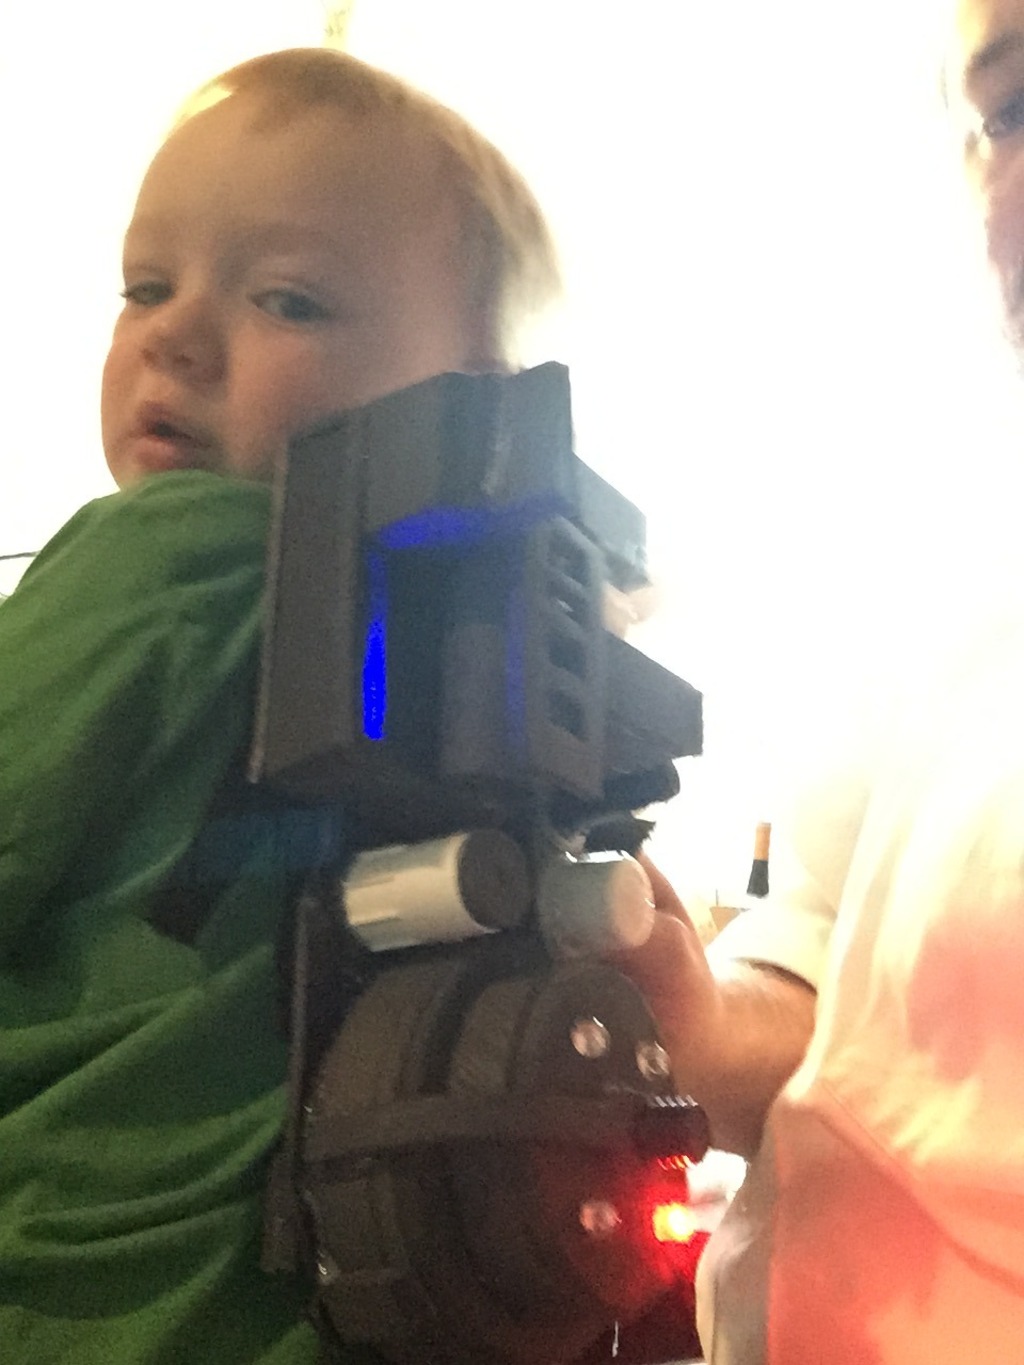
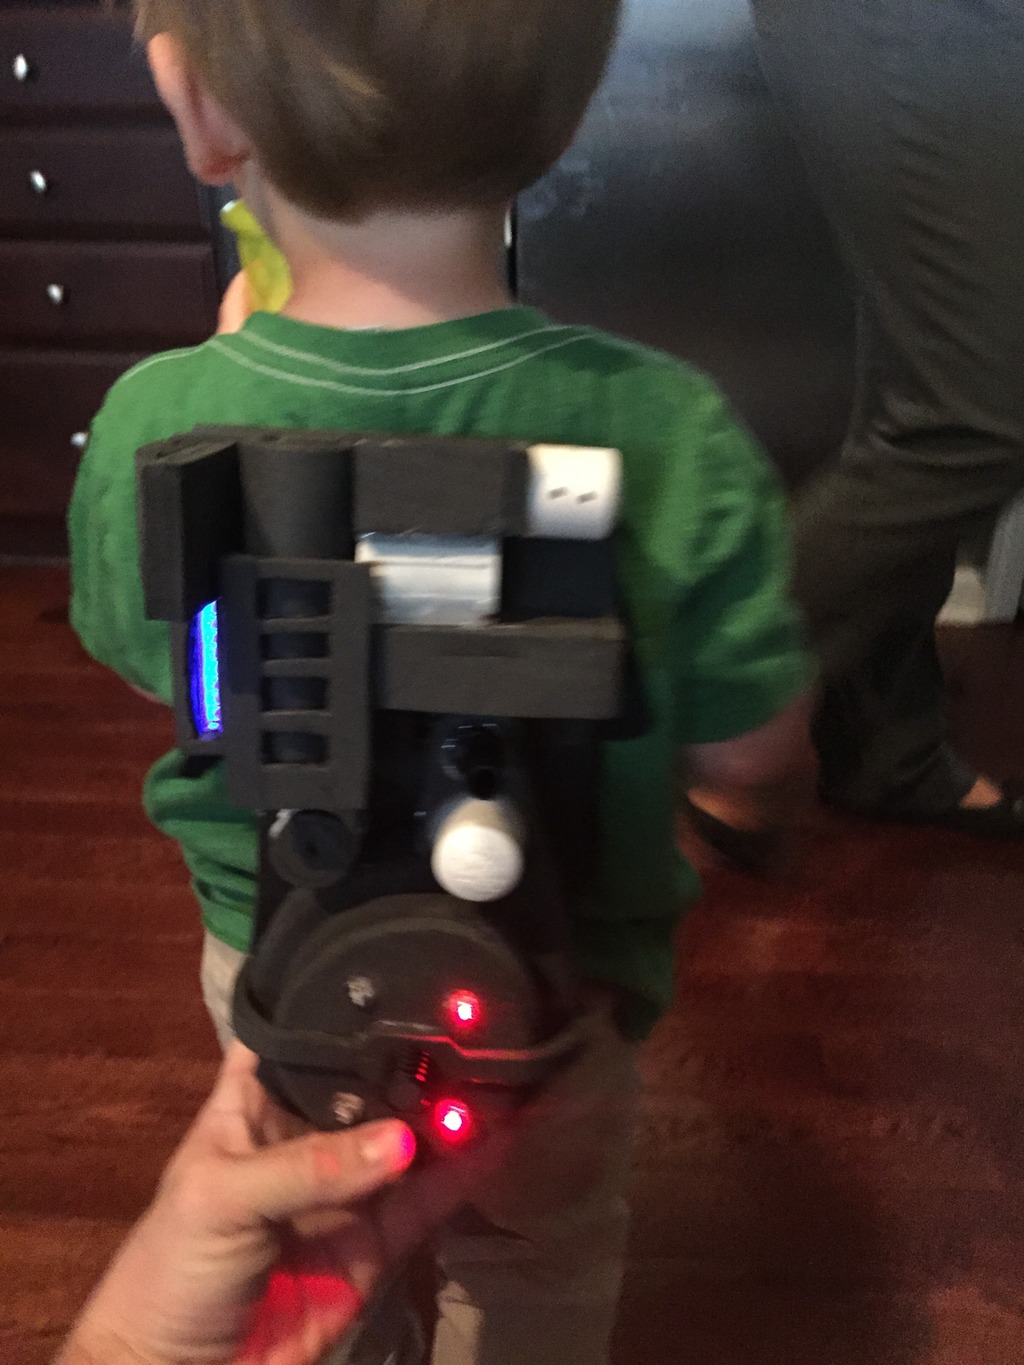
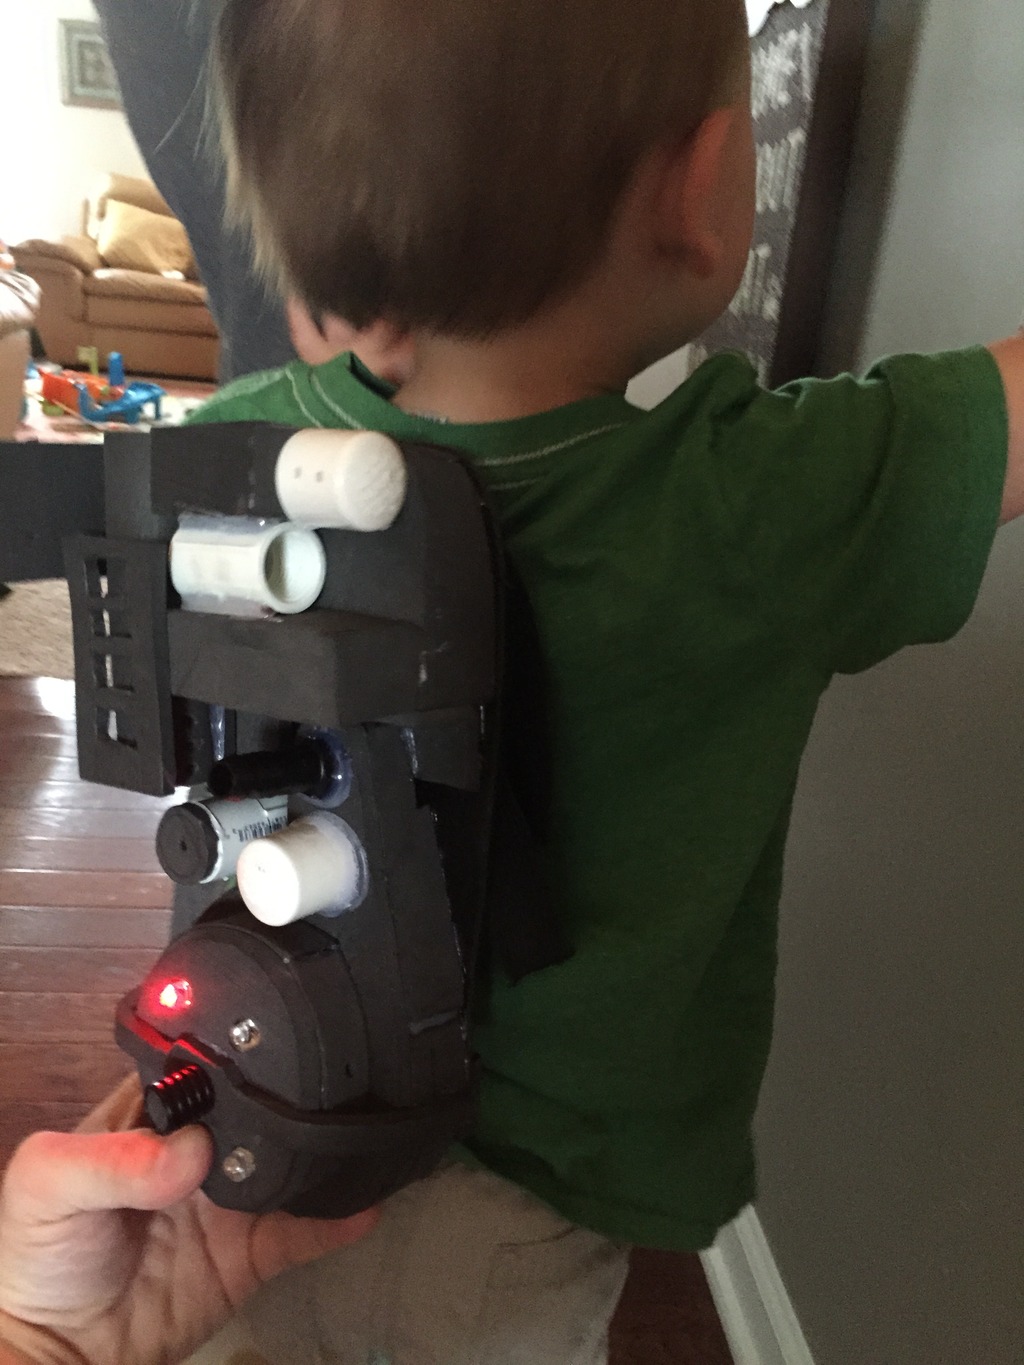
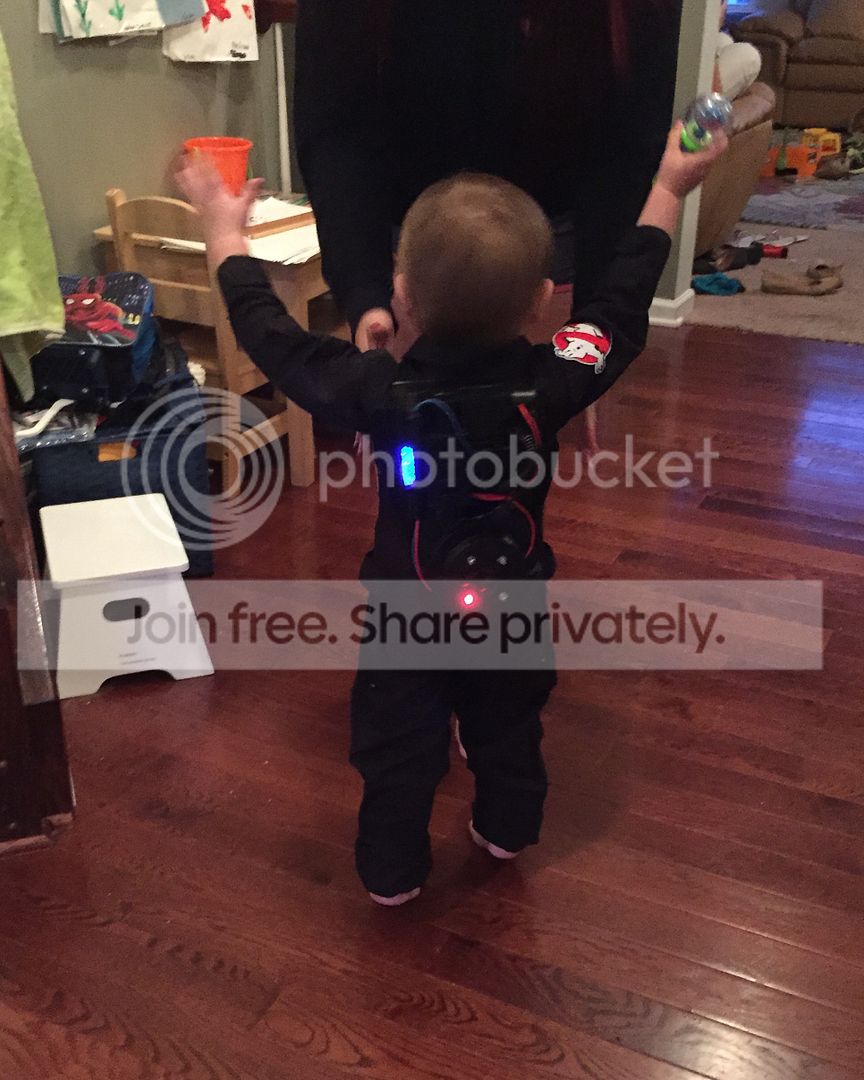
I plan to start on the proton pack this week. To make it as light (and cheap) as possible I will be using EVA foam, cardboard from a shoebox (since it’s thin), sintra for the motherboard, and some nylon straps with 1" buckles. I also think I can manage to make him a mini lifegard, a belt, and a tube hose thingie.
Links in this post may be affiliate links. Purchases made through them help support this site at no additional cost to you.
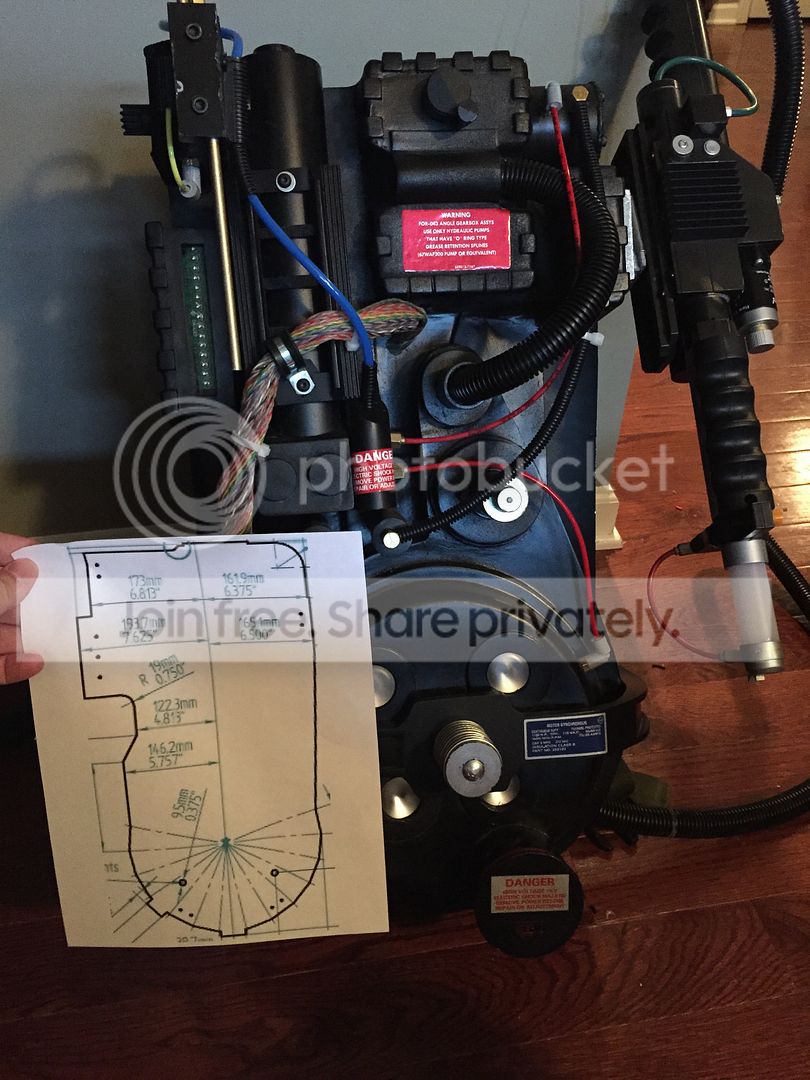
When I wear my pack it occupies about 26" of heigh on my back. When I measured my son’s back the same space came out to be about 10". So now we are talking about a 38% pack for scale.
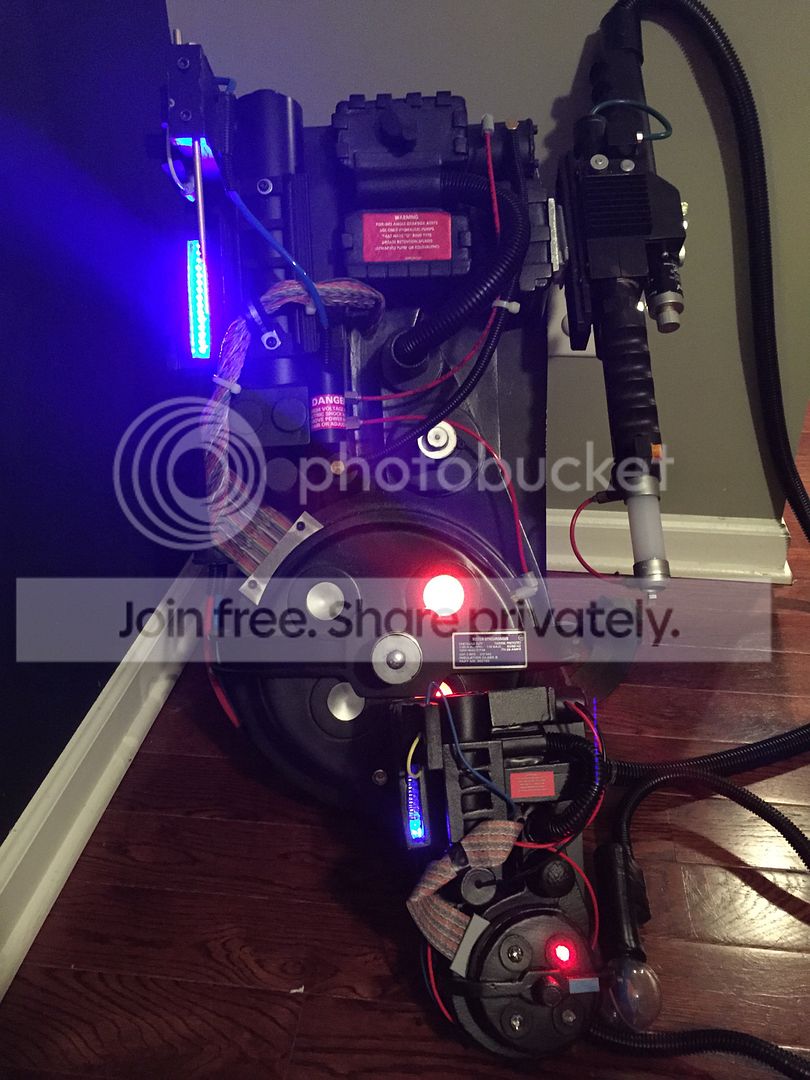
I needed a template for the motherboard so I used Stefan’s plans as a guide. I printed off the blueprint on a sheet of paper and it came out to a nice 10" height on the first try. Here it is next to my pack. So tiny!
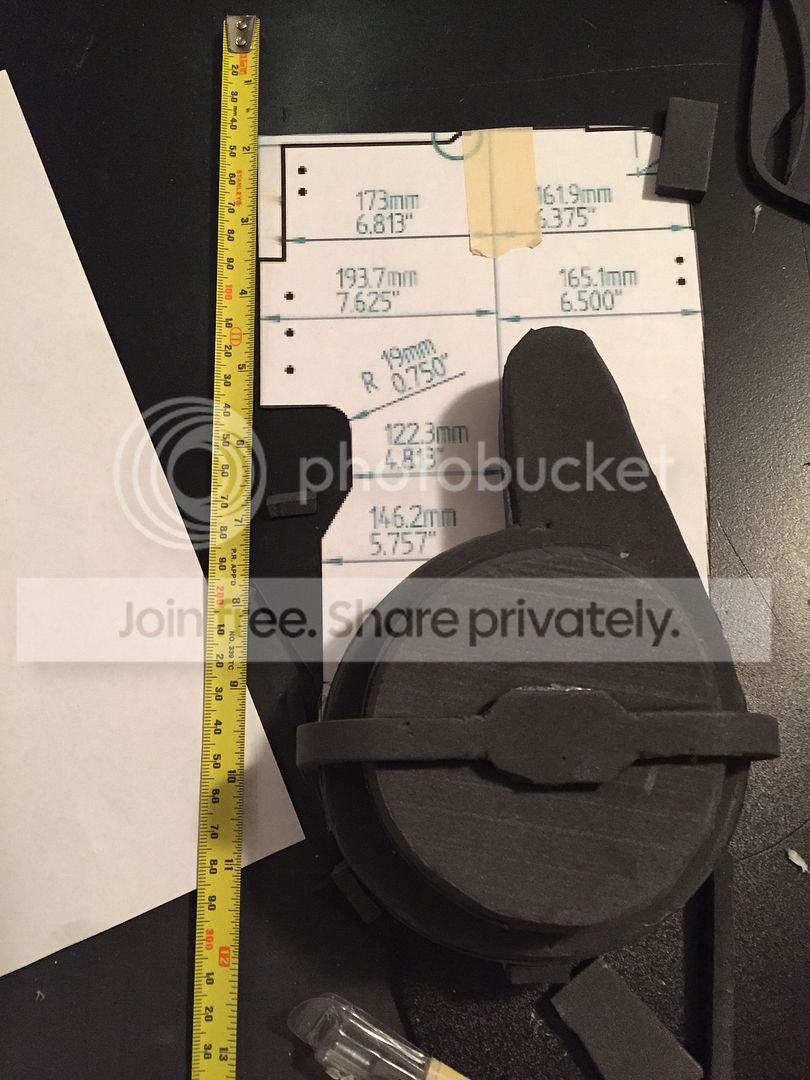
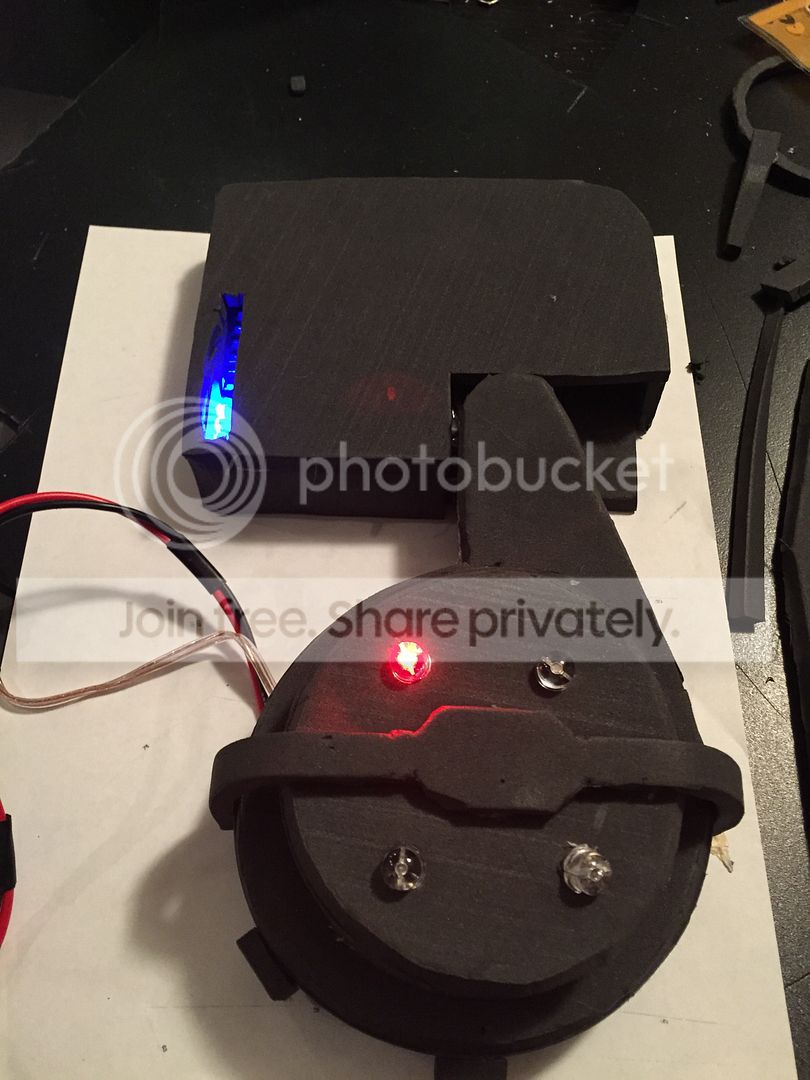
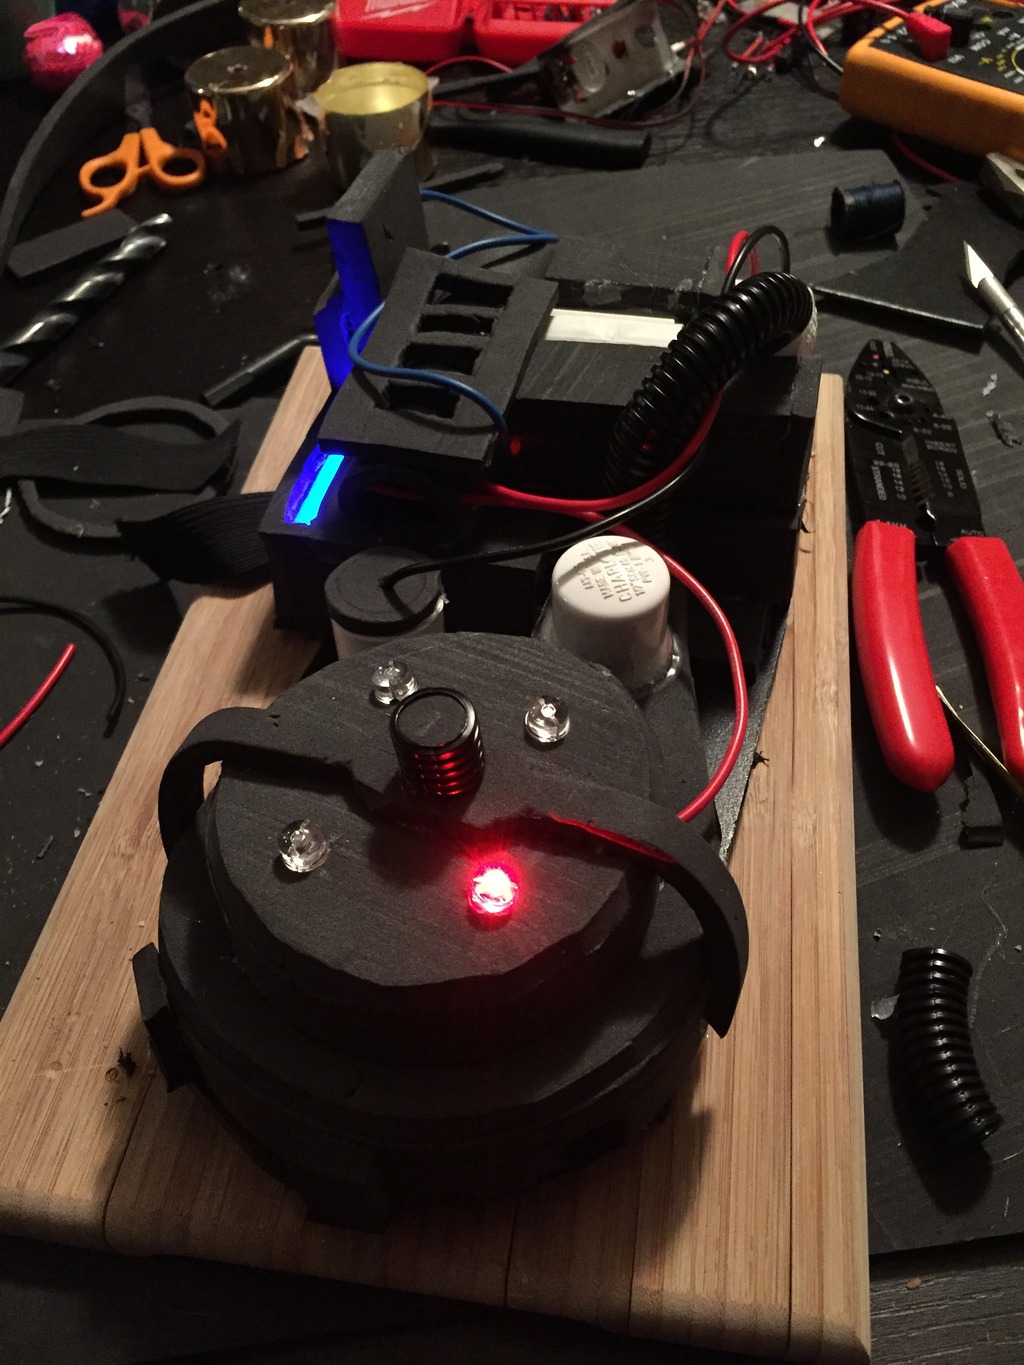
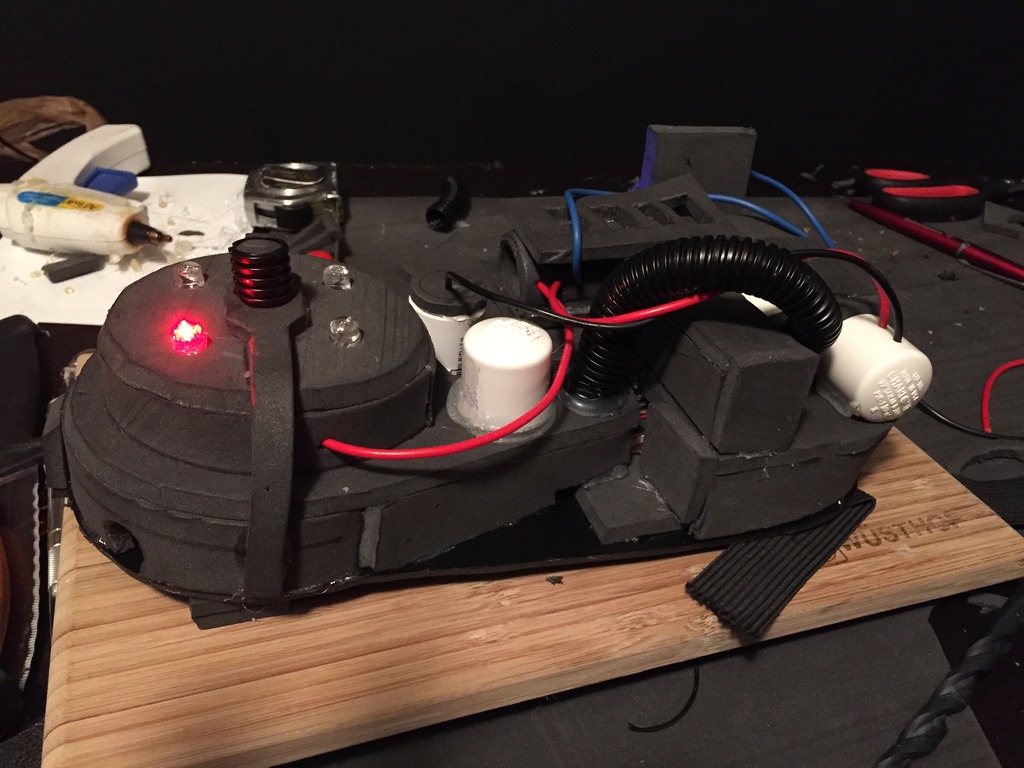
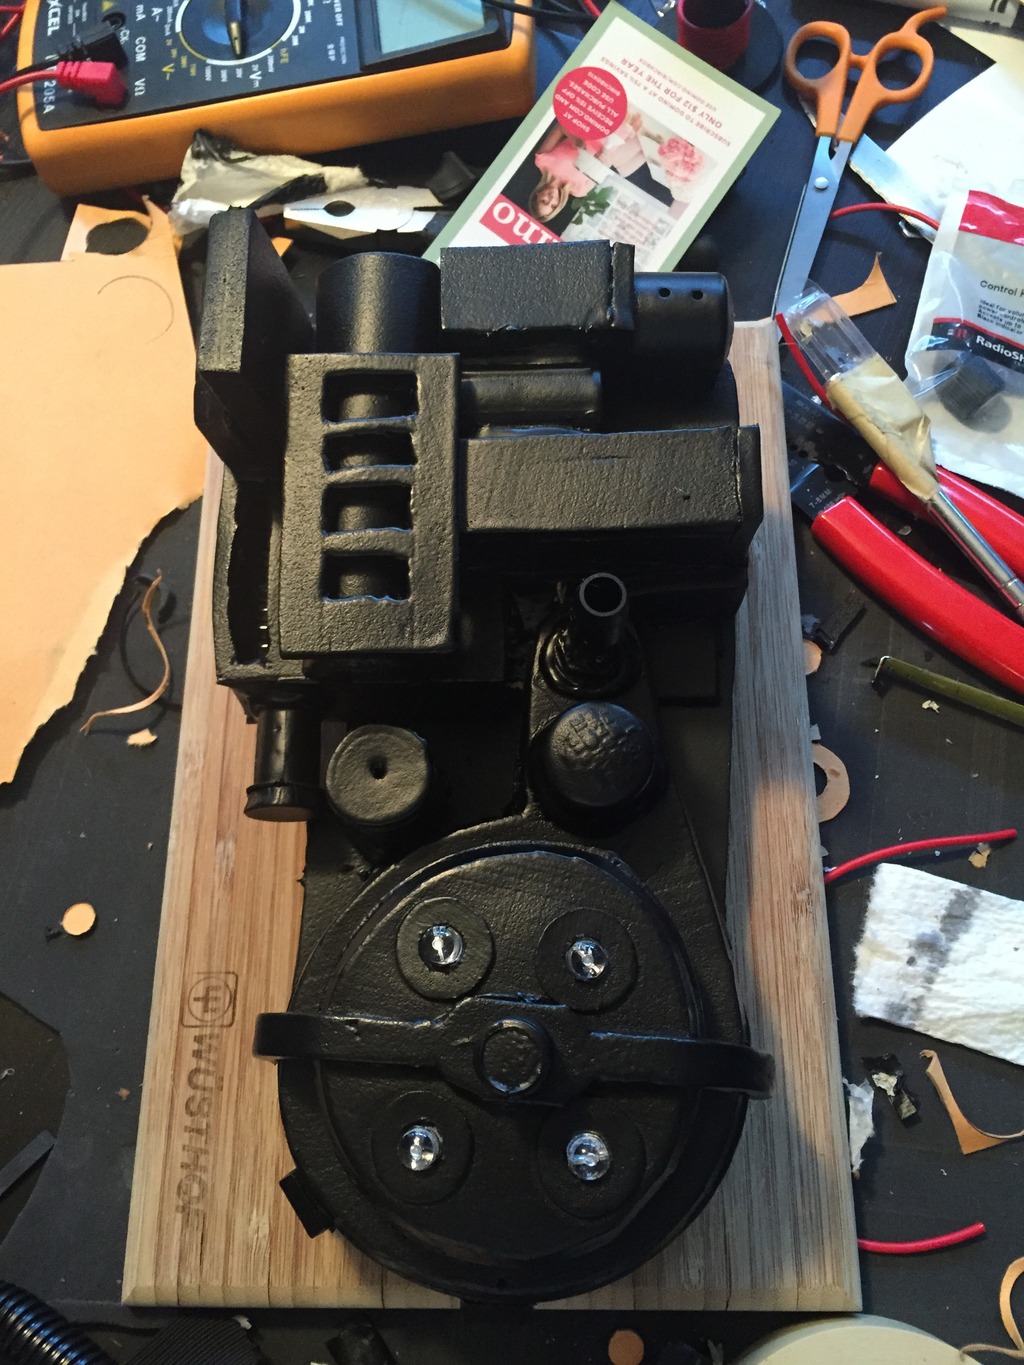
So knowing my ratio, I started shrinking everything down. I figured the last thing I would do would be to actually cut the motherboard out of sintra since most of this work will be freehand and making adjustments on the fly. Here is the cyclotron. I am using costuming foam and hot glue so that this will be super light. I may put a coat of wood glue down and then use black plasti-dip…or I may jsut leave it like this. Not sure at the moment.
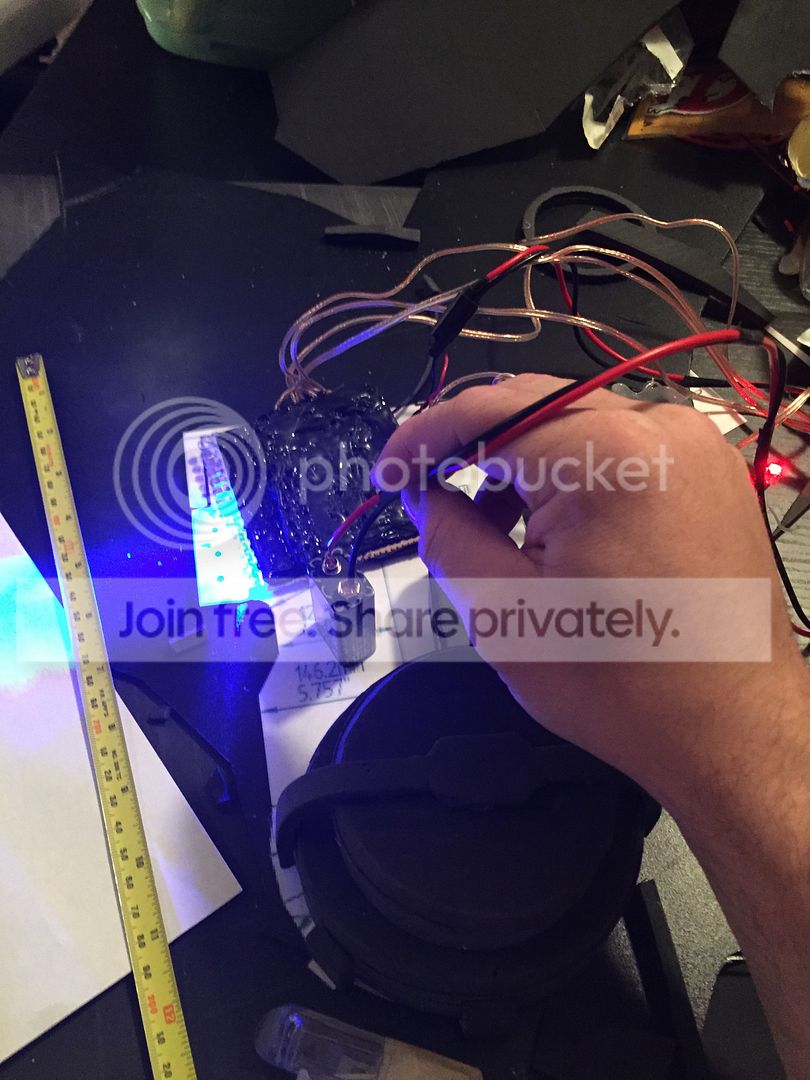
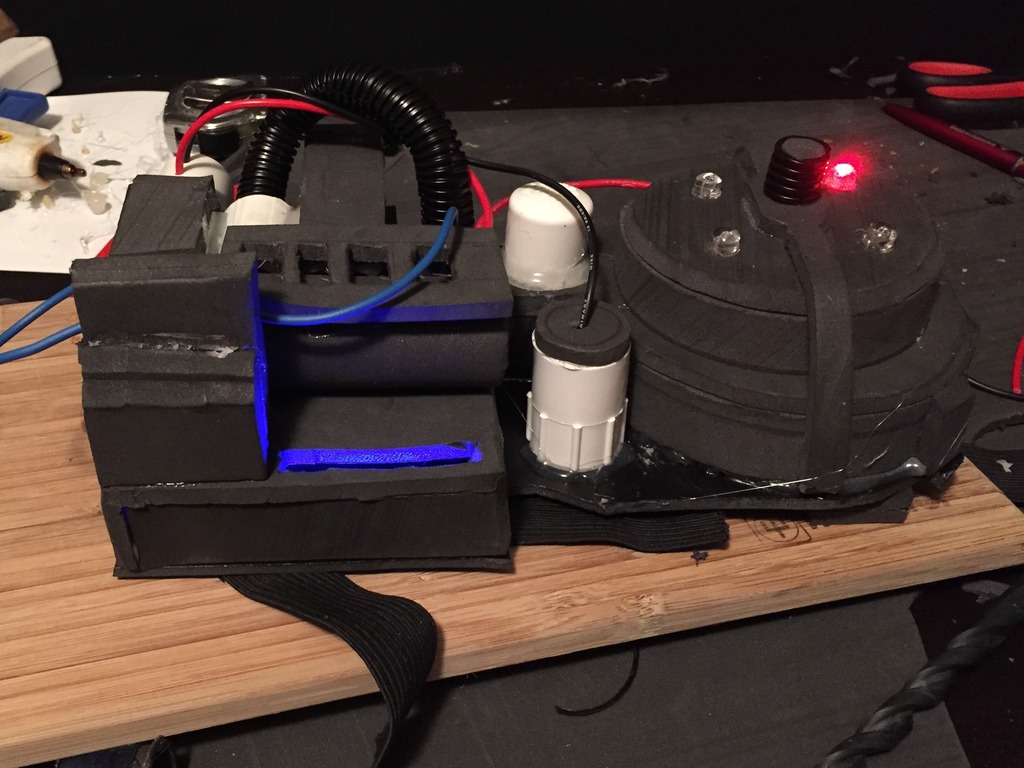
Now that I have the full GBFans lights kit, I can use my old one for my son’s pack. It’s rather bulky and has way more wires than I will need (and I don’t feel like cutting) so I will have to basically build the foam around it. You can see how much of the motherboard it occupies.
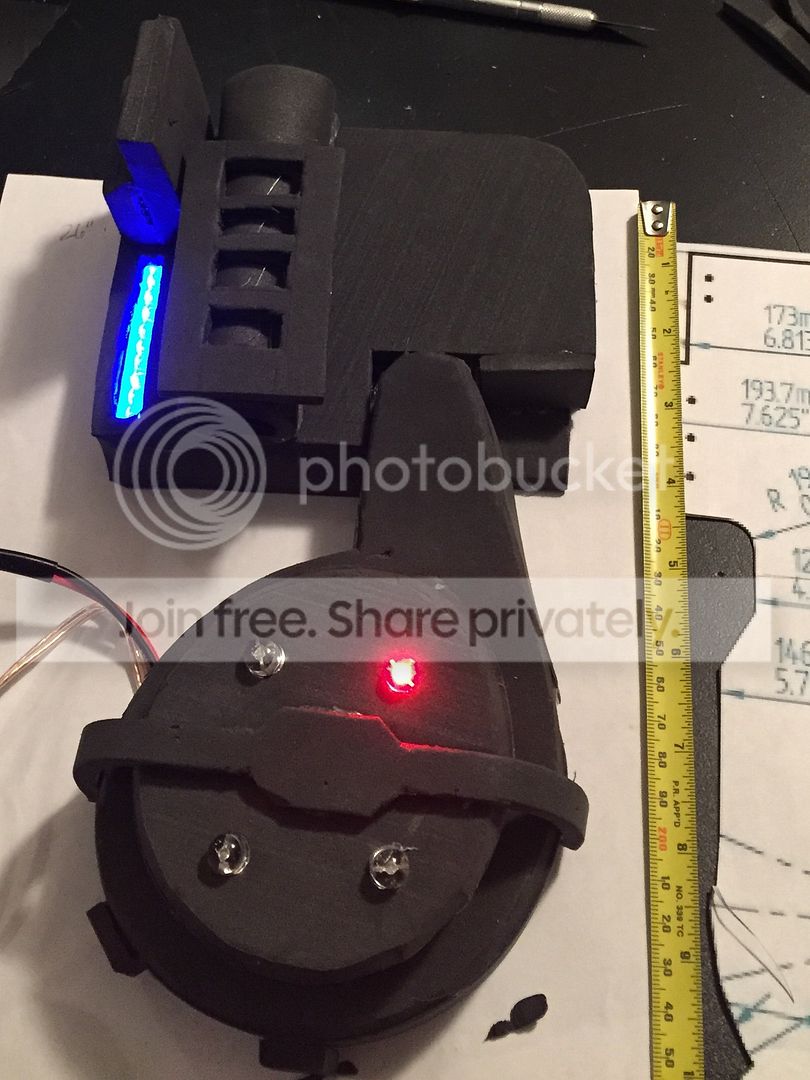
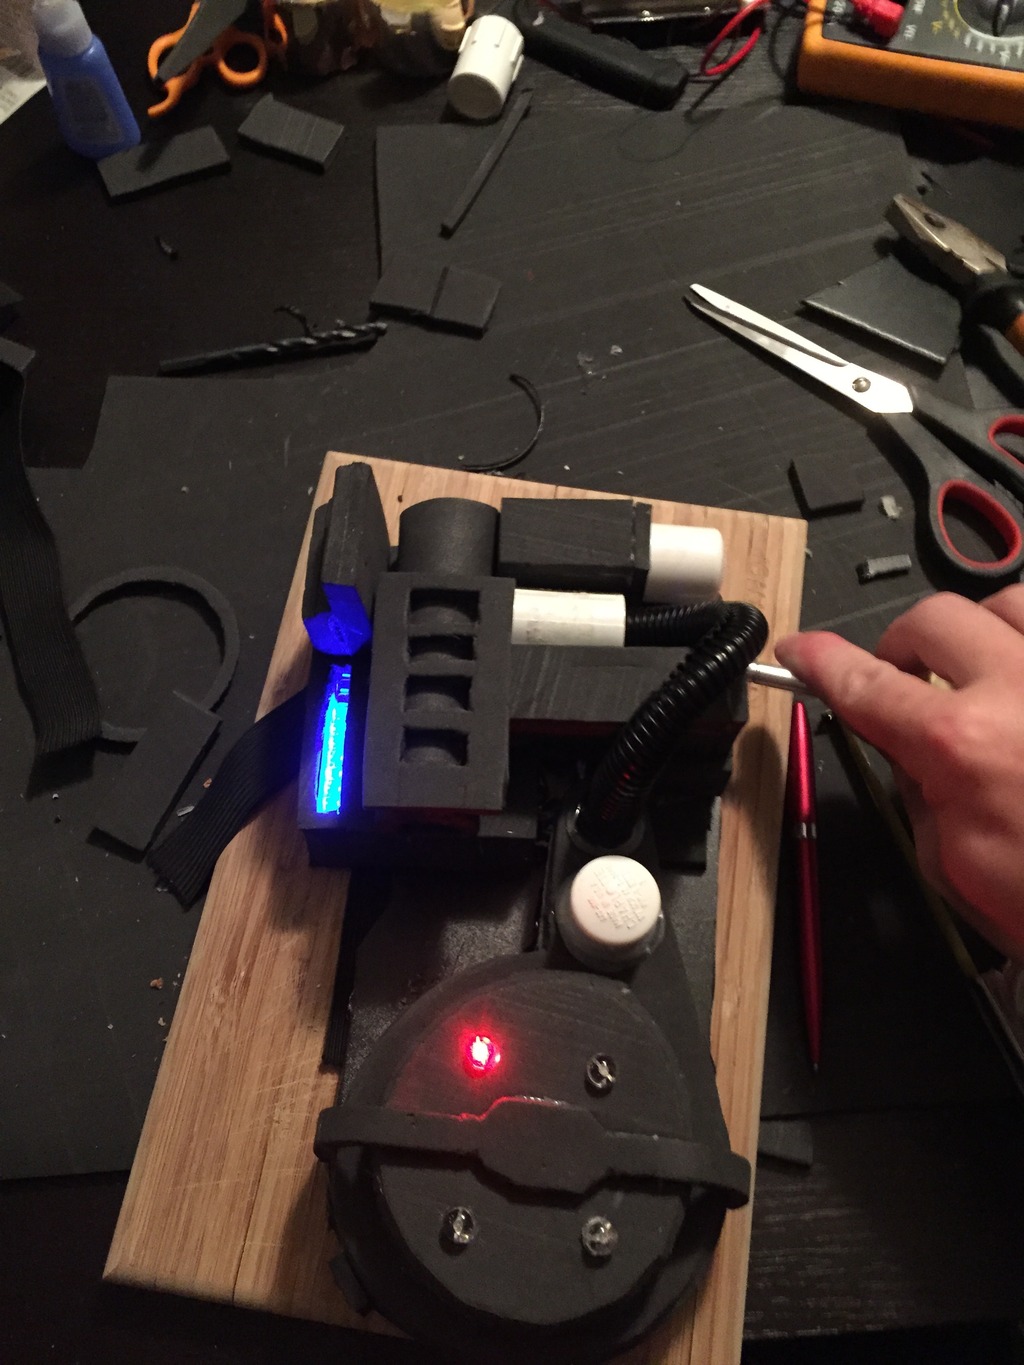
Made the booster tube, frame, and ion arm. For the power cell window I just cut it so that it only show 1/2 of the LED’s and hides the other half up under the ion arm.
I went to Home Depot and picked up some 1/2" PVC fittings. An end cap works great as an HGA and the coupler will hold the corrugated hose.
I cut out a motherboard out of sintra. I cut a square to act as a hatch for access to the battery and cables.
I cut up a coat hanger and mounted it on the mobo. I then cut out two squares so that you could get to the coat hanger from the outside. I will later mount the straps to the metal hangers. I figured this way the mounts would be more secure.
I counted the on/off switch at the bottom of the mobo because I couldn’t figure out a way to mount it facing “outward.” I will add some padding so that the switch does not scratch my son’s back.
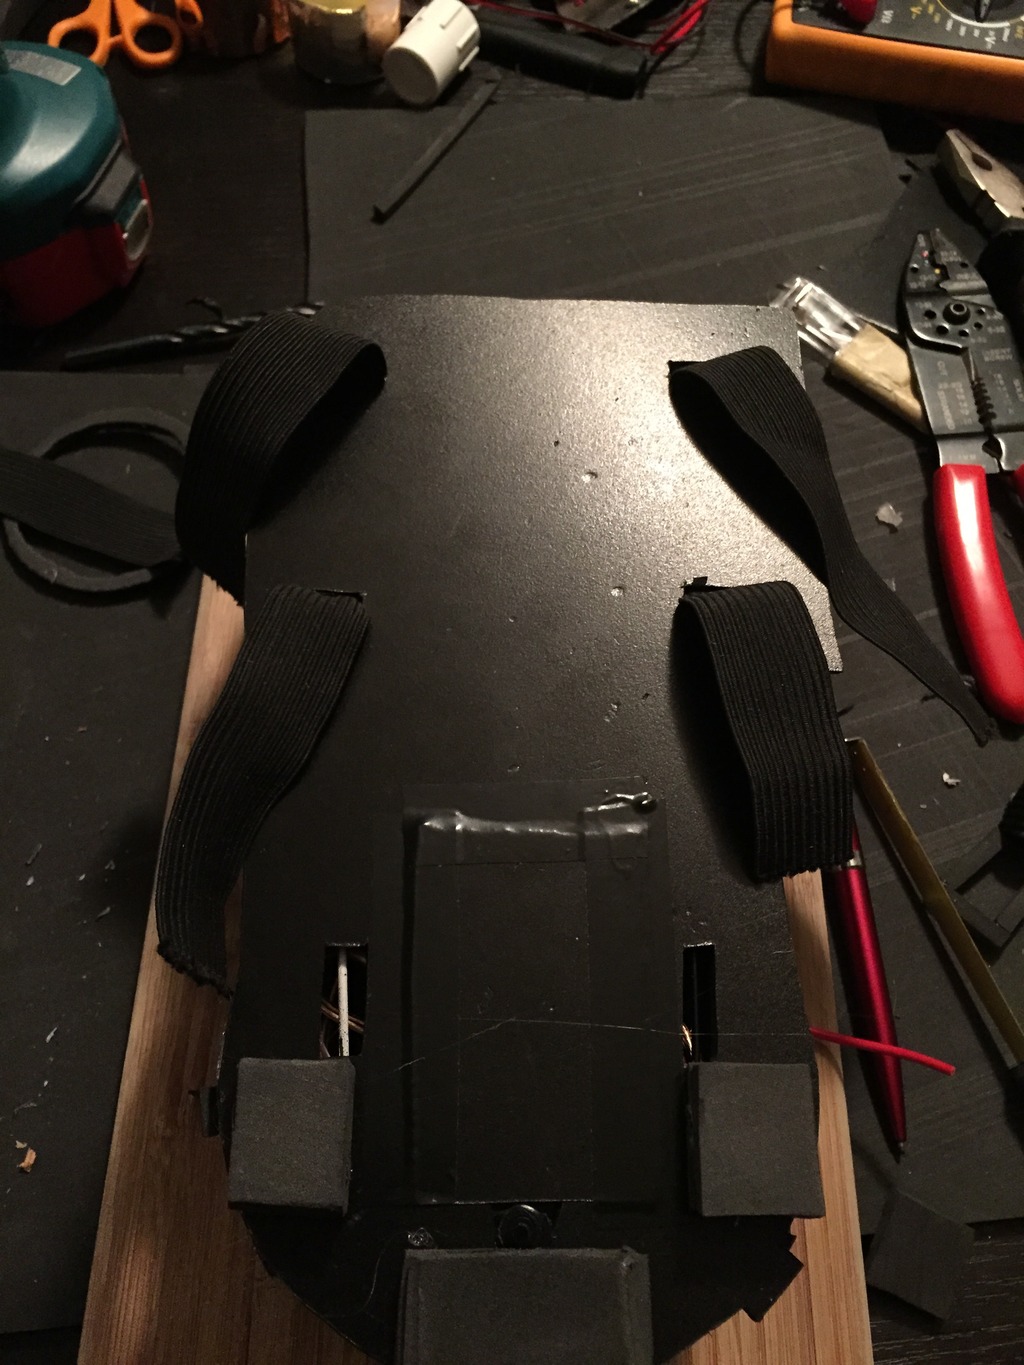
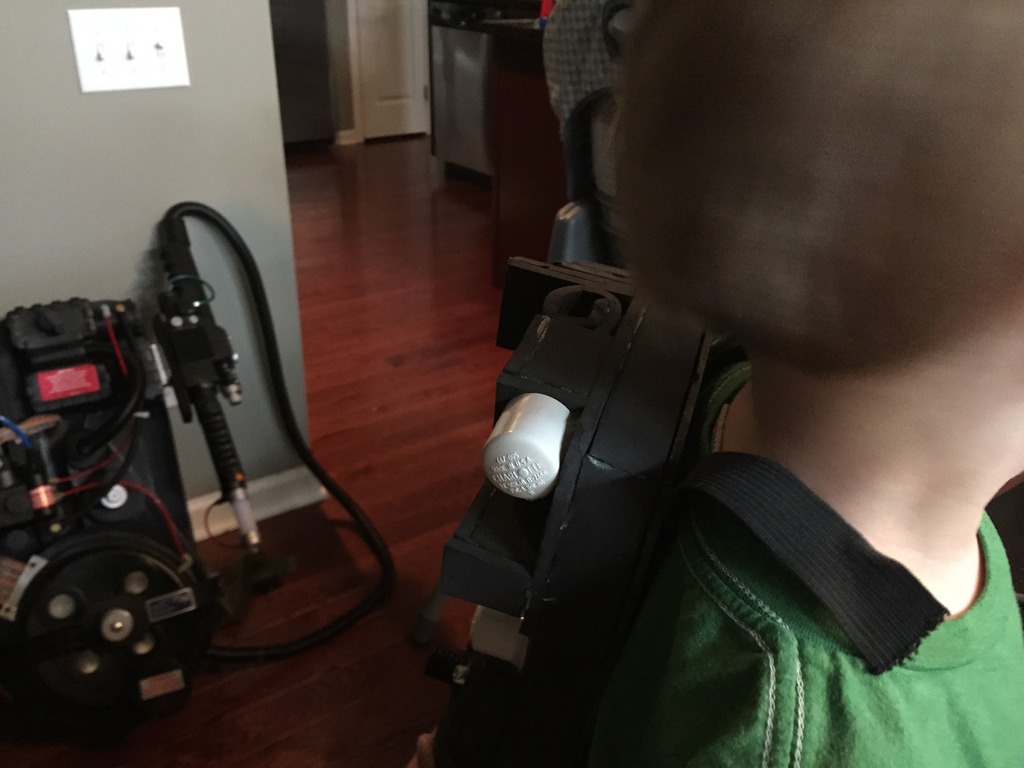
In this photo you can see the elastic straps that I mounted and ran through the pack. I will use button snaps to connect them. You can also see the padding and the hatch secured via electrical tape. The holes that show the coat hanger will be used for the straps that make up the waist band.
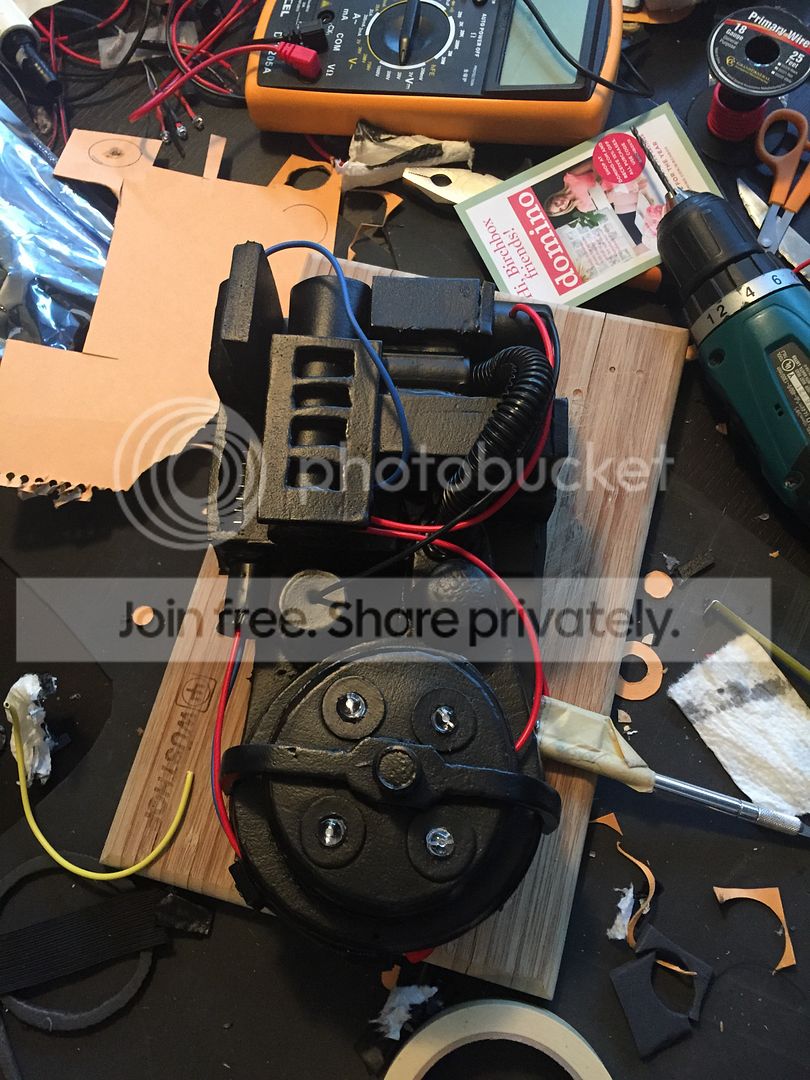
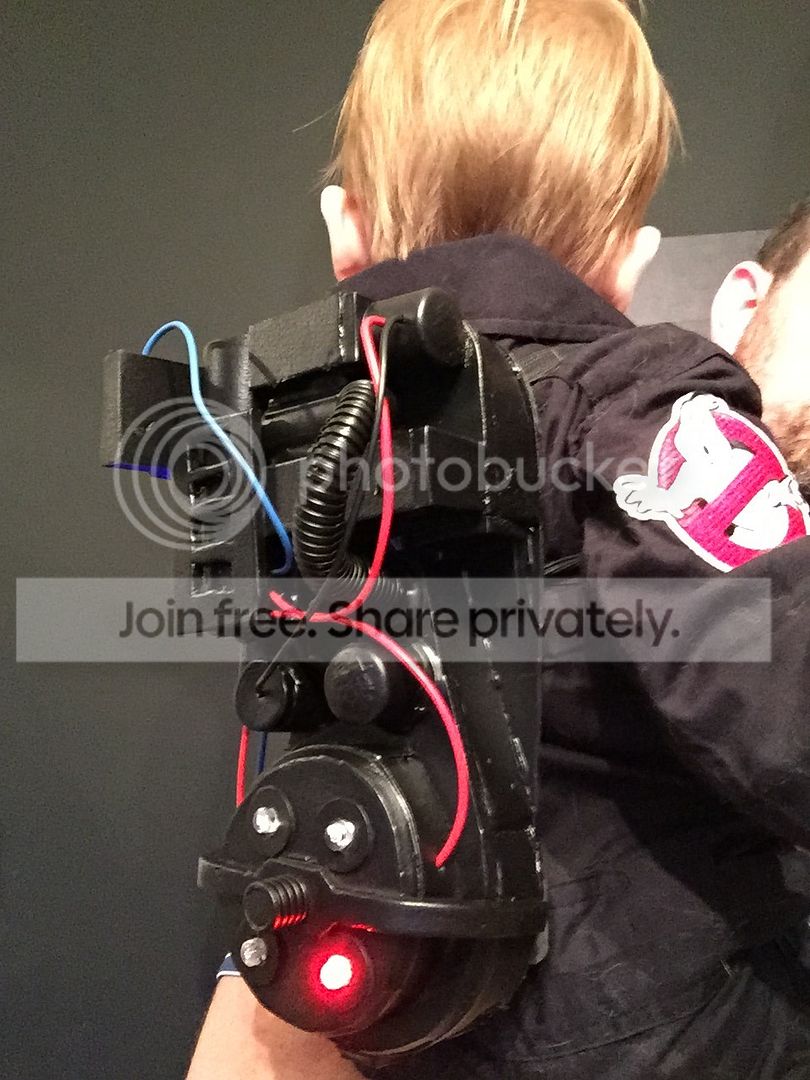
I mounted the cyclotron to the mobo. I used another end cap to simulate the clippard valve and a plastic barbed hose conenctor to connect the 1/2" split loom tubing to the white PVC coupler.
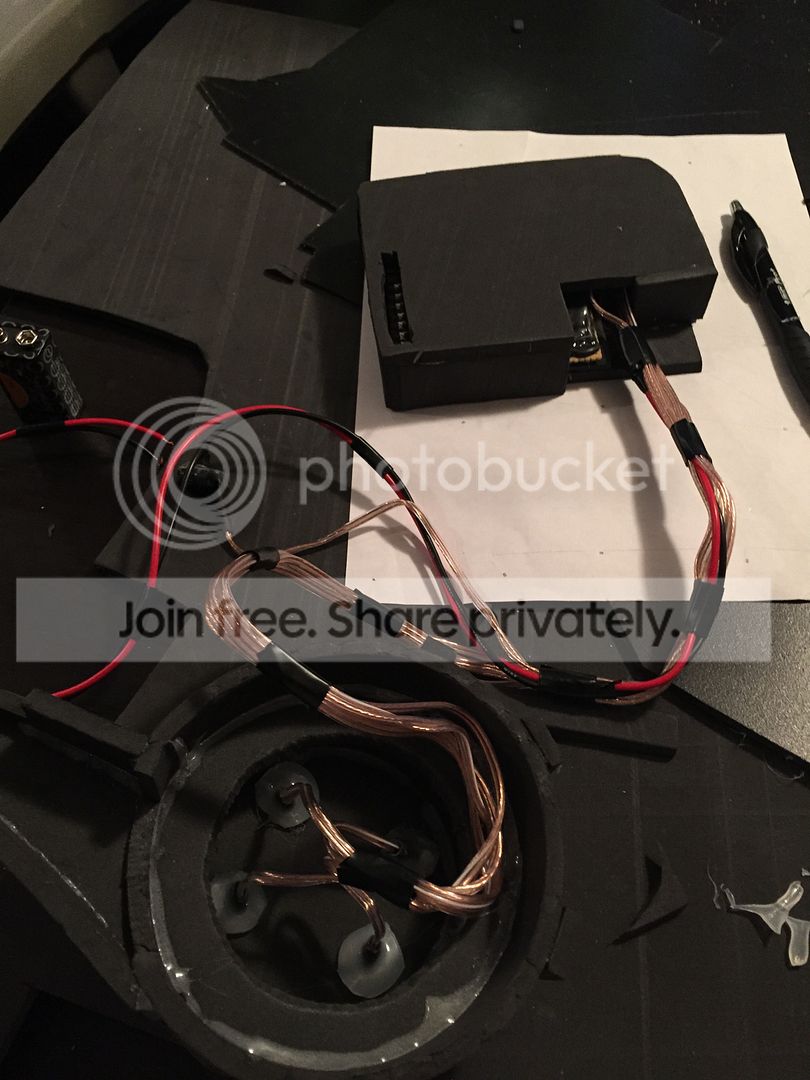
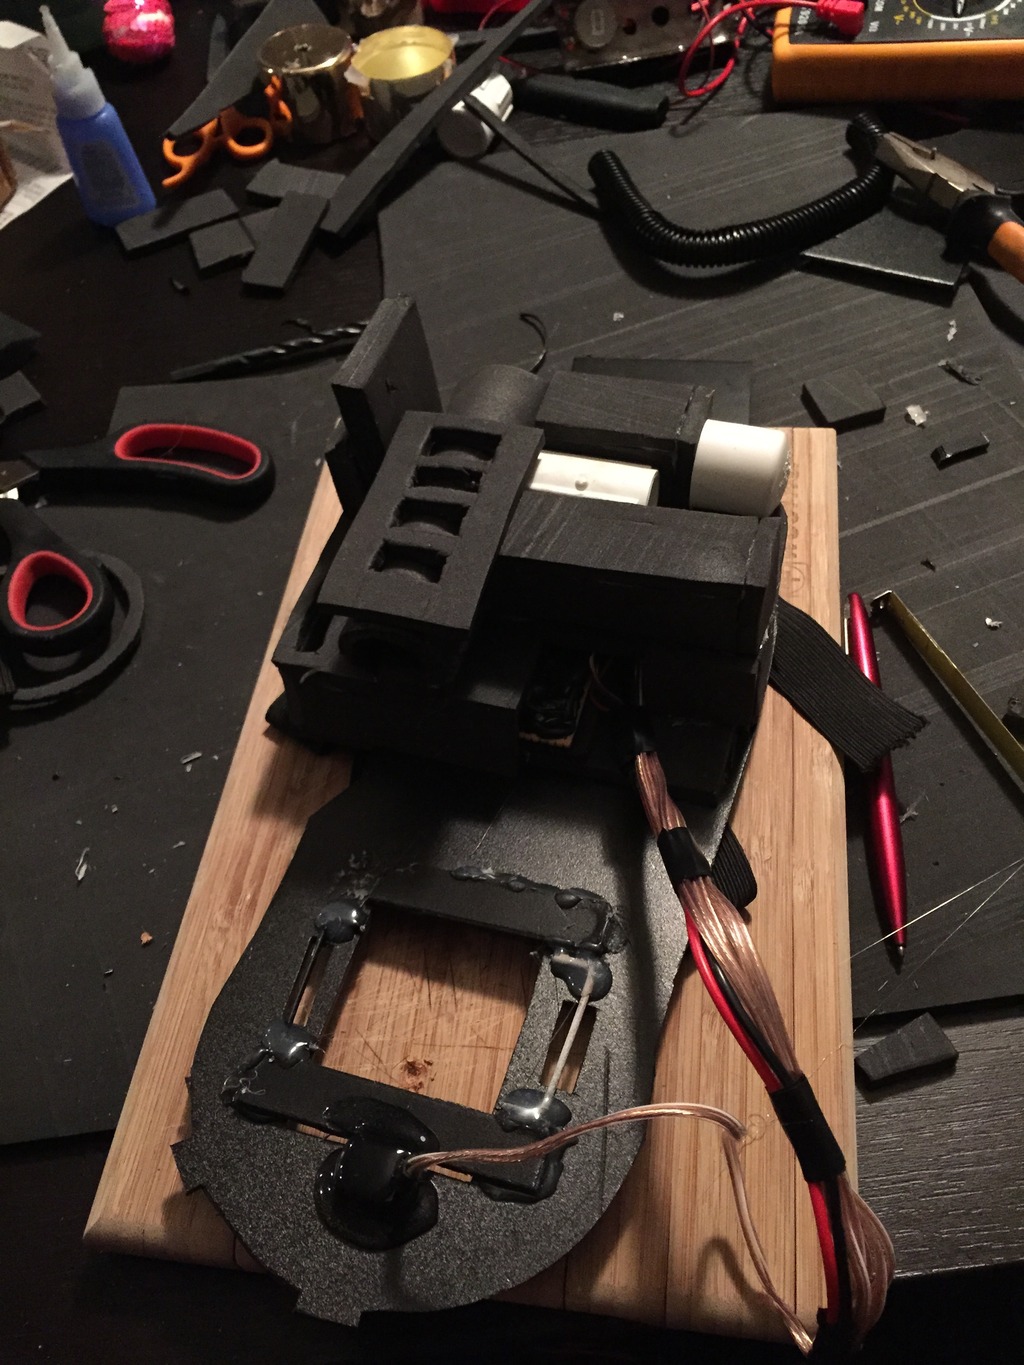
Next I drilled holes in the HGA and certain parts of the foam. Then I ran wires over the pack to see how it was coming together. Also I stuffed some foam inside some excess splitloom tubing to make the shock mount.
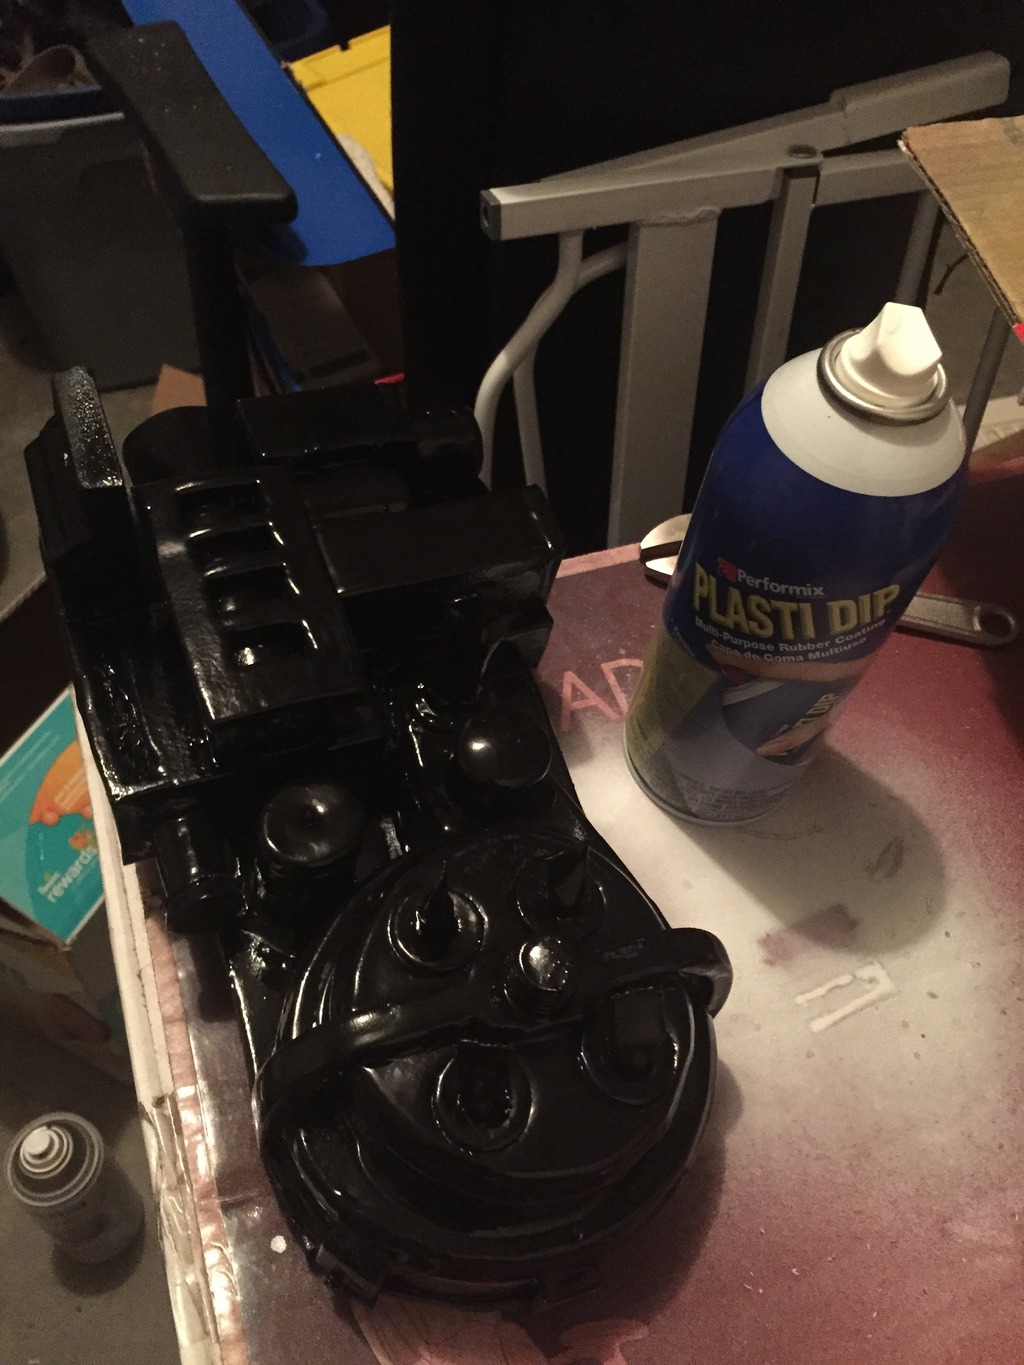
Coat all fo the foam in wood glue (or modge podge) and put 3-5 coats of black Plasti-Dip
Possibly put a coat of satin black (not sure how “shiny” the Plasti-Dip will be)
Make the wand. I think I might just go buy a cheap “sapce” gun from walmart or the dollar store and gut the electronics. Basically, I just want something for him to push and make sounds and lights since that is what he loves doing on my pack.
For the injectors I used a single empty sewing thread spool. I then taped off the lights and motherboard and proceeded to put about 5 really thick coats of plasti-dup all over the pack.
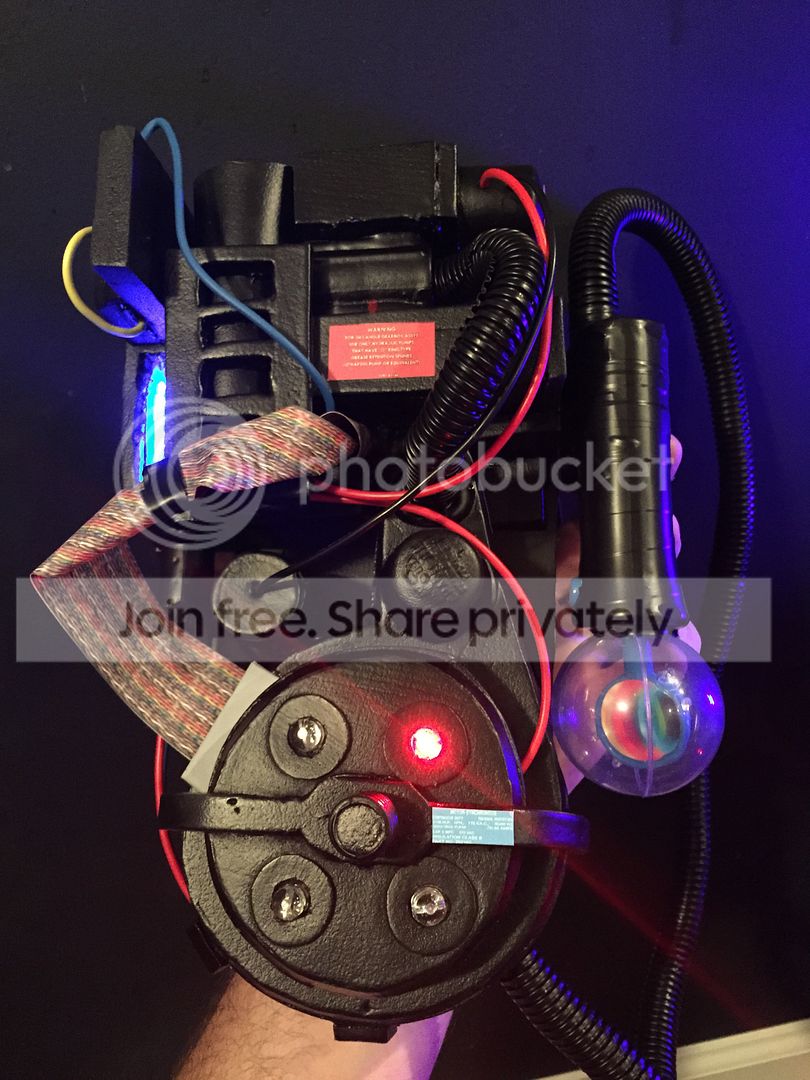
Overall I am really happy with this. I just wish I would have put the bumper on last so that it would not be so crooked. Cyclotron is turned a couple degrees too. I just keep reminding myself “It’s OK if its not perfect, it’s for a 2 year old who will wear it for maybe an hour or two total. It only has to look good from 3 feet away.”
It’s at this point that I realizze I forgot to make the n-filer. damn. lol
Tonight I get to do the stickers and wand! That will be fun.
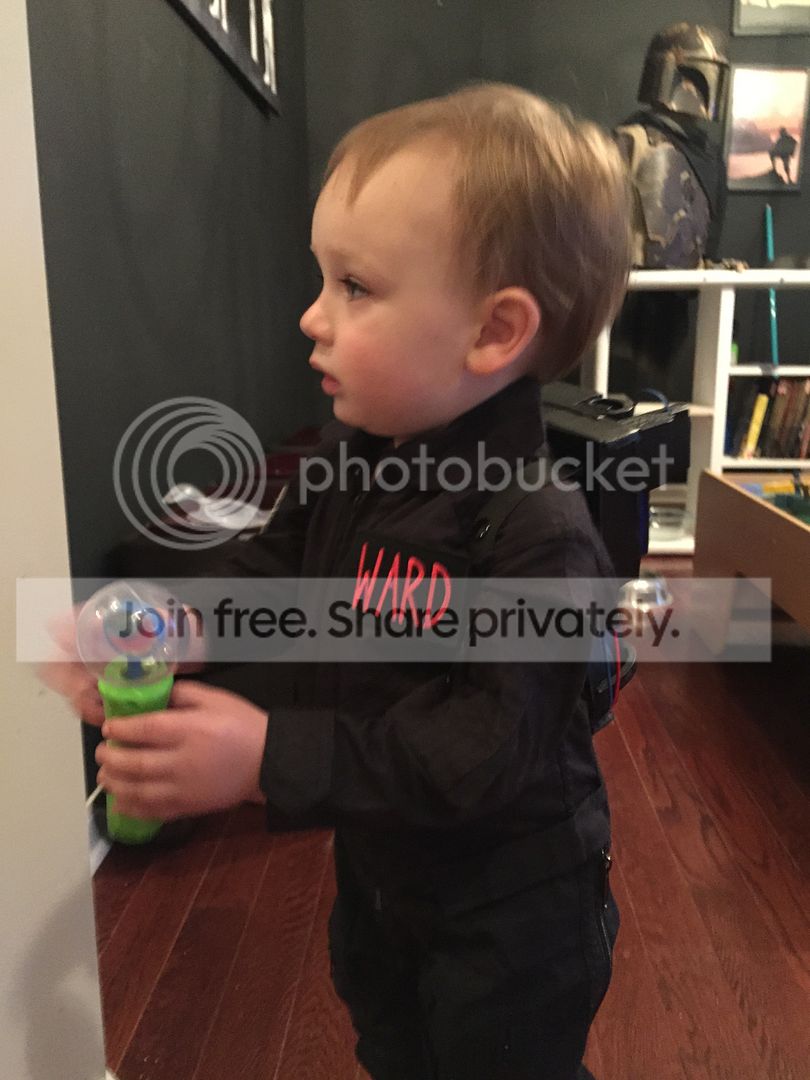
The thrower is where I had to depart (for now) from the norm. See here’s the thing. He doens’t seem to want to wear the pack. I guess it feels weird since he has never had anything on his back. So, I need something to keep him distracted/entertained. I went to Walmrt, Target, a couple of grocery stores, and a dollar store but could not find a toy gun that had lights and made a “space” sound (i.e. didn’t make gunshots). I found some power rangers stuff that I might have been able to gut but it was $26 and I didn’t think it was worth it as I have only put about $8 into this project at the moment. So when I went to the dollar store they had this wand thing that lights up at the end and makes a sound for as long as you press the button. It was $1 so I couldnt pass it up.
So I used electric tape to cover it and secure it to a barbed hose fitting that connected to the split loom tubing.