Proton Packs.
G’day everyone;
below is the proton pack build, showing how I installed the lighting, sound kits and detailed the two proton packs that myself and mate will be using.
Parts:
*Proton Packs-Spirt Of Halloween Life Sized Packs purchased from Amazon (Aus).
*Alice frame for both Packs purchased from MilTac Australia QLD.
*Detailing and pack lights (Cyclotron & blue) purchased from SpongfaceMcGee eBay store.
*Wand & sound kit purchased from GBFans Shop with 40ohm speaker.
*Spirit LIFE-SIZE Neutrona Wand Track // Spirit Halloween Ghostbusters Proton Pack purchased from GreatScottPropShop Etsy Store.
*Duct Tape-garage
*UHU Glue from Woolies Orange NSW.
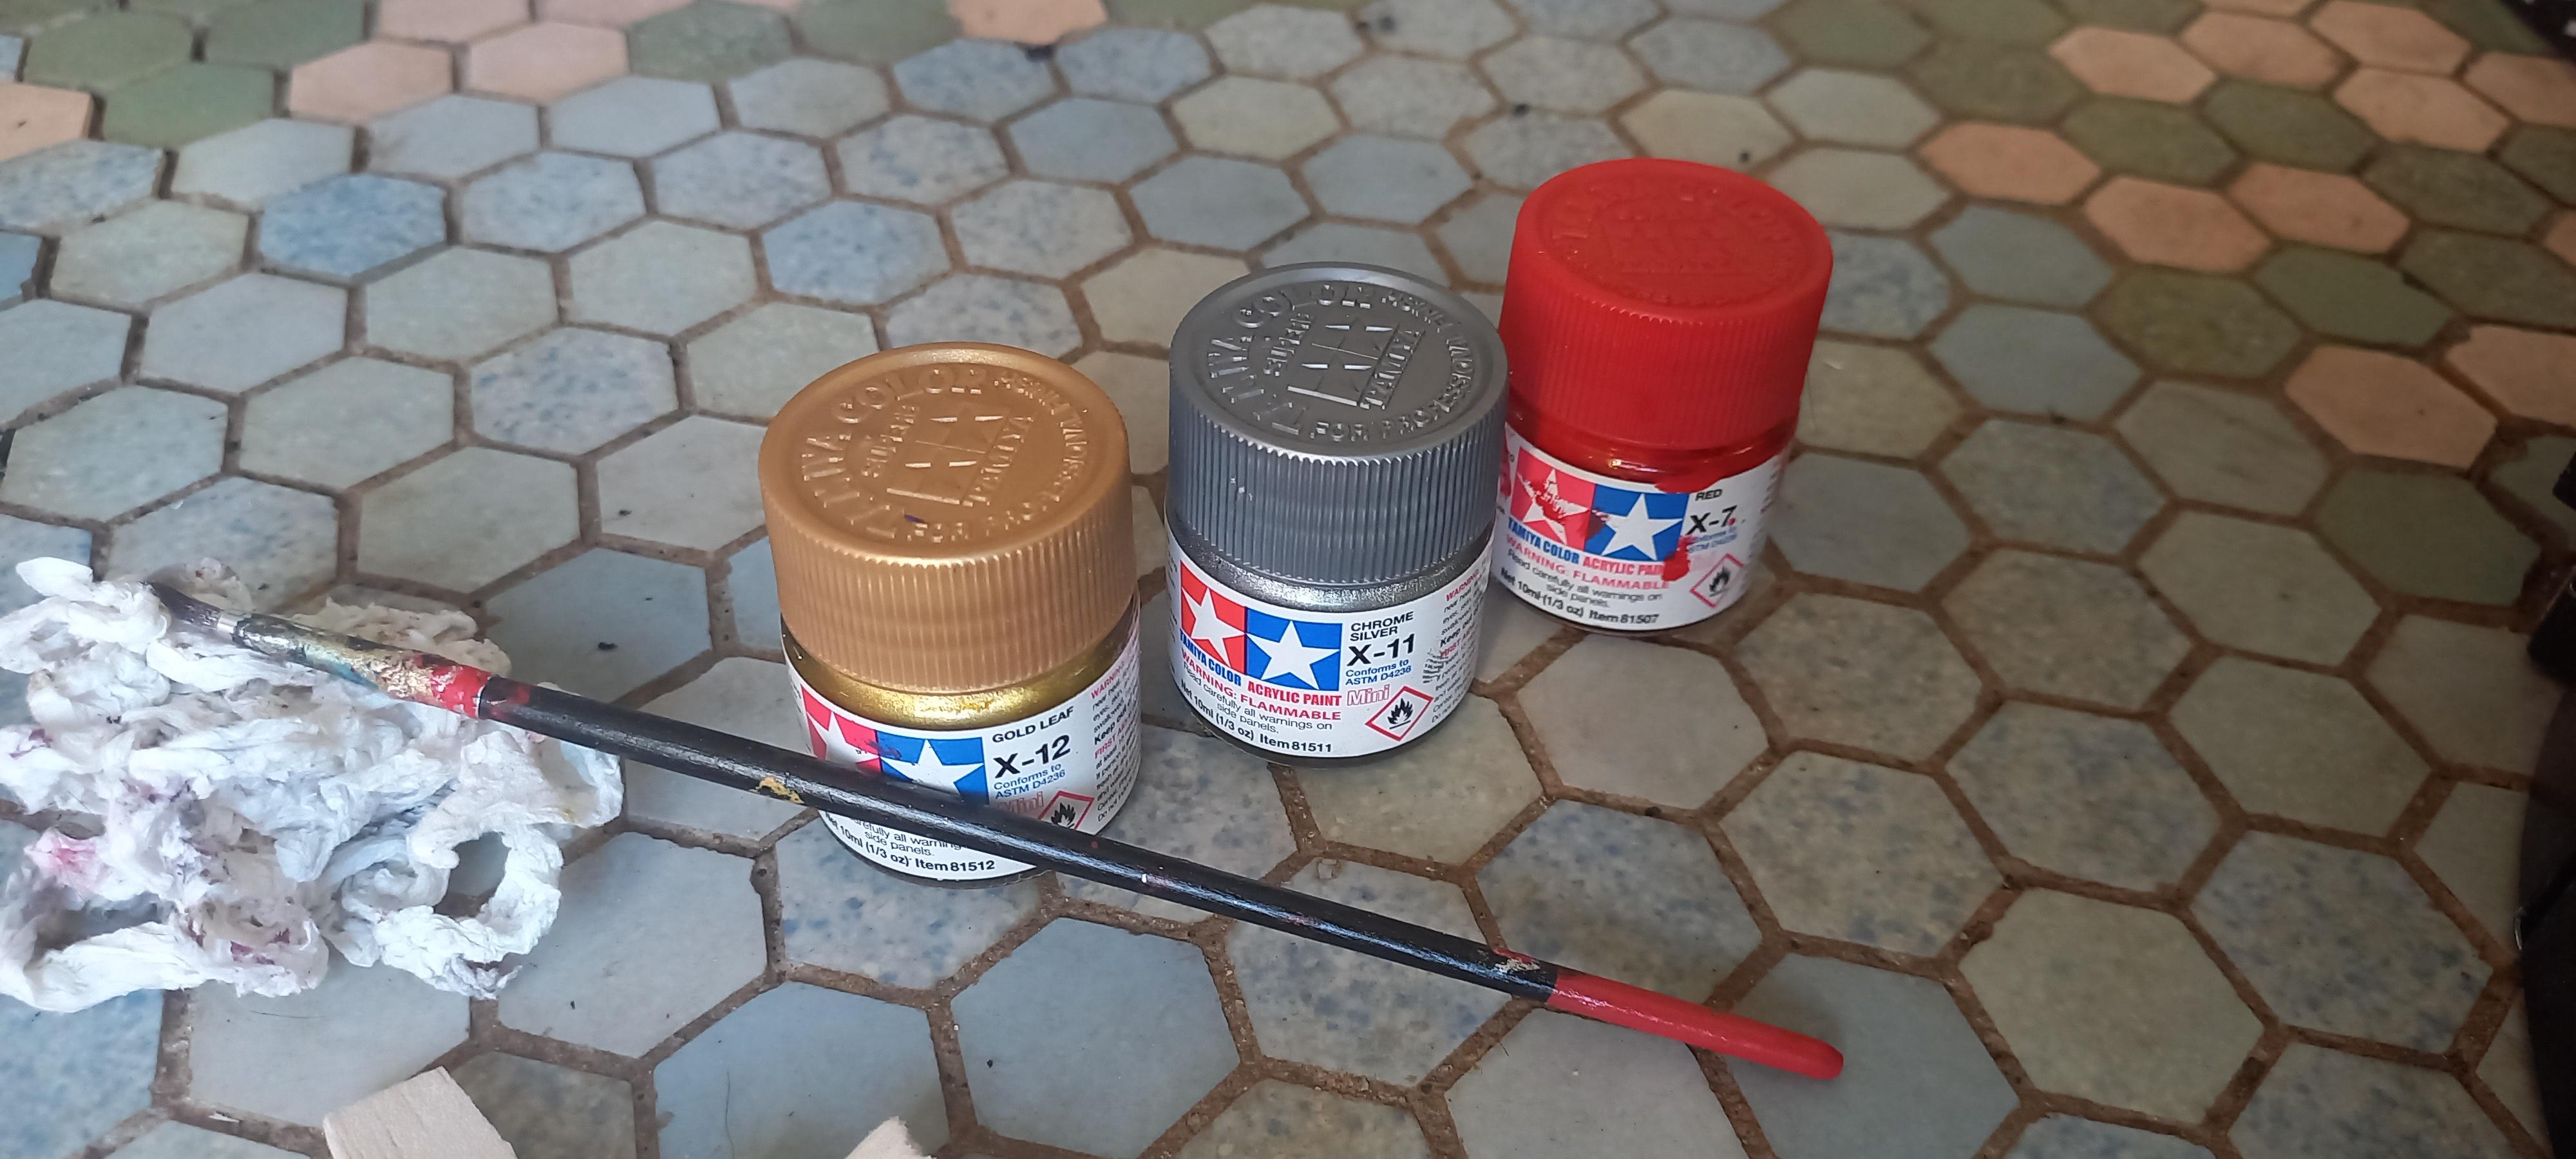
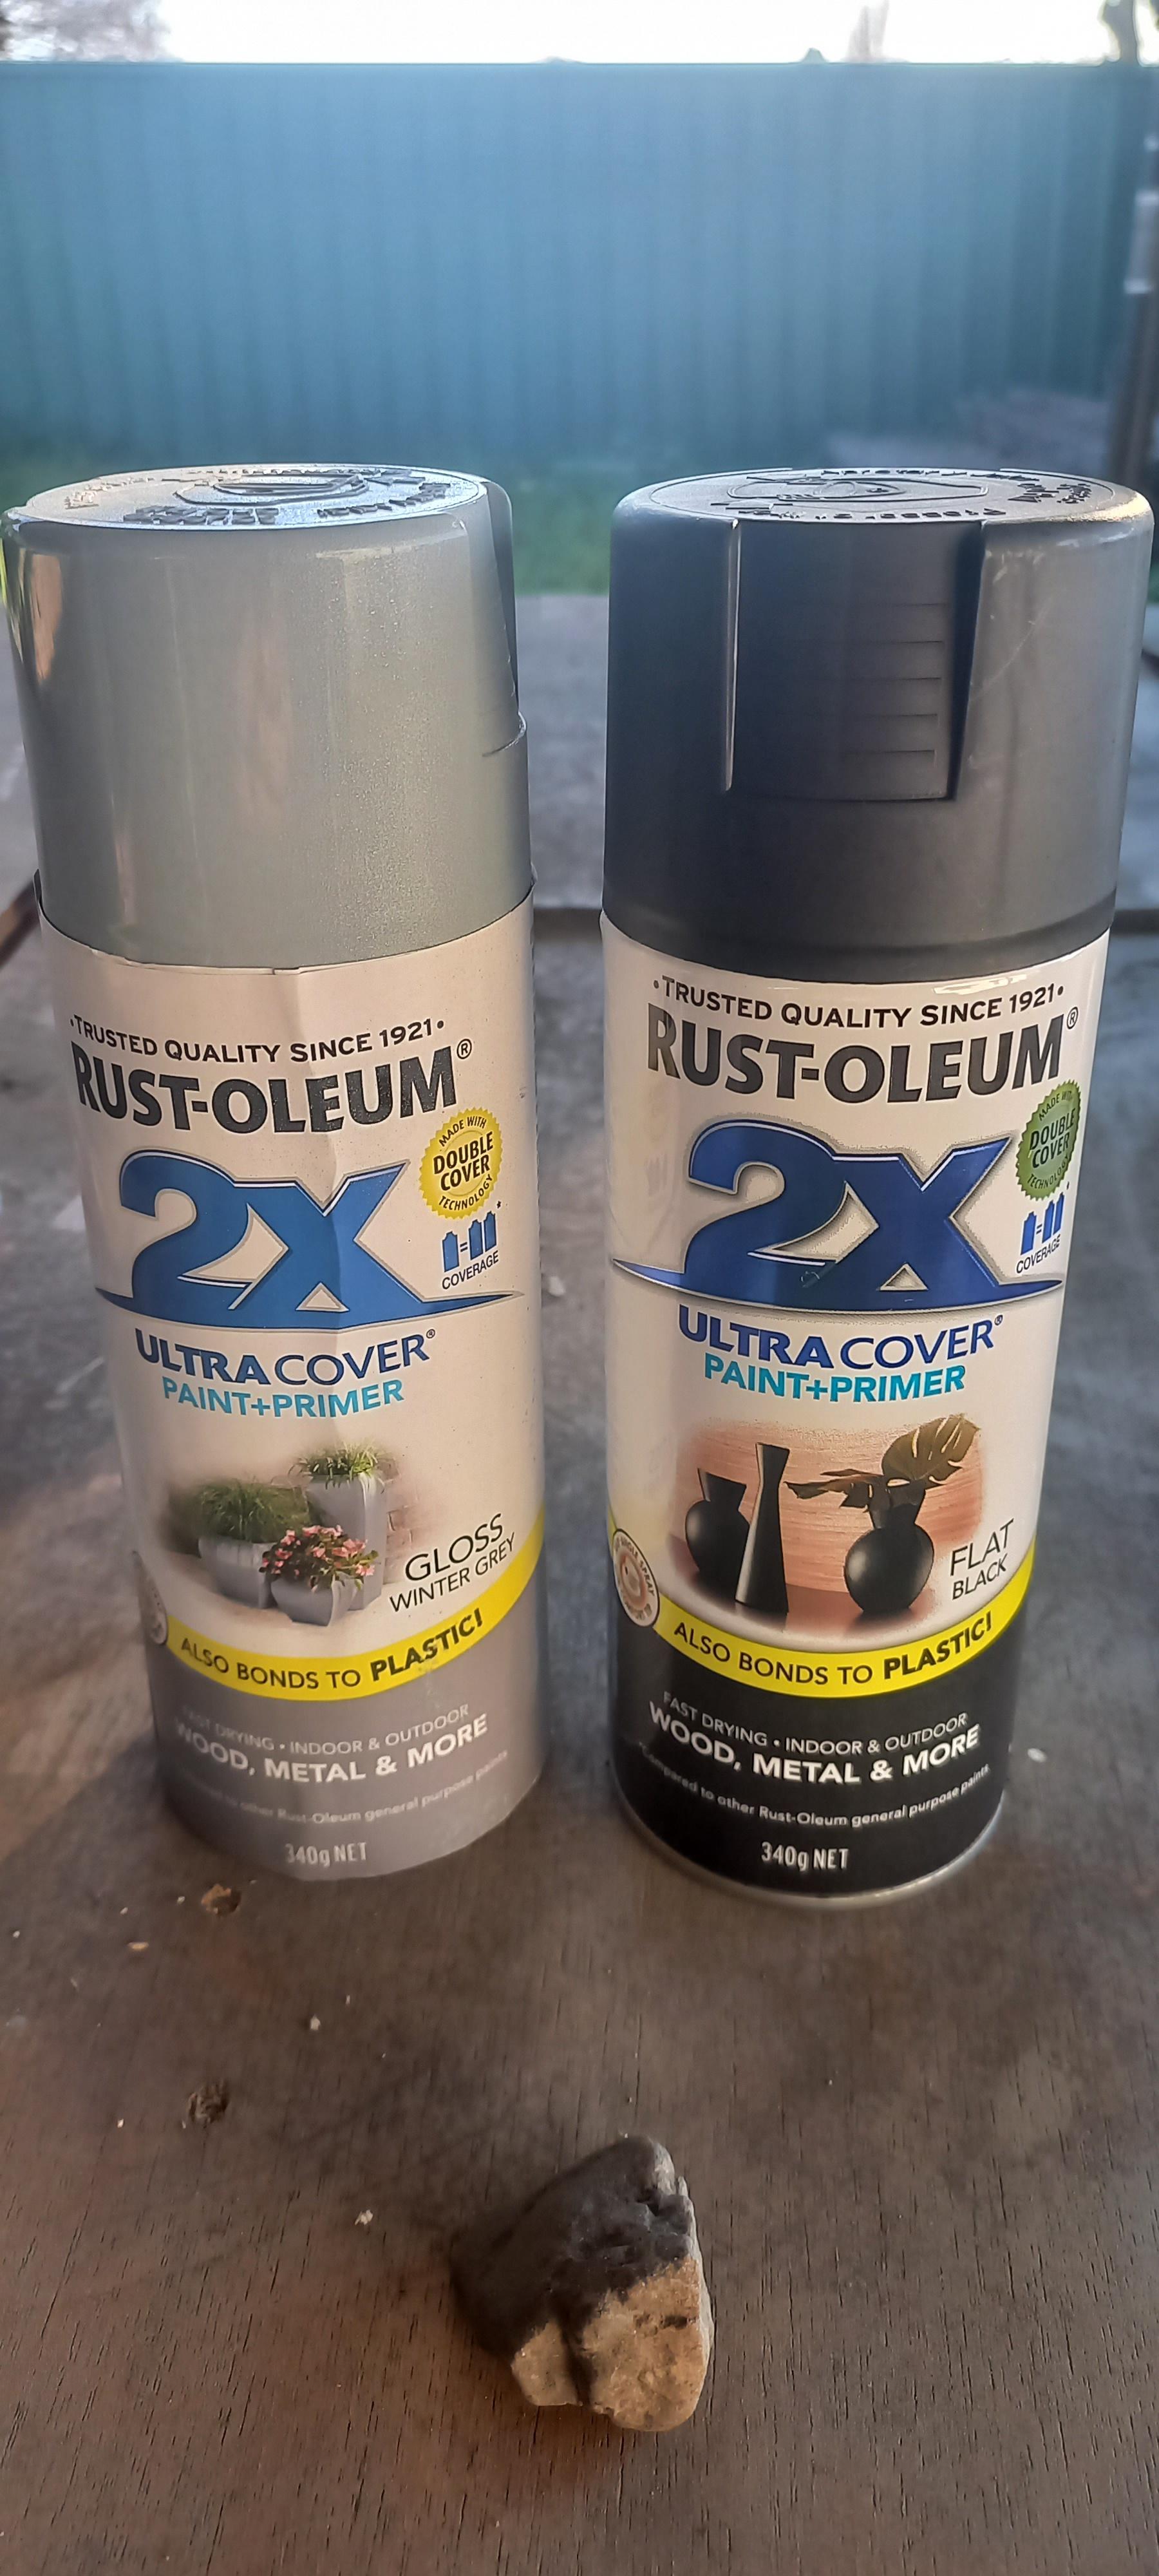
*Tamiya Color X-7-Red), X-11 Chrome Silver & X-12 Gold Leaf.
*8.8 bolts with nuts & washer.
*Dremel Tool purchased from Jaycar Shellharbour NSW (years ago).
*Soldering Iron purchased from Jaycar Shellharbour (years ago).
*Cable HU Red 13x0.12mm 25m Roll purchased at JayCar Orange NSW.
*Cable HU Black 13x012mm 25m Roll purchased at Jaycar Orange NSW.
*2x On/off switch purchased from Jaycar Orange NSW.
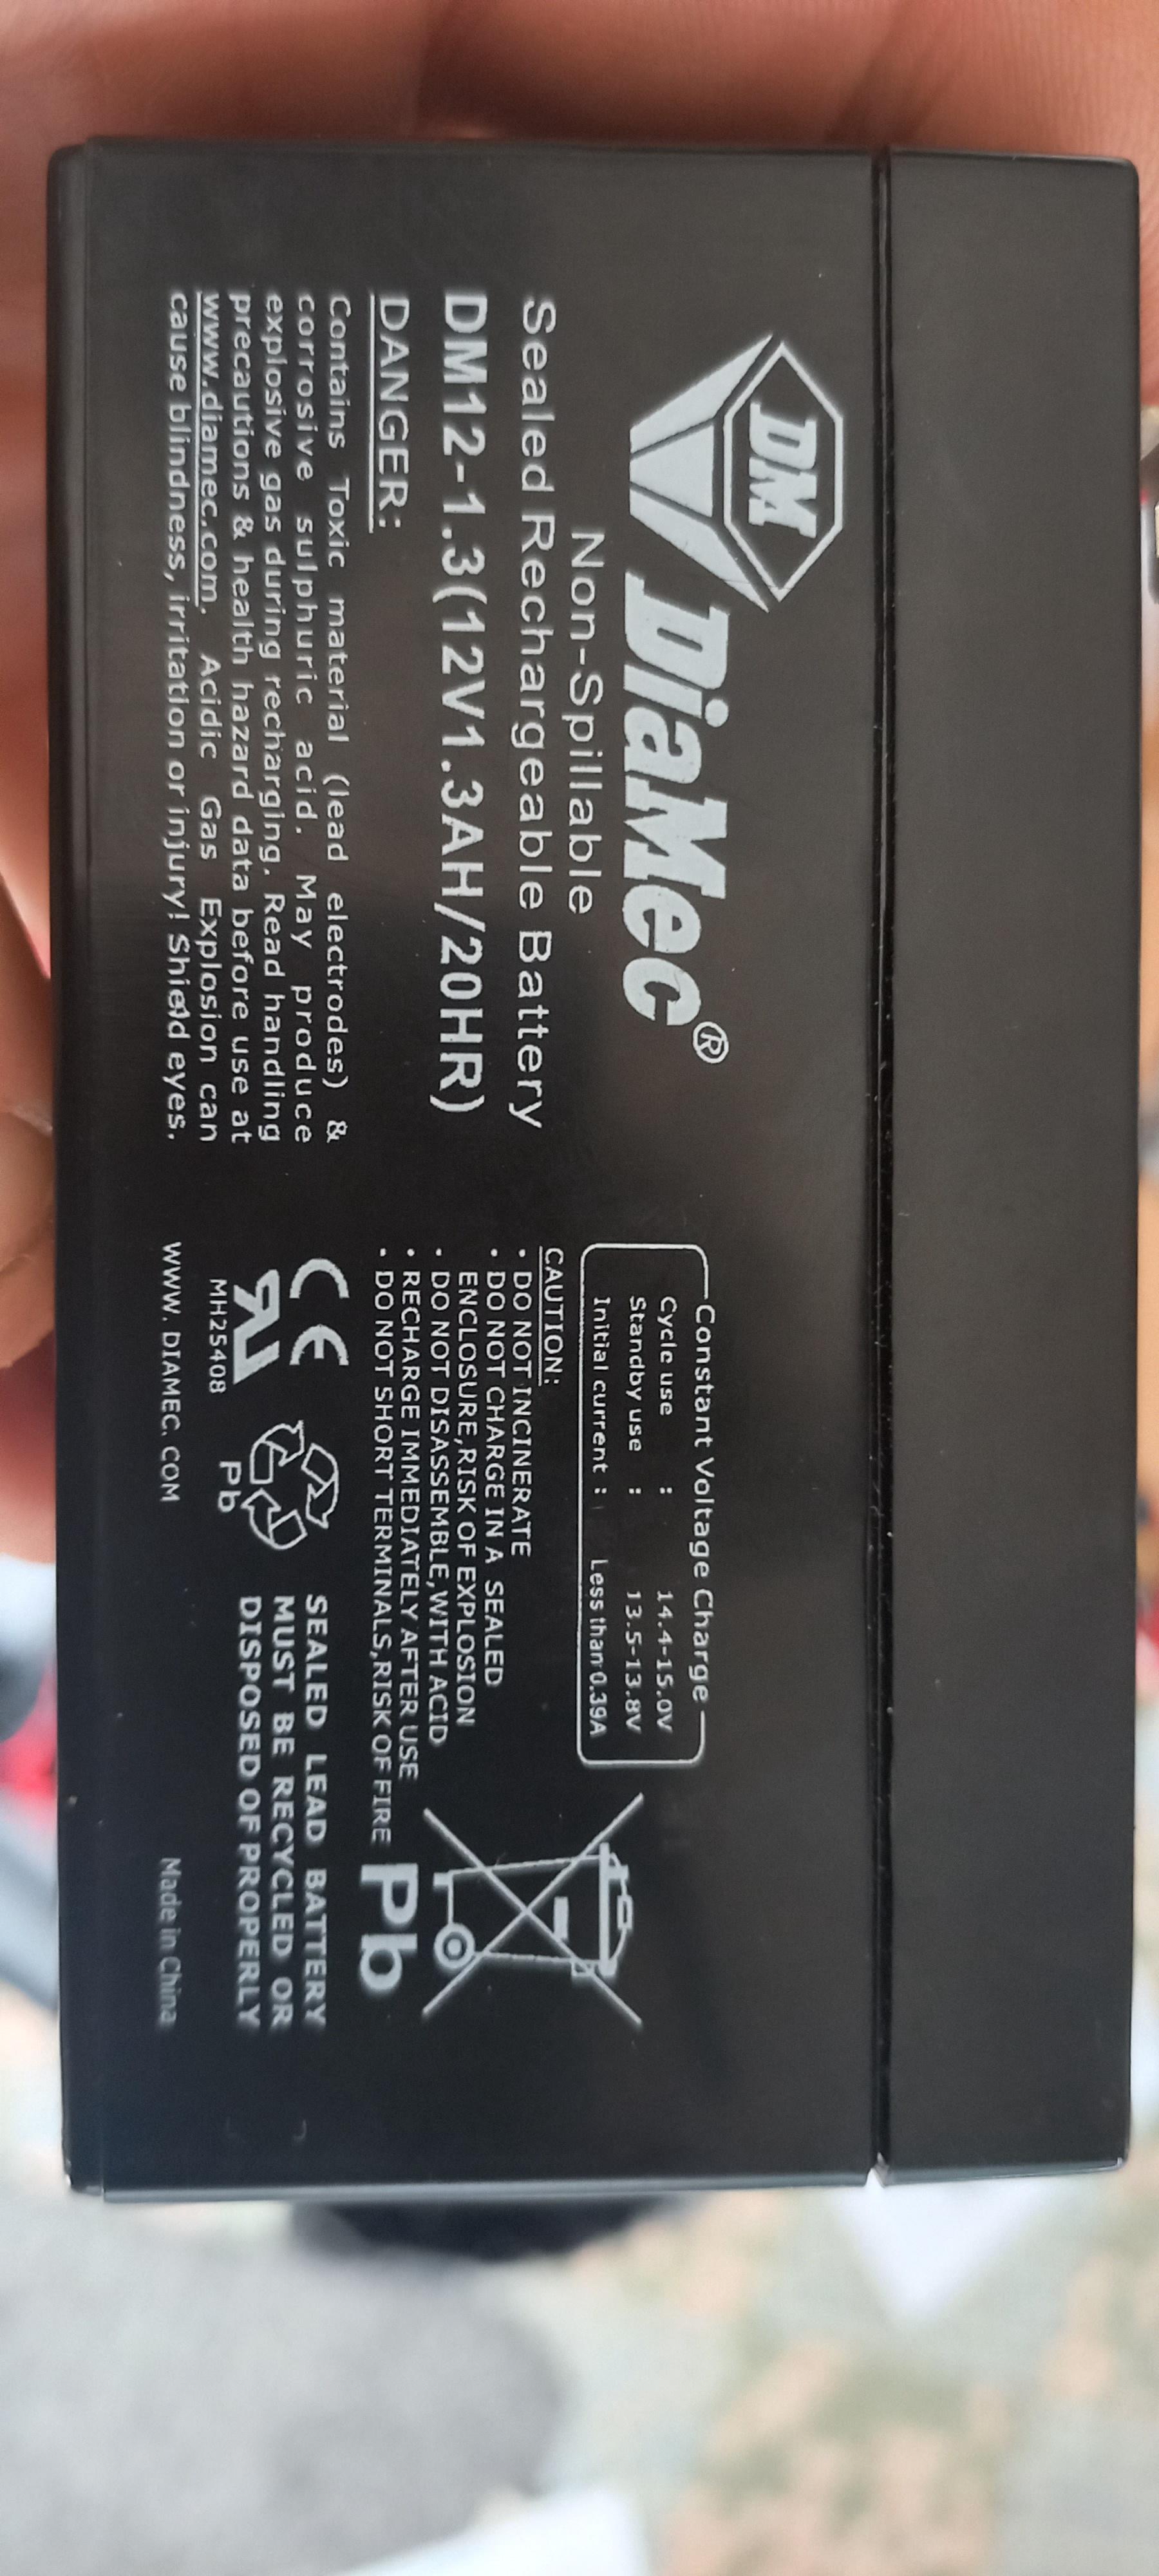
*Battery-DiaMec DM12-1.3(12V 1.3AH/20HR) Rechargeable purchased at Jaycar Orange NSW.
*PROTON PACK , GHOST TRAP , Ecto Goggles and Motorola MT500 radio Sticker Decal Pack purchased from ren_co50 eBay shop.
The Work:
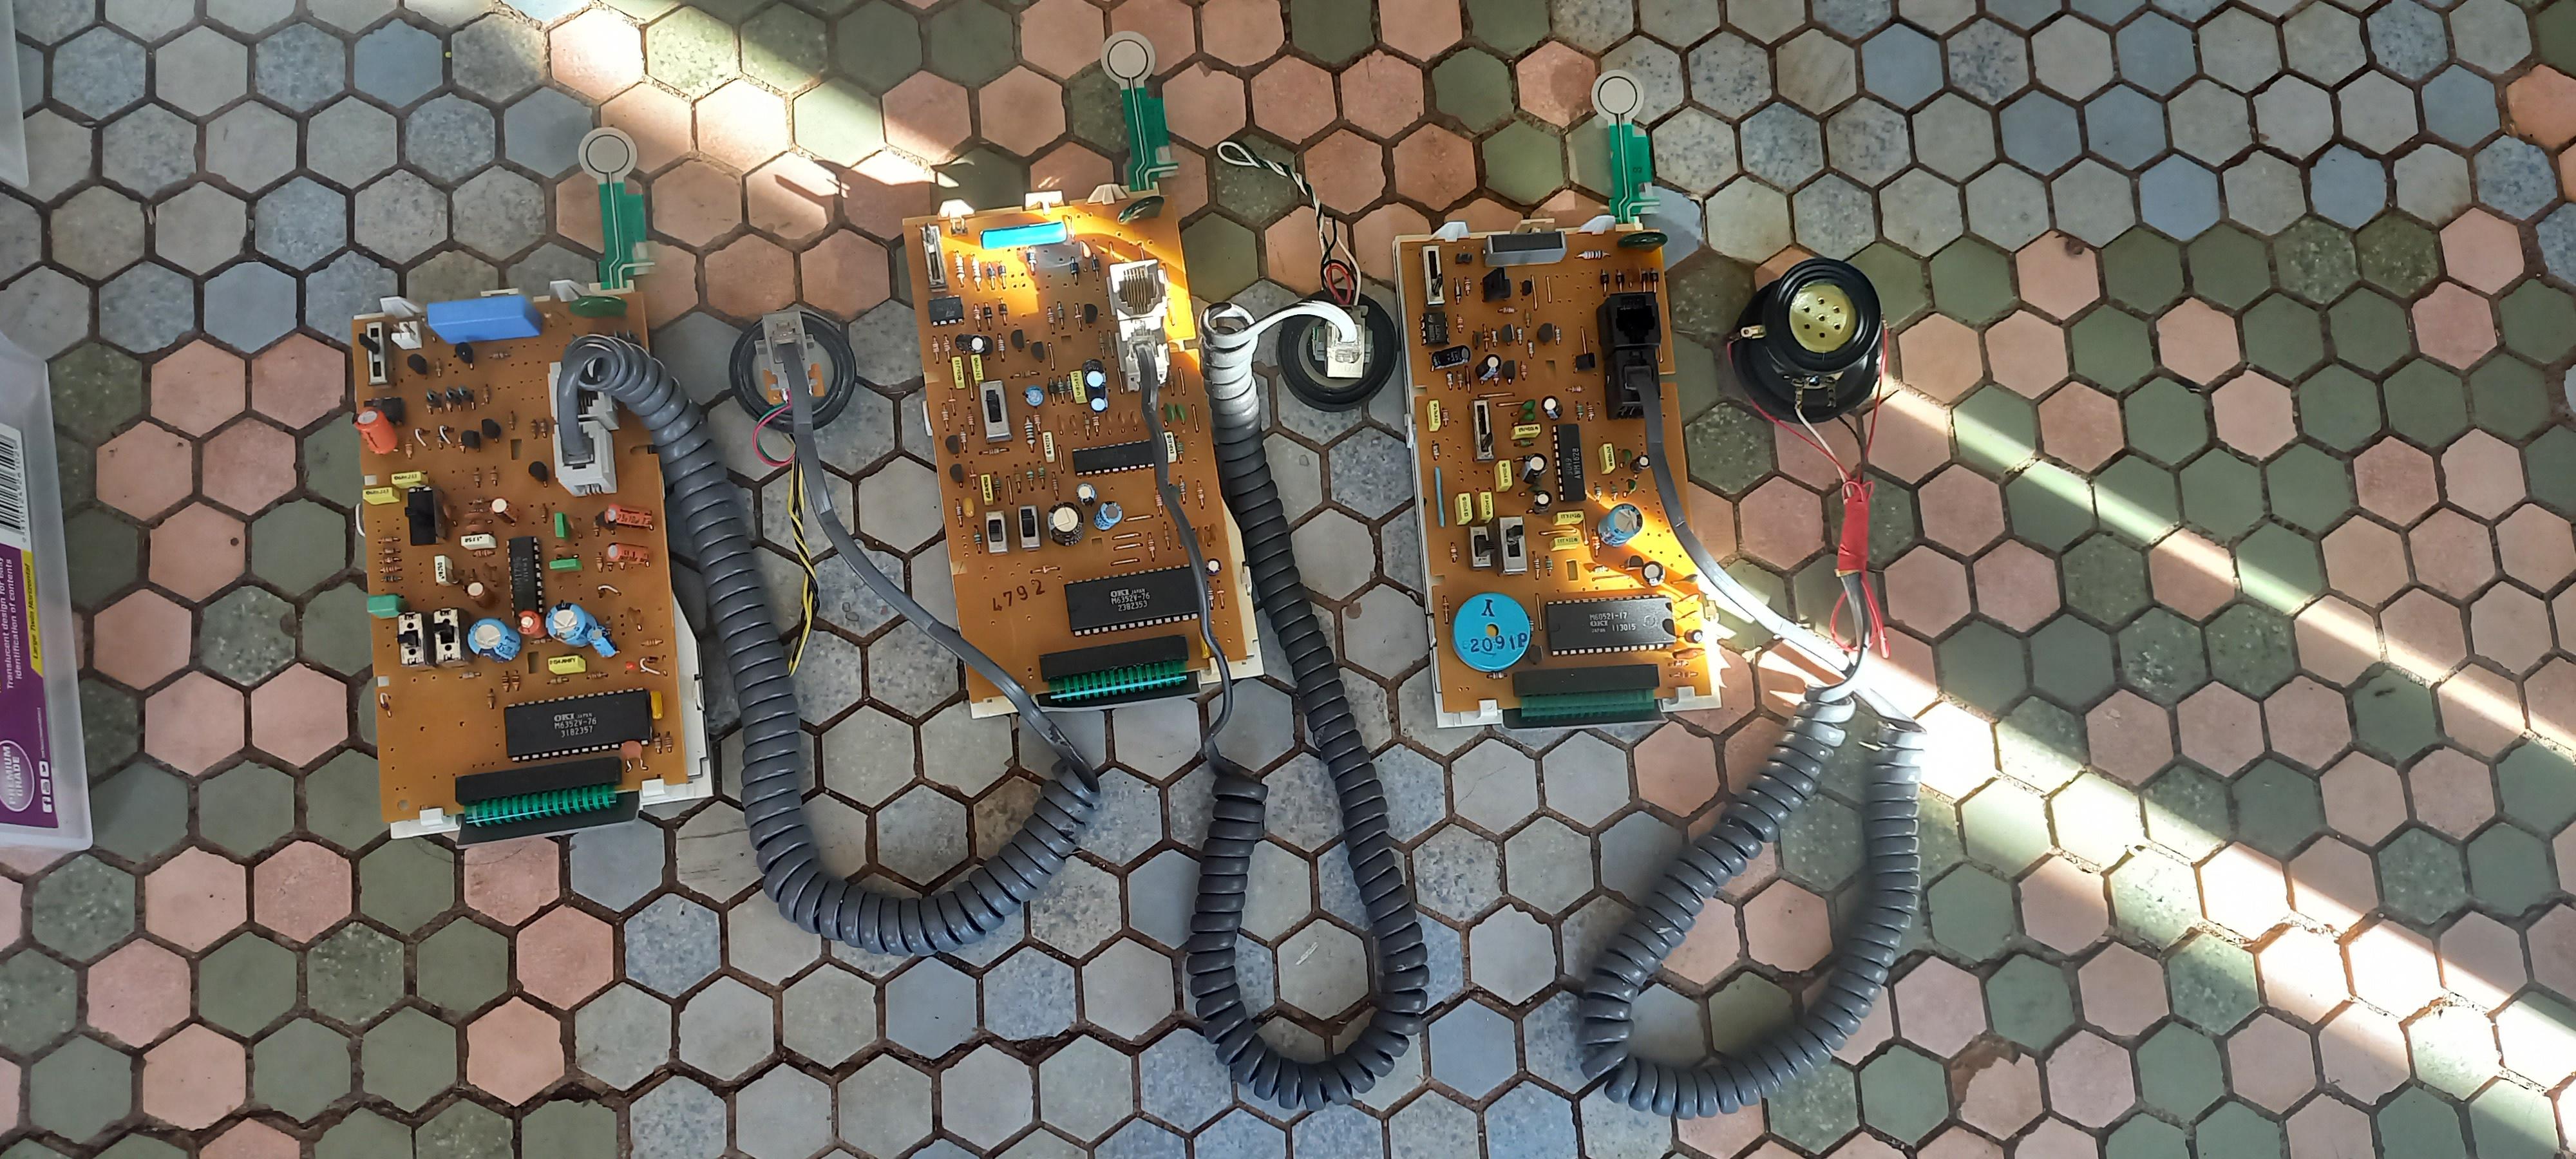
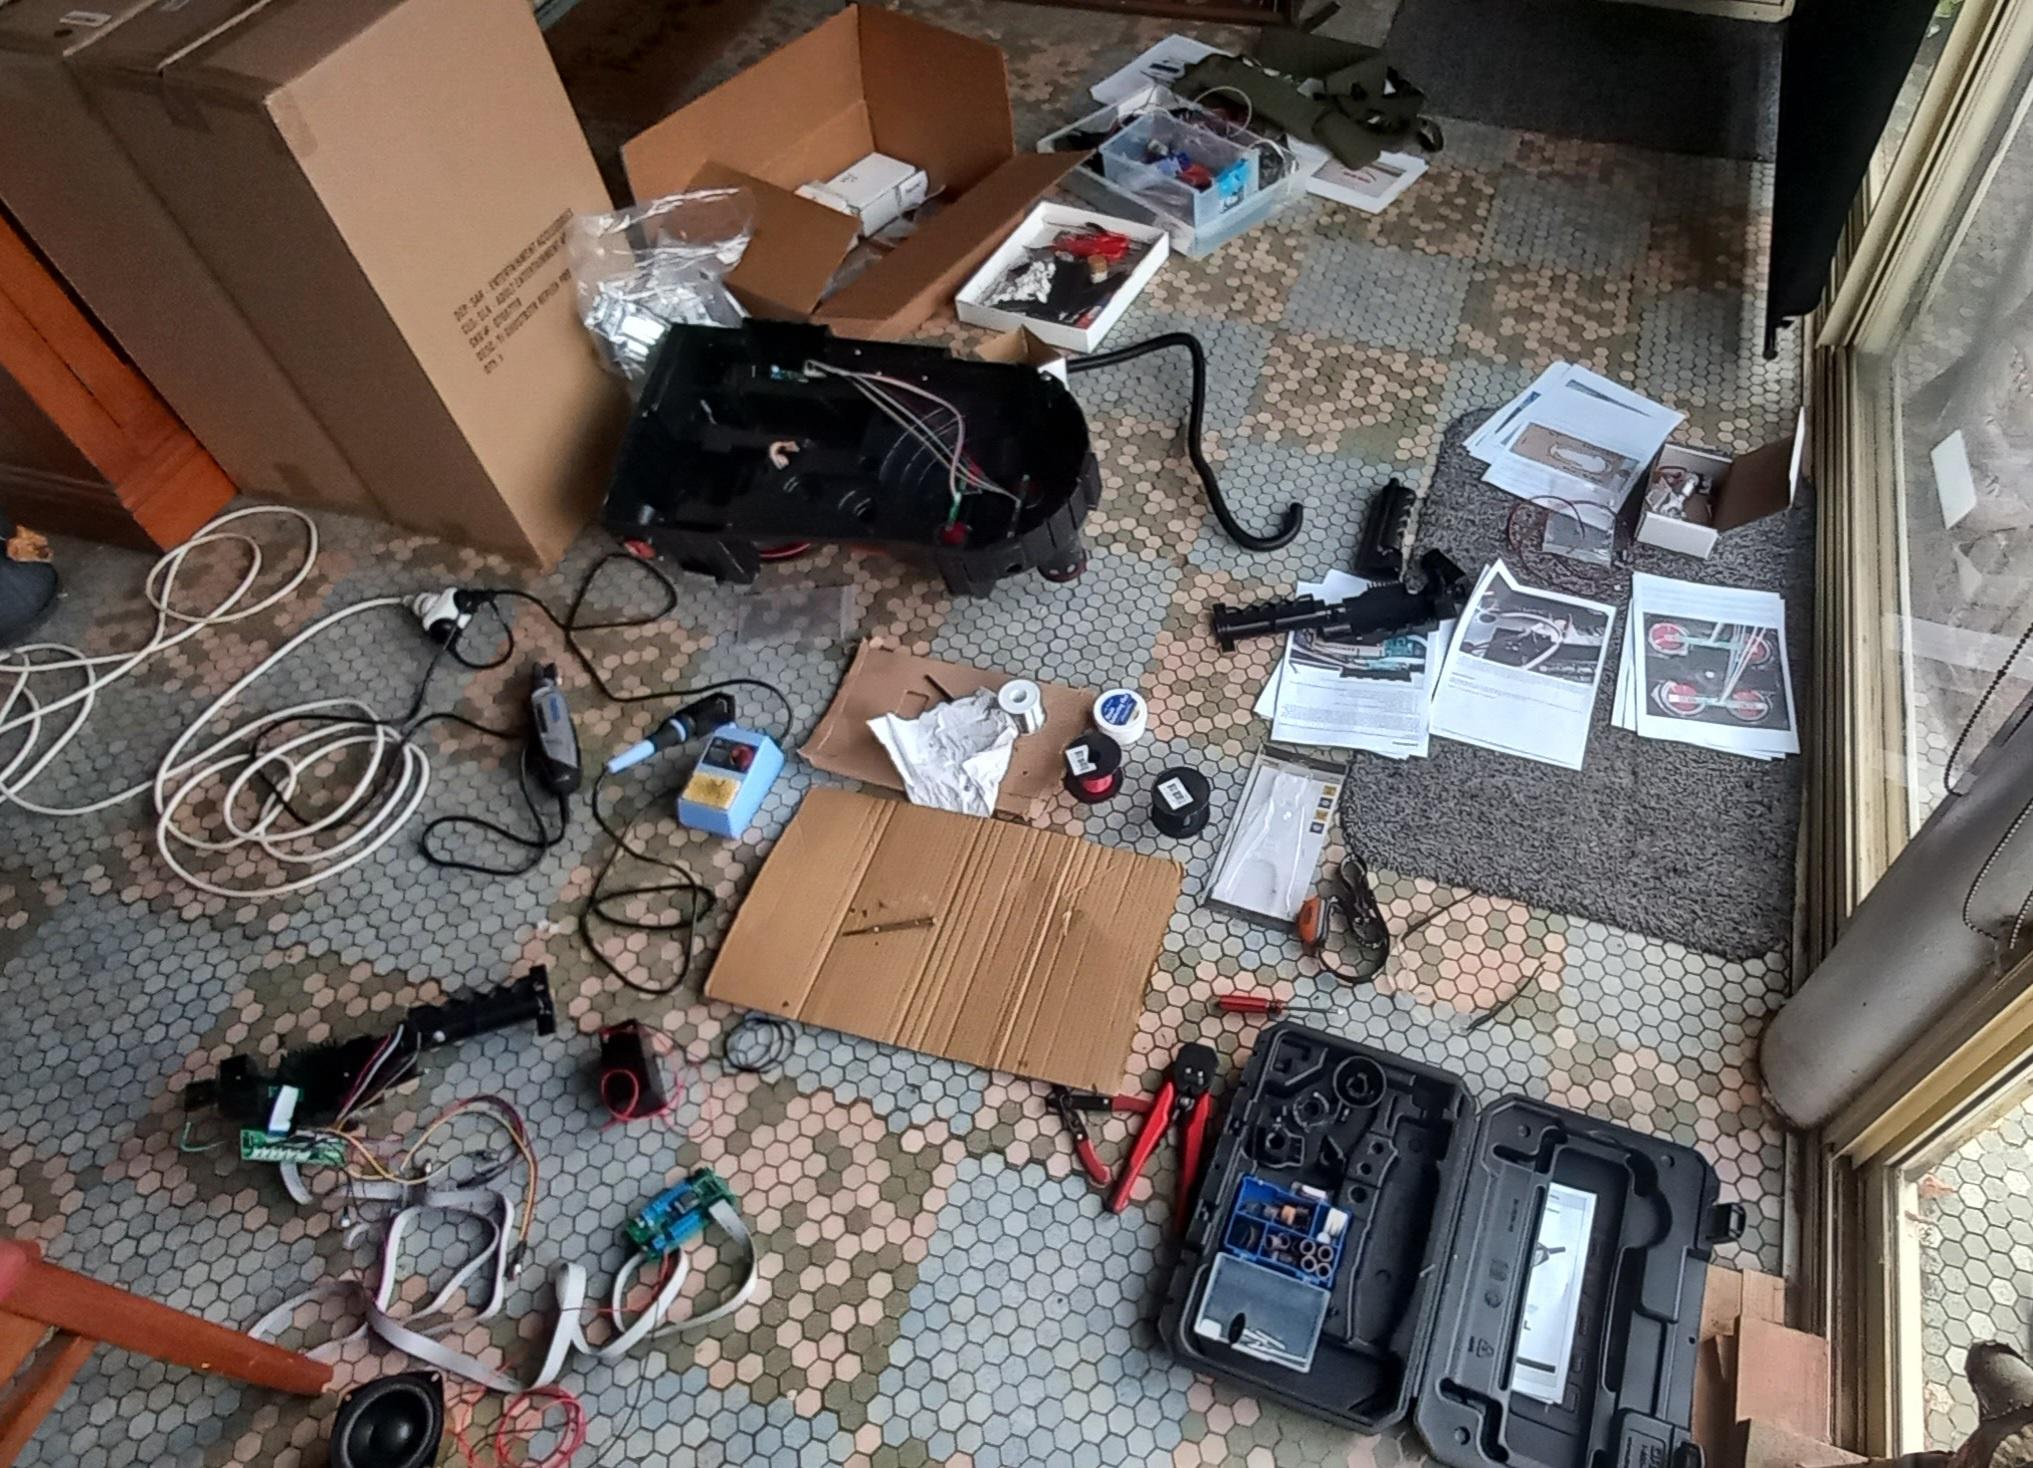
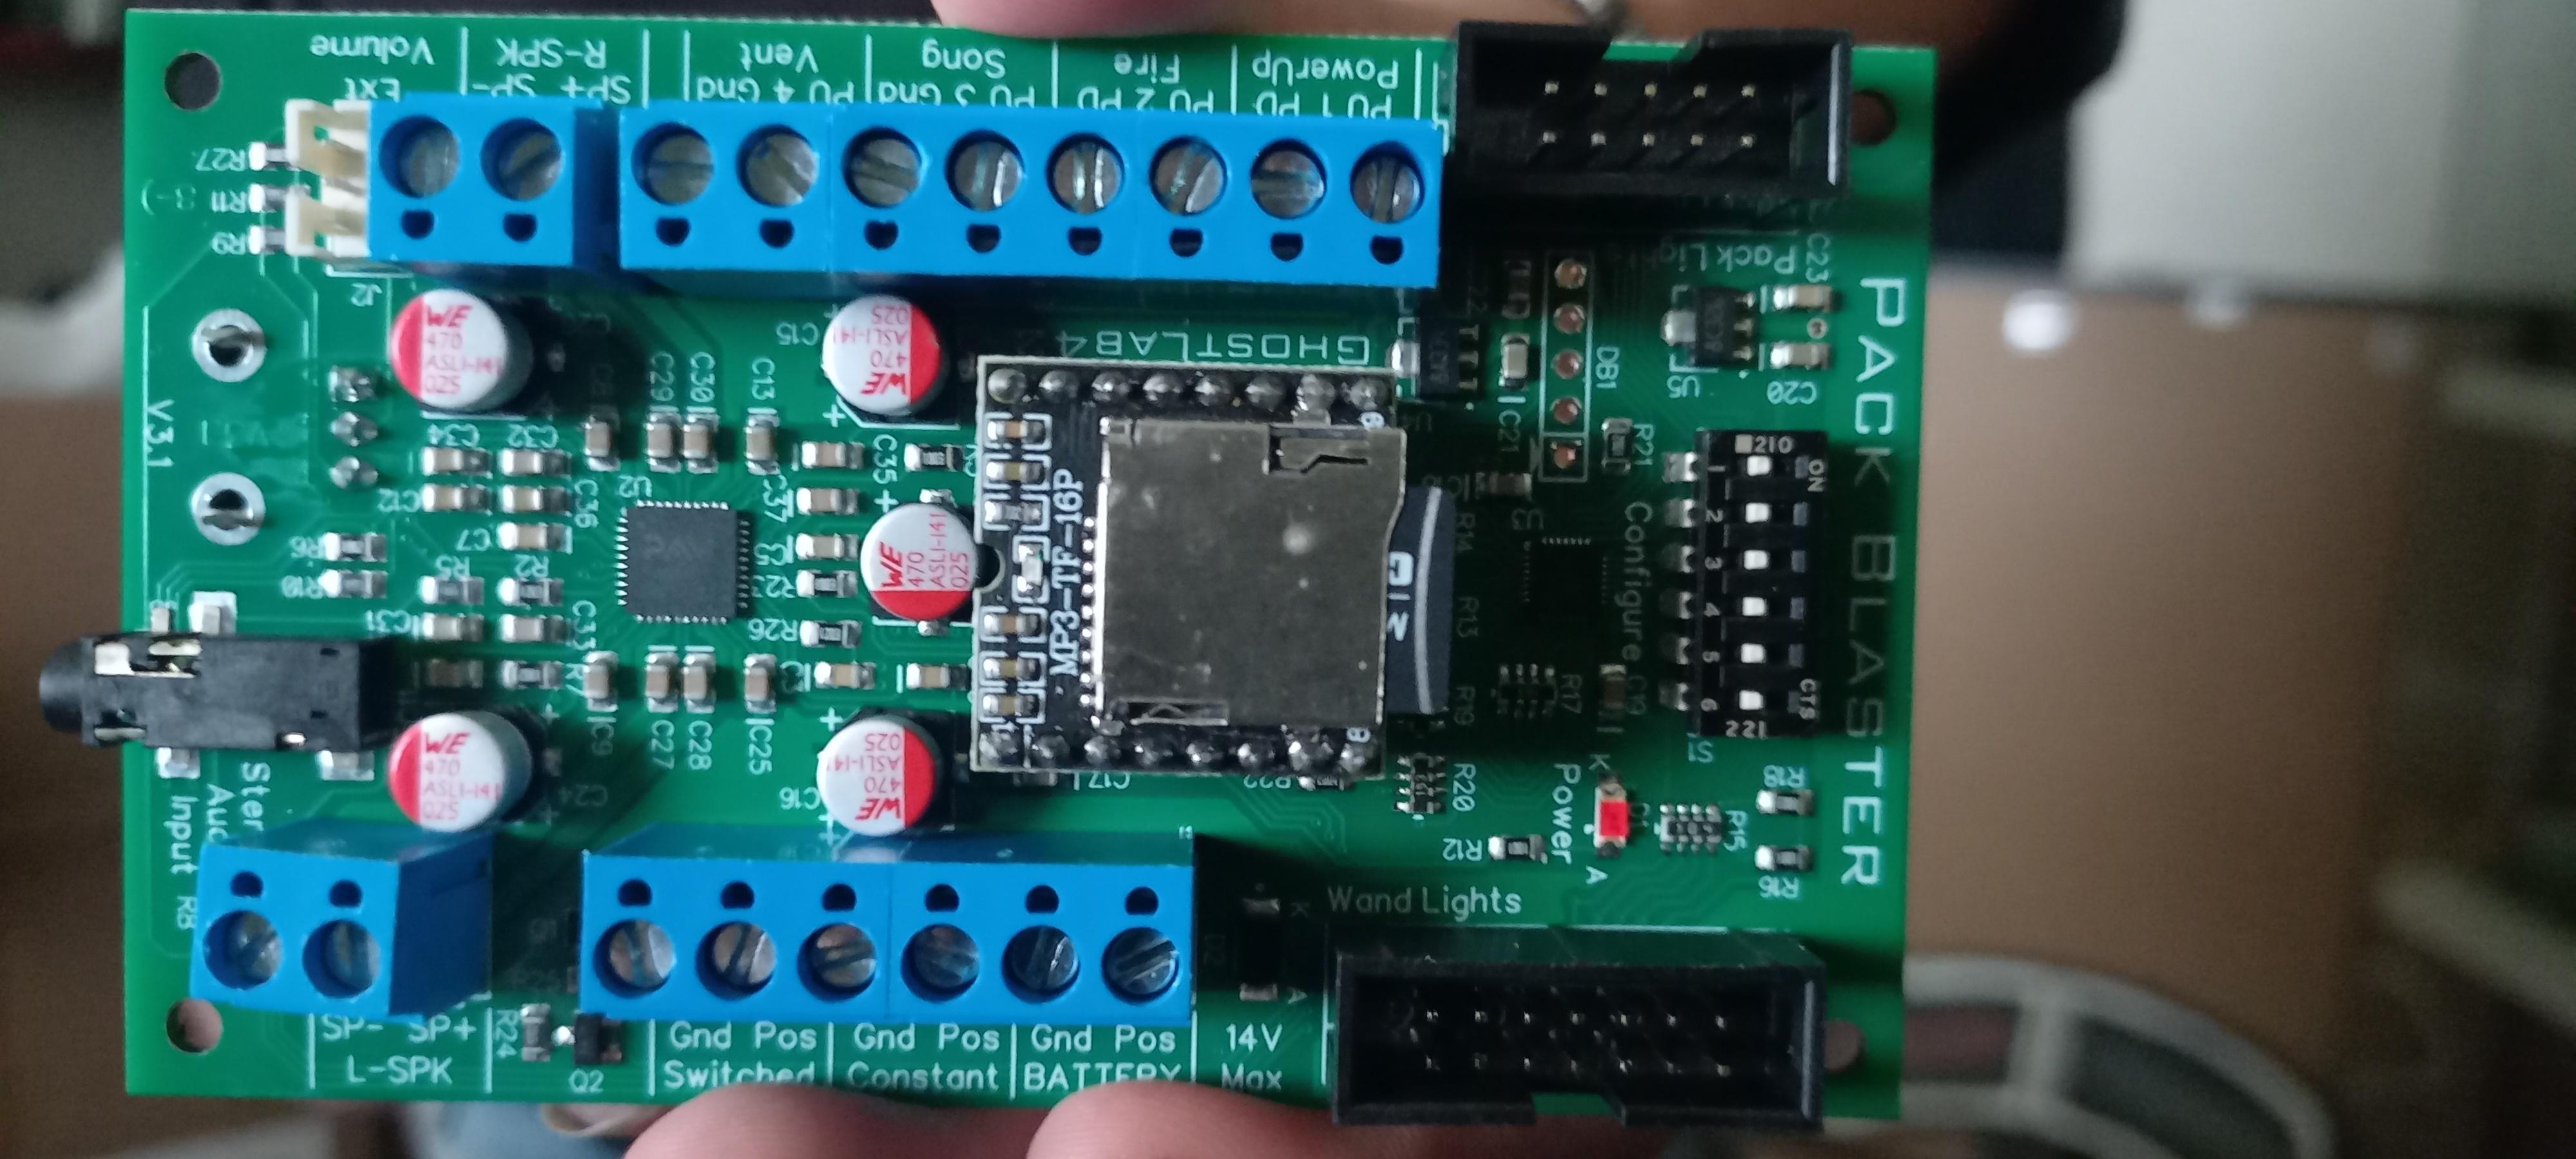
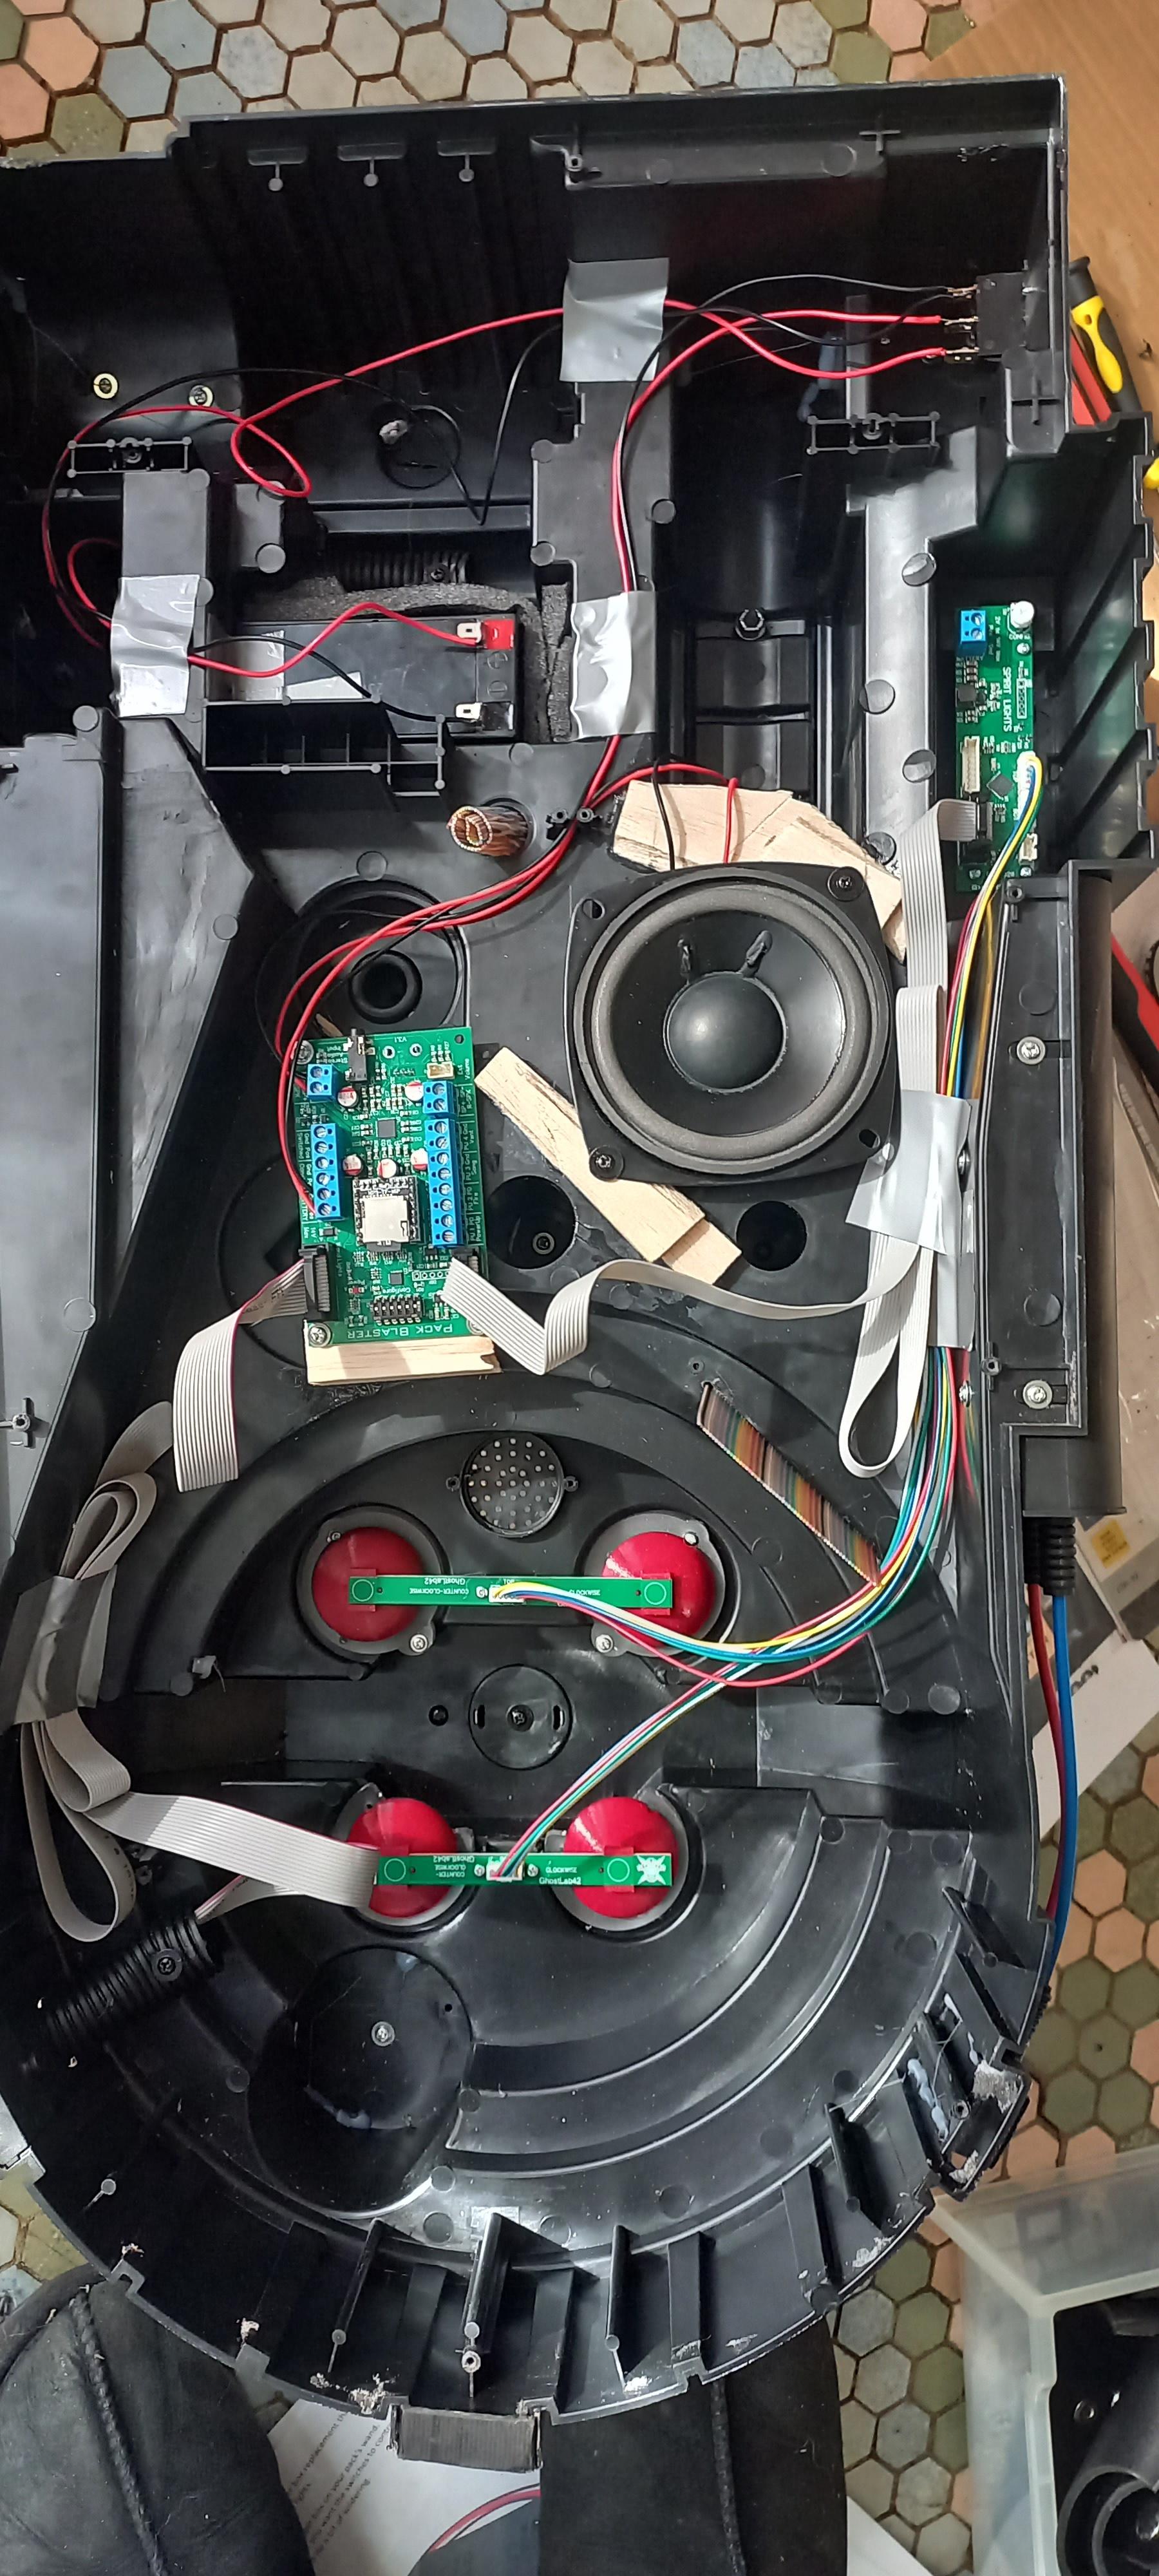
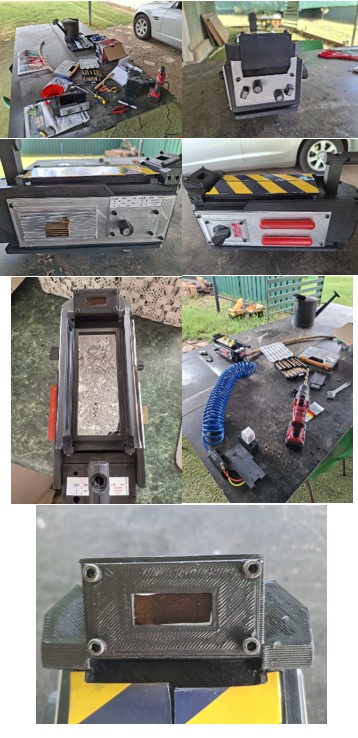
After purchasing all the basic parts of A.L.I.C.E frame, proton packs; I purchased the detailing kit with sound and lighting kits from eBay and GBfans (see above). When they all arrived I started by soldering the red and black wires to the speaker and battery; to connect power to the sound board & have sound to make everything sure it would work as I went about the builds. I stripped the Spirit Halloween lights and sound from the pack & wand (keeping the screws to be reused).
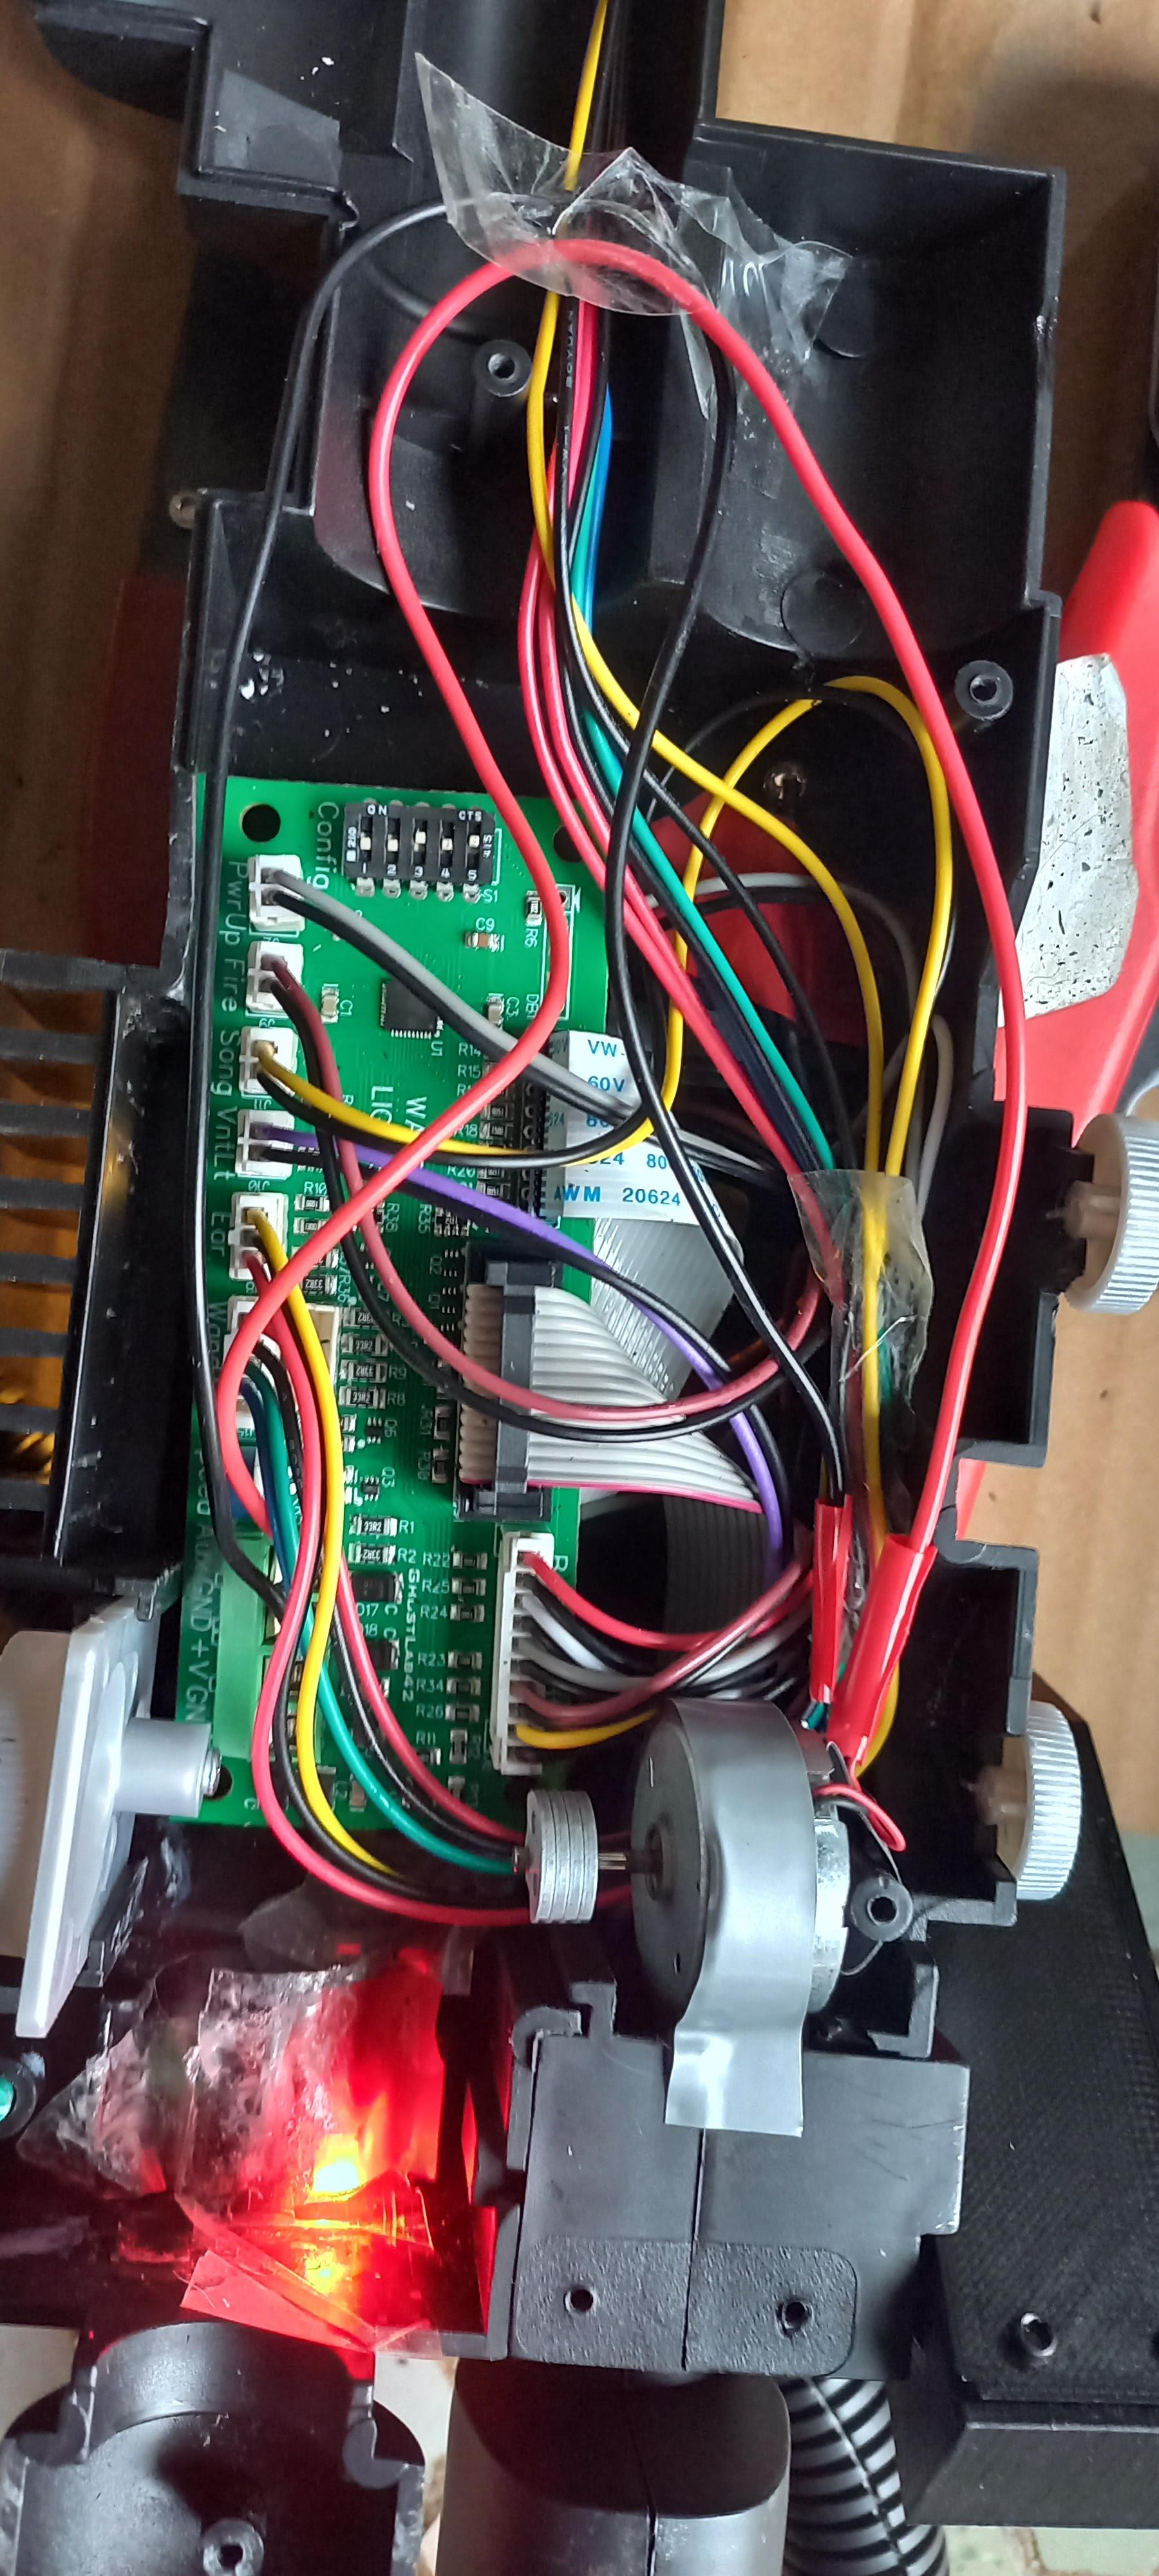
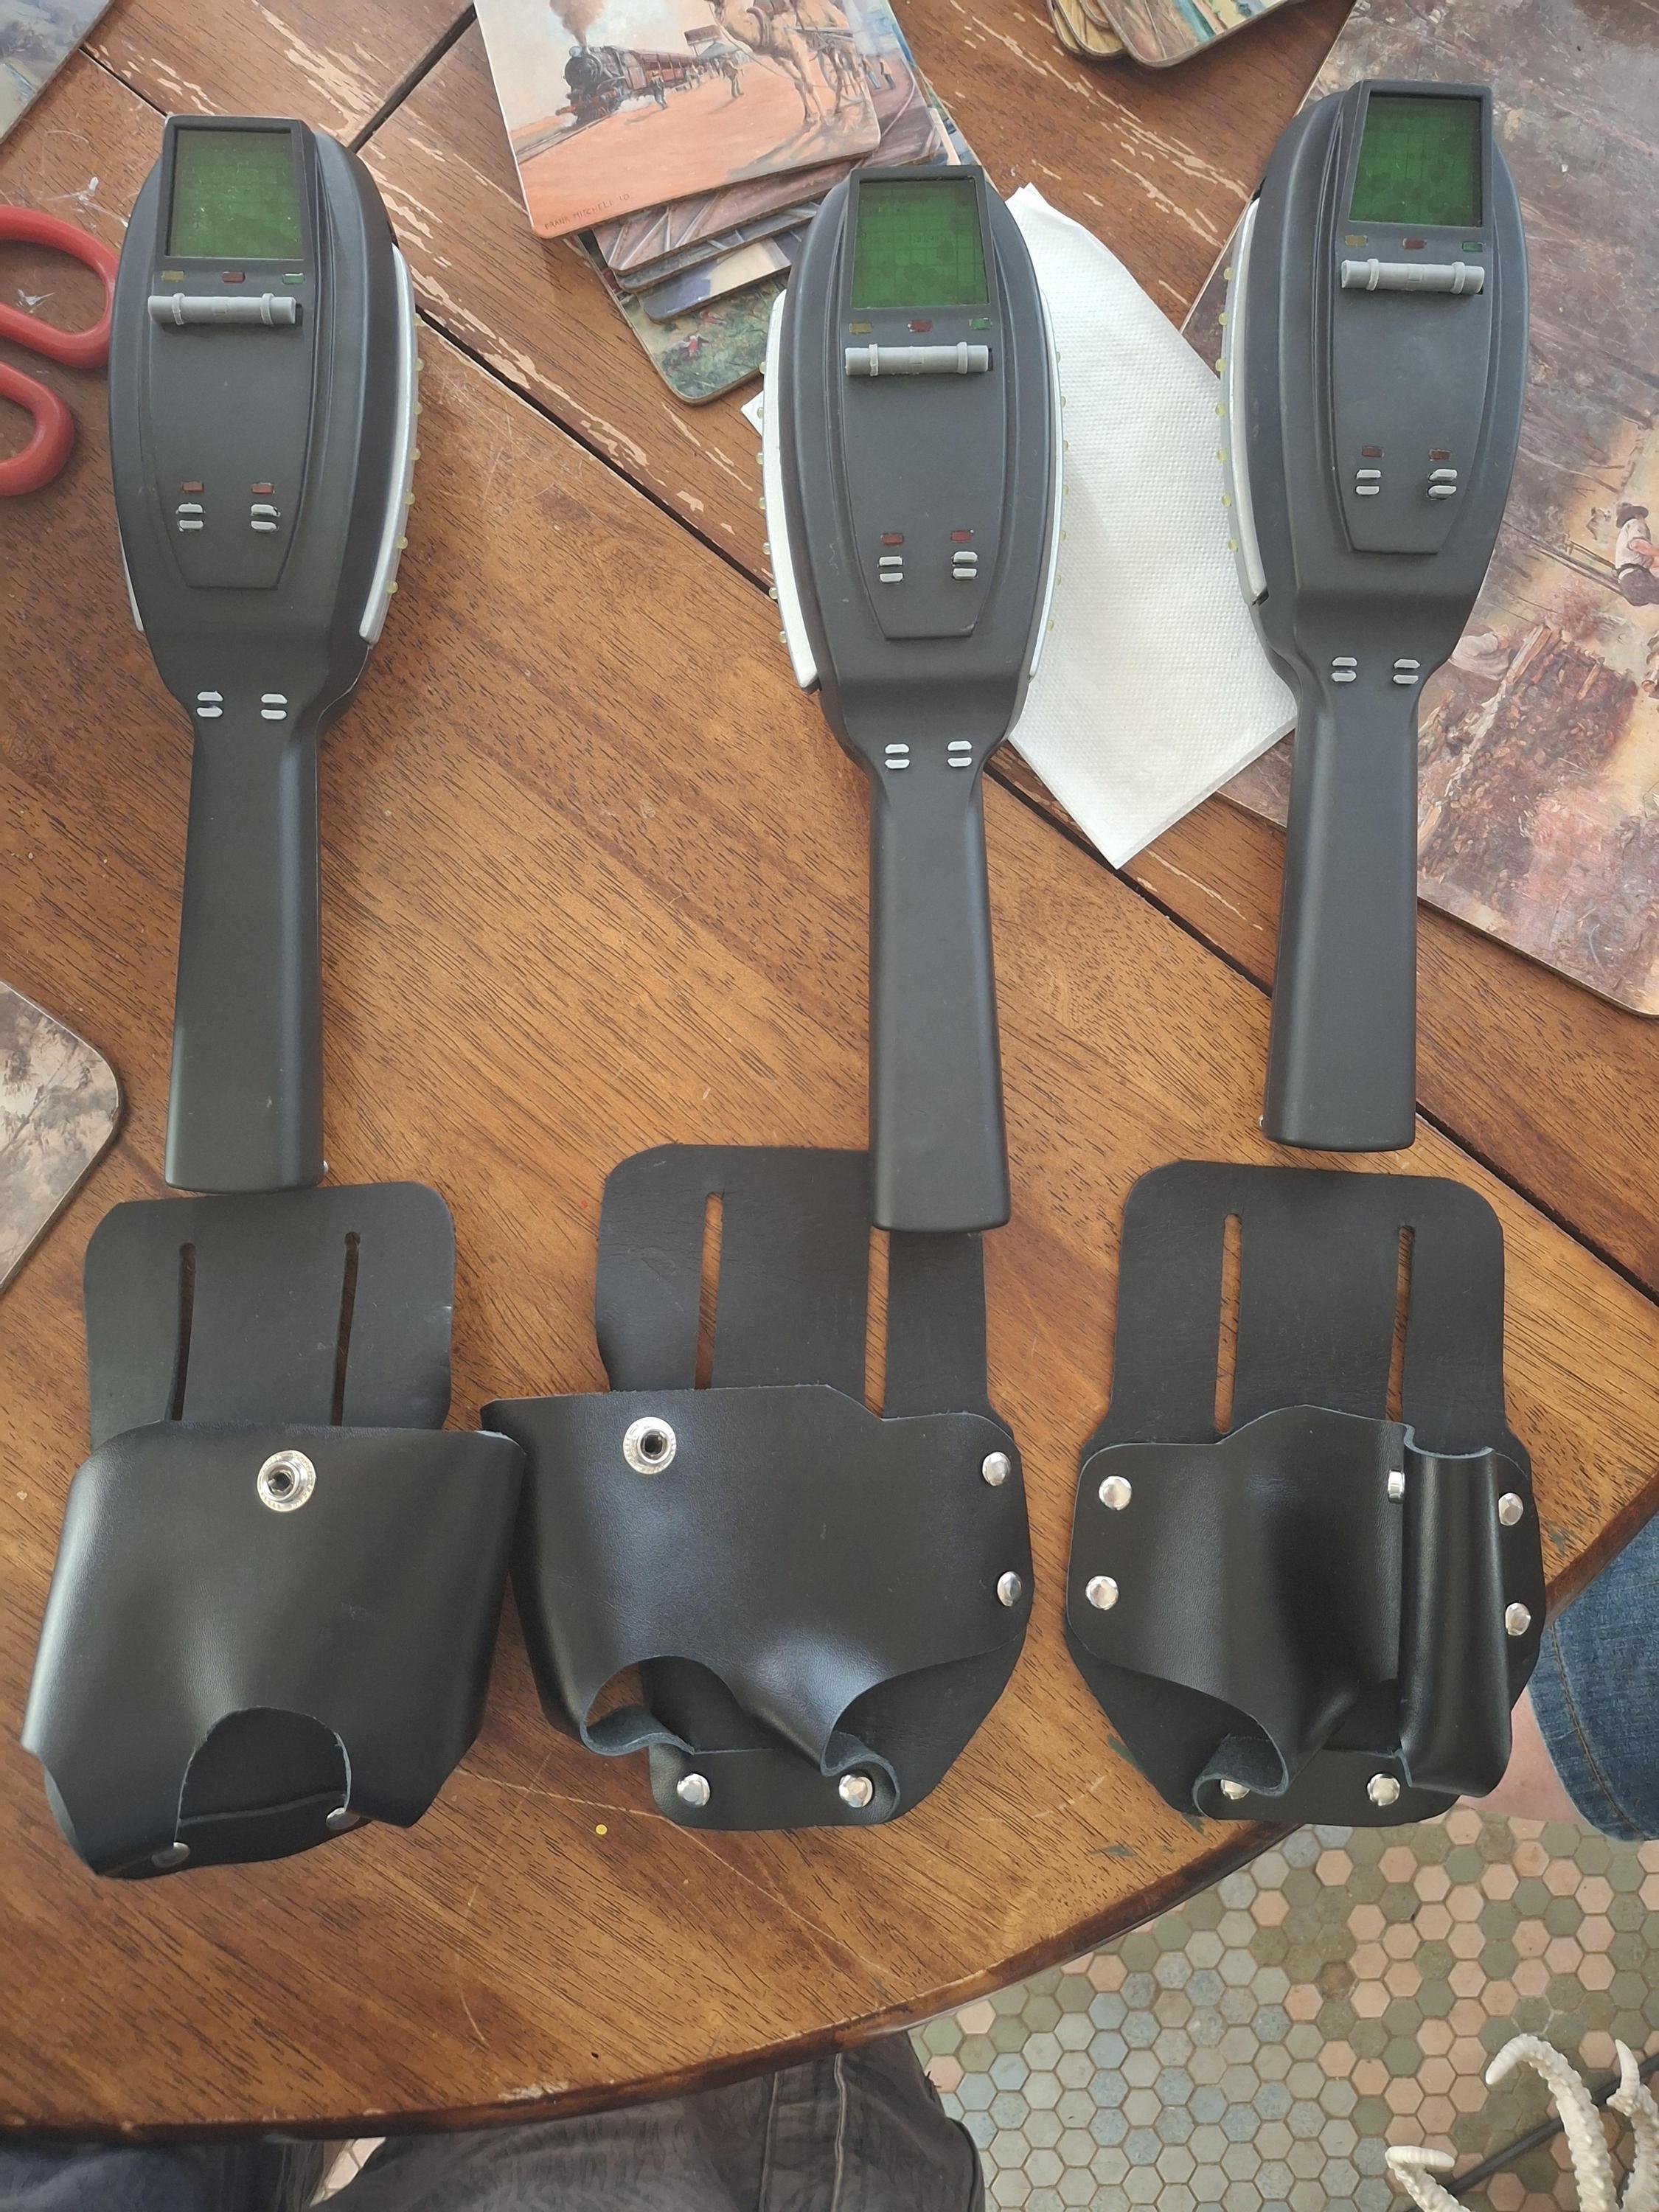
I attached the blue lights with the cyclotron lights first as per the instructions and attached the ribbon cable to the sound kit. The ribbon cable from the wand to inside the pack had to have a slit cut into it to fit the ribbon through. The wand was the longest part.
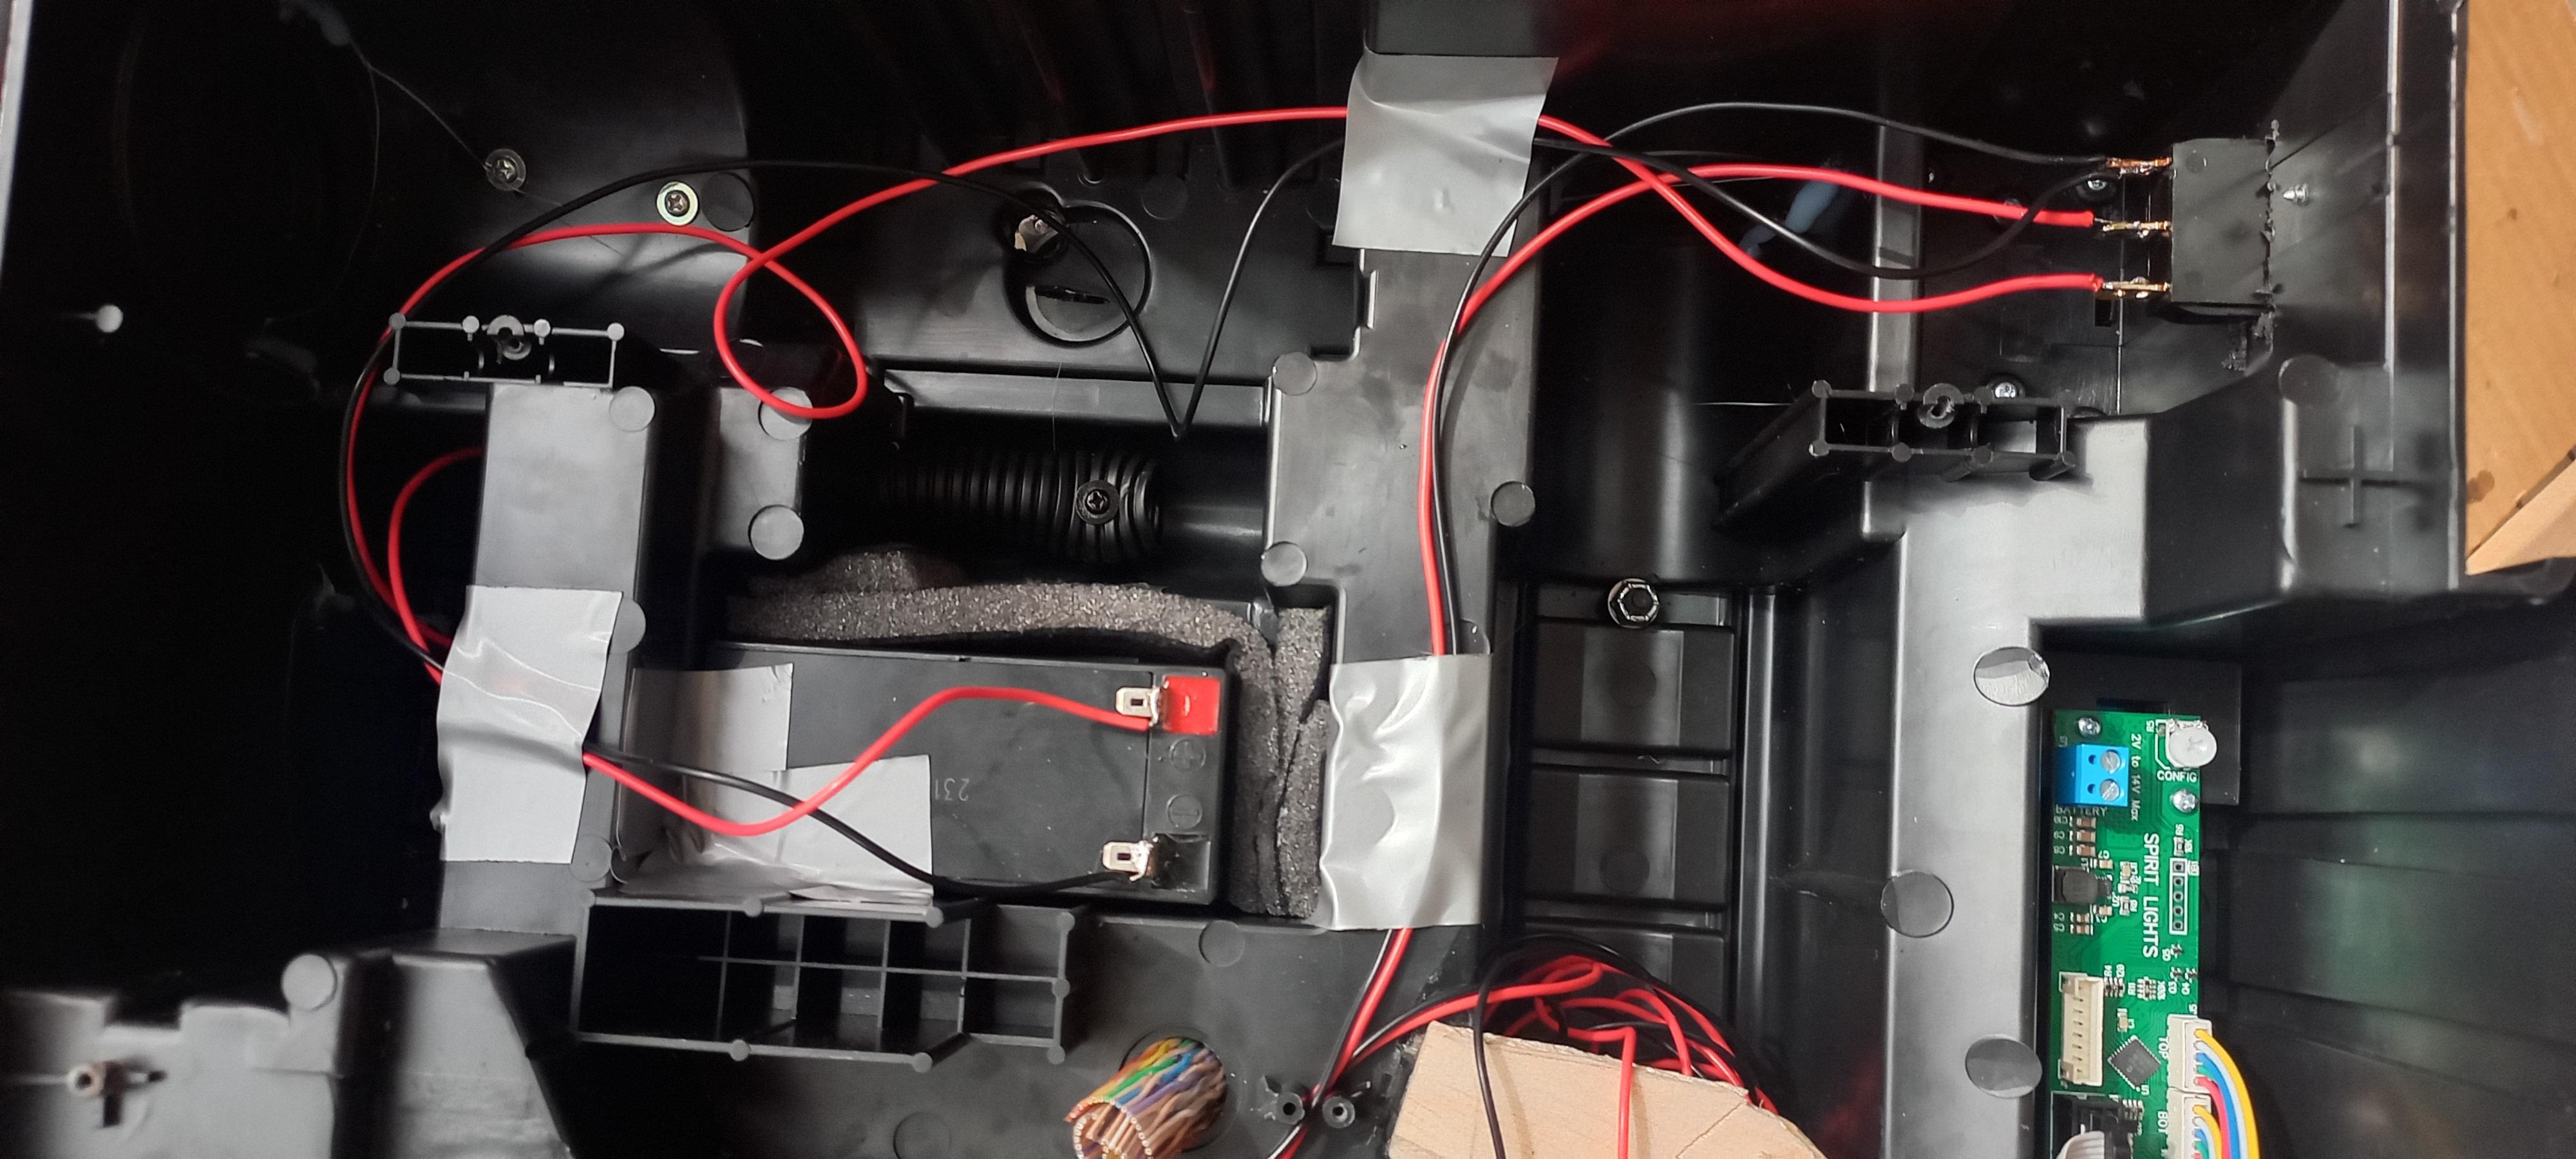
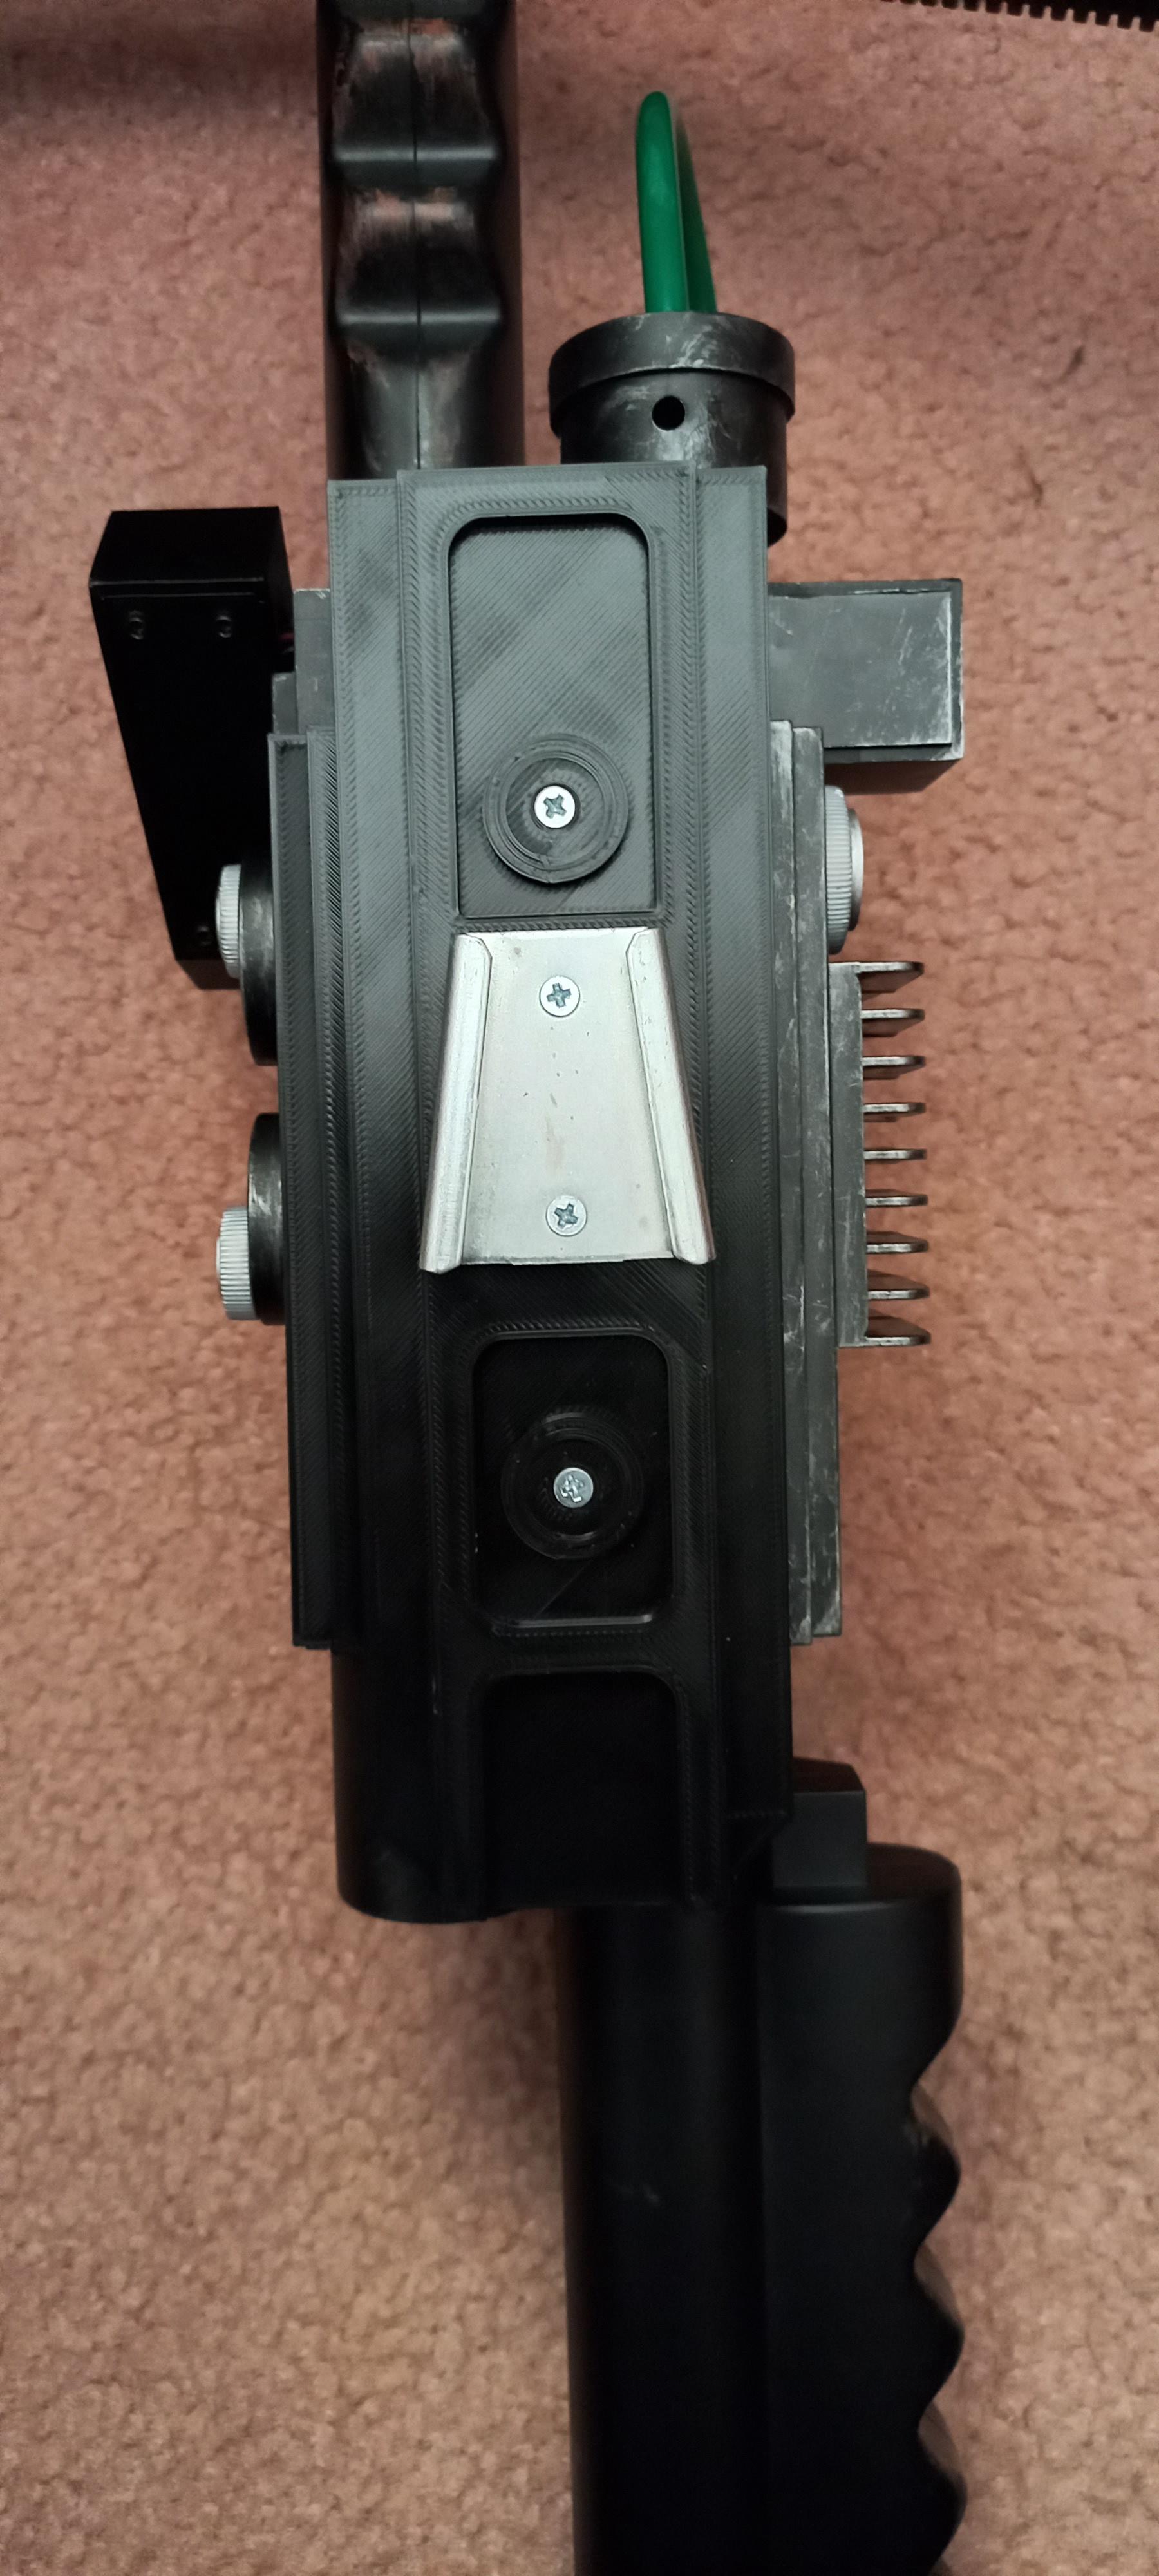
With the wand I used various Dremel bits to cut out the holes needing for the lights, switches and cables. I tried to follow the instruction for the light kit, but it can be trial and error to secure some of the parts in a tight space. Made sure all switches would flick up for on and flick down for off. Originally had a rumbler using xbox motors, but they interfered with the operation of the lights and had to be removed for both wands. All the wires were secured and kept neat with duct tape, keeping them away from being crushed by where the screws are.
The speaker was placed into position and secured by the hobby wood and spear screws from the pack. Battery was held down by duct tape with foam padding (which was the pad from the back of the Halloween pack). Battery was soldered to the switch with power wires being soldered from the switch to the sound board. *Please note that the wires going into the sound board were not soldered directly to the board, but had soldered tips that were screwed down. The switch was placed on the side of the pack and was fitted to operate the same as the switches on the wand (up-on/down-off) after marking the dimensions and cutting out the hole for it using a Dremel.
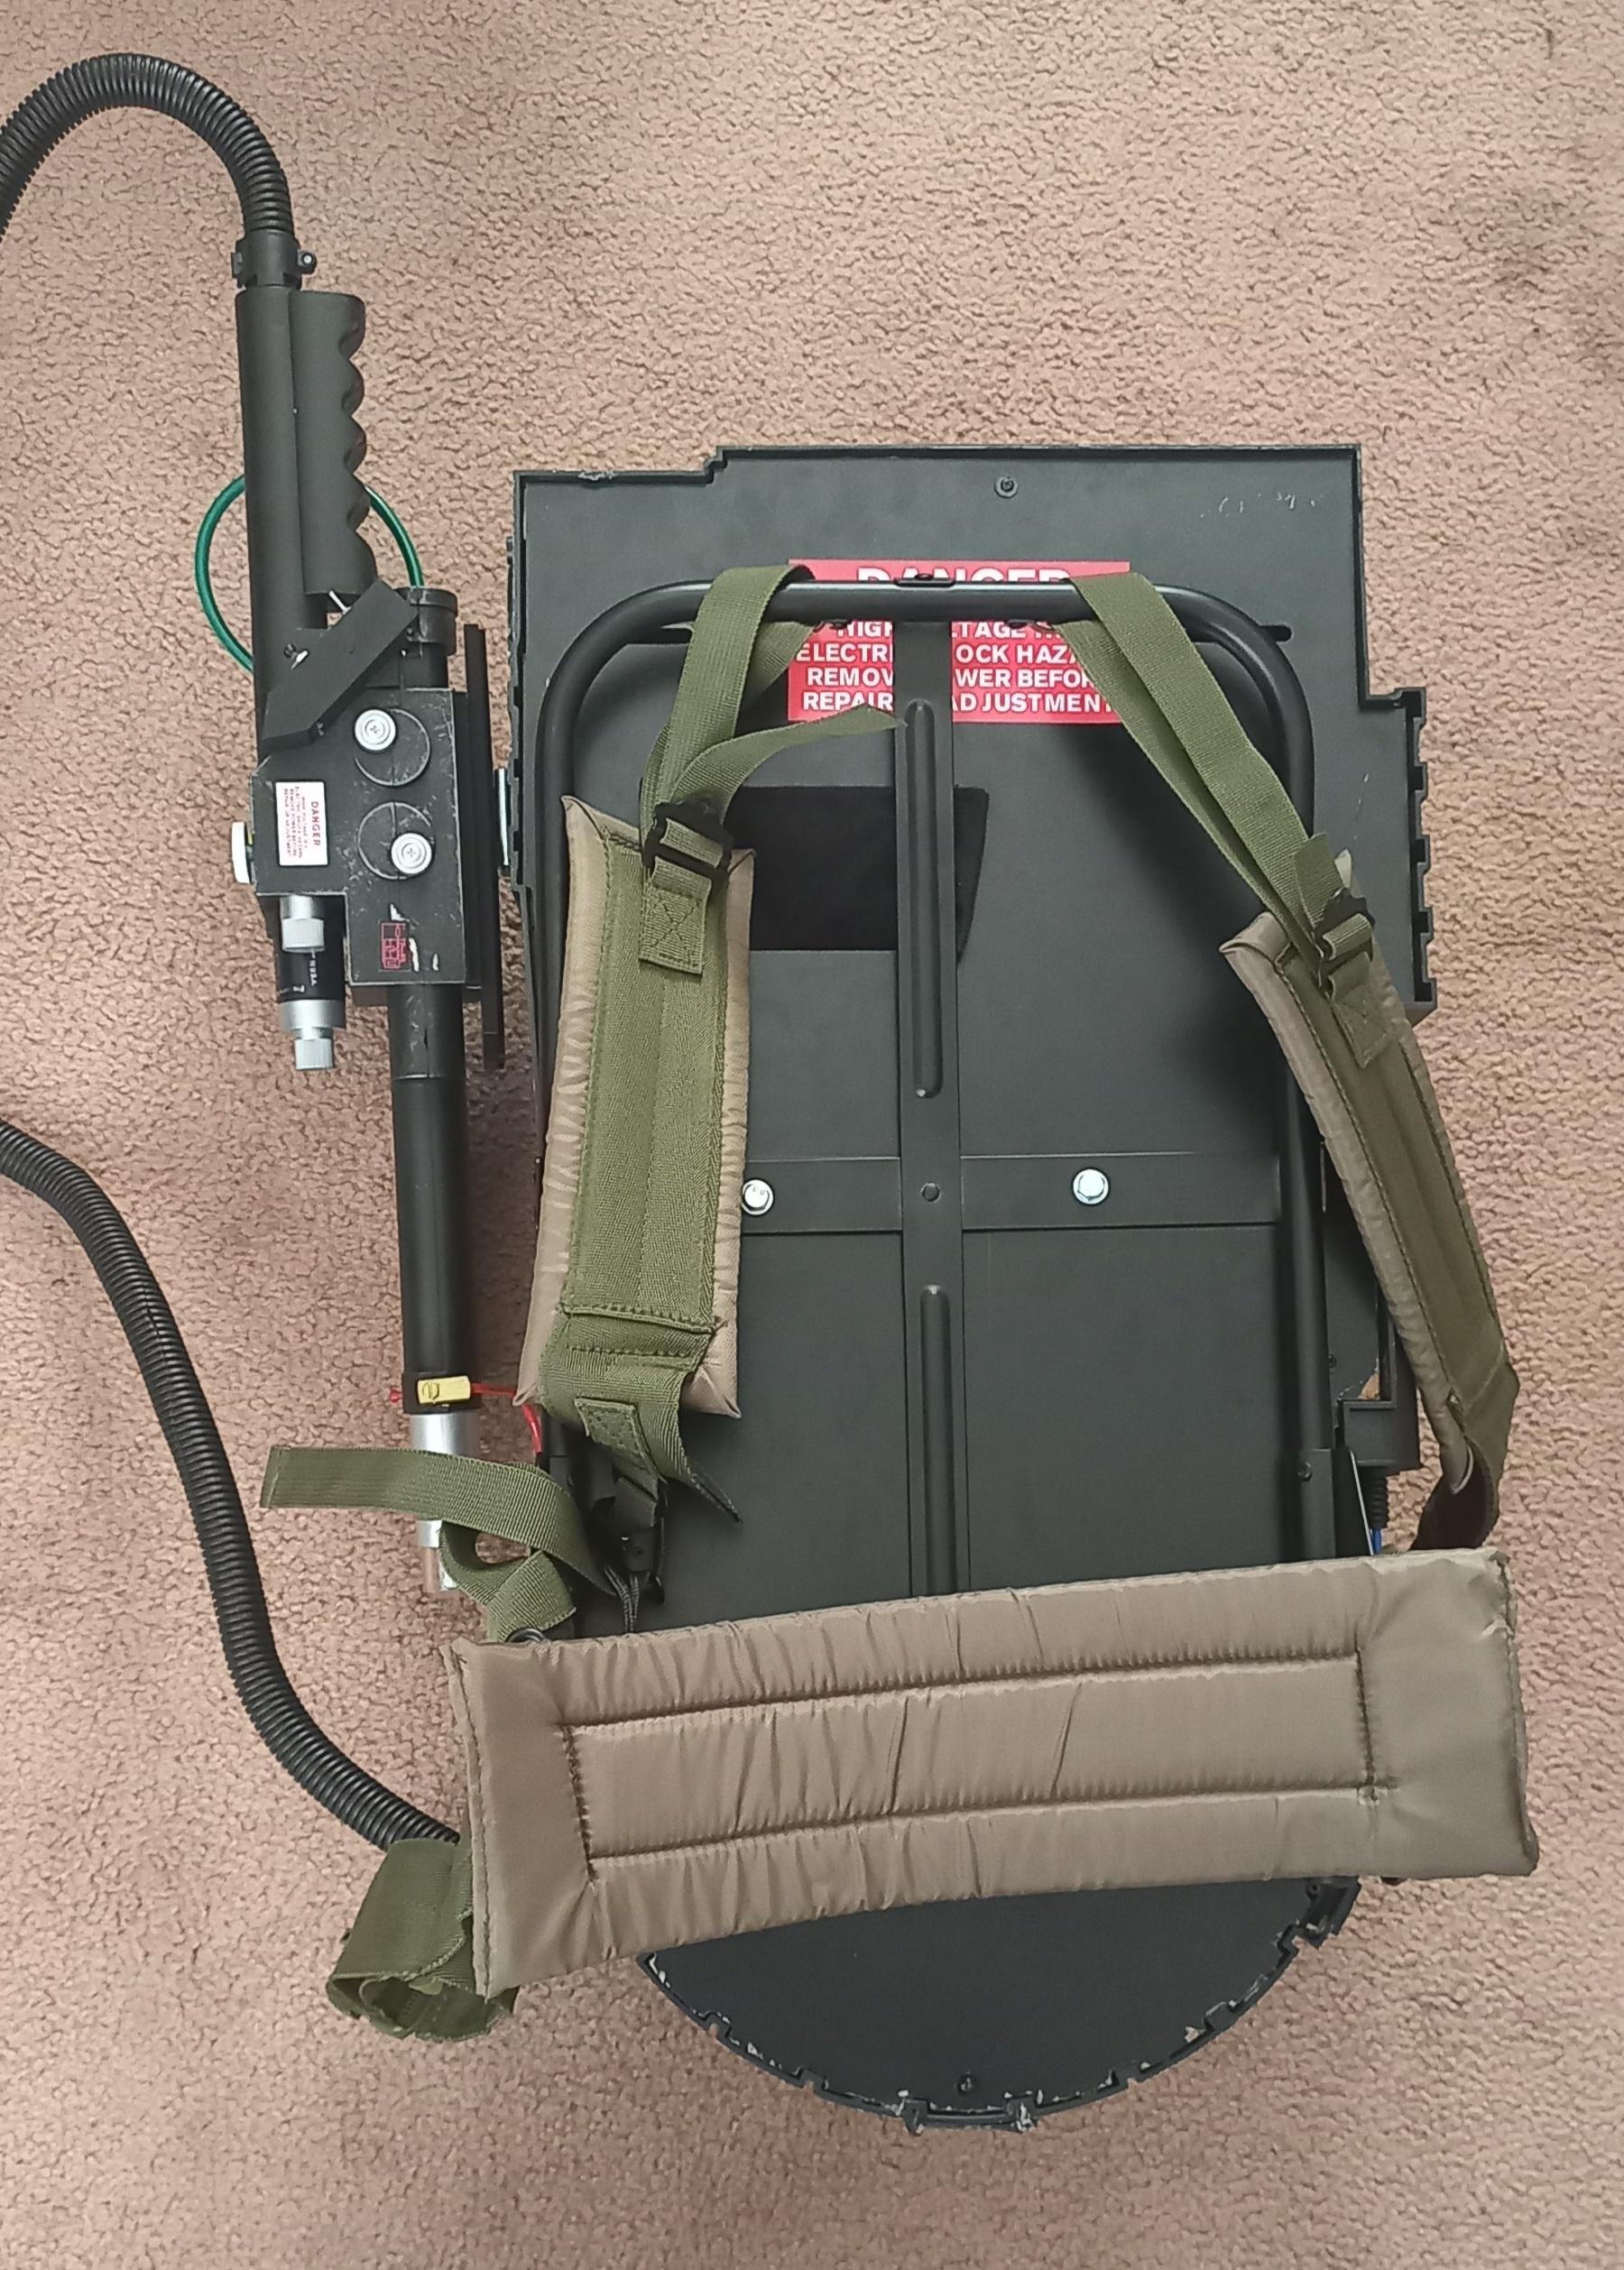
8.8 bolts were used to secure the A.L.I.C.E Frame to the original back board from the pack and then screwed to the packs using the original screws.
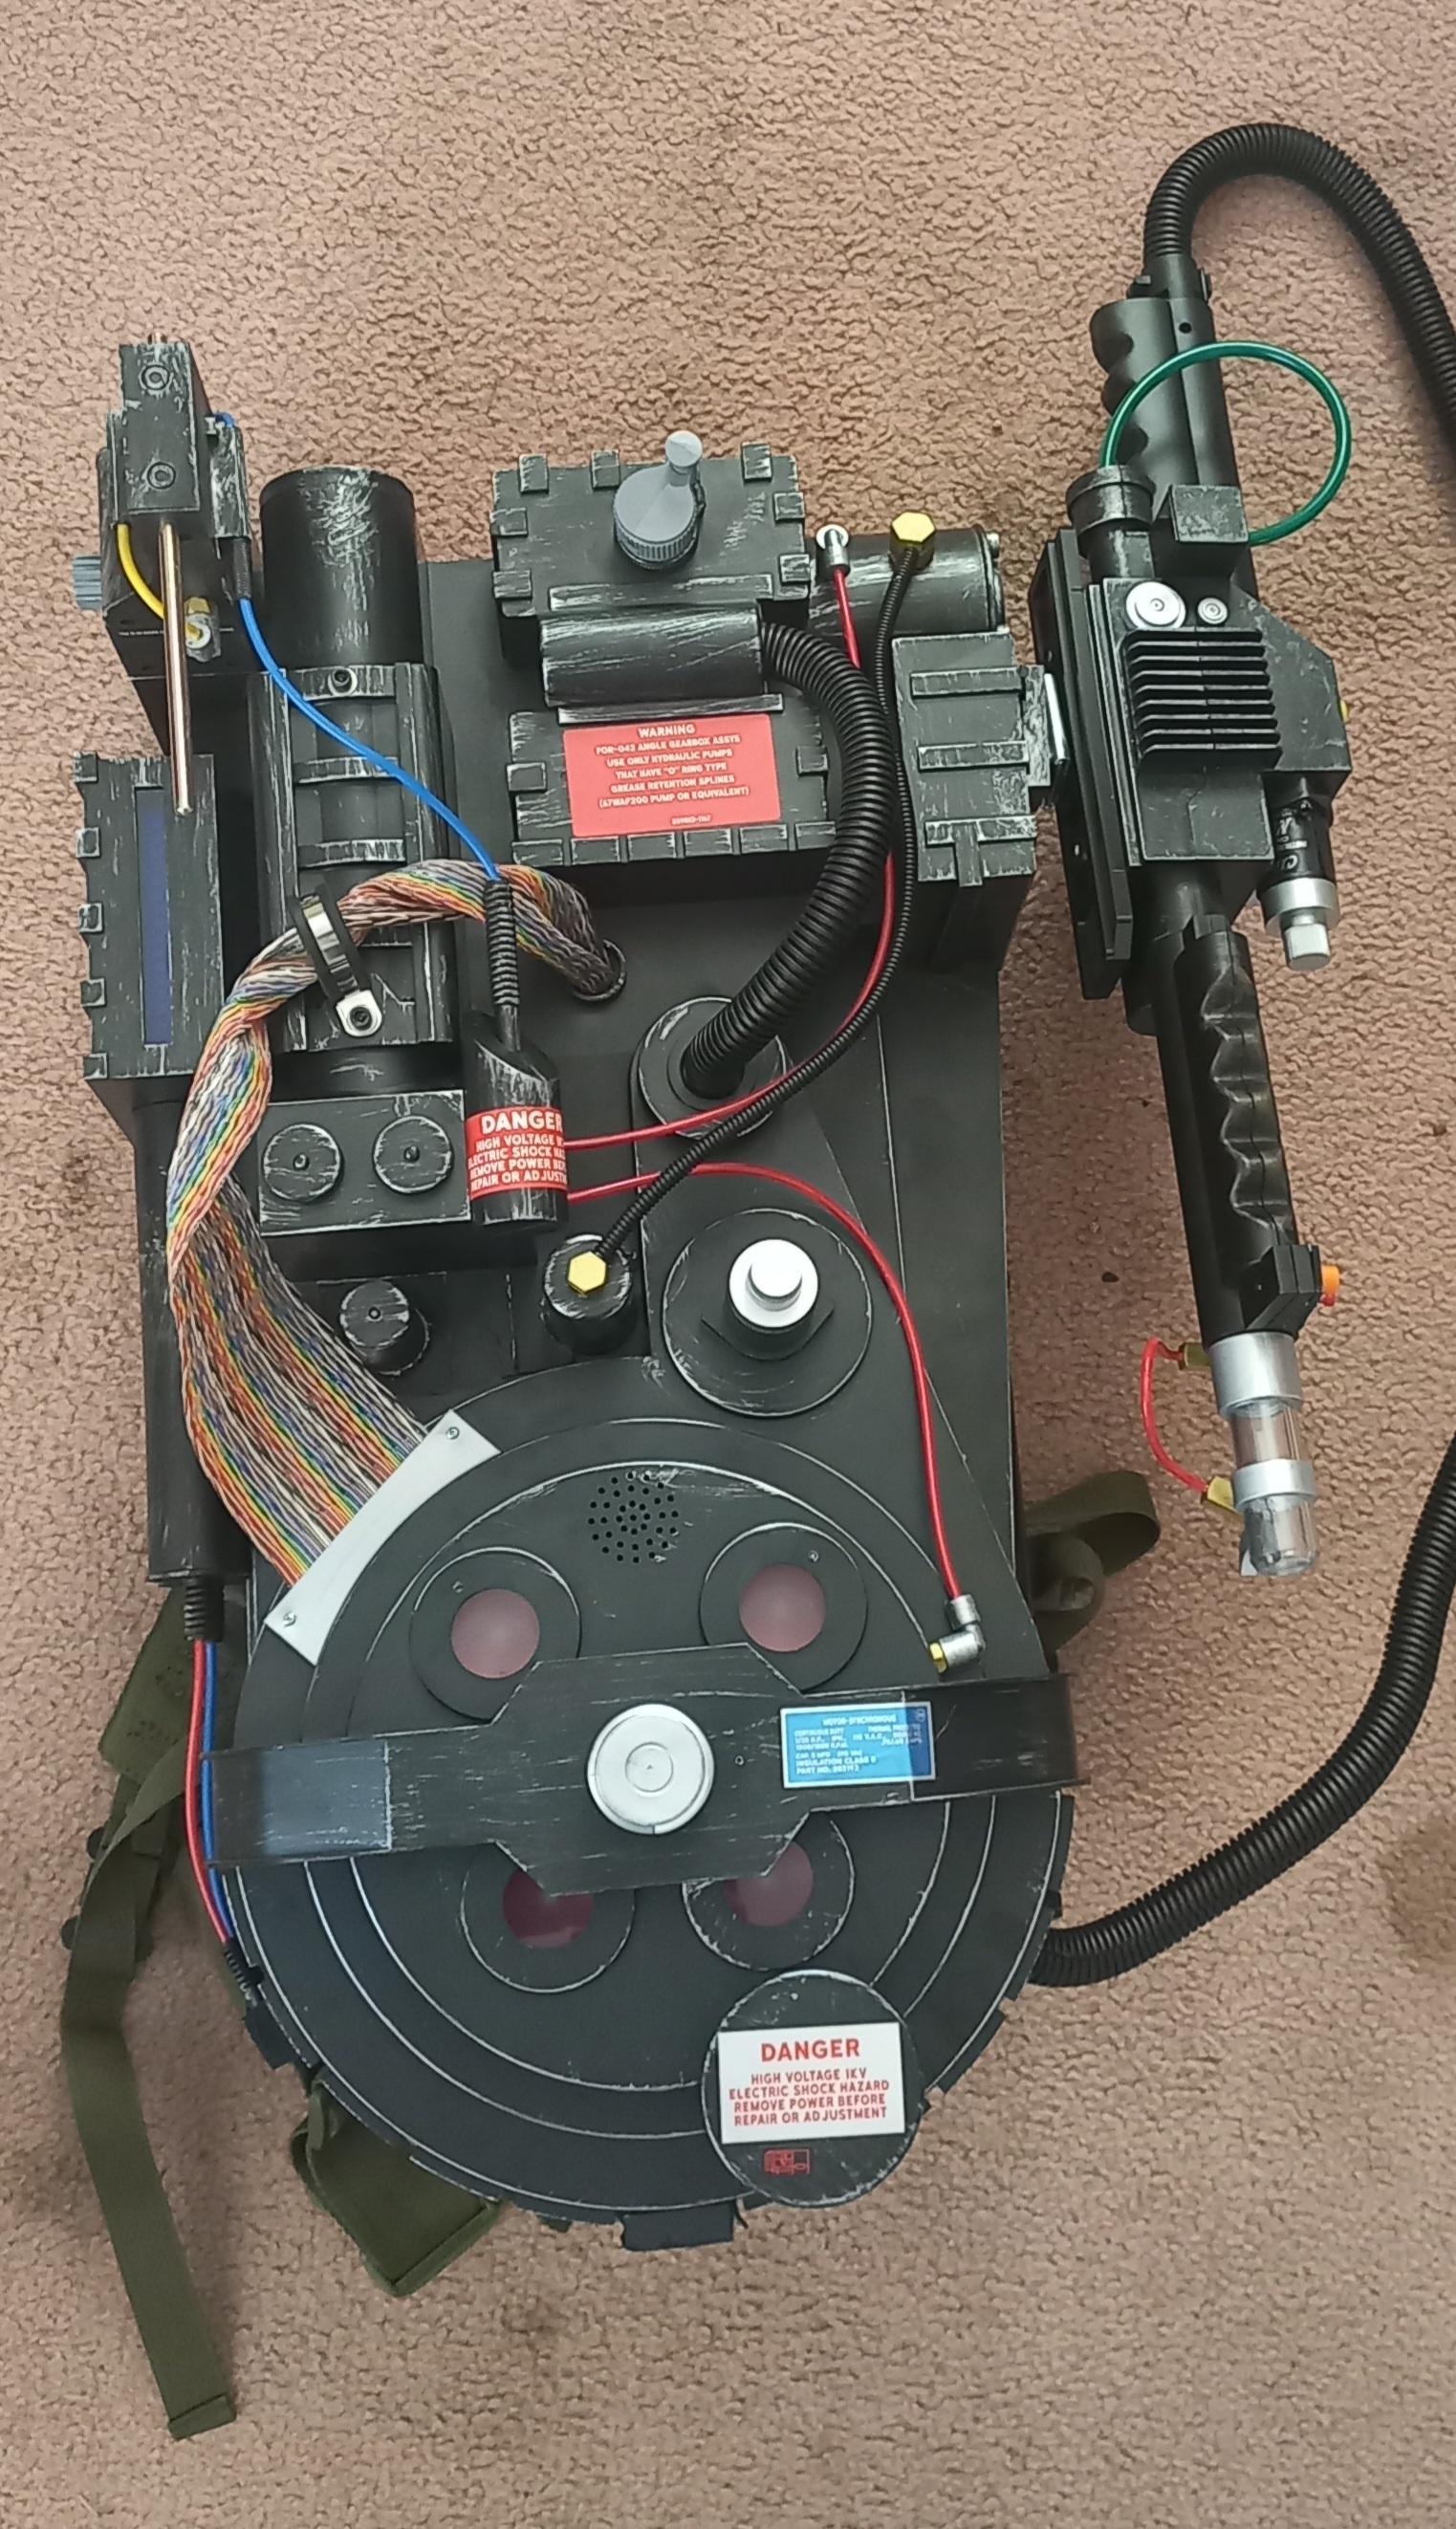
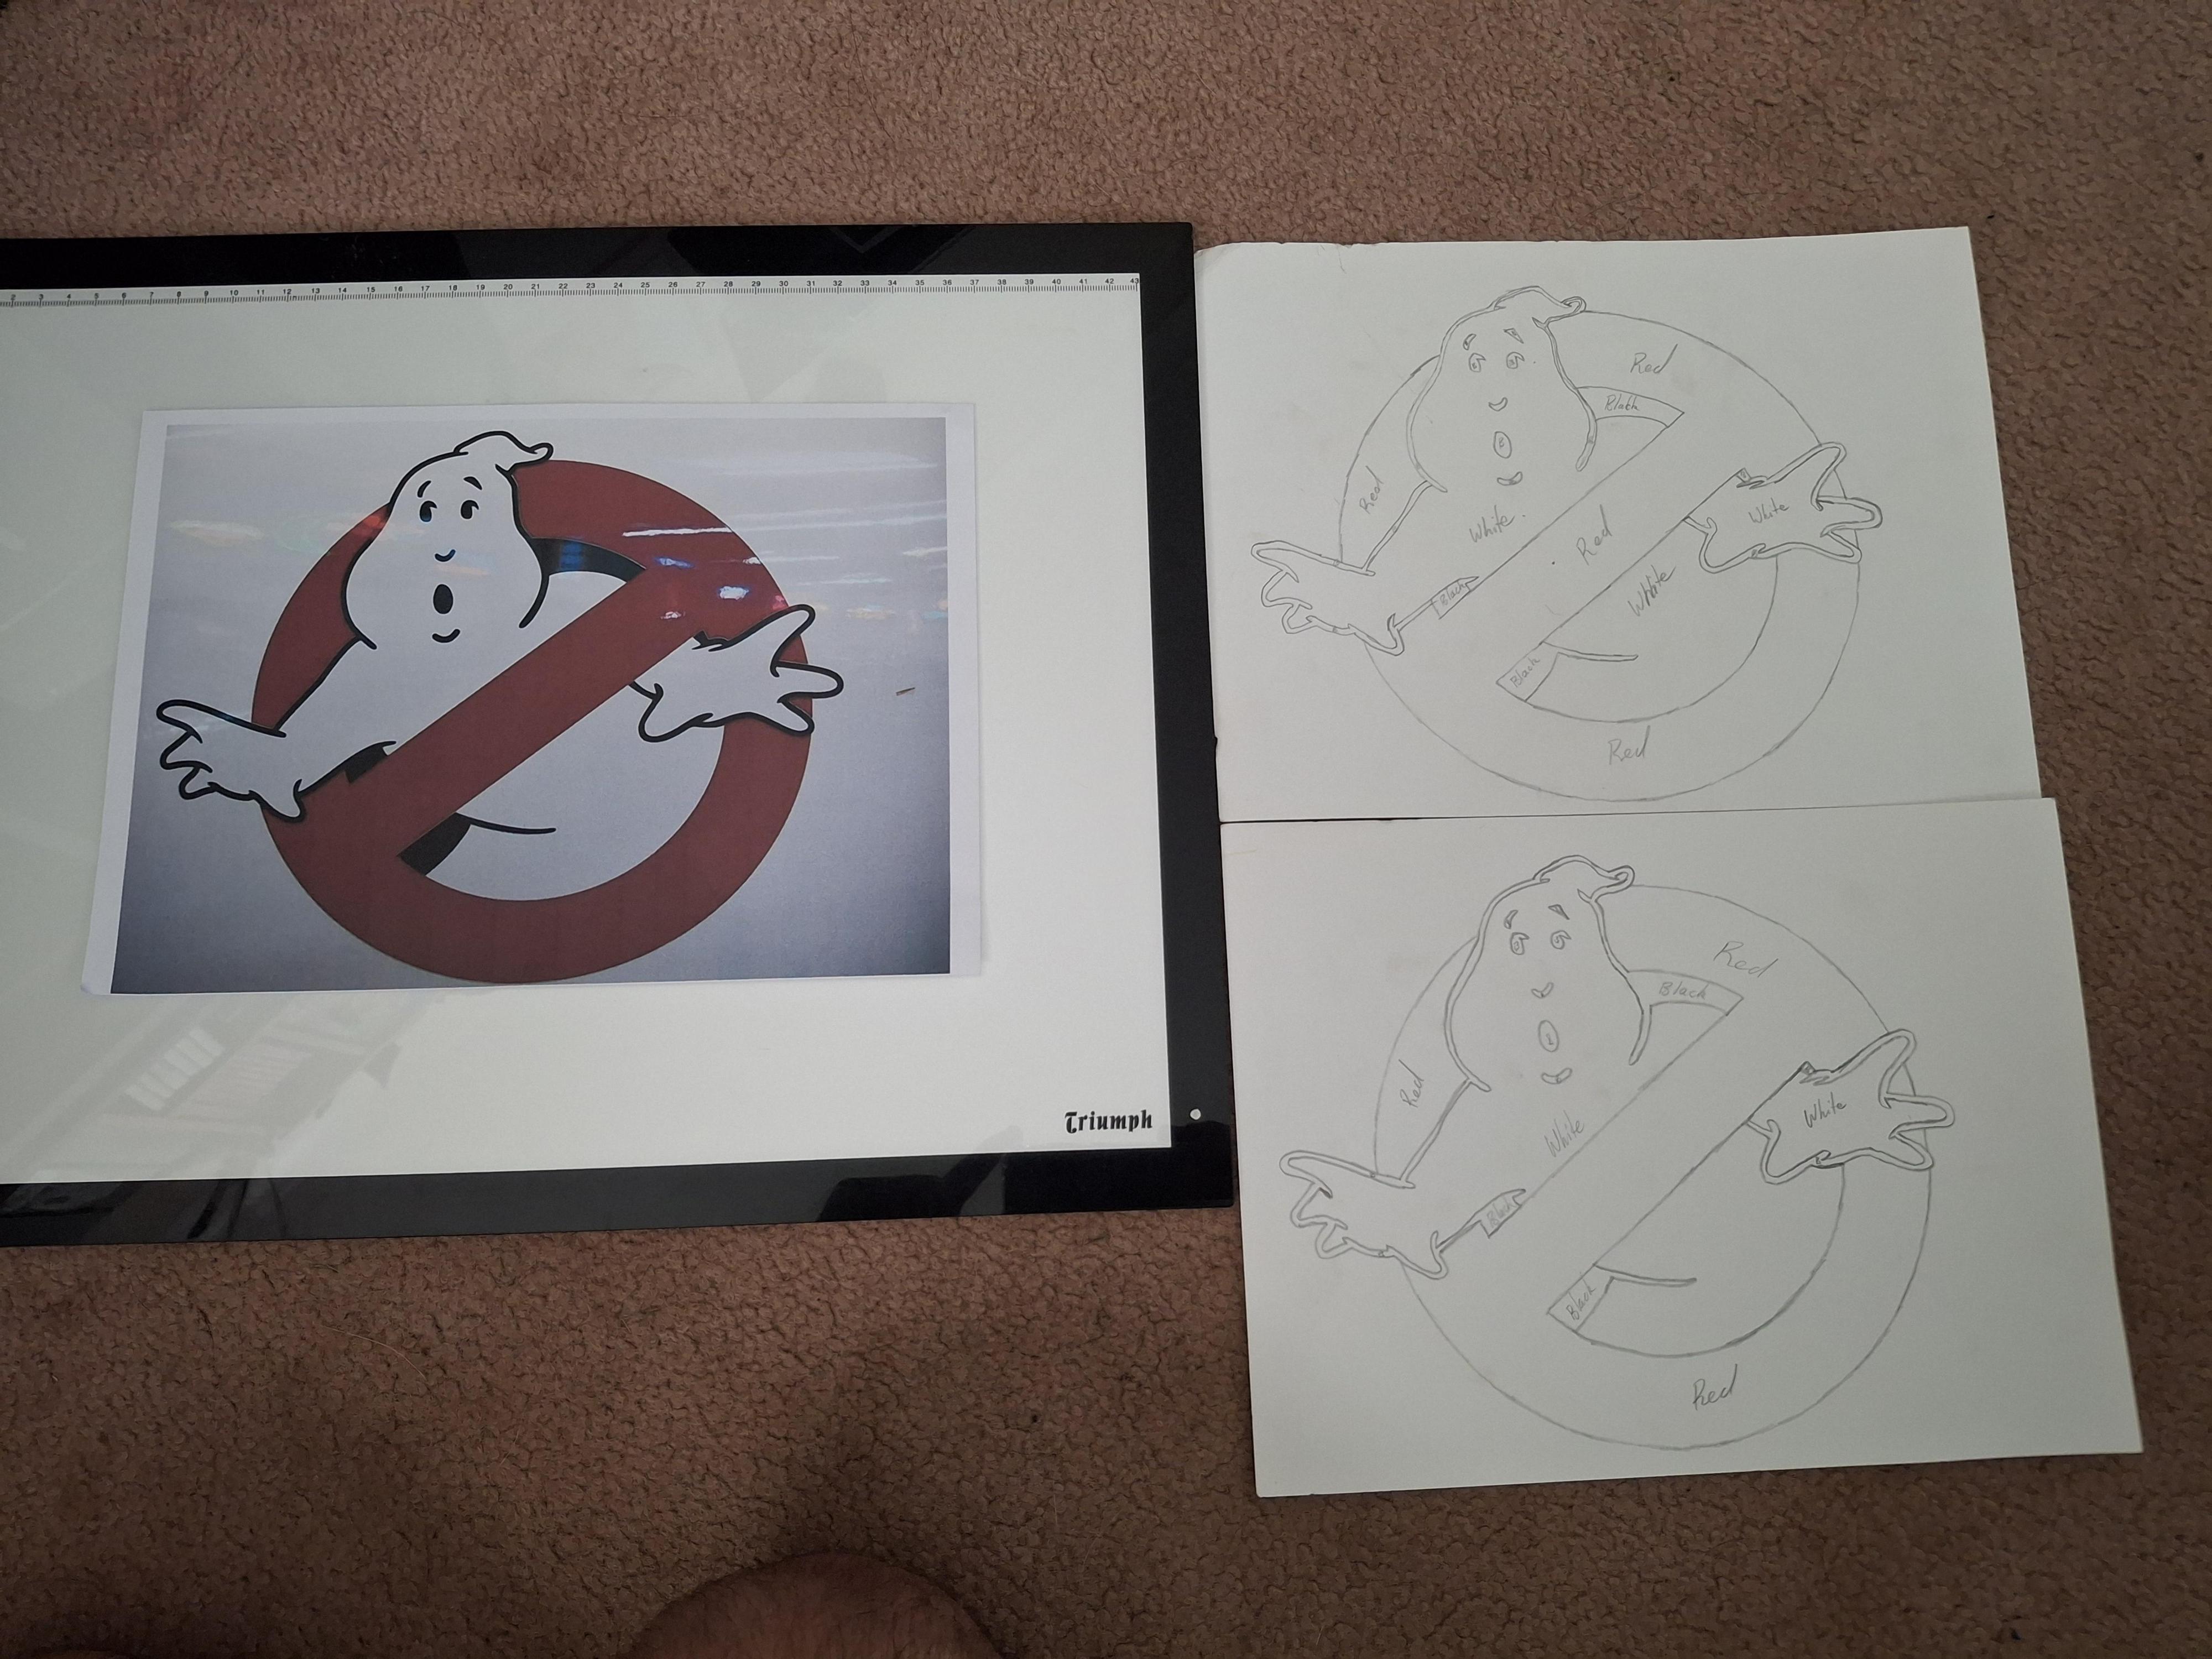
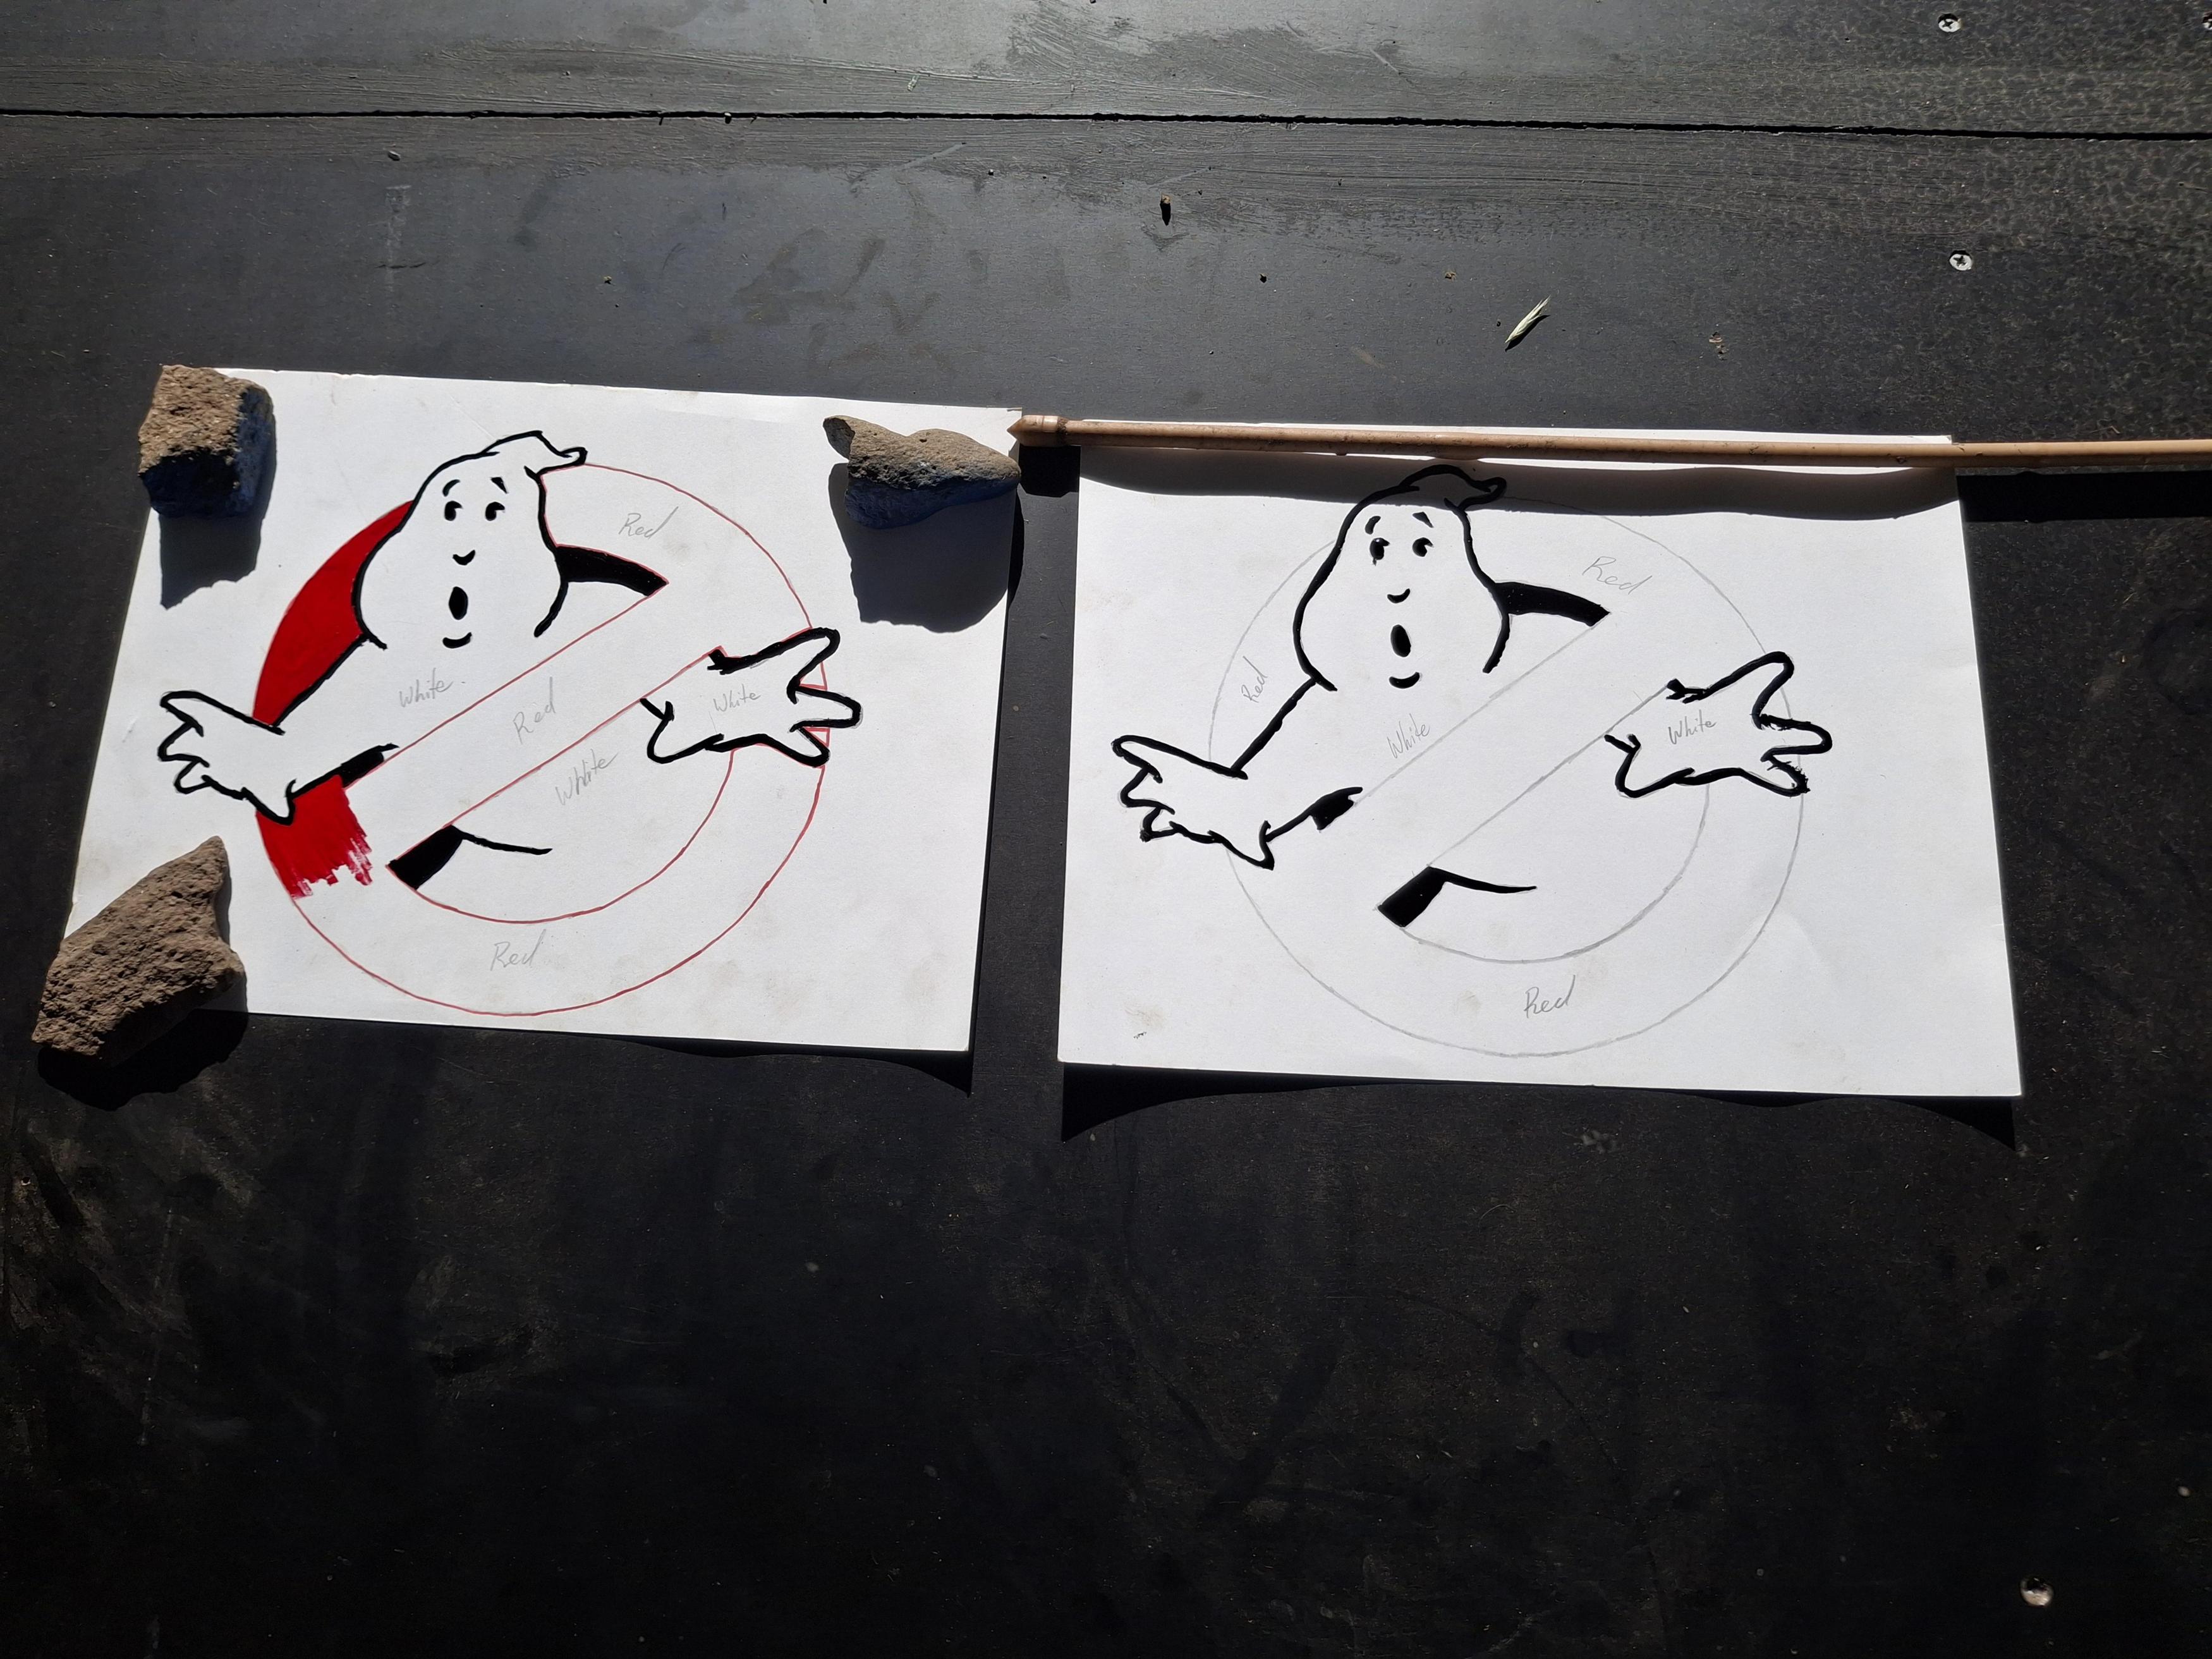
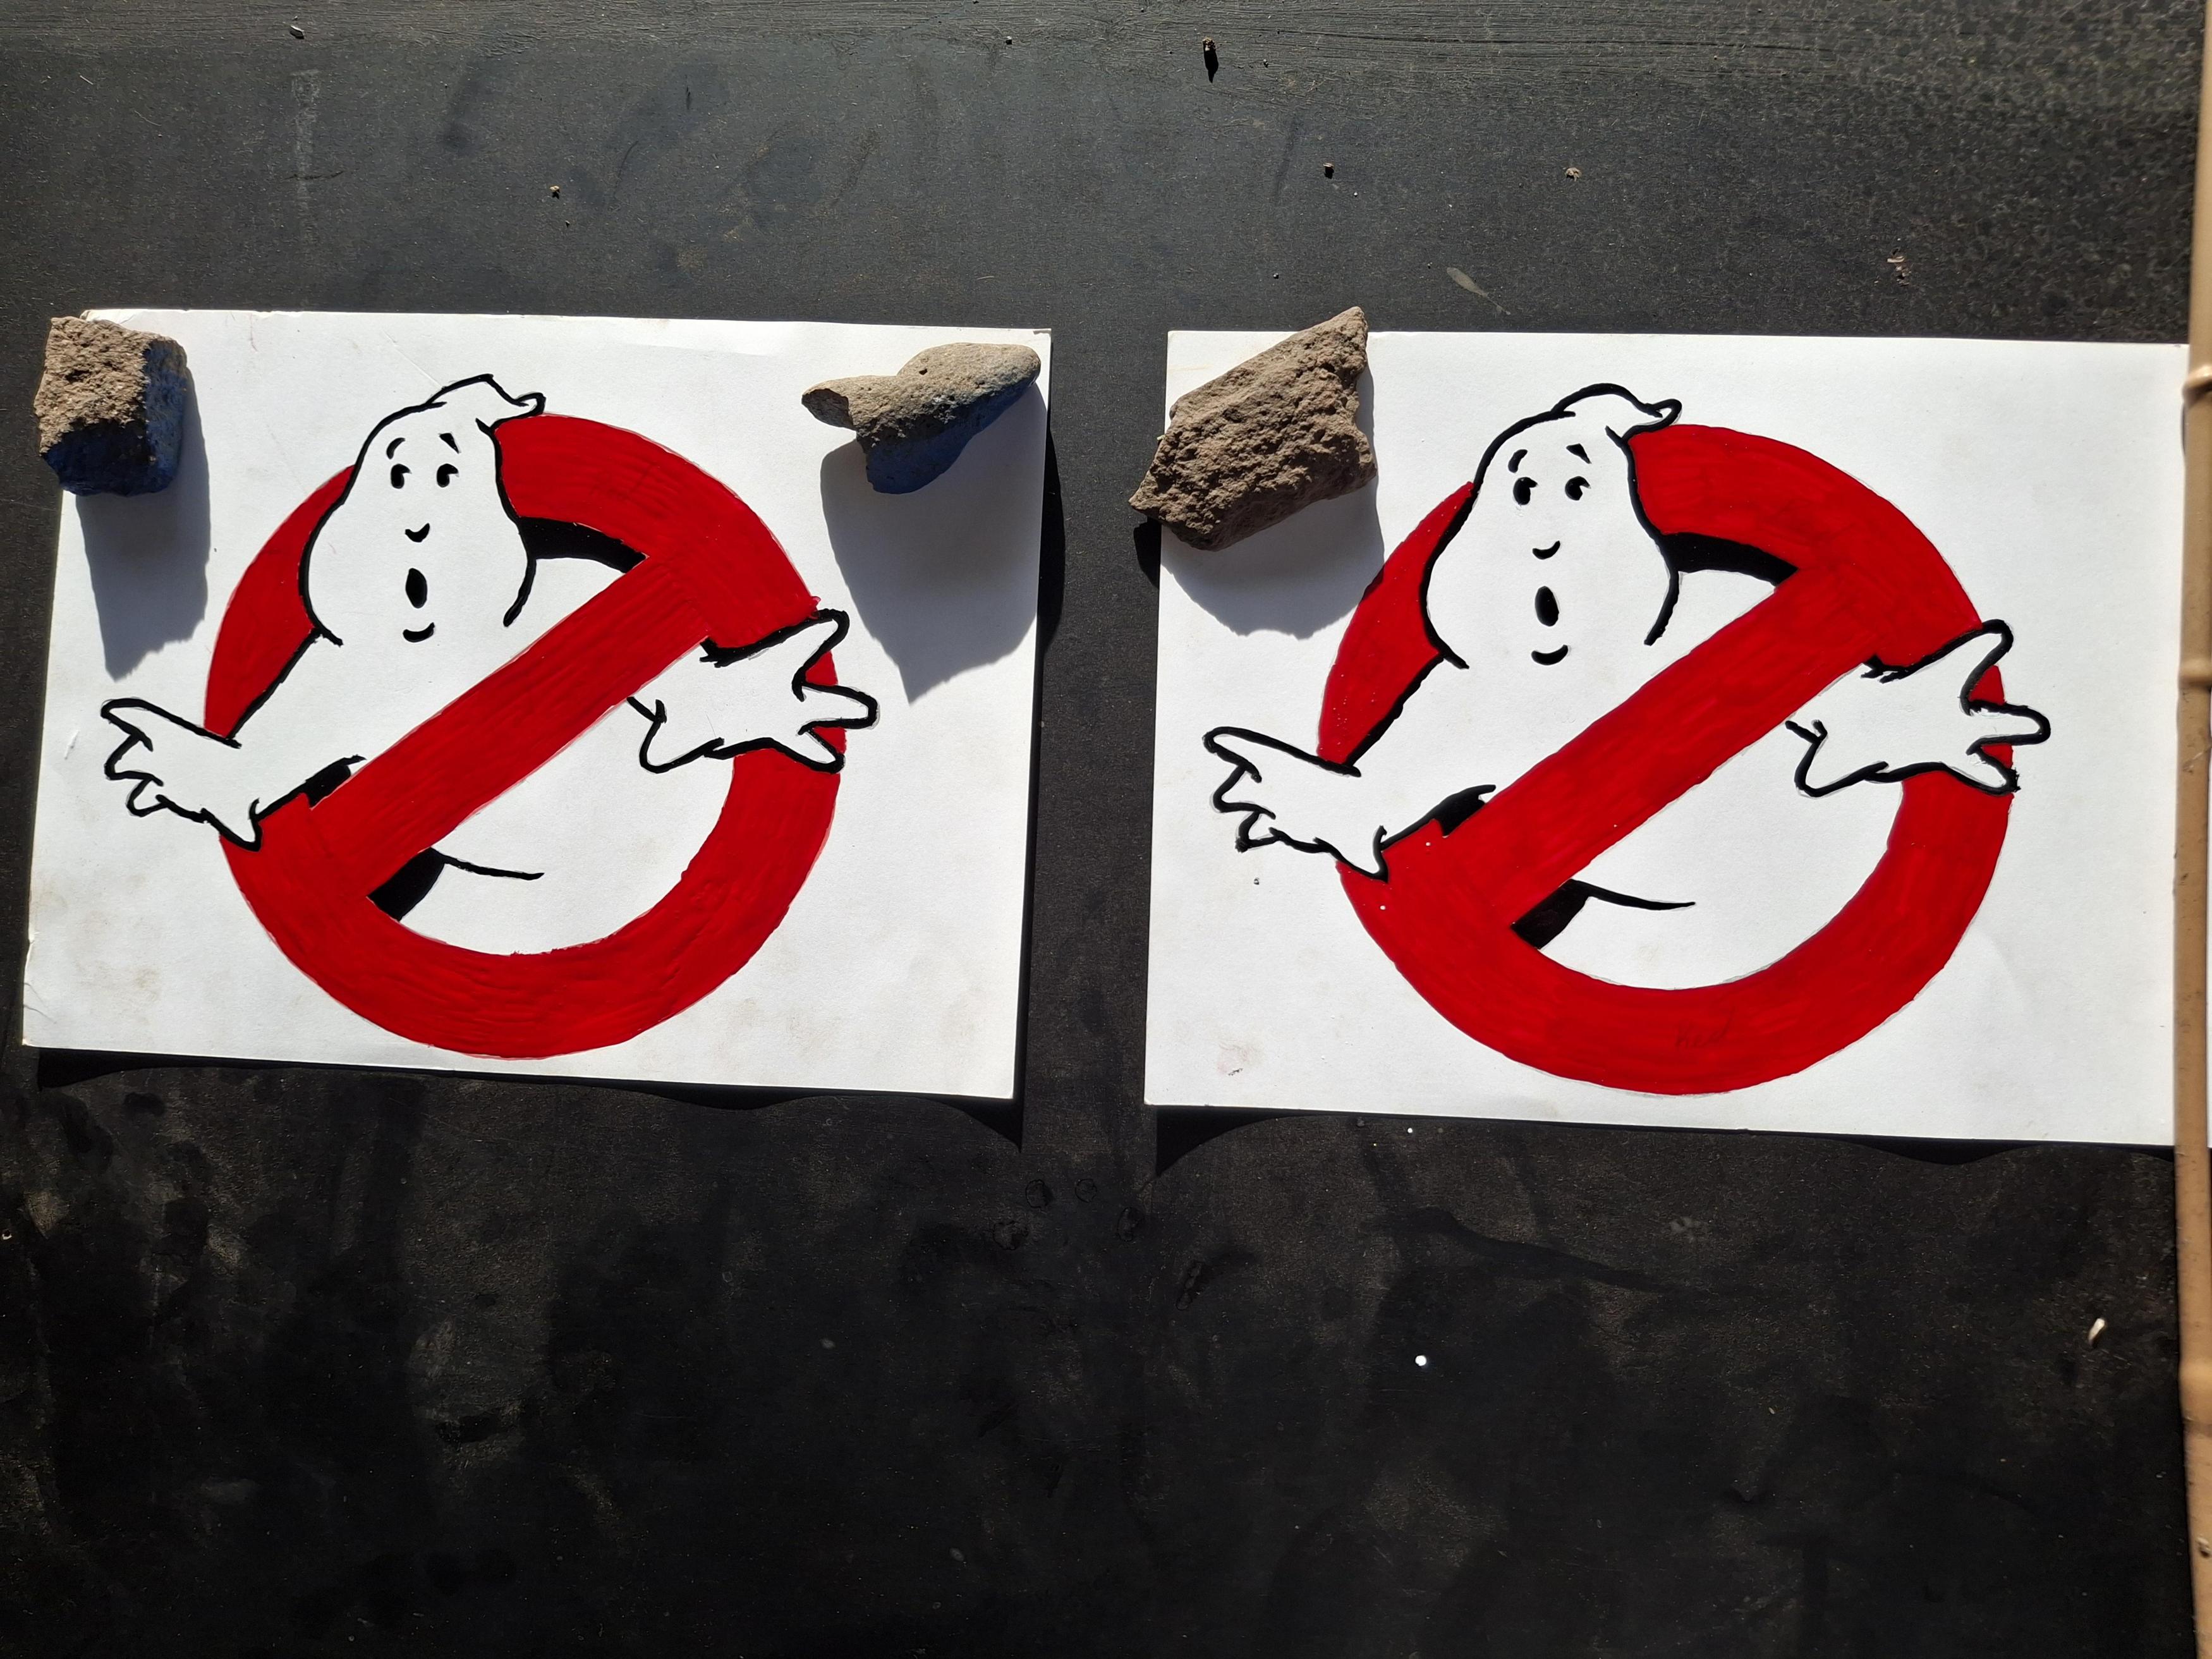
The hole on the back was covered with a flap to access the batteries to recharge them. Sticker decals were used to replace or add details to the pack. To take the plastic look out I used Tamiya Color red to remove the pink wires, gold leaf for the brass areas and chrome silver for the metal areas.
Photos show the progress & result as of 17 May 2024, with one pack finished and the second pack is almost complete.



 .
.