Hello everyone.
Like many others in this community I have been a fan of Ghostbusters since I first saw it as a kid in the late great 80’s. And I have been lurking in these forums for many years admiring the fine work that you guys have shown off in the creation of packs and other GB props. And so this year I decided to do a couple of things, 1 make a proton pack and 2 learn to weld aluminium.
So, I have been working on both of these items for the past couple of months in my spare time, and I have come far enough with the build now not to be a complete embarrassment, and also to a point where there is no backing out.
Now I’m not sure how interested the community here will be on my pack building adventure, but I thought I would share my journey in the off chance that I can somehow help others, plus get feedback and pointers on any errors I have made.
So before this my background in welding had been a bit mild steel hobby welding (gate frames, occasional bracket, etc) with a stick welder (absolutely hopeless at) and then a cheap MIG (which I believe anyone could master, because its like a hot glue gun for metal).
Anyway I set out to build my pack out of 1/16th Aluminium based on Stefans plans that I am updating from reference pics as I go along.
I started on the Ion Arm build, marked, up cut it out all nice and neat. Then eagerly proceeded to destroy my effort with my MIG welder. After numerous tries, I concluded building anything out of thin aluminium with my MIG is well and truly beyond my skill set. So not to be deterred I found myself a tig welder, watched a ton of YouTube videos and set out again to start my build.
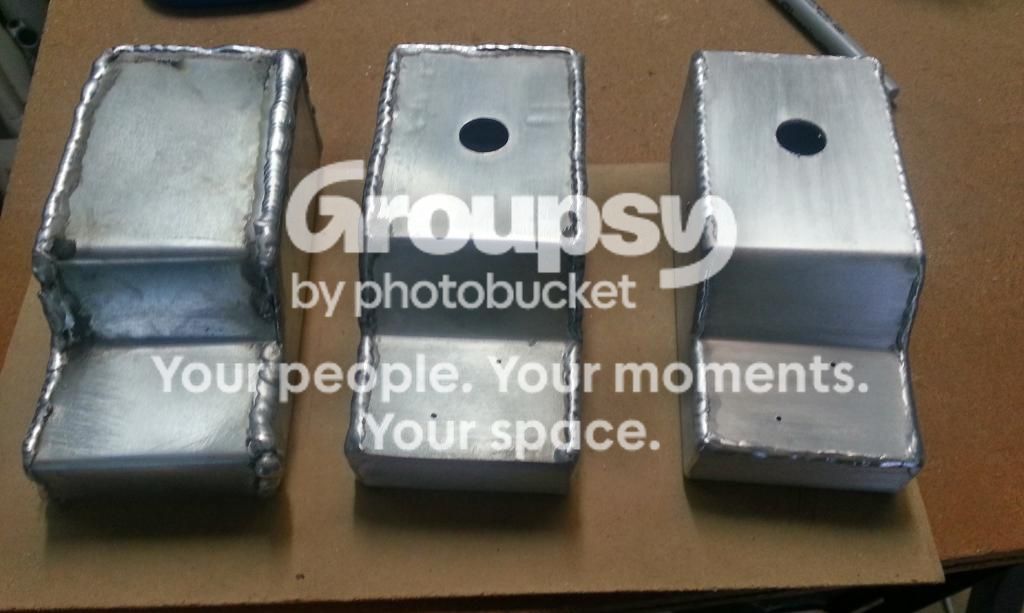
The picture below shows my first three Ion Arm attempts, attempt 1 best of the mig, attempt 2 tig (but I got the dimensions wrong), attempt three (right side) is my keeper.
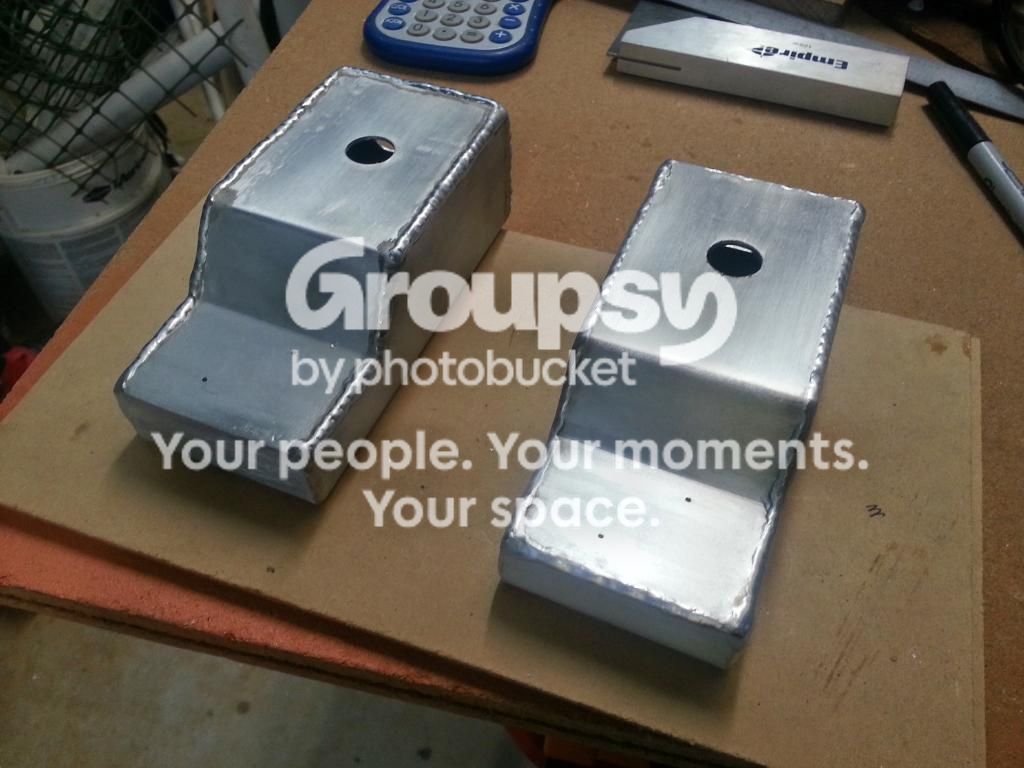
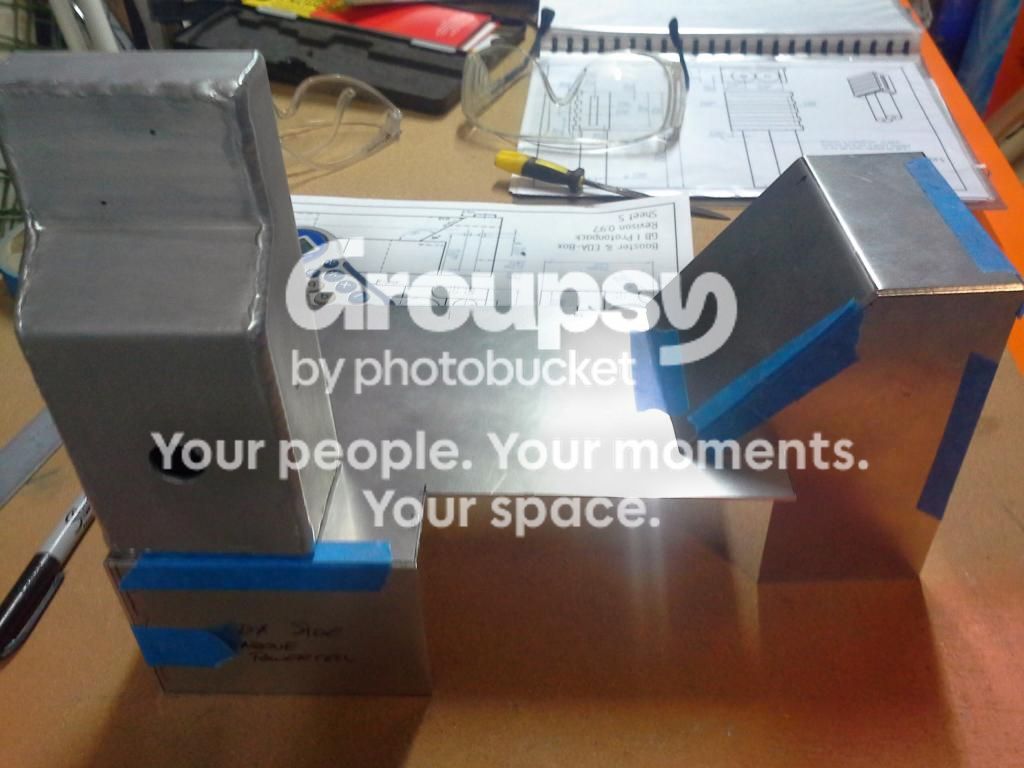
I then moved on to create the EDA and Booster box.
Key diffences from plans:
-
Raised the height of the EDA to compensate for the wider diameter booster tube.
-
Added a small curved fillet for where I will weld this on to the gearbox (Will be filled down to fit the gearbox when I get the gearbox totally sorted)
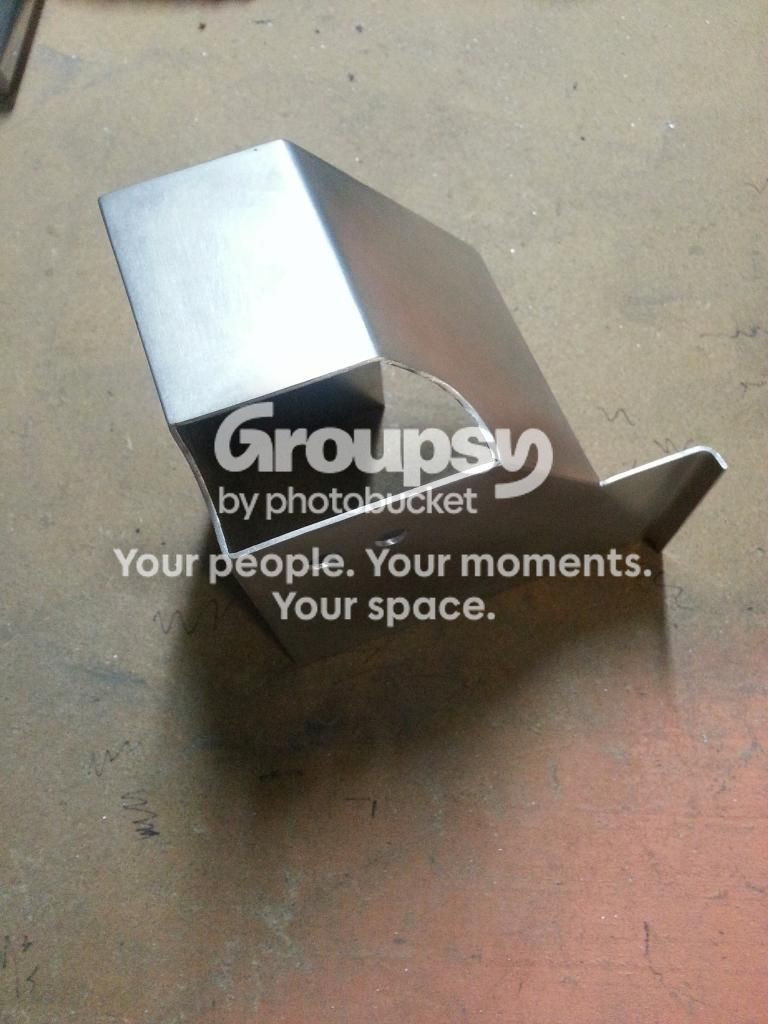
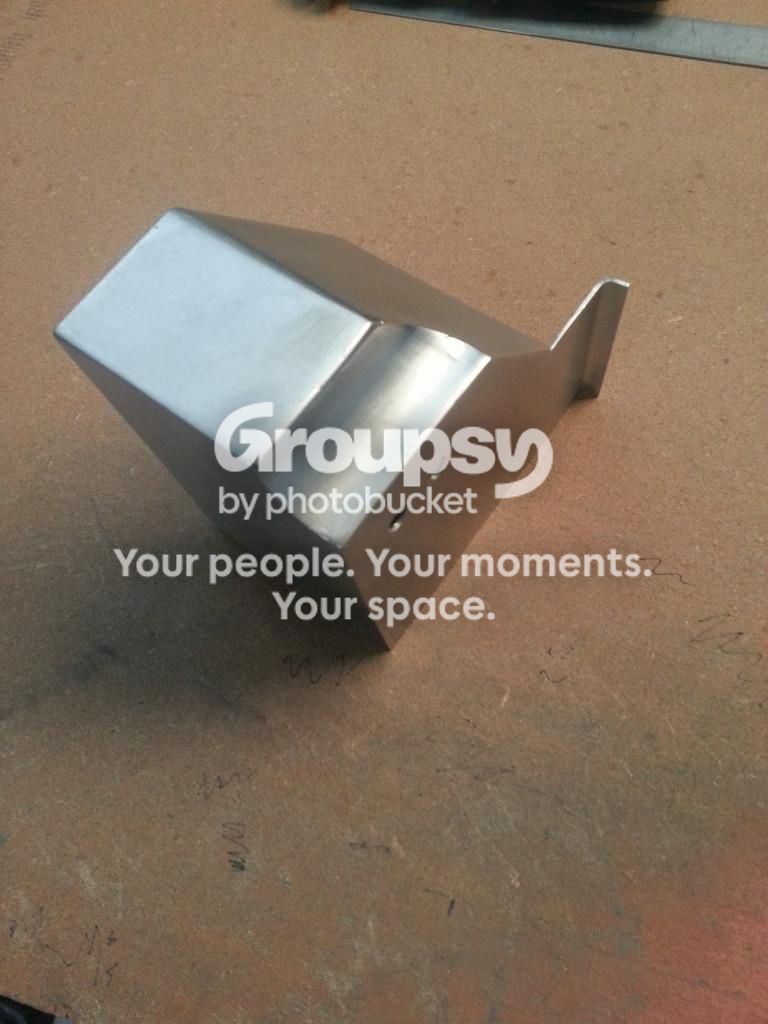
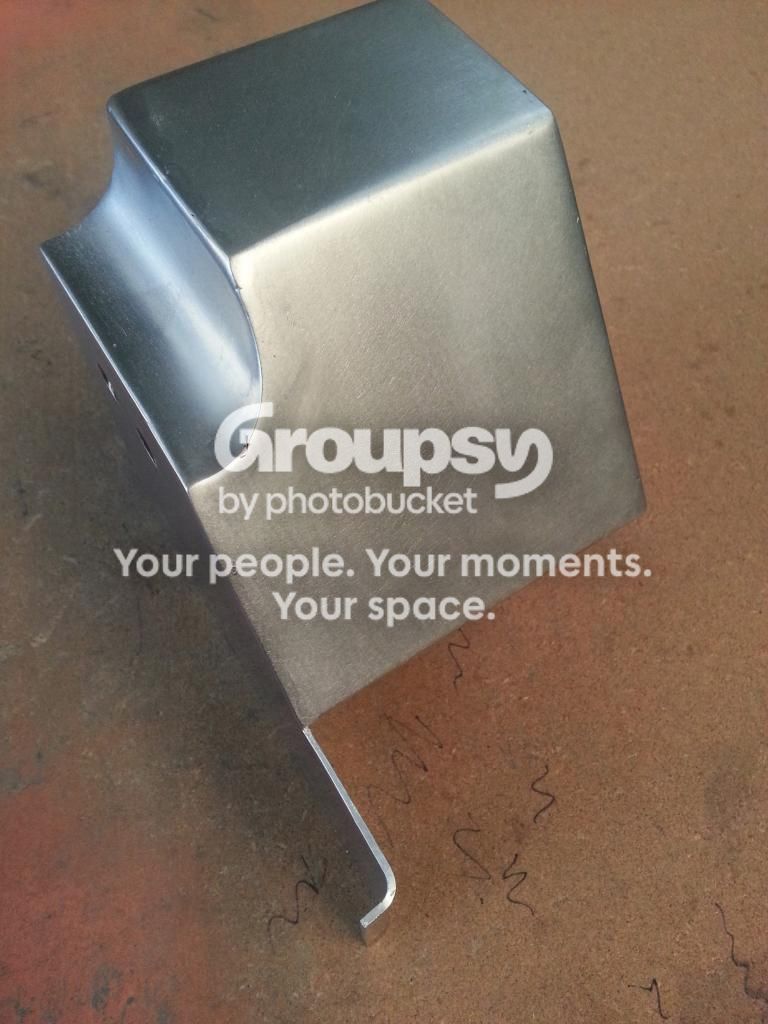
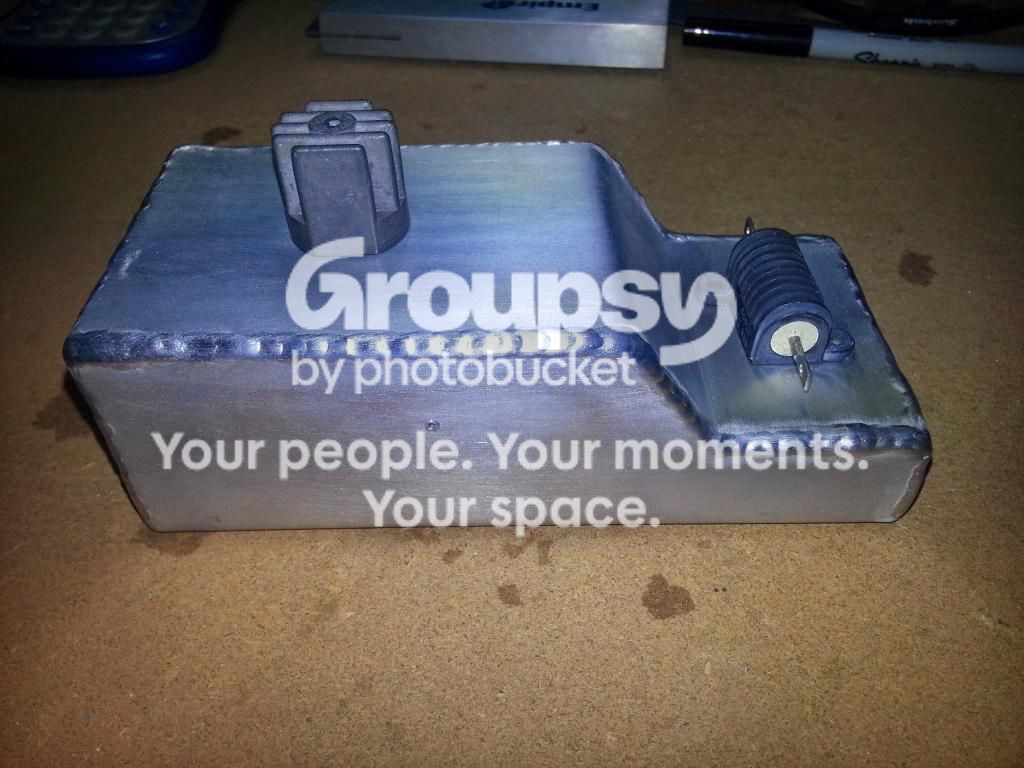
Then adding in the Power Cell.
Key differences from plans:
- Added in the fillet between the power cell and EDA. The curve ended up a little larger than I first wanted as it moved while I was welding it up. But I think that it is still in acceptable look tolerances.
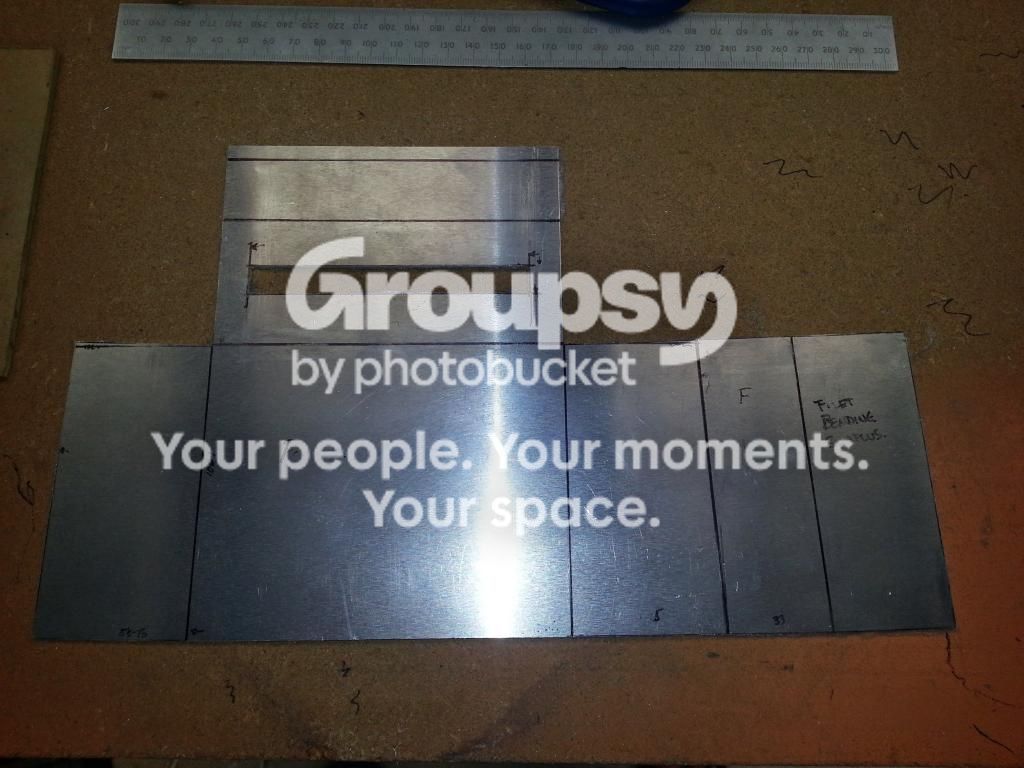
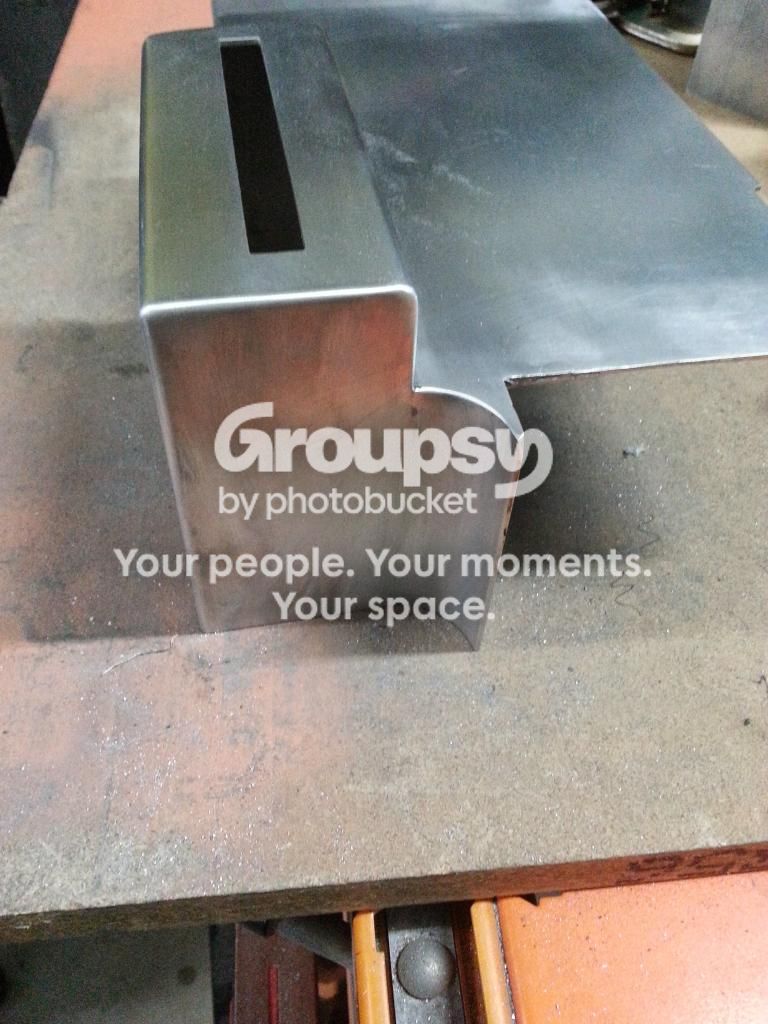
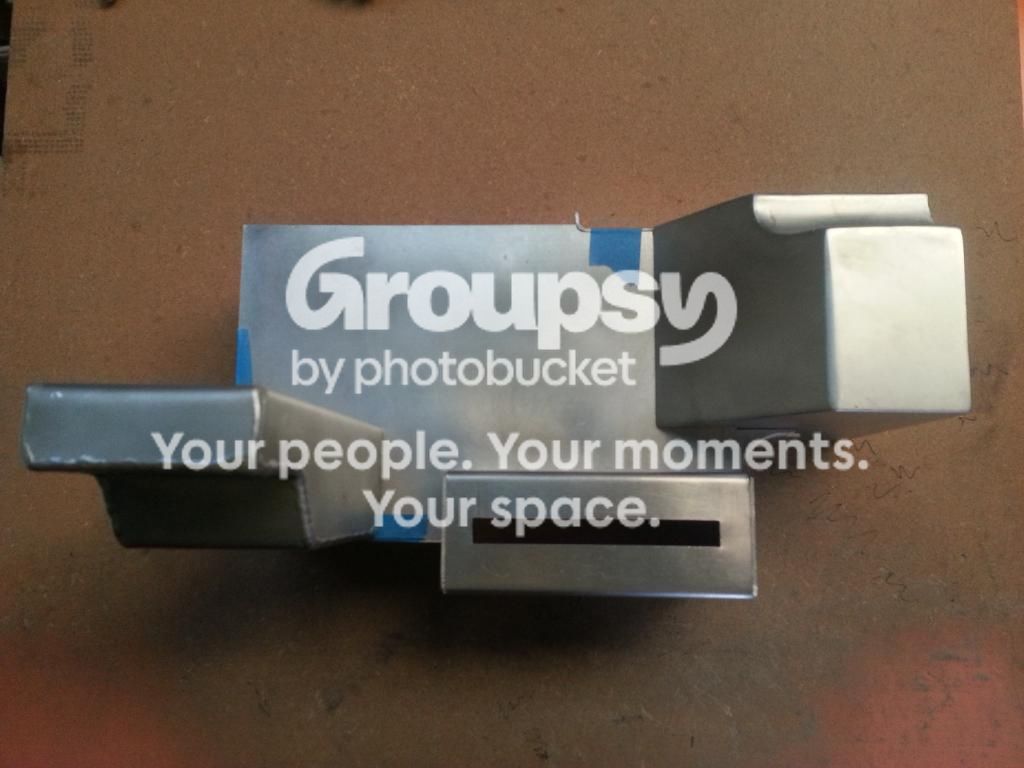
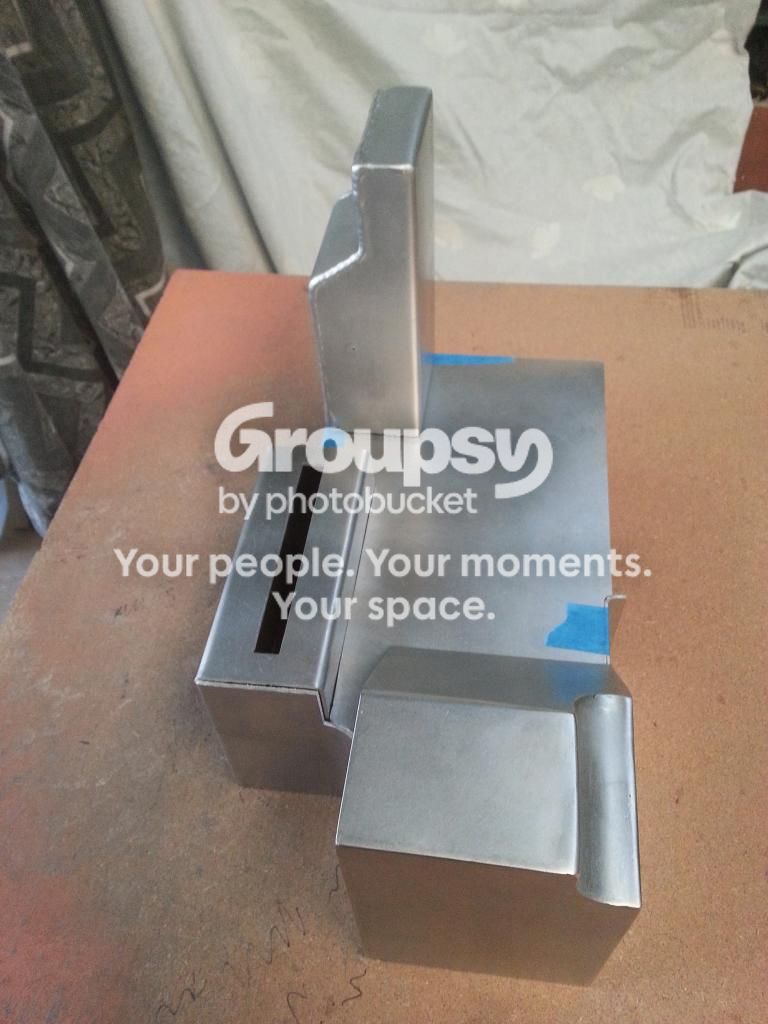
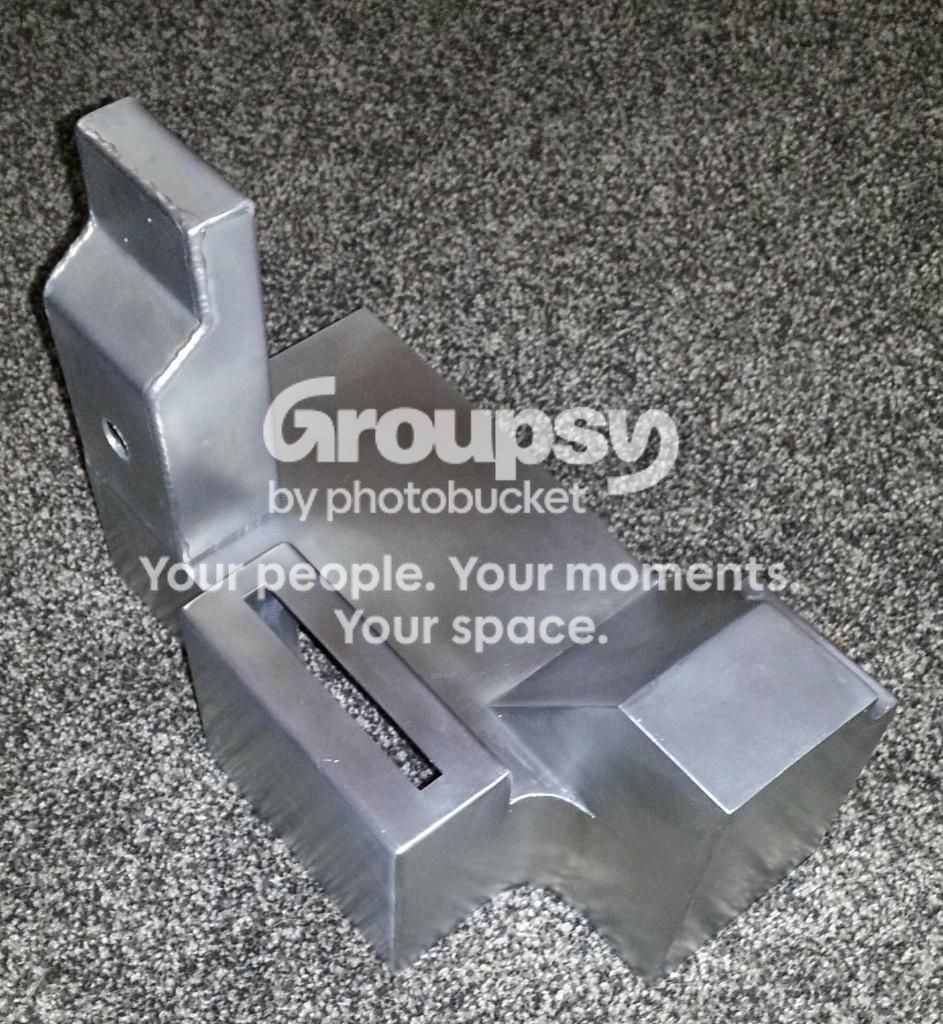
And with the start of the power cell fin design and EDA discs. Just sat on as I will epoxy these on with JB weld later.
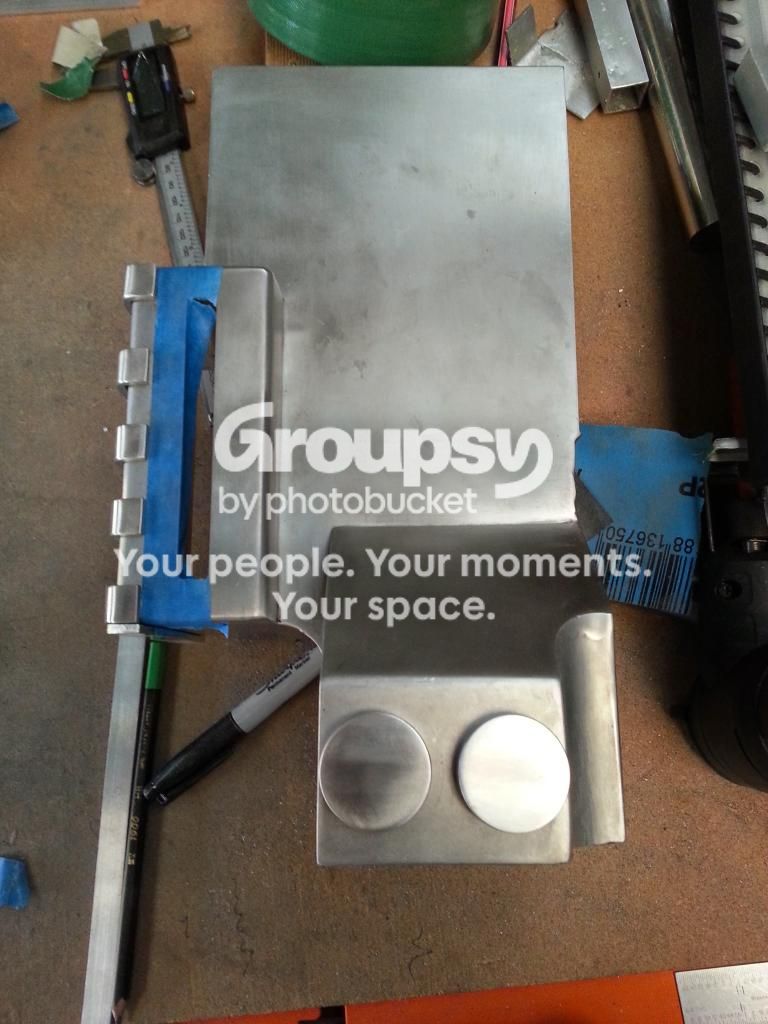
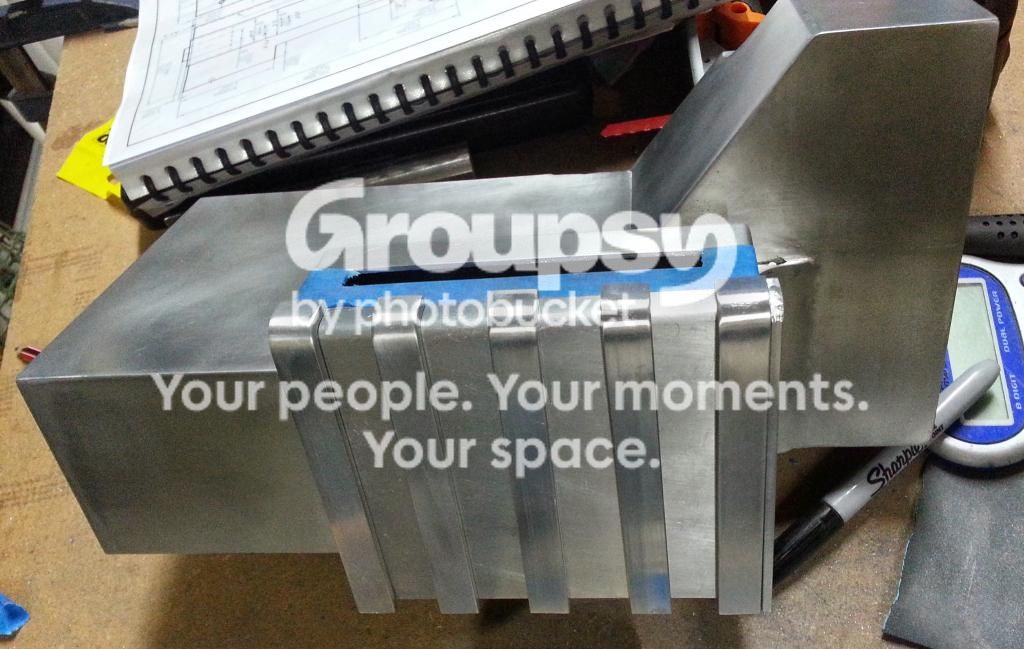
And I am currently working on the Gearbox assembly.
Key differences from Stefans plans:
-
1/8" height diff between upper and lower box.
-
Rounding the sloping edges up to the tube. (More to be done on this next weekend)
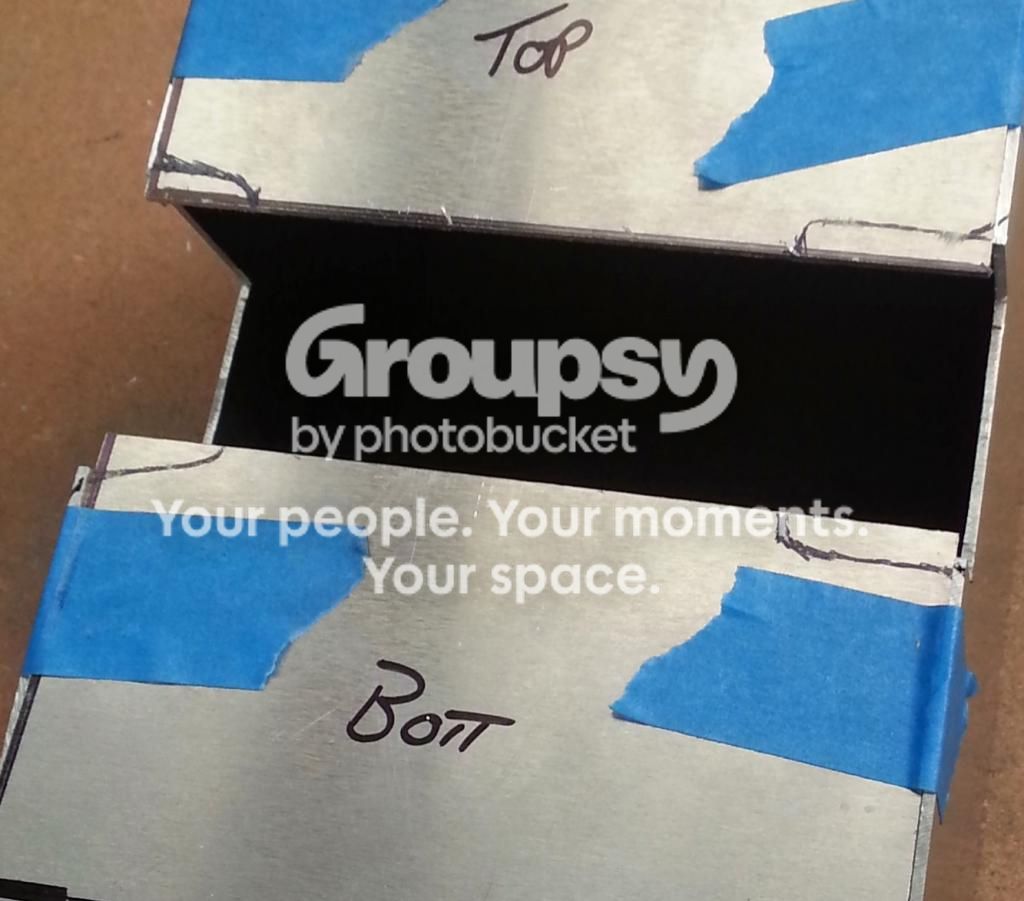
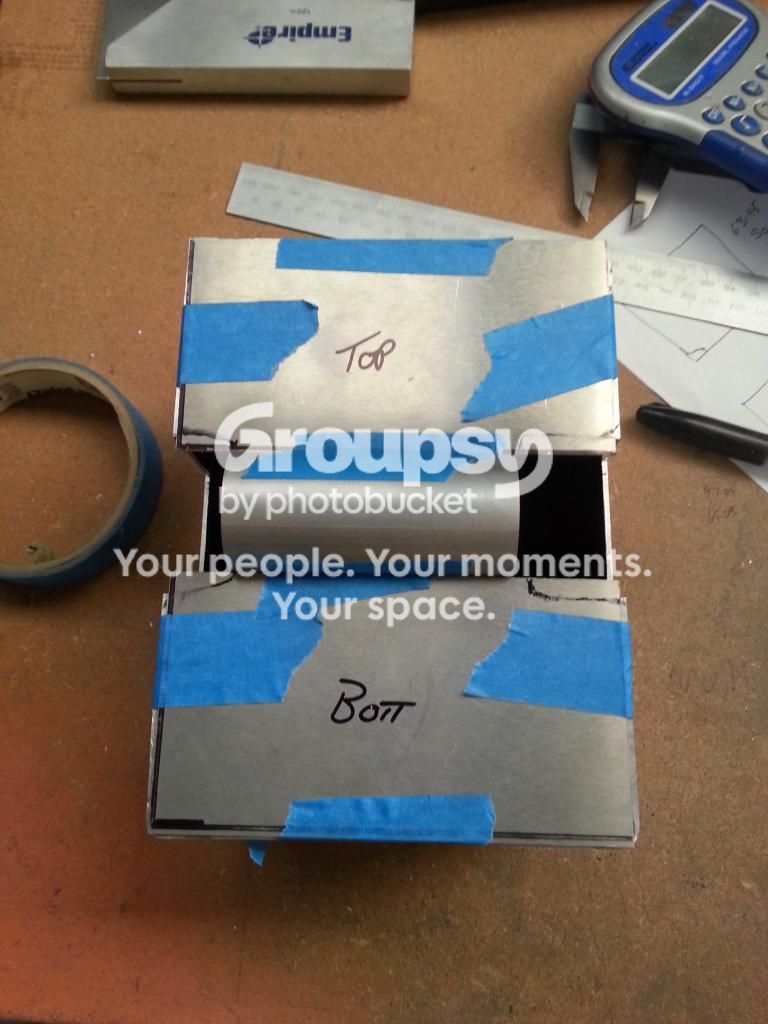
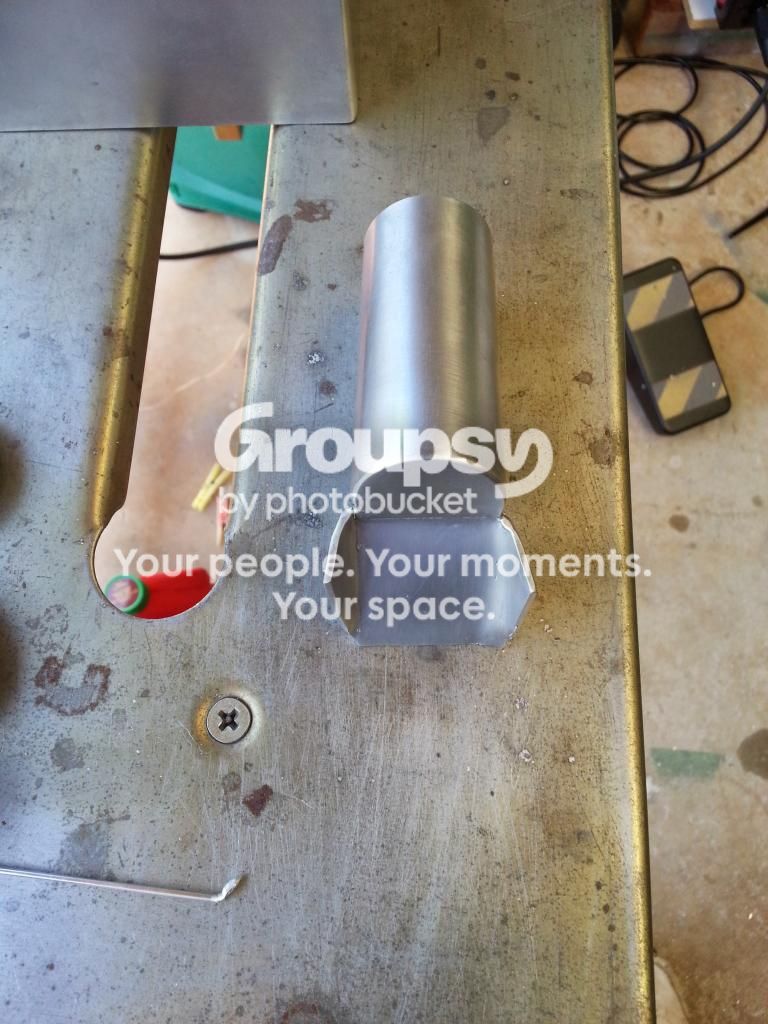
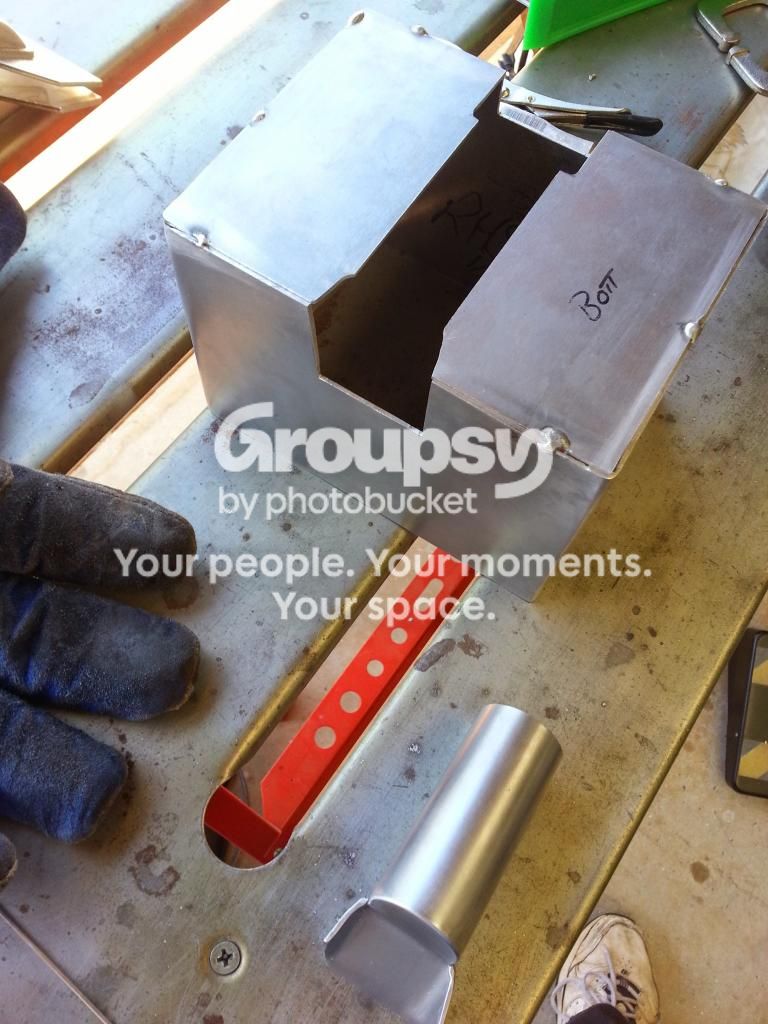

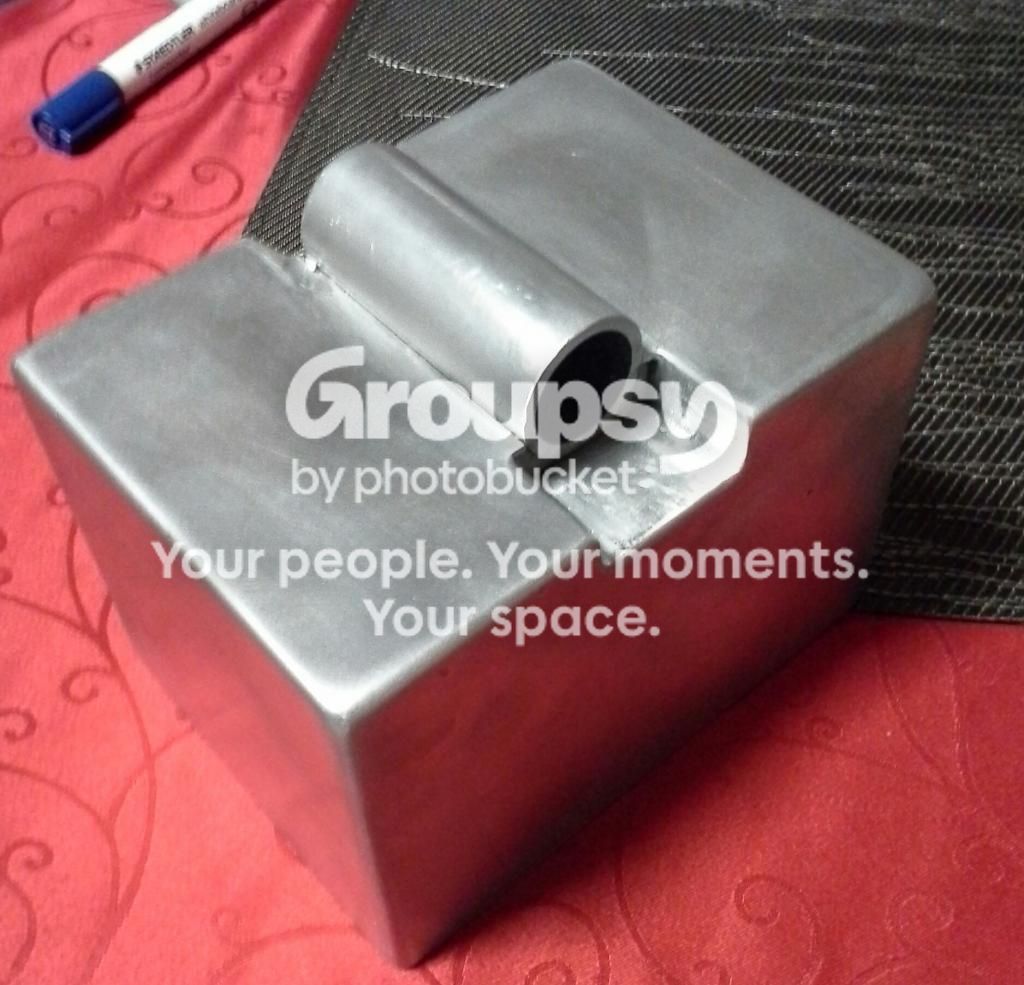
My plan is to add a few photos after each major advance on the job, so depending on my free time it may be a couple every week or so, or if I get a good run it may be more. I know that I still have a huge journey ahead but thought that I would share a few of the tips and tricks I’ve learnt so far.
-
Make sure you allow for the metal thickness when tracing out the plans. When you do each fold this will add the thickness of the metal. Sounds like a given, but amazing how often I have caught myself on this, when trying to work out to add or not.
-
Aluminium clogs up files like nothing else. I haven’t found a good way to completely clean these yet. My file brush doesn’t get it all out.
-
Because of my lack of welding skills, I have become very good at sanding and filing. I have found that the white painters sand paper and emery paper works about the same on aluminium. You get a bit better millage out f the emery cloth though.
-
Artificial steel wool (painters department of the hardware store) buffs a finished surface or sanded seam up like new.
-
Patience and practice with the tig. I’ve lost count of how many times I have hit the job with the tig electrode meaning that you have to clean the electrode up each time.
-
Use a piece of stainless steel as a backing plate to absorb heat when welding. I found a small right angled draw handle that has proved ideal for this.
-
Get a gas lens kit for your tig torch, it makes things a fair bit easier and saves on Argon gas big time.
-
Aluminium gets incredibly hot when welded so be extra careful.
And if someone can tell me the trick to achieving a neat inside corner weld on thin aluminium I’m all ears. I wont shame myself and show you the inside of the gearbox on this issue.


