My First Pack Build (3/4 Scale Real Ghostbusters Pack)

Back in March I purchased a fiberglass 3/4 scale RGB style Proton Pack Shell from JoeLuna33 to build for my 3 1/2 year old son, and in the last couple of weeks I’ve really started to collect parts so I can get this build on the way. I was following mr0072003’s build of this same shell to get an idea of what I needed to do and started shopping. So far I’ve picked up U Bolts, PVC Pipe, MDF board for the motherboard, a Slime Air Gage, and a couple of materials I hope to use for the neutrona wand when I get around to building it. Hopefully I will have some pics up soon.

On another note can anybody who actually reads this topic of mine and who has built their own Pack tell me what is the best kind of paint to use when painting a fiberglass shell please? This and any kind of helpful tips/pointers would be appreciated by this first time builder. Thanks.

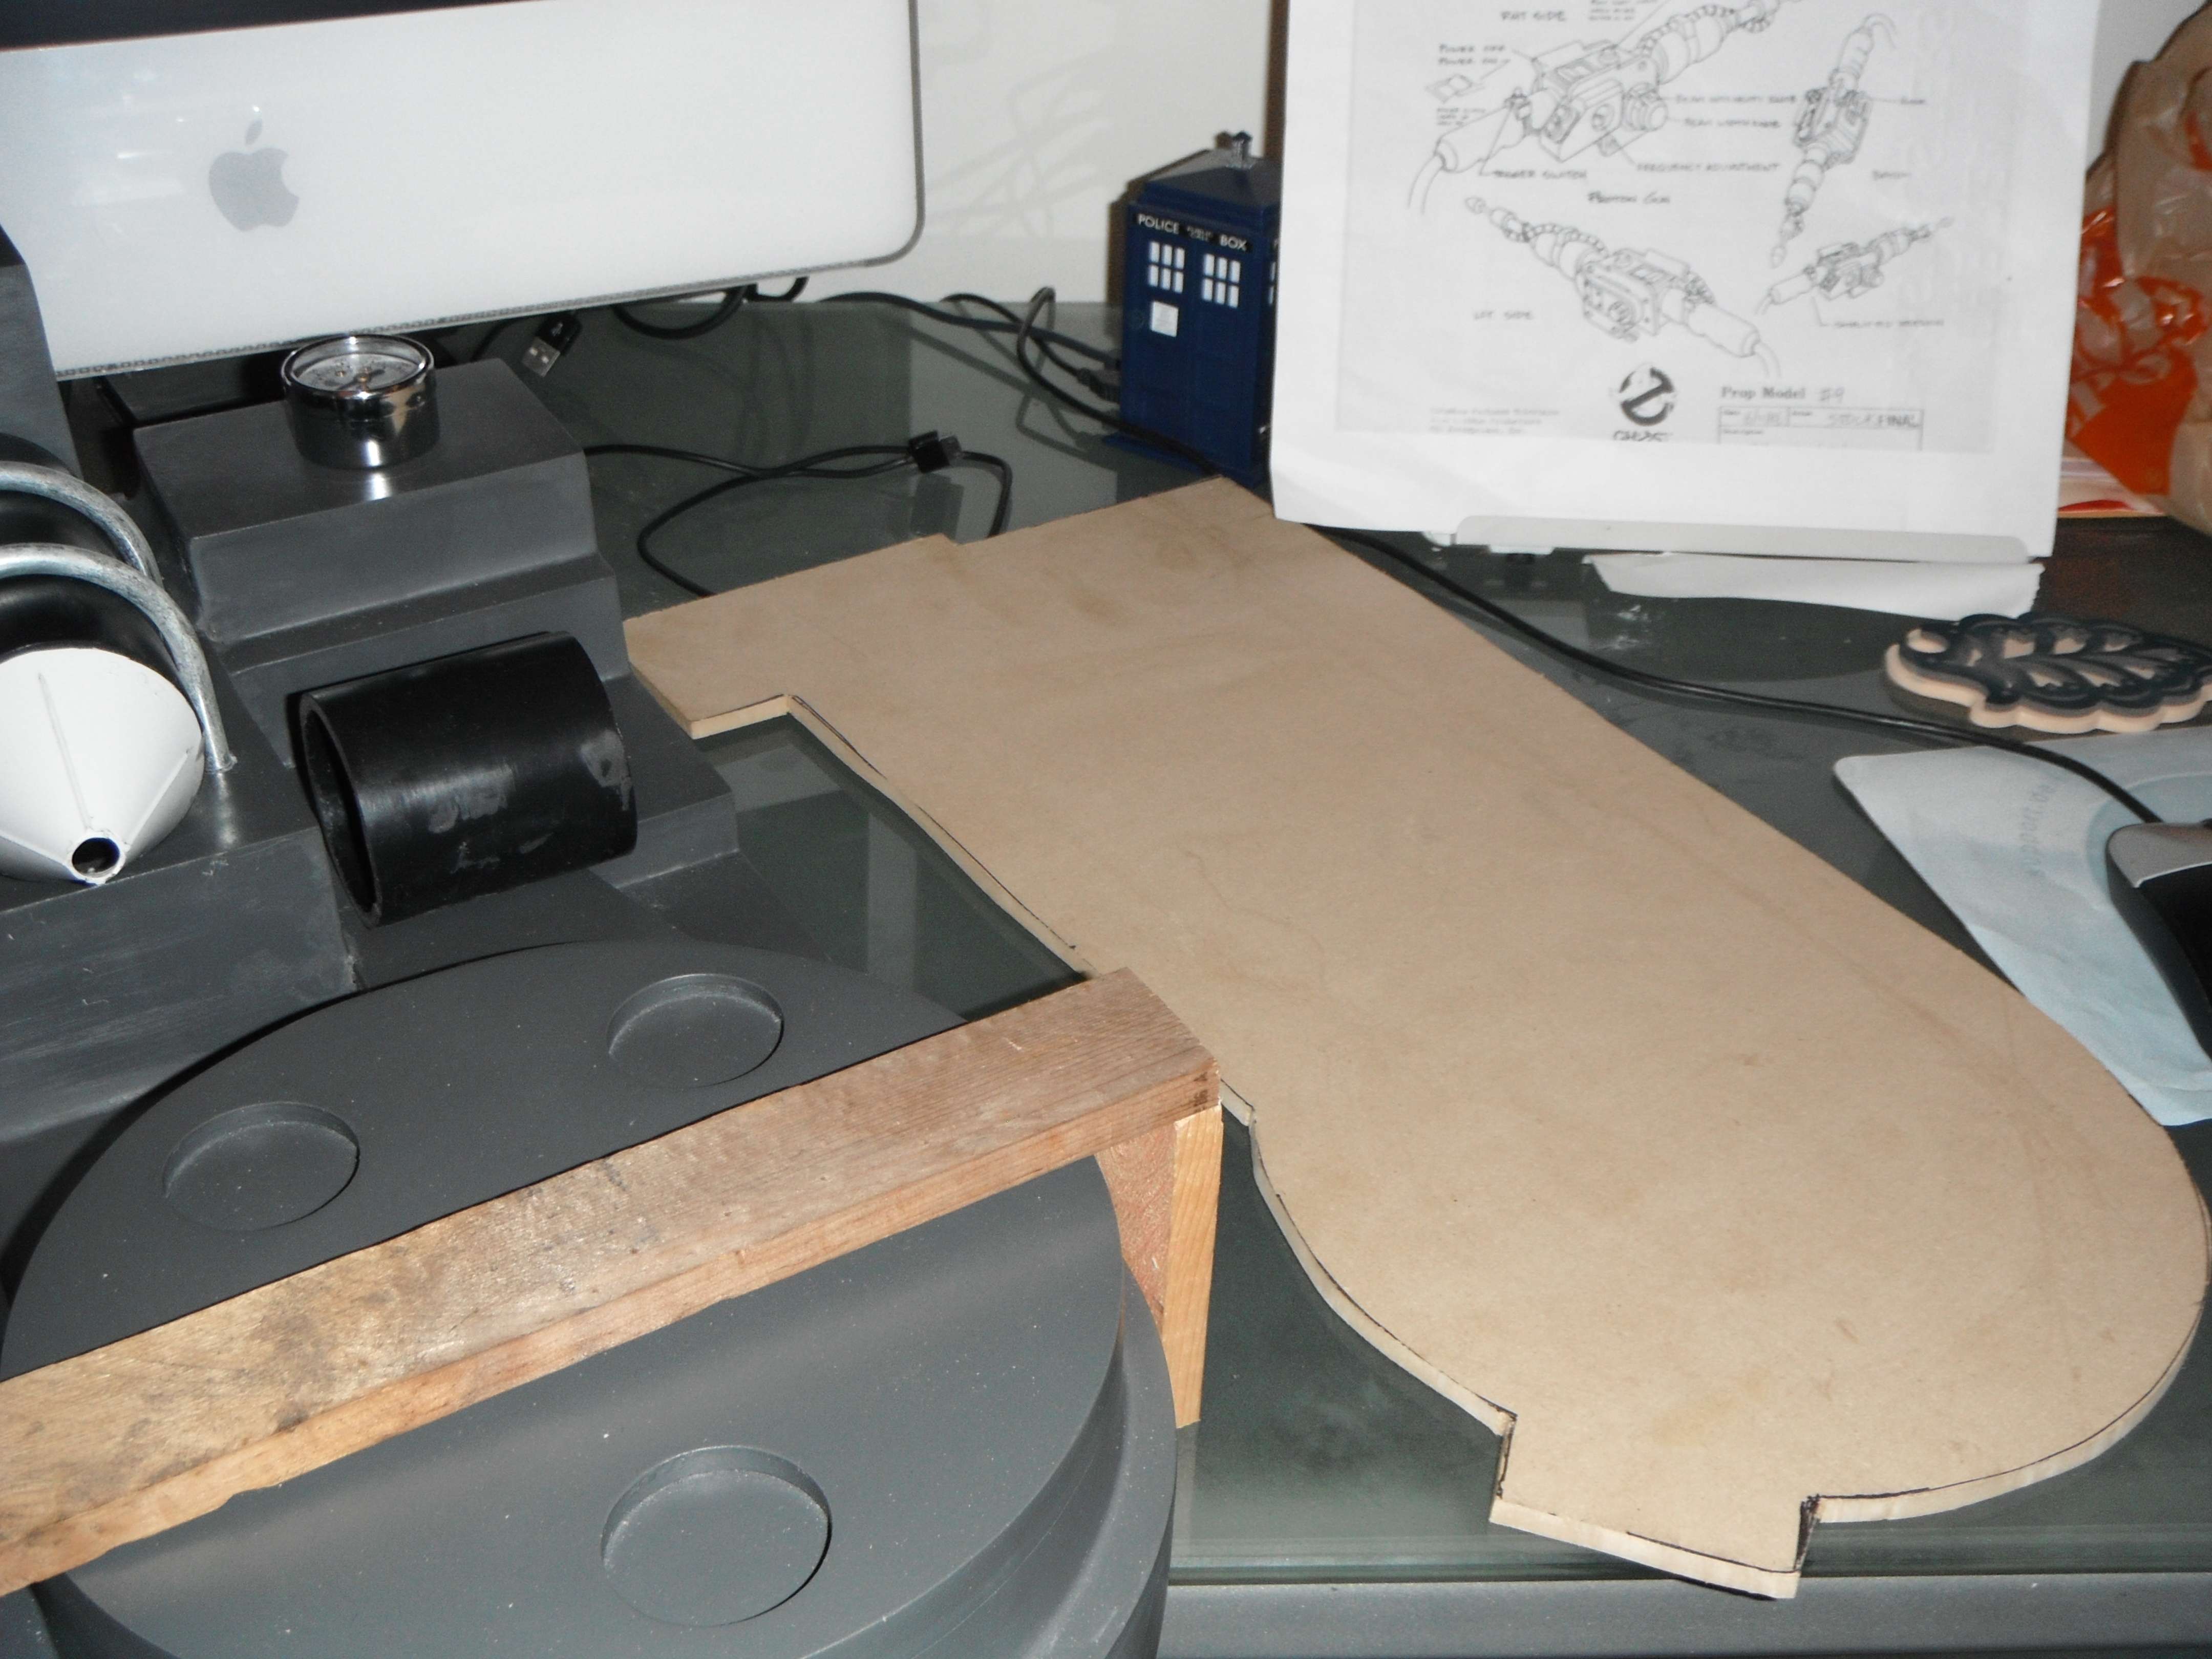
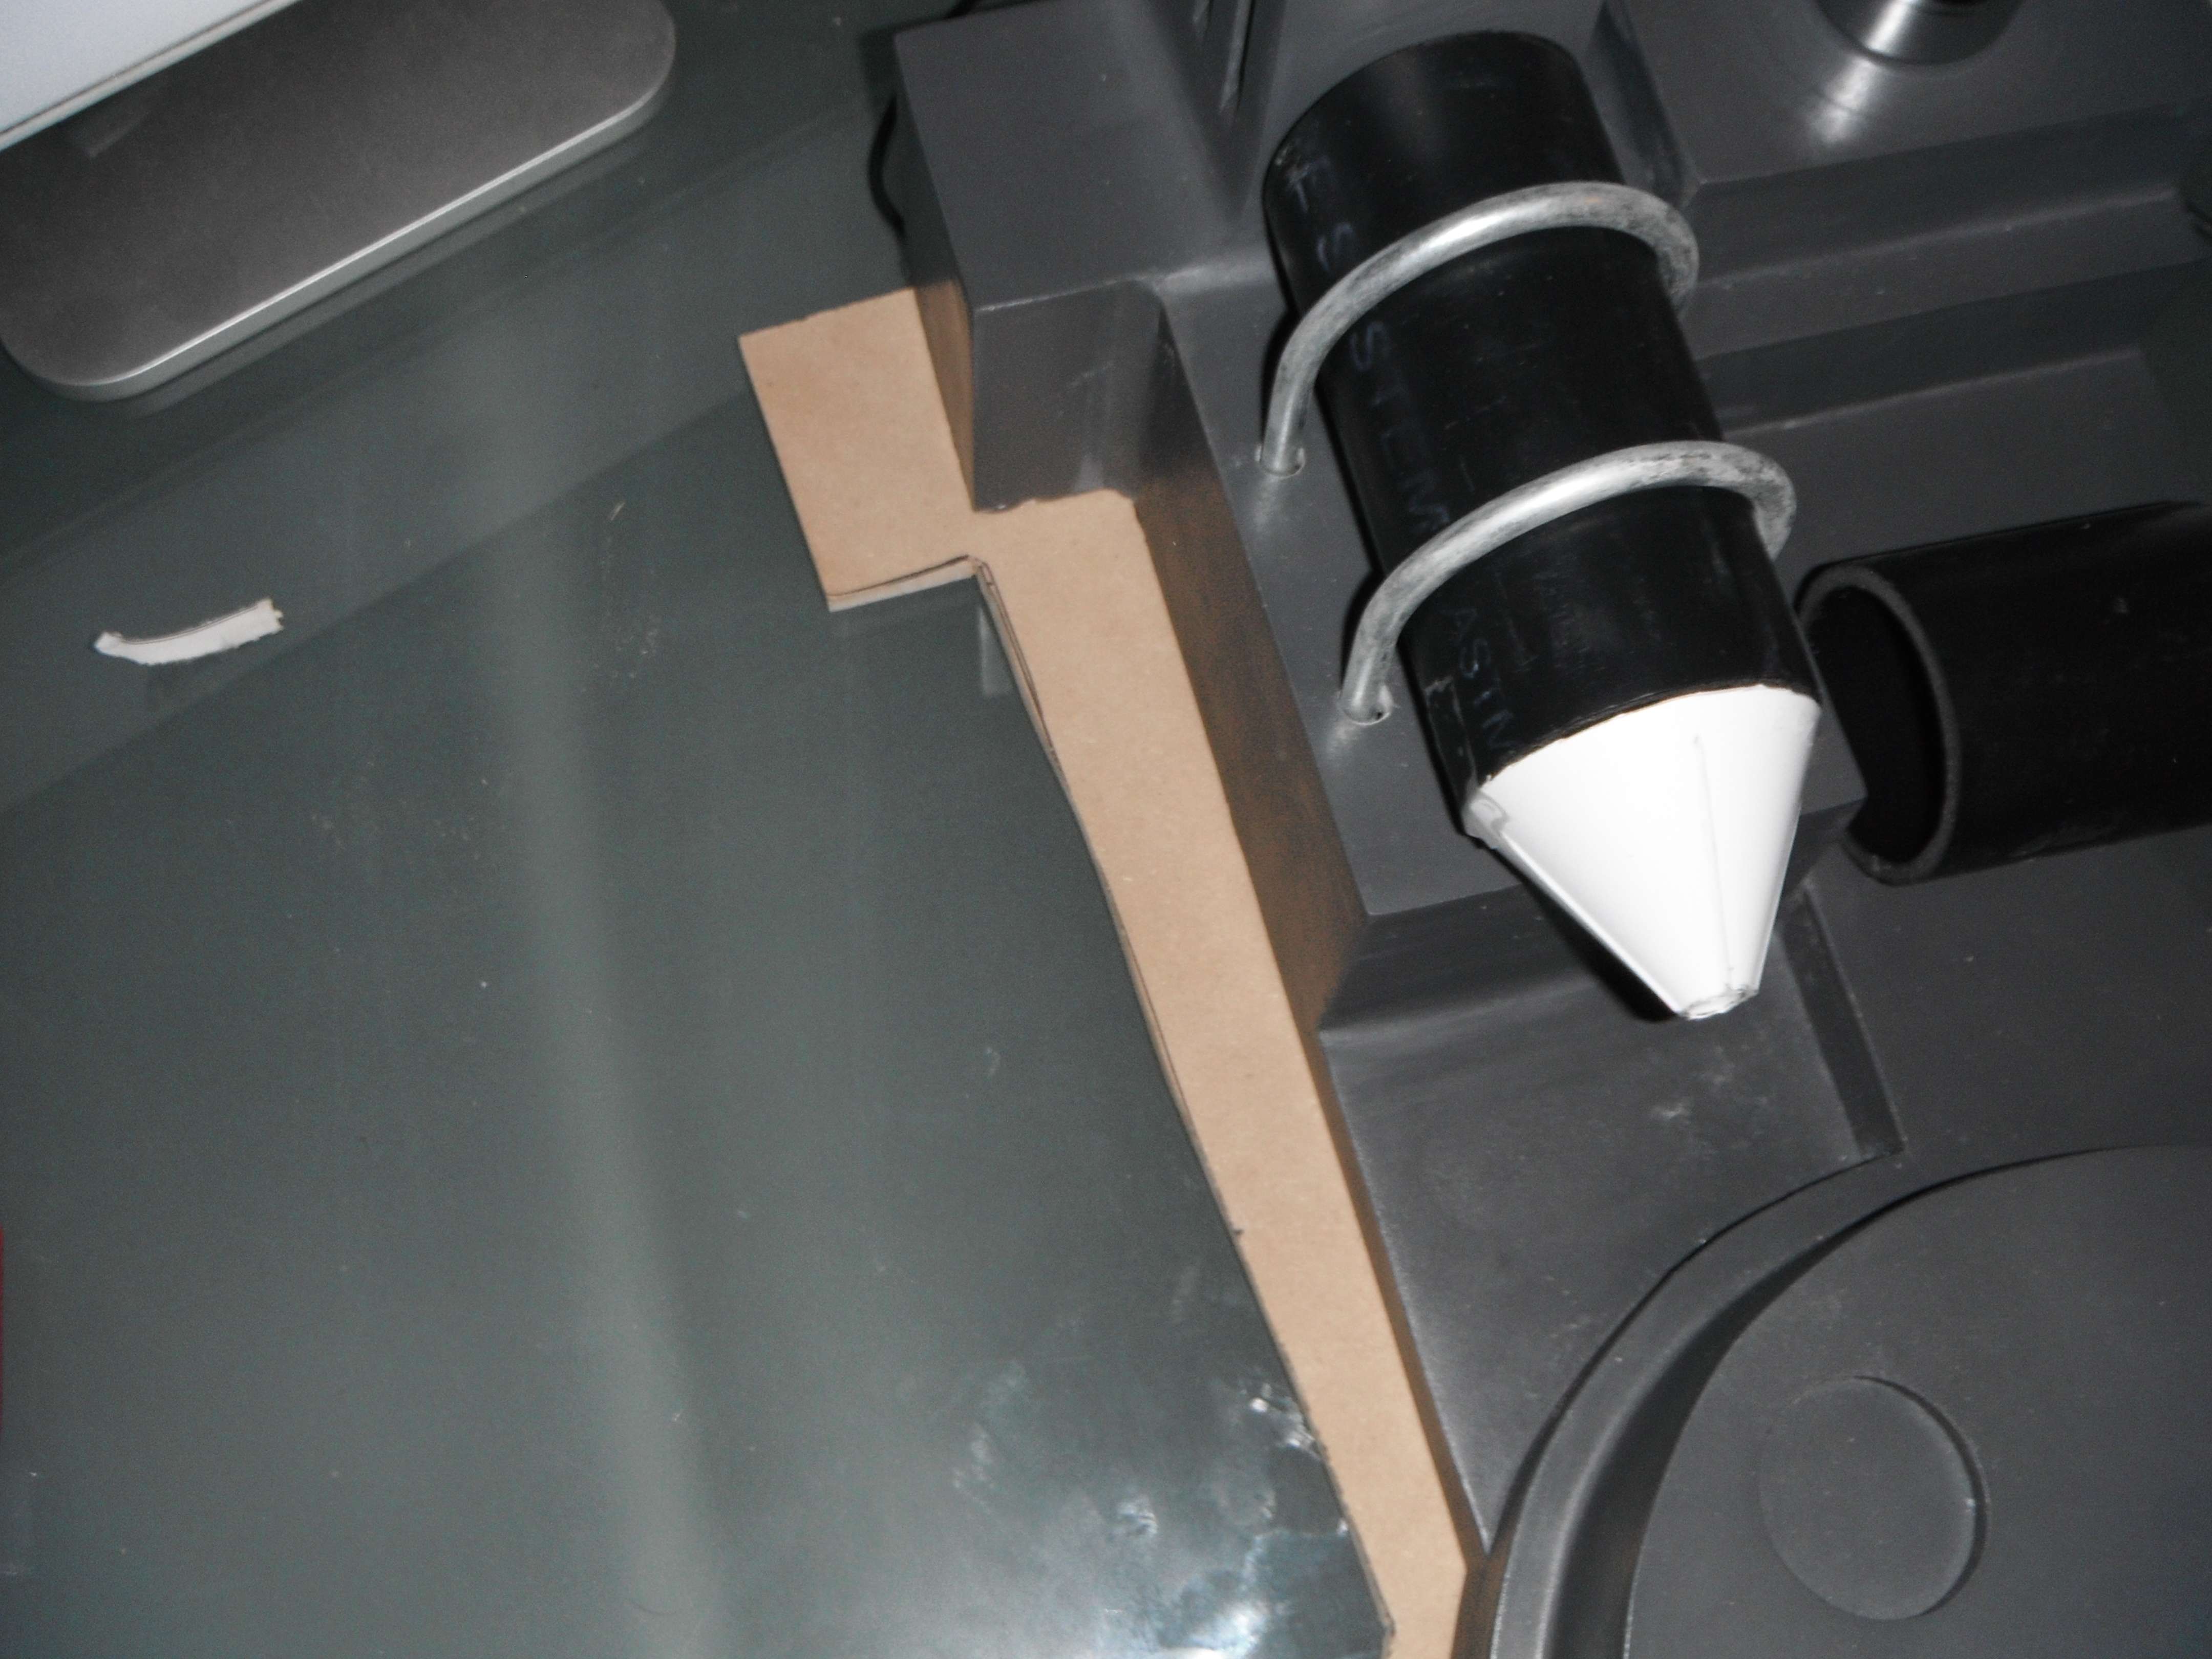
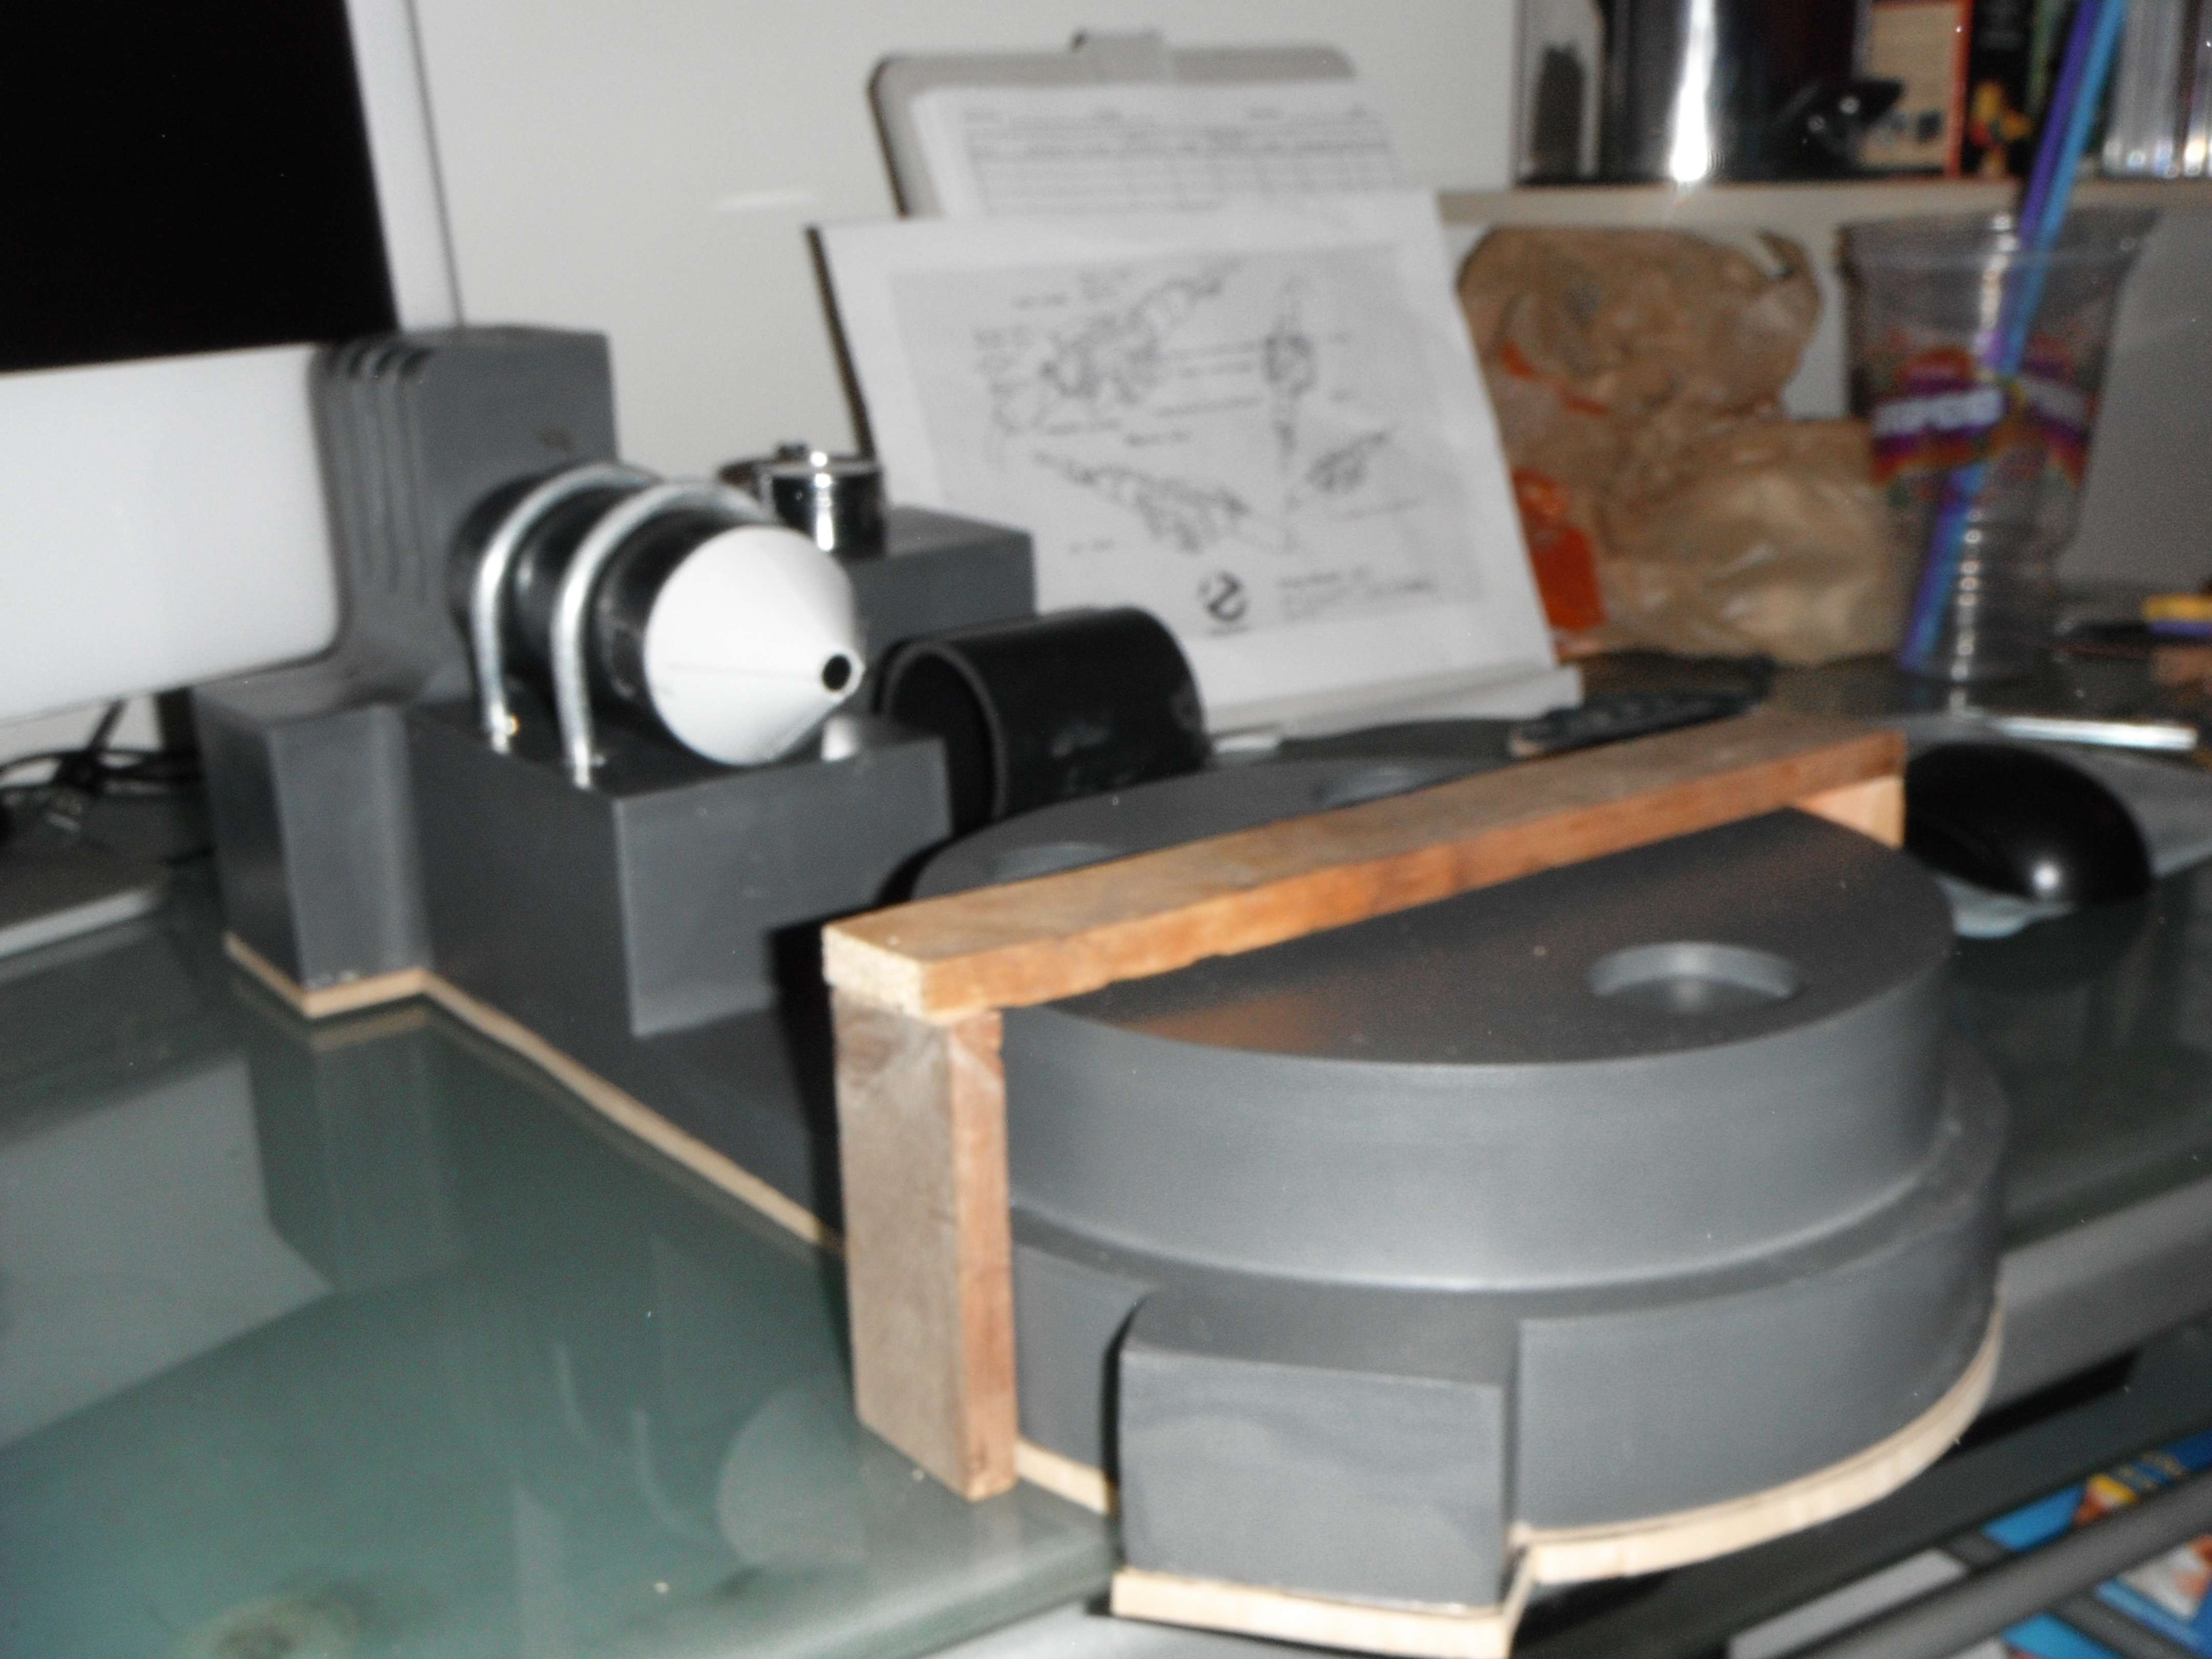
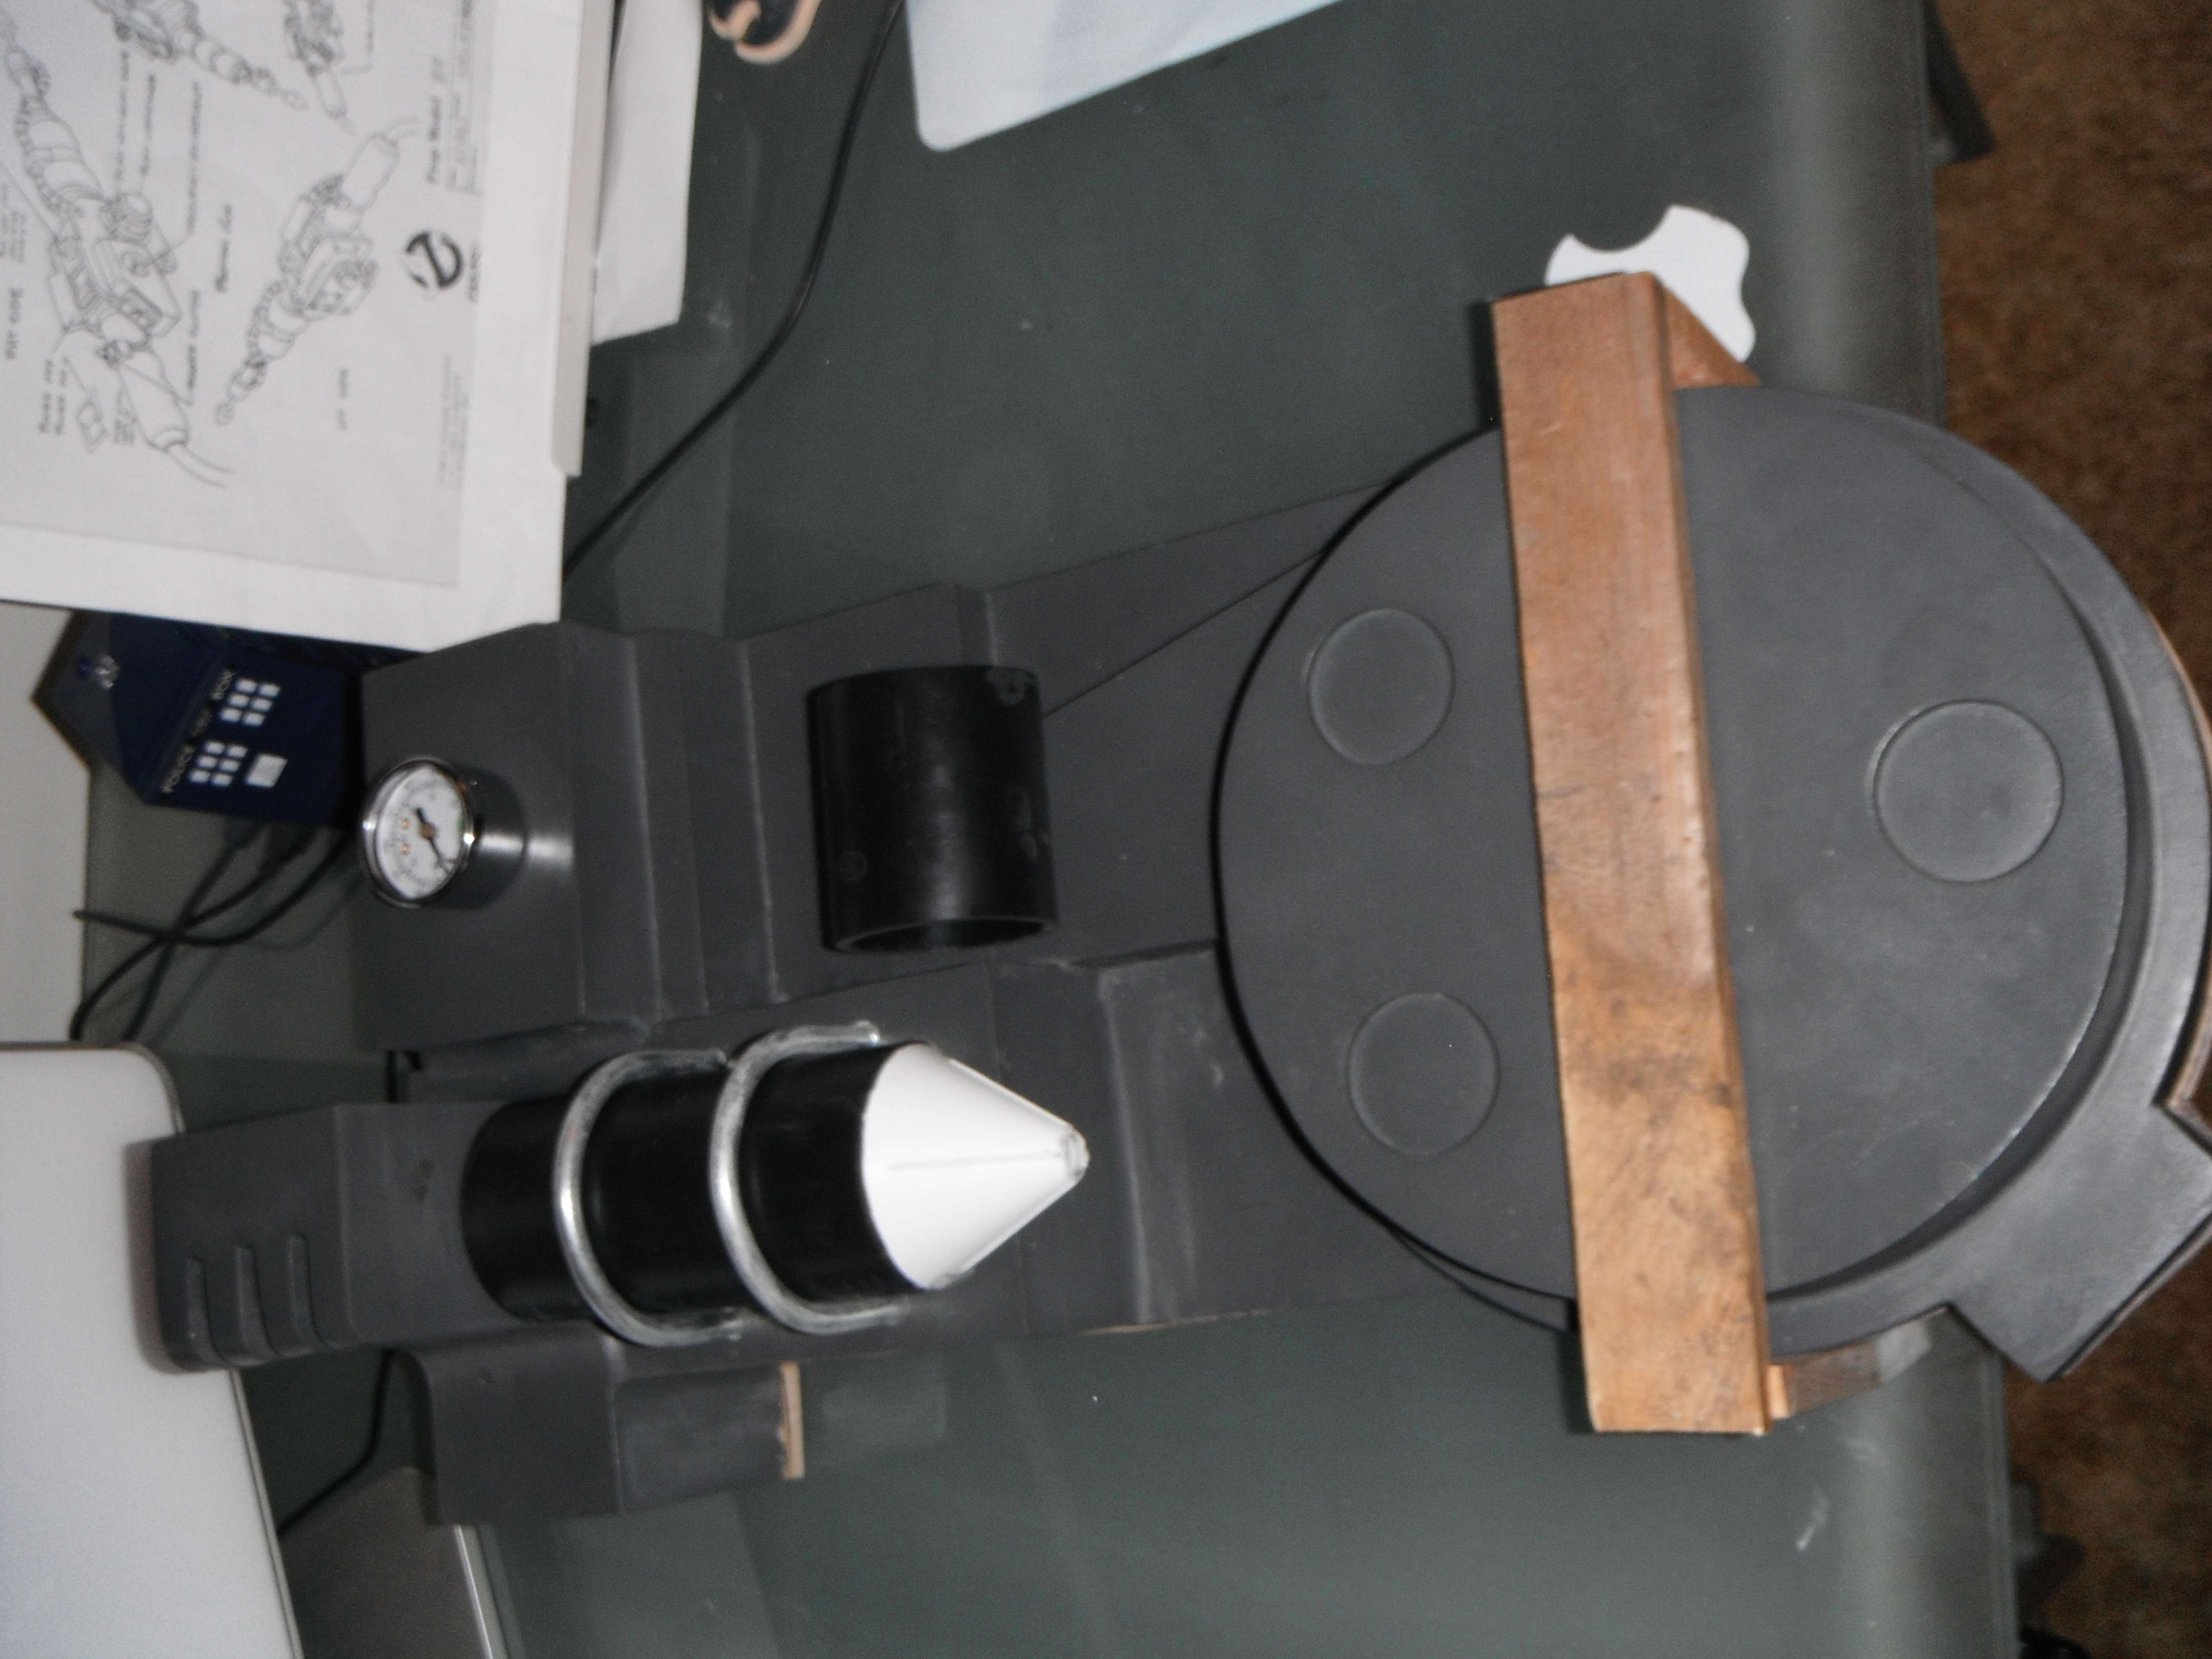
Here’s a couple of mock up pictures of what I got so far Pack-wise.

imageUploaded with ImageShack.com

imageUploaded with ImageShack.com

Also still wondering what kind of paint is best to paint the shell with, any input would be greatly appreciated.

Been kind of busy as of late so I haven’t accomplished much more but a little is better than nothing.

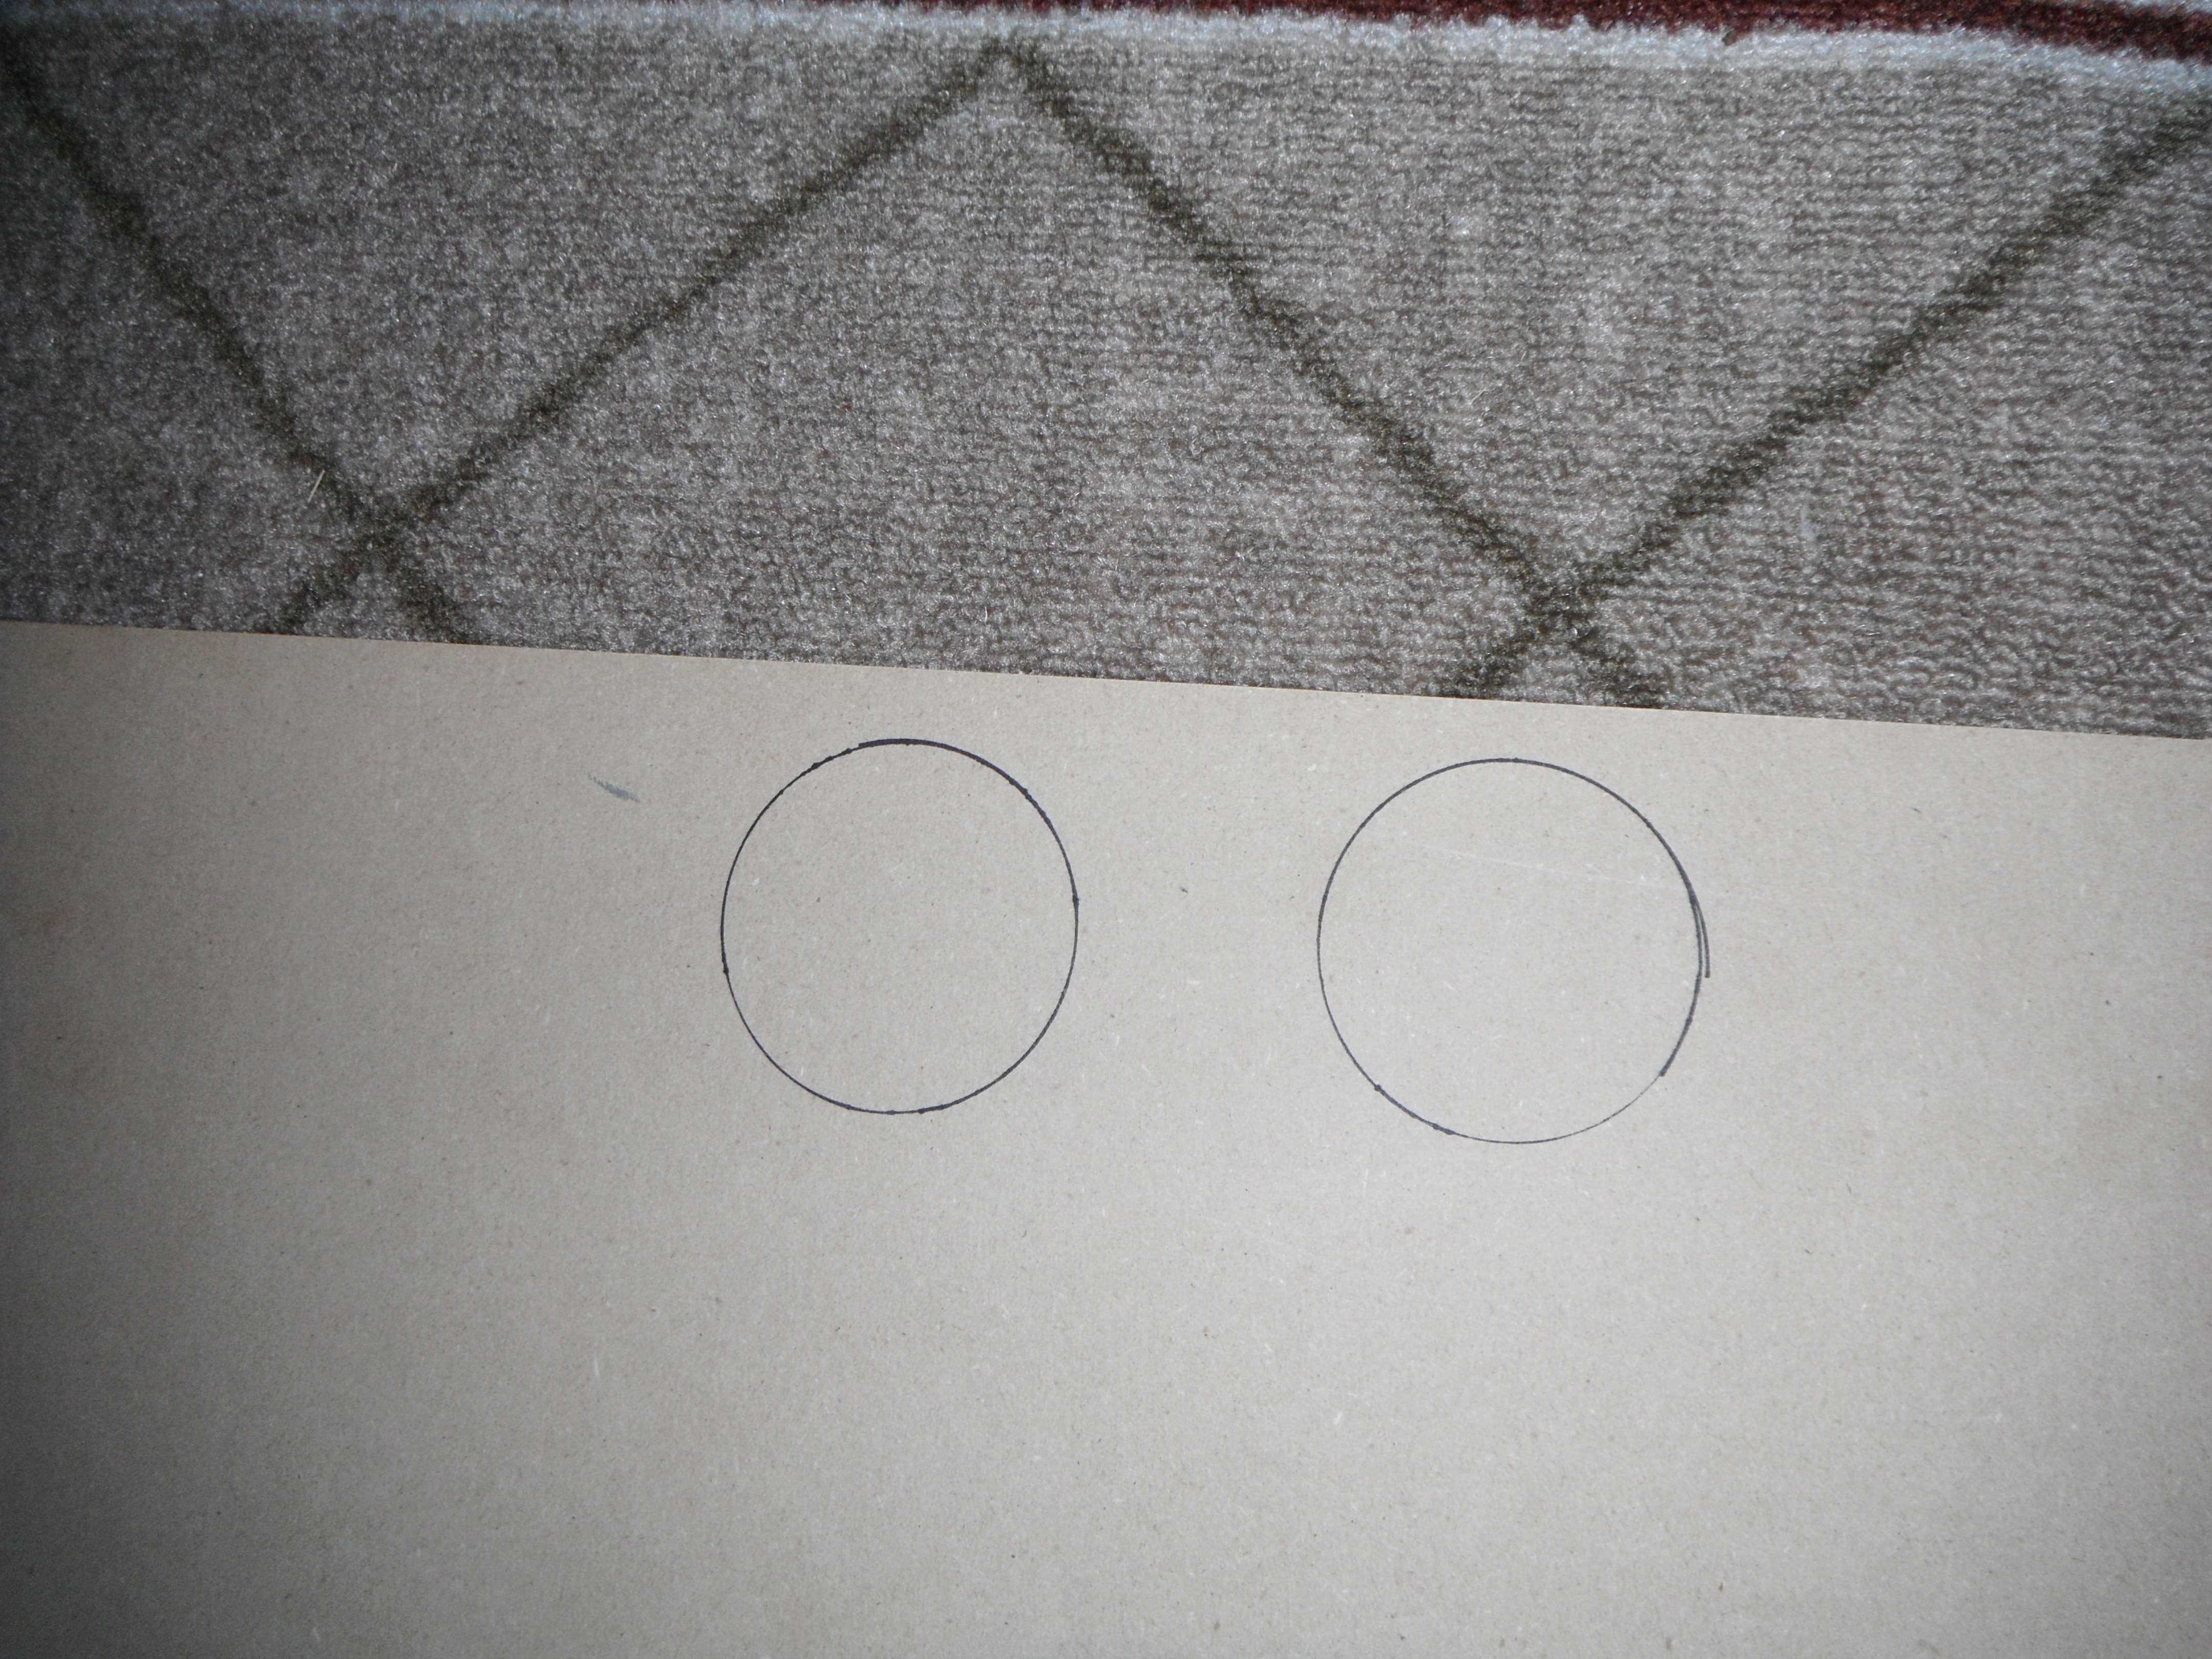
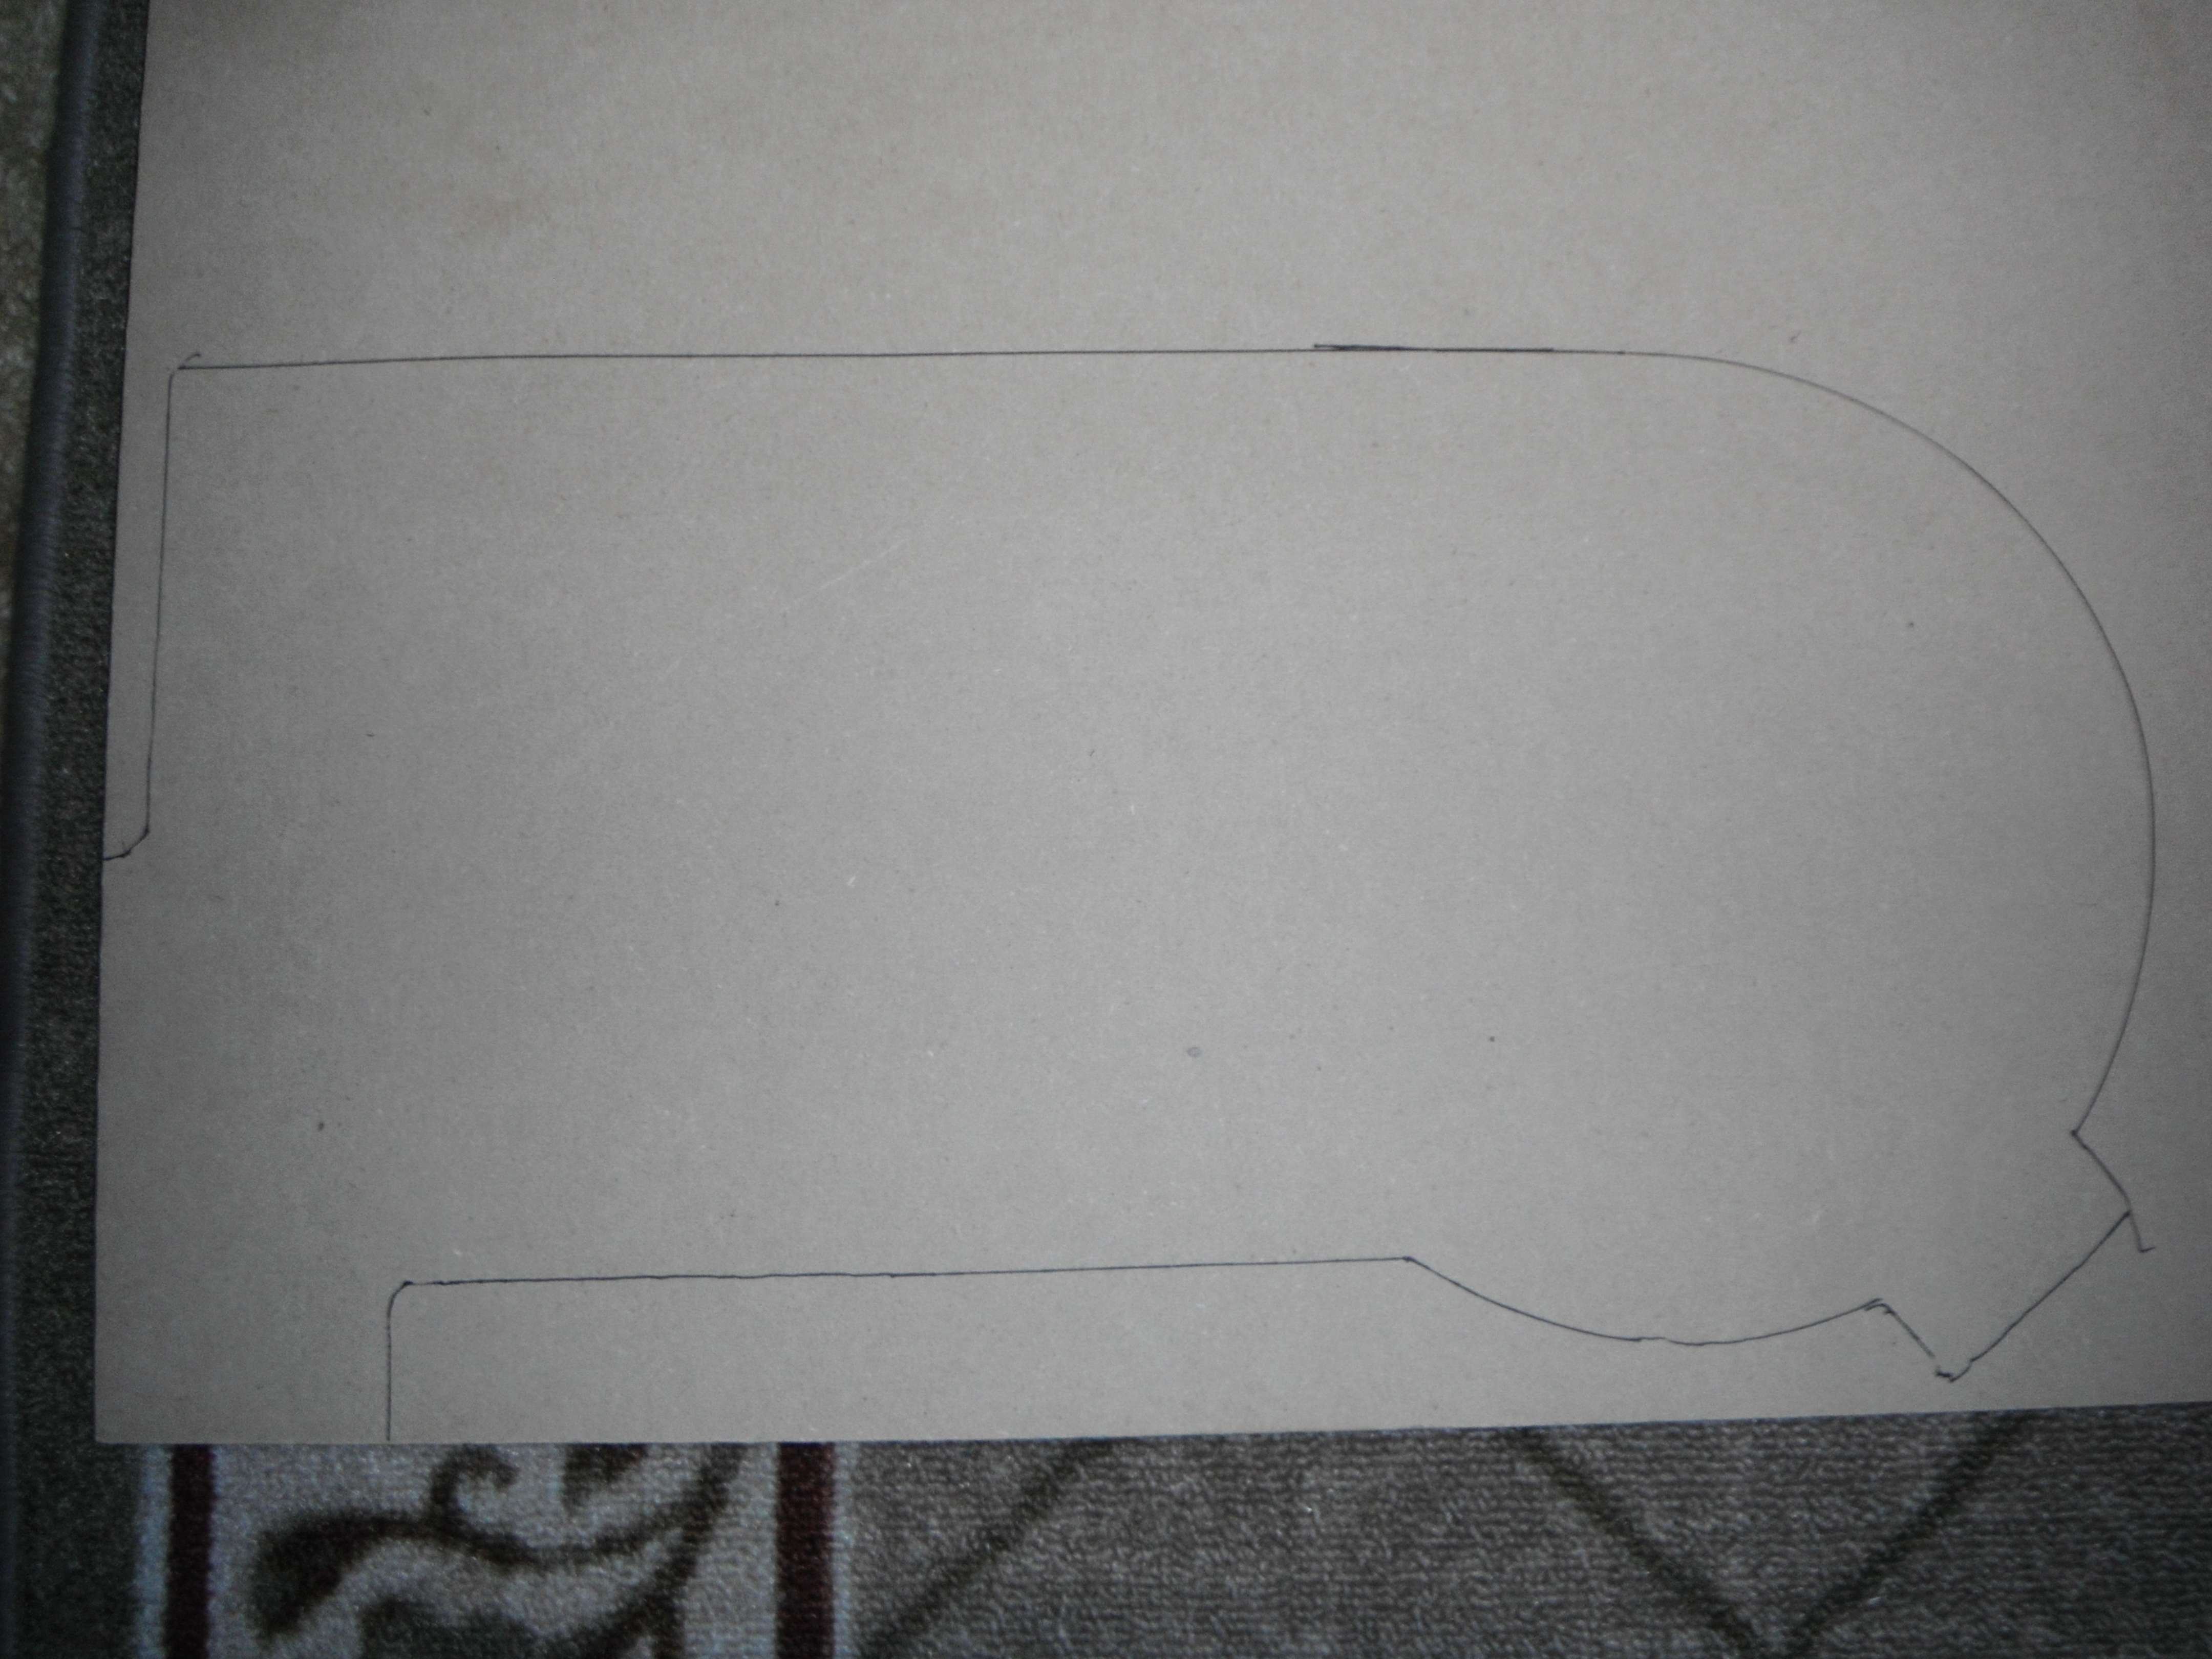
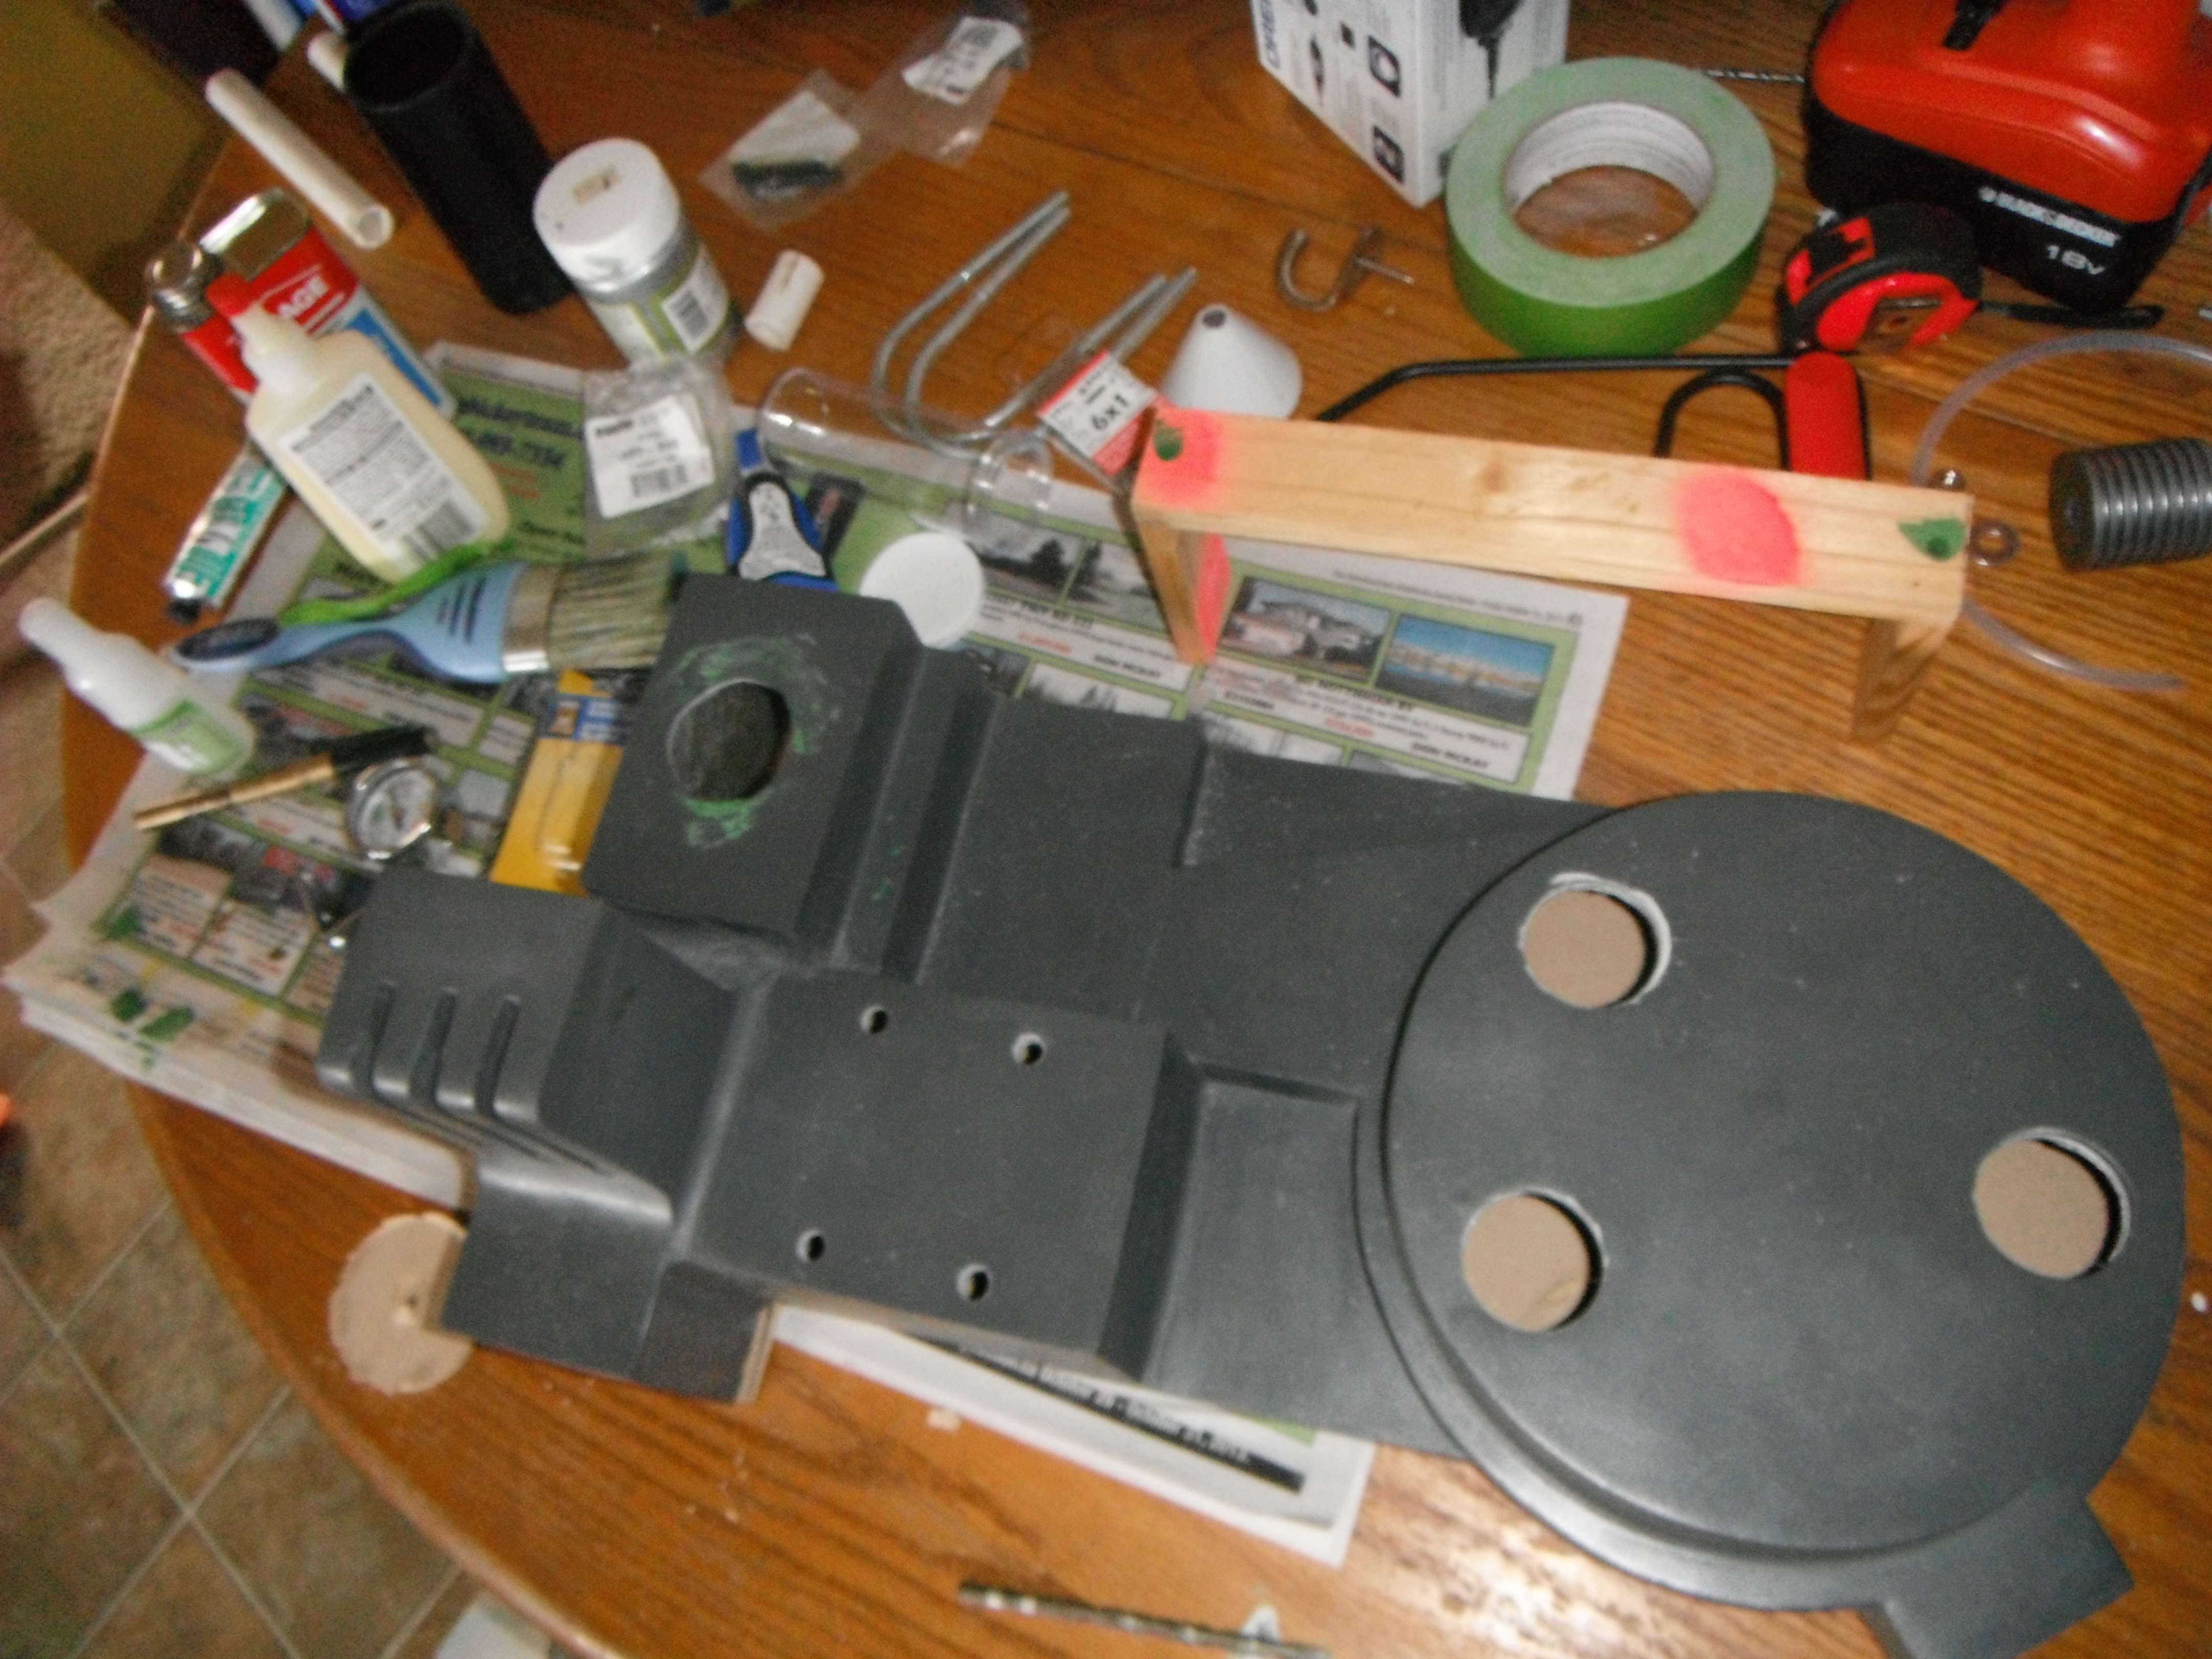
On a sheet of MDF board I traced out the motherboard and the ends for what will be the yellow cylinder (don’t know its actual name) on the pack.

It turns out I have difficulty cutting small circles with my jigsaw so I only managed to get the motherboard cut properly.

Only other progress I’ve made other than the motherboard is cutting down a funnel for the bottom of what will be the red cylinder (not sure of its name either) at the bottom of the Ion Arm.

Small updates, hopefully will be making more regularly as I’m starting to crack down on getting this project moving.

image

Red lenses for the Cyclotrom and a Shock Mount for the bumper.

image

Kenner Neutrona Wand/Thrower/Proton Gun I’m going to try to customize to look more accurate to the cartoon.

image

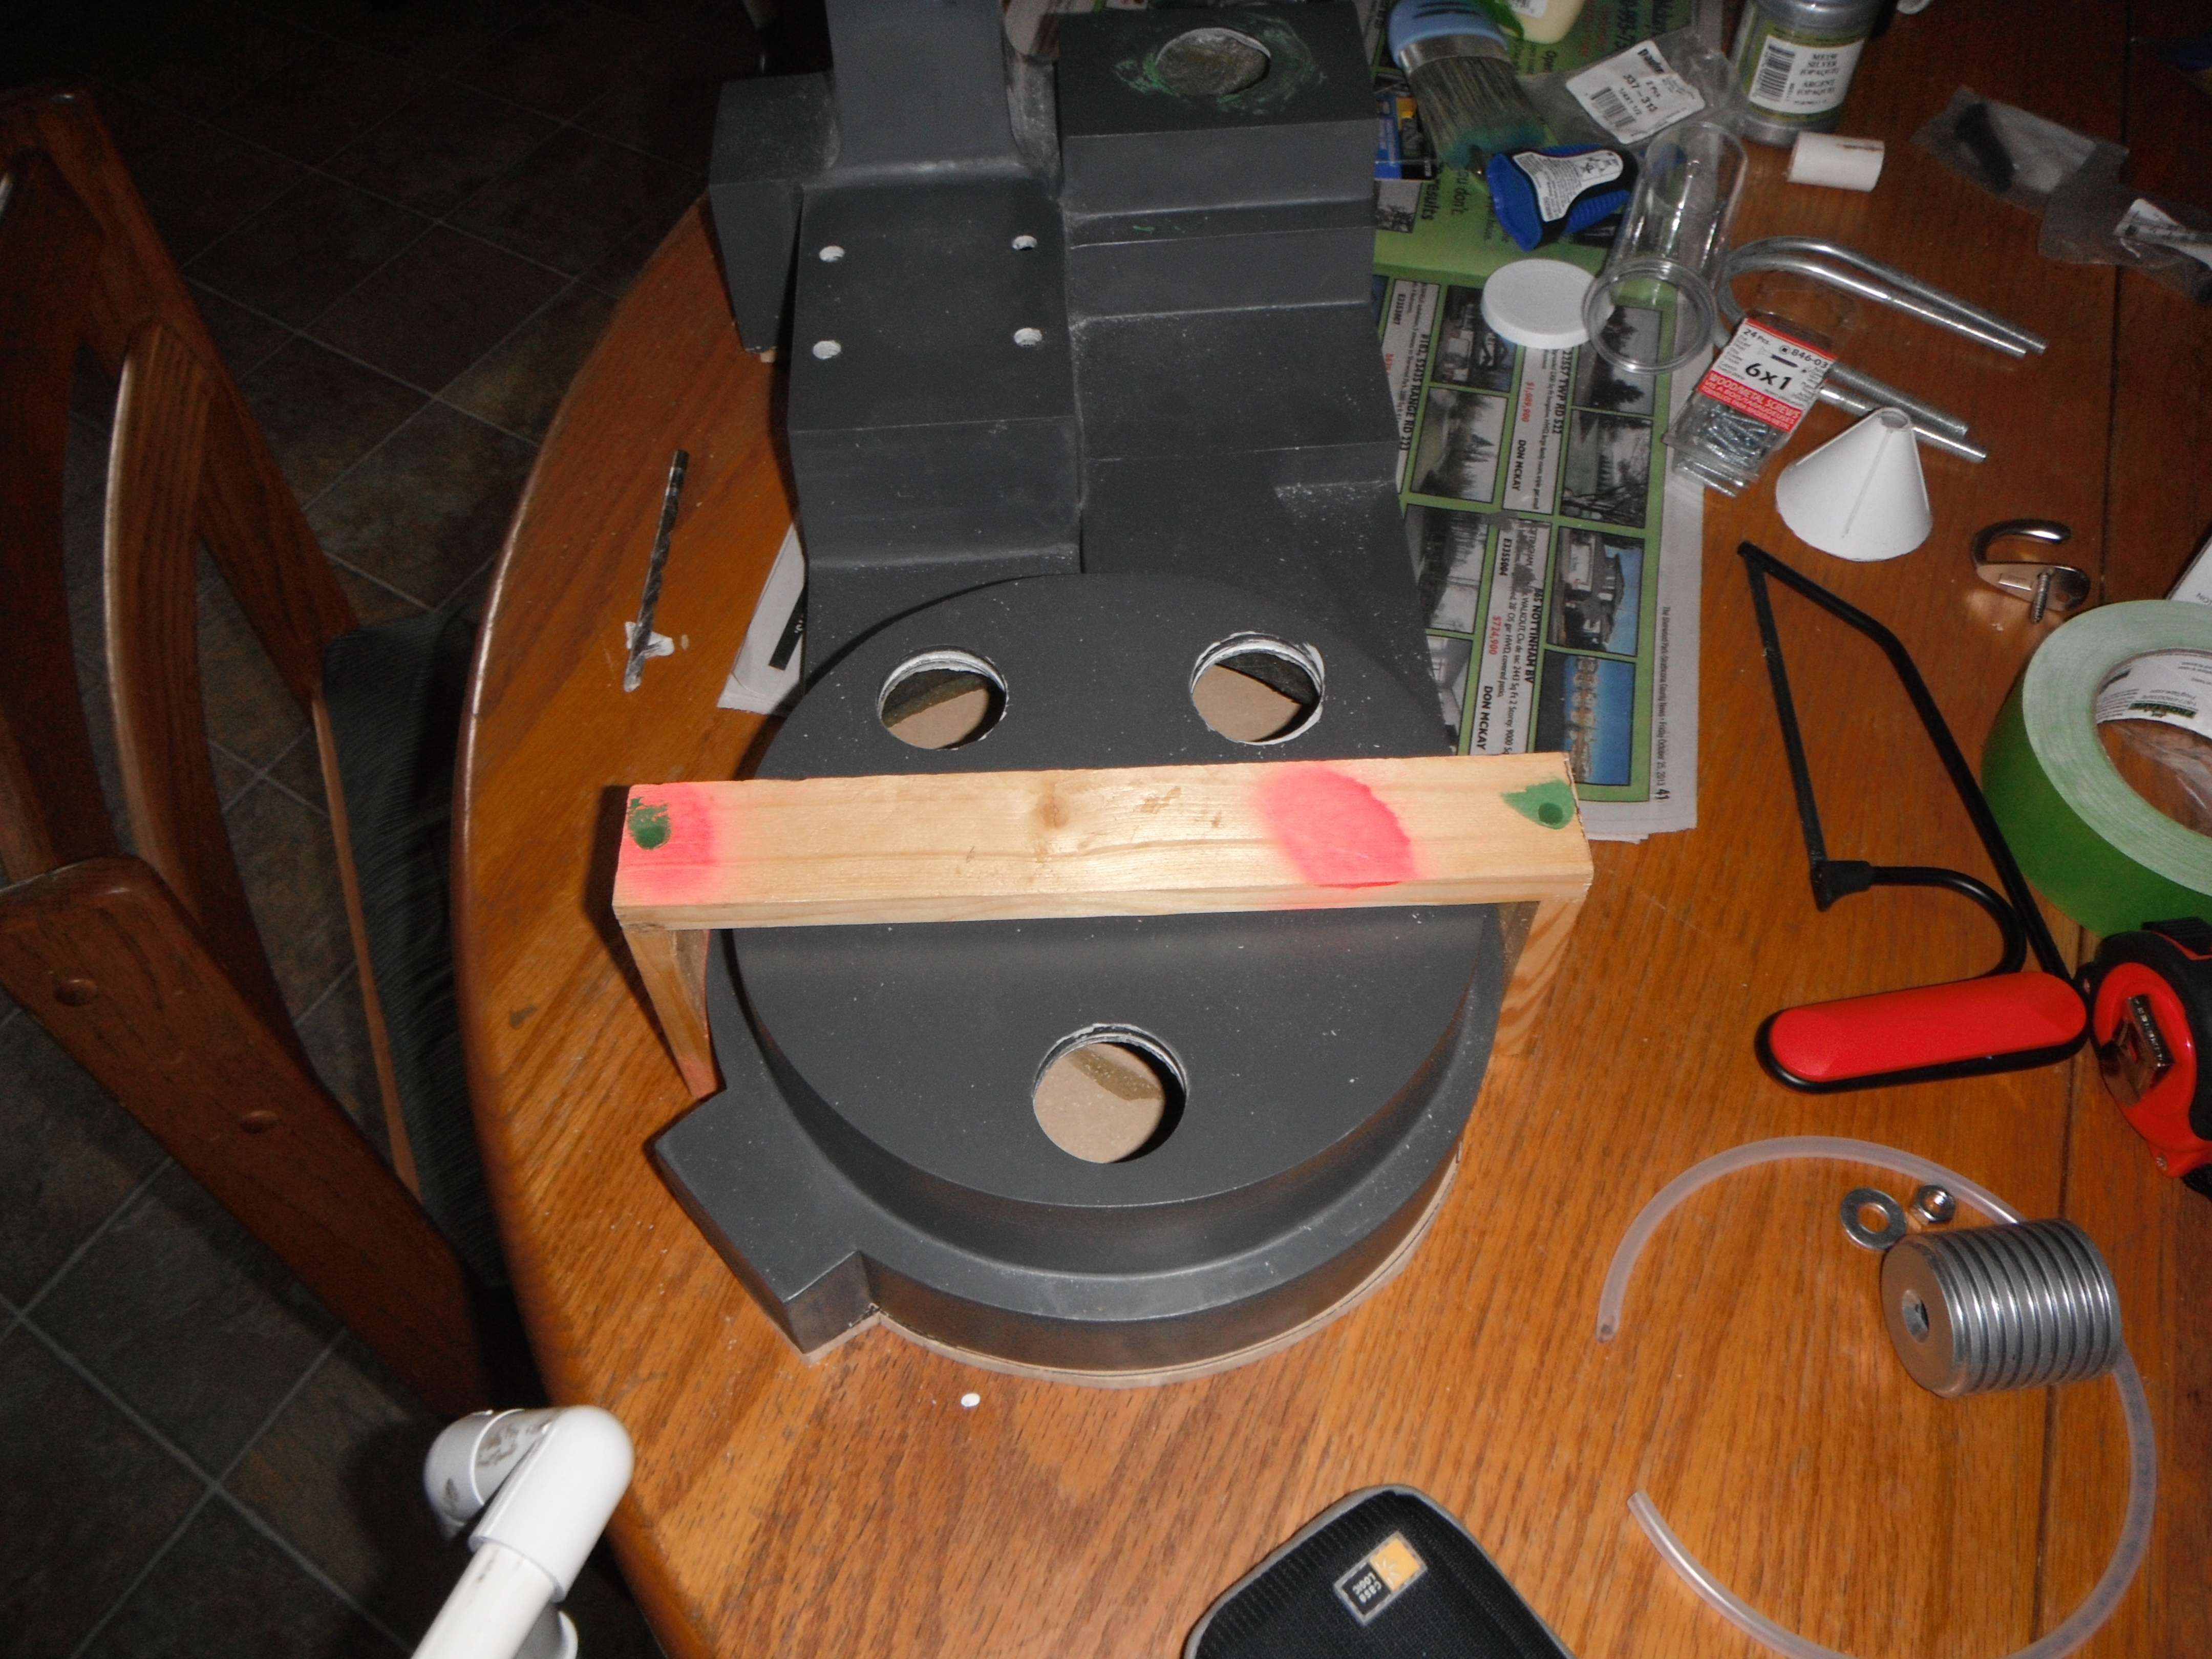
Cut out Cyclotron holes.

image

Mock up with lenses on top of where they’ll go.

image

Mock up without lenses.

Hopefully more updates and progress soon.

Made more progress but don’t have many pictures.

Got the hole for the gage cut out.

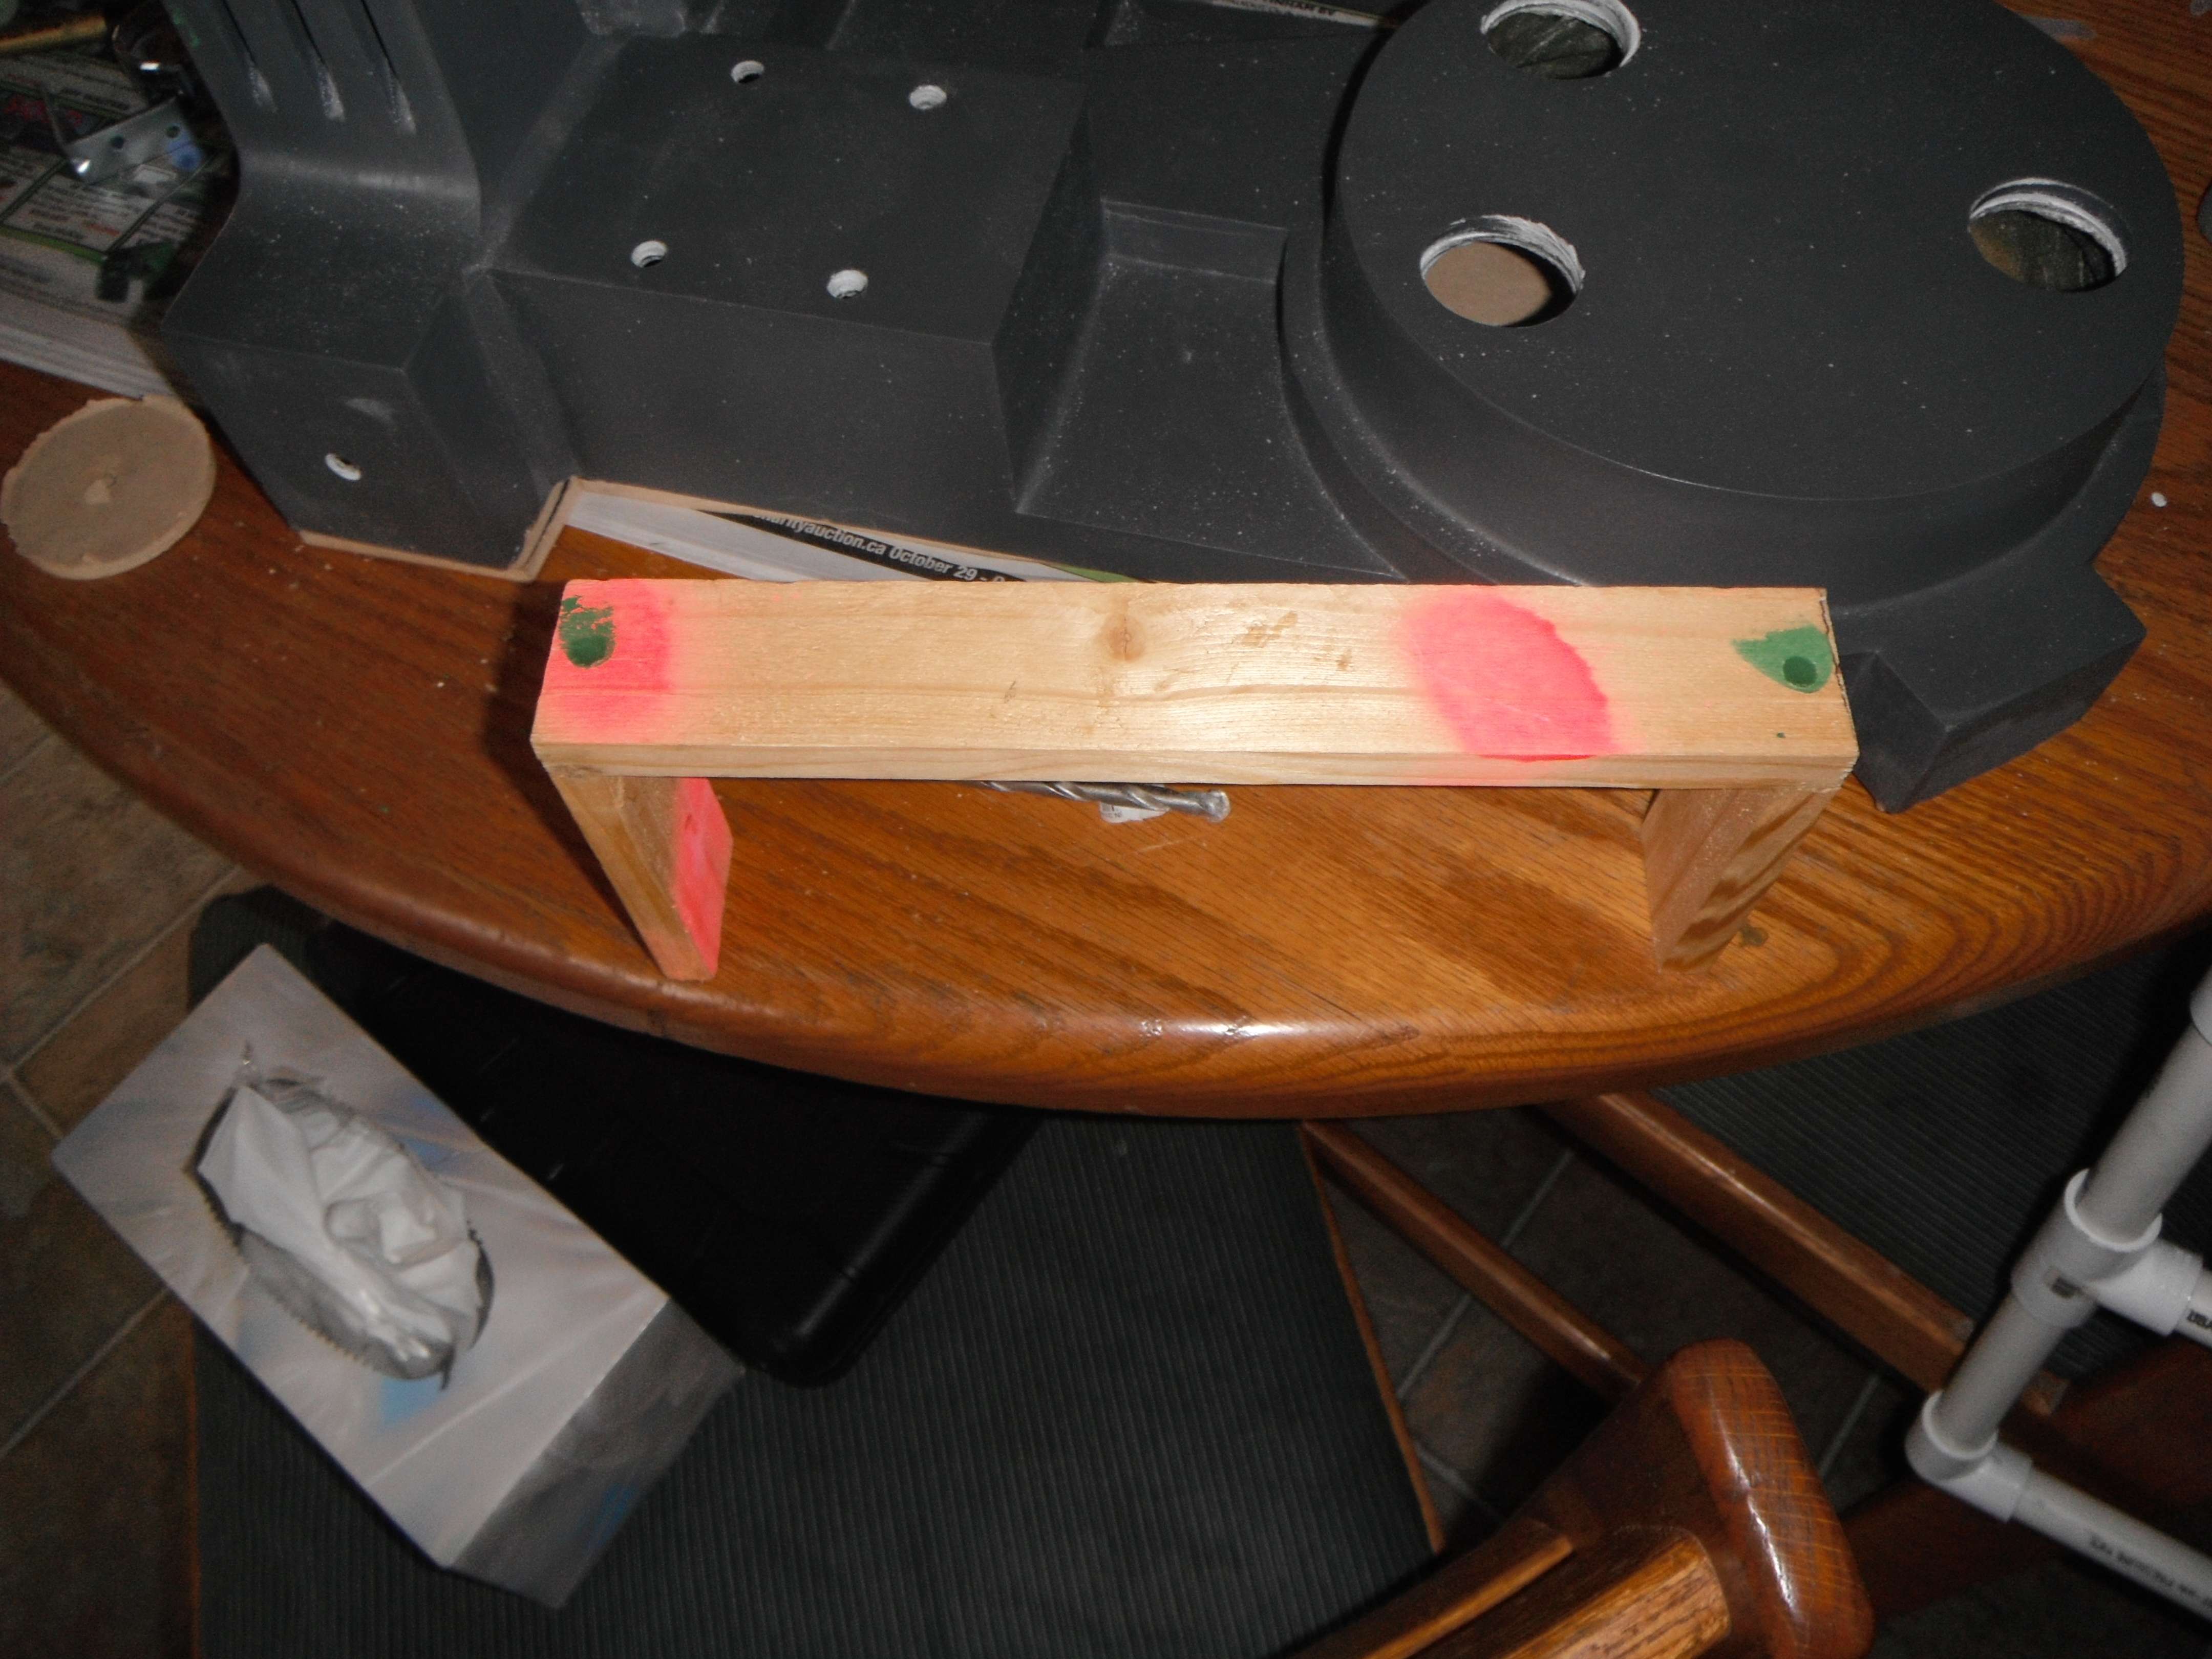
Cut new pieces and wood glued & screwed the bumper together.

The bumper somewhat in place.

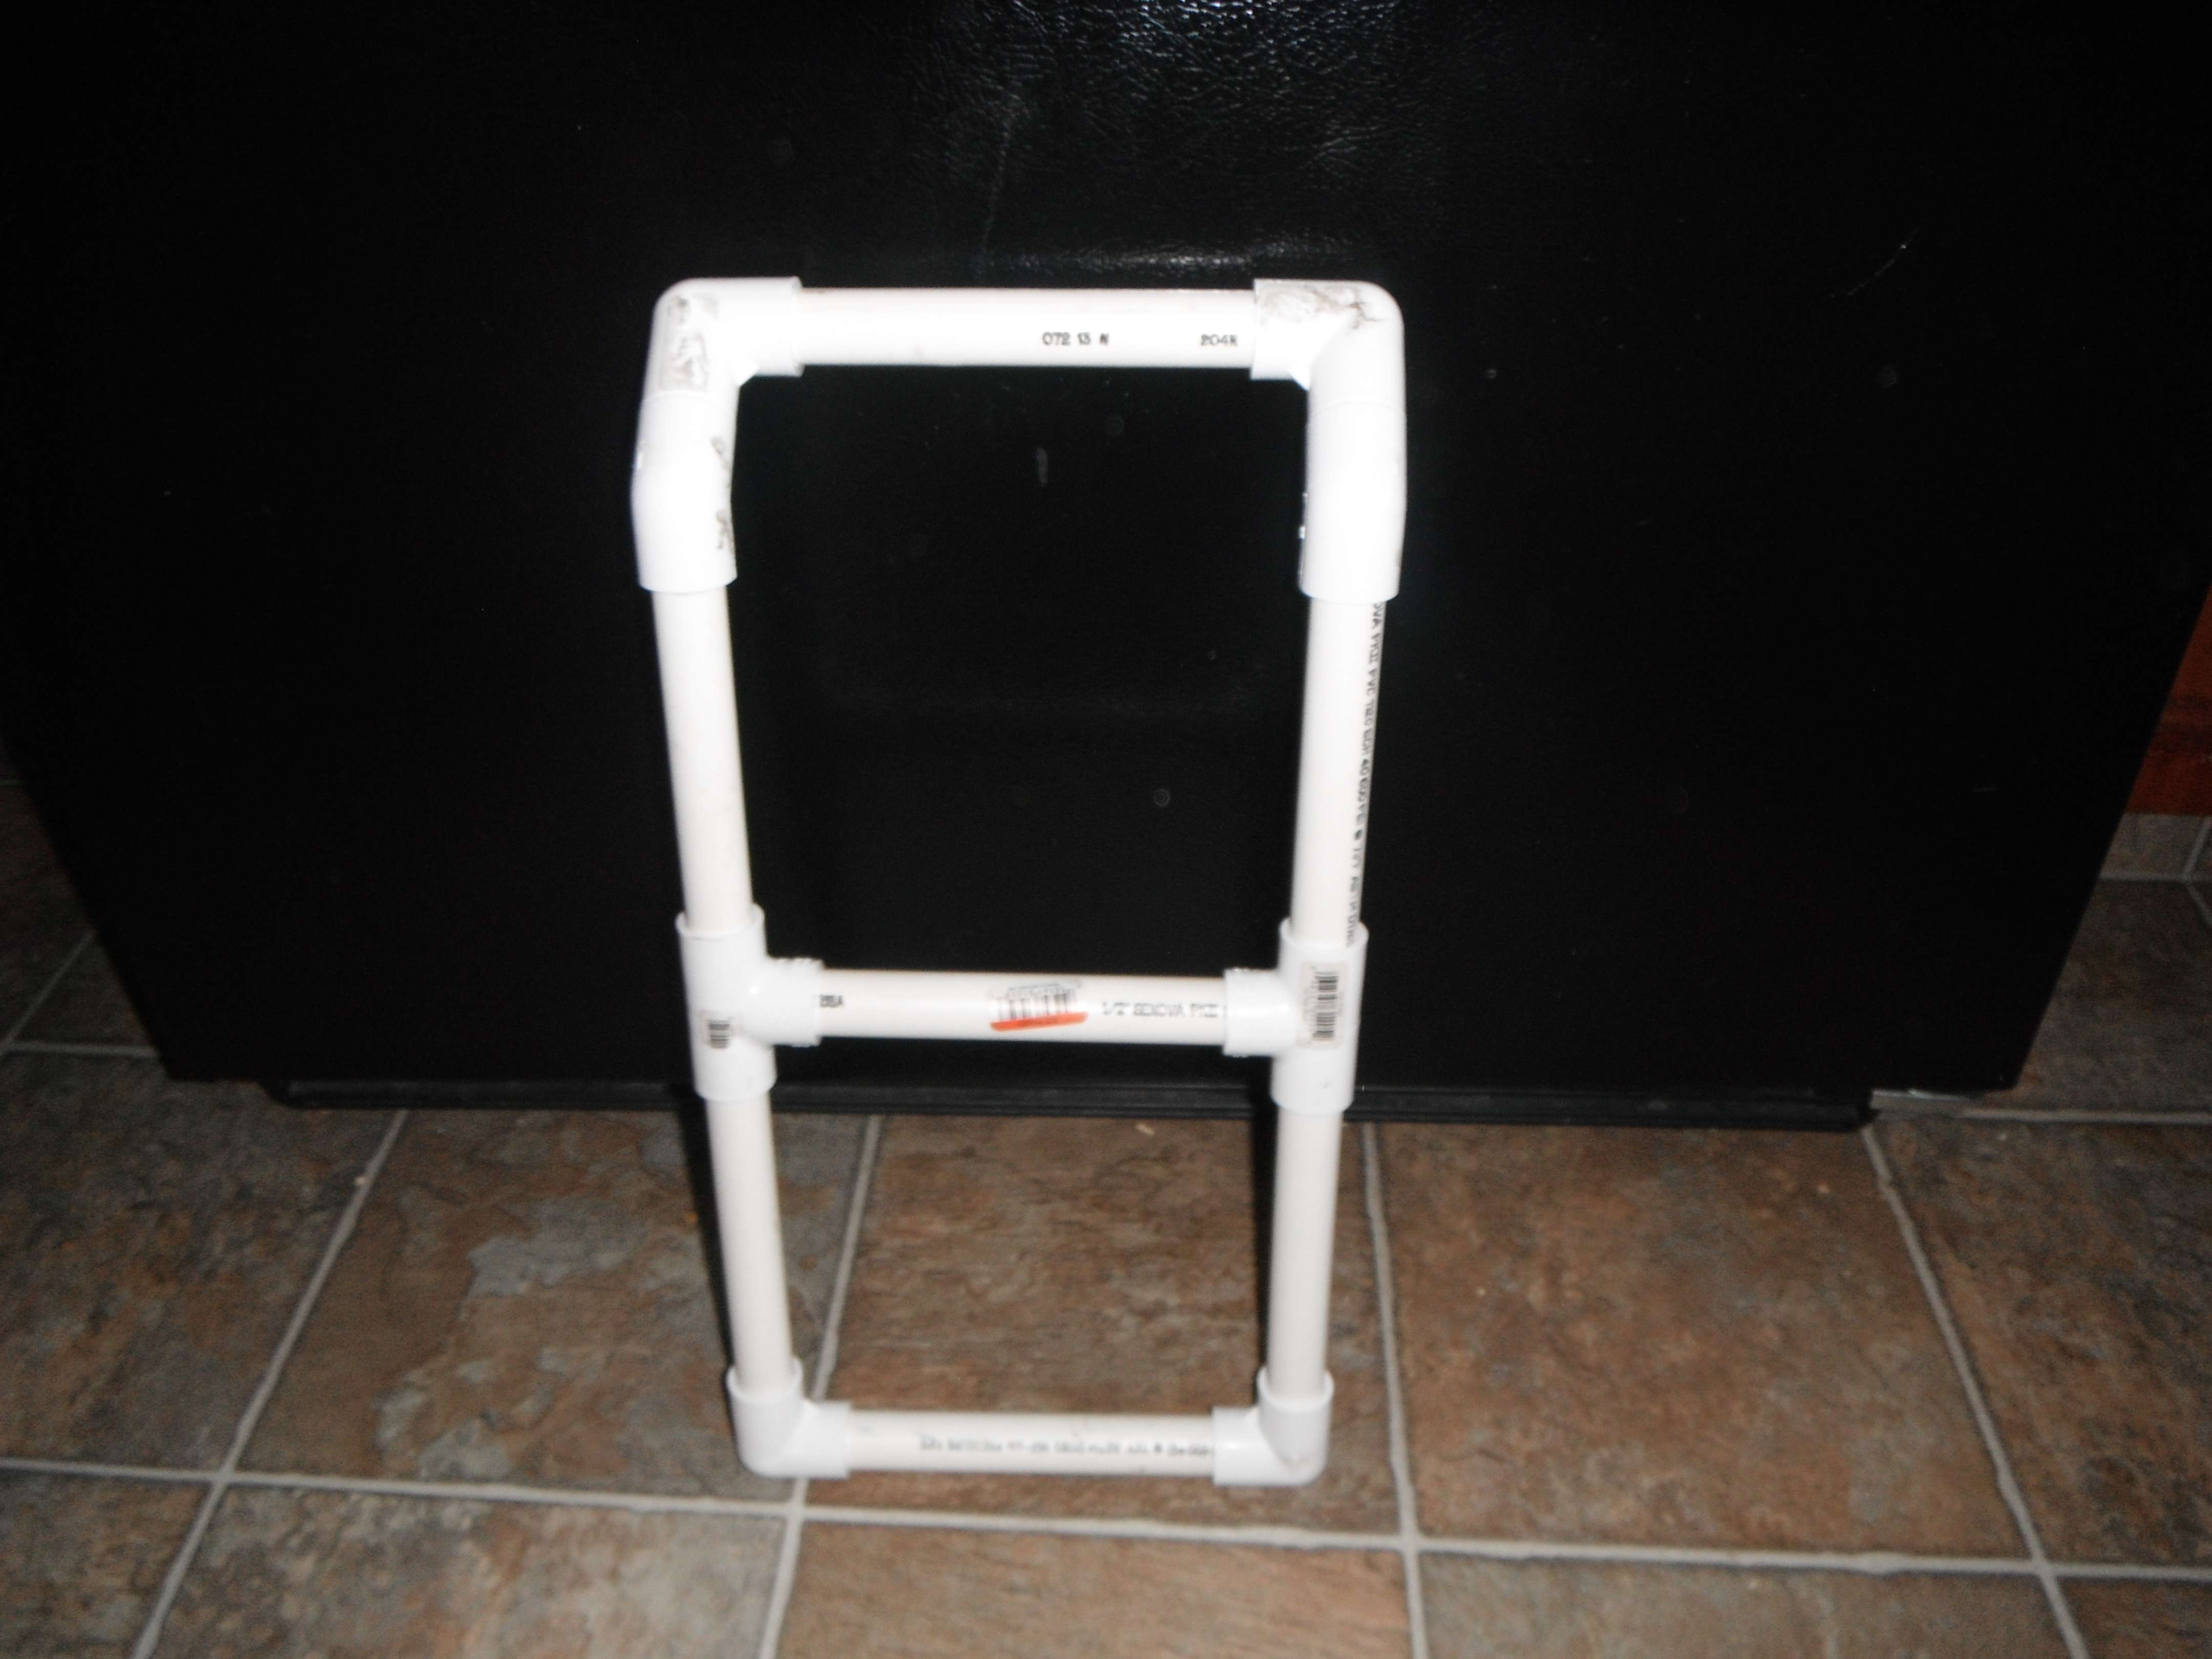
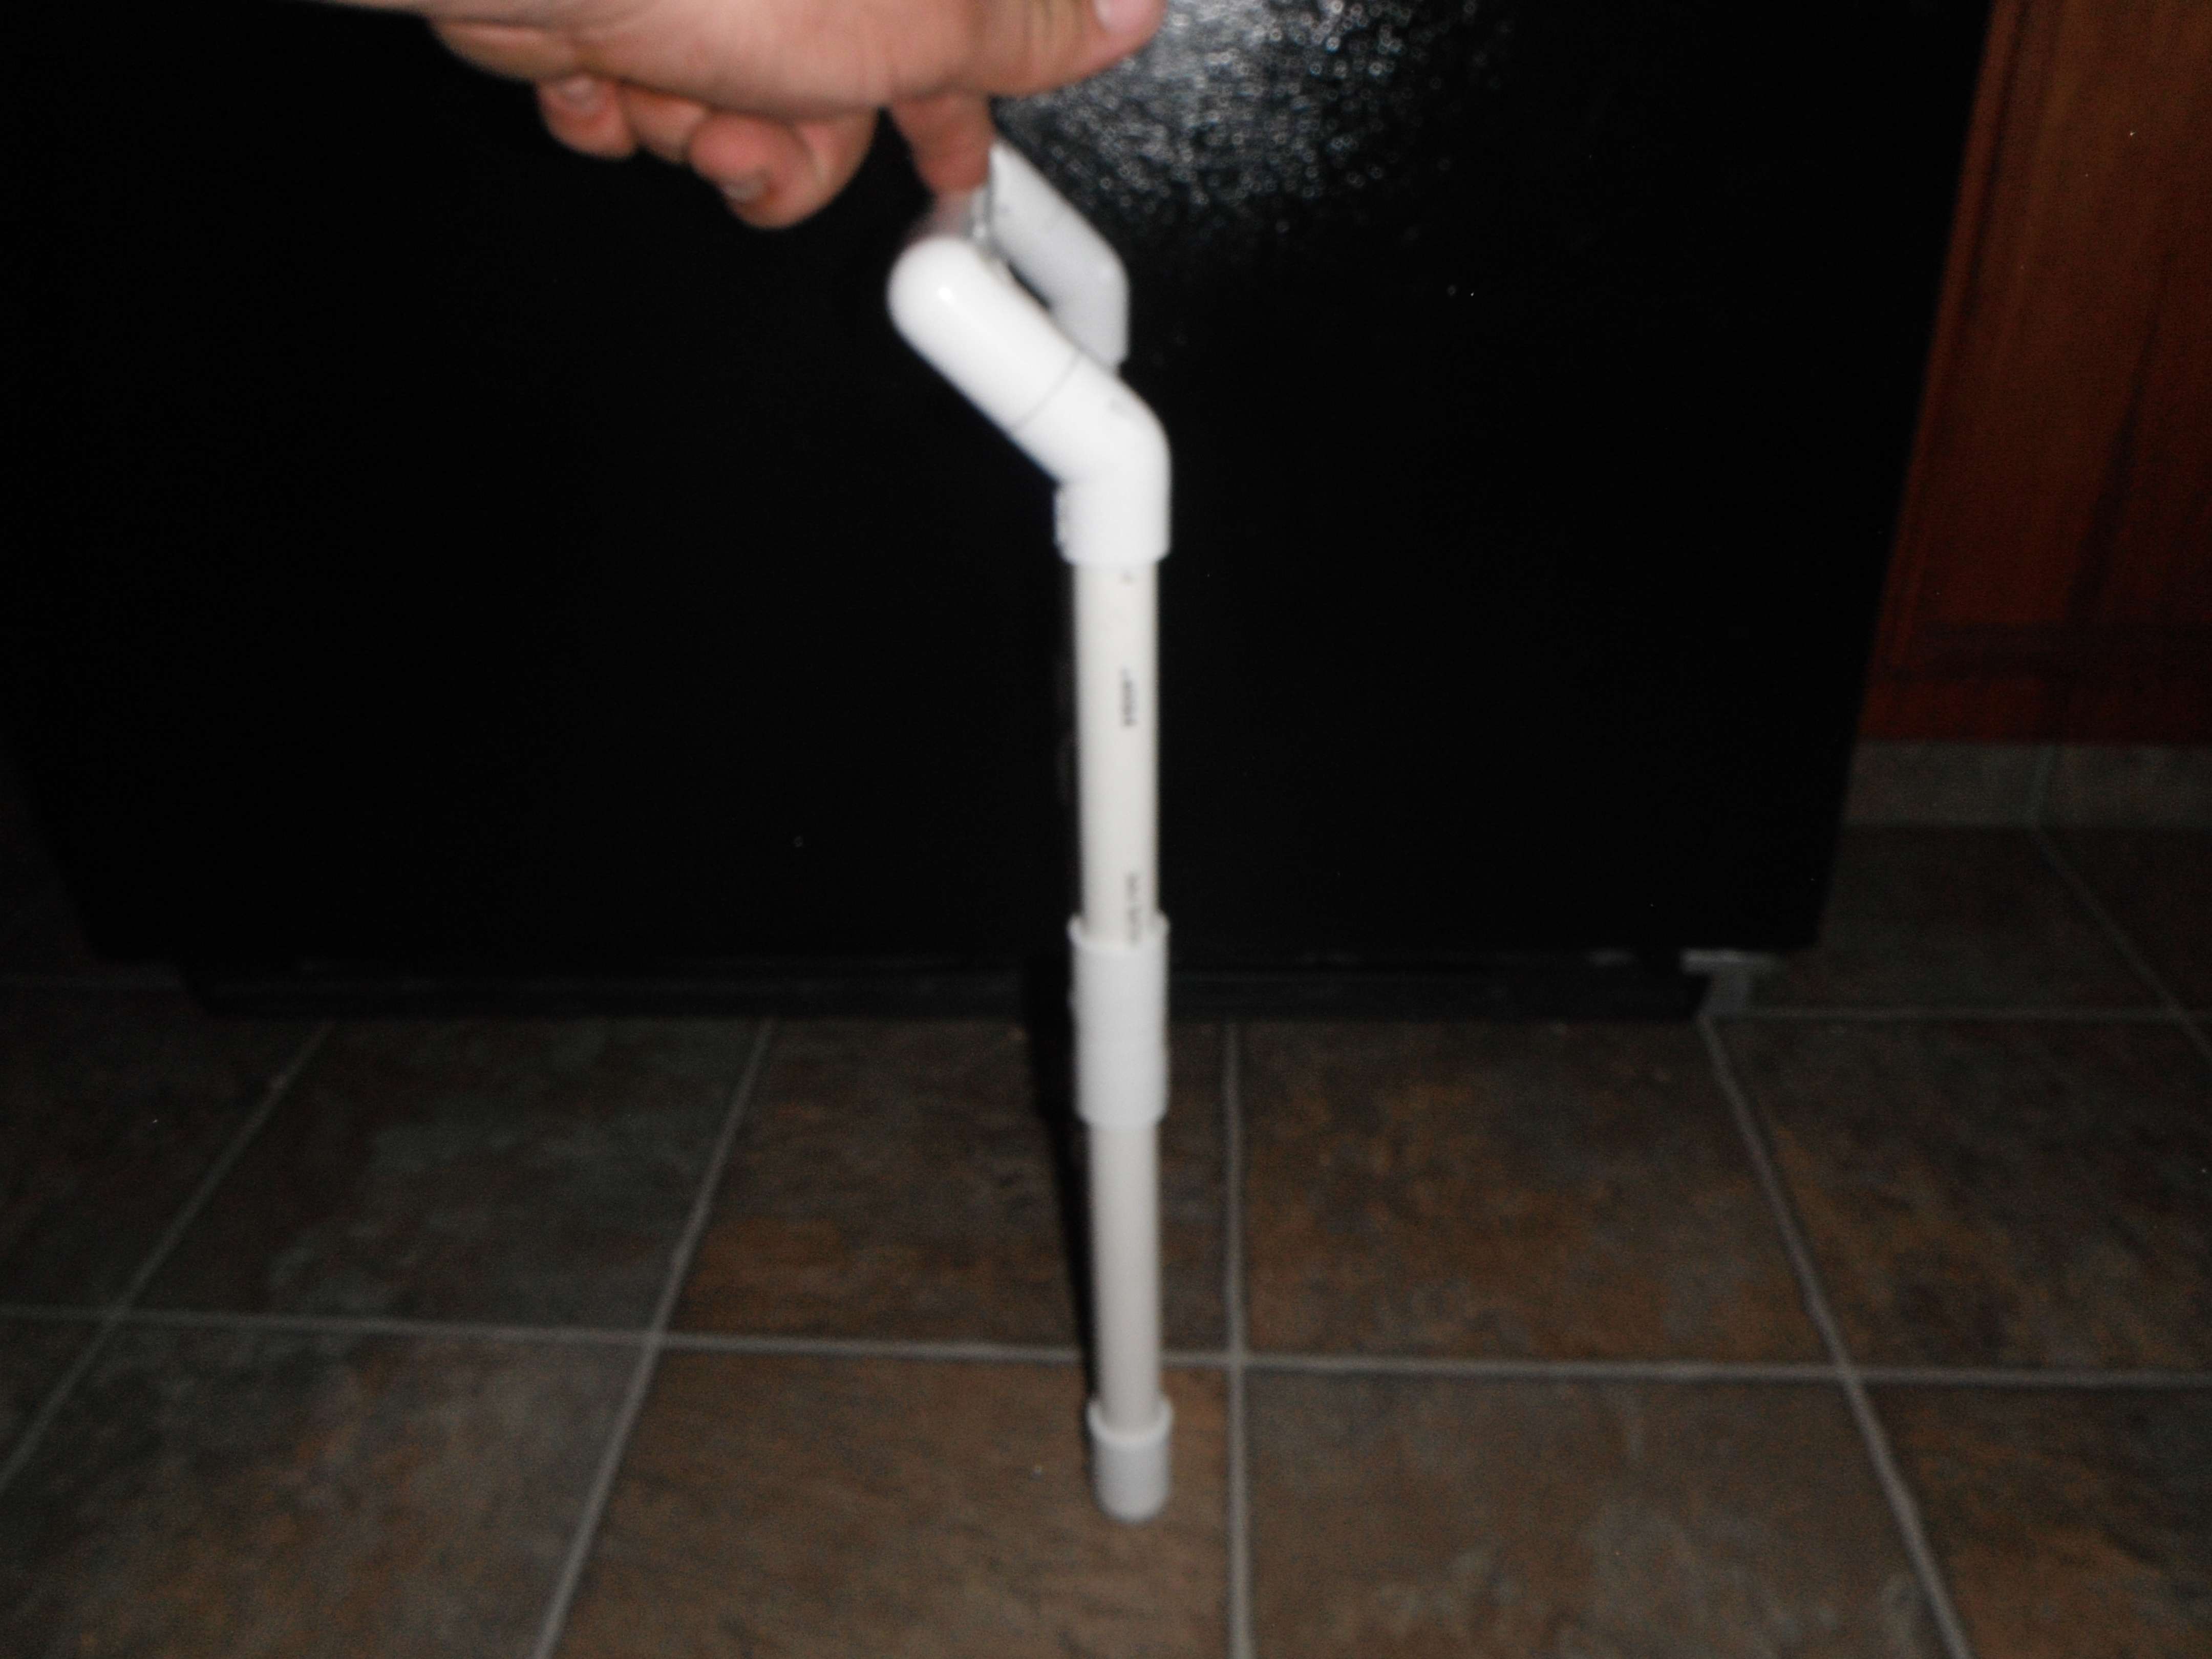
I know they didn’t have Alice Pack Frames in the cartoon but I built one out of PVC pipe and connectors for my son’s pack anyway.

Side view of the frame.

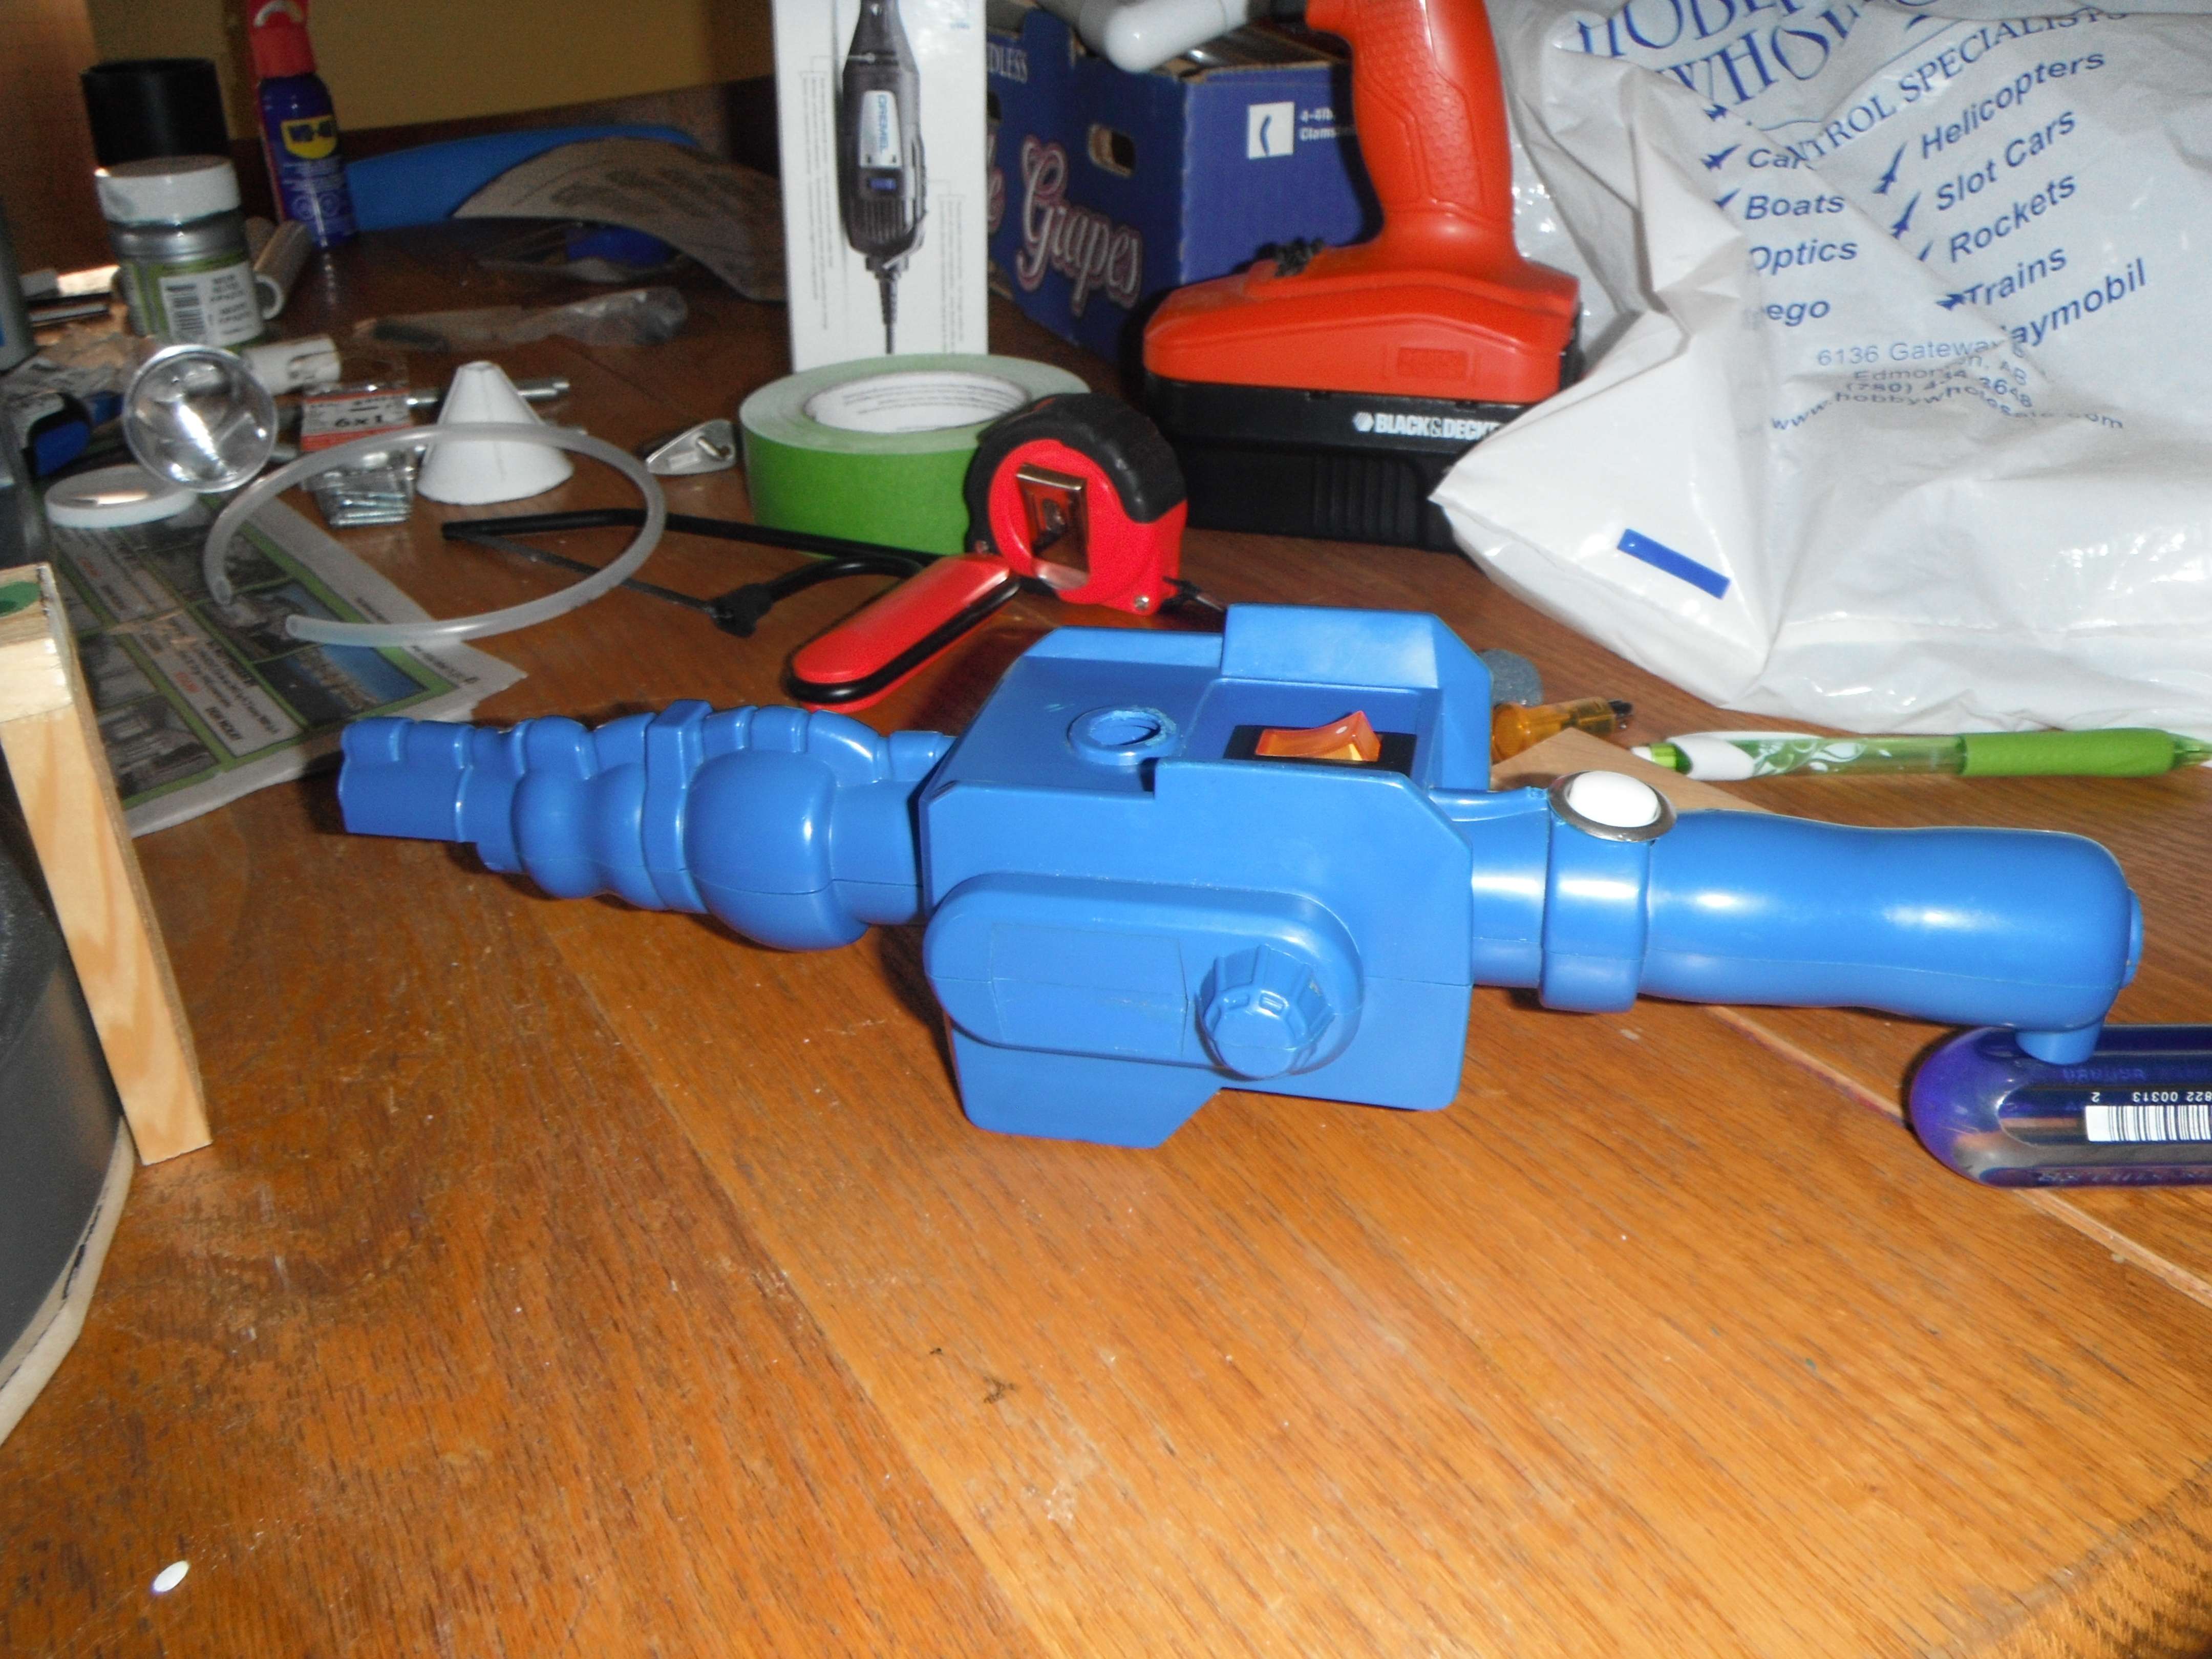
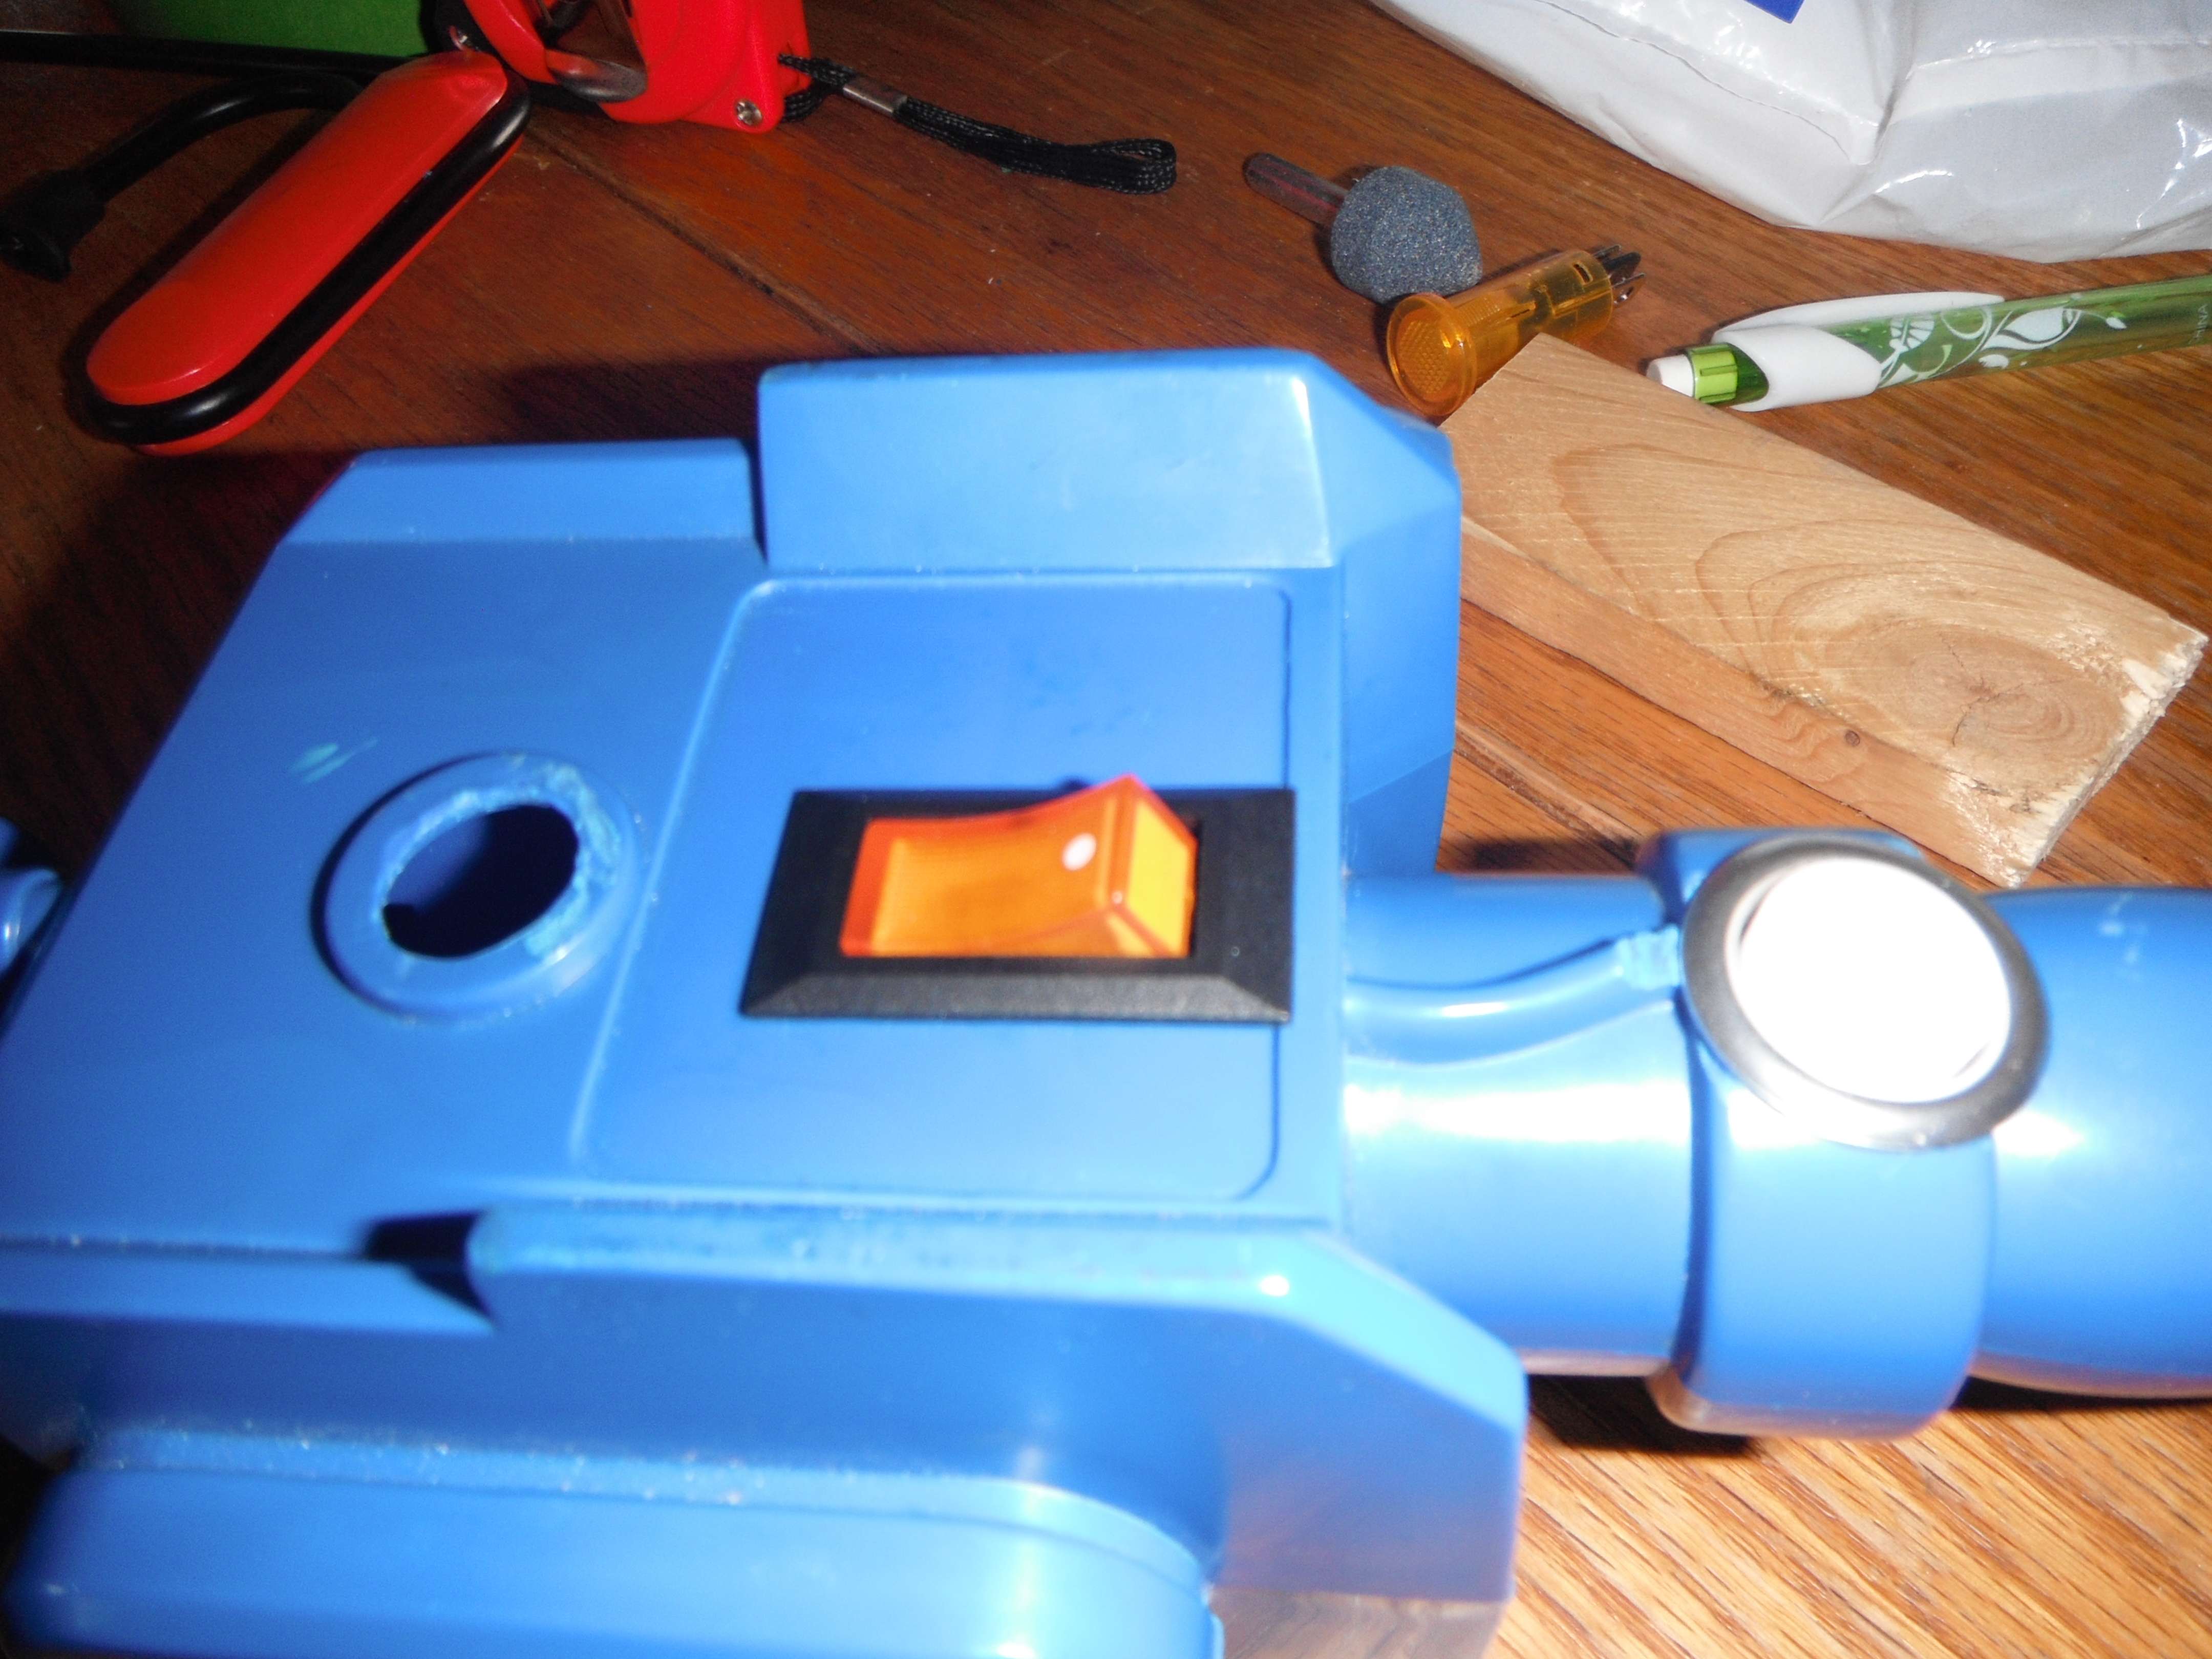
Started work on the gun/wand/thrower.

Used the Dremel to cut holes for the red light (not pictured), yellow rocker on/off switch, and trigger switch which I used a doorbell button for.

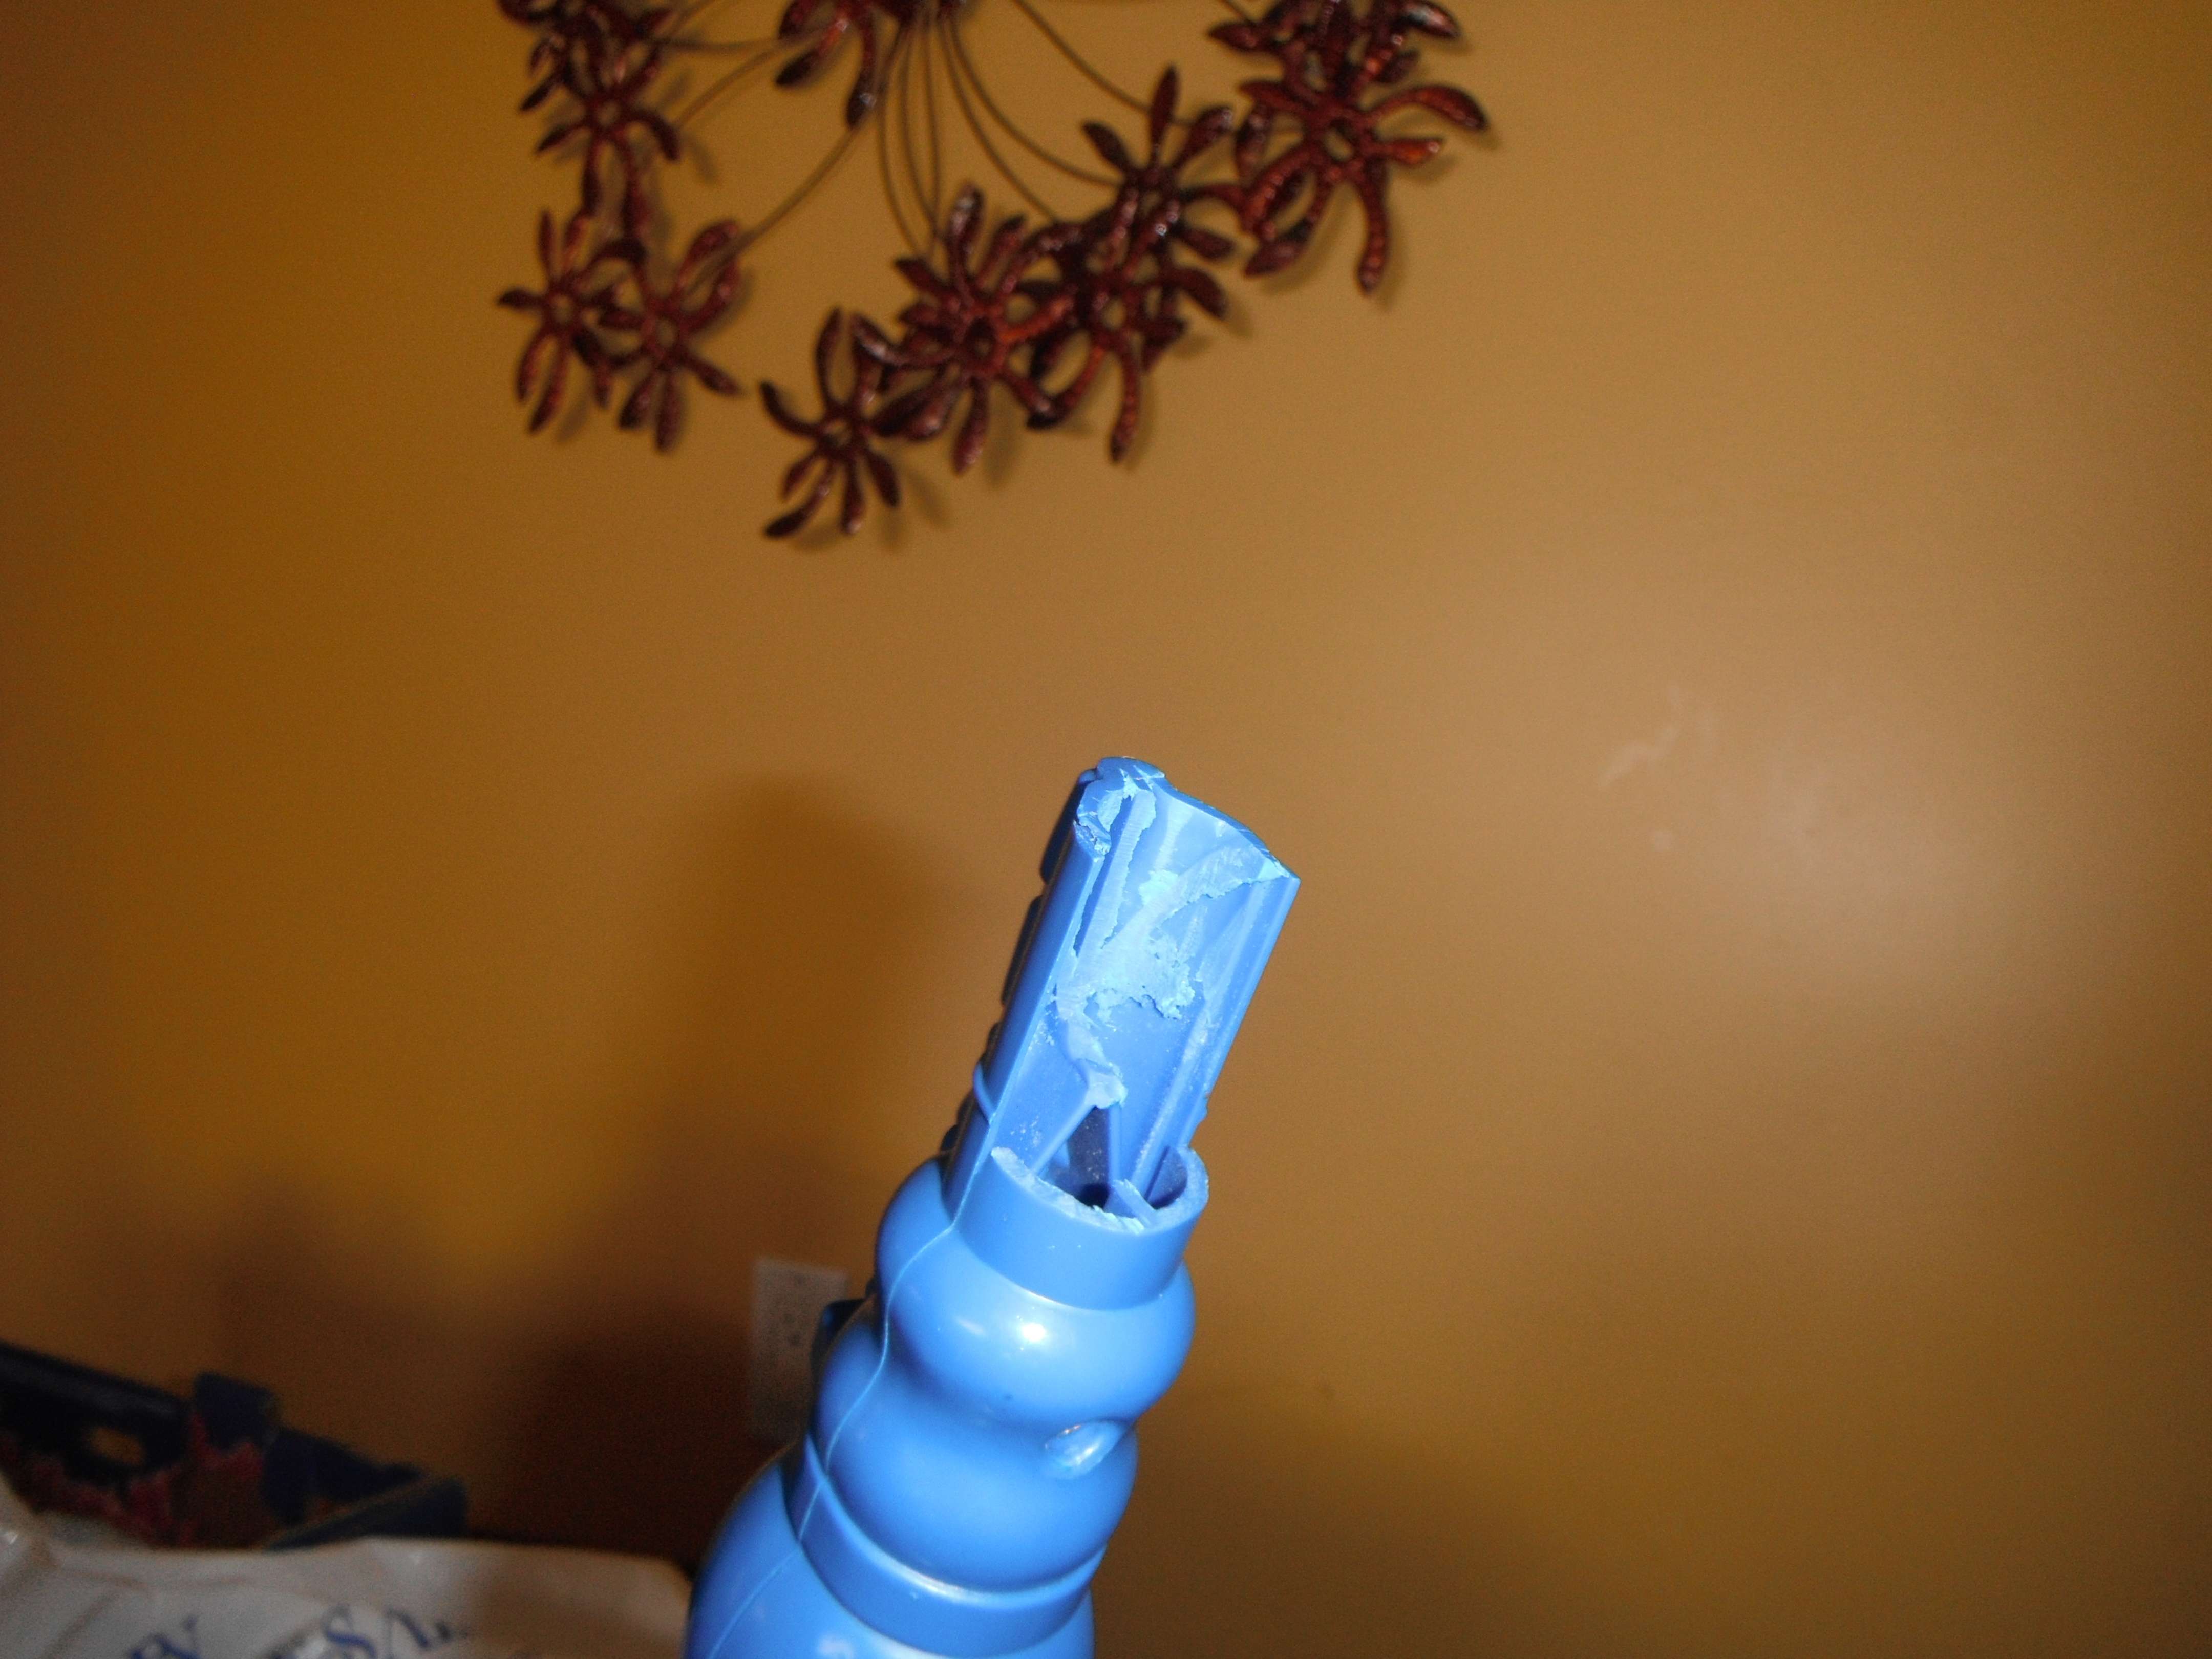
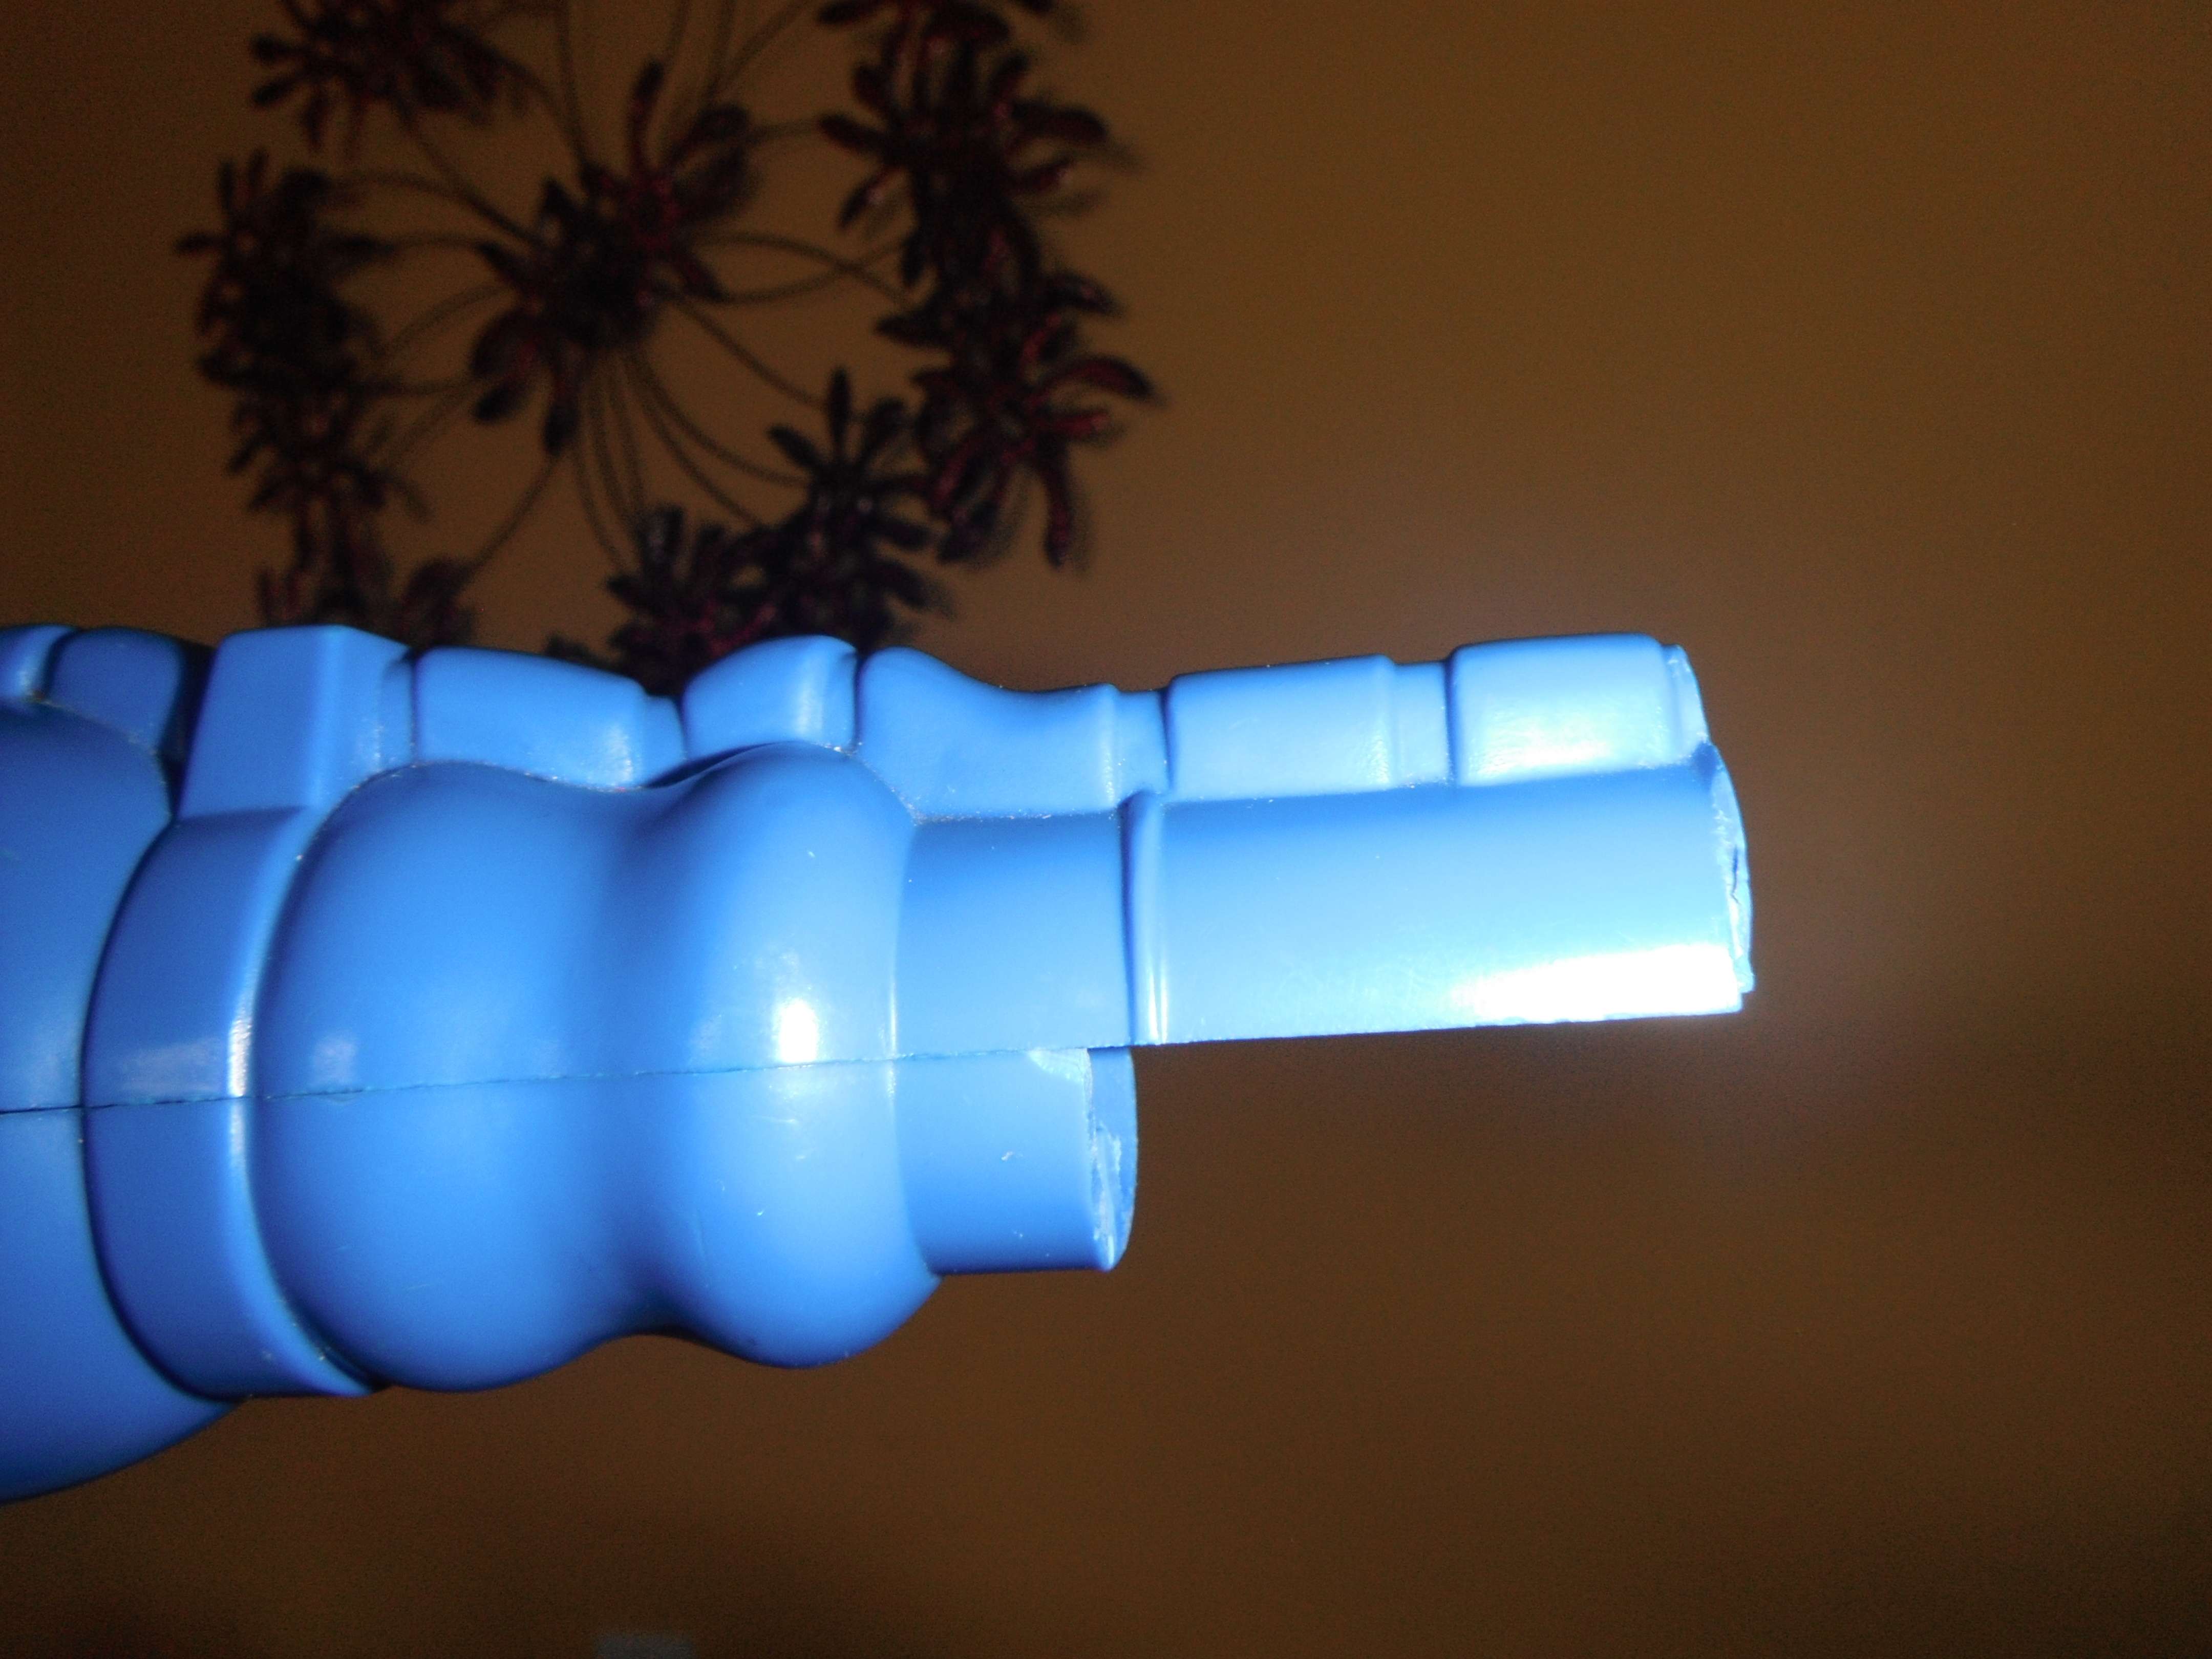
And cut the toy tip off to make a more accurate looking tip.

hey guy, i watch your build and you gave me the idea with the Alice-Frame,

Can you tell me the size of your frame?

Length and hight?

Thanks and best regards

Erik

Thanks for posting Erik, I just want to reiterate that the Alice Frame is made of PVC pipe and connectors and it’s for a 3/4 Scale (child size) pack. So I measured it out and it turned out to be 17 and a half inches tall and 9 inches wide. Sorry I didn’t reply right away, but hopefully this helps you out.