My first pack build; started 3 years ago, trying to finish!

Let me start by saying Ive been a long time reader of the forums, and I enjoy and appreciate all the awesome pictures, advice, and guides posted here.

That said, I have decided to finish the proton pack that I started three years ago, but never finished. I started collecting bits and pieces to use to build a pack. I also started acquiring all the other costume pieces as well, elbow pads, jump suit, alice frame, patches, etc.

When I realized the amount of time and effort it would take to build a pack (it was nearing the Halloween deadline when I started) I got overwhelmed and never finished it. I did manage to get a costume together, complete with ecto goggles that I made:

But alas, I have decided to finish my pack! With the birth of my son last October, I didnt really get to celebrate Halloween, but this year I am doing it up right for two months!

Here is the progress I’ve made the past couple of days. As you can see I have a whole box of bits and pieces to build from. I decided that I am going to make my own version of a proton pack. I figured that since GB came out in ‘84’, ghost busting equipment would have evolved and improved by now. :slight_smile: But also I didnt want to build a screen accurate one because of cost alone.

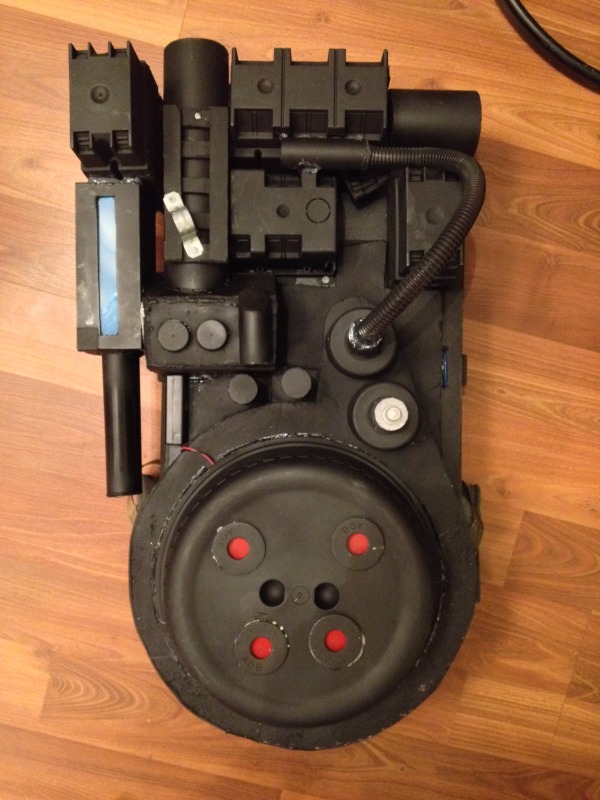
I already had the motherboard cut out, and a general idea of where I wanted to place the parts. Here are the parts post-spraypaint.

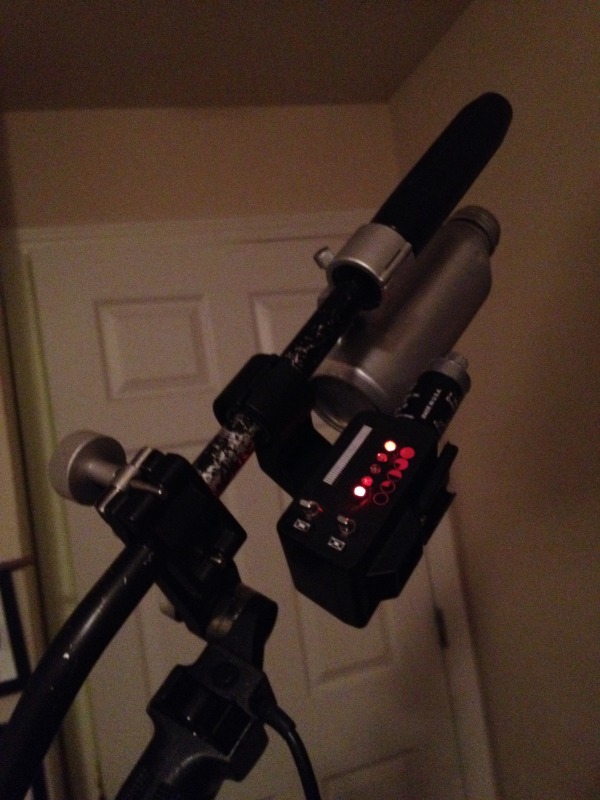
I found an old video camera tripod control arm that I am going to use as my thrower. I decided to go the video game route, and have a thrower/slime blower combo. Here is a dry fit to show a general idea of how it could look. Just add some wires, slime hose, decals, clear tube at the end, and I think it would look pretty cool.

And here is a dry fit of all the pack parts. Add some decals, rig some lights, respray paint the silver slime canister on the left an olive green, put on wires, and I think it will do the trick.

I will be posting more pics as I make more progress.

Thanks for looking!

So far so good. Looking forward to seeing the progress.

So I have made some significant progress the past couple of days.

I haven’t been able to take pics of the progress, as I have been working on this thing literally 2 to 5 minutes at a time. Baby is still asleep? Glue a piece on. Momma watching baby? Spray paint this. Baby playing in the playpin and not screaming? Attach a piece to the motherboard, etc.

Though last night I got a whole HOUR to myself to really bust some of it out. I have everything attached to the motherboard, and the motherboard attached to my ALICE frame.

I also repainted everything with flat black. It’s amazing the difference between gloss and flat in adding realism to the parts.

Tonight I am going to attach the cyclotron lights and the cyclotron itself. Things are really coming together!

Only part I am lacking is the ribbon cable I just bought from the GBfans store. Once I get the cyclotron added, all that is left is to attach the slime tank, tubing, and some wires! The end is in sight!

image

Really starting to look like a pack. Flat Black is defiantly better choice than Gloss when it comes to painting your pack. I dont know what the actual finish is on a accurate pack but I used several coats of Flat Black on mine. I dont think you`ll need any more coats of paint. From what I can see it looks like what you have is enough. Keep up the good work and I look forward to seeing the finished product.

More progress! Cyclotron and cyclotron light installed! I also added the black tubing that comes from underneath the crank generator.

Now we are getting somewhere! Even more progress the past couple of days. The home stretch is in sight!

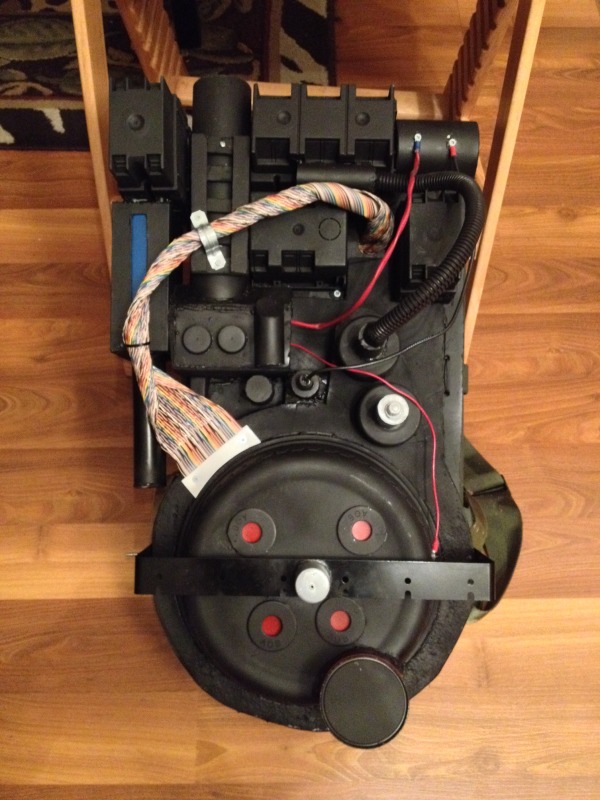
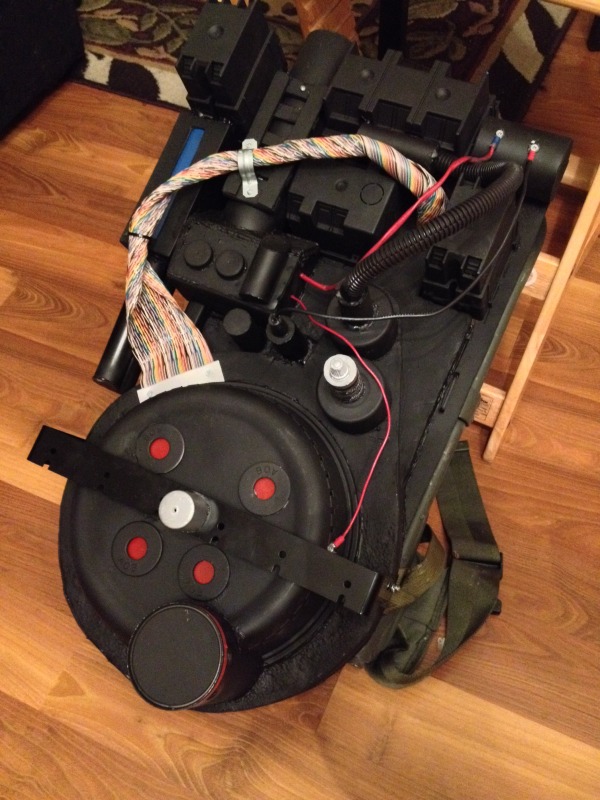
I added the bumper, N filter, ribbon cable, and some various wires. All that’s left is to add my slime tank, a few more wires, and find something to make an ion arm out of.

Oh and I have to build the gun…

But on to the pics!

That looks really good, accurate or not. Well done.

Looking forward to seeing the gun.

Im gonna go ahead and call the pack construction done! I added all the rest of the wires and labels. Ill eventually add some weathering.

I do have a video game style slime tank made, but i am going to wait on installing that until I can figure out how I am going to attach the slime blower to my gun. Id rather have a complete proton pack, than a combo pack with a slime tank and no blower on the gun.

Again, I am going for my own version of the pack, in no way going to any accuracy.

On to the pics and lighting video!

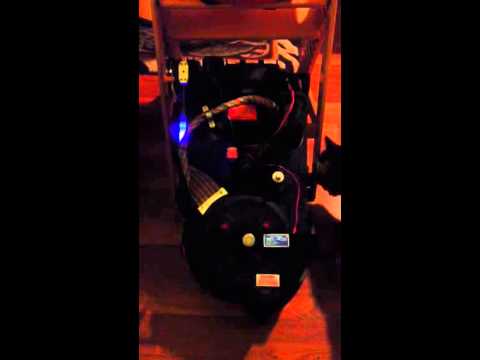
And here is a video of the lighting. I spent very little on the lights, only using a $5 mini blue strobe light for the power cell, and a $4 blinking LED light for the cyclotron. Obviously the lights don’t cycle, but I’m ok with that. I do with it was brighter though. I’ll probably get another of those lights and add it in the future.

Dude, that is very cool! Can’t wait to see this completed!

That lighting set up isn’t much different from my first try. I managed to get a chaser for the cyclotron but the power cell light was a couple of LEDs that would change colors. The pack itself looks great to me, how’s the thrower coming along?

Thanks guys! I’ve been truly busting my ass trying to finish this thing!

The thrower is taking shape! I fitted some of the parts on it last night. The top of the box has flashing lights installed under the top cover. I added the decals last night but don’t have a pic of that.

This is going to be a slime blower/neutrona wand combo inspired by the video game, yet it will look nothing like the game or movie throwers. Mainly because I wanted my own version of the equipment, and more mainly due to old spare parts that I already had that are being repurposed to save money. Maybe next year I’ll get a gun kit.

I also got a v hook installed, so it can be attached to the pack itself. Here is a pic of that. Including the slime tank I built that will get attached properly shortly.

This is really coming along!

Here is a shot of the thrower with decals and blinking lights. I also added some non functioning toggle switches. Tonight I am going to add the split loom and slime hoses!

Here is another shot of the thrower, with wires, clear tubing at the end, and a project box on the slime blower. It’s amazing what a difference a few wires and such make to making it look high tech.

I’m going to add some black and yellow striping on the left side of the blower to add some more flare. Is there anything else you guys can think of that I can add to the thrower to make it look cooler?

Well you guys, this is it. Im calling this DONE! Thrower hose was the last thing to do, and now it is attached!

I still want to get my slime blower and slime tank attached. But thats only if I can get my clear hose to be more manageable. I am going to boil it this weekend to try and make that happen.

But for now, I have a complete pack and thrower. It’s been a lot of work. Mainly because of real life getting in the way. I only got to work on this when I actively sacrificed sleep during the weekdays. On the weekend I only got to work on it in five minute spurts here and there in between baby responsibilities.

But its done! Enjoy the pics.

I like the Monster Bottle, I think it looks really cool. I would add it back, but one suggestion I might make would be to take the cap off, and replace it with something a little less obvious, but other than that I think it’s a really cool build!

Awesome. I love old-school parts builds, reminds me of the one I made in college. Only yours actually looks like what it is.

Great job on the thrower in particular, I really respect original designs, and yours has an EGB vibe to it. Well done.