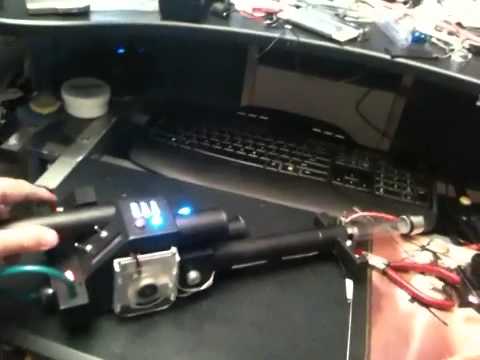
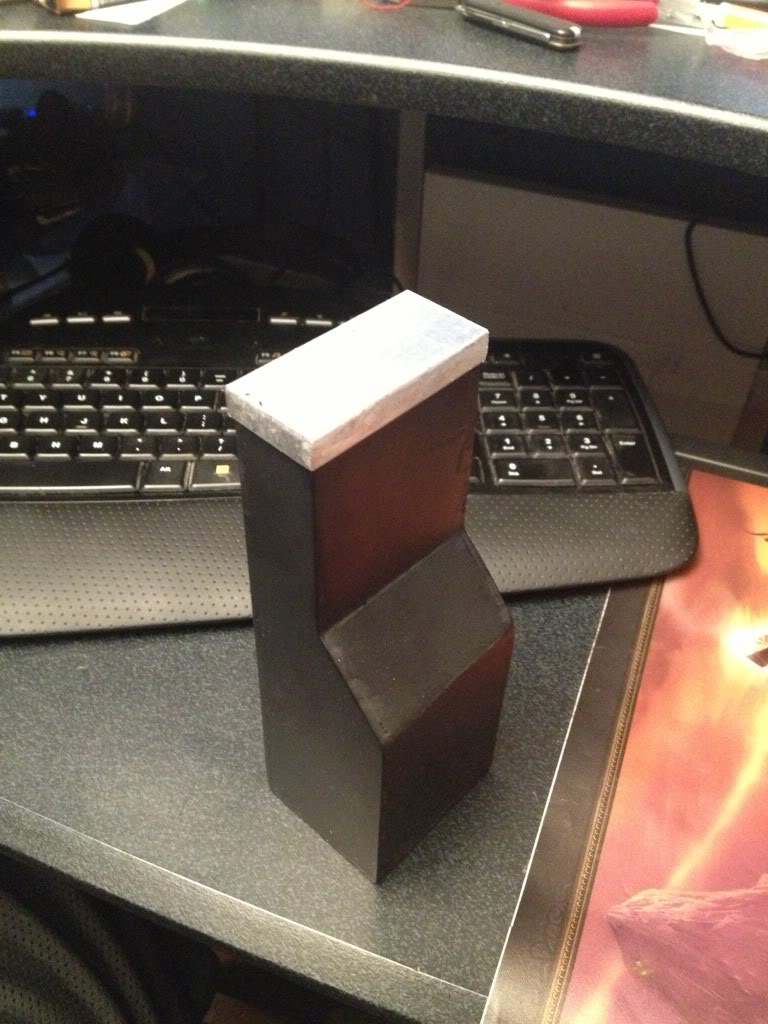
first pack build (pics) uptate 8/6: shell mounted+painted

i started this build about… 3 weeks ago, i “finished” about 1 week ago

to say right of the bat: this is NOT going to be screen accurate

i am giving it my own porsonal touches but this will be CLOSE to a average pack

so any screen accurate “purists” might want to look away now

anyways

i got motivated to start this after seeing/meeting both the Bay Area AND Sacramento Ghostbusters at Big wow comic-fest

i have made ecto goggles but this is my real major build.

i also thought that maybe i would need to make a dolar store pack if i ever was going to get a proton pack built :stuck_out_tongue:

so after searching GBfans for a long while i found a printable plan “template” for the Gunbox here: HProps Ghostbusters Labels

i printed these out, then cut and taped them togehter to see what i was going to have

![image](http://www.gbfans.com/images/pb/garinhash/Ghostbusters_thrower build_IMG_2690_zps250d8380.jpg)

![image](http://www.gbfans.com/images/pb/garinhash/Ghostbusters_thrower build_IMG_2691_zps04c1cc7d.jpg)

![image](http://www.gbfans.com/images/pb/garinhash/Ghostbusters_thrower build_IMG_2692_zpsf1dd3315.jpg)

after some thinking i made a trip to my local Tap Plastics and got 2 sheets of clear acrylic plastic, i copied/traced the template to the sheets of plastic, then cut out the shapes (cutting was the hardest part)

![image](http://www.gbfans.com/images/pb/garinhash/Ghostbusters_thrower build_IMG_2714_zps77a7e3d8.jpg)

![image](http://www.gbfans.com/images/pb/garinhash/Ghostbusters_thrower build_IMG_2737_zpsb1286e8a.jpg)

i began taping the pieces together and used acrylic solvent cement and started gluing pieces together to make the gunbox

![image](http://www.gbfans.com/images/pb/garinhash/Ghostbusters_thrower build_IMG_2738_zps1a011358.jpg)

![image](http://www.gbfans.com/images/pb/garinhash/Ghostbusters_thrower build_IMG_2754_zps15315c48.jpg)

![image](http://www.gbfans.com/images/pb/garinhash/Ghostbusters_thrower build_IMG_2756_zpsebd590b6.jpg)

![image](http://www.gbfans.com/images/pb/garinhash/Ghostbusters_thrower build_IMG_2759_zps1e65e993.jpg)

i also got switches, buttons, ect… i also scrapped a old xbox controller for its rumble motors

i cut a part out of the bottom so i could later add electronics

![image](http://www.gbfans.com/images/pb/garinhash/Ghostbusters_thrower build_IMG_2761_zps6d425aff.jpg)

![image](http://www.gbfans.com/images/pb/garinhash/Ghostbusters_thrower build_IMG_2773_zps2806a267.jpg)

![image](http://www.gbfans.com/images/pb/garinhash/Ghostbusters_thrower build_IMG_2775_zpsa2857f8c.jpg)

finally cut open the box for pvc handles (its starting to look like a thrower XD )

![image](http://www.gbfans.com/images/pb/garinhash/Ghostbusters_thrower build_IMG_2778_zps8e2ac9df.jpg)

added a bottom plate and a very simple gun track

![image](http://www.gbfans.com/images/pb/garinhash/Ghostbusters_thrower build_IMG_2784_zps5c5f92d7.jpg)

when i thought i hit a roadblock with the gun ear i went back to tap plastics and found these little square boxes… PERFECT!! :smiley:

i also got cylindrical containers and the rumble motor fits perfectly! the motor is going in the tube right next to the front handle

and got barrel lights working from a scavenged 4 LED flashlight

![image](http://www.gbfans.com/images/pb/garinhash/Ghostbusters_thrower build_IMG_2797_zps84373980.jpg)

![image](http://www.gbfans.com/images/pb/garinhash/Ghostbusters_thrower build_IMG_2798_zpsefc2b799.jpg)

![image](http://www.gbfans.com/images/pb/garinhash/Ghostbusters_thrower build_IMG_2800_zpsec547599.jpg)

![image](http://www.gbfans.com/images/pb/garinhash/Ghostbusters_thrower build_IMG_2805_zpsca279196.jpg)

since i am not going for screen accuracy i decided to add this cool piece on the end of the barrel… and also thinking of NO banjo or red tube to the barrel tip

![image](http://www.gbfans.com/images/pb/garinhash/Ghostbusters_thrower build_IMG_2807_zpsd3f8c9d7.jpg)

now i need a heat synch and dials on the sides…

after looking throug a box of computer parts in the garage no heat synch …hmmm but…i found this!

![image](http://www.gbfans.com/images/pb/garinhash/Ghostbusters_thrower build_IMG_2813_zpsf5d08cf9.jpg)

a small videocard fan… i like it!!

just flip on the pack and the fan would spin… sounds cool!!!

also got knobs, lights and such from radioshack

![image](http://www.gbfans.com/images/pb/garinhash/Ghostbusters_thrower build_IMG_2812_zpsc55831b9.jpg)

![image](http://www.gbfans.com/images/pb/garinhash/Ghostbusters_thrower build_IMG_2815_zps939ff78d.jpg)

![image](http://www.gbfans.com/images/pb/garinhash/Ghostbusters_thrower build_IMG_2816_zpsee96c042.jpg)

![image](http://www.gbfans.com/images/pb/garinhash/Ghostbusters_thrower build_IMG_2818_zps3039da40.jpg)

looking gooood!

well for thenext few days i was playing with electrical when i realized if i kept going with the electrical it would be very difficult to paint.

so i decided to remove the electrical completely and … PAINT :smiley:

![image](http://www.gbfans.com/images/pb/garinhash/Ghostbusters_thrower build_IMG_2827_zps6ced7a0e.jpg)

painted

![image](http://www.gbfans.com/images/pb/garinhash/Ghostbusters_thrower build_IMG_2828_zpsc4401119.jpg)

![image](http://www.gbfans.com/images/pb/garinhash/Ghostbusters_thrower build_IMG_2829_zps22bb3484.jpg)

and togehter

![image](http://www.gbfans.com/images/pb/garinhash/Ghostbusters_thrower build_IMG_2831_zpsb453502b.jpg)

awesome! :smiley:

well so now that its painted i think the red cable to the barrel adds to look and colors

![image](http://www.gbfans.com/images/pb/garinhash/Ghostbusters_thrower build_IMG_2834_zps3a00613a.jpg)

![image](http://www.gbfans.com/images/pb/garinhash/Ghostbusters_thrower build_IMG_2837_zps257472fd.jpg)

![image](http://www.gbfans.com/images/pb/garinhash/Ghostbusters_thrower build_IMG_2838_zps2f2059a2.jpg)

![image](http://www.gbfans.com/images/pb/garinhash/Ghostbusters_thrower build_IMG_2839_zps85dcf6bf.jpg)

![image](http://www.gbfans.com/images/pb/garinhash/Ghostbusters_thrower build_IMG_2840_zps38fe39b8.jpg)

NOW to work on the wiring

![image](http://www.gbfans.com/images/pb/garinhash/Ghostbusters_thrower build_IMG_2846_zps96677cbd.jpg)

![image](http://www.gbfans.com/images/pb/garinhash/Ghostbusters_thrower build_IMG_2847_zps3bf5afbf.jpg)

![image](http://www.gbfans.com/images/pb/garinhash/Ghostbusters_thrower build_null_zpsac55d605.jpg)

and

![image](http://www.gbfans.com/images/pb/garinhash/Ghostbusters_thrower build_null_zps099799e0.jpg)

DONE XD

![image](http://www.gbfans.com/images/pb/garinhash/Ghostbusters_thrower build_null_zpsf160ae7a.jpg)

i had lots of fun building this, i still have a few minor things to add, and i may not ass any handle grips.. maybe..

well…

i figured that THIS would be it for my “pack” and maybe work on a dollar store pack, but as i was posting these pics to Face book another fellow GBfan friend saw this and gave me a offer i couldnt refuse

![image](http://www.gbfans.com/images/pb/garinhash/Ghostbusters_Proton Pack_null_zps6c344bc9.jpg)

XD !!!

so it looks like i WILL have a proton pack after all !!!

however i need to wait for a paycheck before i can do much TO it

but i did start some cutting and drilling

![image](http://www.gbfans.com/images/pb/garinhash/Ghostbusters_Proton Pack_null_zpsc7c9448e.jpg)

![image](http://www.gbfans.com/images/pb/garinhash/Ghostbusters_Proton Pack_null_zps53f4f3f4.jpg)

![image](http://www.gbfans.com/images/pb/garinhash/Ghostbusters_Proton Pack_null_zps064ad367.jpg)

That transparent Gun Box was really something else… a pity actually that it was painted.

I was thinking the same thing.

Awesome looking build this far! This will be an interesting one to watch.

The fan instead of the heat sink is a cool idea. I like that it works and the wires to it are exposed.

Excellent build. I love seeing a true scratchbuild using interesting materials such as this. Best of luck with your pack.

I agree, it looked really cool clear!

Imagine if I got clear tubing for the handles too?

Seeing as this was my FIRST build I felt painting was nessisary, I was also rather sloppy with the plastic cement because I don’t want anything to break so I slopped on more glue to re enforce everything.

I could always make a second thrower I suppose and leave that clear…

In pictures it looks cool clear, but In-person it was really impressive, I really was sad to paint it, but it’s still very cool!

Some people say it looks “sleeker” than regular throwers, I think it has to do with no hand grips, also I left off the top dial next to the vents.

I think it looks great! And the addition of the barrel tip and the fan I think makes it look a little more modern

I and wait to get my pack shell ready, but I don’t get paid till next week so there will be little progress till then… I think the 2 hardest parts next might be the ion arm.. Next to the booster tube

I may just buy a resin one

I am glad everyone seems to like this thrower :smiley:

That Thrower came out amazing!! I agree it looked soooooo beautiful transparent!

so i know i said i was going to buy a ion arm, but…

i may be making one… maybe similarly to how i made the gunbox..

i have already made a prototype out of paper

i got a booster tube but when i cut the pvc for the angle i cut it too short :frowning: (not by alot) so i added a silver hose clamp to the top to help it look tallker and to add more silver to the pack

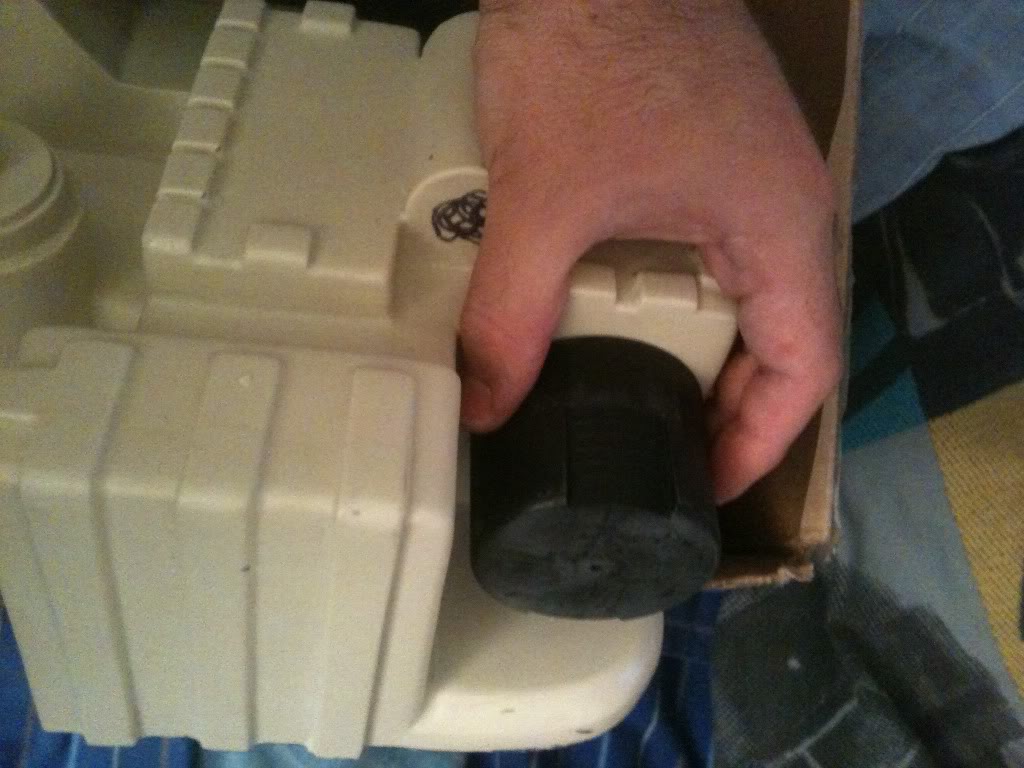
since there is soooo much black i am trying to add more silver to make it POP

i also made a booster tube ladder out of plastic, but it wraps around the tube… dunno if i like it… i may not know until i actually paint it because its clear …

![image](http://www.gbfans.com/images/pb/garinhash/Ghostbusters_Proton Pack_null_zpsea4f63fe.jpg)

![image](http://www.gbfans.com/images/pb/garinhash/Ghostbusters_Proton Pack_null_zpsc4264b0d.jpg)

![image](http://www.gbfans.com/images/pb/garinhash/Ghostbusters_Proton Pack_null_zpsf8c074e7.jpg)

![image](http://www.gbfans.com/images/pb/garinhash/Ghostbusters_Proton Pack_null_zps0f368d9c.jpg)

It’s like a garage kit pack the way you’re going about it and… I really like your choice of items to put on it and how you’re doing it. They all just flow.

hmmm i dunno about the booster ladder :confused:

what does everyone think of it?

![image](http://www.gbfans.com/images/pb/garinhash/Ghostbusters_Proton Pack_null_zps10da2599.jpg)

lookd for HGA ideas around the house.

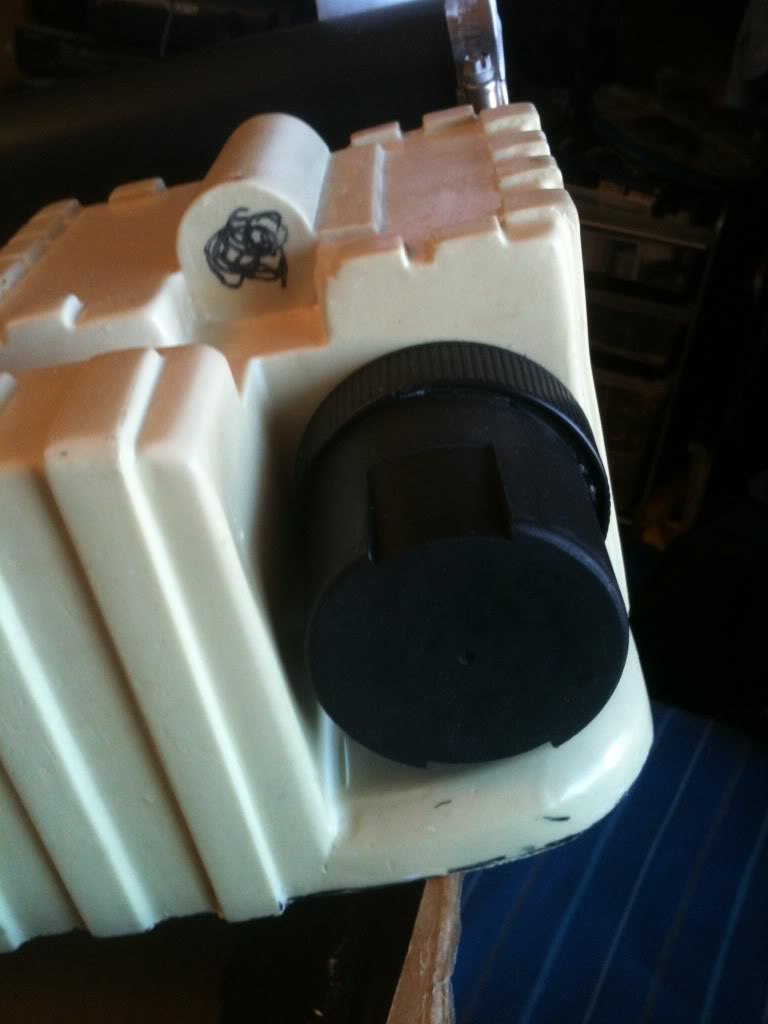
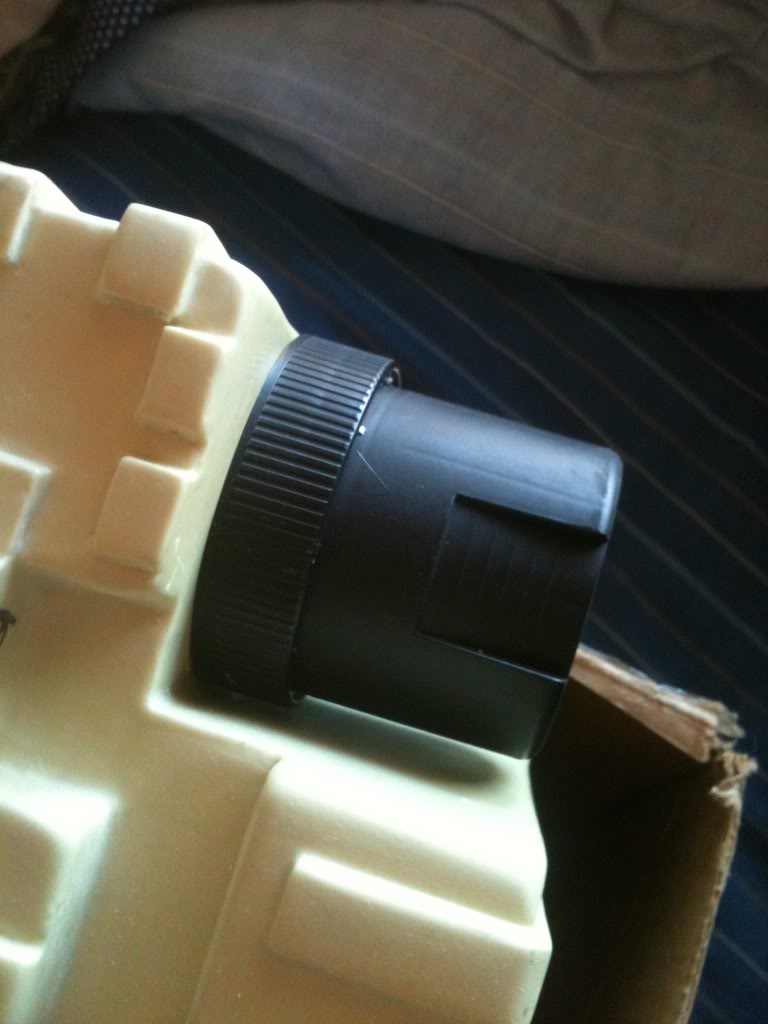
first i liked the way the high heat paint cap looks, its the same diameter but its 1/2 a inch short.

trying to figure a way to add a 1/2 inch in length to the spray paint cap i began to look around the house

BINGO!

skippy peanut butter lid!!

hot glued together, and painted black and attached to the pack

i like the look :smiley:

i was thinking of cutting lines into the recessed parts of the cap and add a blue light … maybe a sort of shock blast-ish addon? (no more fins?)

just thinking out loud here…

I’m a fan of that idea. This whole pack in and of itself is getting better with each new piece you add!

i got 2 hotwheels track from my local ToysRus.

i cut notches out of the side walls and then heated the area with a flame torch to bend it to wrap around the cyclotron

![image](http://www.gbfans.com/images/pb/garinhash/Ghostbusters_Proton Pack_null_zps40949933.jpg)

![image](http://www.gbfans.com/images/pb/garinhash/Ghostbusters_Proton Pack_null_zpsa5e70550.jpg)

![image](http://www.gbfans.com/images/pb/garinhash/Ghostbusters_Proton Pack_null_zpsb2073d44.jpg)

![image](http://www.gbfans.com/images/pb/garinhash/Ghostbusters_Proton Pack_null_zps0fb58aa0.jpg)

Definitely some cool stuff happening here! I like that it is different, but it still “fits.” Very good work!

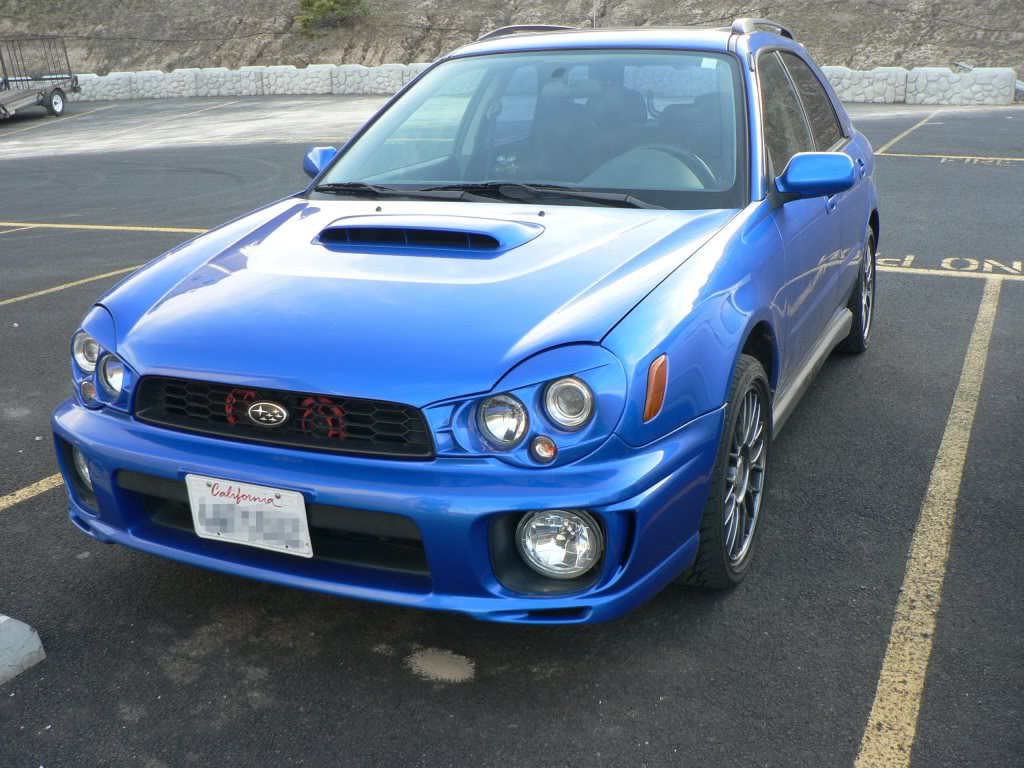
Some one Drives a Subi! :stuck_out_tongue:

you are correct :wink:

its been a long week :stuck_out_tongue:

havent had much time to work on my pack but i did some stuff

i used some epoxy to reenforce the cracks on the bottom of the pack, i will sand it down to make it less noticeable but since its below the n-filter i bet not many people will notice

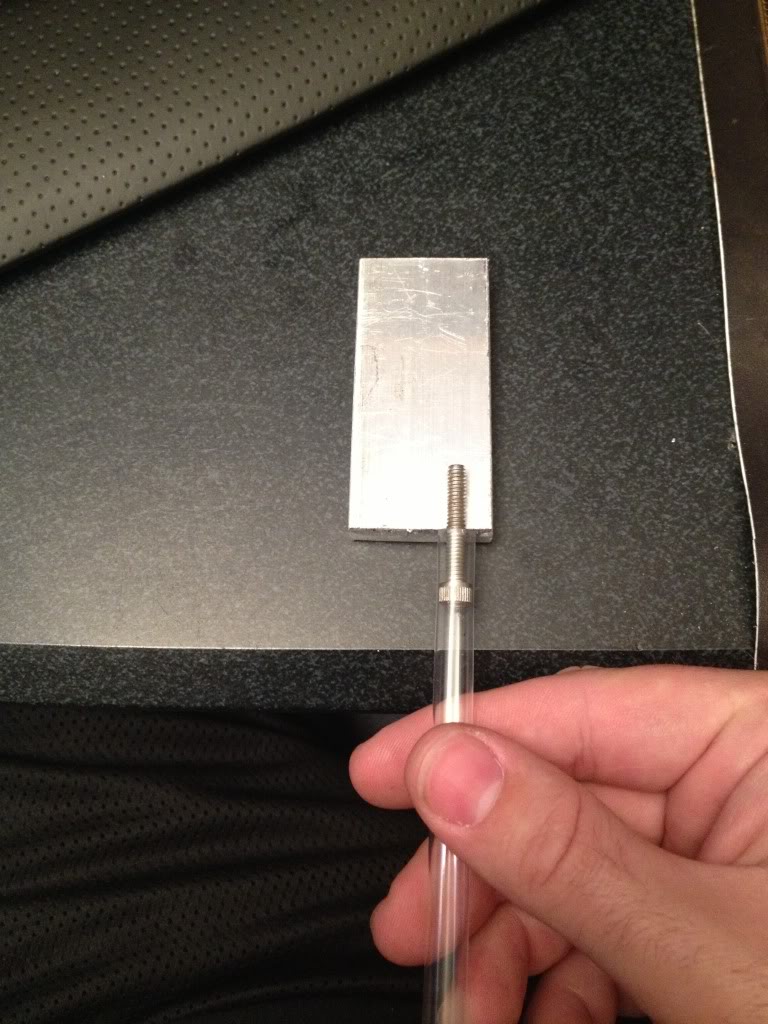
i also had a piece of aluminum laying around, so i cut out a piece for the ion arm end.

its about right but i need to grind down the sides to make the shape more “squared”

also i am stumped about how to attach the copper tube…

here is the idea i had.

i drill into it and insert this screw..

i have some clear tubing that fits very snugly over the screw head, all i need to do is slip the tube over it

i like the idea of plastic tubing better so IF it gets caught on something the tubing could just pop off or bend easily,

i have been searching around for options on the motherboard… i am thinking wood is going to be my cheapest option, maybe some tempered hardwood at 1/4" thickness…

its around $18 for a gigantic sheet of it .

however for the moment i am mostly out of funds until next Friday (next paycheck), maybe then i will look into the wood

i am not sure what else i will do till my next paycheck… maybe sanding the pack? we shall see…

i hope everyone likes all the pictures… i am trying to take lots of pictures as i go along

it been a while since i posted anything

i finished the ion arm

![image](http://www.gbfans.com/images/pb/garinhash/Ghostbusters_Proton Pack_null_zpsc5456feb.jpg)![image](http://www.gbfans.com/images/pb/garinhash/Ghostbusters_Proton Pack_null_zps658d0d18.jpg)![image](http://www.gbfans.com/images/pb/garinhash/Ghostbusters_Proton Pack_null_zpscf5c01c5.jpg)

i added additional screws to slip the clear tubing over, my own touch that i wanted to add

then i painted the tubing gold with some basic modeling paint

![image](http://www.gbfans.com/images/pb/garinhash/Ghostbusters_Proton Pack_null_zpsffe17400.jpg)

i think it looks pretty good :slight_smile:

tomorrow i am going to get some tempered hard board to use as a motherboard and hopefully before the weenend is over i will have a motherboard ready, then soon i can mount everything togehter :smiley:

well i got a lot the done :slight_smile:

got the hardboard, traced the pack shell onto the board, then CUT CUT CUT!

![image](http://www.gbfans.com/images/pb/garinhash/Ghostbusters_Proton Pack_null_zps31c2e903.jpg)

i had to modify the bracket locations because of the broken (fixed and reinforced with epoxy) area of the bottom of the cyclotron was the location, and i was not comfortable using THAT location to mount the brackets to the shell…

![image](http://www.gbfans.com/images/pb/garinhash/Ghostbusters_Proton Pack_null_zpsdc9fa1a5.jpg)

mounted the pack frame

![image](http://www.gbfans.com/images/pb/garinhash/Ghostbusters_Proton Pack_null_zps9e415741.jpg)

got the straps on, and the shell mounted

![image](http://www.gbfans.com/images/pb/garinhash/Ghostbusters_Proton Pack_null_zps50aba0fe.jpg)

i HAD to suit up for this picture :slight_smile:

![image](http://www.gbfans.com/images/pb/garinhash/Ghostbusters_Proton Pack_null_zps399599c2.jpg)

soo cool! :smiley: !!!

last Friday i ordered the tubing for the thrower to the pack, so i was trying to brainstorm a way to attach the thrower to the hose

came up with a simple idea :slight_smile:

a pvc coupler :slight_smile:

first i wrapped the end of the tubing with electrical tape to make it fit snugly in the coupler

![image](http://www.gbfans.com/images/pb/garinhash/Ghostbusters_Proton Pack_null_zps767b38b3.jpg)

attaches very simply

![image](http://www.gbfans.com/images/pb/garinhash/Ghostbusters_Proton Pack_null_zps7eb01830.jpg)

then i painted then decided to add a screw/nut to hold the tubing to prevent if from falling out, and added a piece of metal to help the nut grip the tubing

![image](http://www.gbfans.com/images/pb/garinhash/Ghostbusters_Proton Pack_null_zpse2ffaf52.jpg)

![image](http://www.gbfans.com/images/pb/garinhash/Ghostbusters_Proton Pack_null_zps4ec54a80.jpg)

the end that attaches TO the thrower is EXTREMELY tight, i may not need a screw /nut for that side :stuck_out_tongue: i am also trhing to keep it easy to take apart incase i need to modify anything, it also makes the thrower easily detacheble (depending on the future wiring)

i am quite pleased :slight_smile:

i might try to paint the shell motherboard this weekend depending on how busy (and tired)

am also waitng on a dixie cup vhook to arrive

I will for sure be watching this post.

Awesome. I think it is very cool for sure when people use the tools or materials they are familiar with to form parts for the pack.