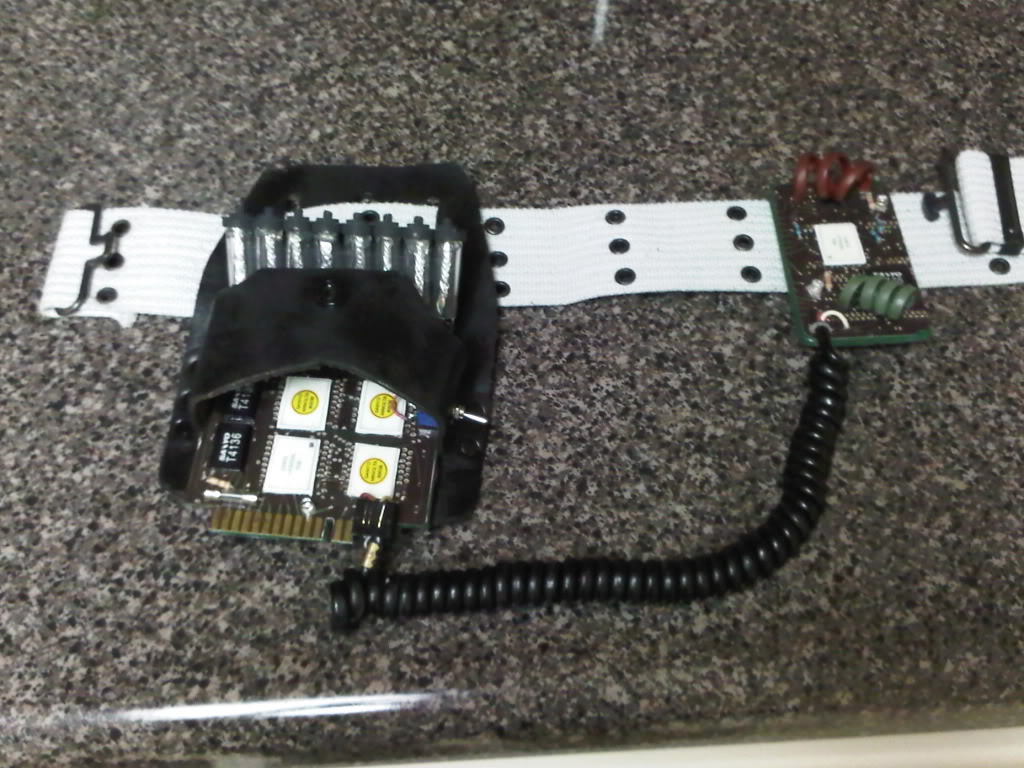
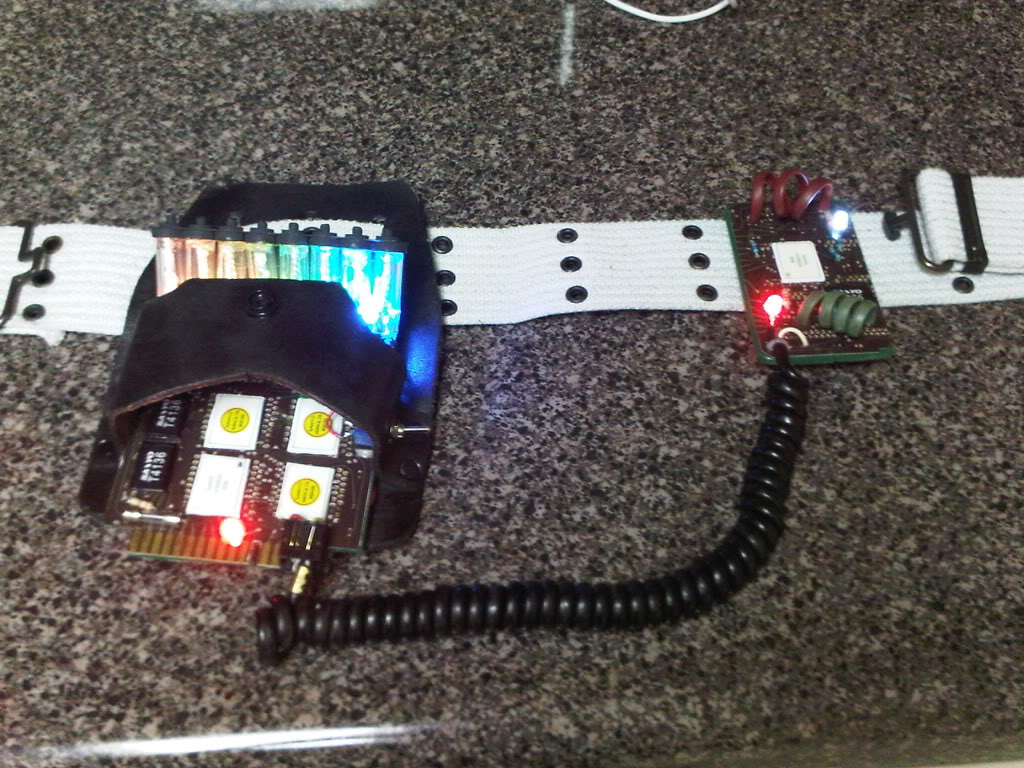
Here are pics that are a little better. I made two belt gizmos. This was the first one I completed.
Total cost for the belt gizmos, with daughterboards: under $50
Circuit board graphics:I used the download of the circuit card on this forum, brought it to Kinkos, and them made into “lami-labels”. I had 3 sets of labels made, and cut one of the labels in half for the daughter boards.
Circuit boards: I bought a cheap tupperware bin, and used the sides and lid for the circuit boards and microchips.
Paint: After scuff sanding and rubbing alcohol on the plastic pieces, I used Bullseye primer. From there, I used Green gloss paint for the circuit boards. This made the edges of the piece match the graphic, and it helped the decal attach better to the plastic.
Nixie tube ramp: The download had a pattern for building the nixie tube ramp. I used that and cut it out of some thin craft plywood. I fassembled the ramp and filled the cracks with hot glue. The top of the ramp required use of sheet alluminum which was pop riveted to the ramp’s body. The ramp was primed then finished in flat black.
Nixie tubes: Not wanting to deal with the hassle and expense of real nixies, I used 1/2" clear tube. I used 6 wires in each tube, twisted them up, and wrapped the tube end in alluminum foil. Then the ends were glued to the top of the tubes. To simulate the cap and ■■■■■■ of the nixie tube, I found screw head covers, and riveted them to the top of the ramp. The stem of the pop rivet gave the appearance of the nixie ■■■■■■. Also, the rivets keep everything secure.
Attachment: I used two pop rivets to fasten the ramp to the circuit board. I then drilled and routed each nixie tube wire through the circuit card.
LEDs: This is the only piece of GB equipment that has no lights. I wanted to fix that. I used the tin foil in the tubes to reflect more light.
Belt gizmo lights: I used a blink white on the first tube (wired in parallel 220 Ohm resistor), 4 color change lights for the next 4 tubes (2 lights each wired in series 100 Ohm resistors), 2 green steady LEDs (both lights wired in series with 100 Ohm resistors), 1 blue steady LED, with the bottom red LED (both lights wired in series with 100 Ohm resistors).
Daughterboard lights: One blink white LED (wired in parallel with 220 Ohm resistor), and one steady red LED (wired in parallel with 220 Ohm resistor).
Yes, the curly cord actually has a function since the battery is located on the belt gizmo.