Sometimes a chain of events occurs that send you down a path you didn’t intend to take. I am certainly on that path now. When I built my Pep pack I originally installed a Crix light and sound kit including his new thrower light kit. But I wasn’t completely happy with it. (It’s a nice set up, don’t get me wrong.) but at the time that was to most affordable kit available as a complete kit. Then the gbfans sound and pack kit came out and it had a lot of features that I wanted and worked with my Crix thrower lights. SOLD! But then the gbfans thrower lights came out and had all the features I wanted! SOLD again!
So I ordered that kit and started looking at my Pep thrower.
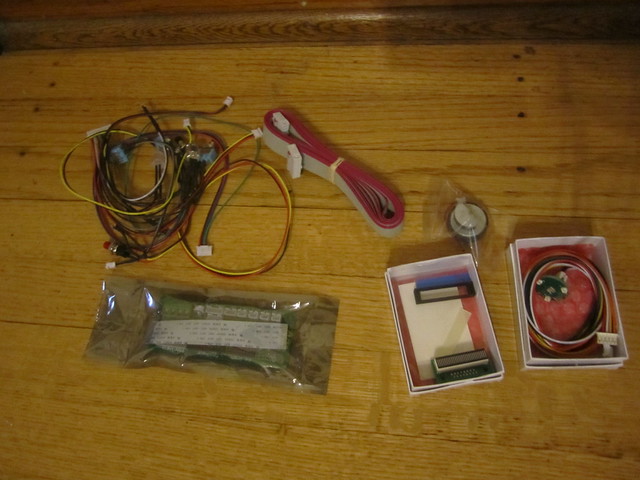
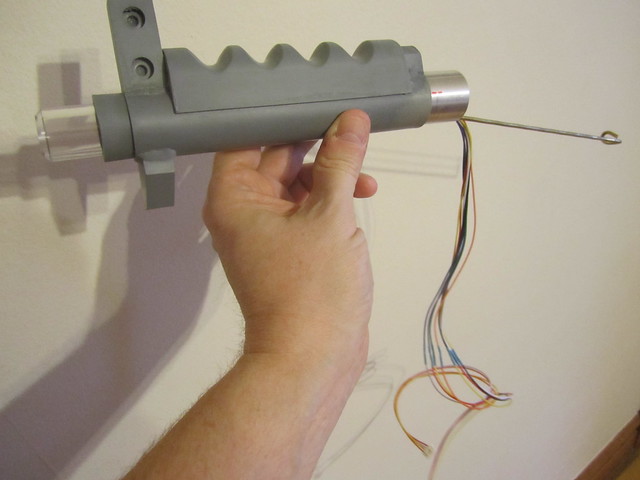
This has been a good thrower for the last year and a half but I got a lot of stuff wrong on it. One, the front handle and palm rest are too long and the handle has a slight angle up. My welds are sloppy and the body is a bit wonky from when the rondo cured inside. I started looking at what it would take to fix all of this and decided that I would have to practically destroy the thrower to repair it and even though it has it’s problems, it’s NOT THAT BAD of a prop. So I decided I would build a new thrower and do it with all the cool things that I wanted. Here’s where my idea started to get EXPENSIVE!
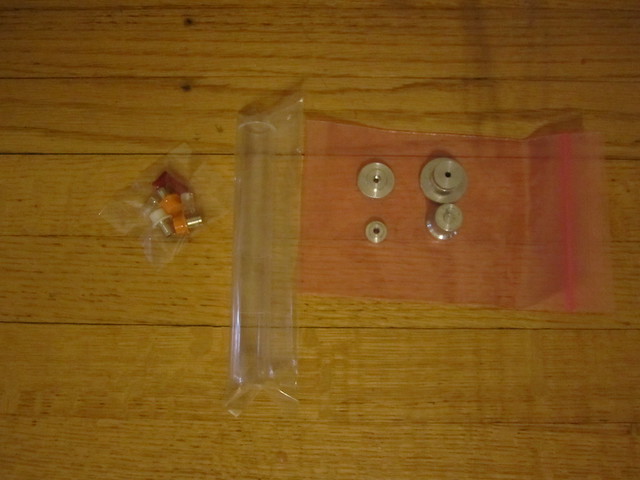
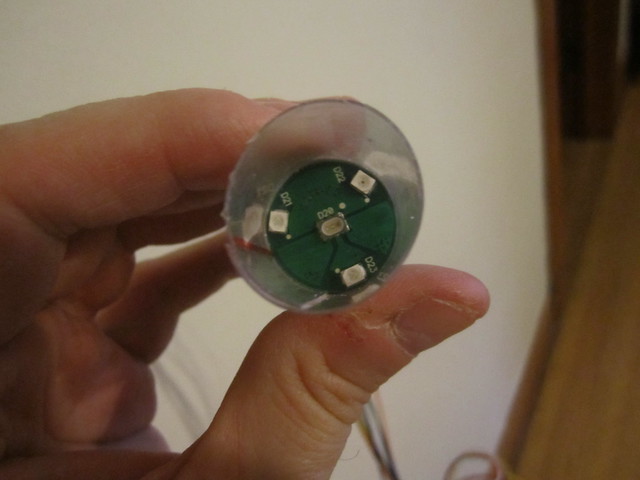
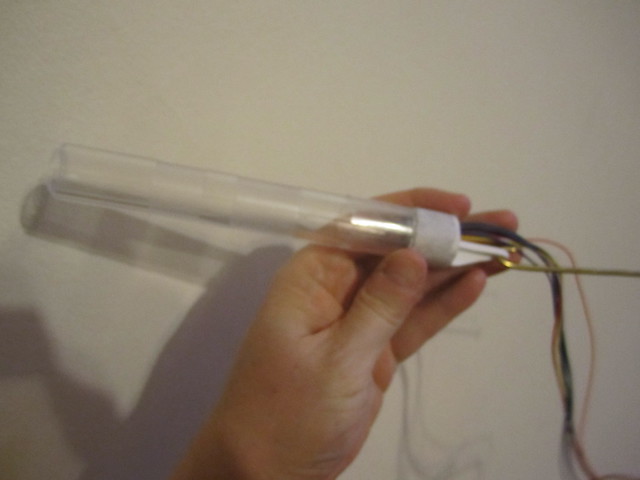
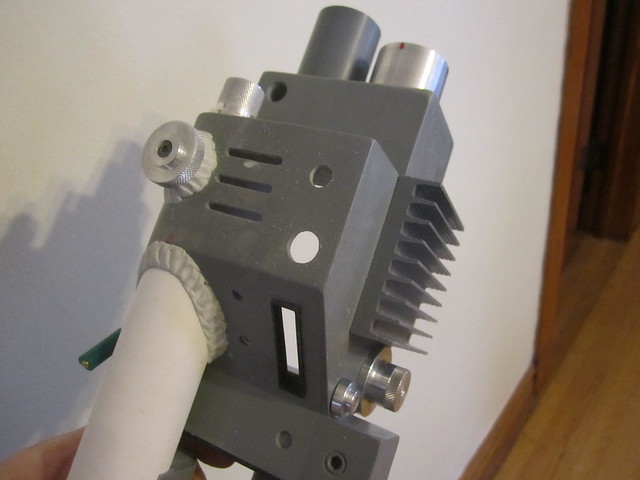
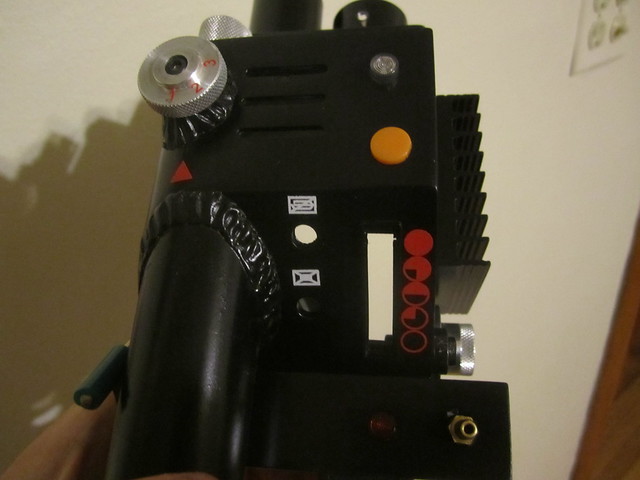
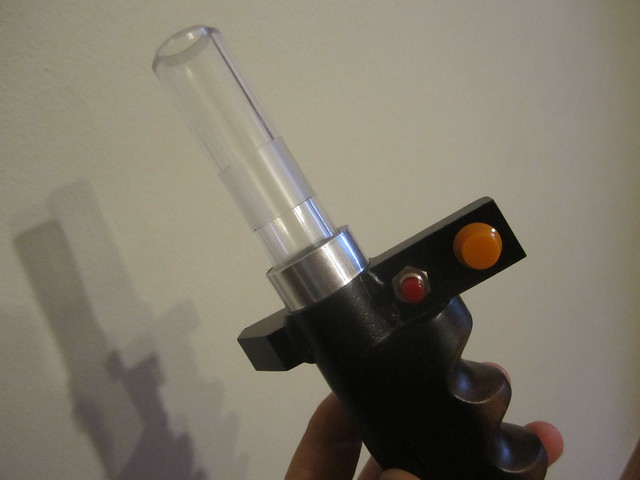
gbfans acrylic tube and hat lights (two orange and one white. I’m going to put the second orange in the top of the body) and I took advantage of MMM’s metal knob sale -
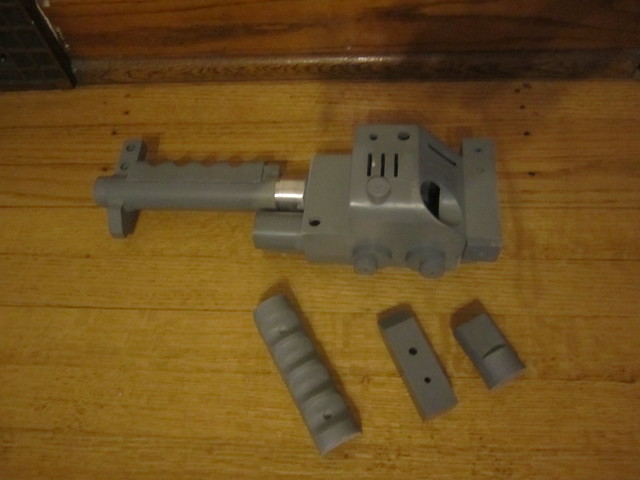
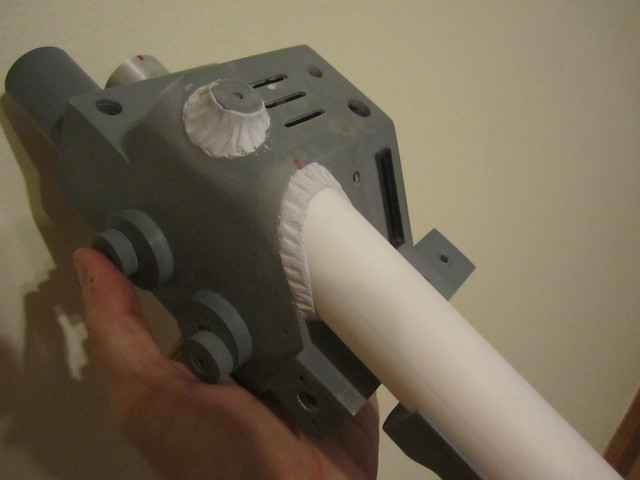
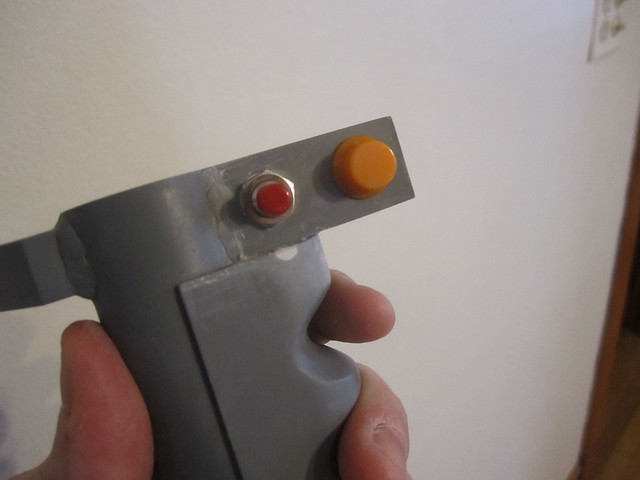
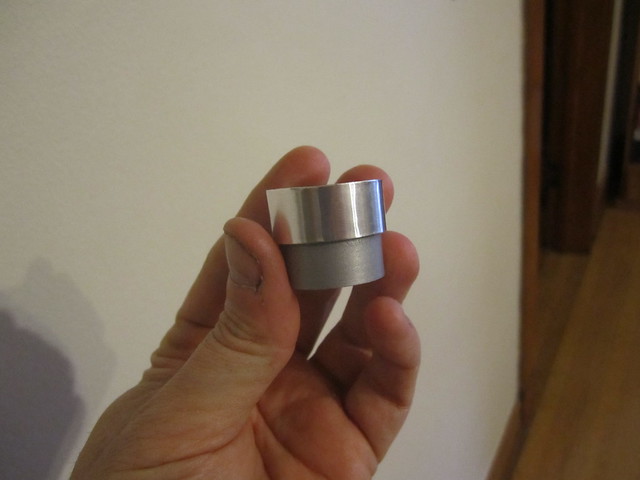
I plan on swapping my real Clippard from my first thrower and the GB2 style metal banjos. I am also saving funds for a metal trigger tip and a GB2 style bracket for the pack. I’m also going to try my hand at making a brass thrower lever. I still have another $65 or so to spend. When I am done I will be almost $350 in this thrower. What started as a $65 light upgrade has definitely spun out of control! Today I start prepping the TC body and attaching some some of the parts.
oh boy! I do love a good thrower build. I haven’t even finished my GB1 pack build and I am already planning my GB2 pack build. I am interested to see how the GBFans wand kits works out for you as I have my eye on that one. Best of Luck!!!
Looking good! Your first one isn’t as bad as you think, either.
Yeah people tend to go overboard on the welds, but if you look at the movie props they are pretty clean for the most part. If you haven’t already, check out the tutorial I posted the other day. There are a number of ways to make fake welds but the method I used helps prevent you from going overboard. Just roll out your putty into a very thin tube, like 1/8" in diameter at the max, and then cut that up into a bunch of 1/8" long segments. Use those as your beads. It will ensure they are not too big and are fairly even.
It’s been a doozy of a couple of weeks in the Hawkins household. I got my wisdom teeth yanked, then my in-laws visited and it turns out my Mother in law was sick so then my 10 month old, my wife and myself got sick and then this morning Harold Ramis died.
Wow.
So to get my mind off my troubles I went to tinkering with my thrower. First I went over my welds with my Dremel and got them into a better shape.
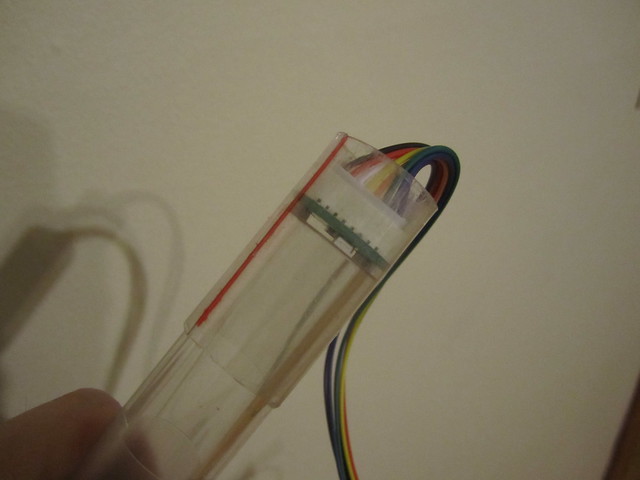
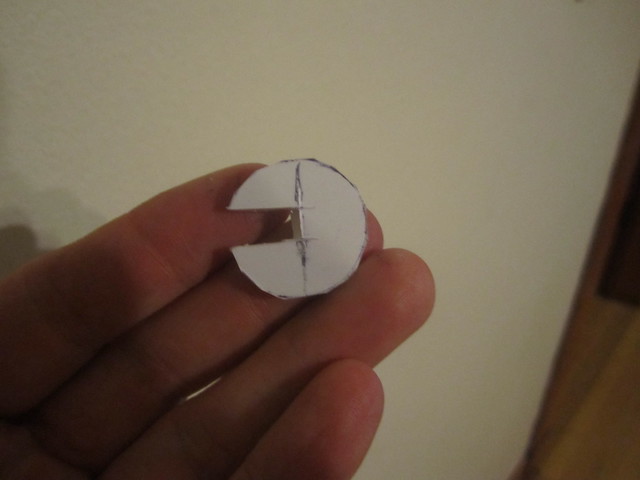
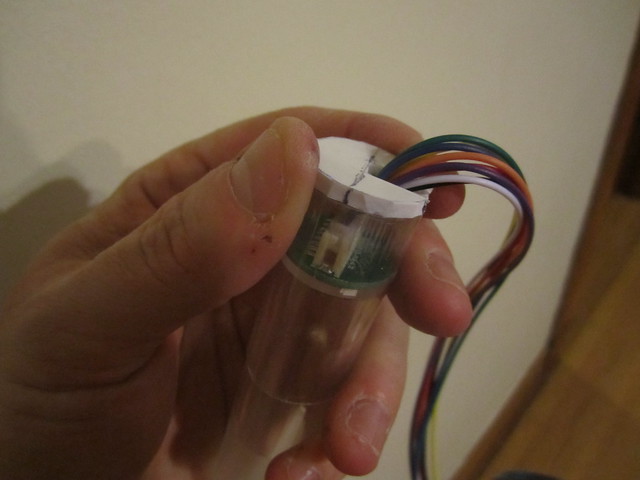
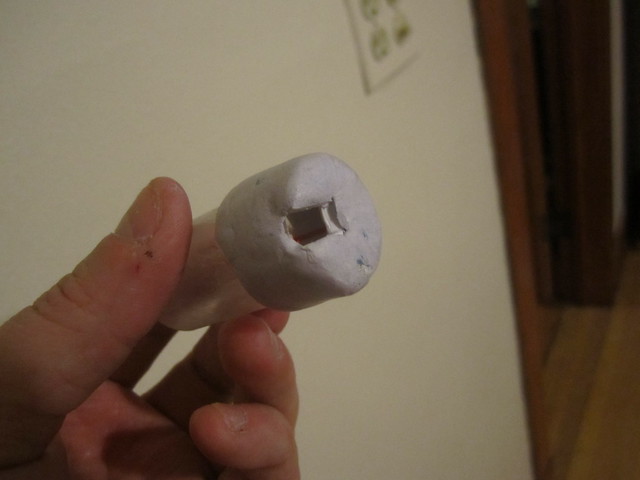
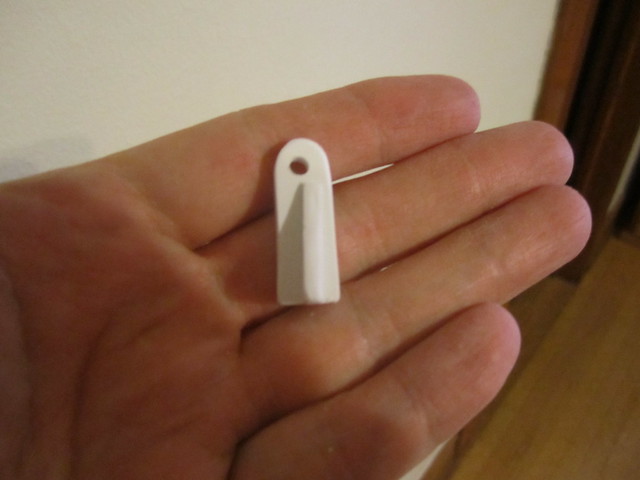
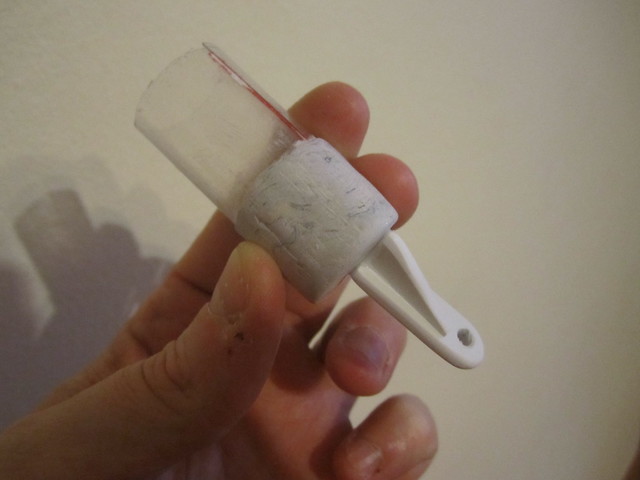
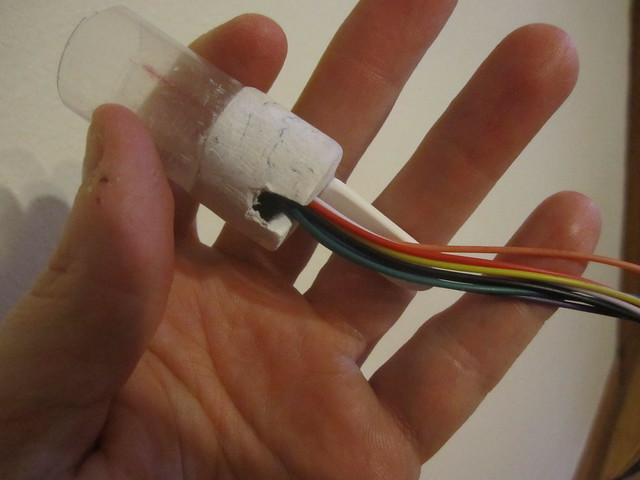
Then I went to work figuring out how to make my Spongface thrower extension lights and gbfans acrylic tube work PLUS also having the barrel extend! (Was also going to have the barrel extend when you twist the handle but there really isn’t enough room.) First I got a old tube that held two part epoxy and cut it down the side. Then I wrapped it tight around my tube and marked it, then super glued it. Once dry it slid on tight. It also allows my to place the lights.
Small update. I have decided to hold off on doing my own extending barrel. TC has mentioned that he might have something in the works so I think I would rather wait for that if it does come. In the meantime.
I got my rear barrel, knobs and other greebles attached -
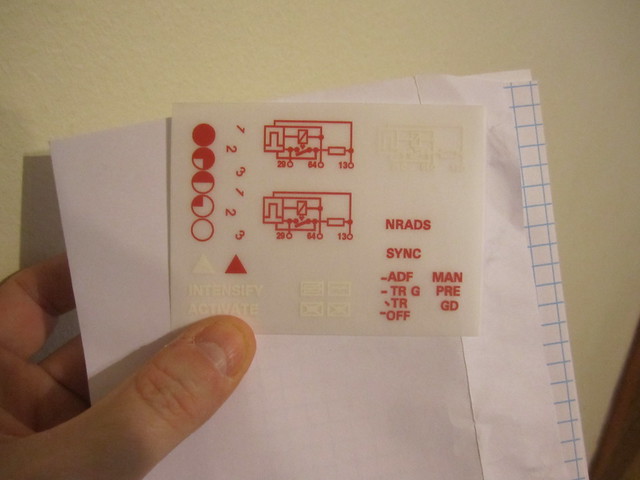
Thank you! I’m pretty pleased. I’m going to take a little turtle wax to it in the morning too seal it up. In the morning I start on my dry-rub transfers.
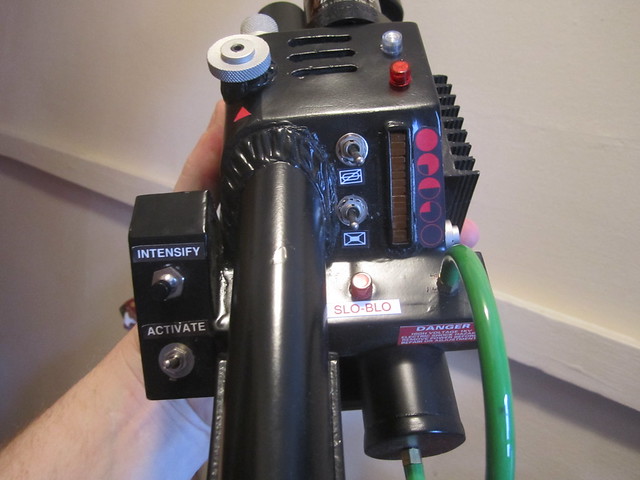
Got the top lenses mounted in. I love the recessed idea that TC uses. I didn’t do it on the SLO-BLOW but I LOVE it on the top with my orange hat light.
More to come, up next putting together the Spongeface bezel…
** EDIT ** - Then I notice that I put the dry rubs on the TOP of the switches INSTEAD of the bottom like WHERE THEY ARE SUPPOSED TO BE!!! Wanna guess which ones I messed up and only had two left? Take a guess!
Managed to fix my little snafu on the dry rubs. Definitely going to get a second set. This was a learning experience. Did some more work this afternoon.
Added my top reflector. This came from a set of halloween lights that I never used. It fits perfect in the top of a thrower -
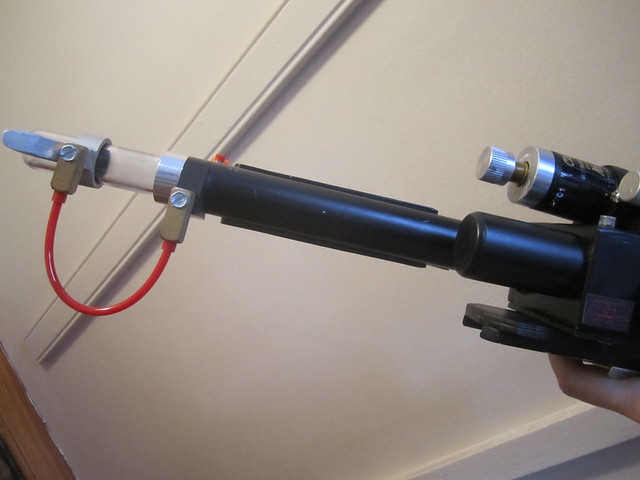
Sadly I have misplaced my trigger tip. (Which is fine since I plane on getting an aluminum one in a week or so. But I want to use the thrower in the parade this weekend… So I will be using my MMM one as a temp. Also I have an issue with my gbfans thrower kit.. Sent a message to Spongeface and hopefully he can help me out. It’s always something…
OK, first in case anyone finds this thread because they are having the same problem with their electronics Spongeface sent me this -
Worked like a charm!
So.. Now for where I am today! The thrower is ready for the parade. I have some small issues to work out, but I’m OK with that since it means I can fiddle with and upgrade over time and that’s what makes me happy. After putting in all the electronics I am thinking that a extending tip is just not going to work. I just have too much stuff inside the body. If I removed the rumble motor and went back to the stock tip that came with the kit I think I could make it work, but… I like those things.
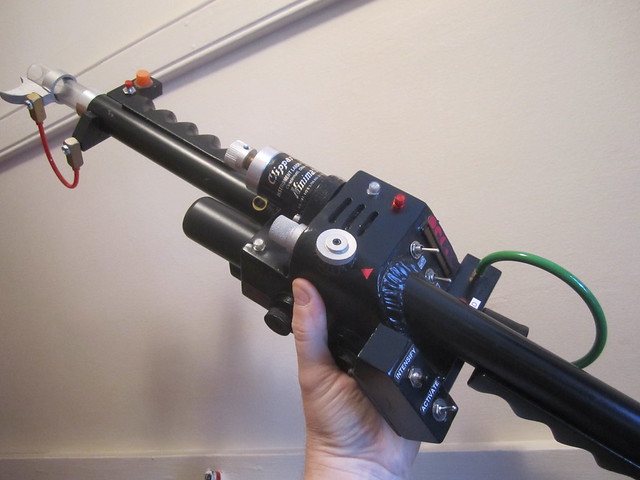
Now some Thrower Porn!
I’m pretty pleased! Next week I will order a GB2 bracket, a new aluminum tip and coupler for the conduit hose. I will also redo my dry rubs and fiddle with a few more items. Big thanks to TC, GBfans and Spongeface for making this possible!