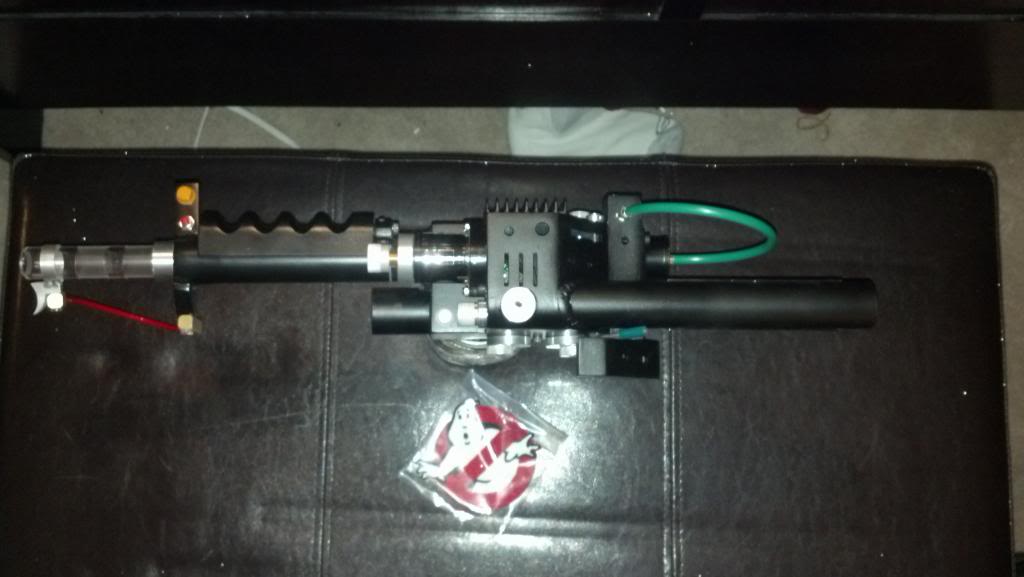
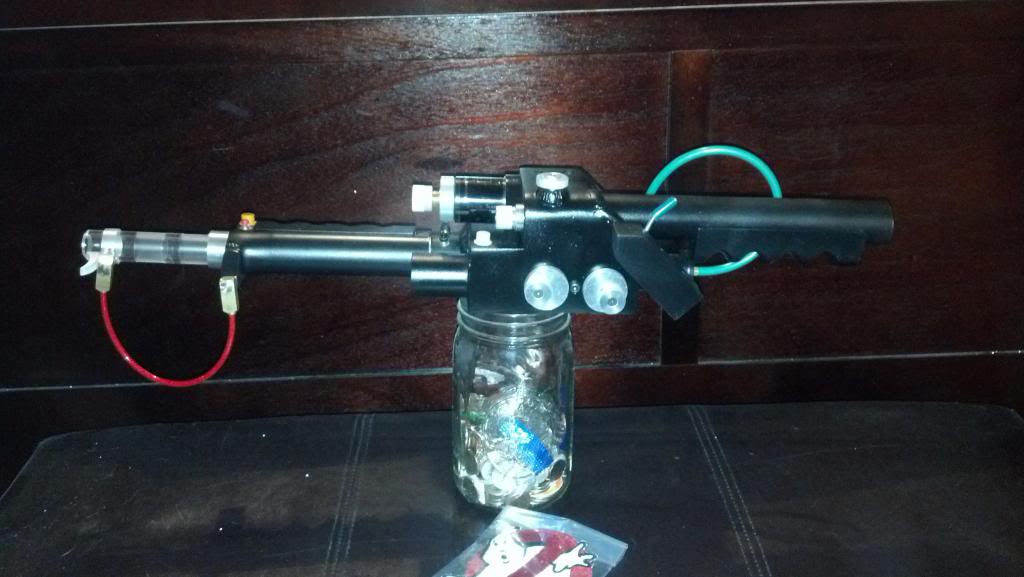
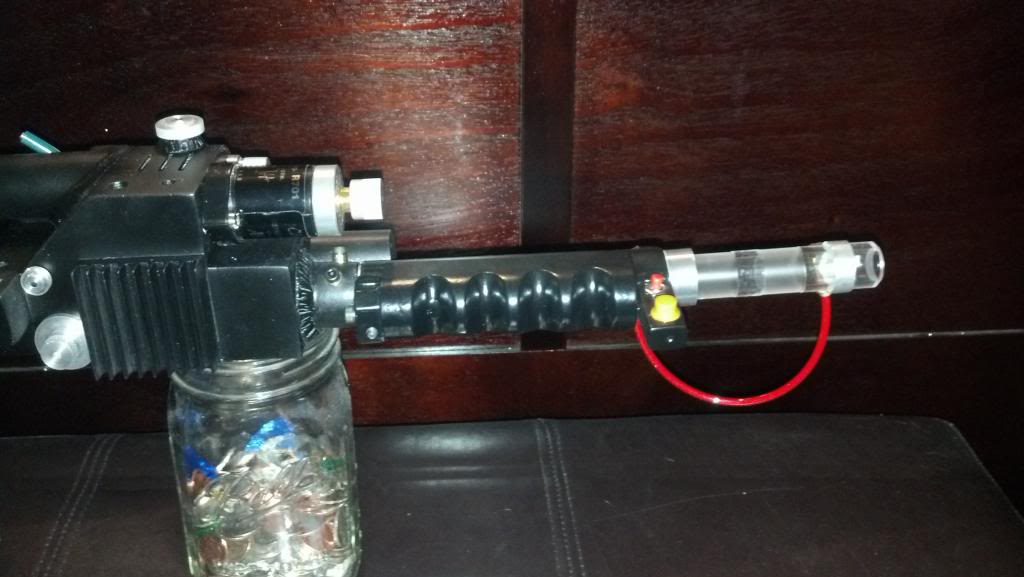
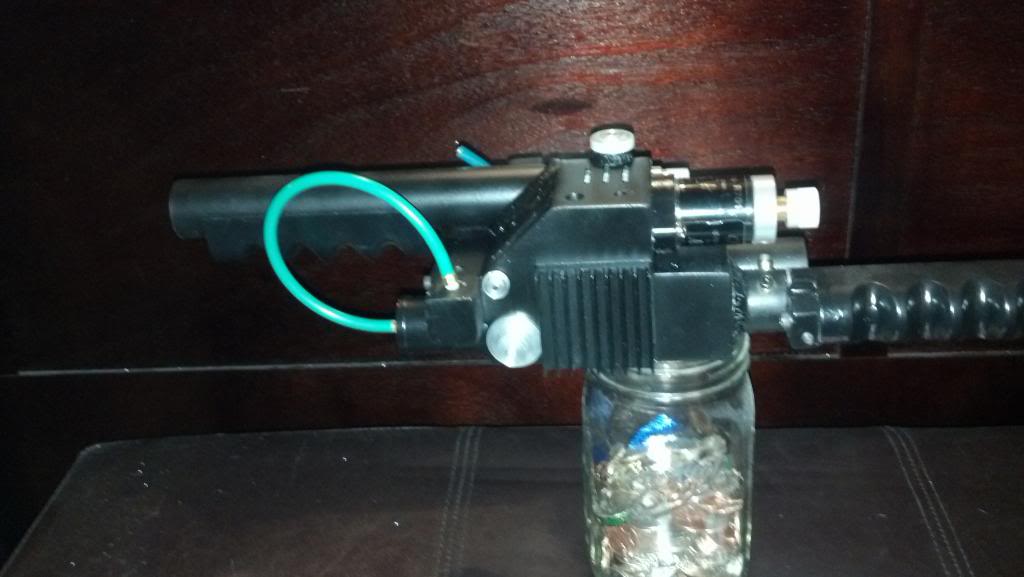
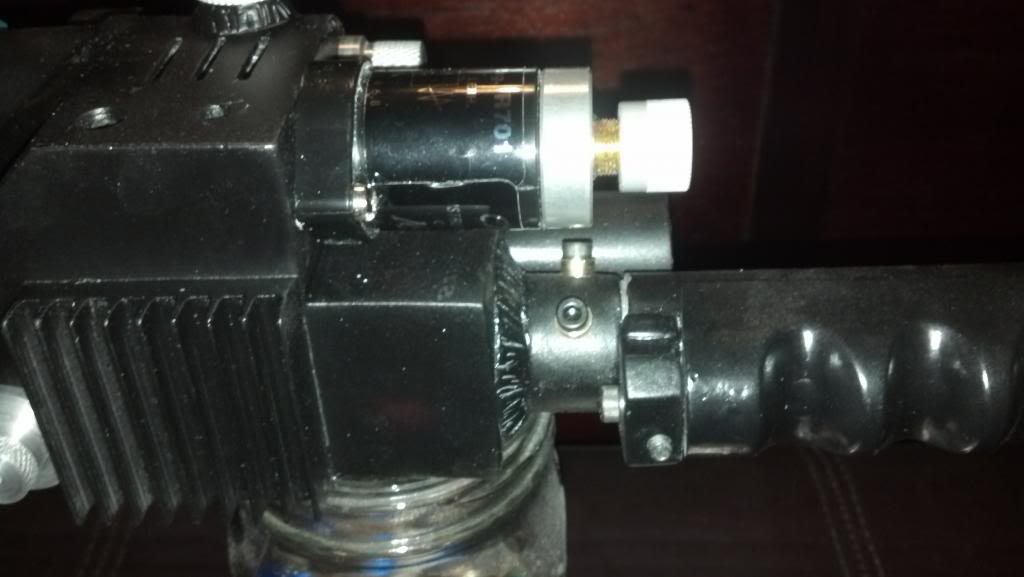
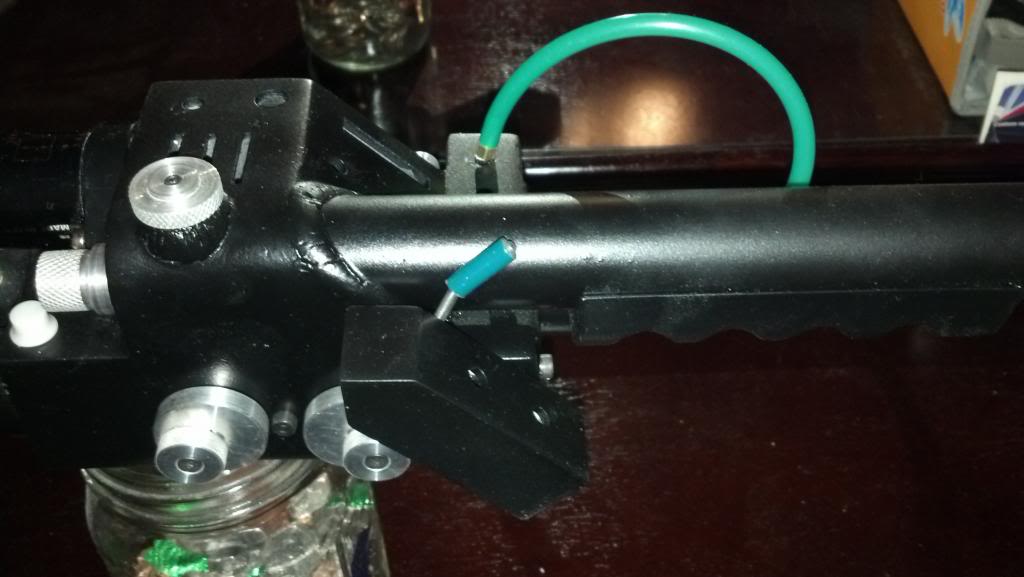
Particle Thrower Build using a used Throwing Chicken 3.0

Well I am new to this building of these proton packs. A while back I was able to get in on a couple of days of SDCC 2010. Well when I was there I saw a couple of guys walking around in some Ghostbusters Uniforms all decked out with the pack and everything. Well since then I decided I would build a pack & uniform, but I finally got off my butt this last year and decided to do it.

I have slowly been collecting parts. Unfortuneally I picked up a used Throwing Chicken 3.0 before I found all the great sellers on here.

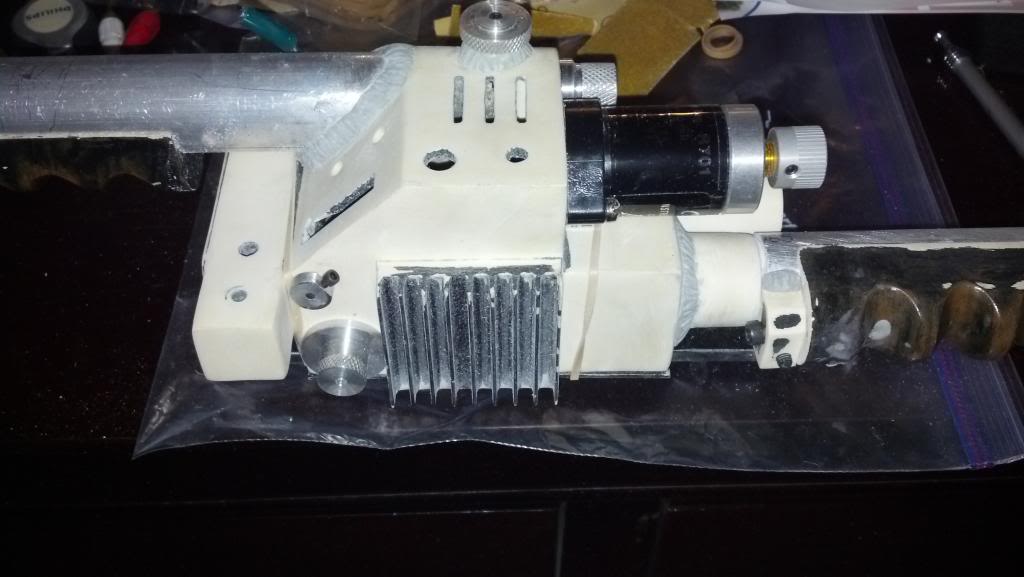
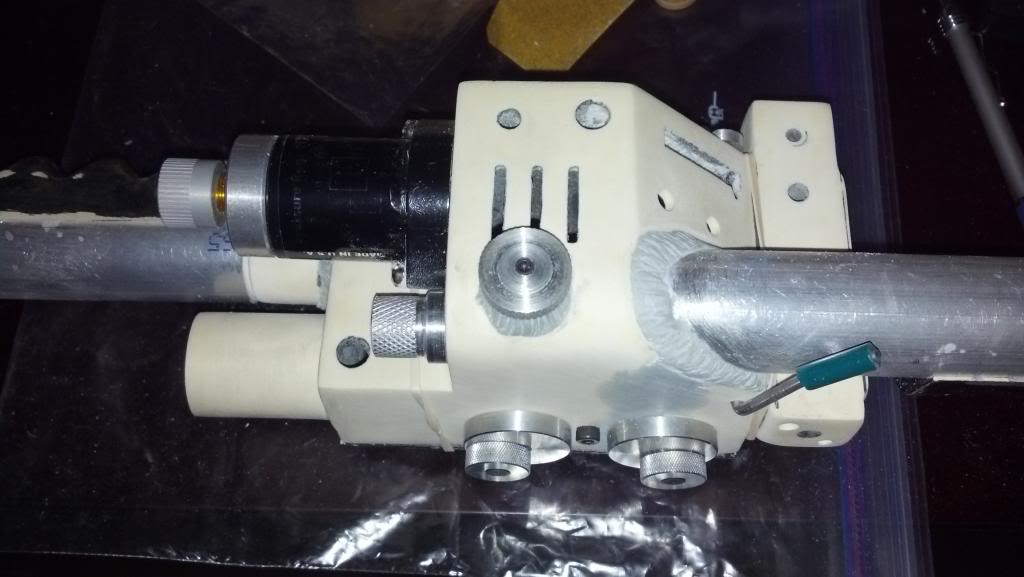
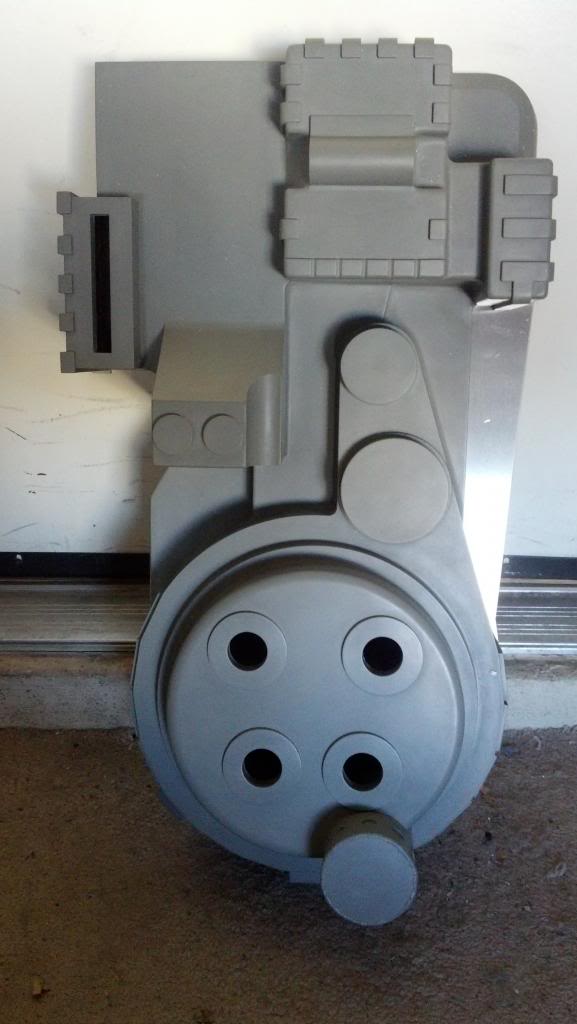
Well after reading all the Forums on here I decided I didn’t like the way it was put together and ripped it all the way apart. The paint job was horrible on it. So I sanded it all down to bare resin. Ordered some new Aluminum pipes for the front and back.

For those that have this you can use this for the front handle.

This for the back handle.

The one thing I like about the pipe I used for the back handle is that it fits the loom cable very snug but I noticed from looking at screen accurate pack pics that the pipe was not originally that thick.

Once nice thing I was able to build up an assortment of Aluminum knobs and have a real clipard valve I plan to use. Slowly finding sellers to get things off of here.

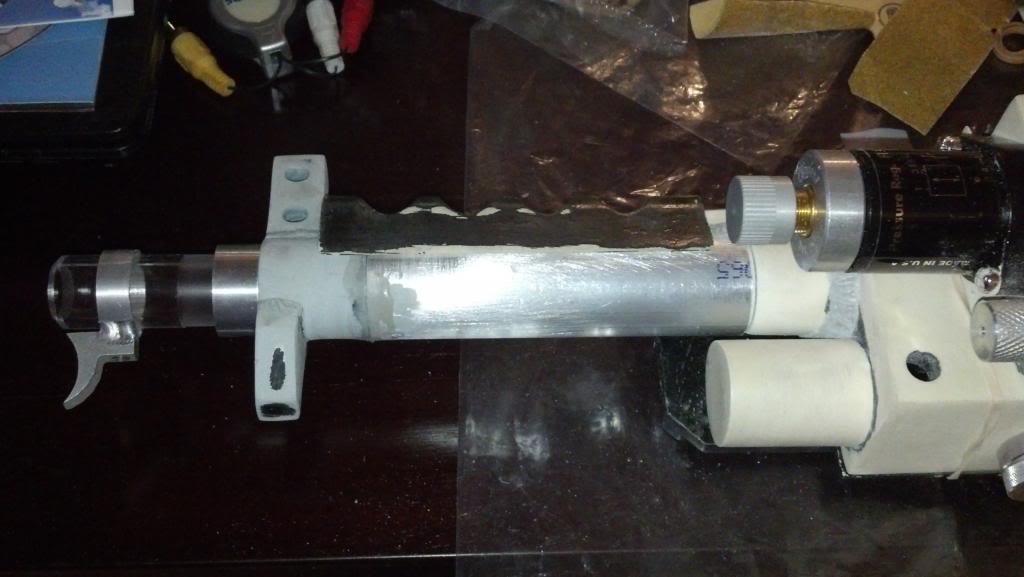
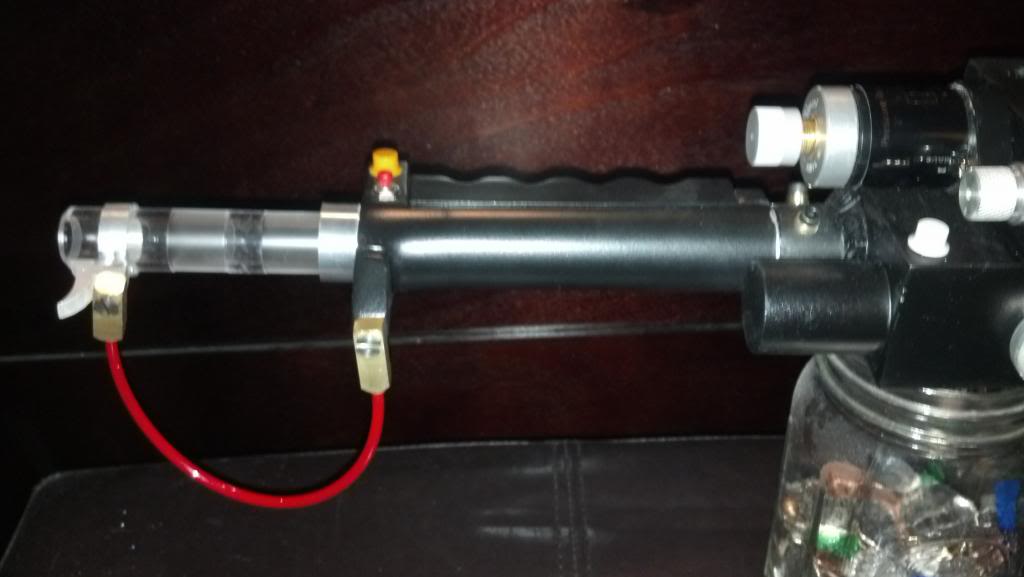
I was lucky enough to get a trigger tip from the GBfans store and aluminum collar from another seller on here.

It has been a slow progress. Sanding off old paint. I was glad I read about the Throwing Chicken 2.0 build on here. From that I learned of Magic Sculpt. A resin epoxy that you can mold to what you like. I used it here to make some fake welds. Don’t mind all the epoxy on the side. I was cutting off the knobs knobs to replace them with aluminum knobs and by mistake cut through the side. I plan to sand it all down when it dries. Plus the hit the fake welds with a little sand paper also.

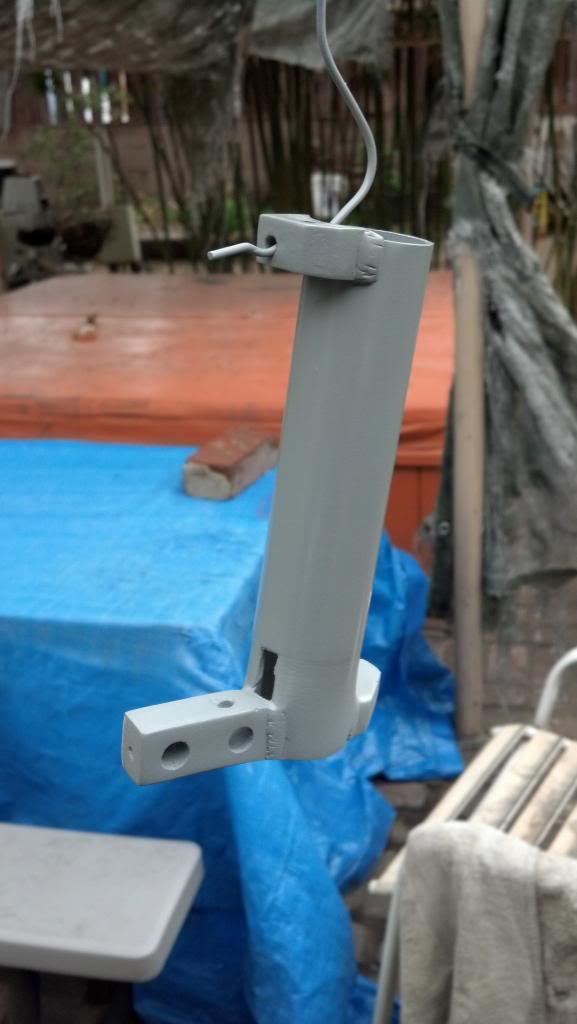
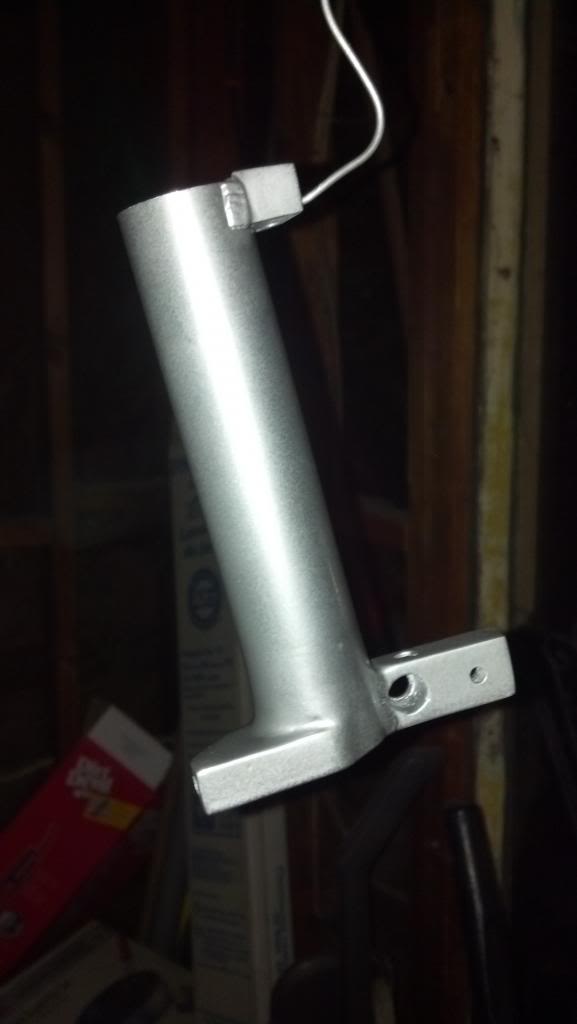
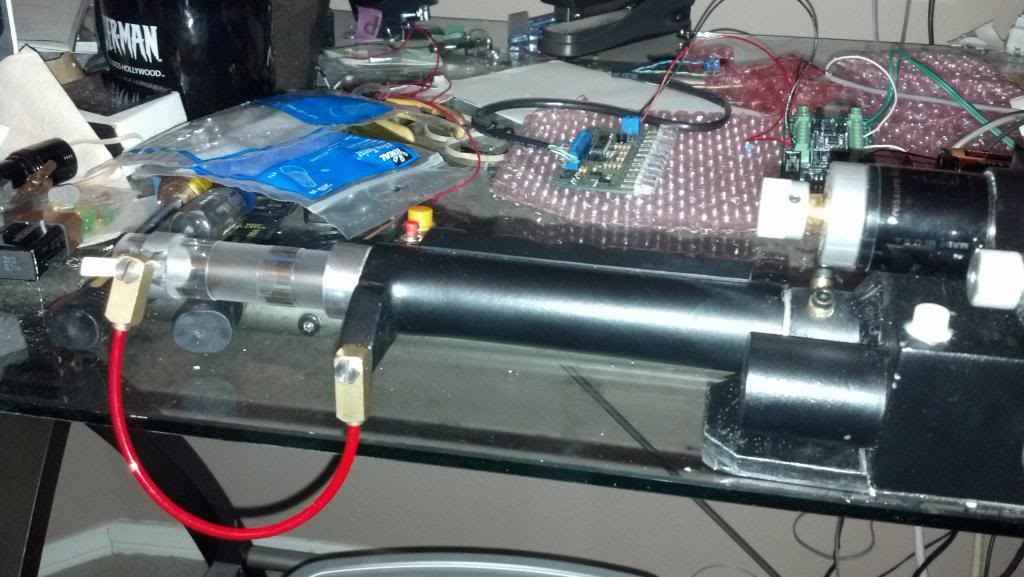
One thing I decided to do that was not in the original kit was make it so I can remove the handle. I actually cut a part off of it and then epoxied it on the aluminum tube.

Then inserted a screw in the front of the handle and cut the head off. I drilled a hole in the front gun ear. I can now insert the screw on the handle in the front gun ear and it will hold the front of the handle in place.

Then I used a cap head screw, to hold the back of the handle on, just like the screen versions.

Well that’s all I got so far. Hoping to dry mount everything this week to make sure it all fits and then sand it all down nice. I decided on a Hammered Black Paint. I saw a gun on here painted that and it looked awesome.

More to come. :slight_smile: Work in progress!
Great Pics, very well organized. Cant wait to see more.

Thanks mr0072003. I did some more work on it, I test fitted everything. I wanted to do it before I painted. looks good. :slight_smile:

Your weld on your rear handle looks a little large.

Other than that it’s shaping up to be a pretty sweet thrower!

I been working on this a little more. Mostly the front handle and parts of the main body. Did a prime job on the main body.

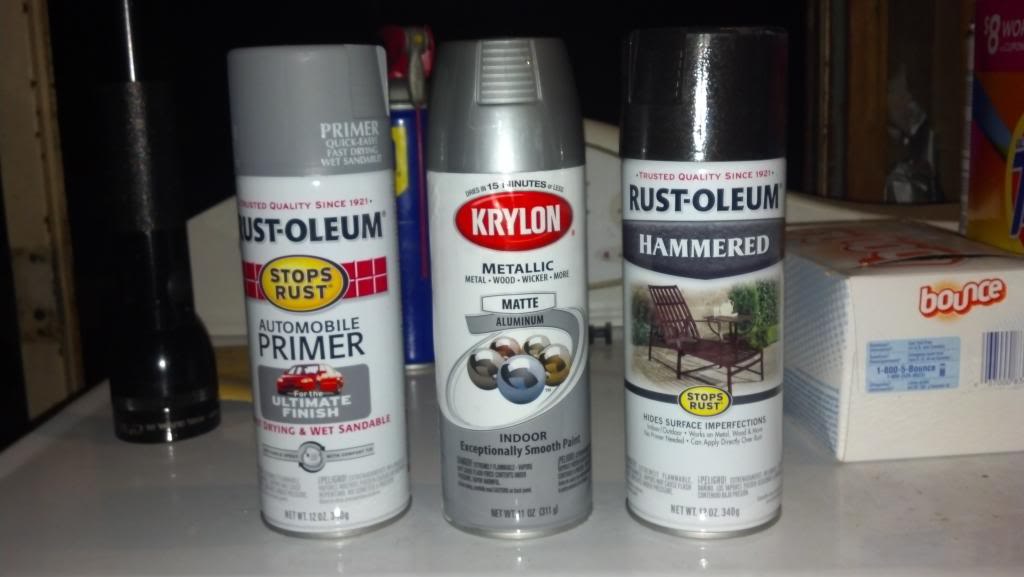
Here is where I was a little upset. I painted it with a Hammered Black Rust-Oleum. Well my Hammered Black turned out a gray color. not the look I wanted. Plus it wasn’t even a hammered finish.

Plus I learned that I don’t like Kryon and reading some of the posts, other people don’t like it also. This was my line up. I have long since changed it. I am non using a Aluminum & Satin Rust-Oleum paint.

Well I ended up spraying over the Hammered paint with the Rust-Oleum Satin Black. I like the look of the Satin Black much better. Here is the finished results.

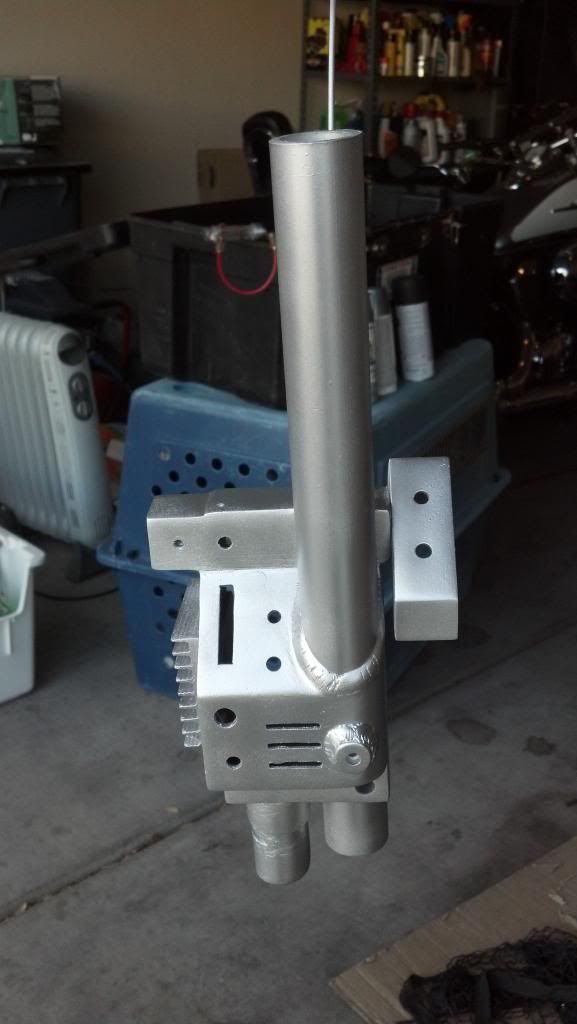
I been working on the body now and have sprayed it with the grey primer and now the Rust-Oleum Aluminum. When it dries well I will hit it with the Satin Black.

Coming along, sir!

Thanks TC! Coming from you that has to be the biggest compliment ever since this is your baby!

Well I have done more work. It is slowly coming along. Finished painting it Satin black and added some of the parts on it. The Camera Phone doesn’t do it any justice at all. It looks much better in person. :slight_smile: Also I painted the grips a semi-gloss.

Next I will be working on the electronics inside.

Well I worked on my build a lot more this week. I have a Jupiter Electronics light kit. So I hooked it all up. It was a real challenge.

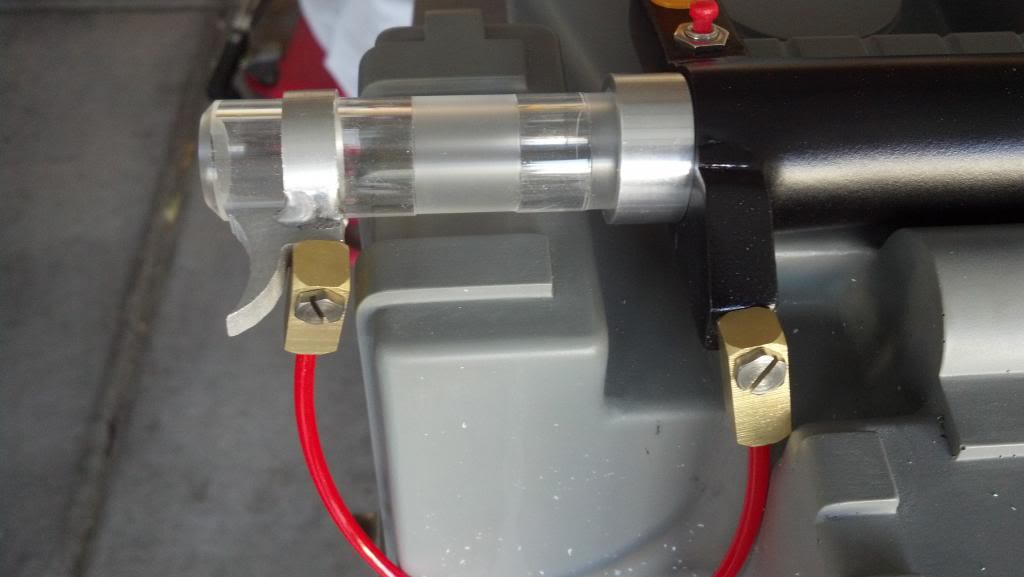
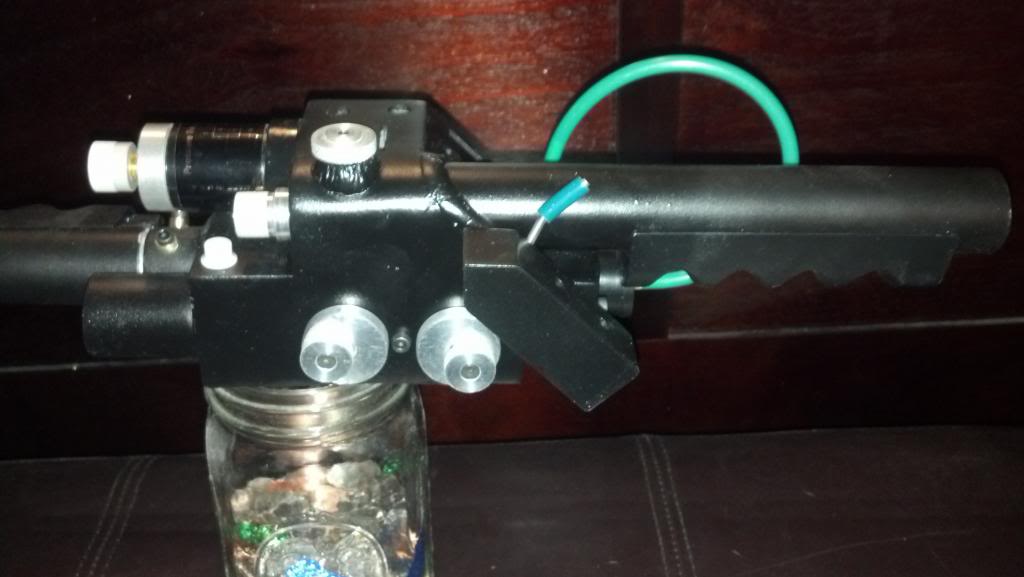
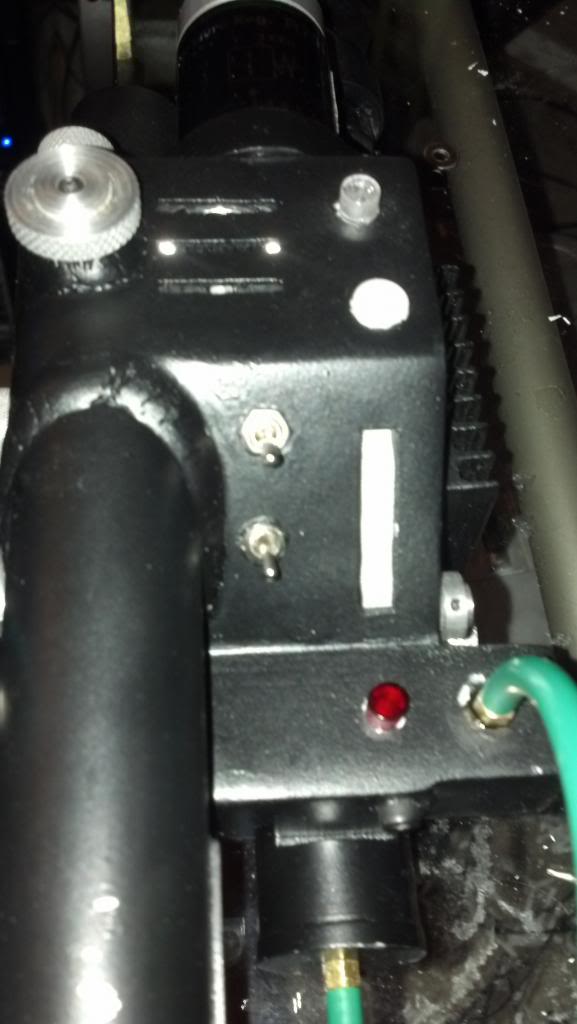
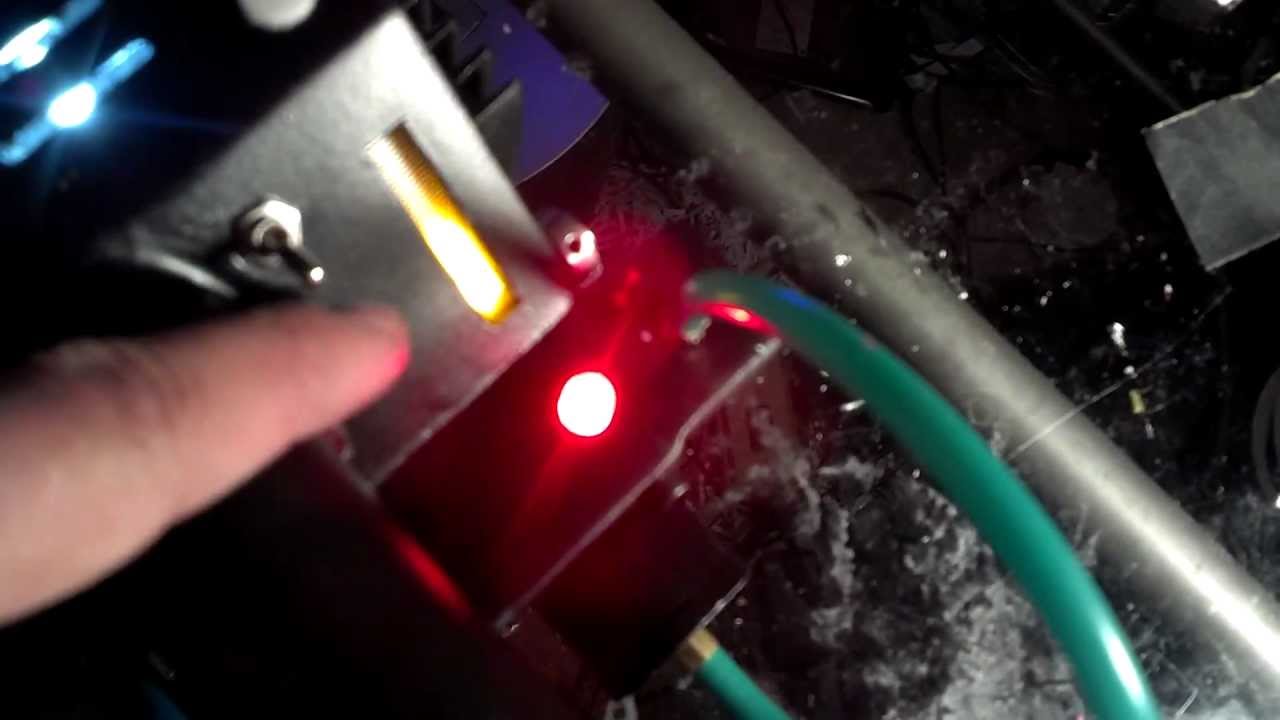
On the Bar graph display I used a CD Case ribbing for the display and hot glued it inside the gun. I kept looking for something to create a black frame for the hole but I could not find anything anywhere. I wanted to be GB1 authenic, guess this will have to do for now. Also if you will notice the Hat light next to the white cliplite. I studied the pictures on here of the movie guns and it looked light they just poked a Hat Light light tip through from the inside. Well it worked. Looks like the movie version and I believe that’s what they did on the movie guns.

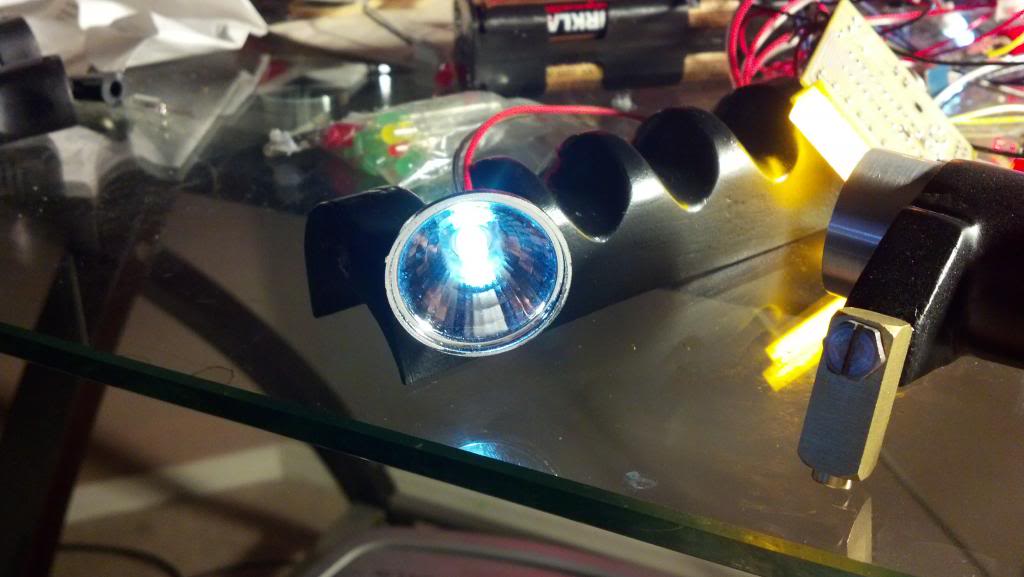
Also for my vent light I didn’t like the way the Jupiter Electronics had the big glowing LED so I modified it a bit. I read in one of the forums here how someone had gone to the dollar store and picked up a cheap flashlight. So I tried the same thiing it worked like a charm. I used the reflector from the flashlight. I picked up a 5mm LED from Radio Shack to use in it. Then hot glued the reflector inside under the vent.

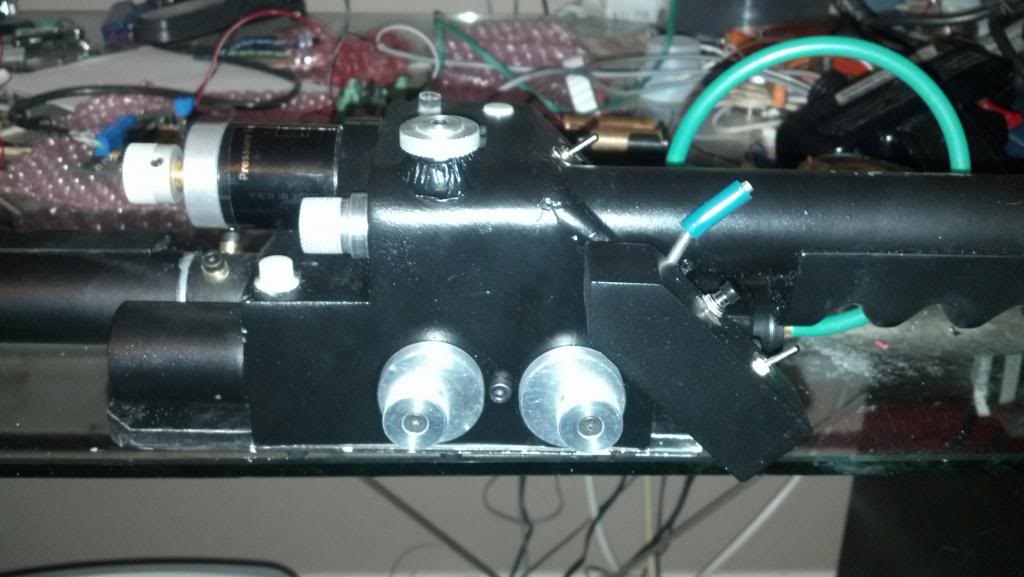
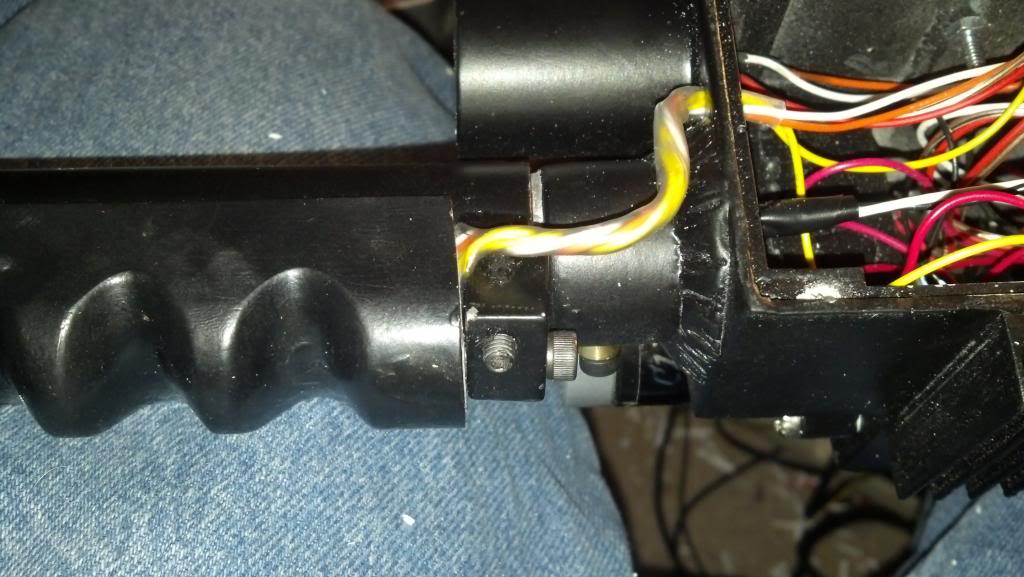
I hooked up the front light and red button on the gun ears. I actually wired the light in parallel with the other hat light near the Clippard valve. Then I wired up the red button in the front as my vent sound on my GBfans Sound-card. I ran the wires under the handle. I had to dremel out some resin for a fit.

Originally on the Jupiter Light Kits the wires to all the switches come all hooked up. Well since I was running then wires through the resin instrument box and then into the gun box, I needed to un-solder the wires on the switches. It worked out well since I had to hook up my trigger wires for my GbFans Soundcard. I was able to hook up the wire for the fire sound and the pack hum sound.

All in all it turned out not too bad. I want to incorporate a mechanism to extend the trigger tip. Right now the green lever is just a static display.

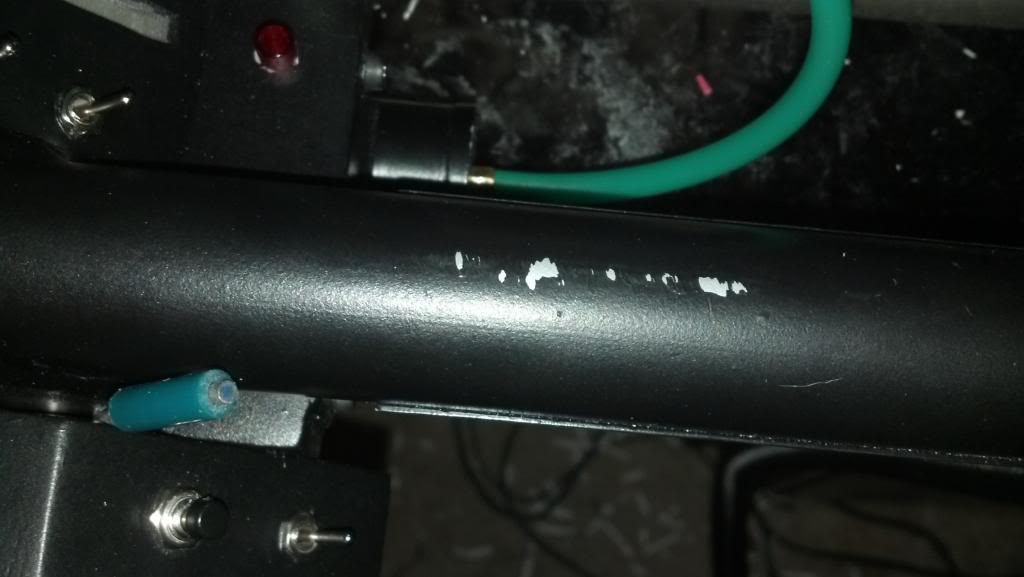
Plus from my working on the gun, since I painted a layer of aluminum paint underneath the Satin Black. I have bumped it around creating some weathering.

For now I am very happy with the build. It looks way better then when I first got it. There is always room fro improvement. but for now I really need to start working on my pack. I got it the shell for it a couple of weeks ago from Derek. So beautiful.

Ohhh, I also took some video of me demonstrating the light kit on YouTube.

Nice build and your sound and light kit are awesomeness!
Thanks! I still need to add the stickers and work on the barrel extending mechanism but I am done for now and need to get the proton pack going. It was very challenging.

Thanks to all the great sellers on here and forums that helped out so much. :slight_smile:

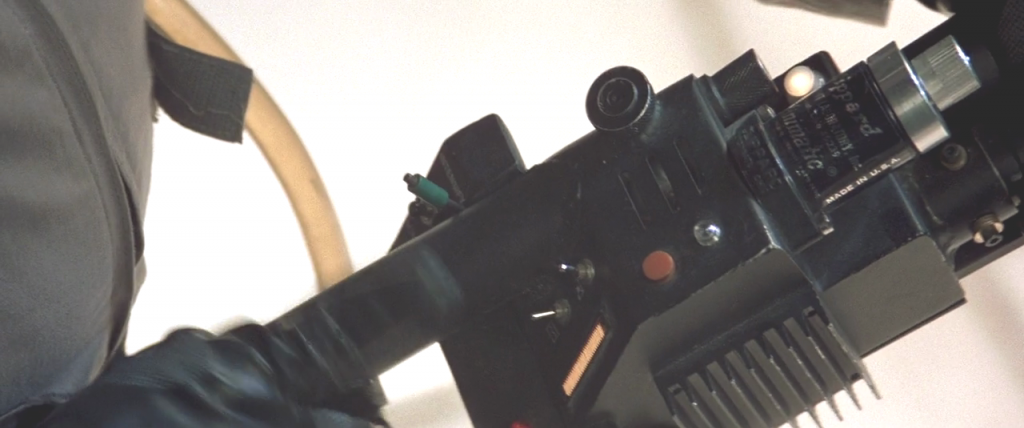
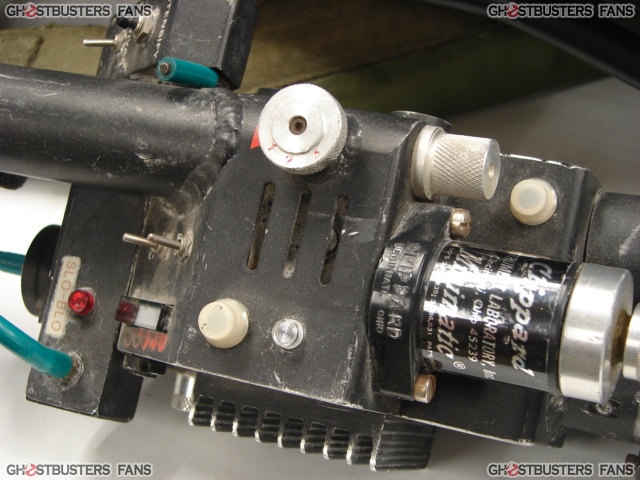
Those throwers were all over the place it seems like during shooting and after the movies. I was looking at the Hero pack and thrower pictures from Profiles in History from the Spenglers pack and it had the hat light mounted on top of the thrower. But I have seen Many with it mounted under like yours, even have seen an orange one under mounted in that spot.

Yeah man I know what you mean about this… I was having minor melt down when I first started as I would base my thrower on one pic and look at another and it was differnt. Hat light color, positoned from the inside or out, the clippard on backwrads or not.

This thread has been mighty useful in prepping for my build. Thanks!

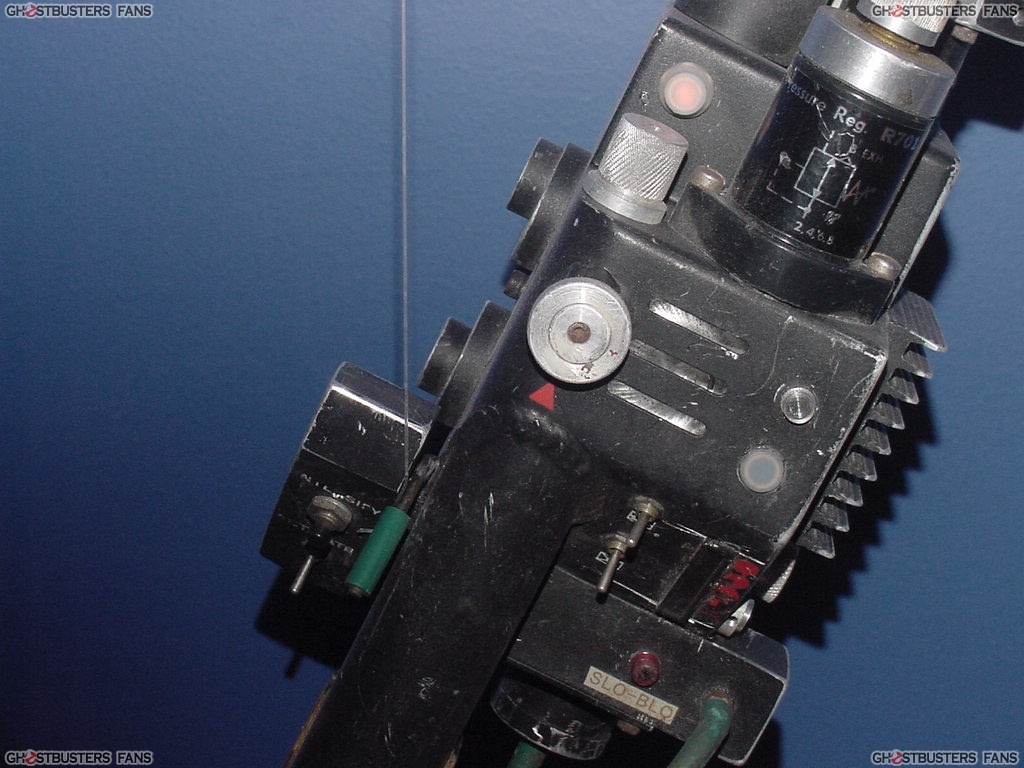
I seen all types. I guess the most popular they have dubed the Super Hero Thrower. This was scene in GB1 on the rooftop scene. The close up shot, It has the orange hat light mounted from the underside of the gun body. Also note the position of the R-331 clipard valve & the cap head screws on the start of the front thrower handle in the 9 & 12 o’clock position. The top knob is painted black.

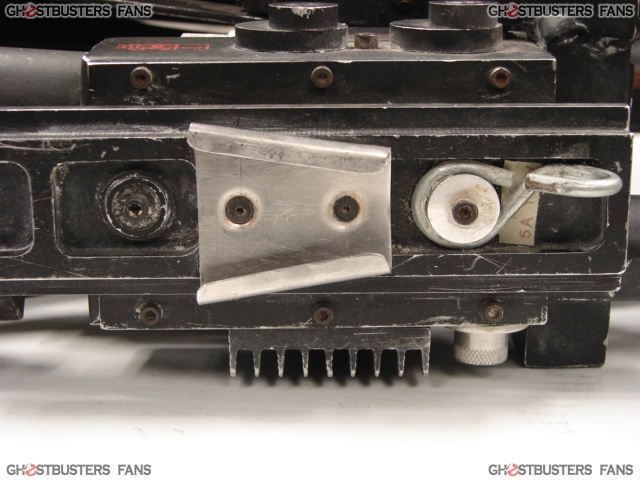
Then there was the one I based mines off off of. The Planet Hollywood Minnesota Thrower. Thanks GBfans for there picture section. It has the R-701 Clippard mounted upside down compared to the Super Hero Thrower. A white Hat Light recessed in the gun body. The Cap head screws in the front handle are in a different position. More a 10 & 2 o’clock position.

You really just need to pick one and be true to it. :slight_smile:

Thanks! I just starting out myself but I am always happy to impart what I know. :slight_smile:

Also I just did this tonight. Kinda based it off the Harold Ramis Hero. Not sure if all the packs are the same. This is what I did. I still need to sand a little and put a nice Satin Black look on it.

This is the Harold Ramis Hero Thrower.

I also noticed on the Harold Ramis hero thrower the hat light on the gun body is not recessed.

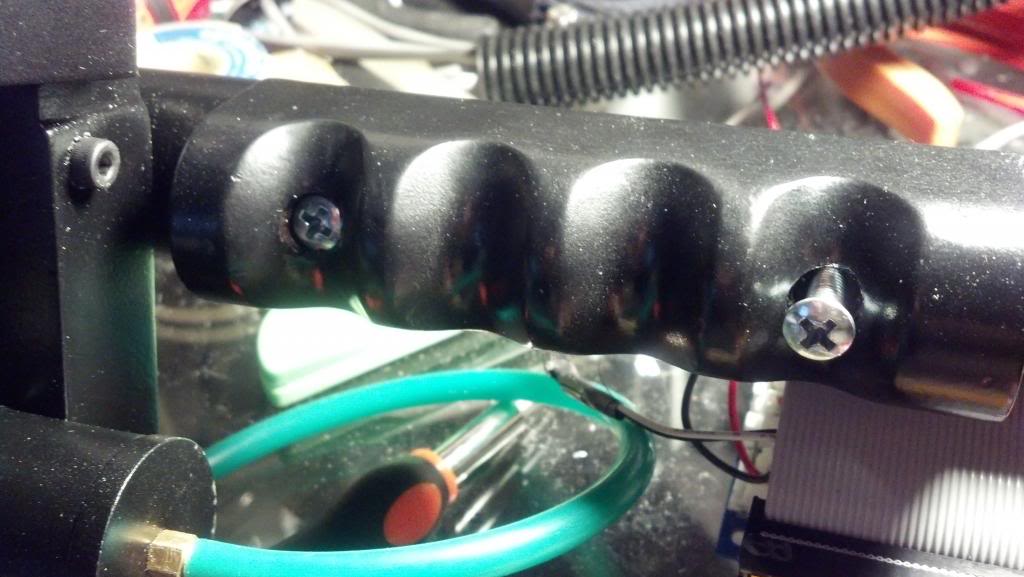
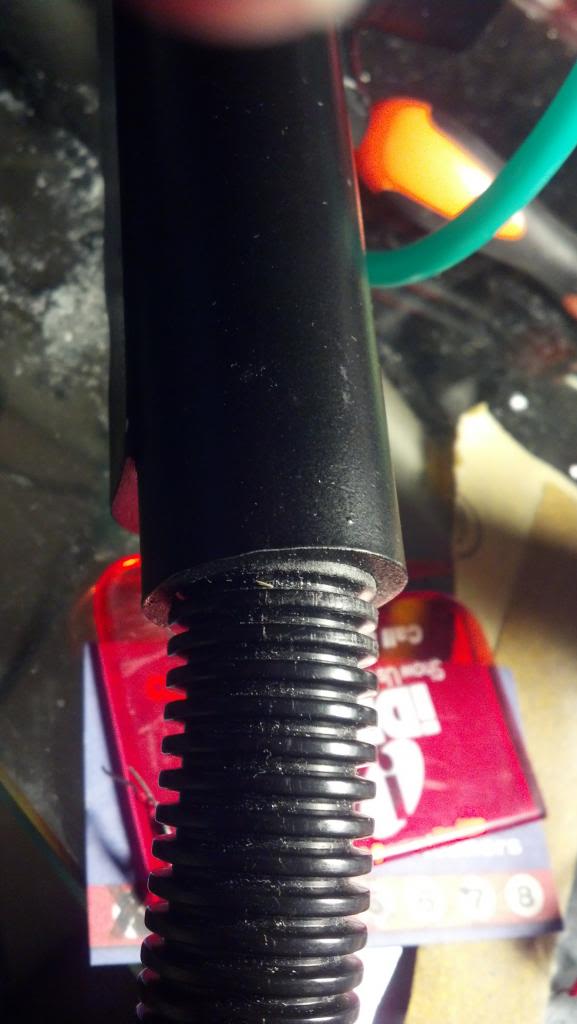
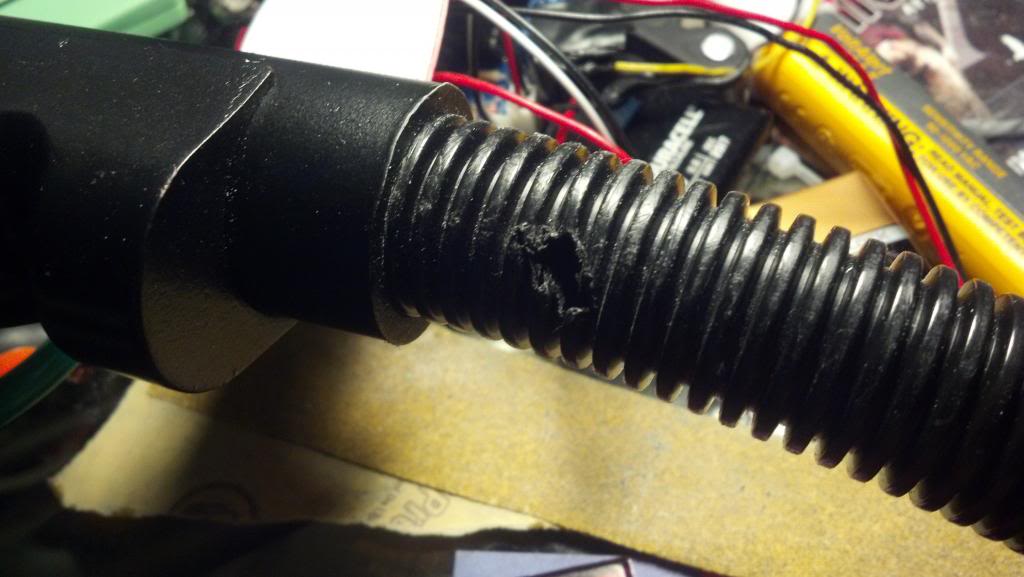
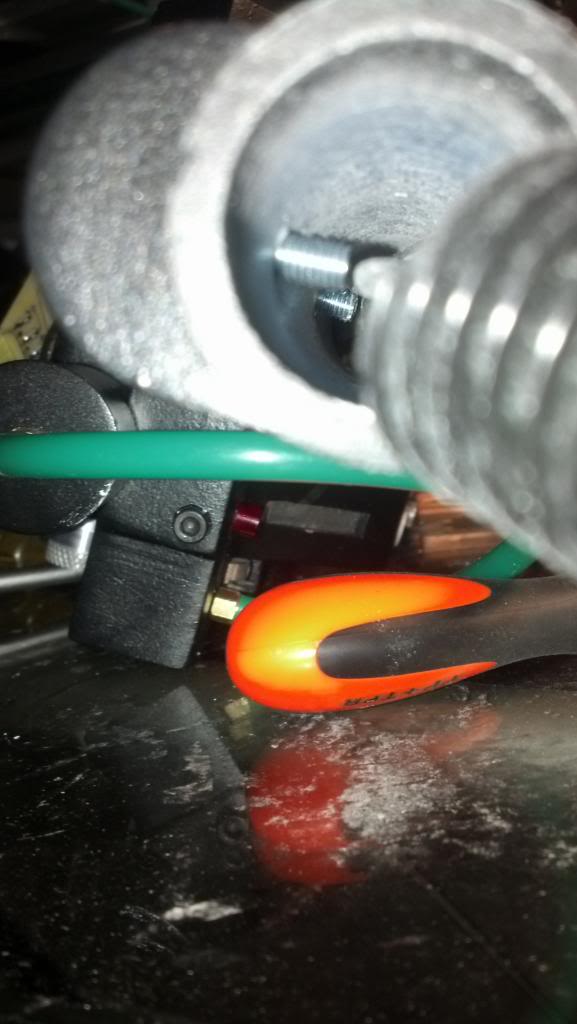
Someone asked me how I attached my Loom to my rear handle. Very simple actually. OK I have these screws. Yes I know they are not screen accurate. Well it allows me to take the rear handle on and off.

Well the Inside Diameter of the rear Aluminum pipe handle is perfect for the 3/4" loom. This is not the split loom. This is the splitless type. So I slide it in for a perfect fit.

Plus I also drilled a hole in it. Why you ask? Well!

I got screws that are a little longer then needed. So they will fit perfect in the hole I drilled in the loom and that’s what holds the loom in the rear handle.

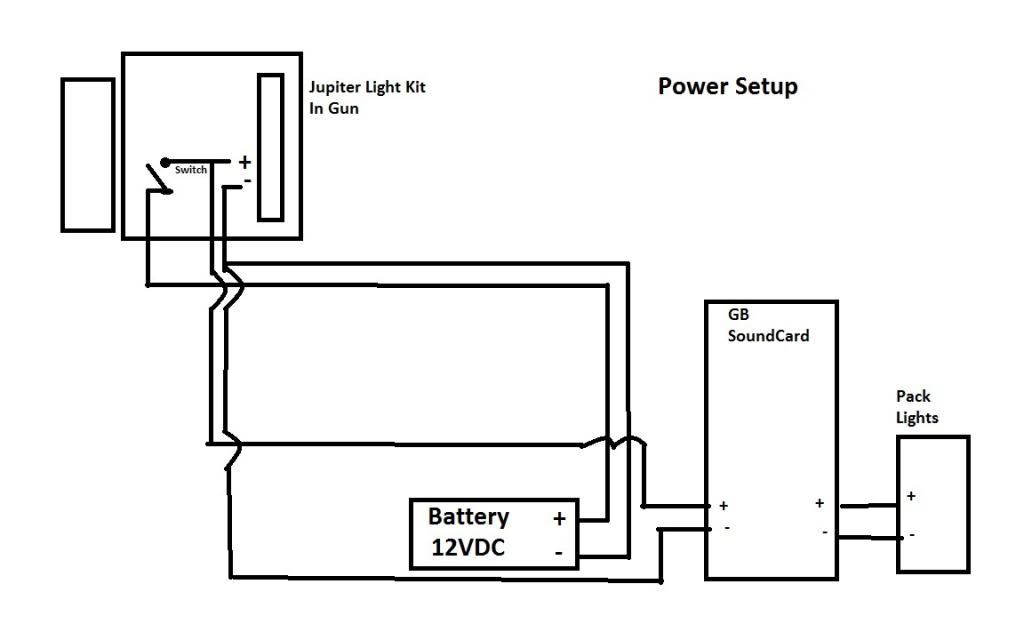
Someone was curious of how I hooked up my power. Here is a one line diagram.