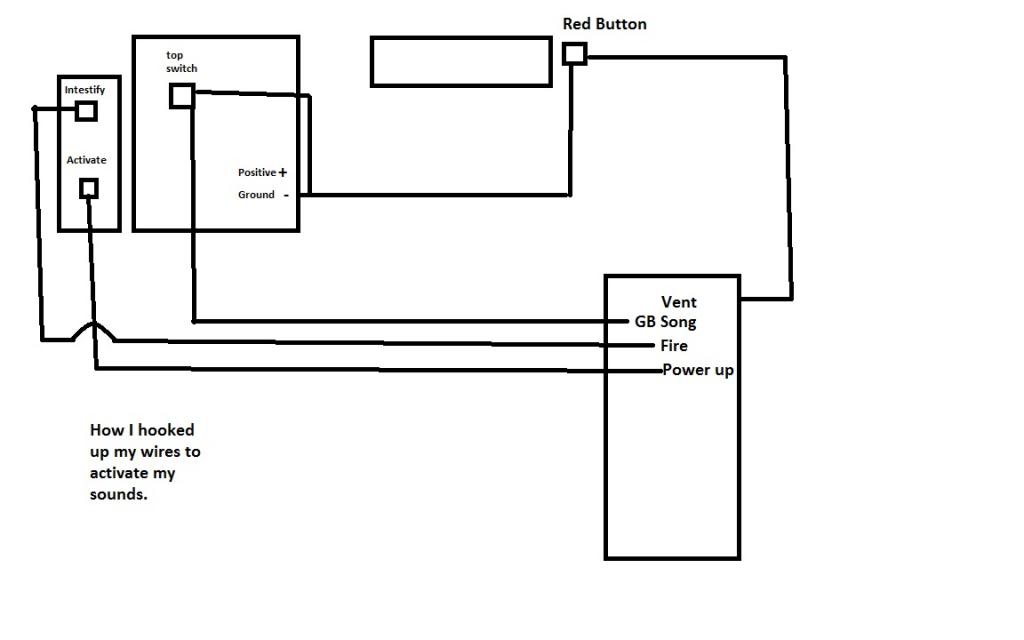
How I hooked up my connections to activate my sound card noises. The red button on the thrower tip and the top switch are attached to the top switch. One side goes to ground (-) the other side goes to the PU side of the SoundCard.
For the power up sound and the fire sound I have one wire from the PU side of the Fire & Power Up side of the GB soundcard going to the Intensity and Activate Switch.
Thanks you two! I put many many hours into this build… Details make it stand out. I don’t really want to paint the side knobs. I know to be movie accurate I need to but they are just so darn pretty. I just can’t do it. Plus I gotta say that your kit TC is just really what makes it great also. All the work you put into this version 3.0 really shows. You created a great foundation for an awesome build!
Man, good job on posting a diagram that shows the Jupiter kit and the GBfans sound card. I didn’t have any trouble hooking mine up and even customizing it quite a bit, and have had a lot of inquiries for those diagrams. One thing I’d like to add, for those starting on the electronics, is go out and get some alligator clip jumper wires. You can hook everything up to get it working right, and then solder one connection or part at a time. You can test the circuit much easier during assembly and avoid having to desolder your installed connections in a tight area.
Thanks! Nice of you to say! Yes, I would totally agree with the alligator clips. I have several test leads with alligator clips on both ends that I use to test out certain configurations. So it helps a lot to see how everything will work before you make connections by soldiering them.
The diagrams are how I hooked it up with all the testing I have done with the test leads. Plus I posted them because I am sure there are a lot of people out there that do not know what a series-parallel circuit is. Since then I have recently picked up the GBfans Proton Pack lights. So I have wired it up completely different. I was going to post a video showing how it works with the pack lights.
Here is my recent video again of my thrower in action. I re-posted it again because I couldn’t figure how to get the whole video to show up in my last post and it won’t let me go back and edit it again.
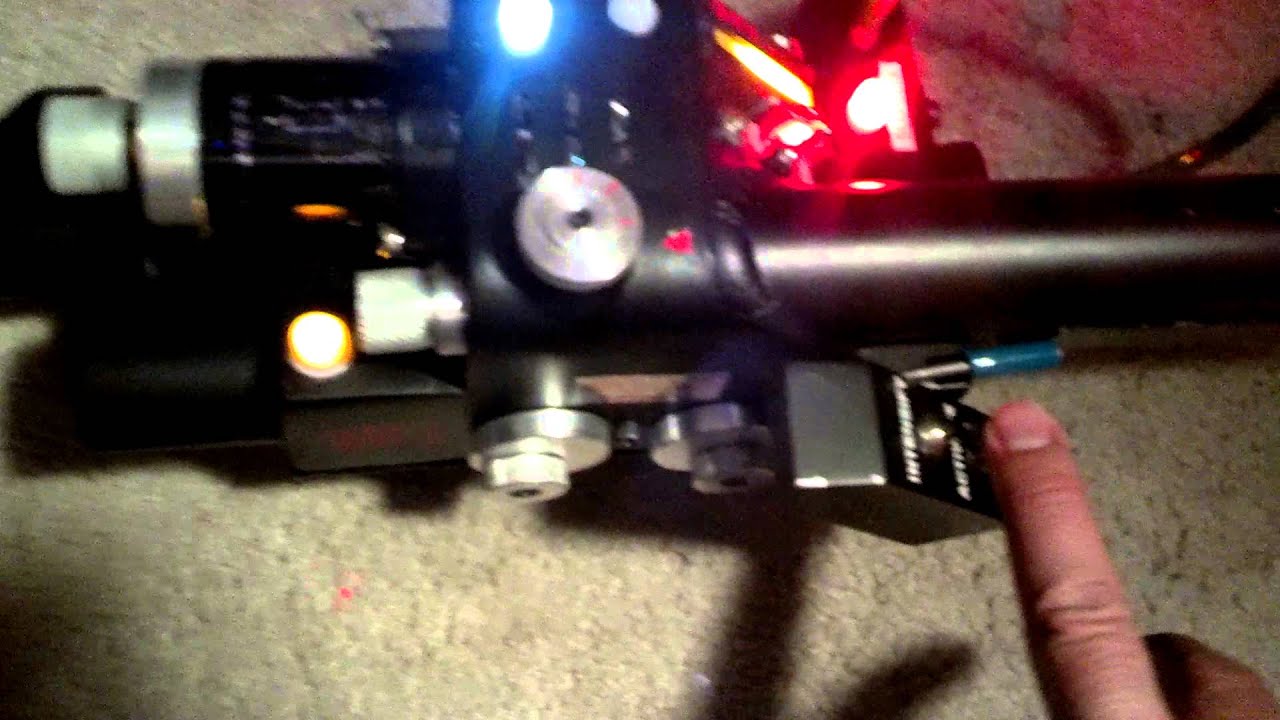
Now that’s better… I used the Jupiter Light Kit with the GBFans Sound-card & GBFans Pack Light Kit.
Thanks TC & Cyberkorr! Working on my pack now… I must thank all the reference pics on GBFans so I can look up and compare what I am doing to a screen accurate thrower. Plus the Throwing Chicken 3.0 is just a great resin kit! It makes it so easy to make a screen accurate thrower… Thanks TC!


 Plus I gotta say that your kit TC is just really what makes it great also. All the work you put into this version 3.0 really shows. You created a great foundation for an awesome build!