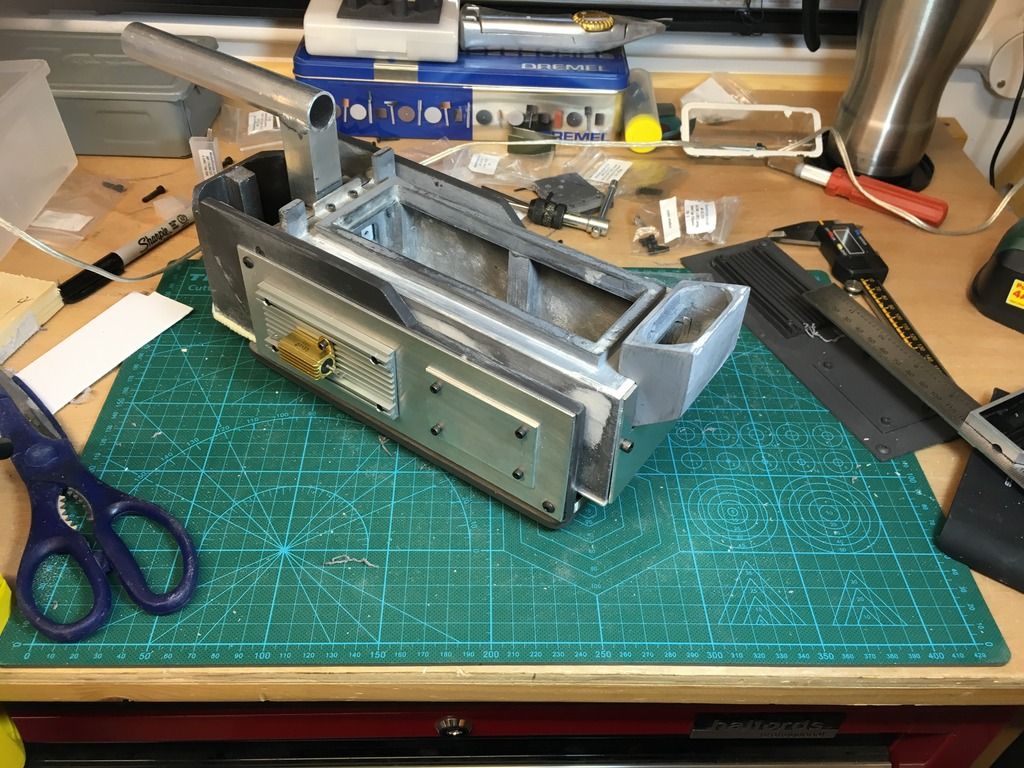
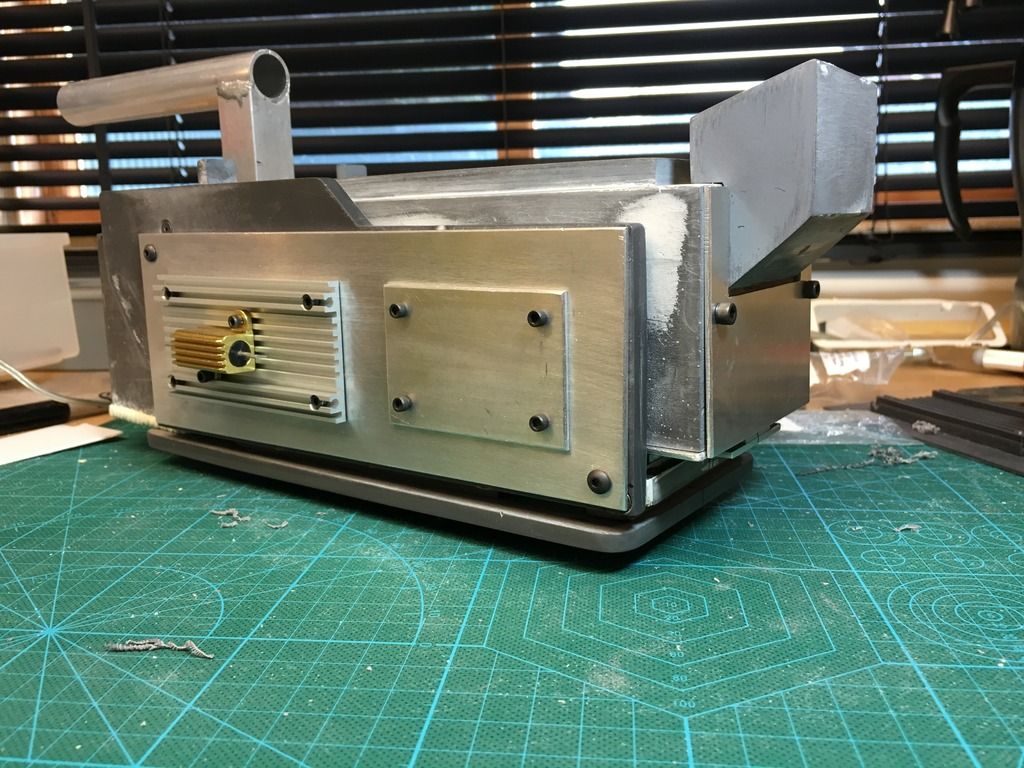
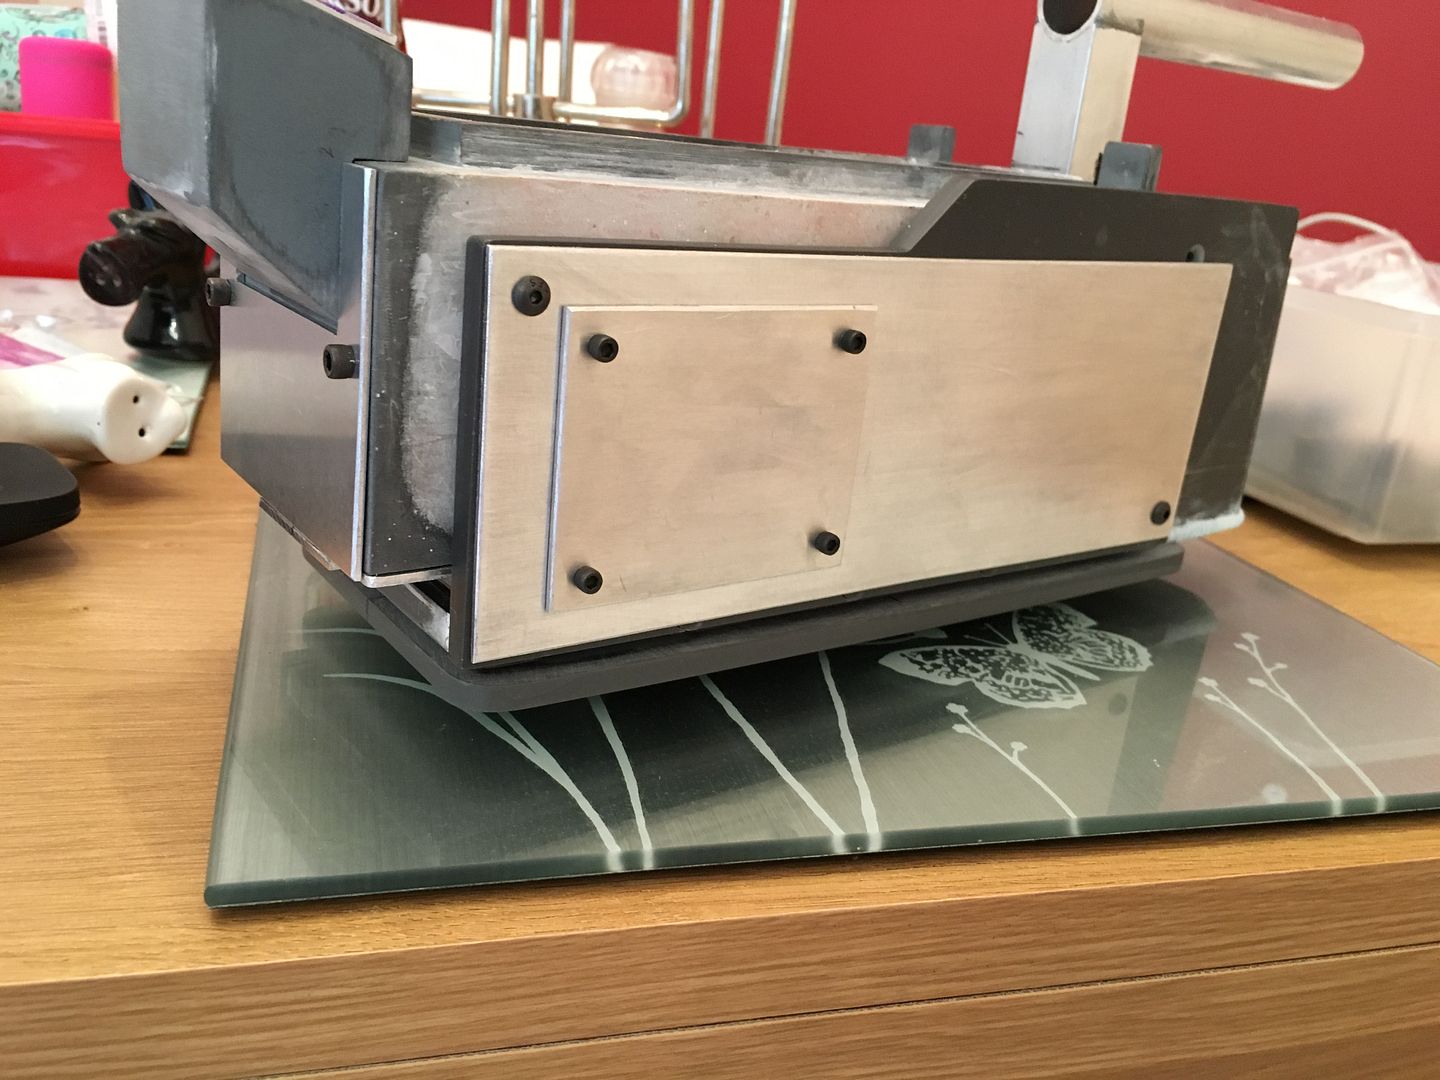
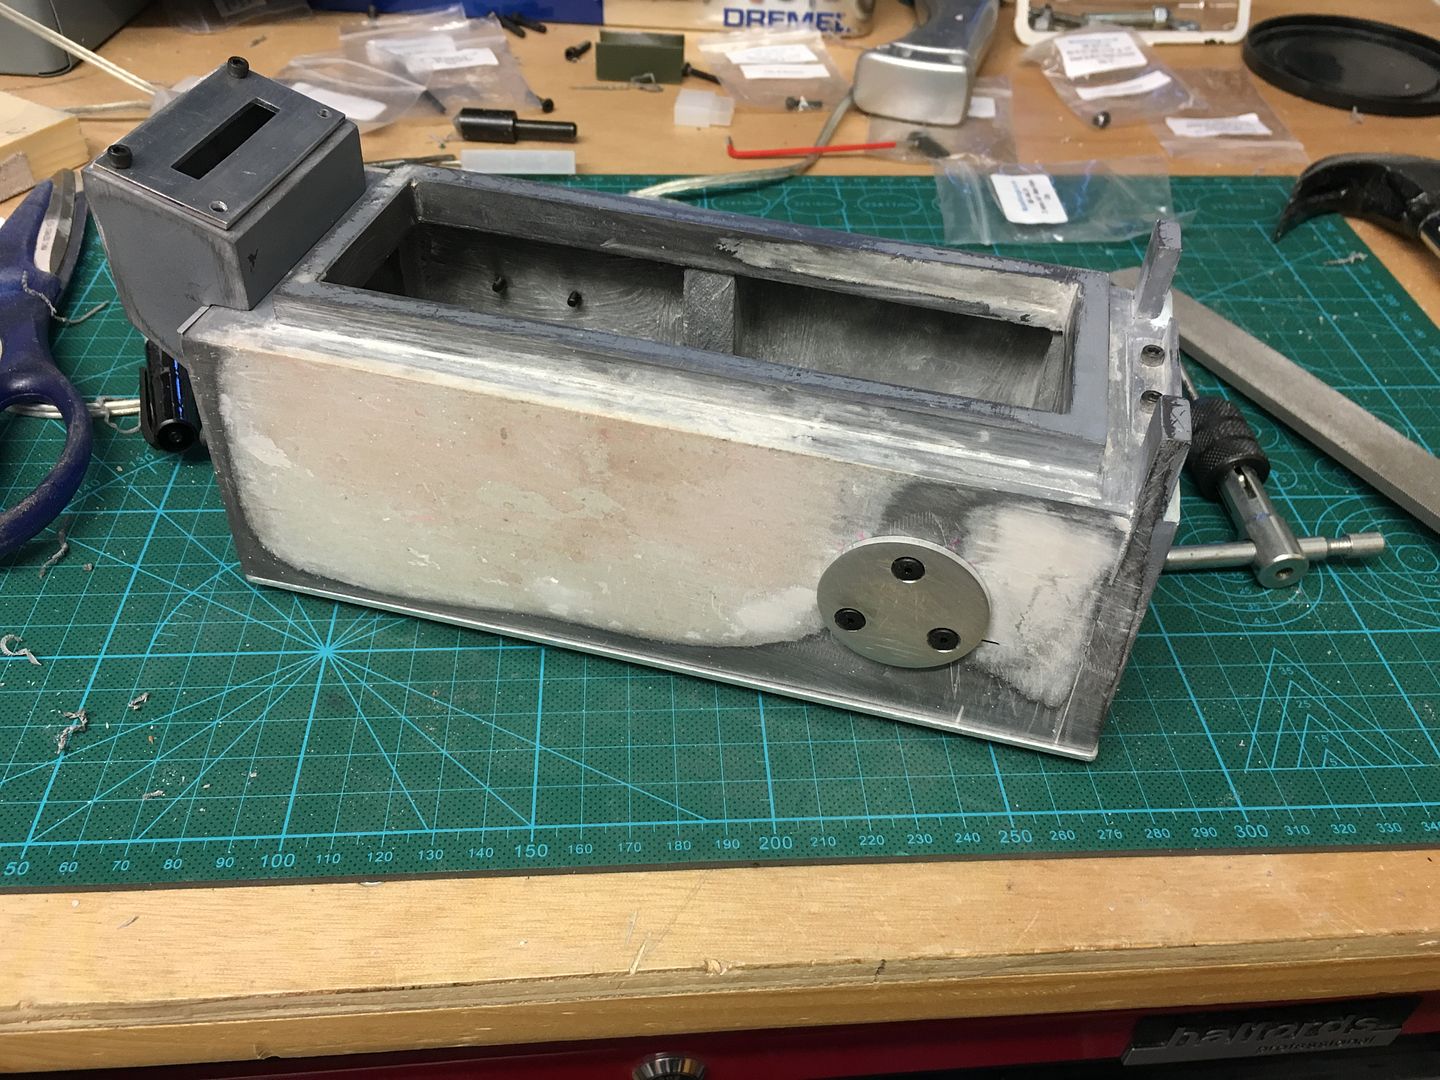
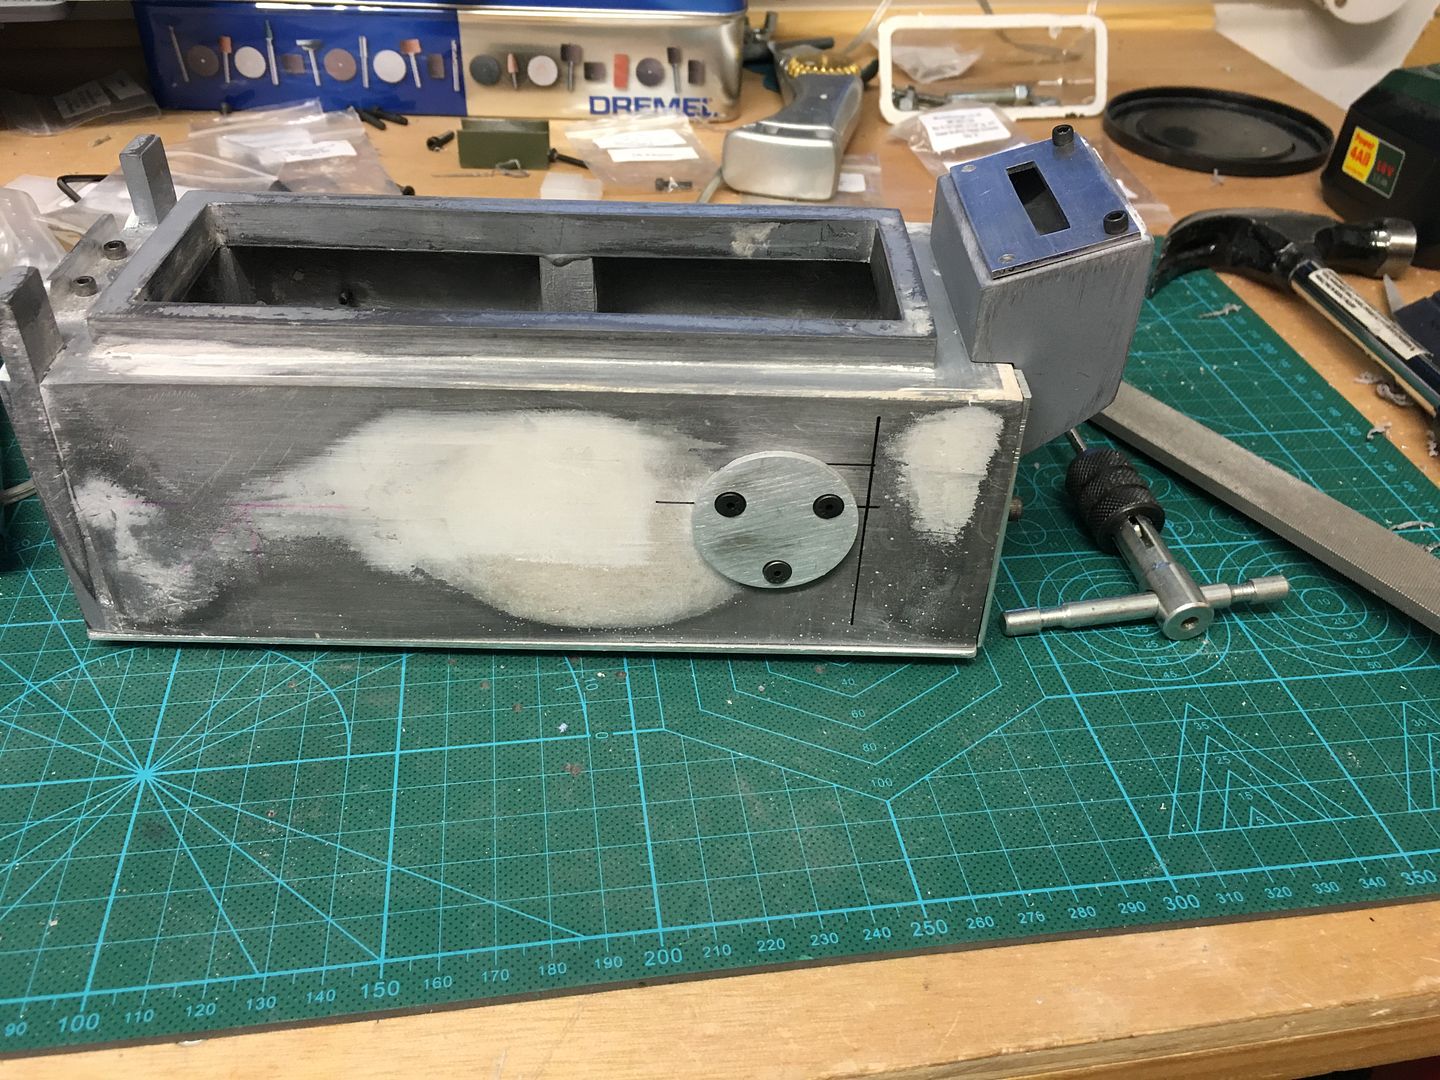
With regard to the plating for my trap, it was custom cut by gbfans member umoribawar/freeky geeky to match nicks original kit plate sizes , not laser cut though but done with a bandsaw or similar I believe. It’s worked out great as it should hopefully give my trap a much more hand made feel like the original prop. The battery box plate is the original one for now.
The trap isn’t going so well at the moment the release mech is being a complete pig to get working how I want it. I’m on the second prototype after scrapping the parts of the first one! I’ll take pics when I get something working!
In the meantime i’ve been putting together a pedal to go with it using Nick’s pedal base. I’m just bolting this together in the same way as the trap.
I’ve found it hard to find good reference pic of the GB1 pedal. Most builds seem to be based on the GB2 reference pics as i’ve noticed some differences on the GB1 version whilst watching the Blu-ray:
The bolts used to hold the 26 pin connector in place look to be flanged hex nuts, there is a black serial number on this connector and there are a few positioning differences on the rest of the pedal it seems. I’m not sure that the dry rub and other decals are the same either but it’s hard to make out.
Ok so back to the trap I’ve got the upper and lower parts of the trap bolted together for the first time now. I know they may be the wrong bolt head type but they were spares as I ordered bolts that were too short for the “ears” parts!
Because of my bolt mix-up I couldn’t get the ears and doors fitted today so I added some more fake epoxy welding, this time on the trap cartridge. I tried to copy the look of the propbay trap here- not sure if I’ve pulled it off but it’s not too shabby. Please excuse the rough condition the cartridge is in- it’s been pulled about, cut and re-shaped to fit its new baseplate! It’ll look better once I get to the finishing stage I promise
Bolted the front indicator block in place
Lastly today a bit of light metalwork: I rounded off the sharp corners of the cartridge base and started work on the cosmetic plating. Here’s my work in progress front plate. I’ve decided to have a go at recreating the shear cut look of the hero trap by filing the edges at an angle. Look ok? Let me know what you guys think!
Had a couple of days off so I tried to get as much done as I could . The trap plating has been test fitted, and I spent about 30 mins per plate trying to get the edges looking right. The plates still need final finishing but I think it’s starting to look like a ghost trap at last!
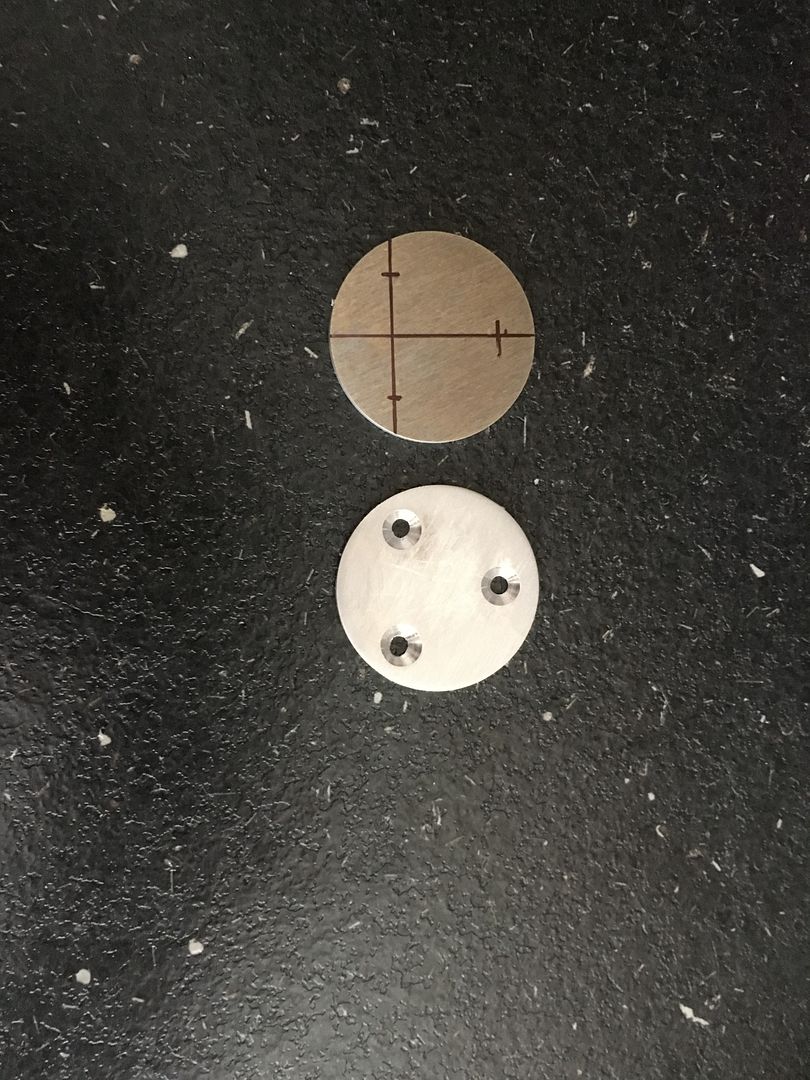
I’m also adding the side details to the cartridge. I started with the discs, a knightmare to mark out but easy to make once I’d worked out how. I think the vents may be more difficult but I’m up for a challenge!
I took a bit of artistic licence with the other side. As the vent is on the opposite end and inverted on the real prop (see prop bay pics) I thought I’d add another disc at the front end, up the other way compared to the well known side.
Cheers Nick Me either, but there’s more niggly bits to finish before I get to the paint! Is satin black the correct paint for the trap? I’m going to use Halfords aluminium on the resin parts, then refit the bare metal parts and shoot the whole thing with something like krylon fusion. This should avoid the need for primer on the tracks, keeping the paint thickness down which may affect the smooth running of the release otherwise.
Im not really a supporter of the aluminium paint undercoat method but if you were to go that route Halfords paint is the best choice. I swear by Halfords grey primer then their satin black over that (leaving the primer to cure for at least 24 hours first).
The reason I was going to do it that way is because i’ve already used the same method quite successfully on a pulse rifle to get a natural weathering effect just from actual handling. Well, that and I still have some paint left
Why don’t you think it’s the way to do it out of interest? I’m not going for the 30 year old destroyed look of the stunt props some people do, just subtle natural weathering. The original hero isn’t actually that beaten up compared to the stunts, and you can see that the paint was quickly and thinly applied without any primer, which I thought i’d match especially as I have to keep the tracks running smoothly to keep the release working. I’m opting for krylon fusion for the black as it should adhere better to the bare metal than the Halfords paint.
Just got to a milestone I thought i’d share, my trap has wheels! wheee! Sorry Nick but i’ve chopped another bit off of your lovely kit!
Made some wheel bearings and axles
and voila! A rolling chassis!
They look simple but it took a long time to get these right. Finding and drilling the centre of an alloy rod isn’t easy with the tools and equipment I have!
Glad you like it I had way more fun wheeling it around the floor than a grown man should have!
I’ve got my prototype release mech working so now I have to repeat it on the actual trap. Here goes…
Hole made in handle and opened up into a slot with jewellers files
Slots all cut for now. I think they may need to be made longer but i’d rather take too little out than too much at this stage until i’ve made the final catch to go in there.
Prototype release catch
I’ve made a new battery box cover as I sanded the resin one too thin on one end- oops. I’ve also rounded off the top corners of the battery box and used a file to put slots at the corners to try give the impression it’s folded metal.
Now..the accepted wisdom is that the original trap was painted satin black.. but I’ve been experimenting with different finishes for the trap, and I think i’ve made a bit of a discovery. I don’t think the hero trap was painted at all! I think it was treated with this stuff:
I’ve decided to use this on the tracks as it oxidises the alloy rather than coating it, adding zero thickness which will allow the tracks to run as smoothly as before treatment (as I know Dan (Bromie) had trouble with the paint making the tracks stick on his build). On my test piece i’ve notice it has the same slightly patchy, almost translucent quality as the finish on the Propbay Hero. Also it doesn’t take so well on the edges if you do a relatively quick coat, which also appears to match the propbay trap:
Excellent progress on your trap build! I’m doing more of a hero-lite build with my Nick-A-Tron trap kit as I already have a hero trap/pedal that is fairly heavy. I want a more accurate-looking/lighter trap to hang on my belt. Your attention to detail is amazing and I’m learning a lot from you as I follow your build; I will definitely be using this as reference material when I get around to building new full hero trap. I believe you are on to somethi ng with that Aluminum Black coating; I’ll definitely need to try that stuff out. Keep up the outstanding work.
It does doesn’t it! The more I look at it compared to the hero trap the more convinced I am that it’s what was used. It’s much faster to apply than paint too, the whole trap could have been finished in ten minutes, with no drying time! This would seem to fit well with the short time they had to produce the props too. I’m going to use this as much as possible, the trick will be getting the painted resin parts to match up with the appearance of metal bits however! Why do I get the feeling I’ve made more work for myself?!
Thanks I must say I’m a fan of your work also! Thanks to your e-cig smoke tutorial this traps going to be a smoker Having seen your hero trap I’m looking forward to seeing your nick-a- tron build.
Every time I get a notification this thread has a reply I get giddy like a kid on Christmas morning. This is an AMAZING build! The ultimate tutorial for anyone buying one of Nicks kits.
Wow thanks I really appreciate all the comments, advice and encouragement you guys have given me on this build. You’ve all spurred me on to keep going out to the shed, even when its been like a monsoon outside, and to do a better job! I don’t want to let the guys down who’ve been following my build all this time and really feel like I’m not alone in the build. Sounds odd I know! This is a great forum, I’m glad I found it I really couldn’t have got this far without the knowledge and support gbfans members have given me.
OMG…this build is just awesome. I’m seeing loads of details that I hadn’t even thought about; I’m actually feeling quite overwhelmed! Not sure what I’ve let myself in for trying to build one of these myself lol

 :whatever: