Very nice! I absolutely love that bumper.
Ok, so I haven’t really done a whole lot since my last post. After two LONG weeks of work, the coals were getting pretty low. Anyhow, I did manage to get everything painted, plus pop on the labels. The labels were printed on photo paper and glued on:

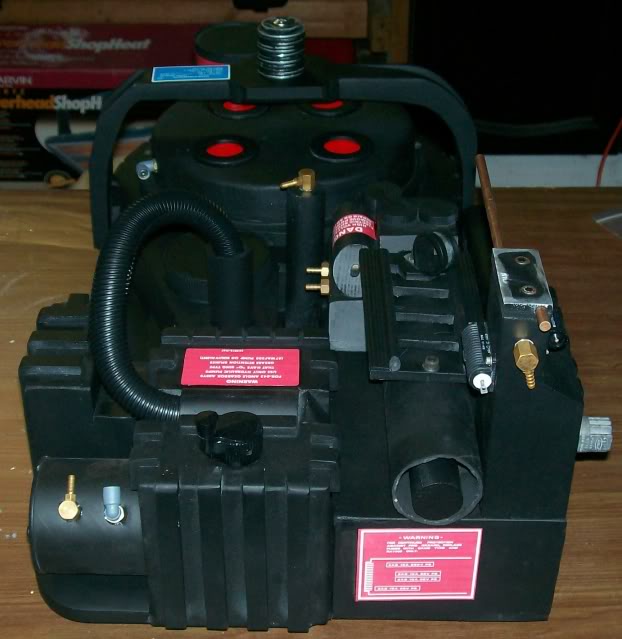
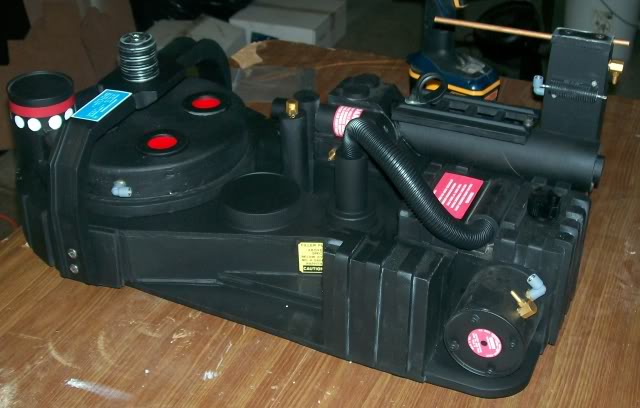
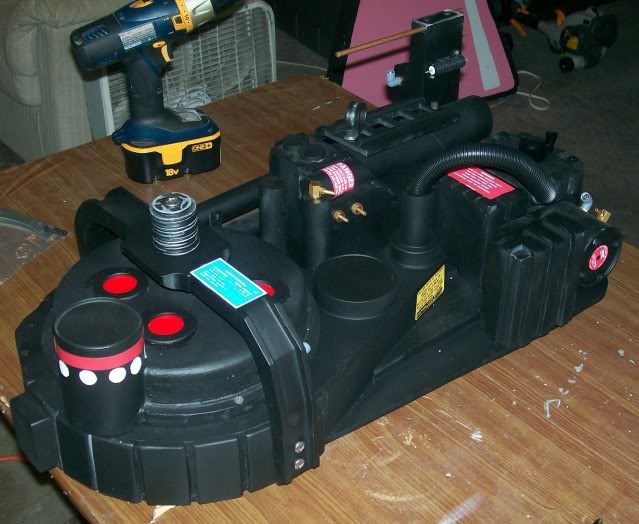
I still need to get the hoses, I’m just waiting on a nice fat OT paycheck to come through for that stuff.
I also found I had to enlarge the window I had previously cut in the power cell in order to fit in the blue plexiglass piece I bought from the store here a while back:
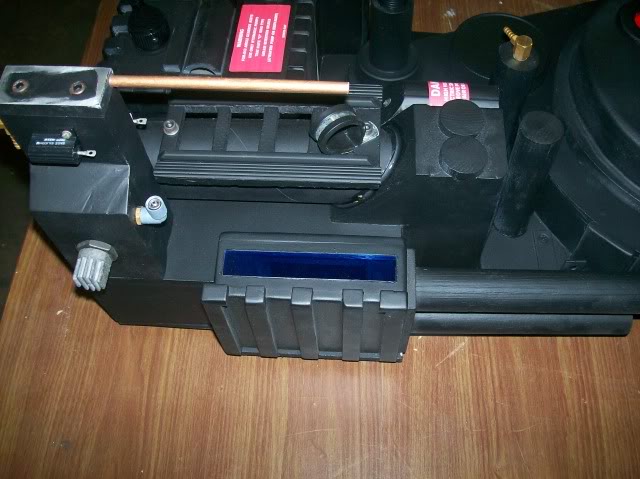
I think this is gonna be a crucial piece of this build, as the LEDS alone are super bright and tend to shine in peoples eyes. This should help make them not so bright.
Anyhow, my next task is the gun. I printed out the Hprops templates and adjusted them for the size of my material, so all thats left is to make the cuts and glue stuff up. Hopefully by next weekend I’ll have the body done. We’ll see.
That looks damn amazing,I wish I could get back to work on my MDF build but with my arm in a splint from my car wreck there is absolutely no way I can do it.
Sorry to hear about your ■■■ arm man, that sucks. Anyhow, small wordy update tonight…I cut and glued the gunbox together tonight. I’ll get pics of that up tomorrow. It’s gonna need a bit of putty and sanding, but what doesn’t? I also traced out the gun track, but it was too late to cut it out by the time I had it done.
Question: Looking at reference pics and Stefan’s 1:1 thrower print, I think the gun track is 1/2" thick over all, with the two pieces being each 1/4". Anybody want to confirm or deny this?
Also, can anyone confirm whether the cutout in the guntrack should continue under the v-hook or not…I’ve seen them done with and without, but I’m not sure which is screen accurate.
So like I said in my last post, I got the gunbox all cut out and glued together. I took it in to my work this week and used the drillpress to cut out the elipse for the rear handle, as well as the hole for the front handle:
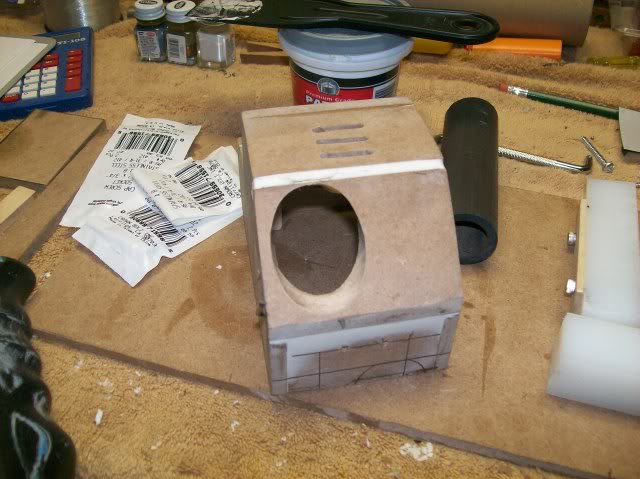
In this shot you can see the little bit for the green lever installed:
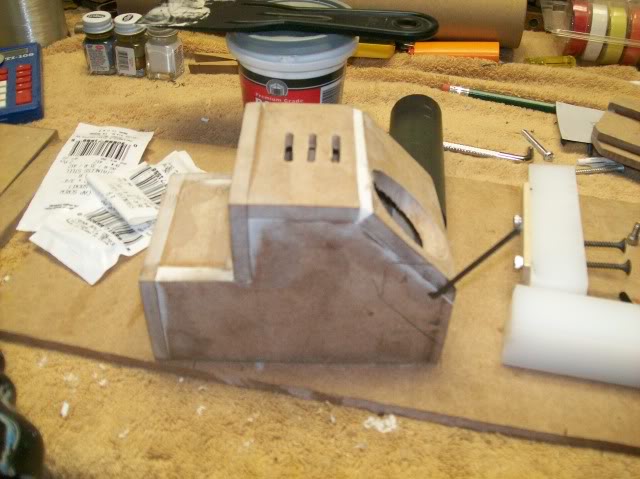
Next I fashioned the rear box and the trigger box out of some 1" square plastic stuff we had about the shop. It’s easily routed out for the installation of switches and lights, etc…
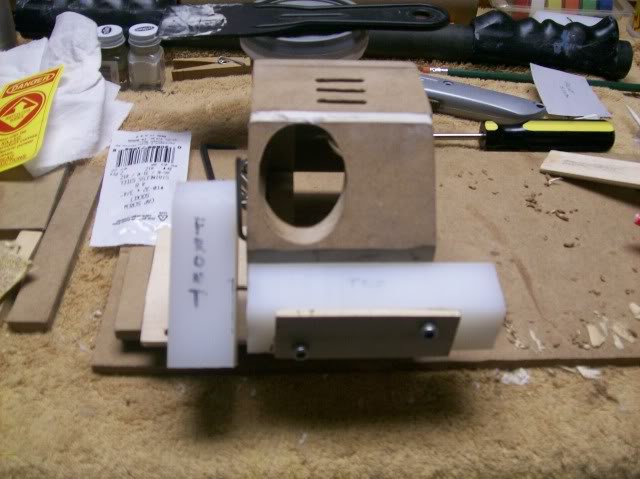
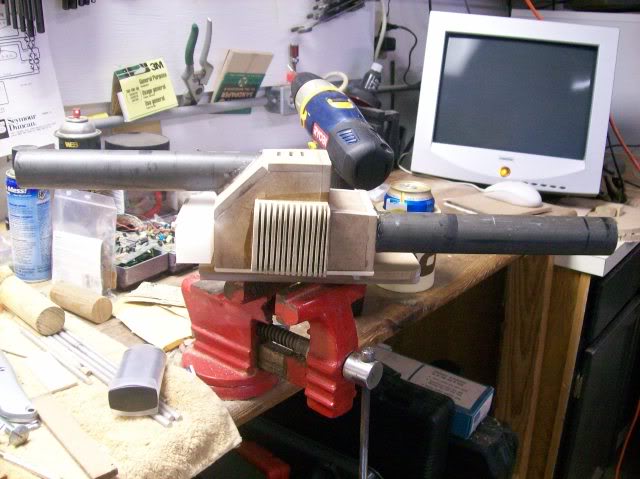
After that I set about sanding down the left corner and installing the handles. Here’s a shot of the curved corner:
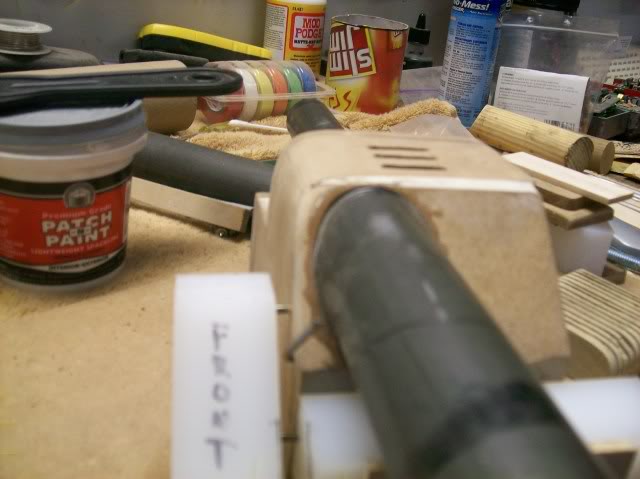
And a shot of the inside of the gun body:
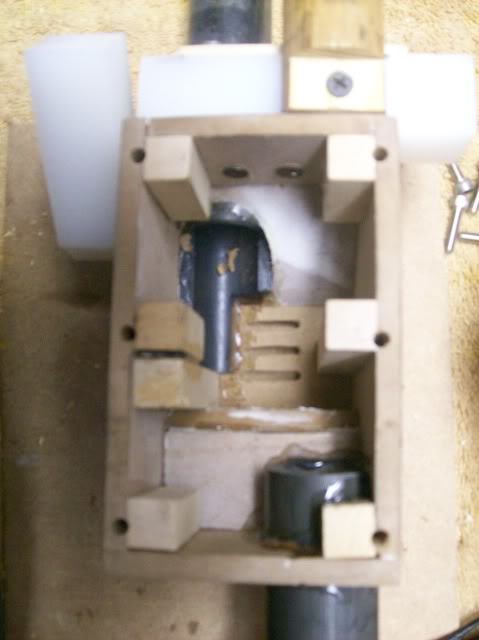
As you can see, the bottom plate screws in with the correct socket head screws. How about a shot of the thrower with the heat sink installed?
And I also cut out the palm rest and rear cyclinder. These had to be Modge Podge’d something fierce to get rid of the wood grain, but I think they’re almost there:
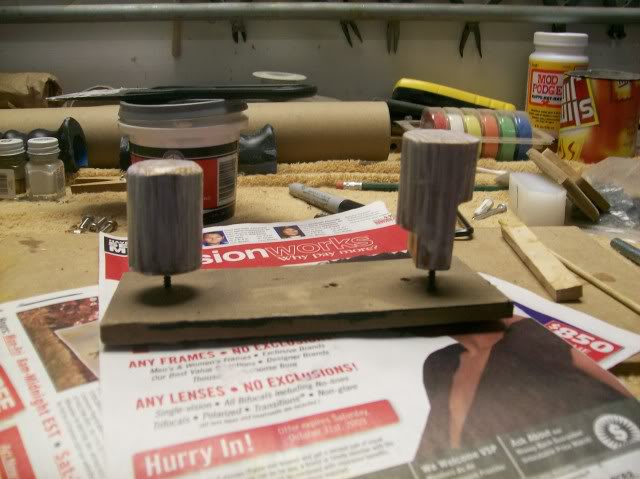
They might need some more coats, but I’ll see about that tomorrow. I also ordered a bunch of knobs, LED caps, and the acrylic tube from MMM today, so we’ll see how quick that stuff gets here. Until I get that stuff, there really isnt much else to do. Good times so far…
Wow, it’s been a while since I posted an update! With Halloween coming on and getting busy at work I sorta got slowed down, but work has continued! I’ve gotten the Thrower to a respectable point. Most of the body work is done. I got knobs and the clear tube from MMM, very nice stuff. Painted it all up, and here she is:
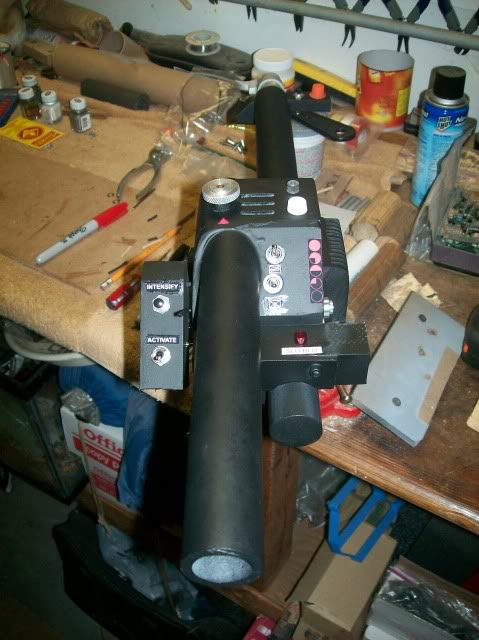
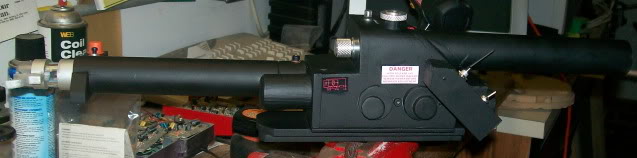
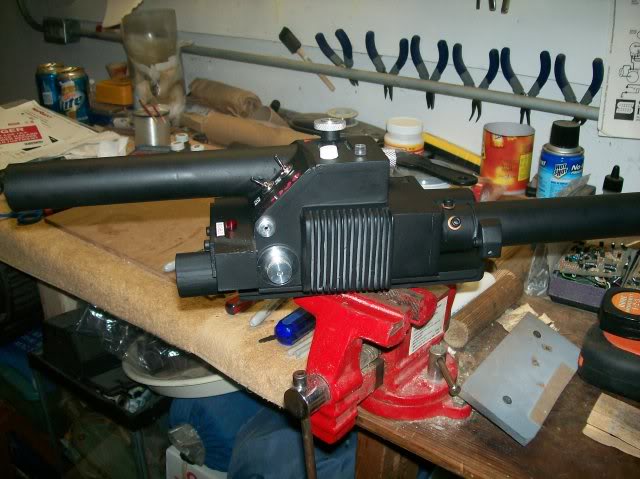
As with the pack, the labels are printed on photo paper and glued on. You can’t see it in the pics, but I routed the back side of the trigger box to allow the wrining from the switches to sit flush with the back of the box and pass unnoticed into the thrower body. I still have to cut the window for the bar graph, and thats were this is gonna take a while. I decided to make the light rig for the gun myself, and am trying to source out the few parts I need. I also have the gun track and bottom plate fixed up:

With a bit of work i fabbed up the gun ears. I have yet to either aquire some banjo tips or fabricate them myself, not sure the route I’m gonna take on that yet. Anyhow…
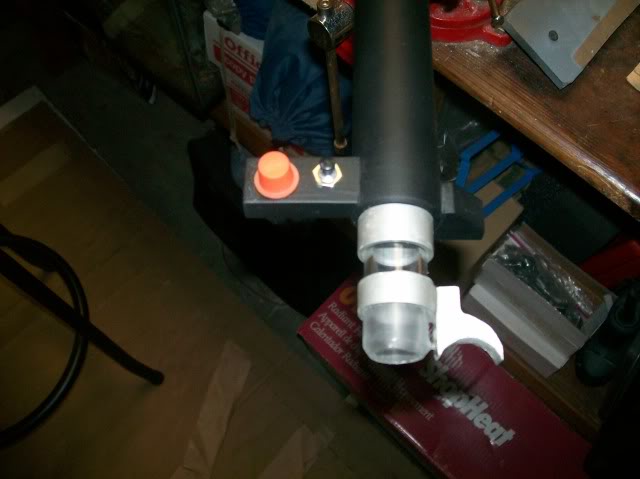
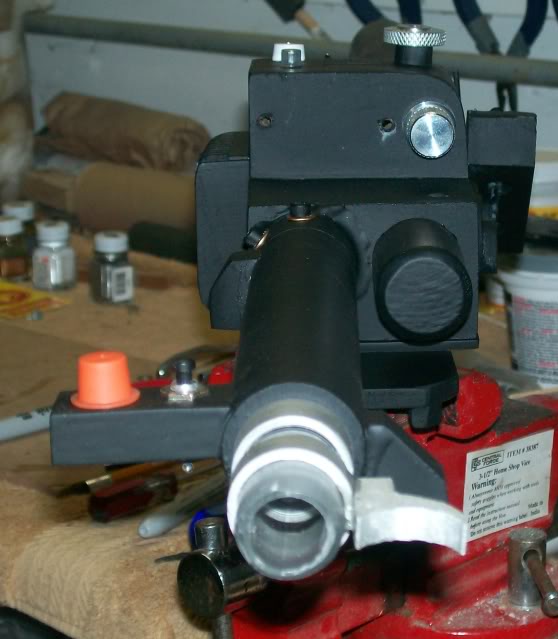
Liek I said before the clear tube is from MMM. The collar and trigger tip ring are both PVC paintd with acrylic paint. The trigger tip was cut from MDF, sanded and painted with the same acrylic paint. I need to replace the black push button switch on the ear with a red one, which will be done monday.
I think that’s all for now. Things are gonna really slow down on this build now that christmas is right around the corner, but I hope to have it finished by late December.
Making the banjo tips was very easy. Just get some square dowel rod the proper size, cut to length, predrill holes for the screws so they don’t split the dowel when added, predrill the holes for the hose, and hit each corner with a dremel sander so smooth them out. NOT the entire edge, JUST the corners.
You can wood putty them if you like, or just lightly sand them and then just paint them with spray metallic brass paint…they’ll look VERY nice.
When you add them, also use superglue as well as the screw, so the torque from the hose doesn’t pull them out of line.
that is exactly how i made the banjo tips for my first pack. just thinking since they are relatively easy to obtain, why not get the real deal?
however, if made up correctly you relly can’t tell the difference.
looking at all these mdf packs being worked on makes me do the following.
-
want to try my hand at an mdf pack.
-
make me miss working in a shop.
it looks really good so far.
thanks for the compliment! MDF is really a fun material to work with for this kind of project. the challenge of making wood look like metal really forces you to pay attention to detail big time.
I’m loving the pack, especially some of the MDF parts
Is the HGA an actual Tin can? if so what size? i’ve been trying to keep my eye open for one to use or cast.
Don’t you find if the top surface of the MDF is terrible if sanded down? when removing my latex mould from my MDF pack it sort of Stuck tot he power cell and ripped the top .5mm of the surface off then even when sanded its almost furry
The HGA is made from a Slim Jim can, regular size. Just cut to length based on Stephan’s plans. The Slim Jim can is really close if not dead on, I can’t remember exactly. If you can’t find one of those you can use a Pringles can, they are the same size.
Yeah, it takes a LOT of sanding once that top layer is removed to get it back to smooth. I was only successful at that once, when I HAD to be.
Thanks for the compliment as well.
mdf bein fuzzy is one reason why i hate working with it. but its also so easy to work with, because it takes routing so easily. you dont have to sand it when its fuzzy, just bondo over it. it takes to bondo really well.
in my experience mdf only gets fuzzy if you get through the top layer. it does seem to hold on to dust from sanding and sawing alot, but you just have to wipe down your parts before painting to get rid of that.
on a small update, i should be getting all my lights for the thrower this weekend. should have them installed some time next week. if all goes along schedule that is…