Pack Build - V 2.0

So I guess two years is enough time for me to forget how much work it is to build a pack, so I started a new one. My first pack turned out pretty well, but I wanted something that was built better from the ground up. My goal is to get as close as possible to 100% accuracy, but knowing myself I’ll only reach that by reworking pieces after doing them once. So, what we have here is a good base that can be upgraded over time to full accuracy.

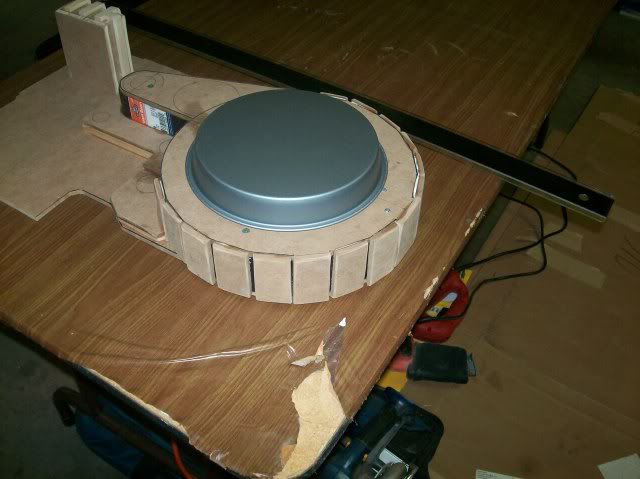
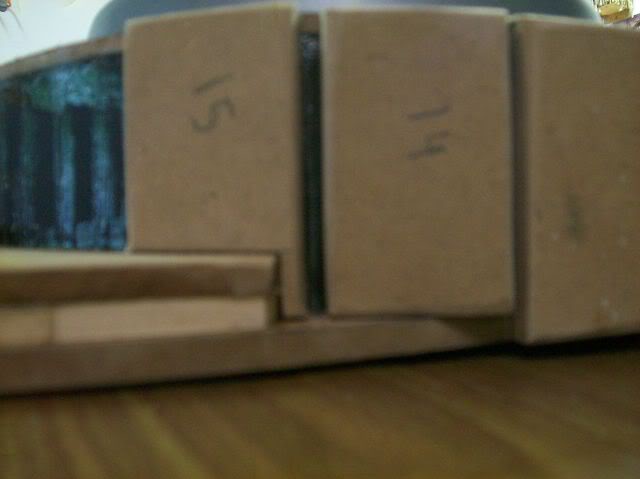
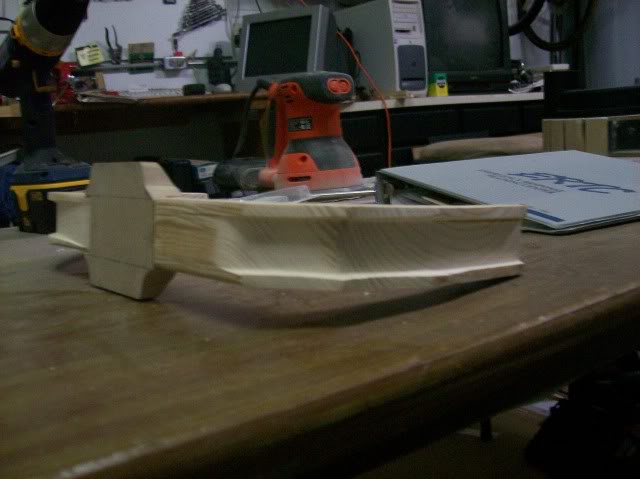
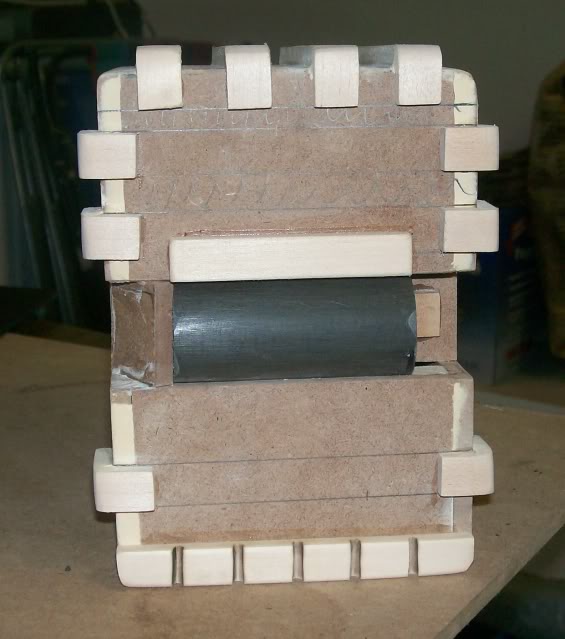
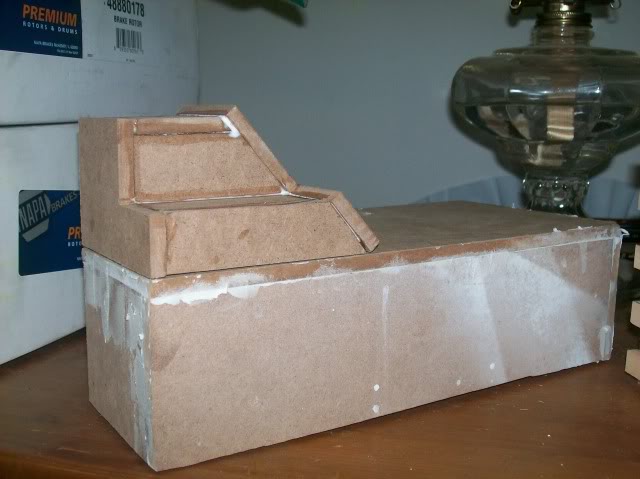
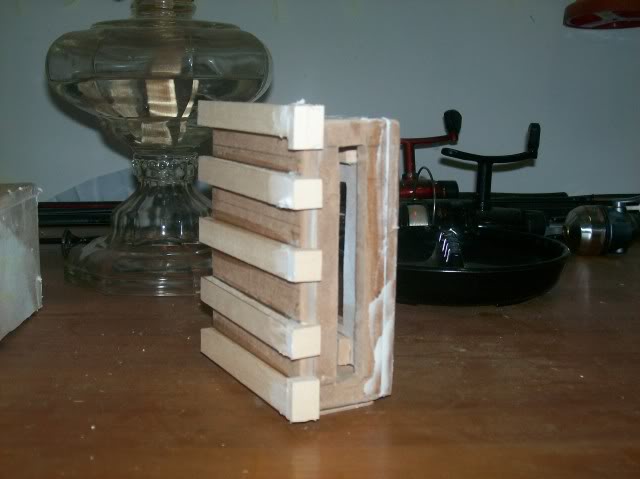
So I started with the gearbox. After I bought a whole buttload of 1/2" x 1/4" basswood strips for the ribs, I realized that they are supposed to be 1/8" tall. Original plan was to sand ‘em down, but I said F’ it today, so first piece up for rebuild one day, but for now it’s cool:
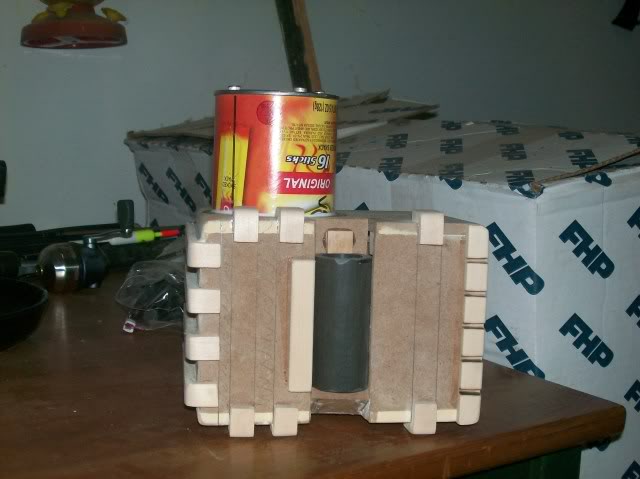
So then I made up the EDA box, it still needs the booster tube and slant it sits on, but this one is already 100% better than the one on my first pack:
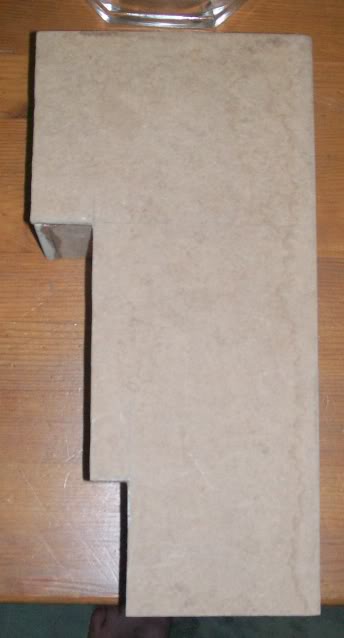
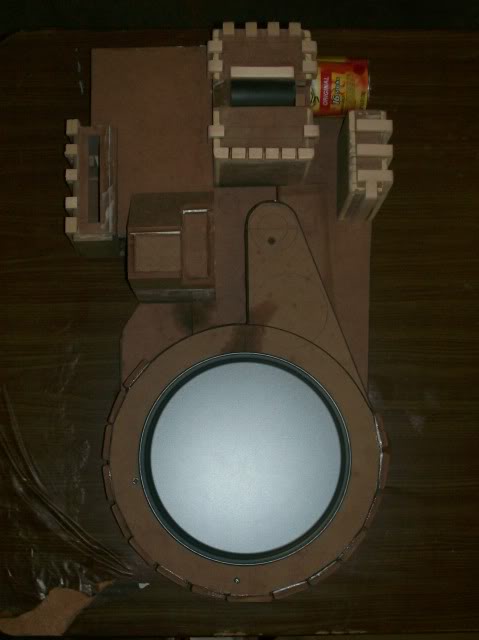
Thanks to Not404Error 's enlarged versions of Stefan’s plans, the mobo, generator, and cosmetic plates [which I didn’t even have room for last time!] were a breeze this time around:
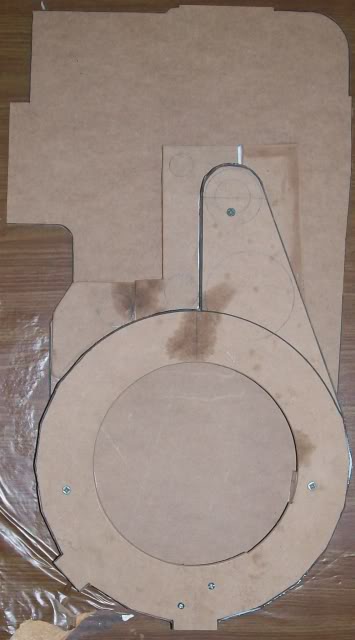
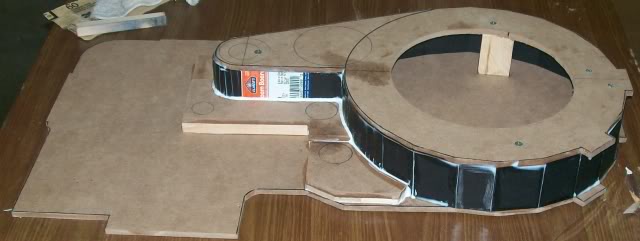
In this shot, you can see I used the trusty foamboard to wall up the sides of the generator. The way it’s done, once the cosmetic plates are attached, the foamboard should no longer be visible in those areas:
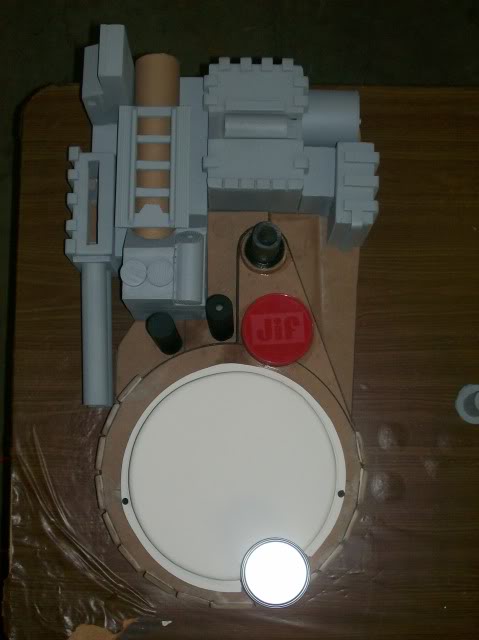
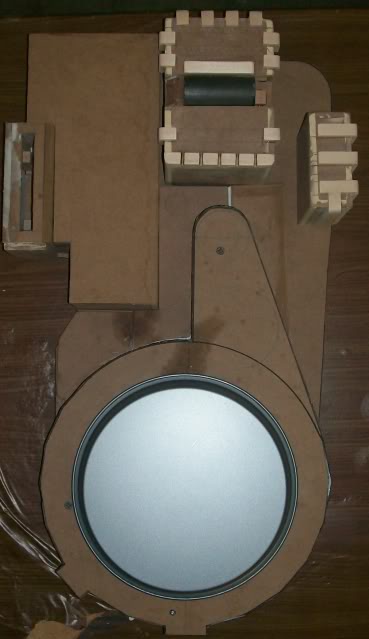
And finally, here is a shot of the whole deal, with some other bits laid on for effect:
I plan on another day of work tomorrow, in which I hope to get the 15 plates attached, as well as completing the EDA.

We’ll see what happens, there is alot of glue that has to dry overnight, and it’s a bit humid here, so who knows…
Very nice and clean.

looking good so far! those gearbox fins look great!

Looks great! Glad the plans I resized were able to help you out.

i did find one kinda wierd thing with the re-sized cyclo plan. i dont know if it was my printer or what, but the cyclo came out to be 9.5" across vs. 9.0". anyone else have that happen?

Ok, so I got more work done today. First up, I built up the Attenuator area. Here it is resting on the EDA while the glue dries:

It still needs to puttied and sanded, then have the PPD attached.

Next I puttied the edges of the Power Cell, sanded, and added the fins. Still waiting on the last bit of putty to dry:

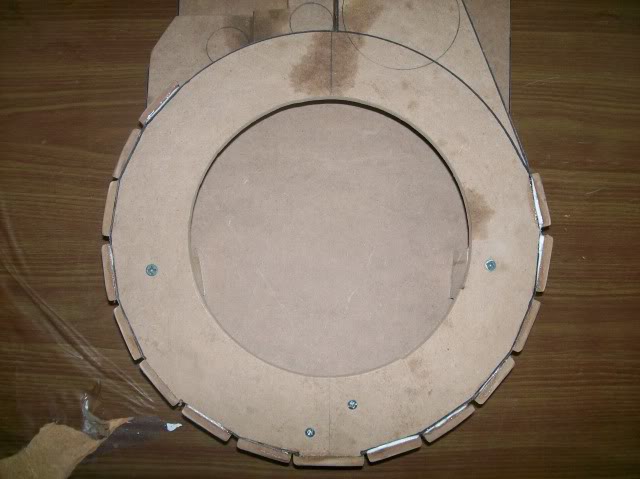
While I waited on stuff to dry, I cut, sanded, and attached the plates around the generator:

And yes, there are 15 of them, see?

Had to do some creative styling to get the last one on there, but I like how it came out.

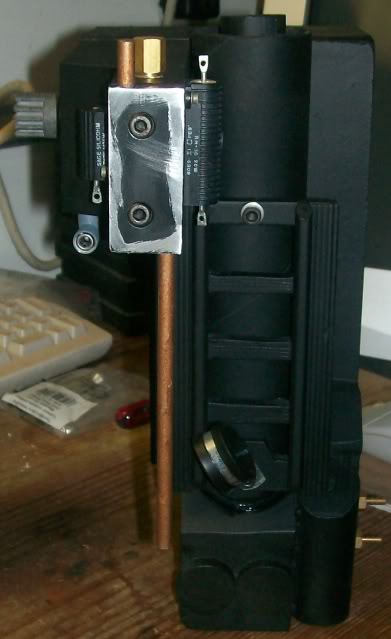
Lastly I added the HGA to the Gearbox:

One more shot of it all laid out:

I won’t get a lot of work done on it this week, but if I get anything worth showing, I’ll post some pics. Thanks for all your compliments so far!

Is that pie tin just for reference?

well, i had planned on using it for the cyclo, but i’m leaning more towards making the cyclo out of mdf at this point. i’m just concerned about the weight that will add.

Here is my 2 cents: You have already spent all of this time and effort into making one heck of a nice scratch build, why detract from that with a pie-tin cyclotron? If you don’t want to build one, someone sells resin cast ones in the for-sale section.

yeah, i know what you mean about the pie tin. it’s not the best way. i don’t really wanna buy a pre-fab one though, nothing against the folks who make great parts around here, but i just want to know i built eveything on the pack.

that being said, i guess i just forced myself into making the cyclo, huh? :lol:

thanks for spurring me on in my moments of doubt…this community rocks!

Thats looking very good there well done, what are your plans for the bumper?

as far as the bumper i’m either going to make one out of 2x6 using KCghostbuster’s tutorial, or make one from mdf. not really sure which one yet though. i don’t have a router, so depends on when i can get my bud to either loan me his or go to his house.

Ok, so more work. Got alot done thanks to having an extra day off today. First, I got all the various pieces puttied and sanded over the week, that freed me up to focus on fabing up the ion arm and cyclotron. I don’t have any real good pics of the construction of these pieces, it was so dirty in the shop I didn’t want the camera out there.

Anyhow, I started out today with the worst part of any build…waiting for paint to dry!!!

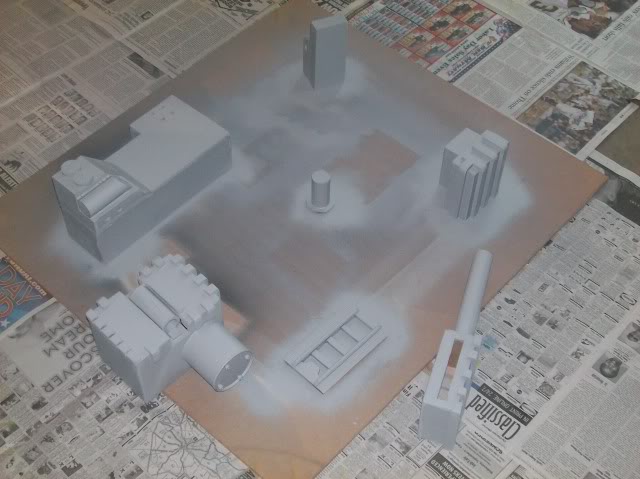
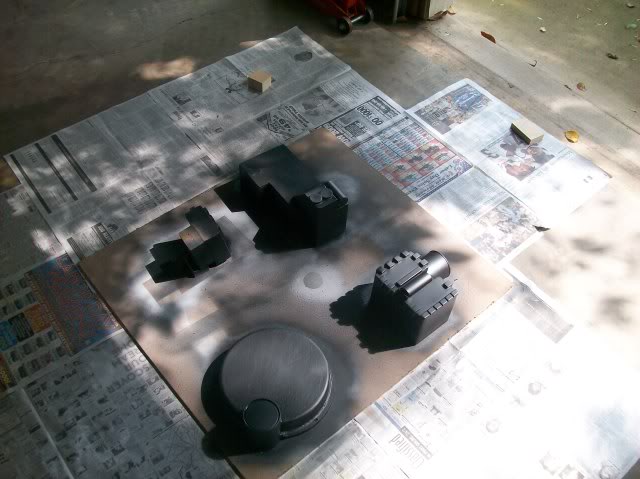
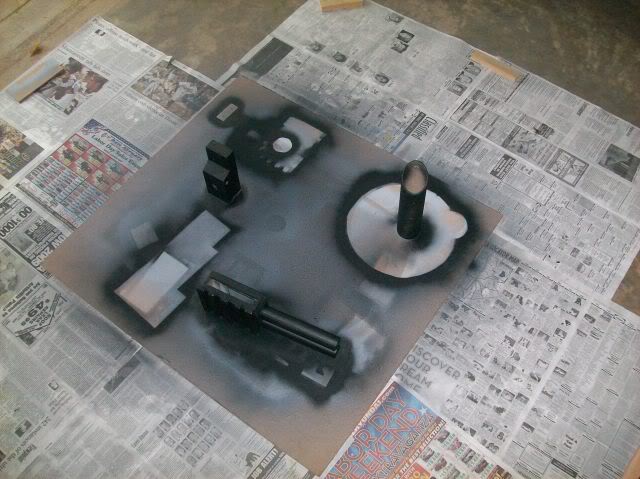
You can see I got the EDA, Attenuator, Booster Frame, Power Cell [w/ Injector Tubes], Gunmount, Ion Arm, Gearbox and in the center the plug for the top of the Booster Tube all ready to go. Just gotta get some mineral spirits to clean out a clog in the tip of the black paint can.

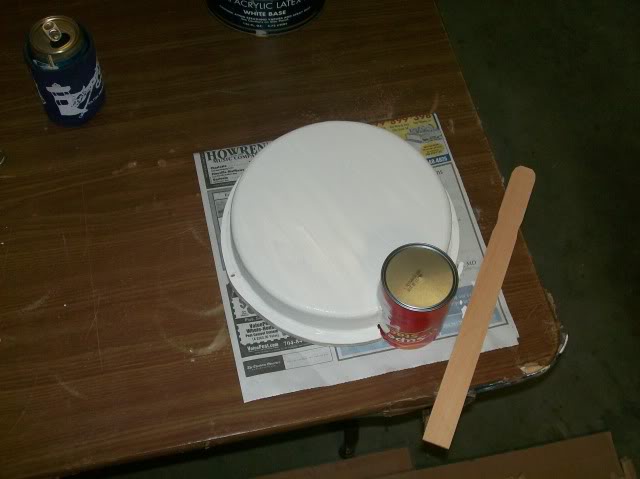
So then I went to work on the Cyclotron. I used a large piece of insulation foam [a la Gareee] which was the perfect size, but was foam. So I had to paint it over with house paint first. So here’s a pic of it drying:

I laid on coats of the paint until I could no longer see the original pink color of the foam. Hopefully this will seal it up enough. If not, I got a bunch more of that stuff, but I don’t really wanna make another.

And finally, A shot of it all together:

Not sure what is the next place to start…

Alrighty then. Back to more work this weekend. First I went ahead and put on the first coat of black paint on most of the upper pieces of the pack, so some shots of paint drying…

While poking around here last week I realized I had missed the rounded corner on the bottom edge of the attenuator and eda box, so I addressed that straight out:

Much better!

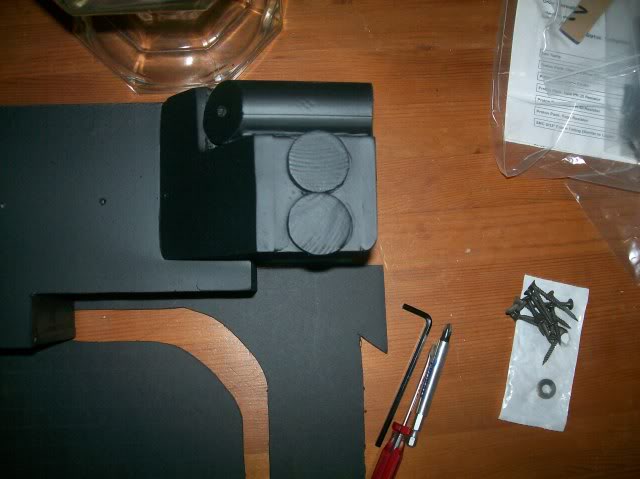
Next I fixed up the Ion arm. Added all the greeblies, as well as the metal cap. I used 3/8" aluminum for this. It’s a little thinner than it should be, but I had access to scrap pieces of this, so I used it. The holes for the socket screws got a little of center since I don’t have a drill press, but you can’t really tell if it’s not pointed out:

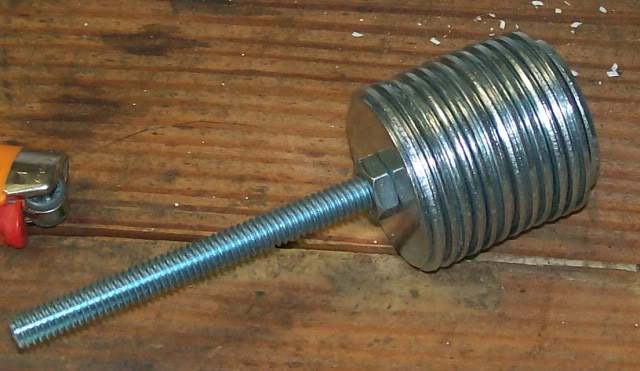
While all that paint dried, I went to the hardware for some parts. I grabbed a bunch of two different sizes and came up with this for the Ion Knob / Shock Mount:

It’s fairly heavy, I may have to get a longer carriage bolt that will pass all the way to the back of the Mobo to help support it. I’ll have to see how it feels once it’s mounted on the bumper.

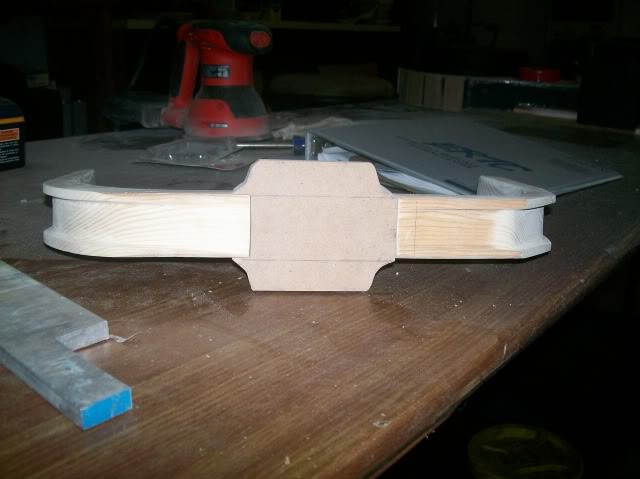
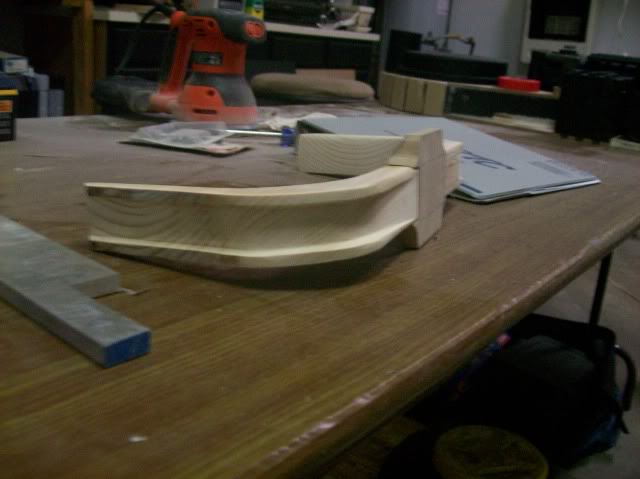
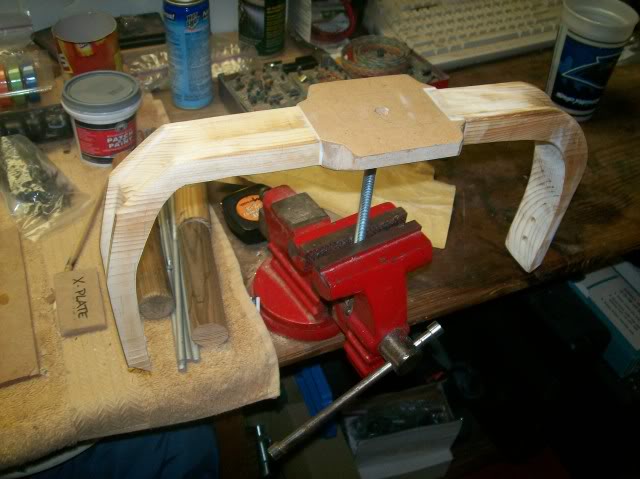
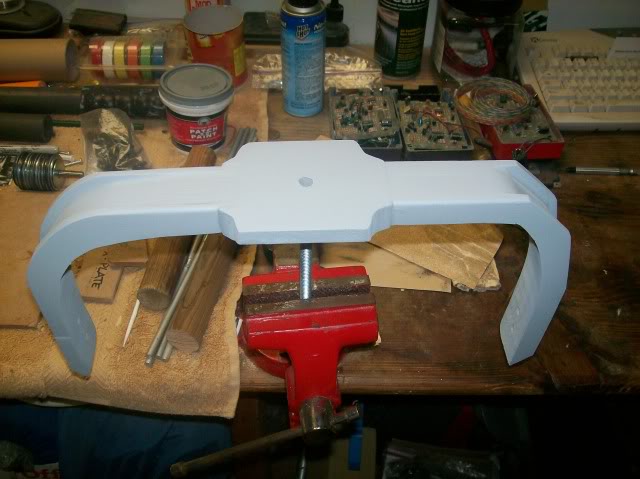
Speaking of the bumper, funny story. One of my best friends is a carpenter, so he and I went down to his shop saturday night to make one up. I told him about KCGhostbuster’s tutorial, and I was going to show it to him before we began, so he could get a good idea of what he was getting himself into. We get to the shop, and GBFans is down. EPIC FAILURE! So we used Stefan’s plans along with the Palm Coast 1:1 prints, and after about 3.5 hours came up with this:

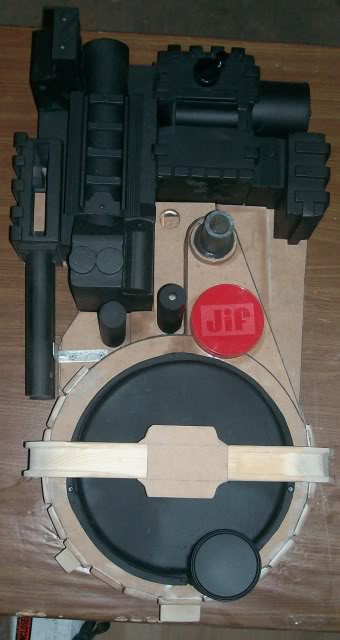
It still needs lots of sanding to get it to fit over the cosmetic plates, plus puttied, modge podge’d, sanded, primered, blah blah blah…

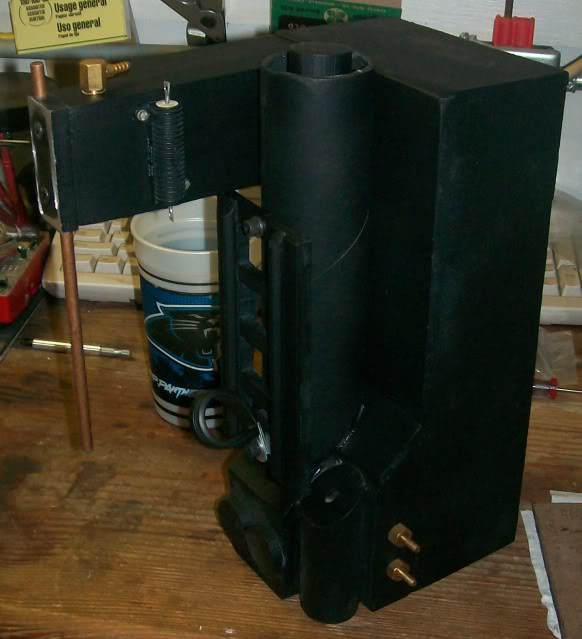
Final shot of everything together:

Anyhow, we’re close on this one, I can feel it…

Smart moms choose Jif!

I preferred the walmart garlic lid myself, however.. LOL!

Looking good!

Right then, onwards…

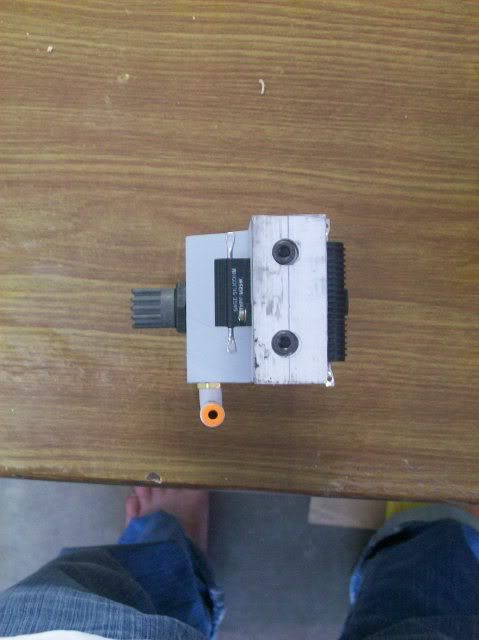
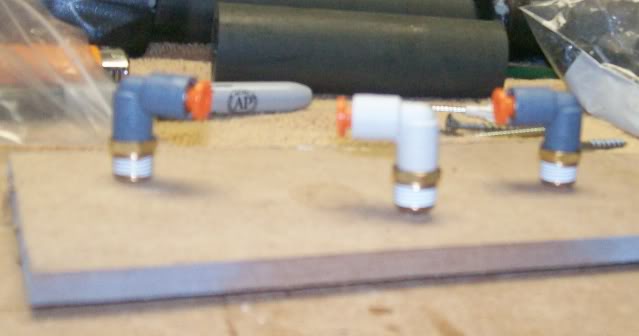
So first thing to show is the SMC fittings fro the shop here. We all know they are too light in colour, so I painted them with some model paint to make them more screen accurate. Here is a shot with two painted and one in original shape for reference:

I also ended up pulling off the little orange plastic bits to make them more screen accurate too. This shows up in later shots…

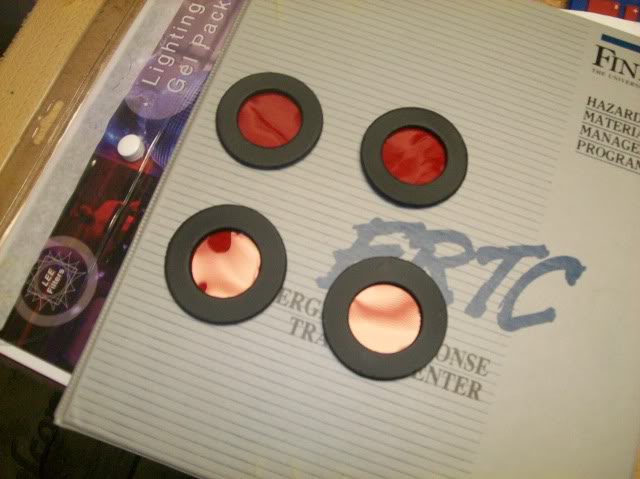
Also during the week I grabbed some 1/8" basswood and made up the washers for the cyclotron. I used the measurements that I think Krenzy and Exoray came up with of 2 3/8" OD by 1 1/4" ID for the top washers and 2 1/4" OD by 1 1/4" ID for the lower washers. Came out looking pretty spiffy, albeit I tried to take my index finger off with a holesaw. Ouch. I also went and spent ENTIRELY TOO MUCH MONEY to get a red lighting gel to use for the cyclo lenses. They look really dope, but damn it was quite expensive.

I also cut the holes into the cyclotron and painted the inside of the holes, but I didn’t take photos of that. After painting the inside of the holes I suddenly realized ‘the lights are gonna be red inside here, so does it really matter that the insides are pink?’ Duh. Oh well.

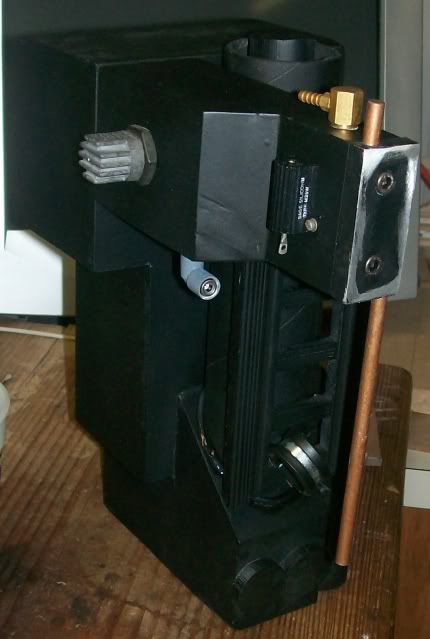
So last night I messed around a bit and finished the EDA / Booster / Ion Arm Assembly and put it all together:

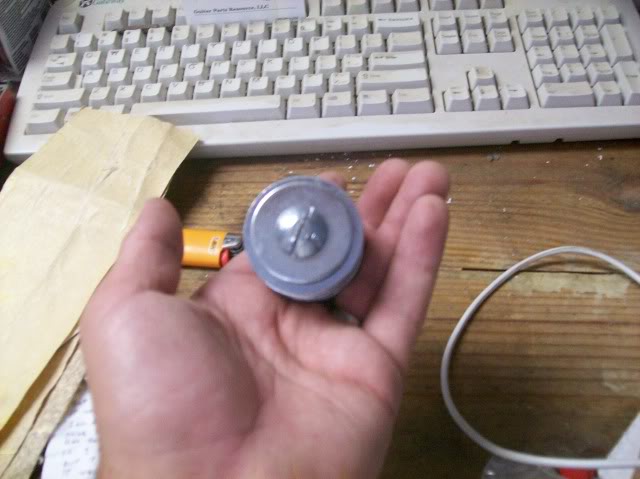
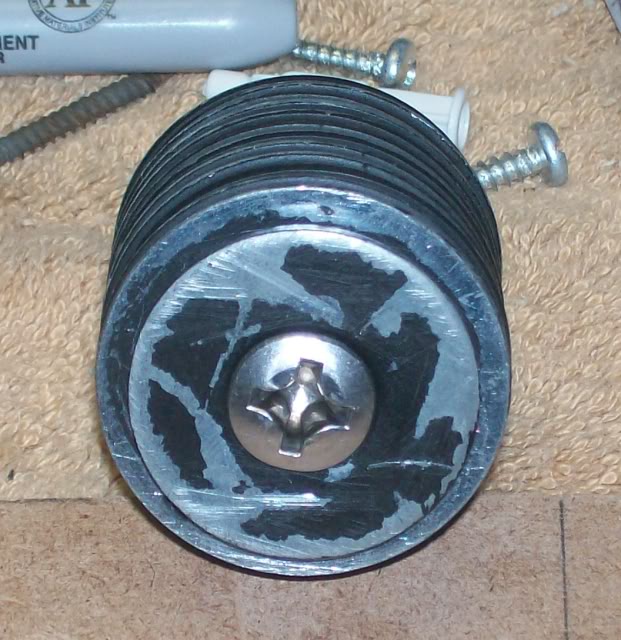
I also painted and weathered my Ion Knob:

I really like the look of Nick-A-Tron’s Ion Knob, so I used it as my reference, although I did try to find a slotted head screw for the attachment, just to be screen accurate, but I didn’t find one at the local hardware.

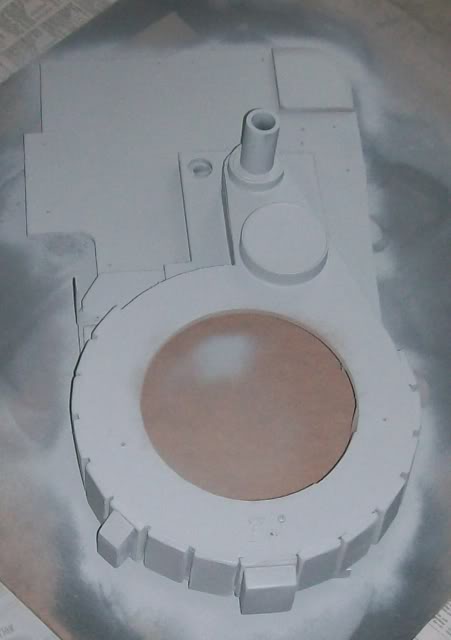
I started out todays work by primering the pack. I hope I didn’t jump the gun on this, I was trying to wait until I knew I was done with drilling / sanding / marking / poking / throwing-it-against-the-wall before I primered this part, but I think I’m there…

While that was drying I began putting on the Modge Podge to the bumper:

I put on two coats of that stuff, then primered the whole thing:

And that’s how everything sits right now. I’m going to wait until next weekend to paint the stuff partly because it started raining tonight and also because I had a week between primer and paint coats on the other pieces and that’s the best looking I’ve ever go the paint to lay down. I dunno if the time between coats made a difference or not, but I’m not taking chances.

That’s looking amazing. I never considered using insulation foam for the cyclotron, but yours came out so well, that I might on our more accurate builds.

Your bumper also looks amazing as well!

One thing I did notice wrong.. the bolt you have used for your shock mount is wrong. like me, you picked up a phillips head bolt, where you really want a slotted one instead.

Not a biggie, but an easy correction.

Forget the pack Clippard. Just leave the Red Jif cap! ha Amazing build! Cant wait to see it mounted onto an Alice pack!!

Yeah, I know it’s supposed to be a slotted round head screw, but I couldn’t find one at the Lowe’s by my house. I’m going to check the Home Depot by my office this week.

Yeah, I’m debating on whether to cannabalize my first pack for the ALICE and Exo lights and use this one for this halloween.

Also, this should have been in the post last night, guess I foulded it up:

I think the only place I saw slotted bolts was at Ace.. I still need to pick them up, which is why I noticed yours right away.