So im going to be building a Reboot pack just as soon as I finish my GB1 pack. I typically gather intel and doodle some plans and try to track down the parts needed etc. I decided since im now apart of this forum, I could use this as a place to keep my information stored and available to others. I ask and encourage any help and advice on identifying the proper parts needed. This Reboot pack is going to be for my wife for C2E2.It has to be lightweight so while ill probably get mobo in aluminum, everything else will be plastic (some aluminum and copper tho) I try to focus on the small stuff first when I do a buiold. Large items are typically easy to find or fabricate.
This section of the reboot pack seems to be one of the more complex parts as it has very few picture references. However I was able to draw this diagram

HERE IS THE BEST PICTURES FOR REFERENCE:


Here are some thumbscrews that match. Not sure about size tho.
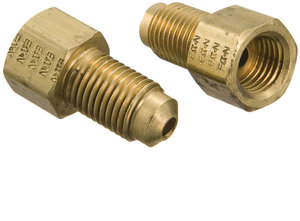
the top left brass fitting looks like a small compression fitting like this
the bottom one looks like a female end for a bubble flare brass fitting like this
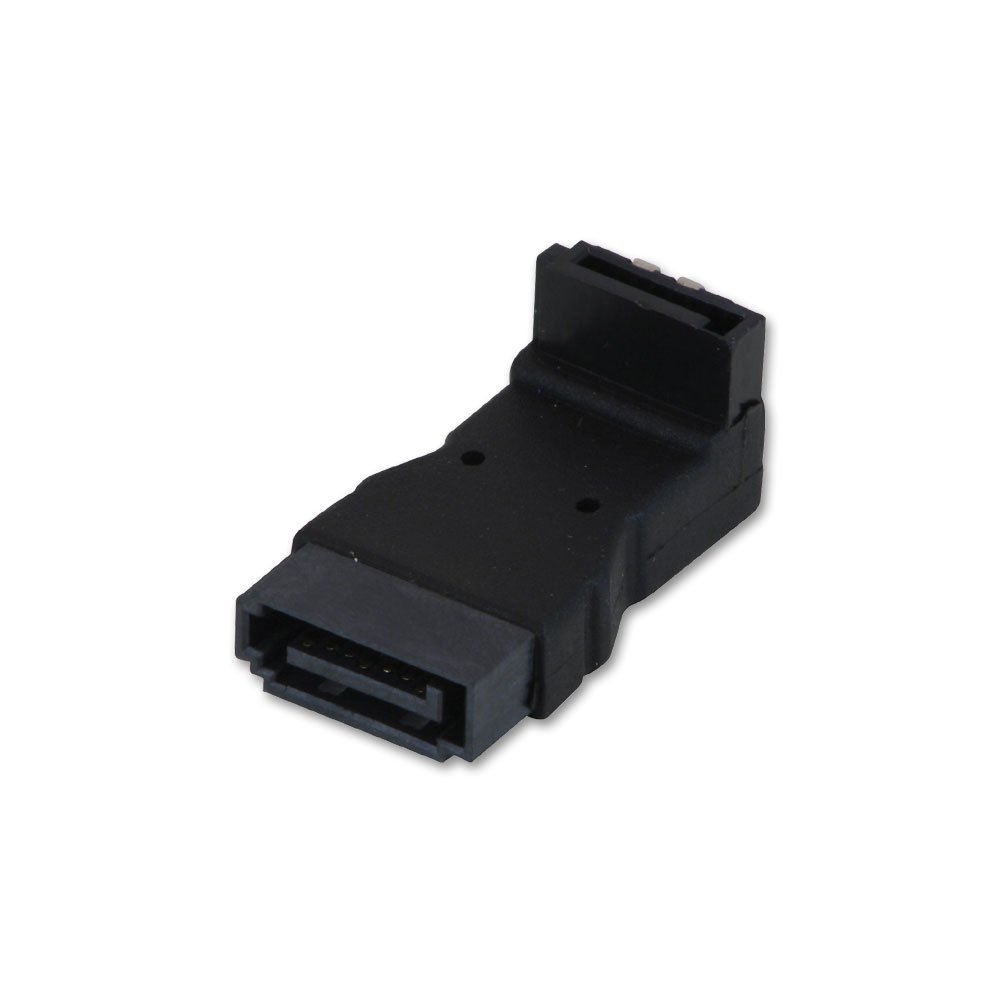
the sata ports can be sourced in many ways her is a angle adaptor.
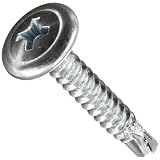
automotive trim screws (FORD) can be found at any autoparts store
So i just found these mesh food covers. This one is 11.75" diameter. What do you guys think?
Links in this post may be affiliate links. Purchases made through them help support this site at no additional cost to you.
I found this today which is a dead ringer…

for the smaller rings i also found Baffle Trim. Im realizing now i wont be vac forming anything :
Working on this part… Not sure what its called. Chime in if you know.

Here is the wiring figured out and routed

So i discovered the SATA ports are different. I was right about the right one., but the left on is smaller.
i think that wierd cylinder thing to the right of this thing is cut from the handle of a car snow brush. Im pretty sure ive seen it there before. Im starting to wonder if the prop builders just went to autozone for most of this stuff.
I’m almost positive one of my boys has a set of plastic nunchucks that look exactly like that part. I cut one of them up for another project. I’ll have to track them down and see.
What I just said is a secret…don’t tell my boys I cut their toys up for my projects!
OK I WONT!
BOY HAVE I BEEN BUSY! Not really, but I have a lot of research to add. First off I made the wand sticker…

Then I started tackling the question “whats under the cage” After carefully examining The pictures provided by Joe Luna, I think I know exactly whats under the hood. To start with there are some circuit boards along the perimeter of the interior of the cage. They look like computer PC cards and there are 4 prominently visible. There may be a 5th at the bottom but its to hard to tell. They are not equally spaced either. They have a large electrical harness coming out of them, it also looks like there is a phone jack coming out of them and there is a wierd looking cylinder with gold strips (looks like a kind of transformer) Here is what I have drawn up based upon my inspection…

here is a better re-creation of the part…

Now ive also been studying the rest of the hydrogen chamber and it appears to be fairly simple. Under the grill (looks like a stove burner) there is 8 circular pieces running around the circumference of the hydrogen reactor. They resemble the caps to a washable marker. They are small hollow cylinders with round protrusions in the center. They have 3 copper wires coming out of each one that rout toward the center of the reactor. The 3 on the left however have copper wiring going into an elongated hole that appears to be sealed with black silicone. The copper wires are painted black in the area around the reactor but are bright copper when they come out of the “marker caps” …

as you can see when the copper coils come out of the “marker caps” they dont all travel straight into the reactor. They sem to travel in a rather eskew mannor.


ok so im drawing up plans for the straps after hours of research and no luck finding any product that matches. Here is what I have so far…
I also made these with more detailed info…
in addition to reinforcing the back piece with plastic, im going to use the 2" orange webbing (same as the belt) to reinforce the main straps so they dont tear under the weight.
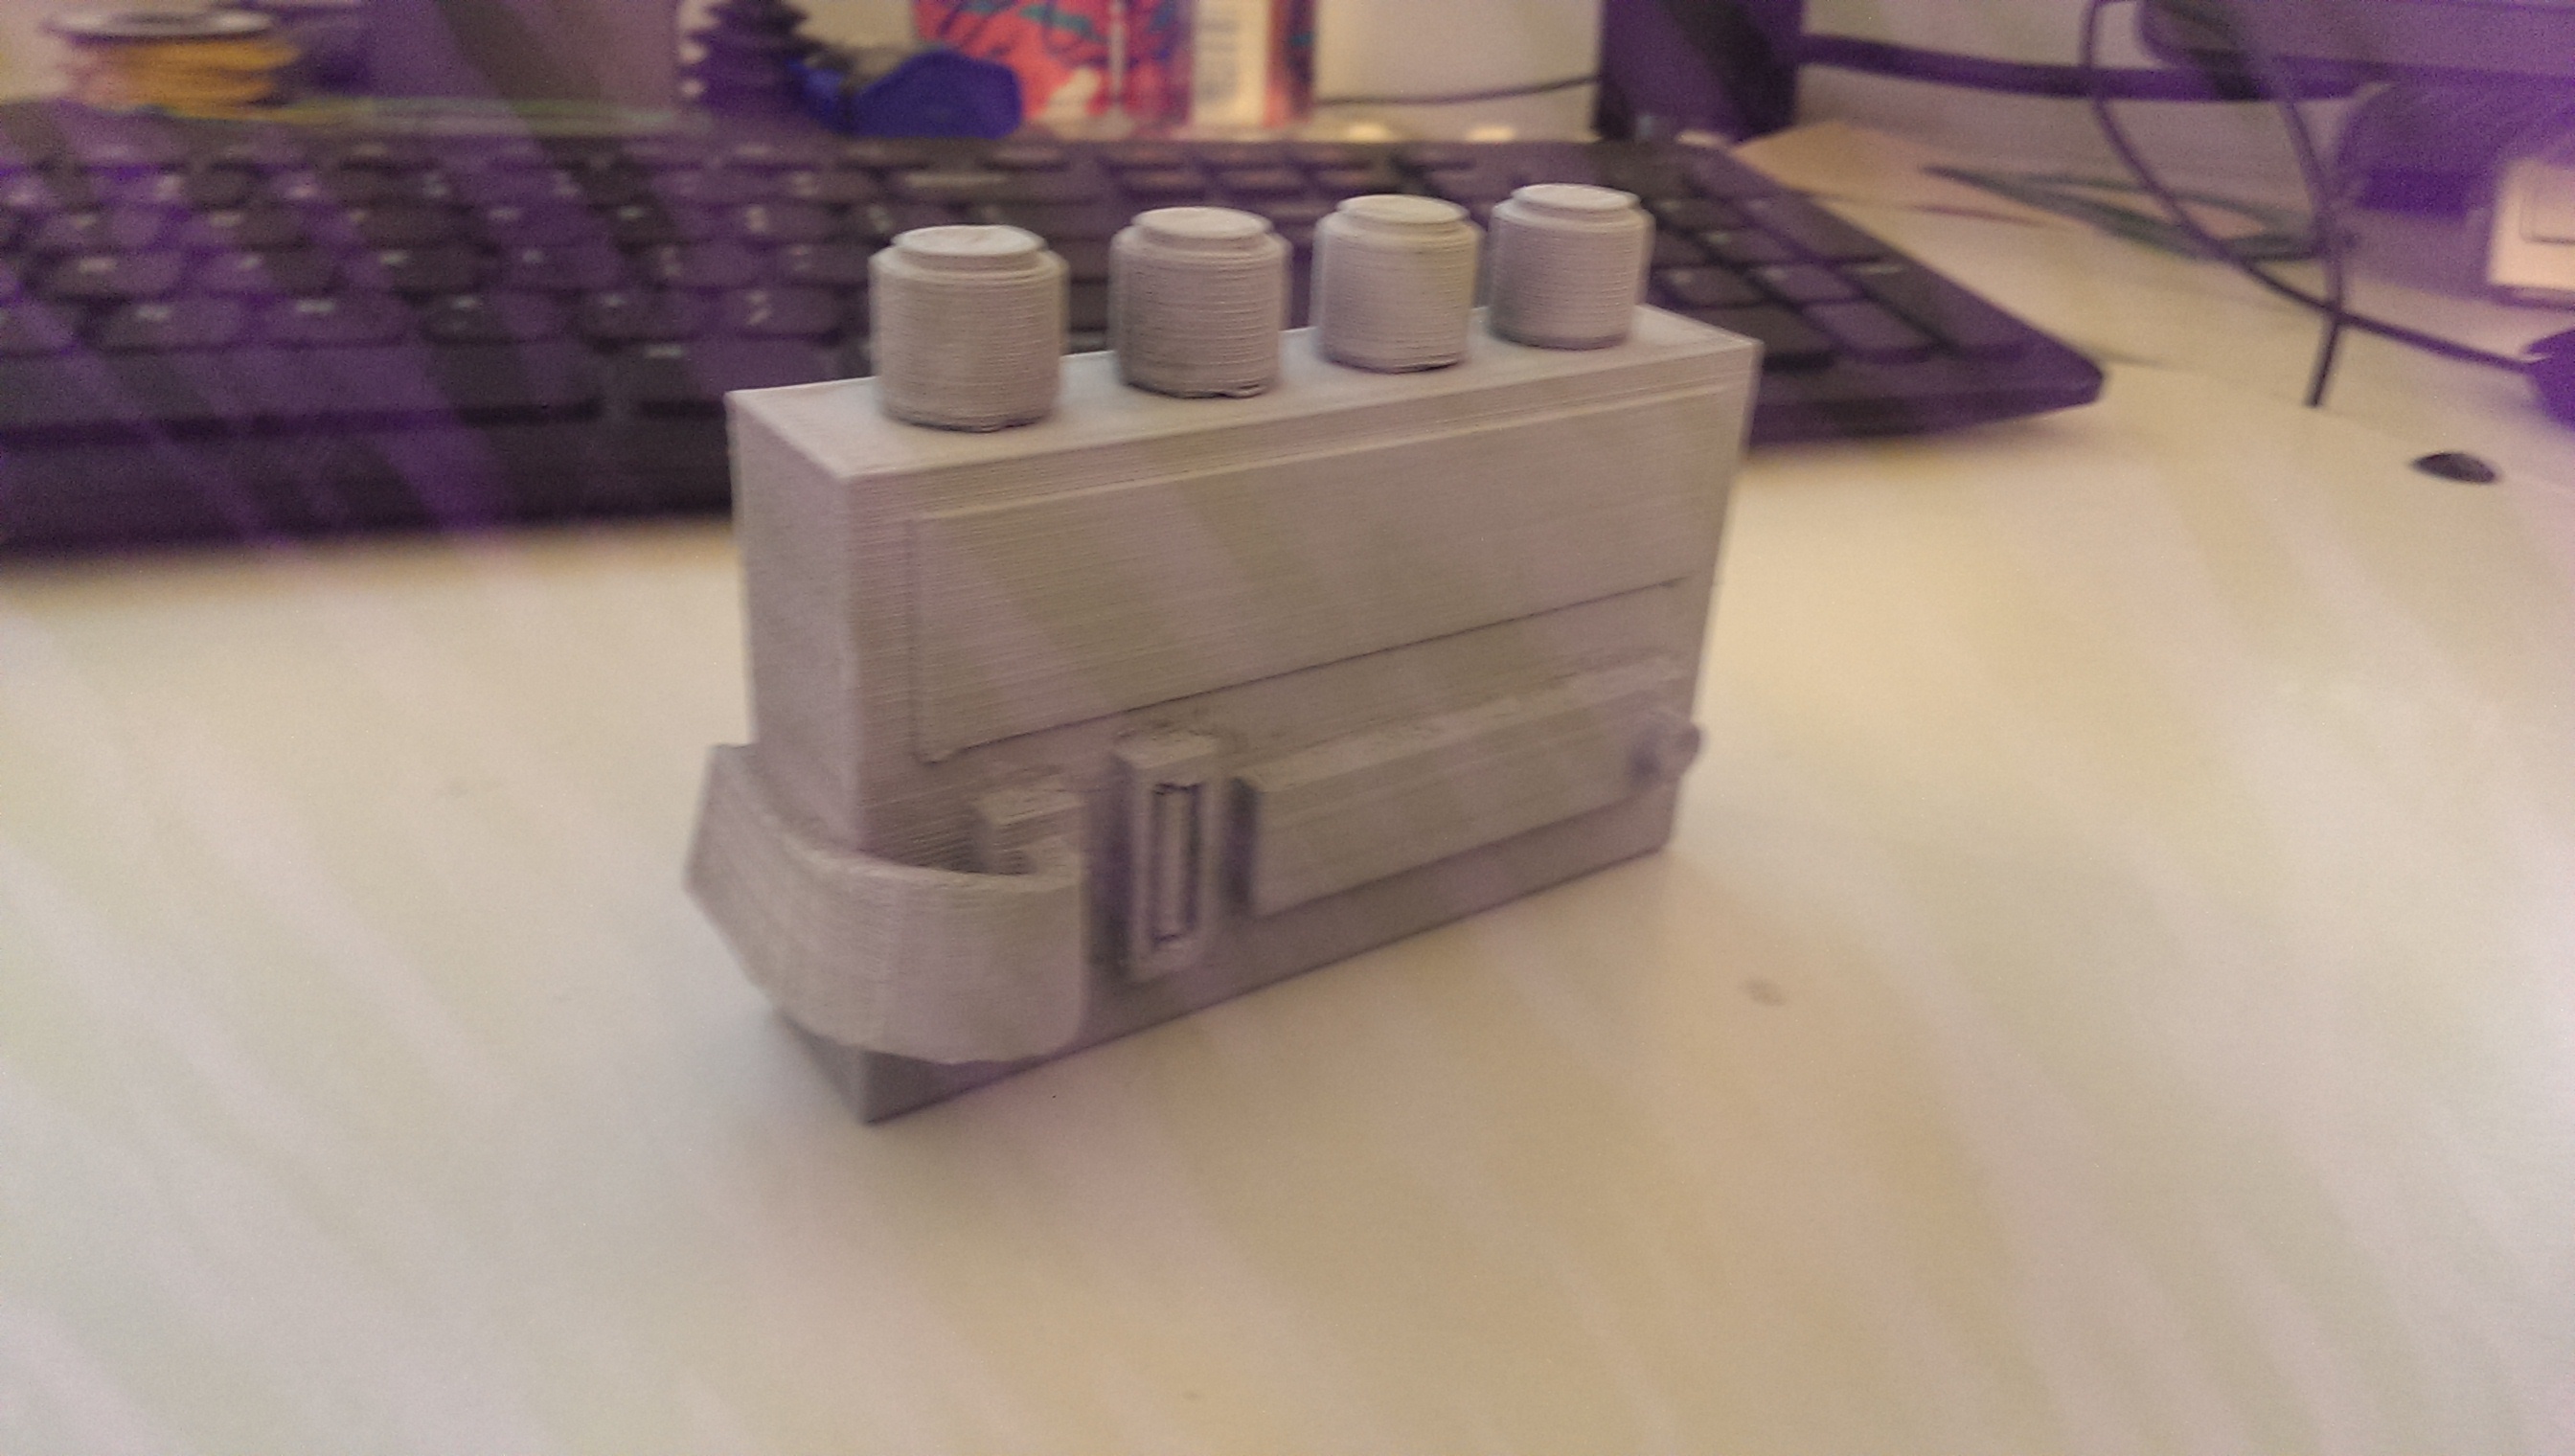
What do you think the dimensions of the bottom box with thumb screws are? I’m not feeling confident with my estimations. Also, the blue parts at the bottom - what are those called? They’re the things you connect wires with and then crimp them, right?
thats a good question. Im actually waiting on my MOBO from joe luna to use as a base before I start figuring dimensions. Yes those blue things are electrical eyelets like from a hardware or auto parts store.
I ended up eyeballing it, as I’m getting it done for Halloween. This is just over 3 1/8 in wide. It’s so hidden it should at least be passable. I’ll let you know how it looks when I get my mobo.
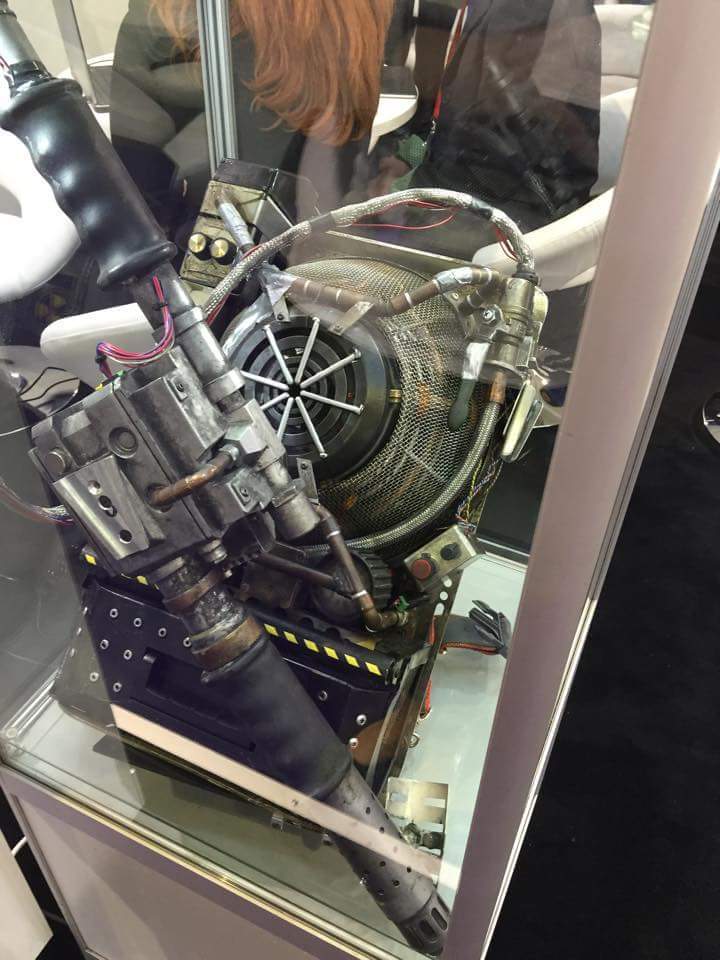
A new photo of one of the “Nuclear Love” Proton Pack has appeared at the Brand Licensing Europe event, currently underway in London. Unlike previous photographs of this version of the Pack, this one now sports a V-hook, much like the prototype versions:
](http://s1381.photobucket.com/user/theamazingryan84/media/circuit%20board_zpsuyapmurh.jpg.html)
](http://s1381.photobucket.com/user/theamazingryan84/media/circuit%20proton%20pack_zpsl2huxl6c.png.html)
](http://s1381.photobucket.com/user/theamazingryan84/media/REBOOT%20WARNING%20STICKER_zpsiyum2kfi.gif.html)
](http://s1381.photobucket.com/user/theamazingryan84/media/MYSTERY%20CIRCUIT%20DIAGRAM_zpsretru5fc.png.html)
](http://s1381.photobucket.com/user/theamazingryan84/media/mystery%20board%20complete_zpsjpjx8ot0.png.html)
](http://s1381.photobucket.com/user/theamazingryan84/media/strap%20harness%20diagram%20drawn_zpsvkf9nmpa.jpg.html)
](http://s1381.photobucket.com/user/theamazingryan84/media/STRAPS%20AND%20HARNESS%20DIAGRAM_zpsnrglxtr1.png.html)
- Photo credit: Russell Palmer
Damn. I JUST put my vhook on last. Mine is too high.
well c2e2 came and went and while i had my suit and pack done the wife went as a jedi lol. This build is still on the wait list as im to poor to get it done but one day i will.