Riggs' Kenner Pack Repaint\Build

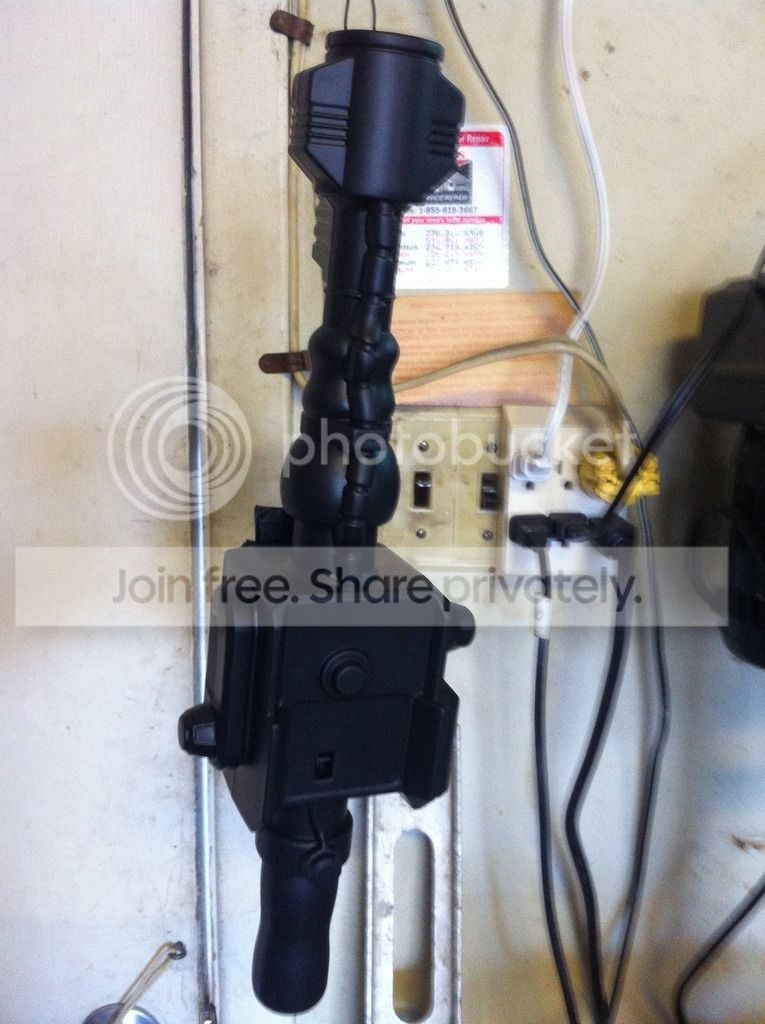
So I tripped over an old Kenner pack in my collection. I still have my original one from when I was a kid that is complete and remembered that years ago my mom found this one at a thrift store for a couple bucks. I didn’t realize I even had it! It has the wand and pack, no hose or anything else. So I didn’t feel very guilty ripping into it. I’ve been wanting to build one of these for my daughter since I found this site so I was excited as hell when I saw that I had a spare. I also got to use up some of the surplus parts I had gathered from my pack build. So i decided to build it up now for my wife to wear, and later for my daughter when she wants it.

Big thanks to the Kenner builds on here, theres some greats including Vince (Vincenzo330), Alan Hawkins Pink build (Pics are gone now), jaimanstone, Lunoki, and I pretty much carbon copied Mavericks’ build for the most part.

Quick question, both my original and this one have all blue thrower tips, but I have seen them with orange rings around the tip.. Anyone know what the deal with that is?

![image](http://www.gbfans.com/images/pb/Riggs45/Kenner Pack Build_IMG_2117_zps9cramhso.jpg)

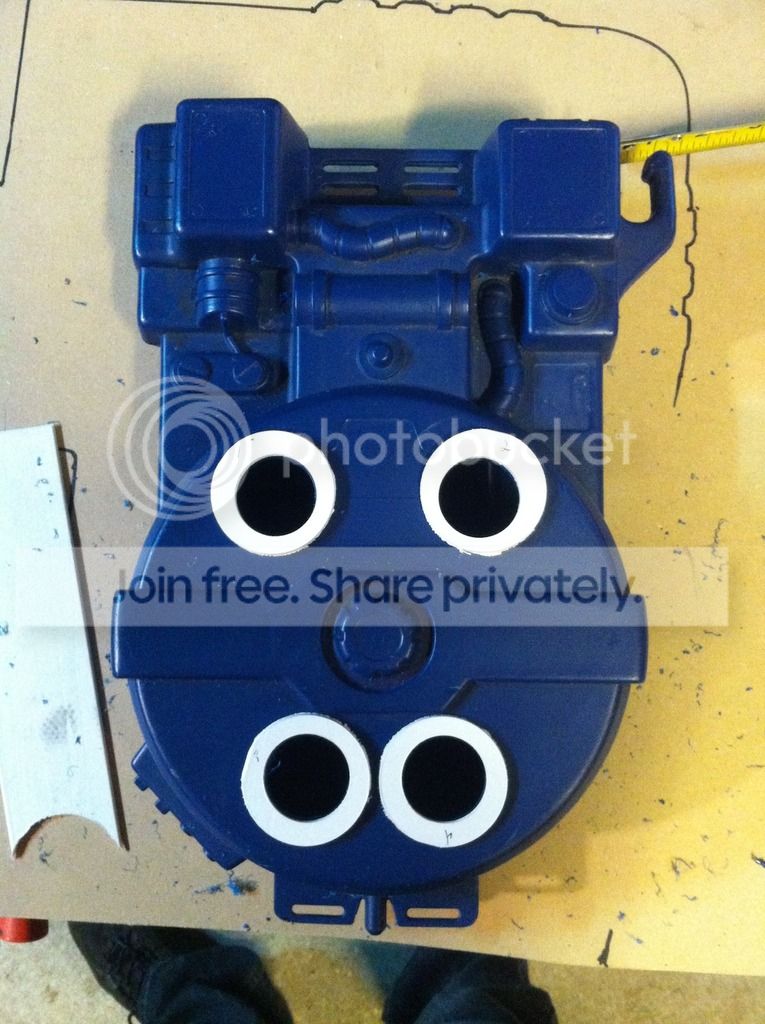
Light holes cut

![image](http://www.gbfans.com/images/pb/Riggs45/Kenner Pack Build_IMG_2165_zpsv2cpifsg.jpg)

Cut the back out, also used the dremel to shave off the bottom strap connectors

![image](http://www.gbfans.com/images/pb/Riggs45/Kenner Pack Build_IMG_2167_zpswcg5jdo7.jpg)

Cyclotron light rings


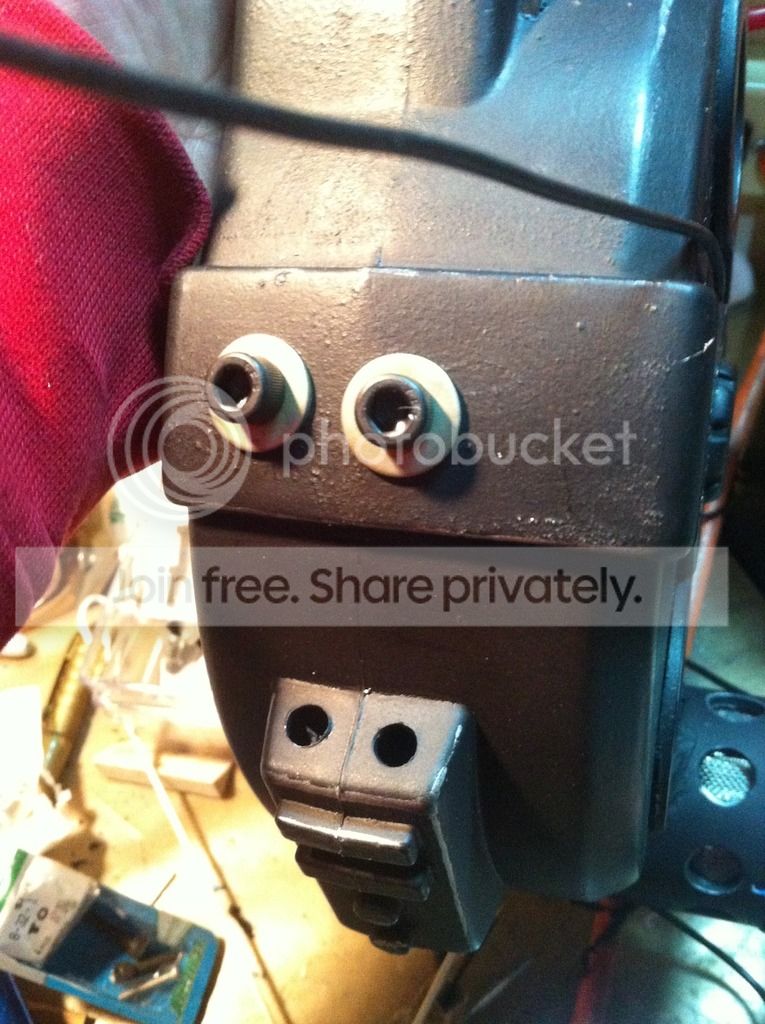
Built a shockmount/ bellows out of washers.

![image](http://www.gbfans.com/images/pb/Riggs45/Kenner Pack Build_IMG_2168_zpsrhkdime8.jpg)

I also drilled out the fake light that was molded into the center, and used an old bulb to fill it in an give a realistic look. (I ended up using a green one instead of the red one as I felt there was enough red already.

![image](http://www.gbfans.com/images/pb/Riggs45/Kenner Pack Build_IMG_2172_zpsdot7luic.jpg)

![image](http://www.gbfans.com/images/pb/Riggs45/Kenner Pack Build_IMG_2171_zpsh79gi32h.jpg)

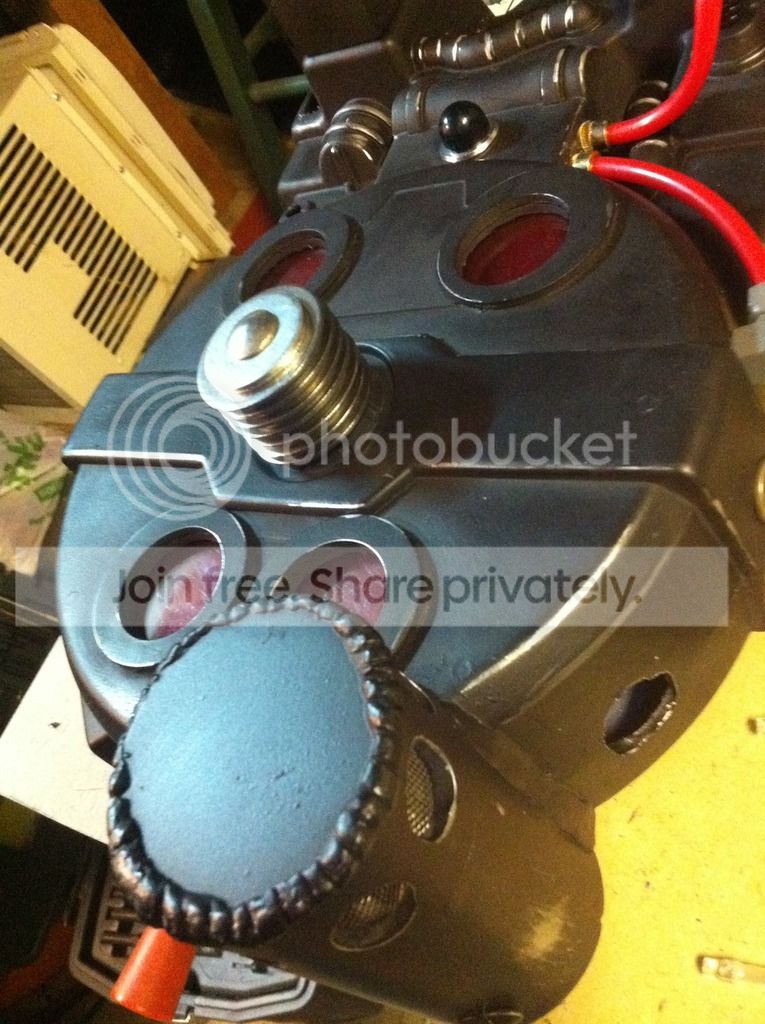
N-Filter came from the abs tubing I had left over from my booster tube.

![image](http://www.gbfans.com/images/pb/Riggs45/Kenner Pack Build_IMG_2173_zps5hfnjppr.jpg)

I used a dremel to cut it and shape it to the shell. I planned on using a fake weld later to hide the seam anyway.

![image](http://www.gbfans.com/images/pb/Riggs45/Kenner Pack Build_IMG_2174_zpssjwpf2up.jpg)

I put through a long carriage bolt to secure the N Filter. If my daughter ends up playing with this pack I wanted more a connection than a 2 part epoxy. For the mesh inside I used a dollar store strainer that I had for my N Filter on my pack.

![image](http://www.gbfans.com/images/pb/Riggs45/Proton Pack 2014_IMG_9920_zps7cb353e4.jpg)

![image](http://www.gbfans.com/images/pb/Riggs45/Kenner Pack Build_IMG_2180_zps4g7etrc3.jpg)

I used more of the styrene like material (Mini blinds if you saw my pack build) to conceal both sides of the strap loops at the top.

I also used a hard plastic VHS case for the N Filter top.

![image](http://www.gbfans.com/images/pb/Riggs45/Kenner Pack Build_IMG_2178_zps9m2gy9ca.jpg)

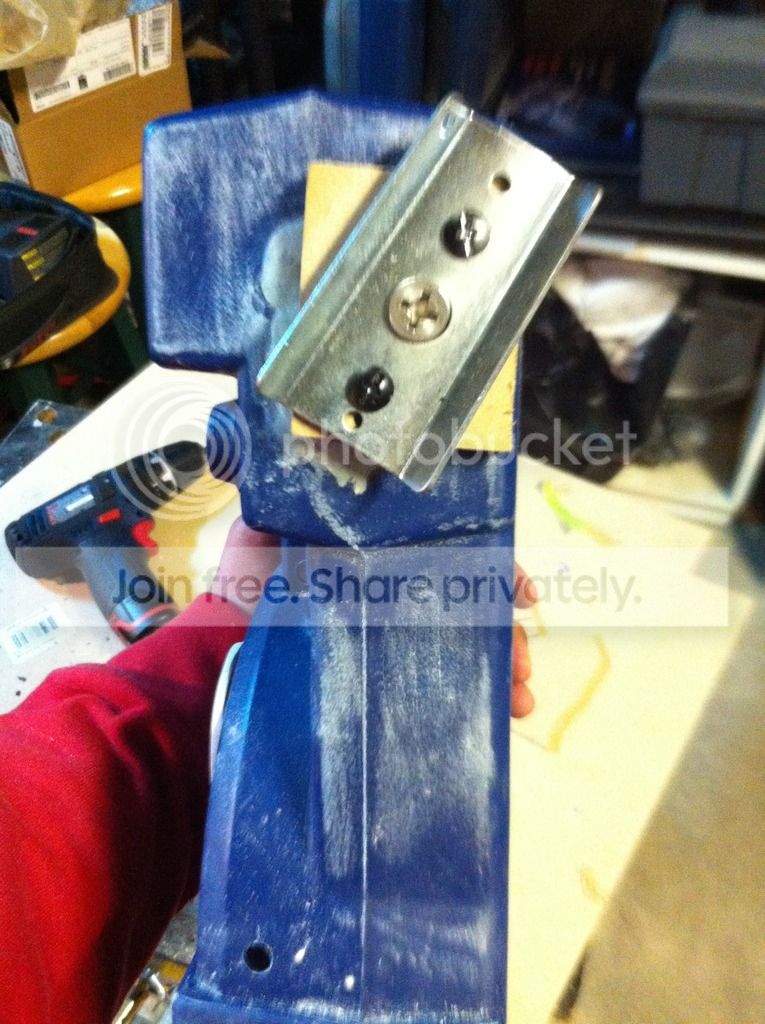
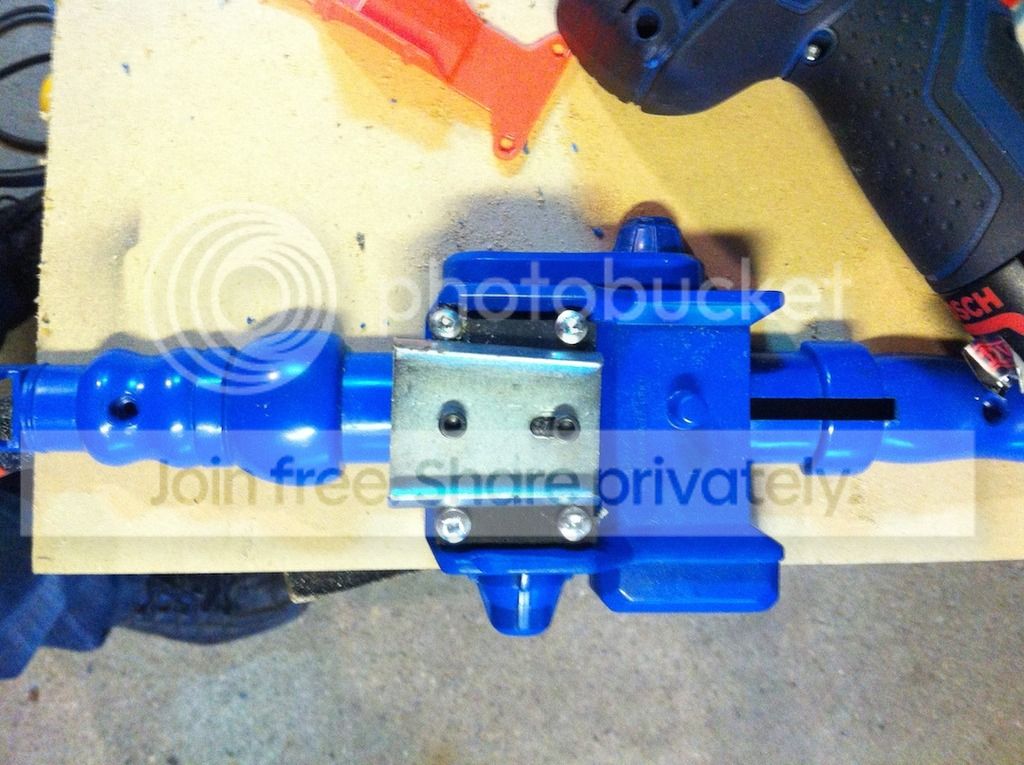
For the V Hook, I dremelled off the original hook on the pack and thrower and filled in the hole on the pack with some plastic material and some 2 part epoxy. Then I cut a block of MDF for the base and used dixie brackets.

I cut a small piece of MDF and screwed it through the body of the gun here as well. (the original trigger is missing here, but I had it and all the gears out of it while I attached the gun track. I ended up putting them back in so it would still have its original weird toy sound)

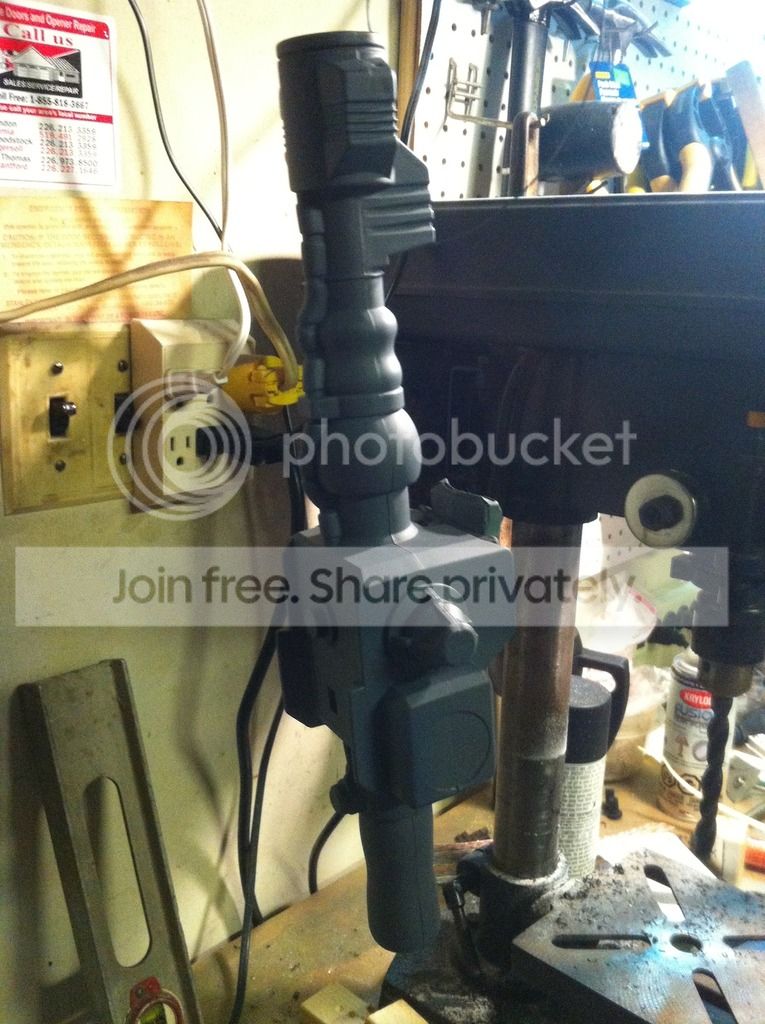
I dremelled off the original hose slot from the end of the handle and drilled it out for the 3/4 splitloom hose to attached the wand to the pack. (After this I used some epoxy to fill the original hole on the side of the handle)

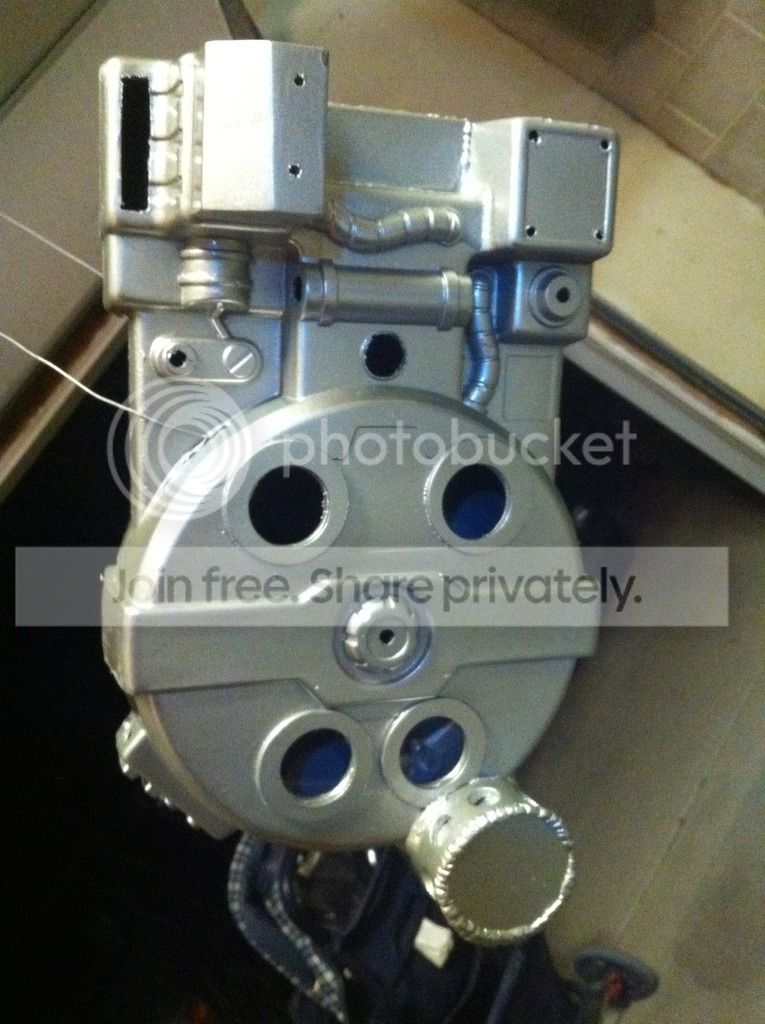
Once the epoxy cured,… Primer, Metalic Shimmer Silver paint (Not shown), and then Flat black.

What sorcery is this???

Go on son!!

moar.

Damn, I so want to do this for my kids…

Wow love your work so far.

Hey, thanks guys! It was actually a really fun build. The only really tough parts are getting your hands in there to attach things. But it was nice to just kinda play around and not have to be precise with everything.

I actually thought of you Phil when I was building it. I was considering what to do for my daughter’s uniform and remembered your little girls flight suits. A couple of these might be just what the Dr. ordered! If you can get the packs themselves fairly cheap, these don’t cost much to build at all, especially if you have left over parts.

Anyways, for the mobo I had some leftover beadboard from a kitchen project that was the right width, strength, and price for the job.

![image](http://www.gbfans.com/images/pb/Riggs45/Kenner Pack Build_IMG_2188_zpsrmcewtkl.jpg)

I wanted a longer ion arm on the pack to give it a more accurate look, so I cut down a 1.5" x 1.5 x 2 " long block and gave it a 45 on the left side. Then some dowel screws to attach it strongly to the pack.

![image](http://www.gbfans.com/images/pb/Riggs45/Kenner Pack Build_IMG_2196_zpsoeoiy1st.jpg)

![image](http://www.gbfans.com/images/pb/Riggs45/Kenner Pack Build_IMG_2195_zpskj5jdo7y.jpg)

![image](http://www.gbfans.com/images/pb/Riggs45/Kenner Pack Build_IMG_2189_zpsk41ttpqn.jpg)

I added the faux weld to the top of the N Filter, and gave the pack a light scruff just in case.(You’ve gotta be really careful sanding these as the type of plastic can scar and bead up if you give it too much pressure or grit.) I also cut the powercell hole, a slot in the top of the cyclotron for the ribbon cable, a hole for the ribbon cable, as well as holes for hoses, bolts, and whatnot.

![image](http://www.gbfans.com/images/pb/Riggs45/Kenner Pack Build_IMG_2192_zpsk8j22bbi.jpg)

![image](http://www.gbfans.com/images/pb/Riggs45/Kenner Pack Build_IMG_2193_zpsaxngrwzp.jpg)

Next up, paint.

Primer

Krylon Metallic Shimmer for an undercoat (This thing may take a beating)

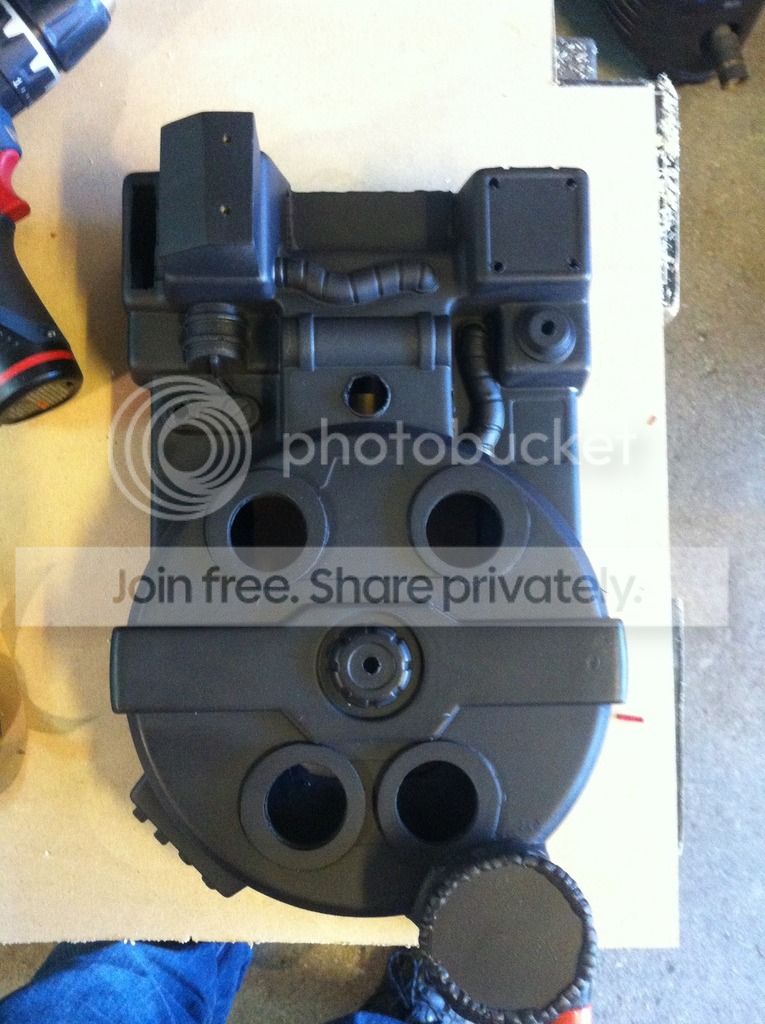
And finally flat BBQ black.

I had masked the N Filter holes to save the mesh. You can also see the 3/4 hole for the thrower hose.

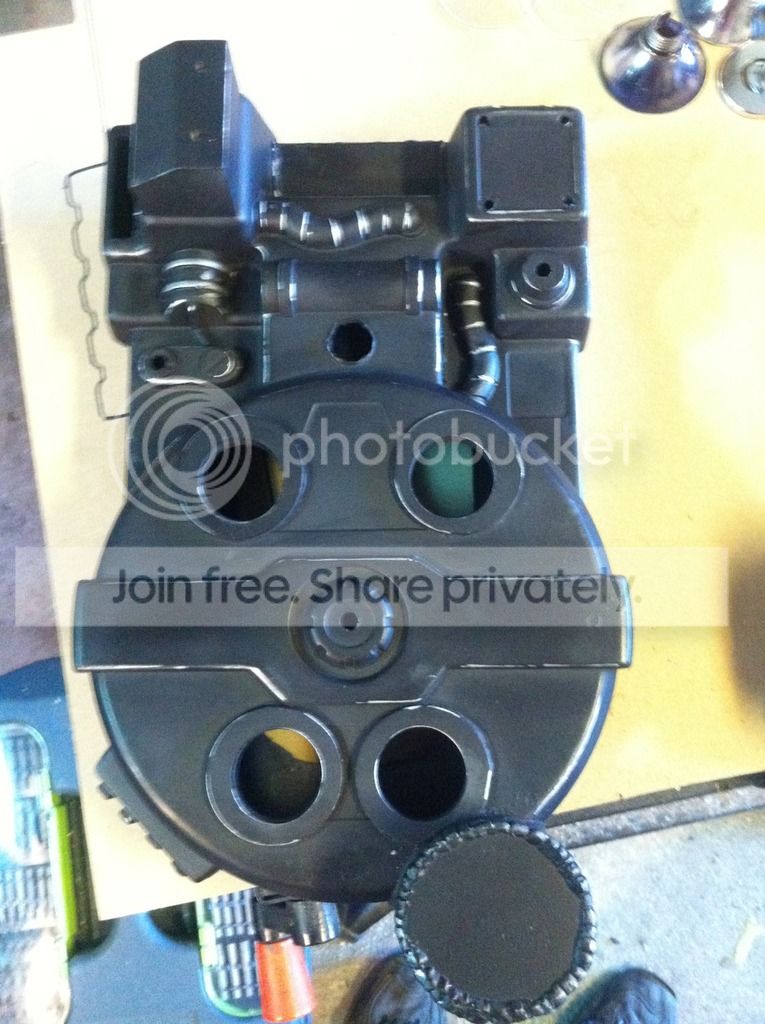
Then a buffing of the flat and some light sharpie corner weathering. I think its really needed with these to make it look less like a toy.

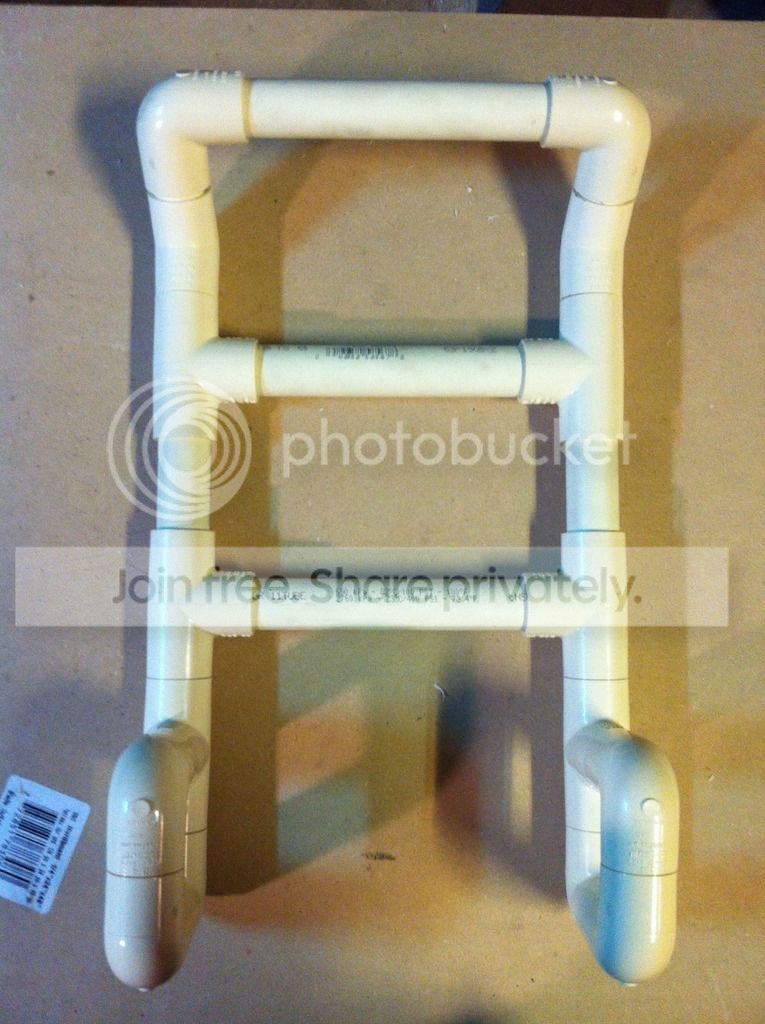
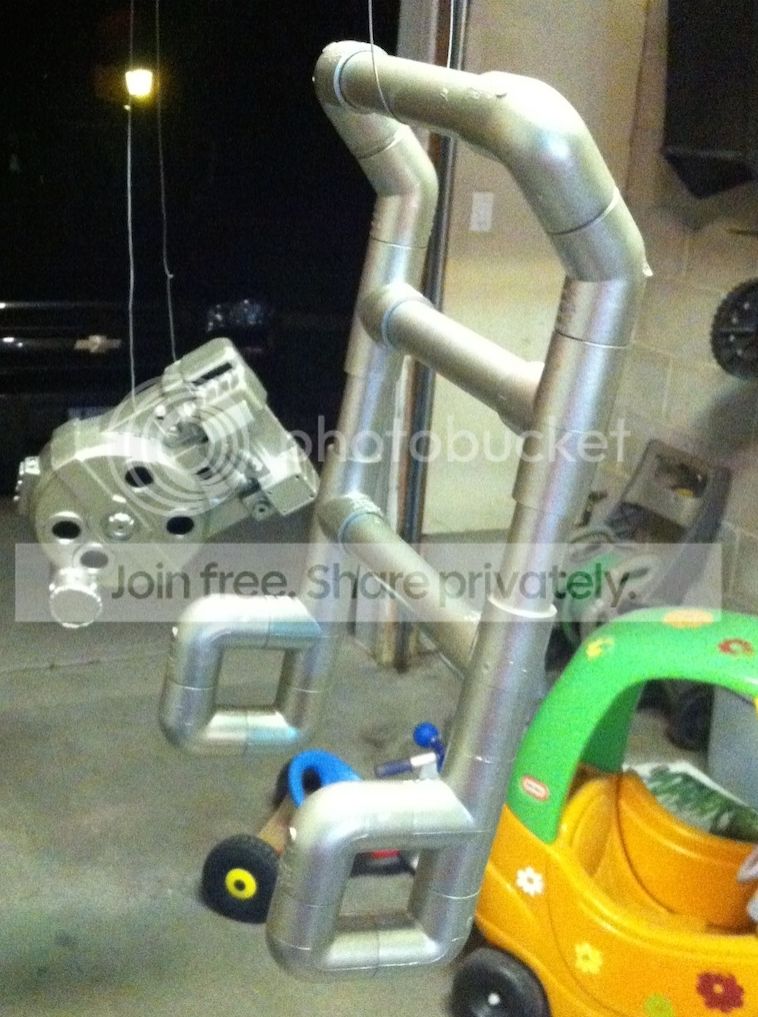
For the pack frame I followed the lead by many, namely Mavericks, and went with CPVC piping.

I bought:

-1x 5ft length of 3/4" or the joining pieces,

  • 8x 3/4" 90° angles

  • 2x 45° angles

  • 6x “T” joints

With some measuring and cutting to join all angles and match the pack’s dimensions I got this. I didnt want the cost of aluminum slats for the center vertical part of the frame, so I opted to just built a square center for the carriage bolts to go through.

Some primer, silver and flat black

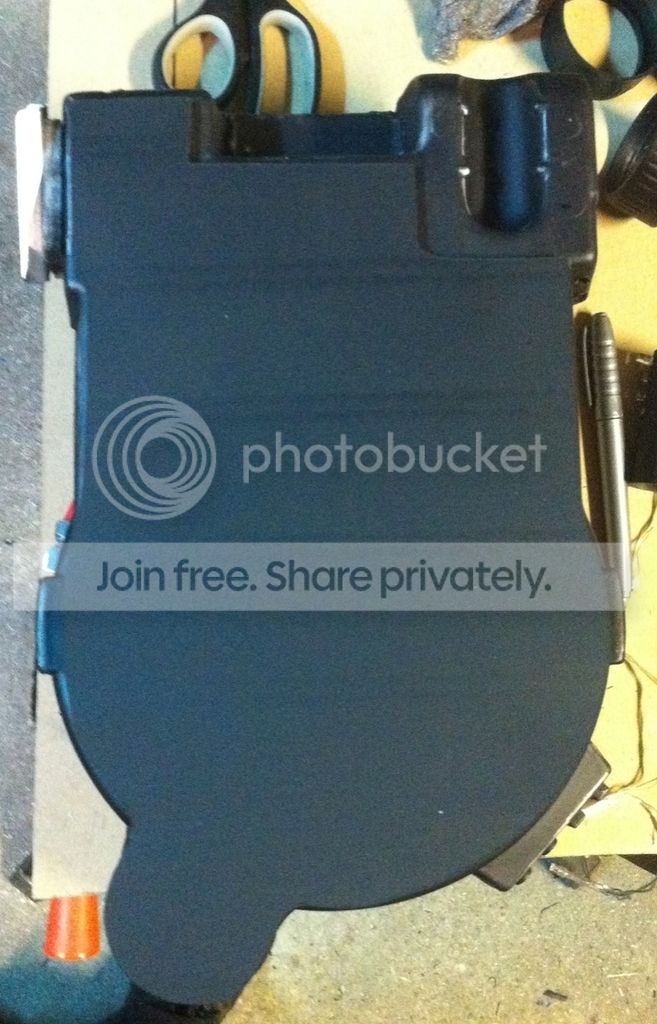
By now I had painted the mobo flat black

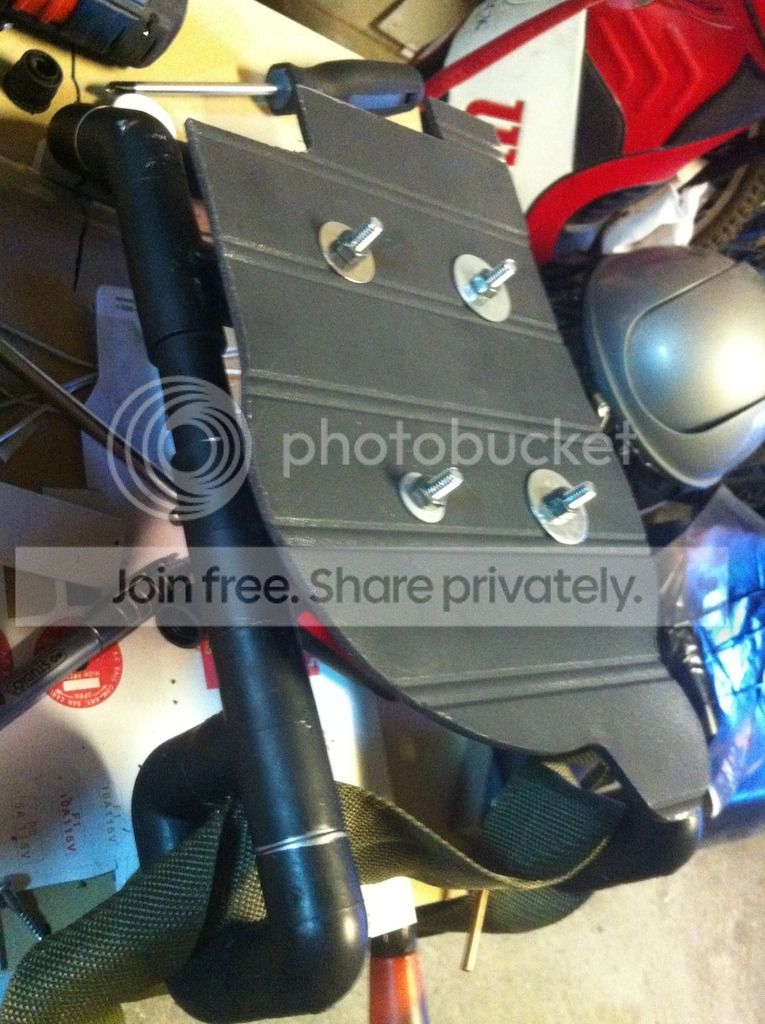
Attached the frame to the mobo with 4 carriage bolts and some leftover washers. I also cut some spacers out of 1/2 or 3/4 sqaure dowling for in between the two.

…this is just fabulous. Do I smell a father/daughter duo?

Yes Sir! I think this will be the first of a couple/few of these I’m going to do. My lovely wife will be donning this one and either hand it down, or I build another.

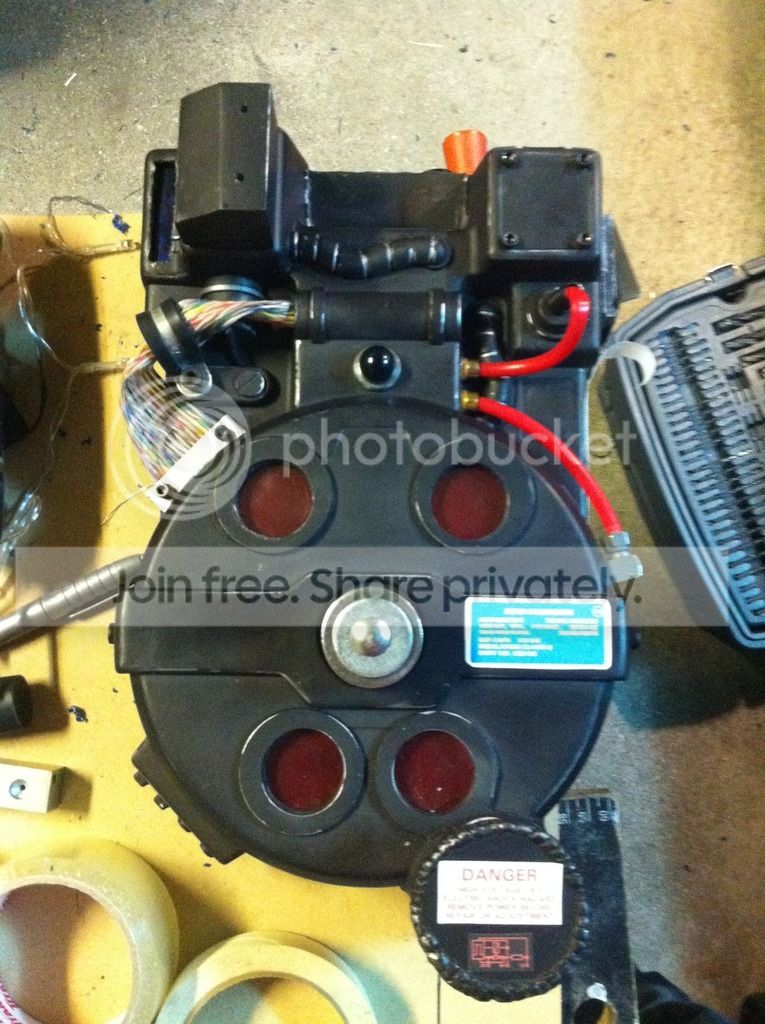
For the lenses for the lights, I kept the cost at nothing by using a dark blue jewel case for the powercell. and for the deep red of the cyclotron lights, I used a thick red lighting gel. I also used the clear plastic lenses that came with my dollar store flashlights (for the reflectors) with the red gels glued into the center of them.

![image](http://www.gbfans.com/images/pb/Riggs45/Kenner Pack Build_IMG_2222_zpsdg4w2pvn.jpg)

The lights are a dollar store set. They are a static set of lights, but oh well, I couldn’t find anything better for the money.

![image](http://www.gbfans.com/images/pb/Riggs45/Belt Gizmo Build_119285_zpsmryhiadk.jpg)

To house the powercell lights I just used a small piece of leftover PVC from the frame, drilled holes for the LEDs and glued them into place. Then I ran screws through the side of the pack to hold it into place. Unfortunately one of the screws ran through the wire for the top led so 5 powercell lights turned into 4.. oh well. I didn’t plan it out to well.

![image](http://www.gbfans.com/images/pb/Riggs45/Kenner Pack Build_IMG_2221_zpstn5dv2qb.jpg)

I painted it black to it didnt reflect the light. Here it is glued as well.

![image](http://www.gbfans.com/images/pb/Riggs45/Kenner Pack Build_IMG_2250_zpso8h5oqlq.jpg)

I also put my makeshift elbow into place. Its a coax cable elbow painted with primer. But I think it looks the part… and was free.

![image](http://www.gbfans.com/images/pb/Riggs45/Kenner Pack Build_IMG_2225_zpsddsvoxlk.jpg)

I also added a some 6/32 socket heads that I think simulate the HGA nicely.

![image](http://www.gbfans.com/images/pb/Riggs45/Kenner Pack Build_IMG_2223_zps8ovhudsy.jpg)

Here are the red lenses glued into place.

![image](http://www.gbfans.com/images/pb/Riggs45/Kenner Pack Build_IMG_2228_zpspgjbyjgl.jpg)

After this, I hot glued the light strand and reflectors into place.

Riggsy I’ve got some 5MM LED holders I bought left over. Lemme know if you want em!

Hmmm, maybe for the next one! You’re a good man, Sir! It probably would’ve come in handy. It was a pain trying to figure out attaching them in this thing. No room in there for my hand to fit, so I just kinda held it there with my fingers and drilled into it (and my hand), but I was doing the safety squint at least.

Yay safety squint!

This this is looking awesome! Well done!

Thanks Jay! I think drilling into my finger was caused by the safety squint.. but this is what happens when you drink and drill.

So back to the thrower. I wanted the front to look a little more accurate, so I used the clear tube that my 2 part plumbers epoxy came in as the barrel extension. I think it worked pretty well. I also used some aluminum heat duct tape cut into a thin strip for the end of the barrel, as well as just come temporary scotch tape to give it the frosted ring look until I mask it and sand it. Its held in by wrapping it tight with hockey tape, it isn’t going anywhere.

![image](http://www.gbfans.com/images/pb/Riggs45/Kenner Pack Build_IMG_2209_zps35fbxfda.jpg)

Then, a red wire with some connectors screwed through the wand to simulate the red wire and the banjos.

![image](http://www.gbfans.com/images/pb/Riggs45/Kenner Pack Build_IMG_2210_zpslvyocmxk.jpg)

For the rear, I drilled a couple holes and fastened a couple nuts with a green wire.

![image](http://www.gbfans.com/images/pb/Riggs45/Kenner Pack Build_IMG_2206_zpshq2wjy8f.jpg)

![image](http://www.gbfans.com/images/pb/Riggs45/Kenner Pack Build_IMG_2211_zpszjbzj72u.jpg)

All tha’ts left for the thrower is labels. Wish I was doing lights, but it isn’t necessary. Its a “close enough” effort.

Next up, the fun finishing details for the pack. I attached the dixie hook to finish that up.

![image](http://www.gbfans.com/images/pb/Riggs45/Kenner Pack Build_IMG_2224_zpspivzjvgq.jpg)

I had a couple brass cylinders that were once the ends of audio or rca cables, they made a great substitute for straits. I also had some tubing left over from my build to use and I threw the green light lens into the center hole.

![image](http://www.gbfans.com/images/pb/Riggs45/Kenner Pack Build_IMG_2232_zpsjgwyj6oj.jpg)

I used a coat hanger to shape and hold the tubing.

![image](http://www.gbfans.com/images/pb/Riggs45/Kenner Pack Build_IMG_2233_zpsjz9dnw58.jpg)

I really think the gold connectors turned out great. The 90° coax connector isnt too shabby either, really pulls the pack together.

![image](http://www.gbfans.com/images/pb/Riggs45/Kenner Pack Build_IMG_2235_zpsfl1wqjnd.jpg)

I also added some socketheads and brass washers on both sides of the bumper to dress it up a weee bitty. Also drilled out the holes for the “Injector tube lines”.

![image](http://www.gbfans.com/images/pb/Riggs45/Kenner Pack Build_IMG_2237_zpsyppgspvz.jpg)

Put the shockmount washer bellows dealio back on. It’s coming together!

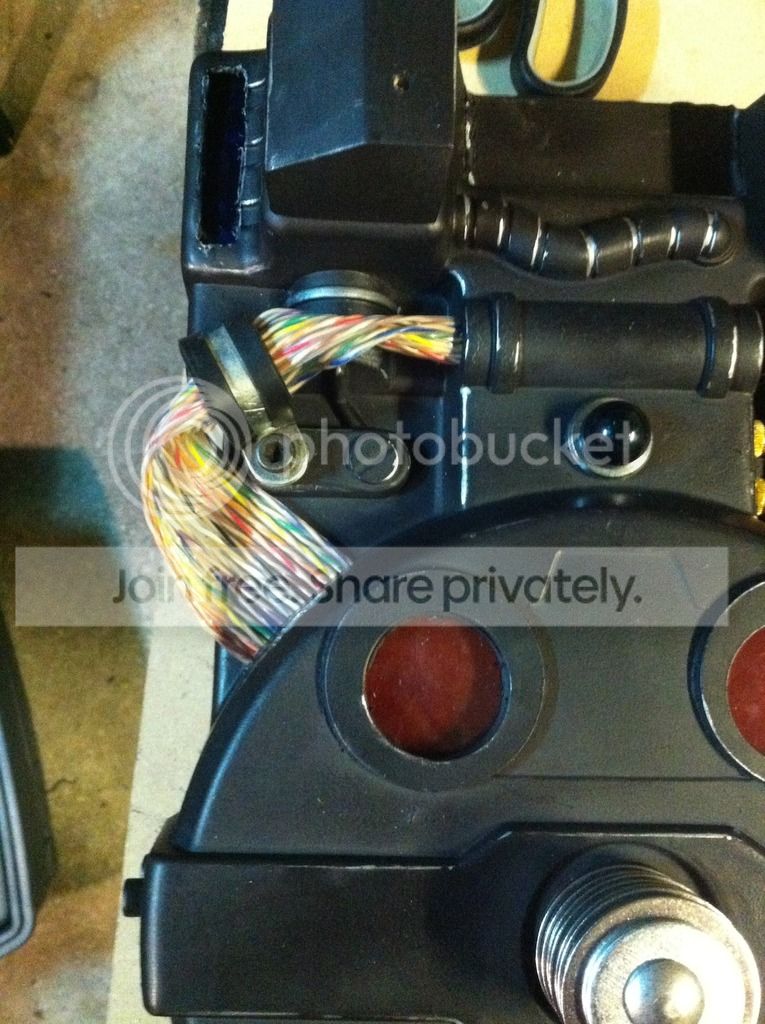
Ribbon cable! I cut the leftover cable down the middle so it wasn’t so wide and built a clamp out of my mini blind material and painted it silver.

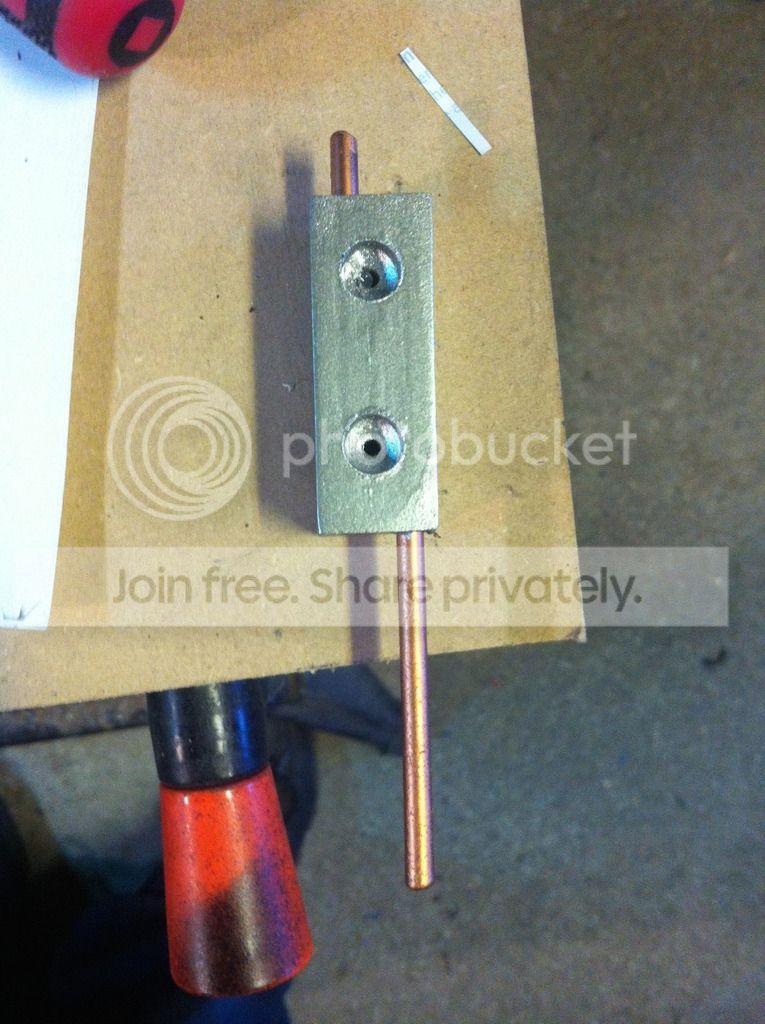
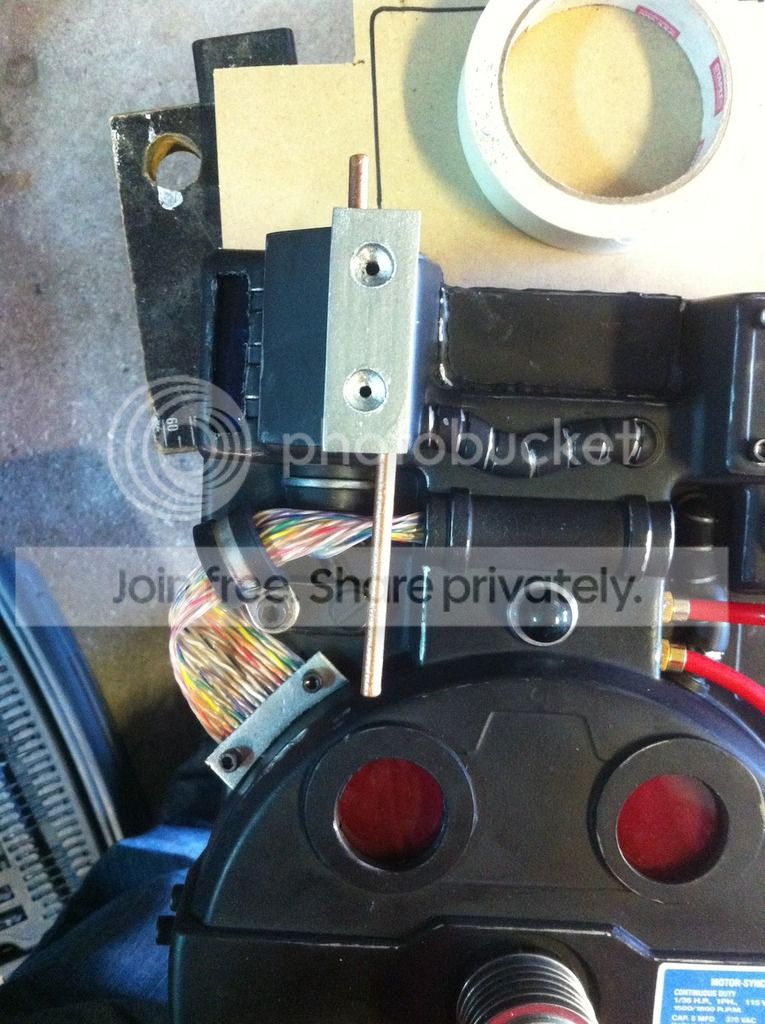
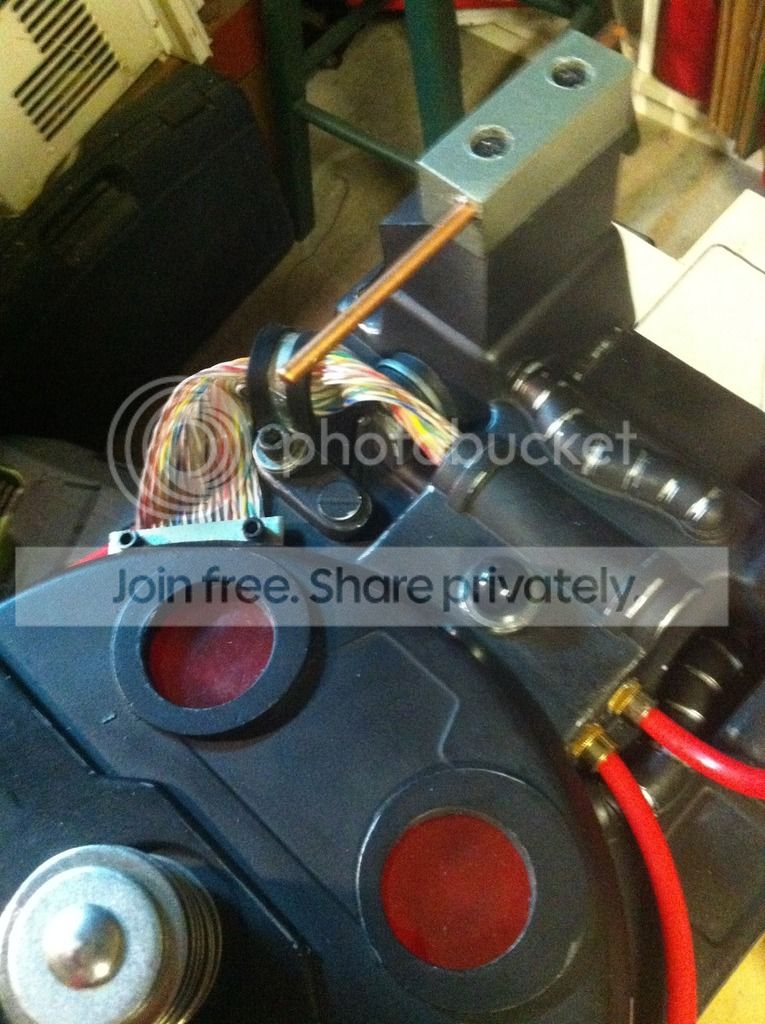
The ion block is just a square dowel painted silver and pre drilled. For the rods, I cut off pieces from my steel winter driveway markers and painted them copper.

All and all, the added height of the ion arm really improved the look I think.

To attach the mobo and frame to the pack I just used some short, aggressive screws.

![image](http://www.gbfans.com/images/pb/Riggs45/Kenner Pack Build_IMG_2257_zpsagcpy2vn.jpg)

For the battery box for the lights, it was a clear casing so I painted it flat black and ran it out of the bottom between the pack and motherboard. Its attached with velcro with the switch facing the bottom.

![image](http://www.gbfans.com/images/pb/Riggs45/Kenner Pack Build_IMG_2299_zpsbp8ekzb1.jpg)

Straps. Got some legit Alice straps from a surplus store. These were the most expensive part of the build. I ended up switching them out for the rothco straps on my pack. These are way stronger and thicker which is overkill for this thing but work quite nicely on my pack.

![image](http://www.gbfans.com/images/pb/Riggs45/Kenner Pack Build_IMG_2258_zps6jpqn0ik.jpg)

Some pipe insulation padding

![image](http://www.gbfans.com/images/pb/Riggs45/Kenner Pack Build_IMG_2266_zpscnbfte4c.jpg)

All thats left is to attach the hose to the pack and thrower, the injector tube lines, and the labels.