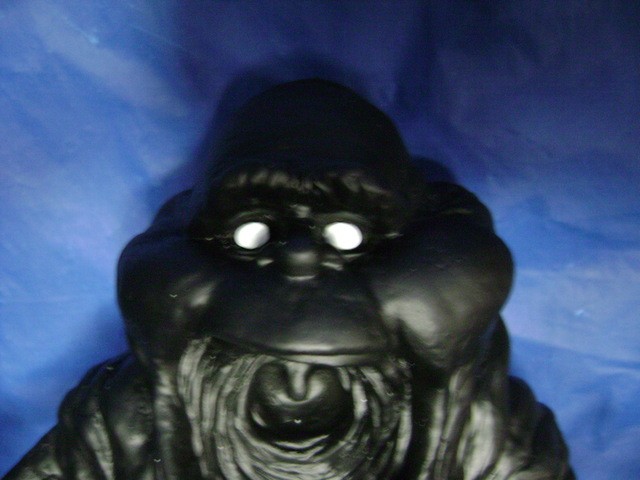
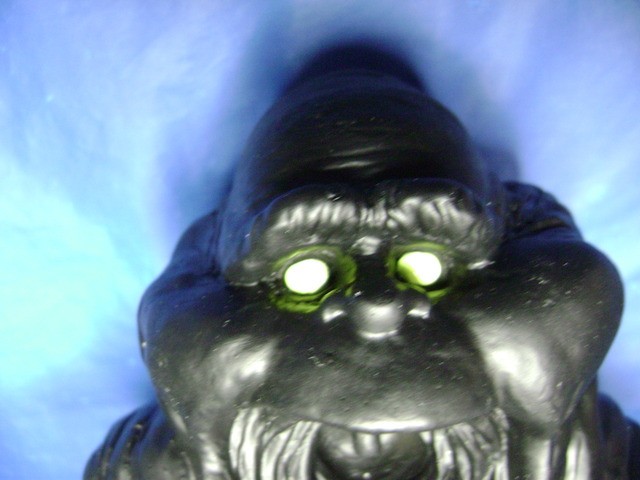
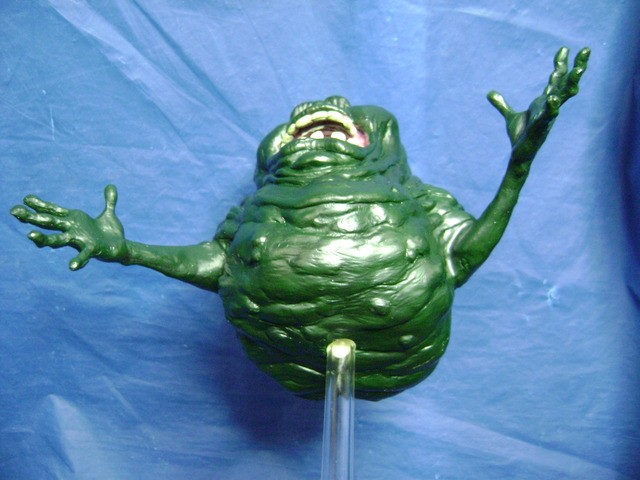
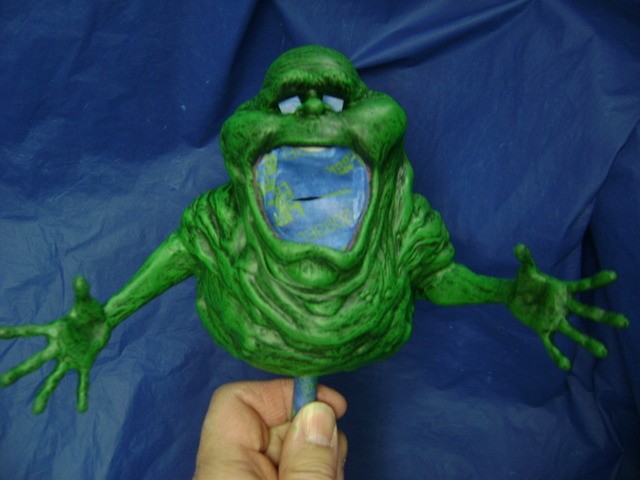
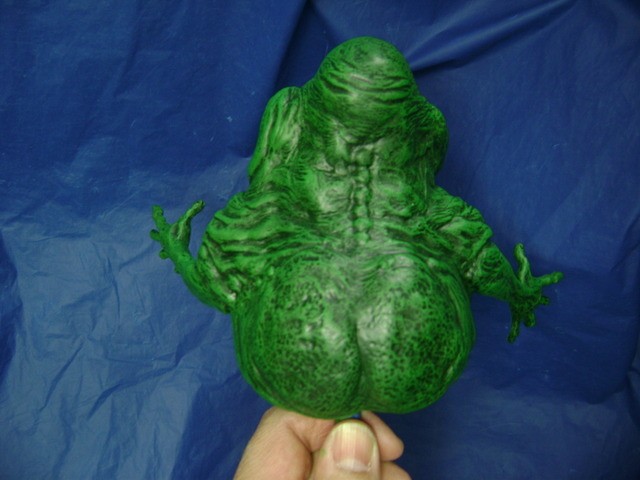
While surfing eBay for GB toy parts I came across a listing entitled “Slimer Ghost busters Bishoujo Resin Kit”. I think the seller was wrong about the “Bishoujo” part which usually translates to “beautiful young girl”… this isn’t even close, but it is very Slimer.
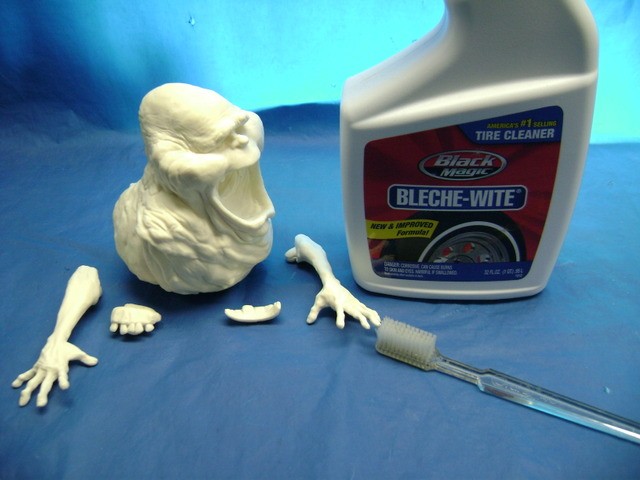
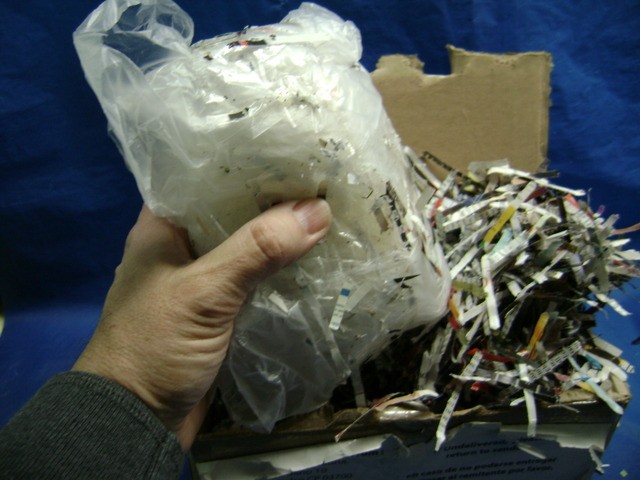
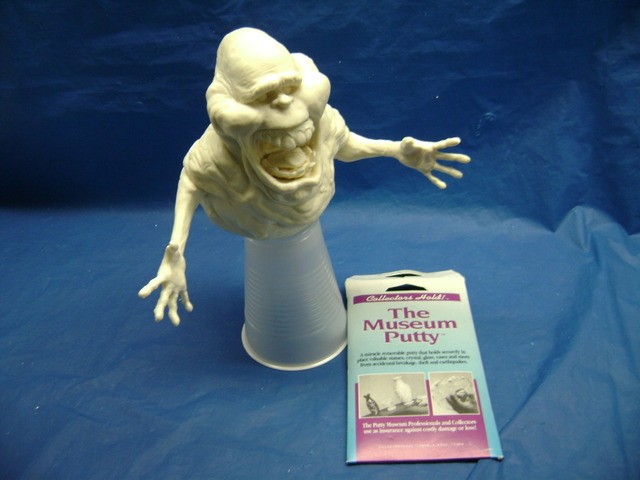
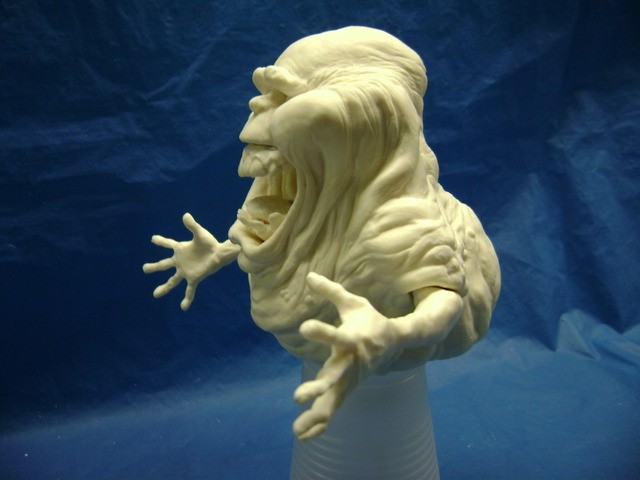
Here are my unboxing pics. Slimer came all the way from Mexico…you can tell by the colorful packing. The seller did a careful job of wrapping to make sure he survived the journey.
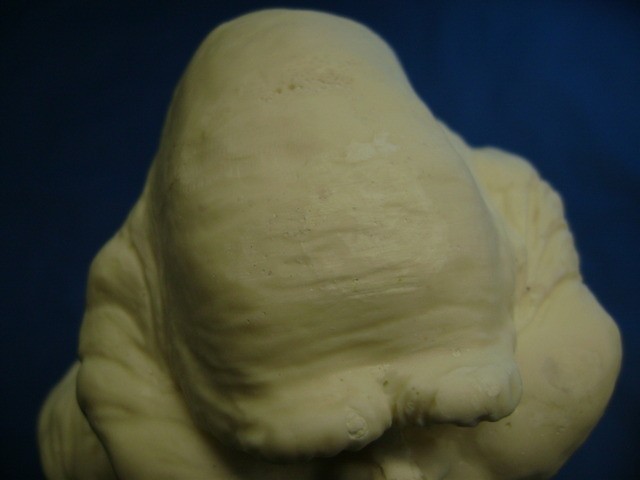
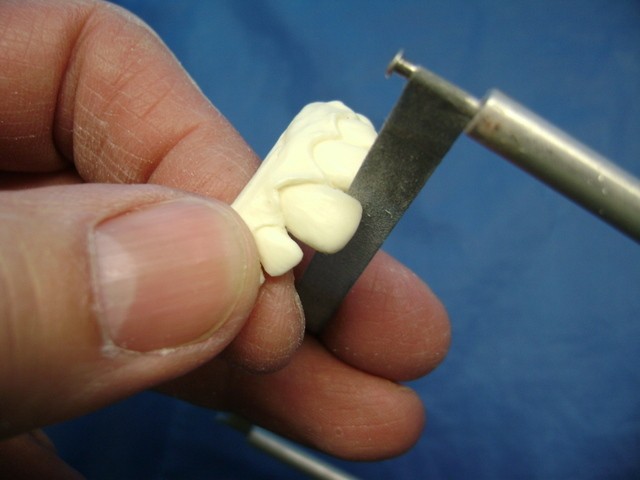
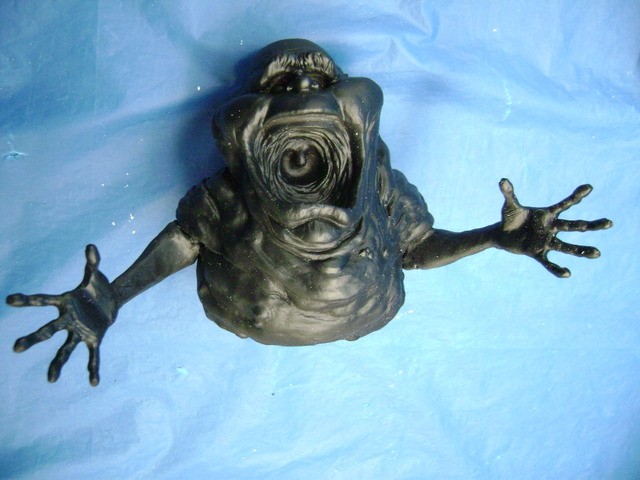
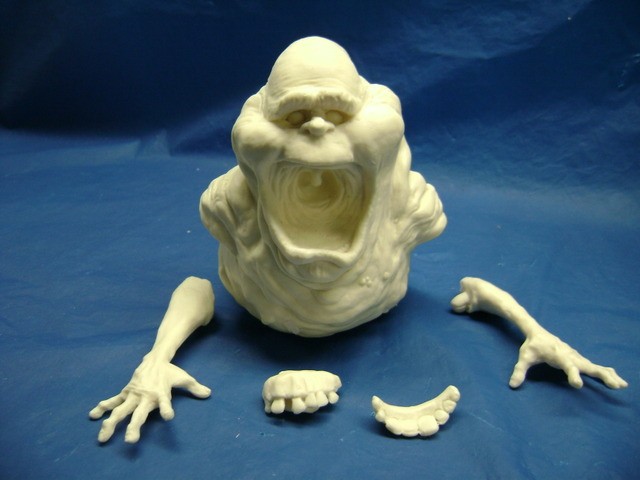
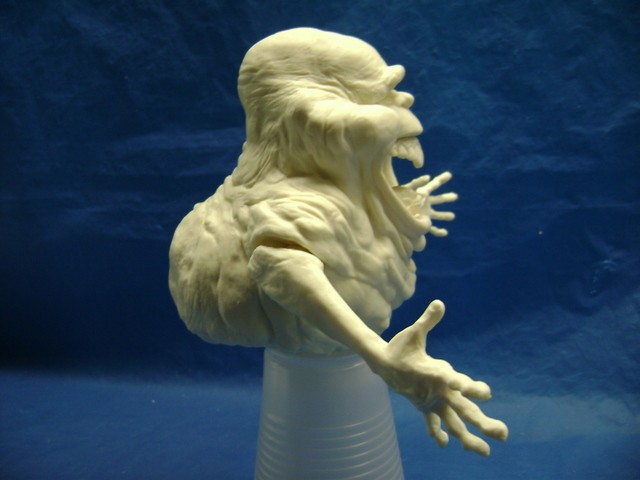
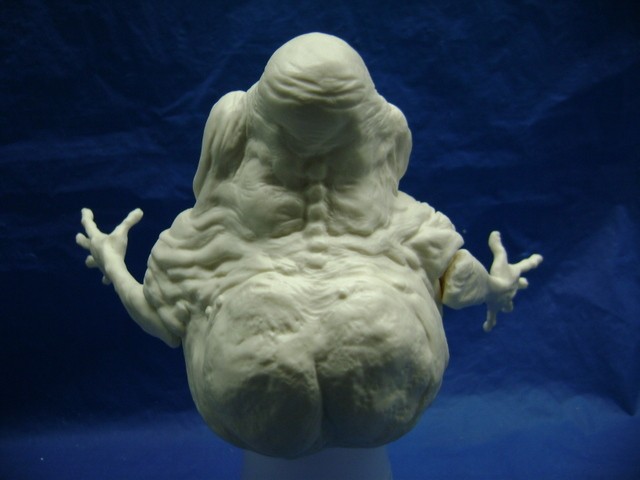
Five easy to assemble parts. Extremely nice casting job with no noticeable seam lines. Only thing I found were two flat spots, one on the top of his head and a smaller one on his right side. A little scribing and it will look as wrinkled as the rest of him.
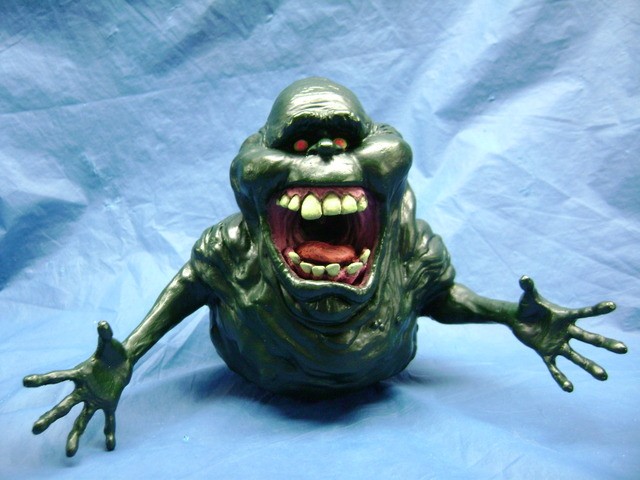
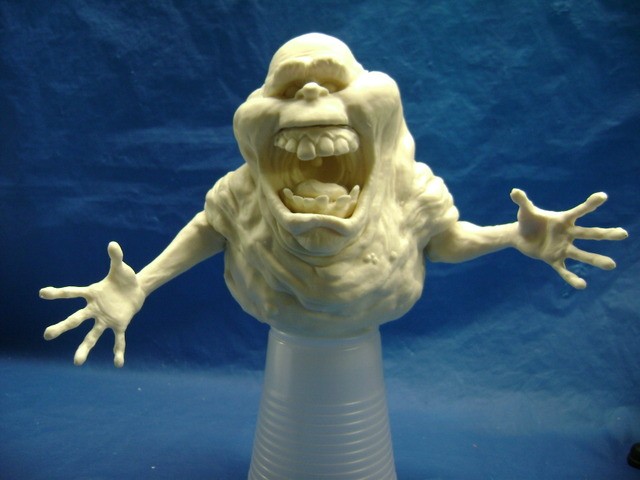
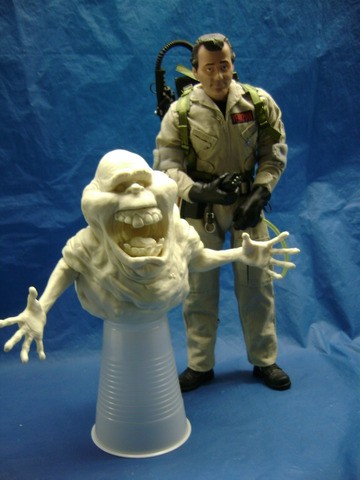
I put him together with non permanent putty for these shots. He looks to be about 1/6 scale.
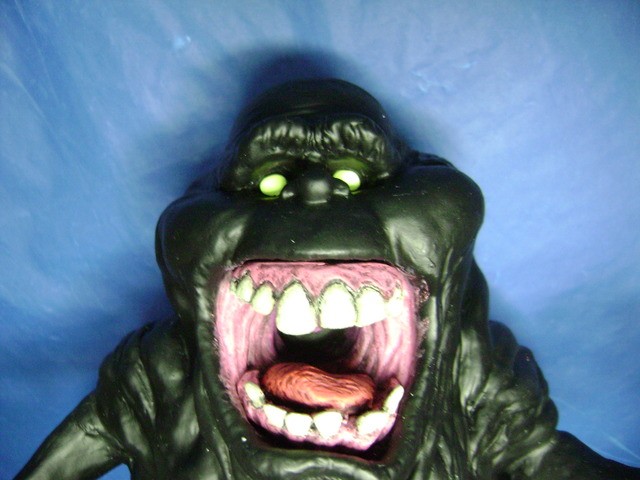
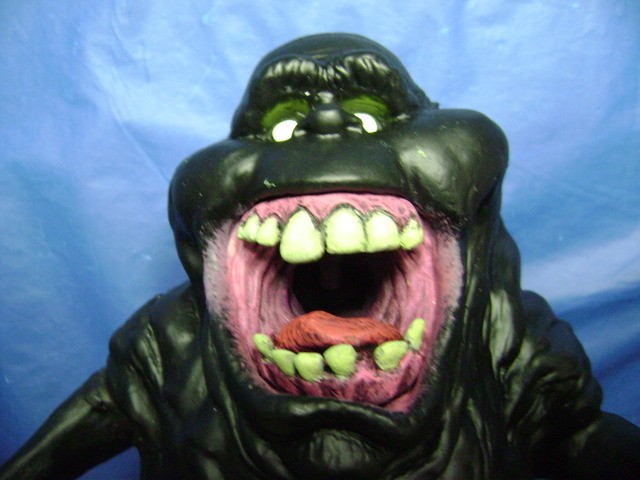
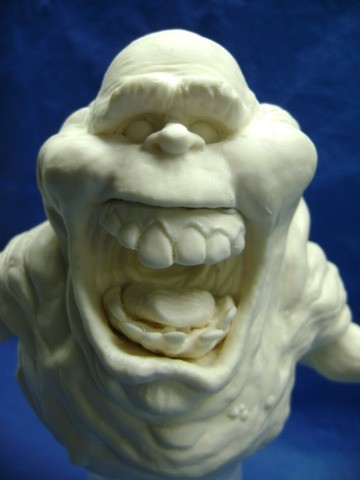
Ready for the close up?
And most important of all…how does he look along side of a 12" Venkman?
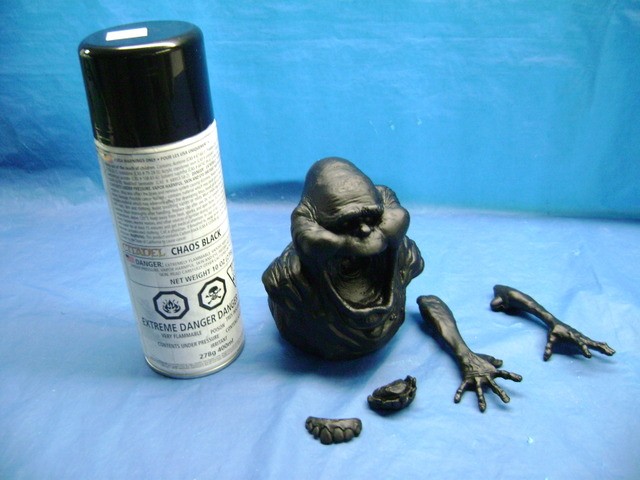
Awesome! Can’t wait for the Weather to get nicer so I can spray his primer coat and get to painting.
Weather has been jumpy here. It just happened that a high Temp, no Rain and Time Off all lined up so I was able to get him primed.
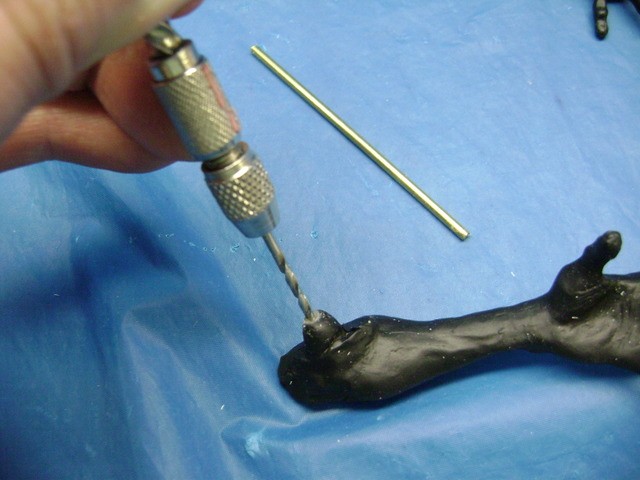
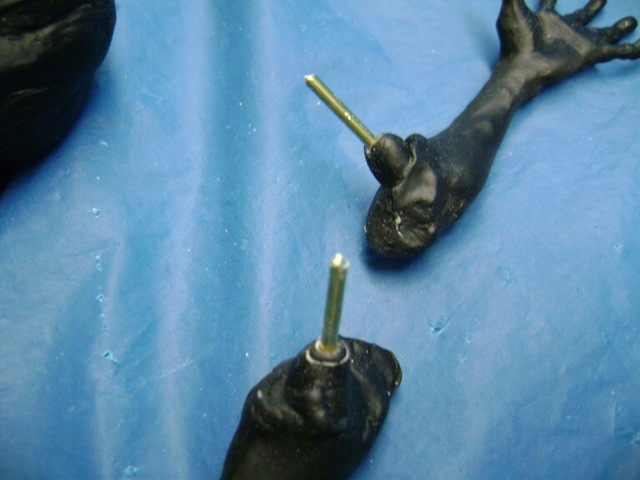
He’s had plenty of time to dry so we’ll attach his arms. Got some Brass Rod and a Drill Bit the same diameter. We’ll drill a hole in the Stub that fits into the Body. Yes, I’m using a Hand Drill, Electric would do fine but you run the risk of going out the other side as the resin drills real quick.
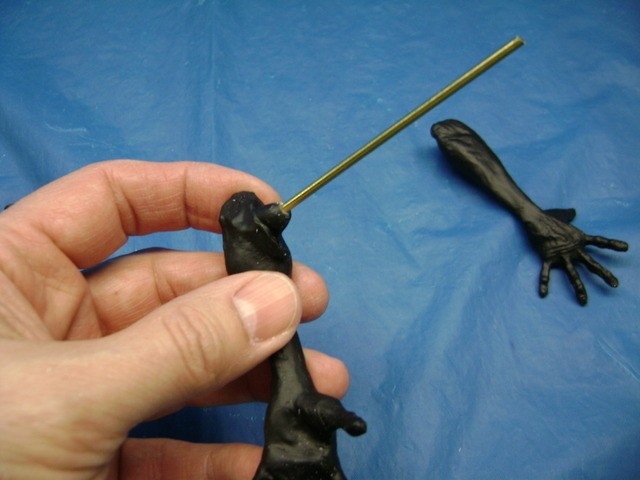
Slide in the Rod and cut it just above where it pokes out of the arm.
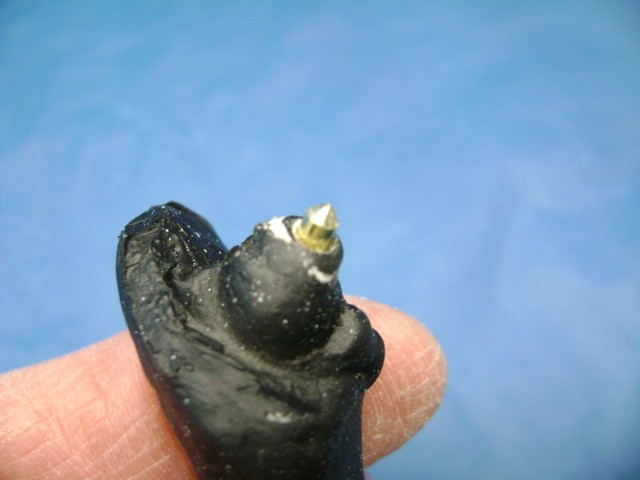
Take that short piece out and give it a point. I used my Dremmel and some Sand Paper. Once nice and pointy, place it back in the Arm.
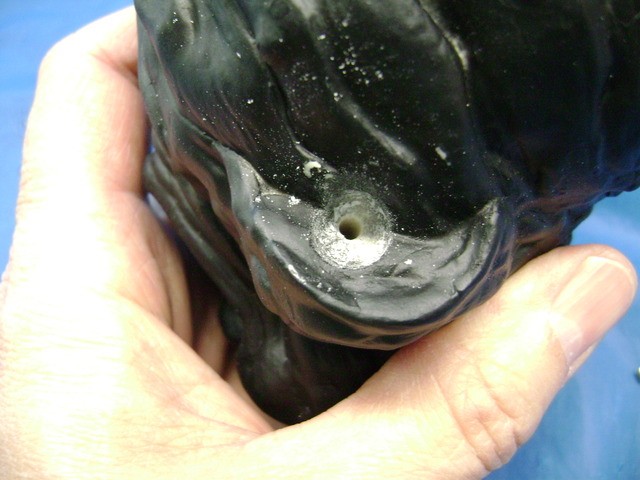
Now we can line the Arm up in the Socket and give it a press which will leave a Mark. Drill a Hole using the Mark as a guide.
Do the same for the other arm. Now we cut some Rod long enough so it will seat into the Socket Holes we’ve drilled out and glue them into the Arms. I’m using Super Glue for this.
Once dry, we test fit the Arms to make sure they seat properly. The Rod can be shortened if too long or bent if the Angle of the two Holes don’t exactly match. Once satisfied with the fit, Super Glue and let dry
Time permitting, we’ll do some Putty Work later today.
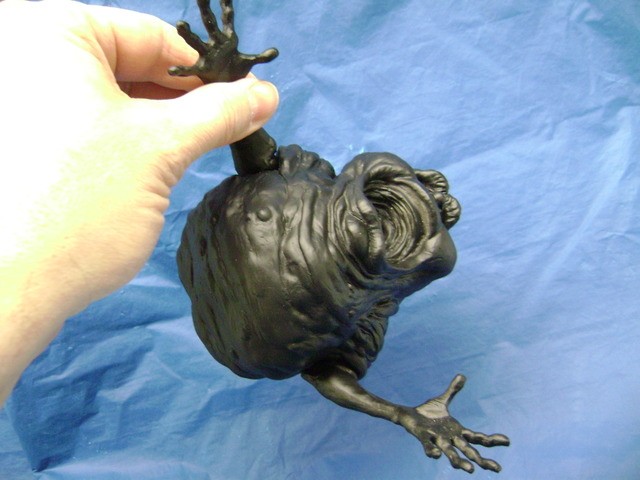
For those who think that just gluing the Arms on would be fine, you are correct, they would stick to the Figure. But I wouldn’t try doing this. Yeah, I’m shaking him.
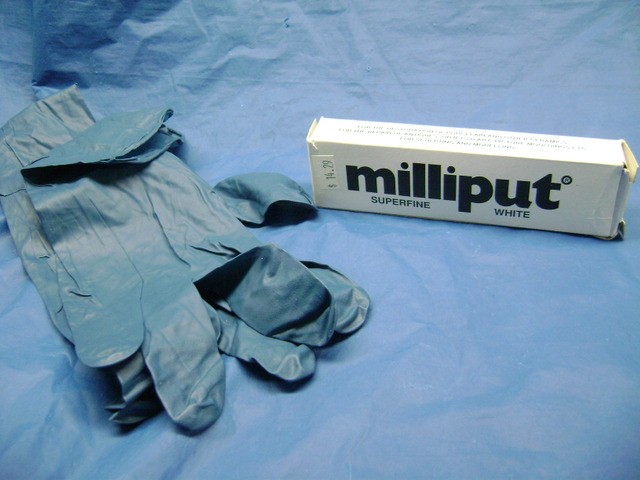
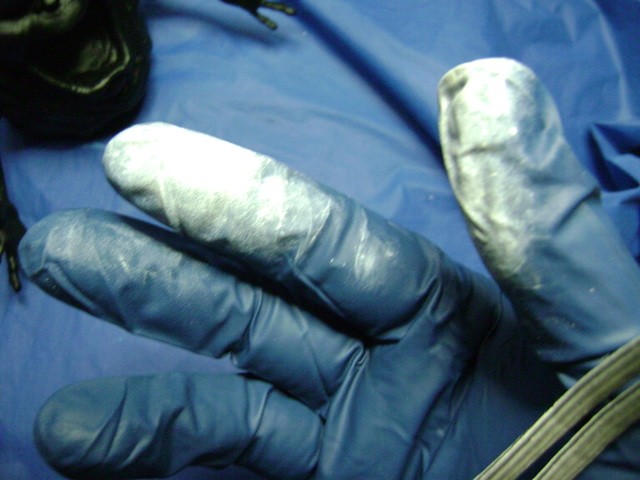
Now that the Glue has set, we can fill in the gaps. For that I’m going to use Milliput Putty. I’ll wear gloves to mix equal amounts together.
While Milliput does clean up with water, the gloves will keep your hands much cleaner.
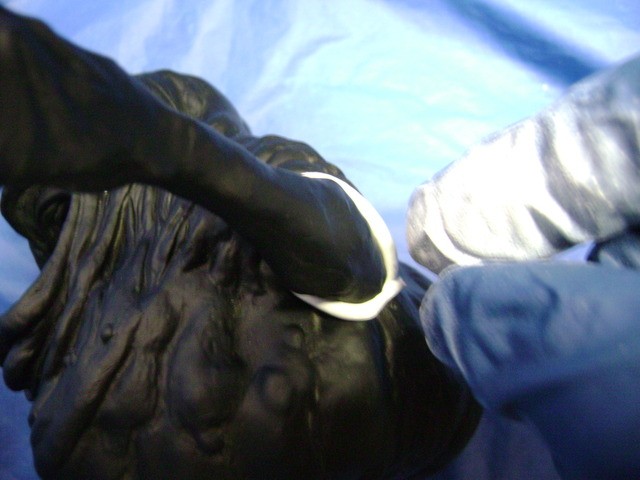
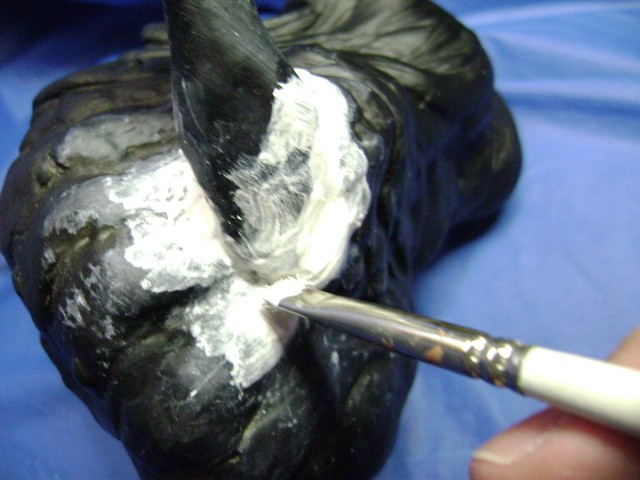
Once the two parts are blended together, roll it out into a thin “Snake” and place it around the gap between the Arm and Body. Black Primer and White Putty, nice contrast, eh?
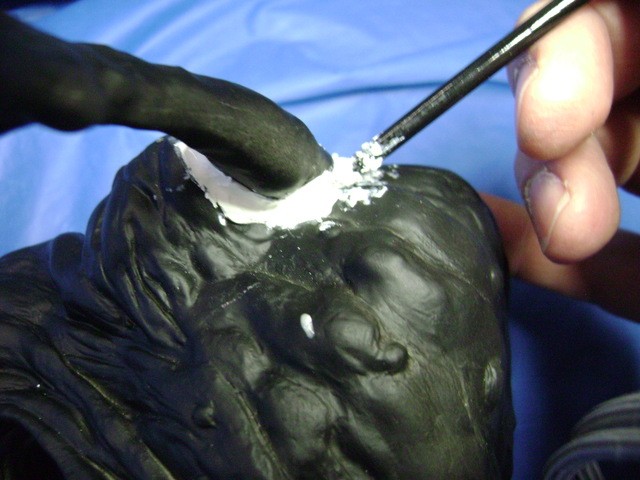
I took my Gloves off as I don’t need to directly touch the Putty. I’m using the end of a small Brush to push the Putty “Snake” into the gap. You can then dip the end in water and run it around the joint to start smoothing the Putty.
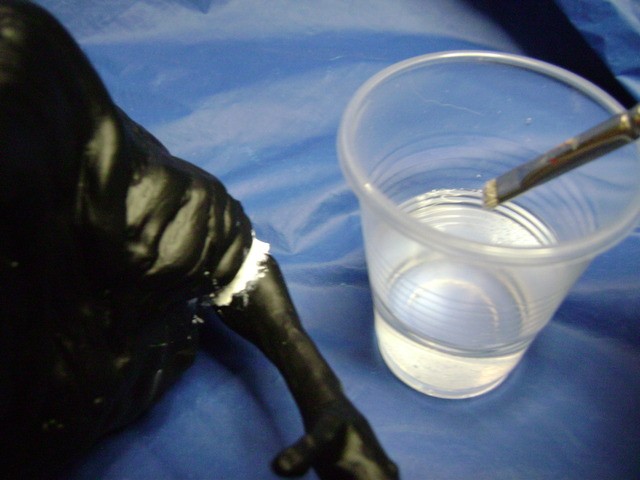
I’m using Water and a Brush with stiff short Bristles to continue blending the Putty around the Arm.
As you can see, the Water softens up the Milliput quite a bit. Don’t use too much or you will wind up with Paste instead of Putty.
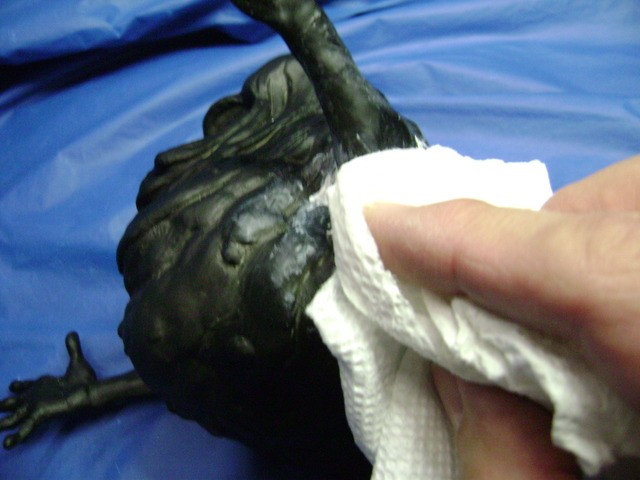
Dipping a clean Paper Towel into the Water, I use it to get rid of the excess Putty “Slush” so I can see the Joint.
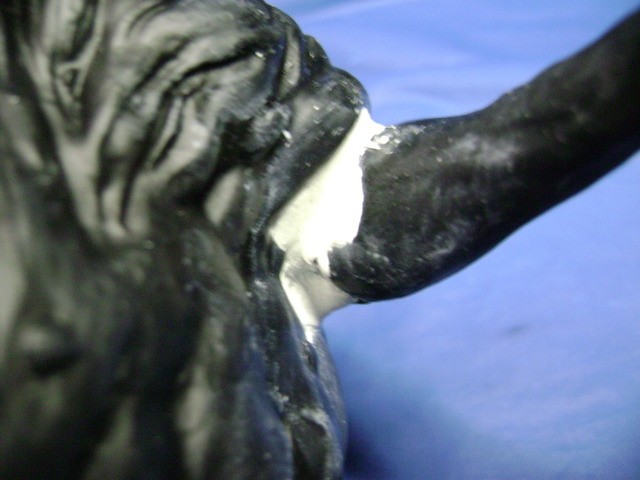
Repeat the Brush and Towel process until satisfied with the joint.
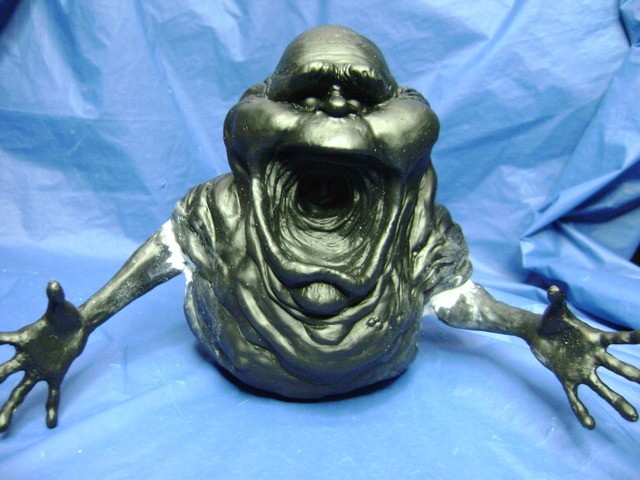
Same thing for the other Arm. Now we let it dry, sand if needed and then hit it with Primer.
I’m loving this build thread! Great job! Onionhead garage kits are super cool and seldom pop up. There’s really not even a ton of info on what is out there. I have an incomplete resin cast of an old Japanese Onionhead kit. it’s pretty rough… needs arms and teeth.
Had a small break in the weather and was able to prime the patches, now to start painting.
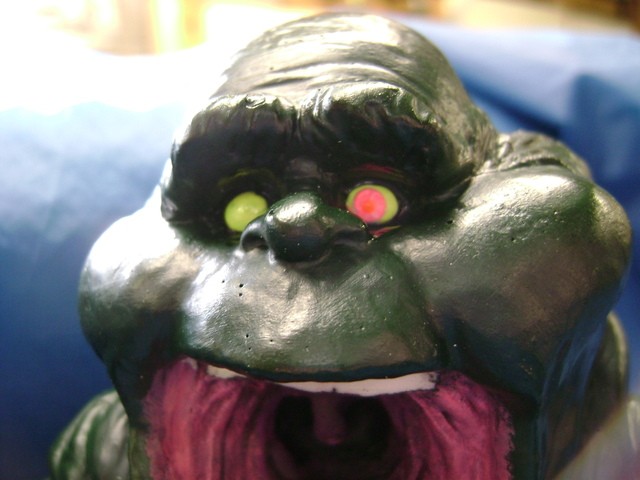
I hate painting Eyes, they never come out the way I want them to and Slimers are going to be even more fun as they are set very deeply into his head. I think we’ll cheat a bit here and make Decals for the Pupils. First we have to get a Base Coat of White on them.
Next a coat of Fluorescent Yellow which shows up White in the pic save for the reflective glow around them.
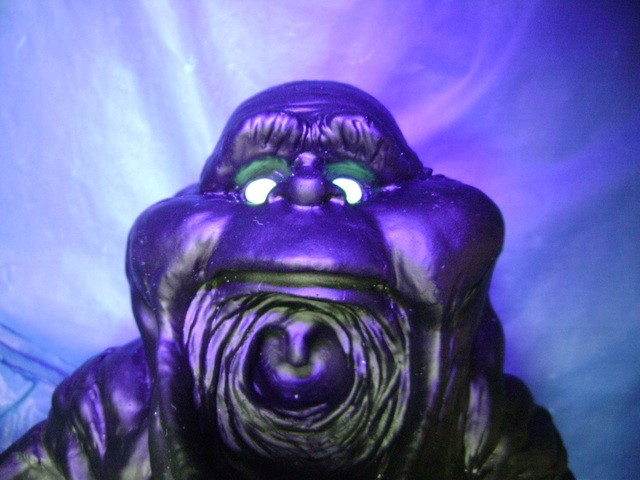
Here it is under Black Light, sort of the same only different.
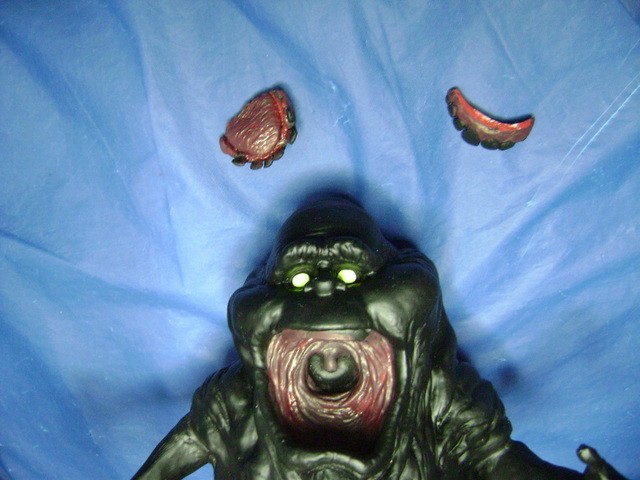
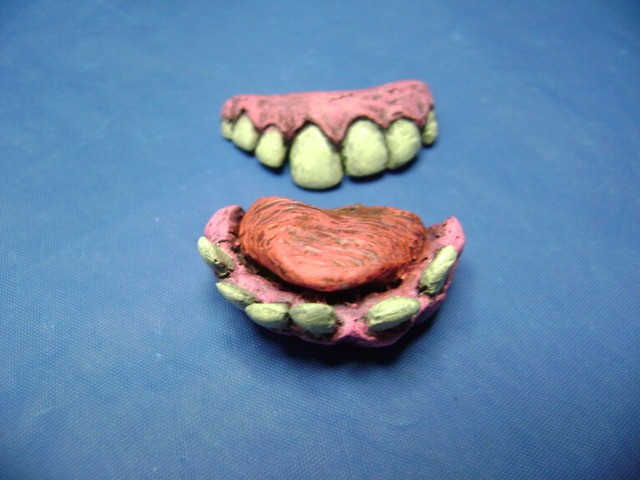
We start painting his Tongue, “innards” and Gums with my favorite color, Scab Red.
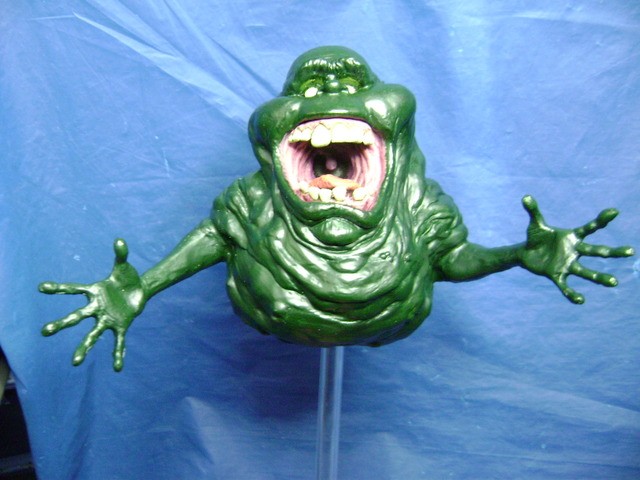
Dark Green Base Coat is done. As he doesn’t come with a Stand of any kind, I thought I’d put to use a piece of Acrylic Tube I had kicking around the workbench.
Best guess on what the middle would be and drilled. Now I have to come up with a platform to attach it to.
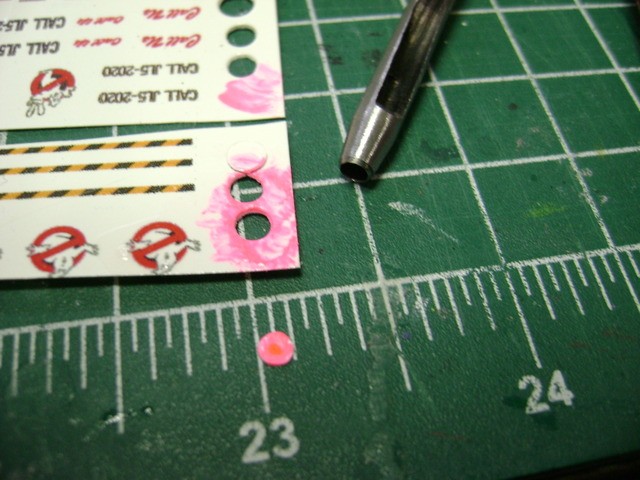
I had some Decals lying around and a few had enough room to make Slimer’s Eyes. To do this, we paint a section with Fluorescent Pink and let it dry. Once dry, we coat it with Clear Gloss Acrylic and let that dry too.
We use a 1/8 inch Hole Punch and punch out two “Eyes”. Each one gets a dot of Fluorescent red in the middle for the
Iris. Let them dry and put in as usual.
We can use a wet Brush to push the “Pupil” into position and let it dry.
Once in position and dried, we can paint them in place with Clear Gloss Acrylic, makes them nice and shiney.
Small update. Taped off this Eyes and Mouth so the Dry Brushing could begin. He’s got one coat of 'Snot Green" and a Mixed coat of Fluorescent Blue and Green.
Next step will be to hit him up with just the Fluorescent Green.
 Actually they will be Fluorescent Paints that glow under Black Light.