As you can tell I am pretty new to this forum, but I have already put together a decent uniform and pack. But now I am focusing on building a new trap.
As most of you probably know, Sean Charlesworth creates files for a hybrid ghost trap to thingiverse.
So I will attempt to build one (emphasis on attempt)
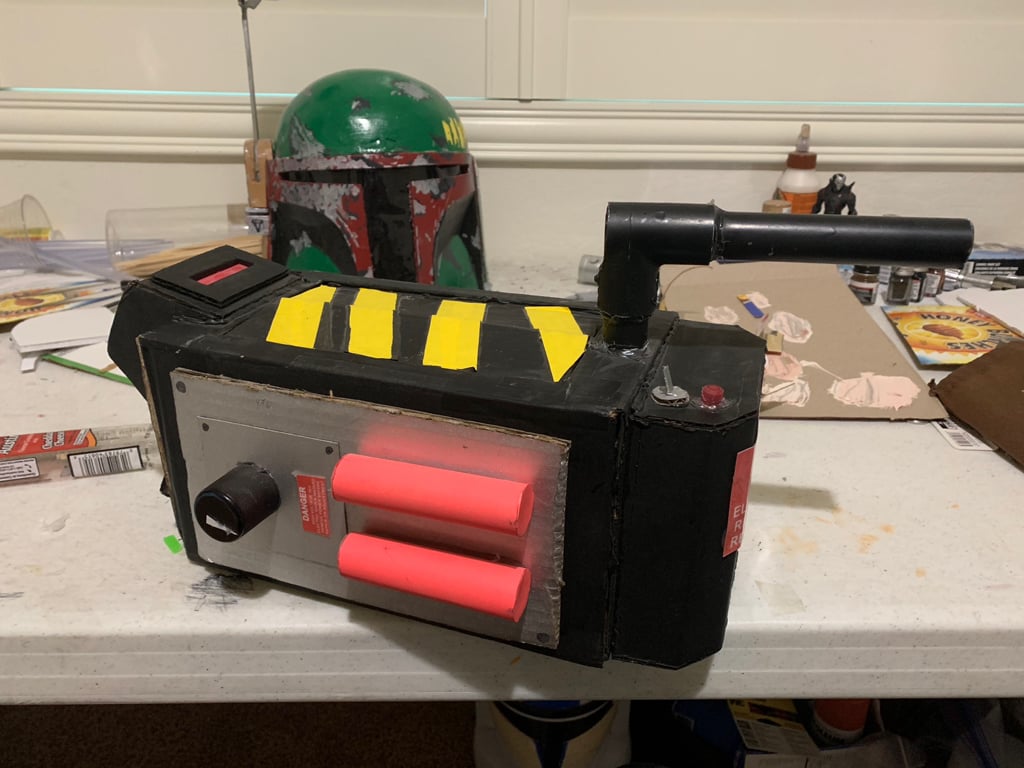
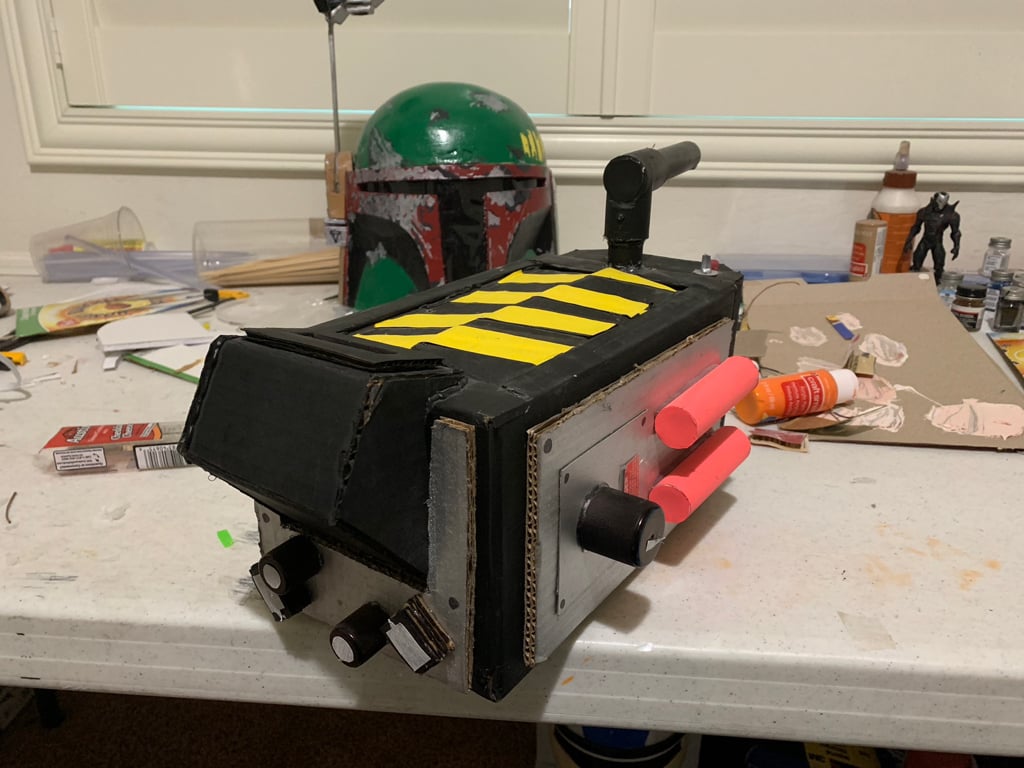
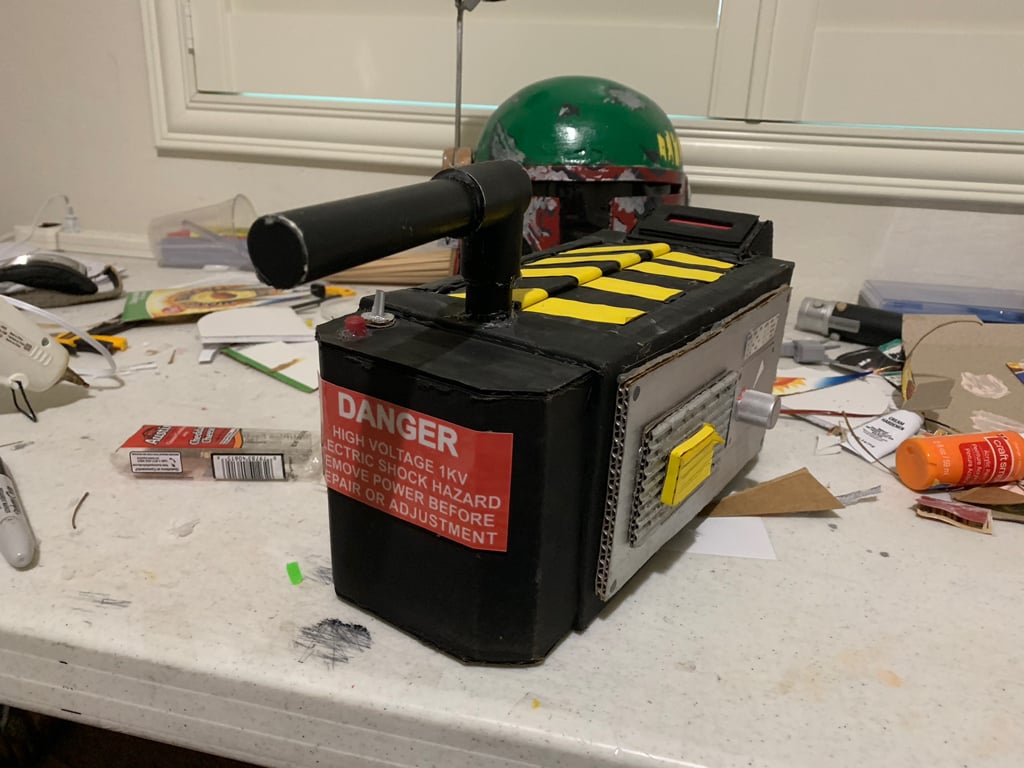
About two years ago I was going to a Halloween party as a ghostbuster, my uniform was good, I had the patches, a uniform, a pack, and a PKE meter (the pke and the pack I plan to remake in the future). It was a week before the party and I didn’t have a trap, so I hastily made one
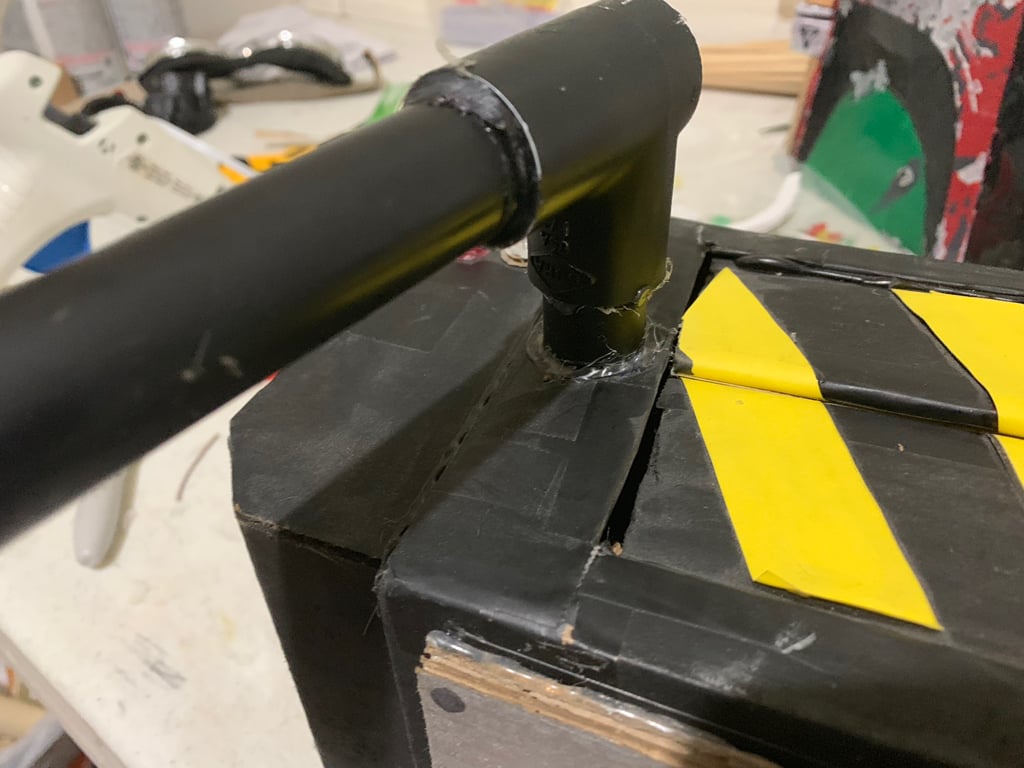
As you can tell it sucks, I am very embarrassed of it. Its falling apart, the handle is broken, it is as far from accurate as you can get and it’s made of cardboard.
So I will be posting updates as often as I can on my progress, so please be critical, I need as much advice as I can get to make this good.
I use a creality CR-10 just in case anyone is wondering.
You know, other than the chunky red side rails, and being a little oversized, that’s a pretty damn good cardboard trap! Some nice details there. Best of luck with the new trap!
Even though nobody is really following this, I’ll just post my progress for my own record keeping.
So I have made a lot of progress, I printed the main parts, cleaned them up, assembled and painted them.
I still have a decent amount of printing left, but it’s starting to come together
I plan to put actual socket cap screws to give it a more real look, but for now I’m not planning on adding electronics. I still need to print the pedal, and acquire some more pieces, but I am happy with what I have so far
TragicManner, I just use this spot putty and a lot of sanding to get my prints to a good finish, but it is very easy to use, I just get some on my finger and touch up any imperfections or layer lines. Afterward, it’s pretty easy to wash off with some water.
I’m likely going for the printed panels, but I will screw them into place so I can replace them later if I want to.
Shortly after I built my pack I bought one of Nickatrons trap kits and did nothing with it. That was 6 years ago and now I’m thinking of building myself a trap.
So I’m watching your build to decide if I go down the 3D printed route or stick with Nick’s mark2 trap kit. (Or a hybrid of both)
I would go with the Nickatrons trap for a base and supplement it with some 3D printed pieces. That way you have more customization options. And I’m very interested in seeing a hybrid trap.
Simcarr, I would go with the Nickatrons trap for a base and supplement it with some 3D printed pieces. That way you have more customization options. And I’m very interested in seeing a hybrid trap.
Glenn Frederick, I think he must have updated the files because I just printed them as is
I used a Rustoleum satin black primer. I didn’t like the look of the matte spray paint just because the shine mixes better with the dry brushing and weathering.

 Best of luck with the new trap!


