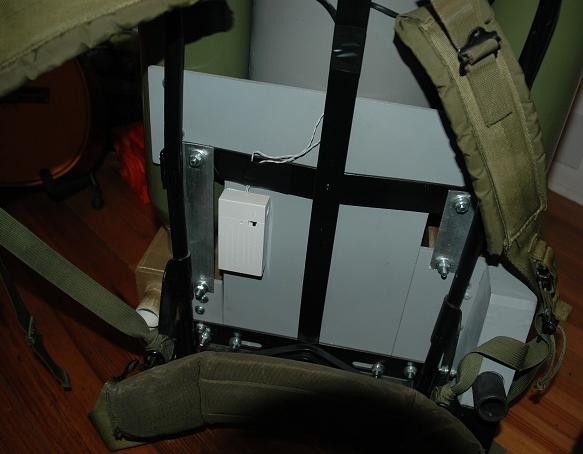
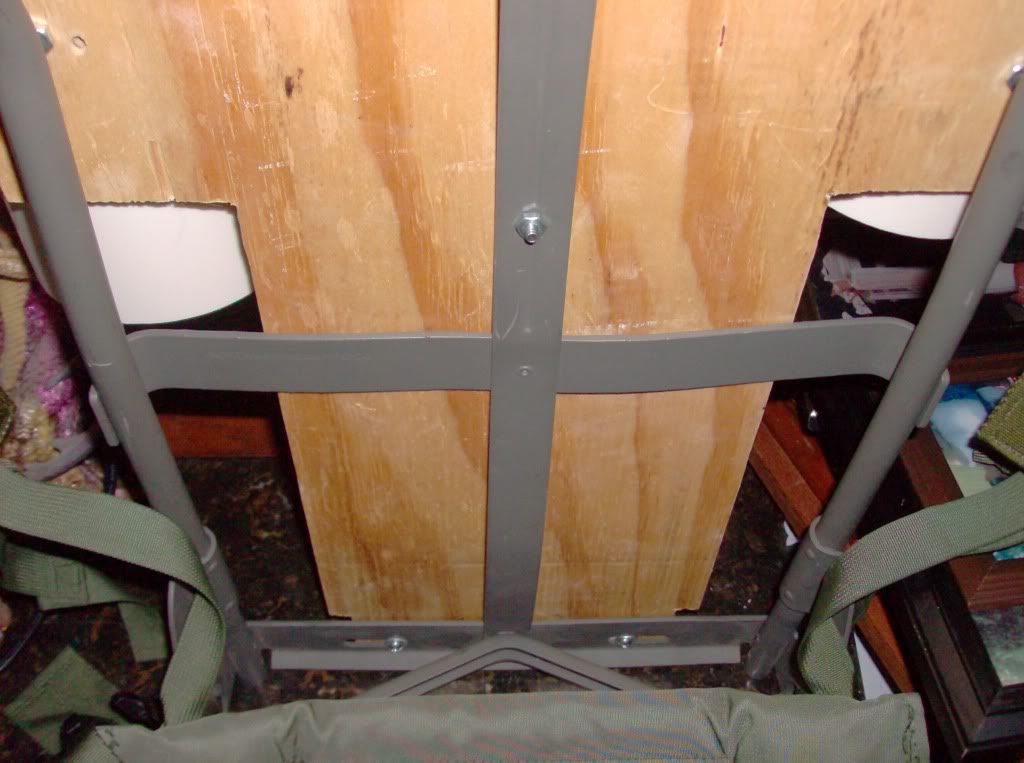
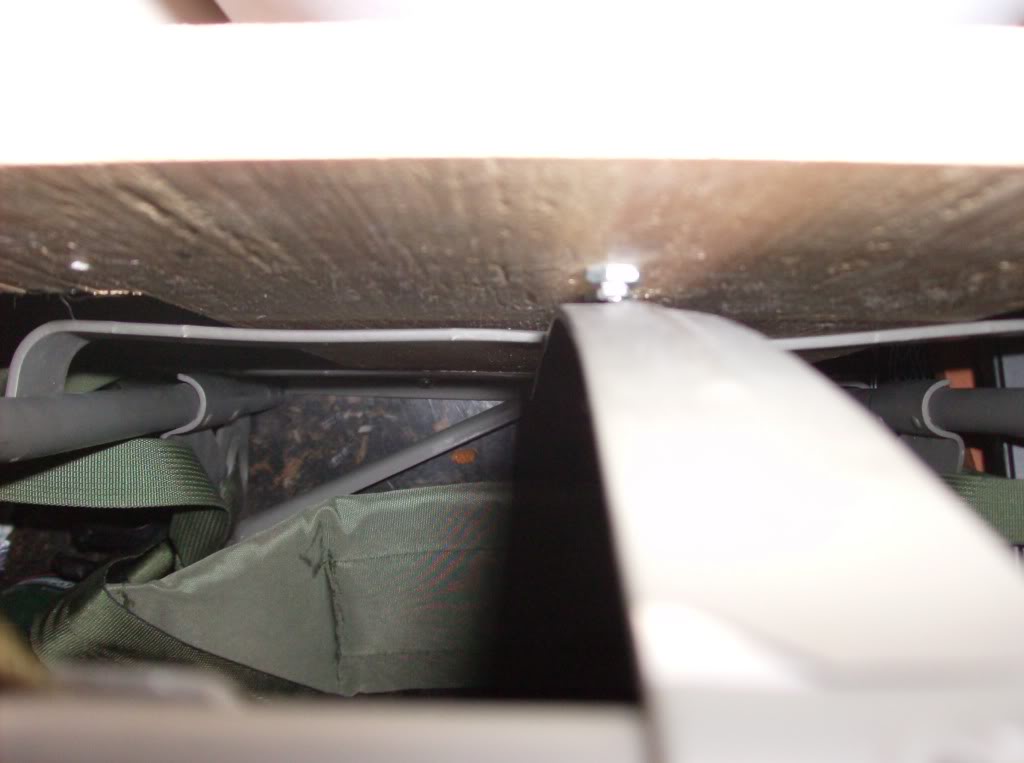
Yeah! I can’t believe I finally started working on my first Slime Blower. It’s going pretty will so far as well. The material list is, a concrete forming tube (8in), two ABS 4in pipe, and MDF wood. So, here are some pictures.
I do have a few questions though. First, how would I go about securing the cardboard forming tube to the wooden Mother Board? Second how to secure the ABS pipe to the Mother Board? Thanks in advance for any advise.
Slimer7 already entered stage left on proptopia with some good advice. Me and my dad mainly used toggle bolts for most of it. My main tank was already painted and closed up so I think you’re at an advantage to support it more from the inside as Slimer7 said. I’d just get it secure in as many places as you can since I guess the top part of the main tank sticks out a bit. Maybe 3 or so? Top middle bottom of the board. I dunno!
My dad’s concern was the bolts wouldn’t work because of the thinness of the cardboard tube but it’s really not heavy enough on the top to where it would be pulled on or rip. It’s durable as hell. I have to get back over my folks house to be able to talk about it more and remember what I did anyway.
A couple of bolts for the green tanks on the part of the “T frame” that sticks out. Everything is supported a little higher by the top of the alice frame by a metal bar to grab the tanks more from the top as well. I didn’t end up caring too much what the back of the pack looked like given that you really can’t see much of it in the movie as it is.
So, how long are these tank/tubes? As well as the actual diameter of the main tank? I believe the main tank was 11 inches? I’m starting a build myself. Thanks for any info.
Sorry for chiming in late, but on my pack I used 2 #10-24 X 1". I drilled two holes in the main tank and then the mother board, put the bolts in the tank with 1 nut a piece. Then put the tank to the mother board on with nut and lock washer. It actually sat amazingly flush for a great fit and the bolts stayed hidden behind the alice pack.
Sorry for the crappy shots but you can get an ok idea of what I did however Zack an Speedmonkey were huge inspirations for my pack. And for the side tanks i did the same thing except also used a two part epoxy to help hold it where the side tanks meet the main tank. Hope this info helps…
No problem, the last post made in the thread was 09. I have all the intentions to finish this thing. Being poor as hell doesn’t help anything though. Also, thanks for the info. I did, however, received information on Proptopia when I began this project, and the person suggested to build wooden boxes and shove’em into the tanks. Then that way I can just screw everything onto the motherboard.
Just have to find 4" domes for the side tanks. My goal, for right now, is to get the damn tanks made up.
when the time comes to do the head rest, layer several pieces of rigid foam insulation, carve it to the correct size, the cover it with some batting and gray fabric, note that there is some black trim along the top and bottom of the padding that can be sewn on. Once you have the pad covered, take the extra fabric on the back side and use some nails to hold it in place on the foam, to mount the head rest onto the main tank, use some wood dowels as “pins” along with a generous amount of liquid nails.
lookin great Ty…yeah the vegetable chopper is VERY HARD to work with as far as getting holes into it and getting it to fit..and though it worked it was a somewhat pricey option…well like 13 or 14 bucks if I remember but looks great regardless…
How long ago did you get the chopper i cant seem to find one at my local wal mart an cpu64 i have tried rolling it out of the flashing i used for the gun and many many cuts in my hand later an they all look like ■■■■ idk what im doing wrong
It was a really snug fit. I haven’t done anything to permanently mount it yet. The main body is ducting pipe, made from sheet metal. I’m thinking to attach everything with sheet metal screws.

 Me and my dad mainly used toggle bolts for most of it. My main tank was already painted and closed up so I think you’re at an advantage to support it more from the inside as Slimer7 said. I’d just get it secure in as many places as you can since I guess the top part of the main tank sticks out a bit. Maybe 3 or so? Top middle bottom of the board. I dunno!