valentino_42's Scratch Build - I came, I saw... I Finished!!

First, I’d like to thank everyone with the assistance on the wiring, I’ve got it straightened out and it looks amazing.

I got antsy last night and decided to push through the weekend and finish my pack.

The Specs

Construction: wood

Paint: Rustoleum Hammered Black

Weight: 25 pounds (amazingly?)

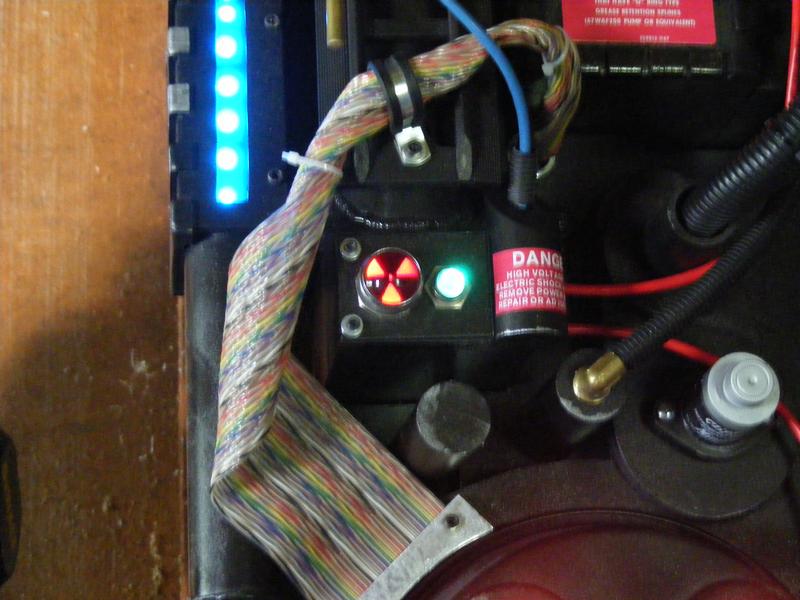
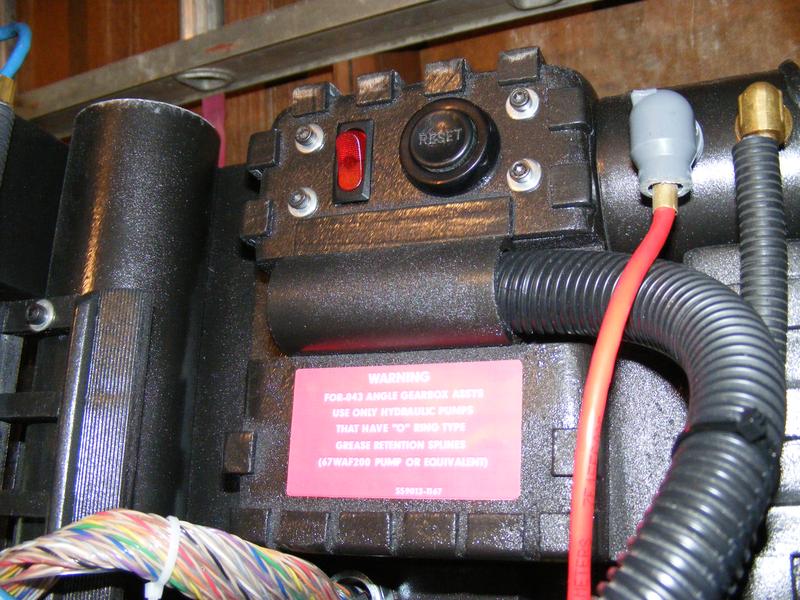
Customizations: additional light(s) on the PPD, lighted power switch, reset button

Decals: HPProps sticker sheet printed on Avery Weatherproof Labels

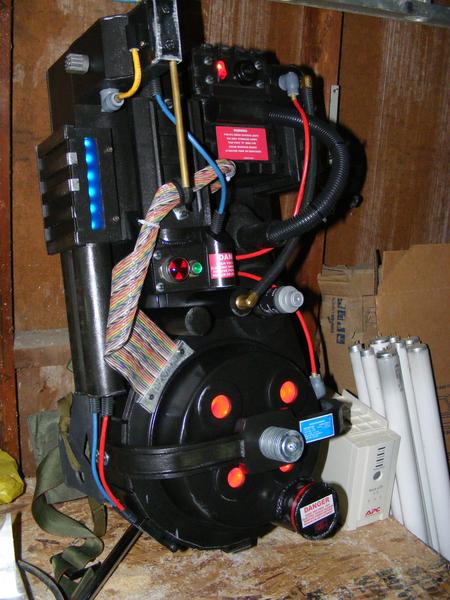
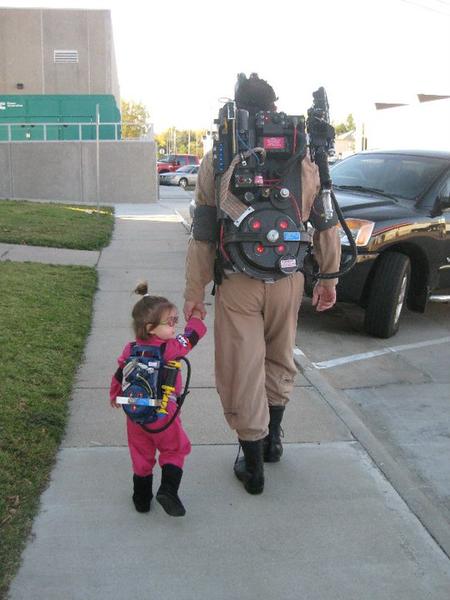
My God what a handsome back of the head!
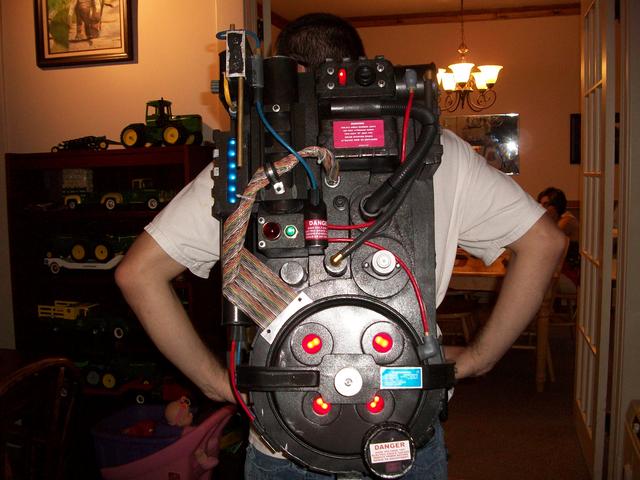
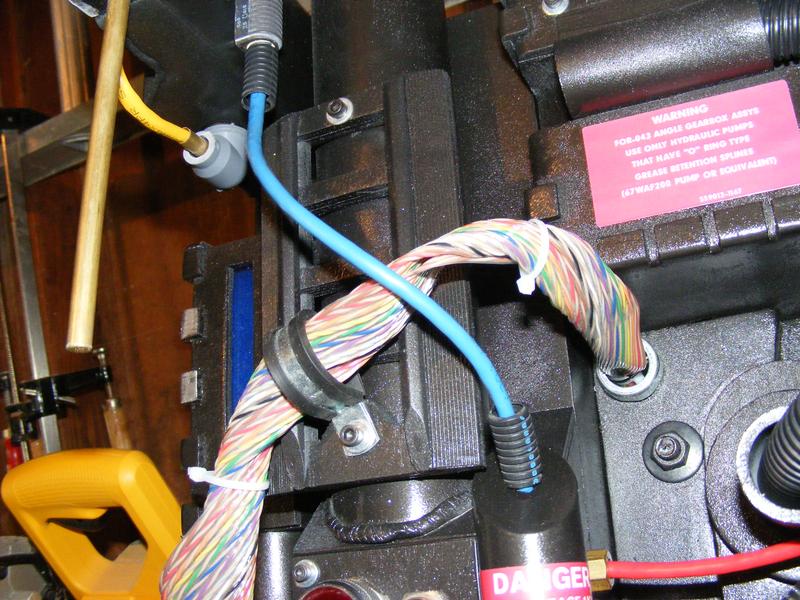
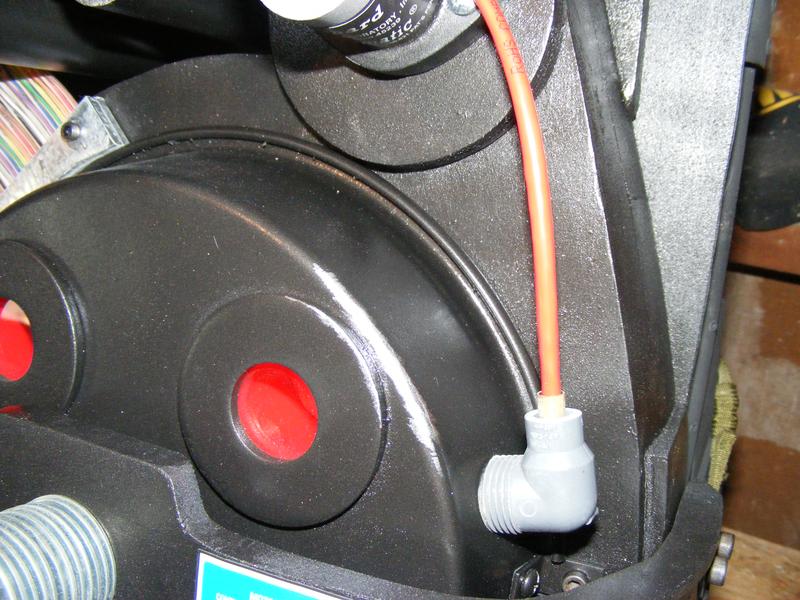
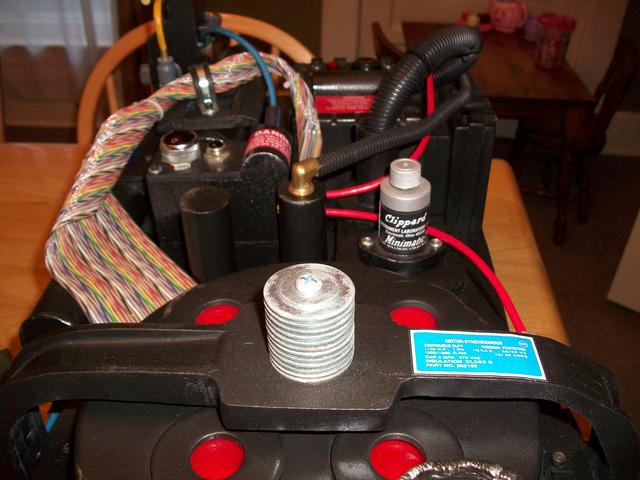
A slightly closer picture here. You can see my fake-o Legris elbows pretty good here. Not too bad all things considered.
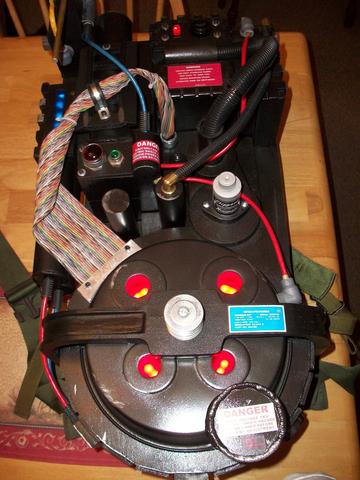
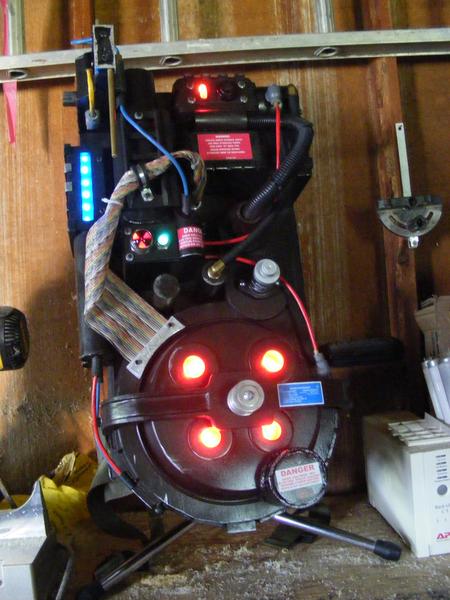
Some different lighting here, and before anyone mentions it, let me say that I know this is certainly not a movie accurate pack.. I’m using ethernet cable instead of tubing, I’ve got the wrong brass elbows, my lights don’t cycle, etc. Admitting your problems is the first step towards recovery, right?
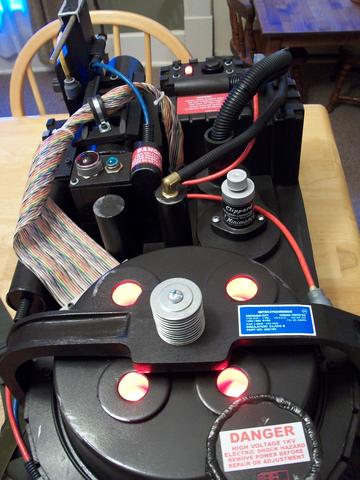
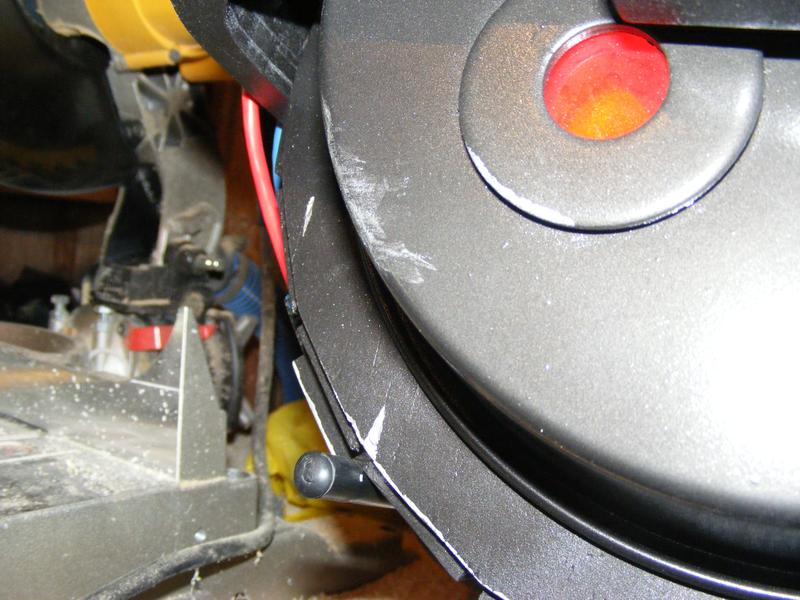
If you look on the power cell, you can see my homage to Ray’s scratched pack from the Sedgewick Hotel. After debating it in my head back and forth, I decided I liked the idea of weathering, if only to mask imperfections. I don’t think I went overboard, but I figured that I should at least hit the areas of the pack that seem like they would get scraped in real like.That meant hitting the fins and just a tiny handful of prominent edges.
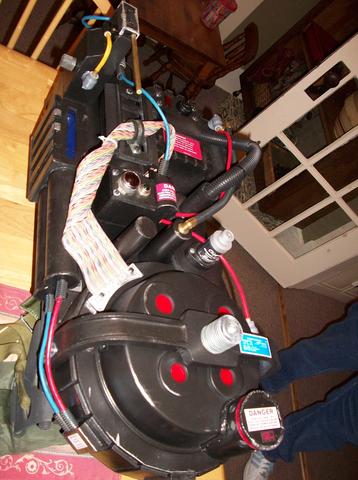
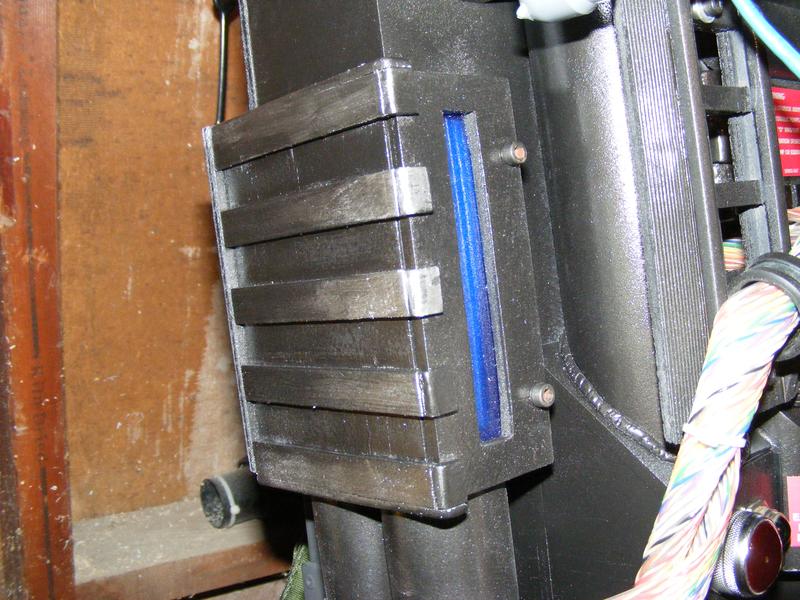
PPD Lights (Sorry for the blur…):
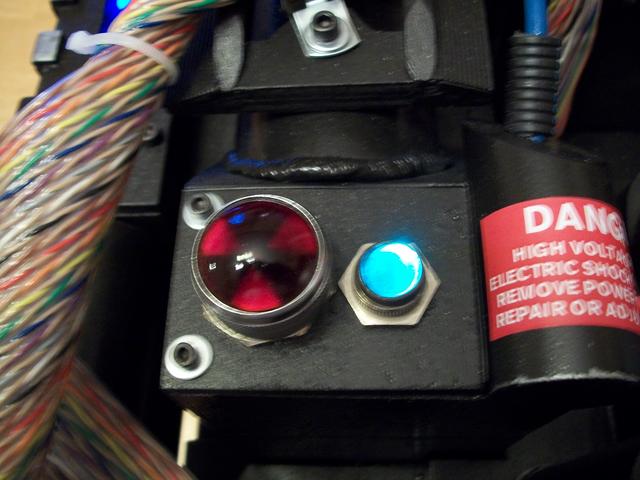
I cannot recommend Rustoleum Hammered Black paint enough. I just love the way the finish turned out! Glossy in some lighting conditions, flat in others. Really gives the impression of being a cast metal shell with pitting and whatnot.

I’d also like to thank the guys at superbrightleds.com for the lights. Great prices and fast shipping. I recommend them for any scratch builders that are satisfied with static lights.

One more thank you to irricanian from Multimedia Mayhem. He provided the resistors and Spectra ribbon cable. Great guy to work with.
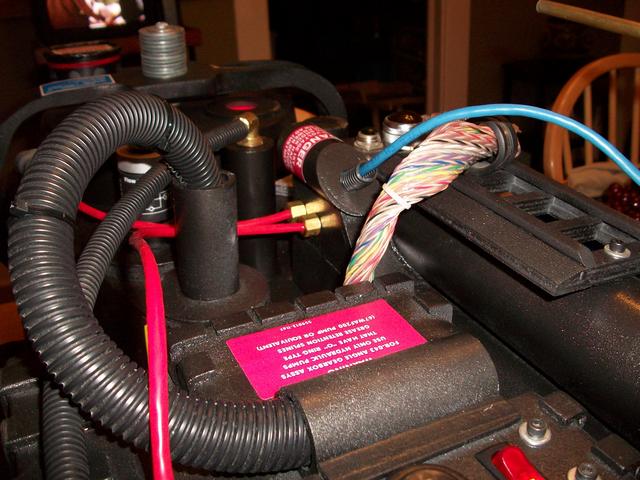
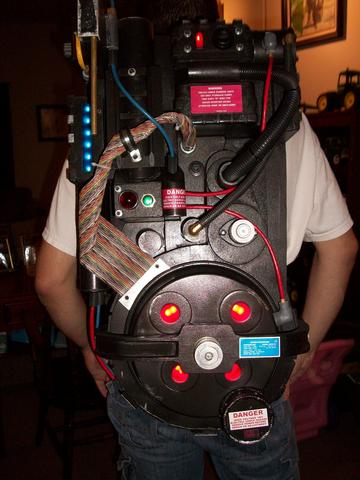
I’ll try and take some low light photos at some point to show off the lights a little better.

Now I just need to start in on the thrower…
AMAZING WORK! Be proud of that pack, it’s a beauty! :crunch:

Here’s a few more pics I snapped this morning.

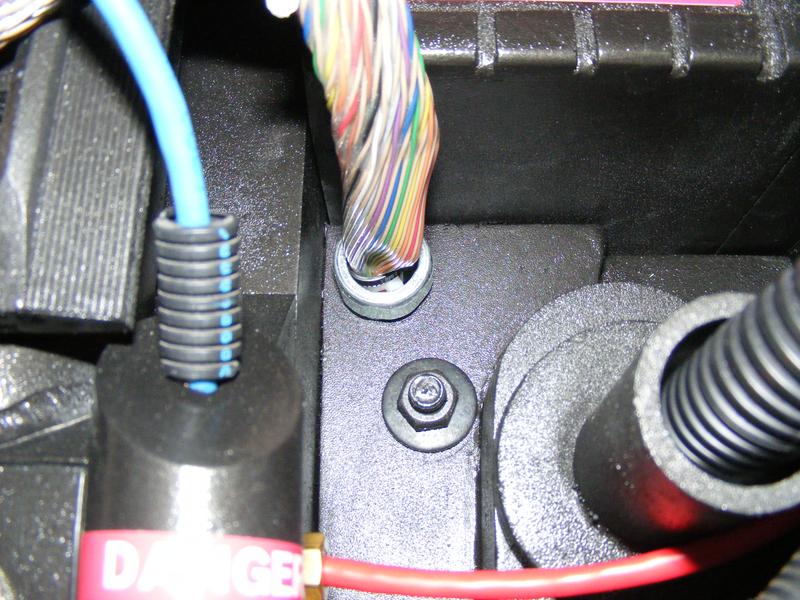
I ran my ribbon cable through a screw down metal grommet rather than just have it poke into the cosmetic plating. I like how it turned out.

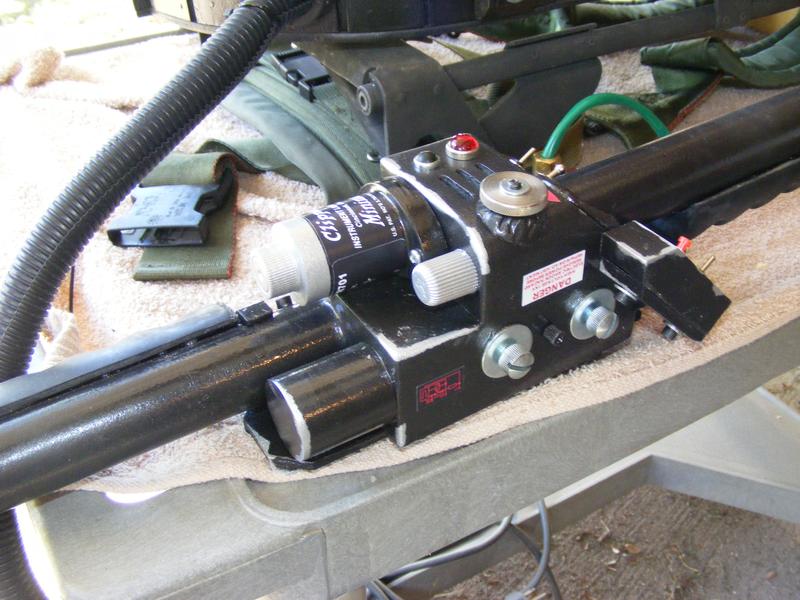
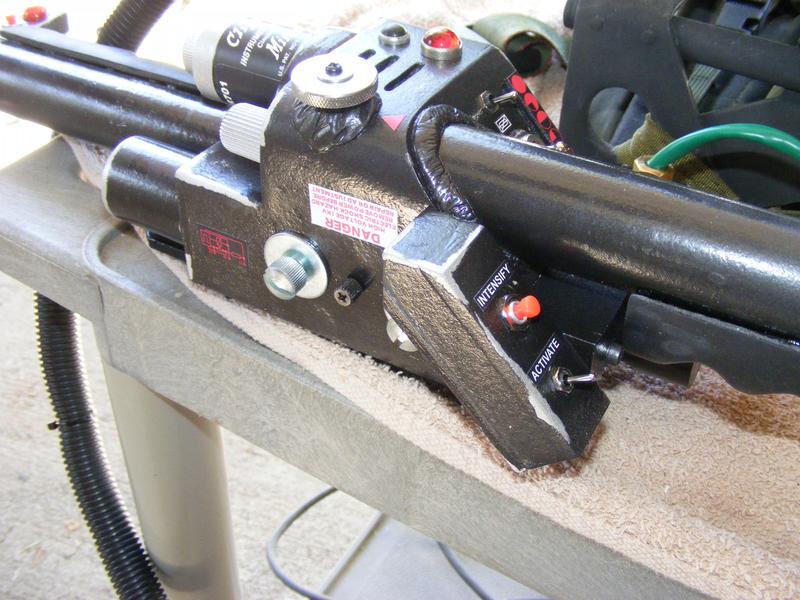
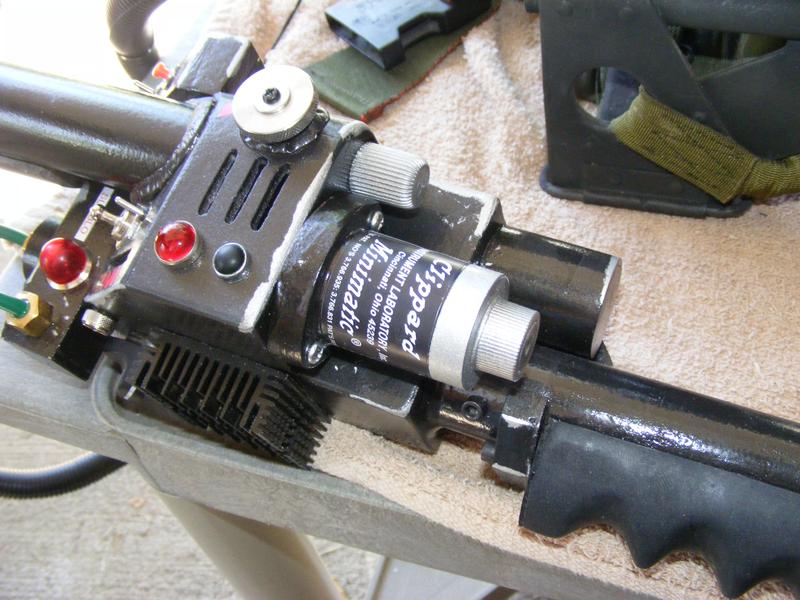
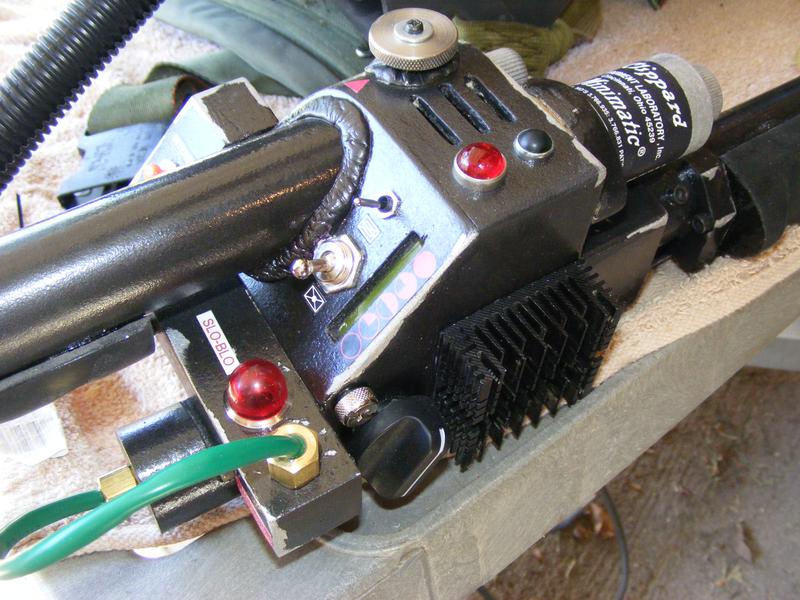
The PPD lights:

Subtle weathering on the fins of the power cell:

My hand made booster ladder frame:

The customizations to the Gear Box:

A little more weathering:

Two more “hero” shots:

That really came out sweet! I love the crank box and aditional lights and switched you added.

What are the plastic L connecters you found for the cabeling? The only thing I could come up with were solid brass, and pricey. (I could have probably bought the proper connectors for the price, but it was October, and I was pressed for time.)

They were gray plastic irrigation elbows I picked up at a farm and home store. I can’t find an exact picture of the ones I got, but they were similar to this black one:

The cool part was that since they were already gray, they didn’t need any paint.

I basically just used a pvc cutter to cut the barbed tip off, and then I cut some of the thread off the other end to give the appearance of being screwed into whatever part I epoxied it on to. I picked up a hollow brass tube and cut it into short sections, then used epoxy putty to recess it inside the fittings.

For the price, I’m pretty happy with how they look. A trained eye would know they aren’t legit legris elbows, but I think they give off enough of the right vibe to pass them off.

I used the remaining brass tubing to make the brass rod on the ion arm. I simply filled the ends with more epoxy putty, masked off the tube, and sprayed the puttied tips with brass spray paint.

So all three “legris” elbows and the ion arm rods for less than $10.

Nice work,

That red dome light would be perfect for the gearbox indicator on a video game pack.

Actually I did find these in gray after our builds.. I just never thought about cutting the barbed portion off.

I might still do that as an upgrade, since they at least look closer then the brass fitting I currently use.

All these cool builds keep me inspired to do the best I can.

I love the ingenuity and originality of your build.

Two Cheers,

Sebastian

I picked up some wireloom a few weeks ago for the pack. I used a small section of it already as seen in my pictures to connect the gearbox to the sync generator.

Anyways, this was split loom that Walmart had in the hardware section for organizing wiring and whatnot, which means it was coiled up tightly in a little bag. It was like $4 for 6 feet. From what I’ve seen, other stores like Lowe’s also sell it this way. Problem is, my split loom isn’t “straight” at all because of this. You can really tell how the tubing was coiled in the bag. Is there any way to take the (admittedly) minor bends out of it?

Soak it in boiling water and hang it with a weight on the end perhaps?

Anyone else run into this problem? Should I just find somewhere that sells split loom by the foot off of a roll?

Thanks!

Just started in on my gun body.

Again, it won’t have movie accurate lights, but I’m okay with that. I’m so pleased with my pack that I figured I would whip up a cheap simple gun for this Halloween and spring for a full gun kit for next year. I purchased a red LED to put in the barrel and a plain white LED to glow inside the box which will hopefully light up two more glass light domes, the top vent, and the yellow bar graph.

I’m still trying to find something to make the bar graph window out of… I’m open to suggestions.

Your scratch build continues to impress.

Very nice. I like the custom look.

Long time no post. I’ve made a lot of progress since my last update. Actually… I’ve finished the gun! Now to post all the pics I snapped (wish I’d taken more)…

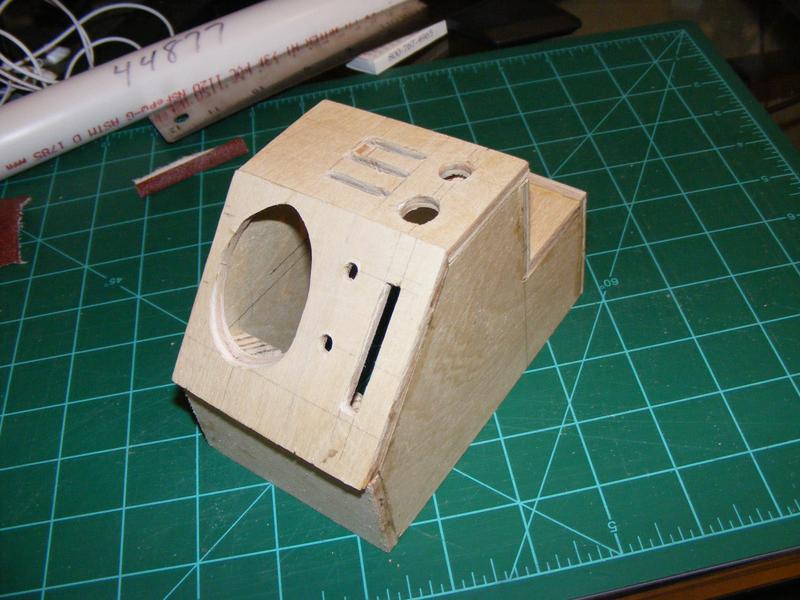
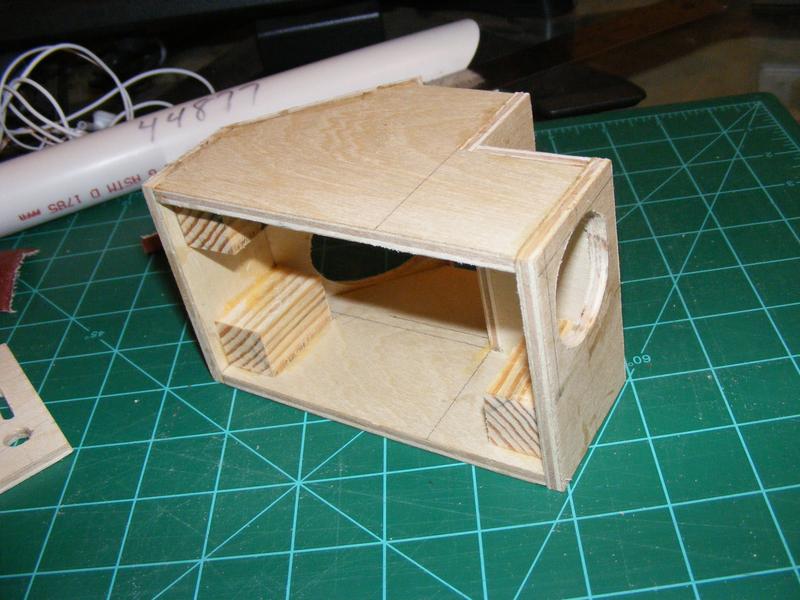
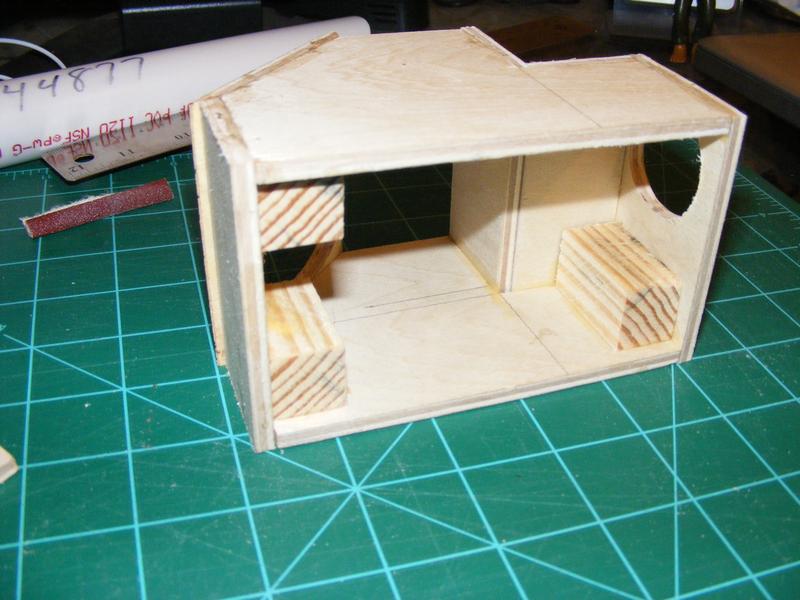
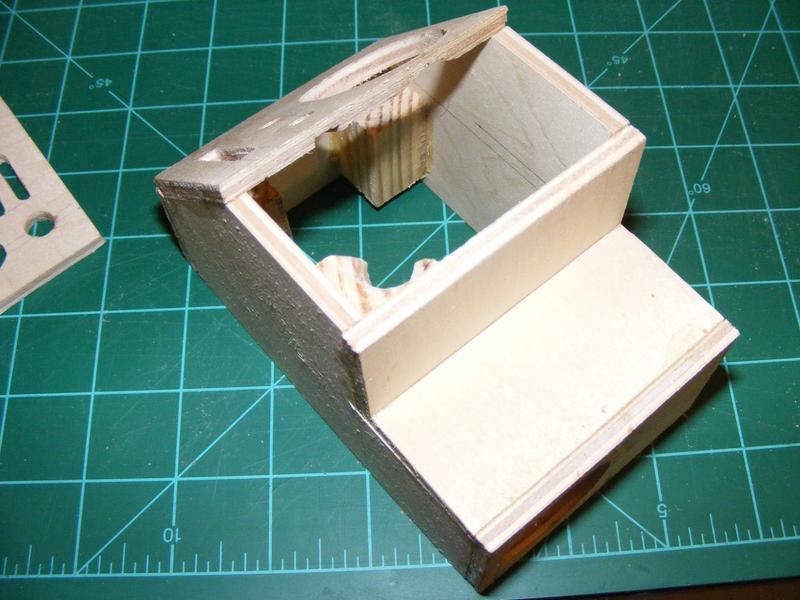
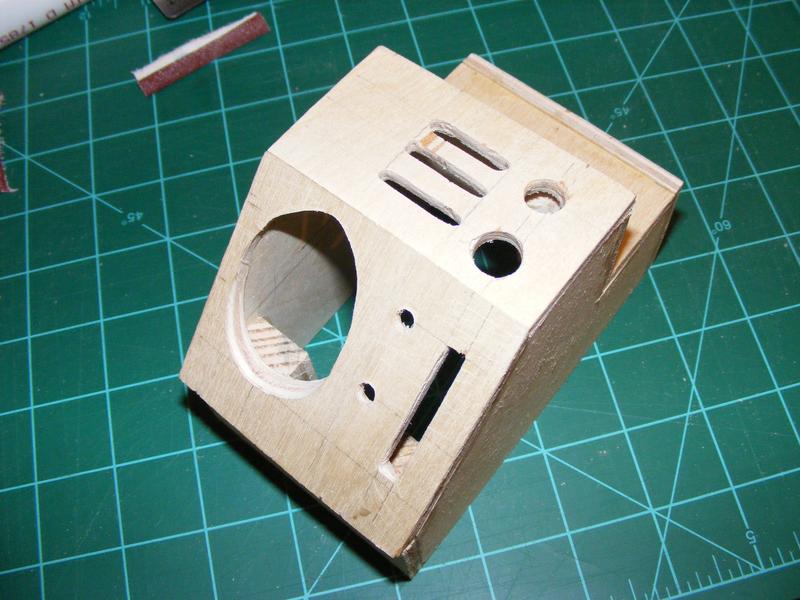
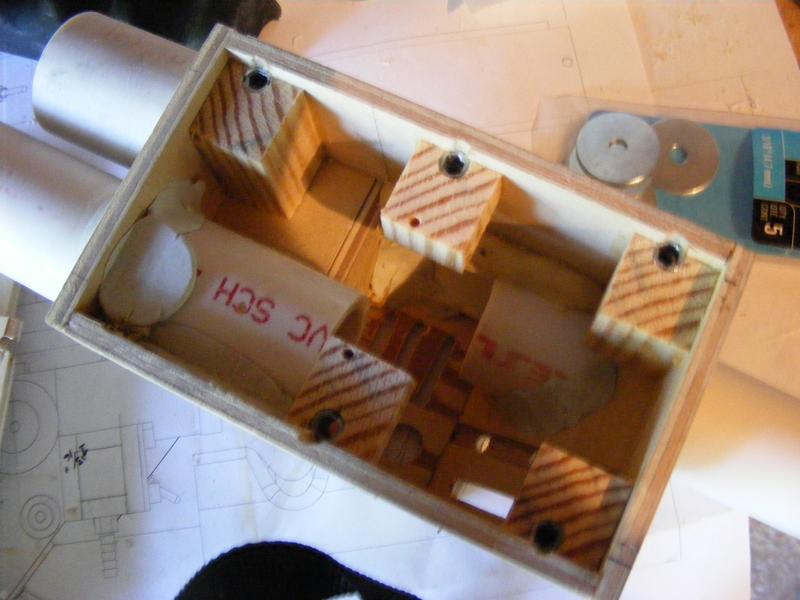
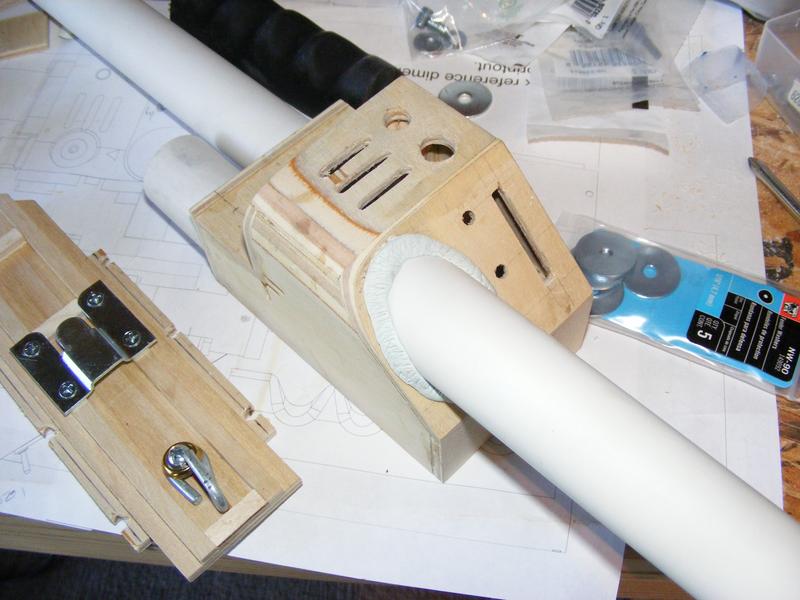
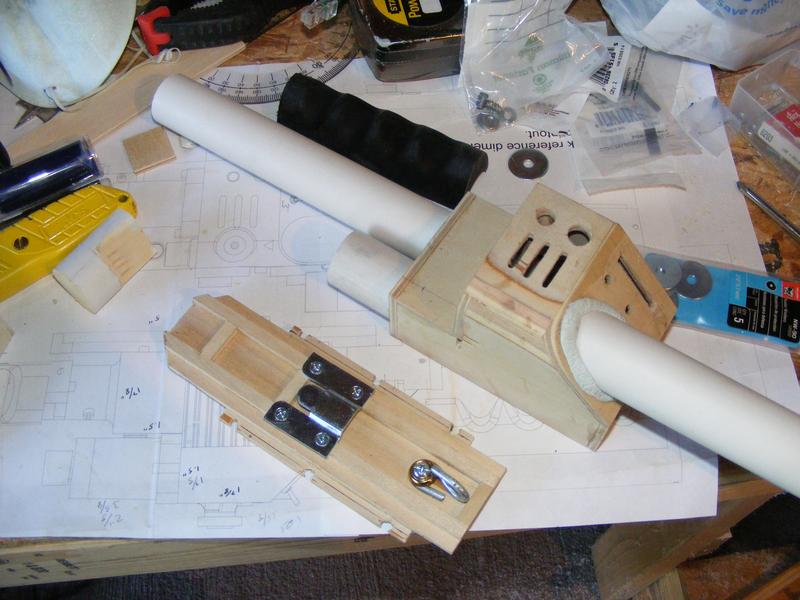
When I was starting on my gun, I was a little disappointed that there were only a few surviving threads with pictures of other scratch-built guns. I wasn’t sure how to attach the handles and the bottom plate. This is what I came up with: wooden braces with wood inserts to connect the bottom plate, and a hell of a lot of epoxy and epoxy putty.

The gun track and exterior of the gun with the barrel and handle installed. That rounded edge had me nervous, but it wasn’t nearly as bad as I thought it would be. I was worried I’d nee to use a ton of bondo or epoxy putty to fill in where I sanded the curve, but I had just enough material thanks to using 1/4 plywood (although that thickness caused me trouble elsewhere with the gun).

And now a huge gap of no pictures… ANNNNNNNNND we’re done! Made another clippard valve for the gun. It’s much lighter than the pack clippard since I made this one with thin walled pvc and capped it with 1/4 plywood. I tried to shave weight from the gun as much as possible. The knob by the clippard is a white out cap.

My material thickness caused me trouble with installing the micro toggle switches… I ended up whittling away from the back of my plywood so they’d fit. After installation, I had two micro toggles break on me. It’s like they seized up and I had to force them.. then they just stopped working. Did anyone else have this trouble?

I painted the gun with an initial base coat of rustoleum hammered silver finish. Then I taped off some of the corners and dribbled some sawdust on the edges. After a few good coats of hammered black paint, I peeled the tape and flicked off the sawdust with a razor… made for a really great scratched paint effect.

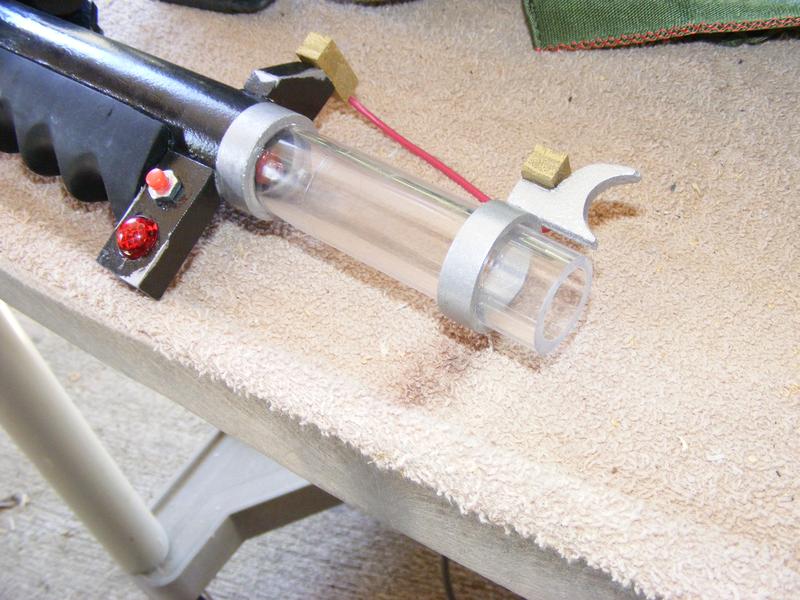
The barrel is made from a clear plastic test-tube from a science kit I picked up at a craft/hobby store. I just cut the rounded end off, shortened it up, and it works great.

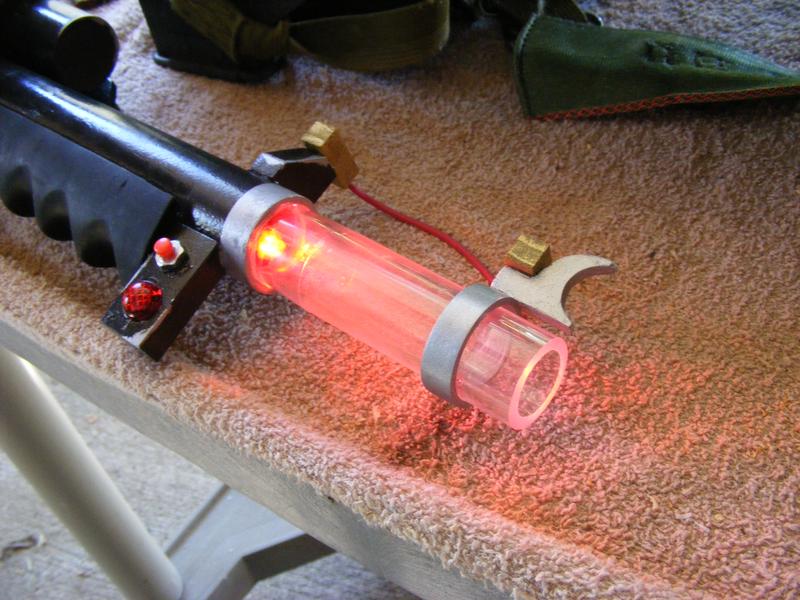
Here it is illuminated with another superbrightled.com light:

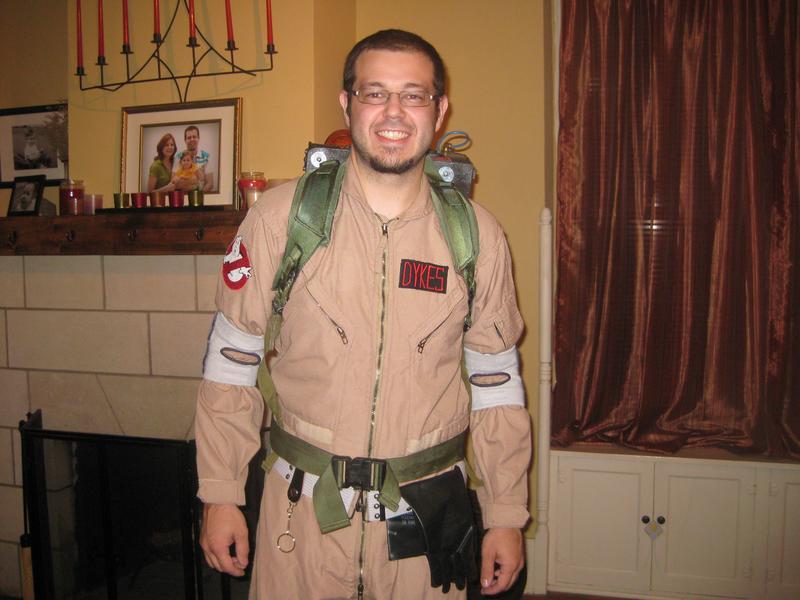
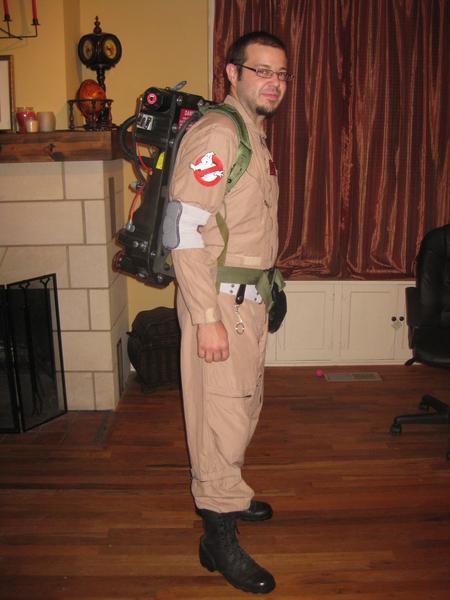
And a few shots of me in my uniform (this was before the gun was ready):

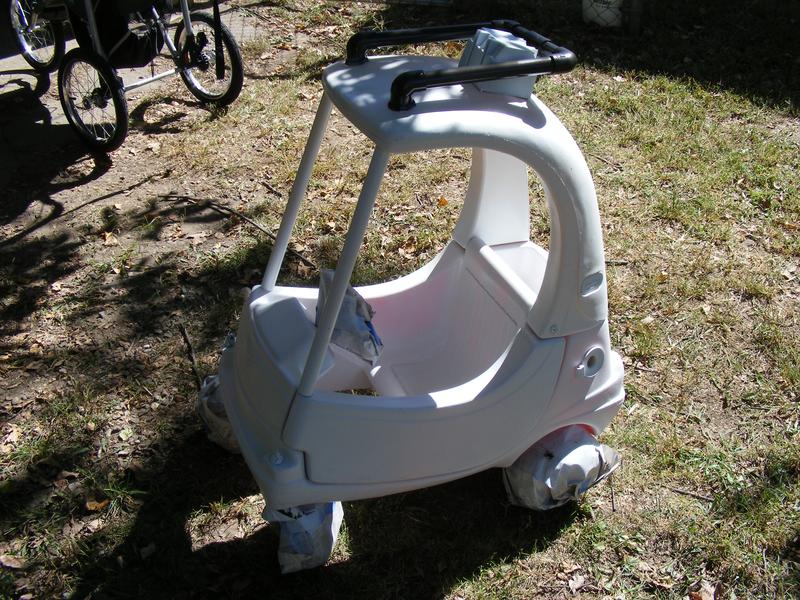
And a quick preview of my next project (can you say Ecto-1 Cozy Coupe?)

My pack made its first outing this weekend when we went to the Halloween parade our town throws on Friday.

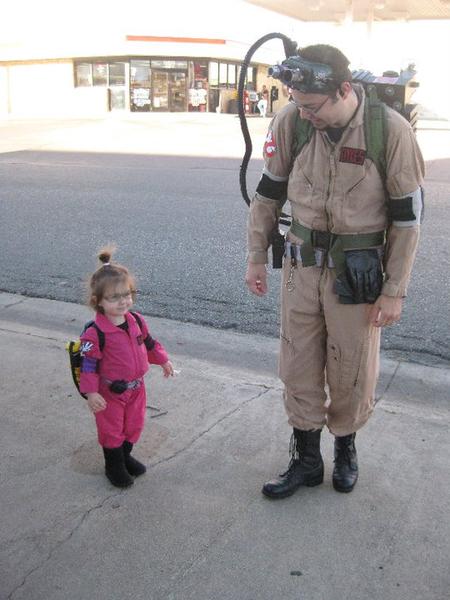
Me and the little one running the family business:

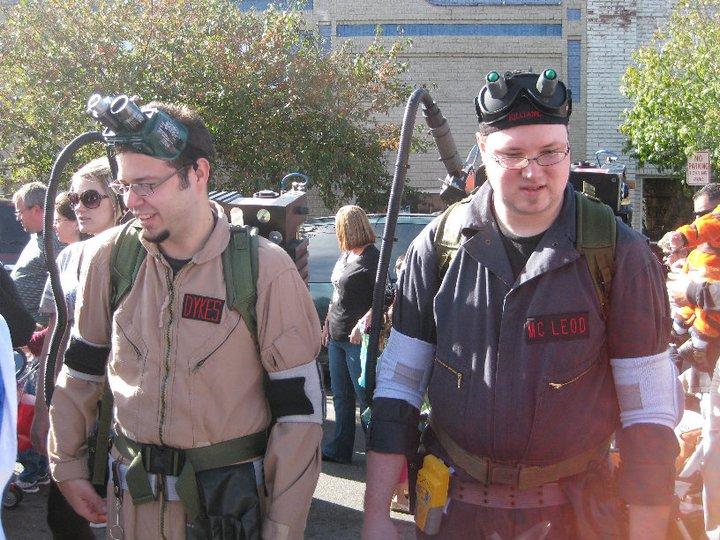
I threw together a pair of paragoggles over the last week and was really pleased with them, so I decided to include them in the ensemble. Here’s a shot of me (on the left) and my friend (right) in his GBII getup. Had a totally great time.

We fielded lots of questions about our packs, where we bought them, what they were made of, etc. It was great to see their faces when I said we put them together by hand. Lots of people simply couldn’t believe we didn’t buy the flight suits, let alone that there are people online that sell custom nametags.

A mutual friend that lives out of town was totally blown away by the packs and said he needs to build one for next year, so our group may be expanding.

I did sustain some damage to the pack at a halloween party last night. I’ve become entirely too paranoid about damaging the pack in any fashion, people touching it, bumping into people behind me, that damn fragile looking ion rod that hangs way out in no-man’s-land… so it totally freaked me out to take damage. Thankfully it was just that my front grip on the gun was coming loose and I took a small chip out of the bottom of the gun track. I re-epoxied the grip and was able to glue the gun track chip back into position. A little touch up paint and all was well.

While I had the pack back up on the bench I shortened my ribbon cable and wound it a little tighter to be more accurate. I had also been bothered by how my upper carriage bolt connected to my ALICE frame, so I ran to the hardware store for some new parts. I originally had a nylon spacer and 2 washers on the upper bolt, but with the curve of that vertical strut on the frame, it didn’t sit very well. I swapped out the rigid spacer/washers for two thick rubber washers and a nice squishy rubber ■■■■■■. I know it’s not as good as getting the recommended hemispherical rubber bumper, but it ends up working very similarly and looks pretty good. It conforms to that upper curve like it was made to fit there.

Still have trick or treating tonight with the little spud and one last costume contest before the weekend is officially over…

Great pics! Thanks for sharing!

Did the Cozy Coupe ever get done, or did you have to abandon that project?

It did indeed get done!

Here’s some pics from the Ectomobiles forum: The Ecto Cozy Coupe! - Ectomobiles - GBFans.com

…and a few more from the thread about my daughter’s pack: Halloween Junk Pack for my 2 Year Old Daughter - #13 by valentino_42 - Proton Packs - GBFans.com

Thanks for those links!

I am wondering about your wiring. Did you create the circut that governs the cyclotron lights yourself or did you buy a kit. I am working on my own pack and am trying to figure it out. so far i am thinking you would need a 5-5-5 timer or does anyone know a simple way to do it? thanks

Actually, my lights didn’t cycle at all… Correct lighting will probably be my project for next year.