That’s just flawless, paint job is awesome.
Thanks.
So, question. The hose connecting the neutrona wand to the pack should be about five feet in length, correct?
Finally finished all the paint and I’m gonna map out the electronics today. Instead of empty pneumatic tubes decorating the outside of the pack, I’m going to actually use the pack’s functional wiring for that purpose, more or less in the same positions as the movie packs’ tubing.
Thats about right, but it varies from person to person because of arm and torso length. My wife is short with a short torso, and her’s is about a foot shorter than 5’. I’m tall with a long torso, and mine is slightly longer than 5 feet.
If I remember right, people were using yellow air pressure hose from home depot or lowes since the RGB packs had yellow. I’m not sure about the cost, but you can also get yellow duct tape at walmart now, and it might be cheaper to just use split loom and wrap that with the yellow duct tape.
We anchored stronger clear plumbing hose to our motherboards under the cyclotron with a nut and bolt, and left a foot or two hanging out to slip the split loom onto. We also built up a “plug” on the end of the split look out of a cut of pipe insulation foam and duct tap. That fits snugly into the end of the back of the pvc pipe handle on the gun, and that way you can remove the gun completely for transportation. (If you run wireing for the pack from the gun, of course, you wouldn’t be able to use those options.)
I was planning to run wiring from the gun to the pack, yes. It’s going to have non-animated lights and sound. The cyclotron won’t rotate, but it’ll be damn bright. And the barrel will light up when you fire the gun. I bought a whole crapload of LEDs from Radio Shack for this purpose.
As for the gun hose, I’ve got six feet of no-split loom and some 3/4" plumbing hose to go inside it. I may or may not wrap it with yellow duct tape. I’m gonna screw the hose onto the inside of the cyclotron and run the wiring into it from there.
If you have someone there to help, hold the gun as you normally would, and use a tape measure to check how long you need your hose. (Thats what we did, and we were surprised at the difference between my line, and my wife’s.)
Since you only have 3 cyclotron lights, if you want them to cycle, check out some of those halloween jack o lantern lights. Most now have 3 leds and some have colors, but some also have a sequential “flickering” white led light effect.
You can unsolder the leds from the boards, and add wires to them so they can match the distance apart on your cyclotron. (Thats what I used for mine, but with 4 sequential leds)
You could even wire the switch to still turn on off your gun switch, if you choose.
Okay, made some progress today. Lining up the motherboard to drill holes for the ALICE frame with nobody to assist me was a pain in the ass, but I managed to get it done, and the frame is mounted. Also got the upper synchronous generator attached, the lower connection port for the 1" loom in place on the spacer, got the HGA attached, and applied some labels. I’m quite pleased with how the HGA looks, but I discovered that the paint chips off it particularly easy so it’s going to be a touch difficult to attach any hoses to it.
I’ll get some pictures later. I didn’t have my phone with me and I’d already been at it for four hours.
Big progress. The proton pack body, minus attaching the lid of the cyclotron and the cyclotron rings, is done.
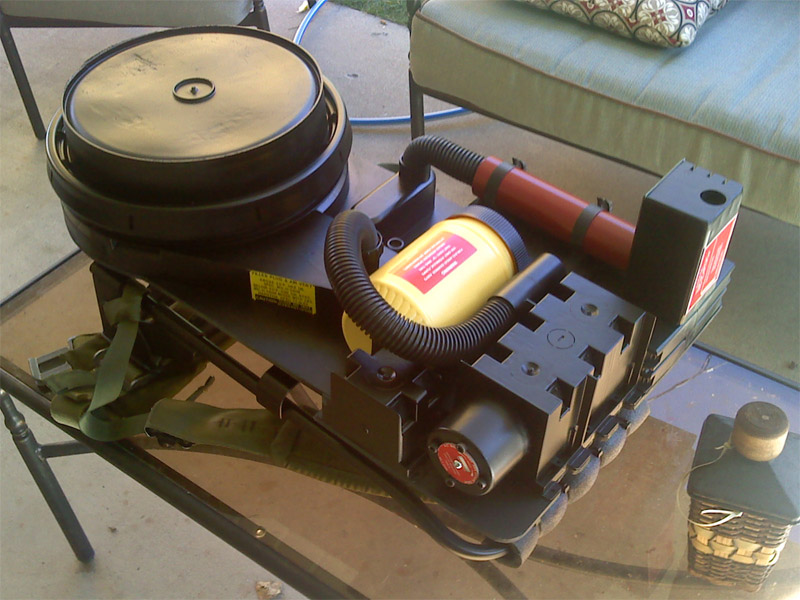
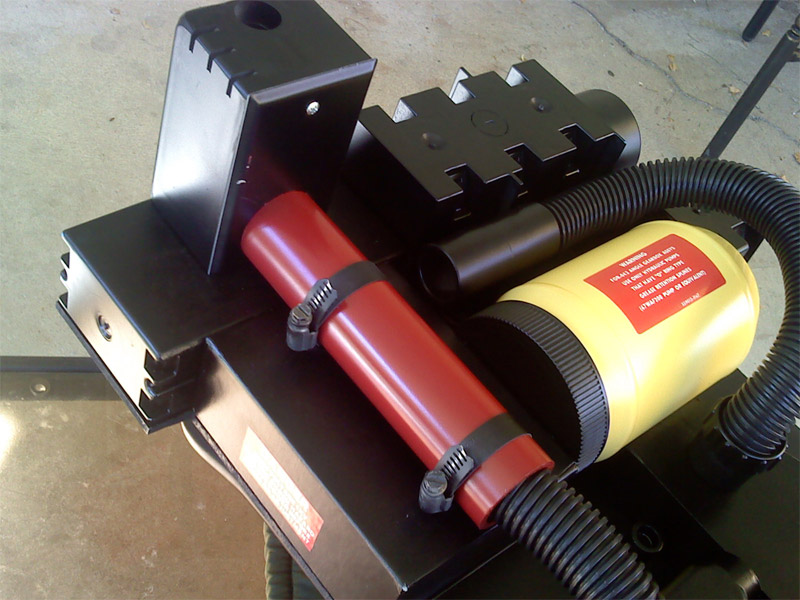
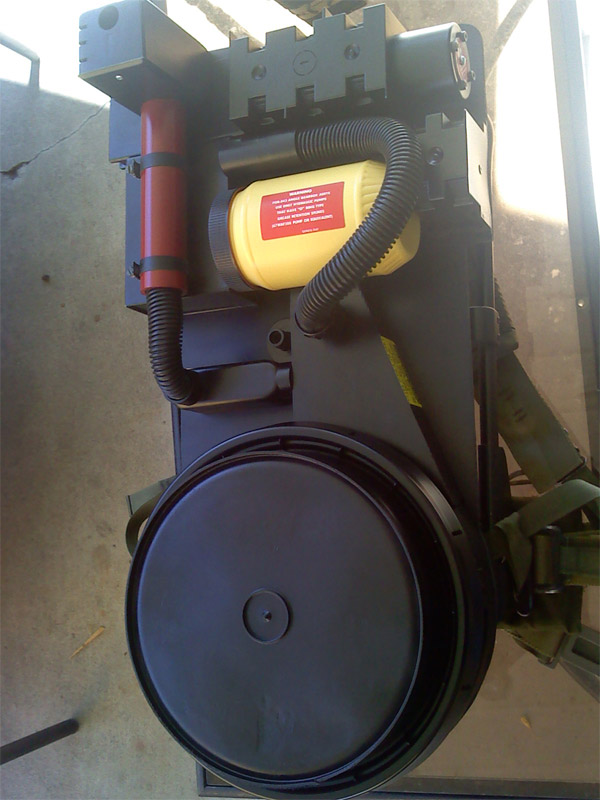
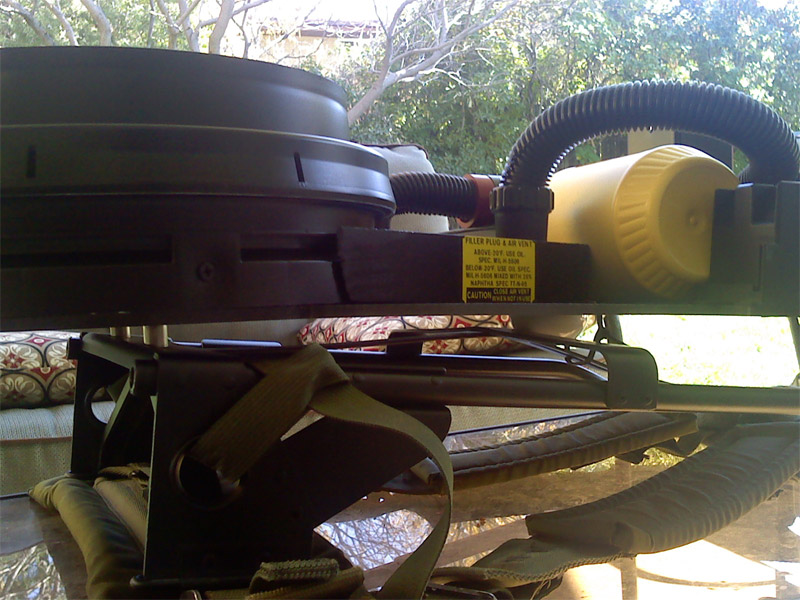
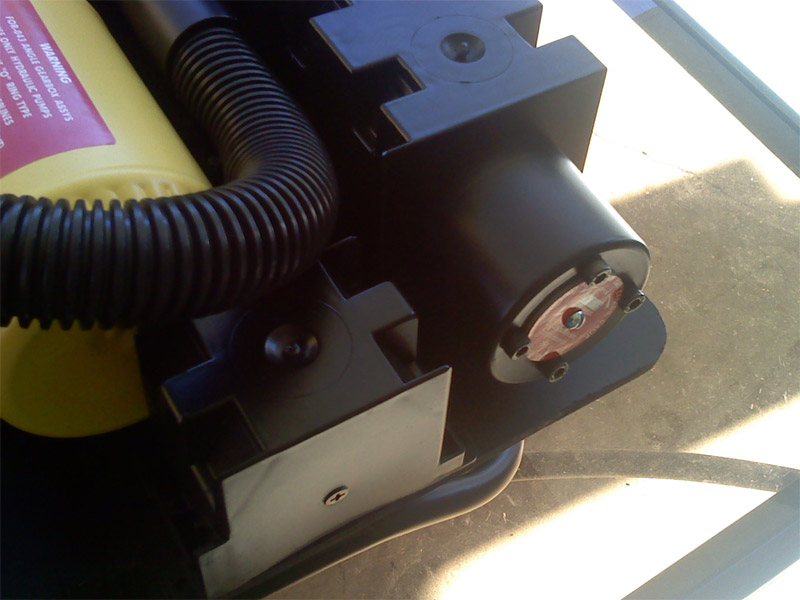
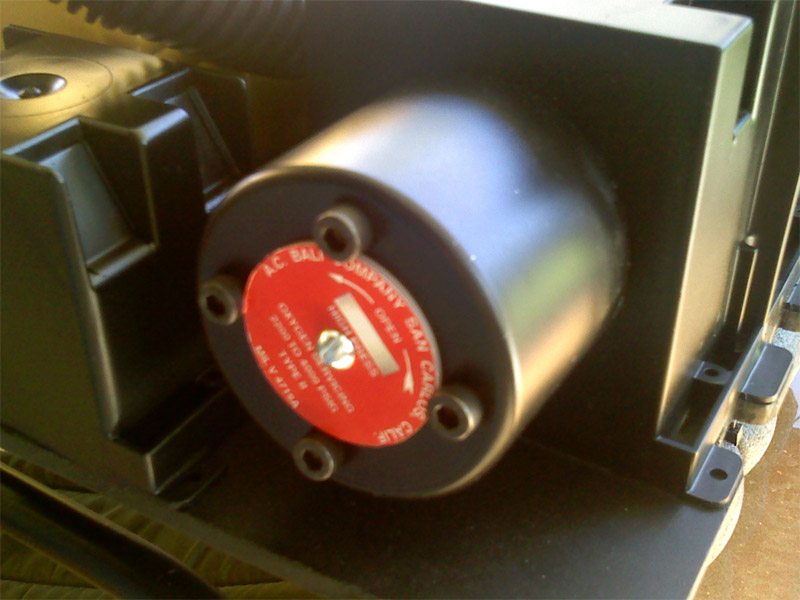
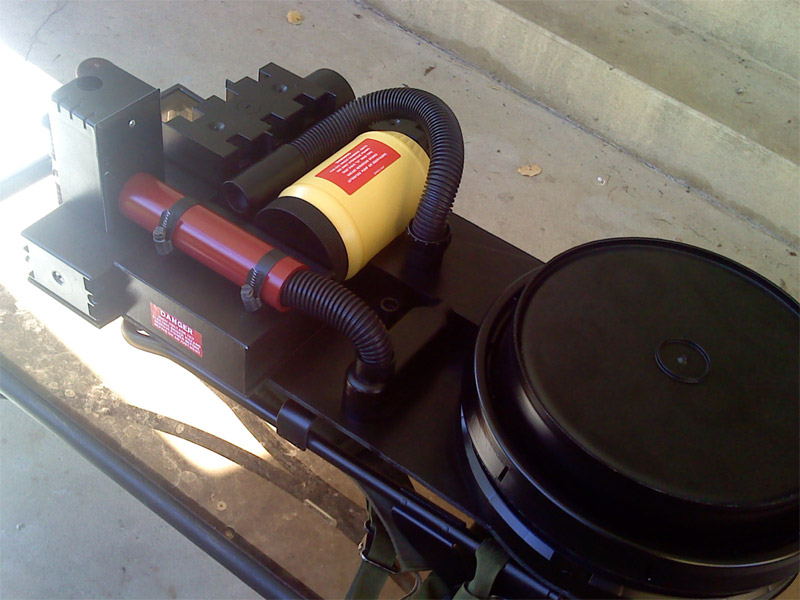
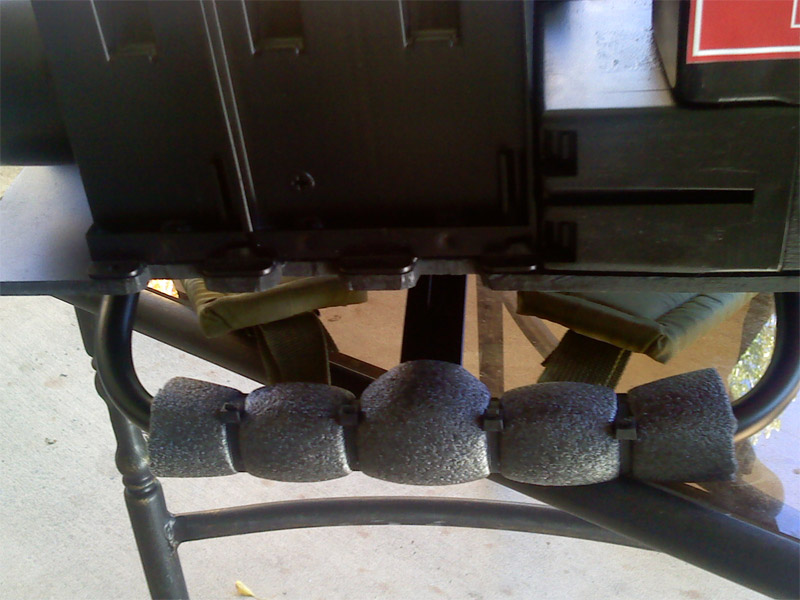
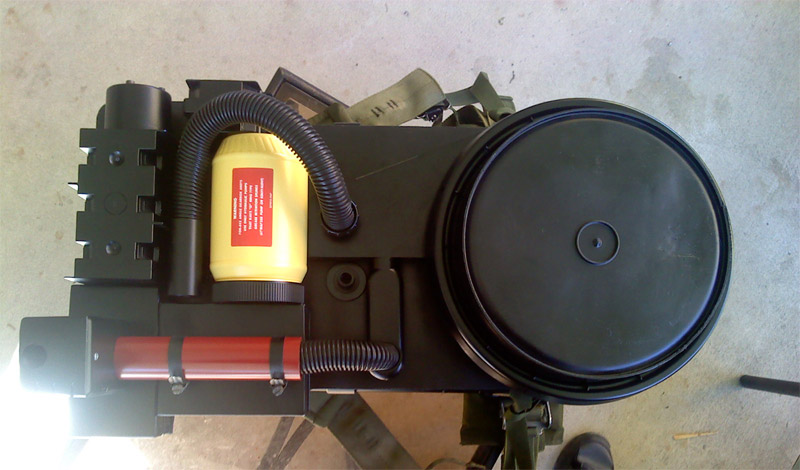
Wound up having to attach a few parts with hot glue, but it’s rock solid. I don’t expect any problems.
Looks awesome! Have you solved your bumper dilemma yet?
I’ve been attaching most of my foamcore build together with hot glue… that stuff is crazy strong if you’re doing it right!
I have not in fact solved the bumper dilemma yet. I’m gonna have to figure it out this weekend, as it’s the last weekend before my sister’s Halloween party.
Worse case some people have used hotwheels trackin a pinch. My personal fave right now it harbor freight floor matt foam. It can easily be cut, sanded, dremelled and painted without issues, and you can actually shape it with a heat gun as well. Thats what I used recently to make an almost 4 foot wide cowl that stands up for my Samhain lifesized prop/outfit.
I may wind up using Hot Wheels track backed with a strip of MDF to make it rigid.
I’m using a wreath hanger for mine. I flattened it out, then bent it to the bumper’s curve, with foamcore panels to create the top and bottom details, along with the front “buckle”. It wasn’t long enough to reach all the way to the mobo (less than an inch shy!) but that only makes for a mounting problem, as it looks proper externally.
However, my pack’s a 90% scale build (I’m 5’4") so you may have difficulty tracking down a wreath hanger for your build…
Maybe two wreath hangers with 2 part epoxy to join them into one larger one?
My brother’s got some thin sheet metal I may be able to fashion a bumper out of, so that’s also an option.
I got the cyclotron rings attached and worked out a fairly good mounting solution for the cyclotron lid. I am however slowly destroying the paint in the process of putting everything together. x_x Fortunately the biggest blemishes will be covered up by the bumper, and I can always repaint it.
I’ll say this for sure; next pack I build is definitely going to be a shell, be it vacuum-formed or fiberglass. Pity nobody has produced a RGB pack shell.
Sorry for the double-post, but I’m a little stuck.
I have a ReplicaProps sound chip, which I have working fine. The problem is I’d like to connect lights to it–I’ve got a couple of those Walgreens LED light sticks you mentioned before, Gareee. Now, my idea was to keep the switch on the stick’s board set to the on position, and have the on/(on) rocker switch on the proton pack send power to it when it’s flipped to the position that plays the “pack start-up” sound effect (for the cyclotron lights, with a similar setup on the trigger for the proton gun). However, I don’t know how to actually accomplish that. Just hooking up the light board to the switch didn’t work. What am I missing? I’ve never worked with LED light boards before.
Edit: Ehh… scratch that, I think my brother and I can figure it out. Just going to take longer than I anticipated to get the wiring and everything routed.
Alright, MORE PICTURES.
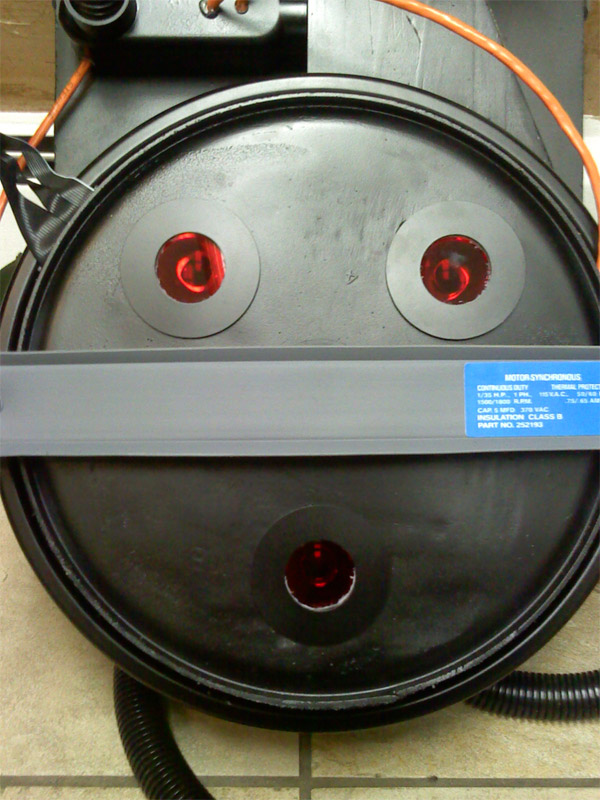
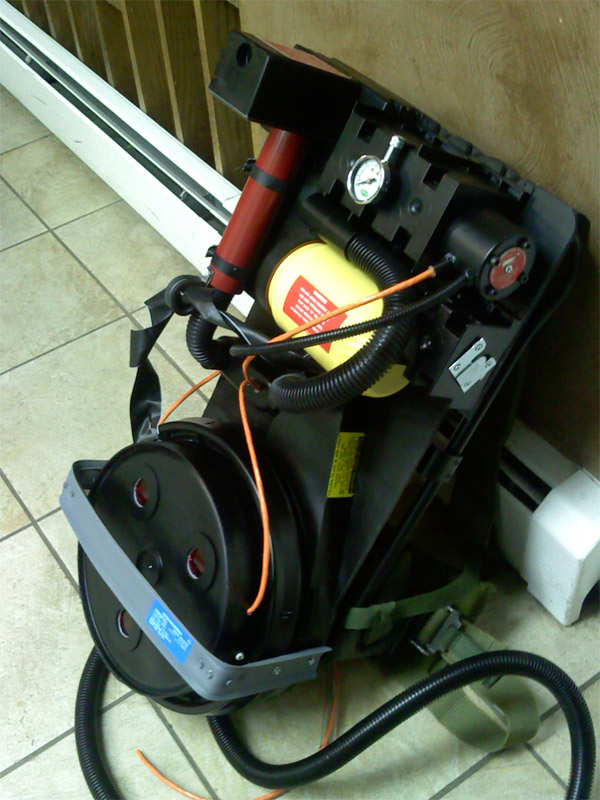
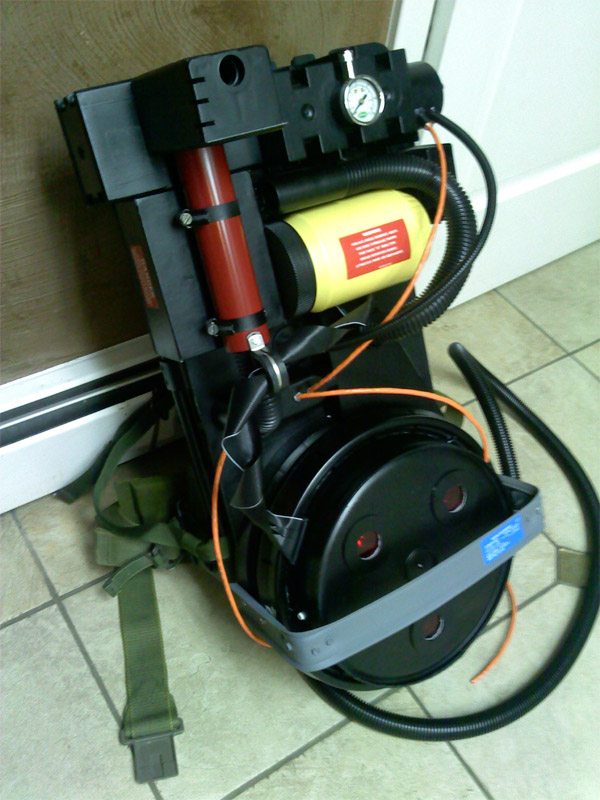
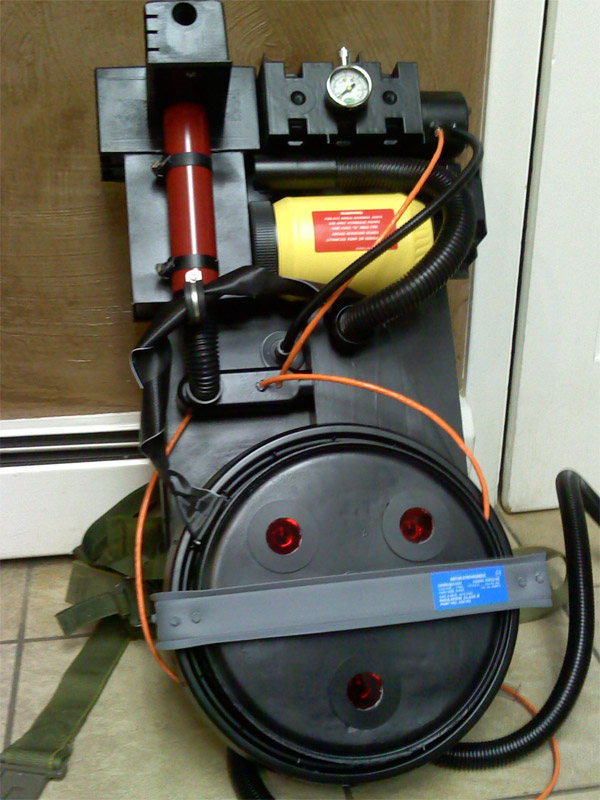
As you can see I’ve made significant progress on the body and am just about finished with it, minus a few labels and finding a new shock mount (those washers are too heavy for my bumper unless I reinforce it big time). The wires are run for the electronics, and all I have left to do is finish the gun, get the sound chip and the lights tied in, and I’m good to go.
I did a test of the sound with the speaker inside the pack and it sounded great, even with no amplifier. This thing’s gonna kick ass, relatively speaking.
That’s excellent. I really like the way the thrower is going.
For your shock mount, you coul do the same pvc pipe wrapped by thick weed whacker line that I did, and cap that with a washer. Use a bolt and pass it all the way through the cyclotron, and put a nut on it in there.. that will keep your bumper from sagging.
(Or alternately, cut the bumper sides a bit shorter, so the bumper rests snugly on top of the cyclotron.)
I could also just buy some plastic washers instead of metal ones, as was suggested earlier in the thread. Problem is that route is a little more expensive, although easier.
As for the bumper, my problem right now is that even with the aluminum brackets I used to hold the corner bends in place, it still wants to straighten out. I may wind up having to put something underneath it to attach it to the cyclotron regardless of what I do with the shock mount.
On another subject, I’m still working on label placement. Is there some kind of guide to where all of the damned things are supposed to go on a movie pack? Reference photos are only getting me so far, and while I think I’ve got it mostly figured out, there are some that I can’t find a picture of at all no matter how many build threads and reference photos I dig through.
There are only 5 or 6 labels… you can spot them pretty easily if you look.
Hav eyou tried heating of the hotwheels track with a heat gun or even a blow dryer, and bending it to shape? Hold it bent, and then douse it in cold water.. that will “freeze” the shape, and it should stay bent.