After initially seeing NStevic01’s original thread on his version of the MT500 Bluetooth conversion, I decided I really wanted to try the idea. As fate would have it, at the Boston St. Paddy’s Day Parade this year, I ran into Cory_GB_Maine and saw his version of the the same idea. After talking to Cory, I came up with a way to swing it and add my own little twist to it!
It all starts with the radio. Now I love my Mt500, and as I found out, alittle too much to carve and cut into it to make this work and look how I wanted it to, so I looked at the video game radio, the Motorola Ht1000:
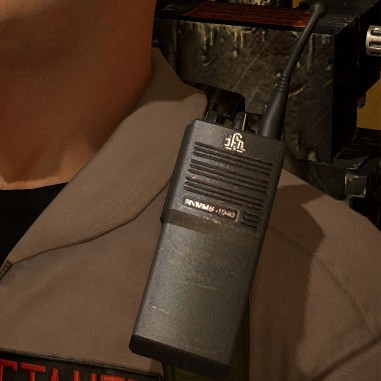
I picked one up off of ebay at a steal for $20:
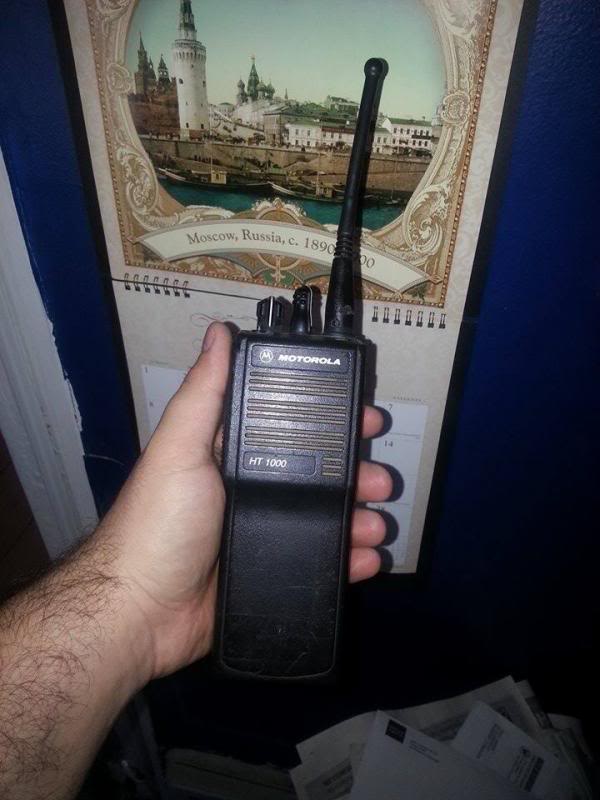
For the purpose of this build, and regardless of what the guy in New Hampshire whom I bought it off of claimed, I disregarded its possible working condition, and promptly gutted it like a fish:
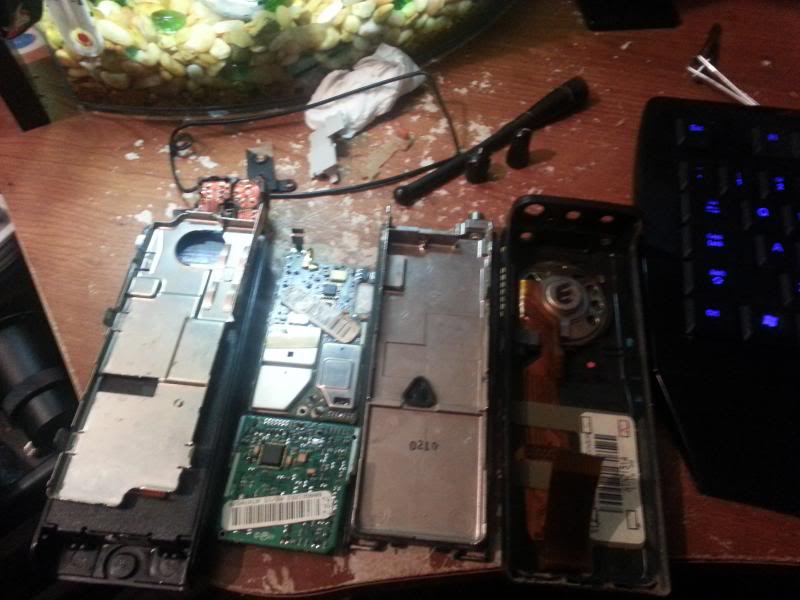
I’ll make note that I did that with nothing but the flathead on my pocket knife since I was too excited to go find a screwdriver.
Now at the recommendation of Cory, I picked up this sweet little Bluetooth speaker off amazon for 10 bucks, and also gutted it like a fish:
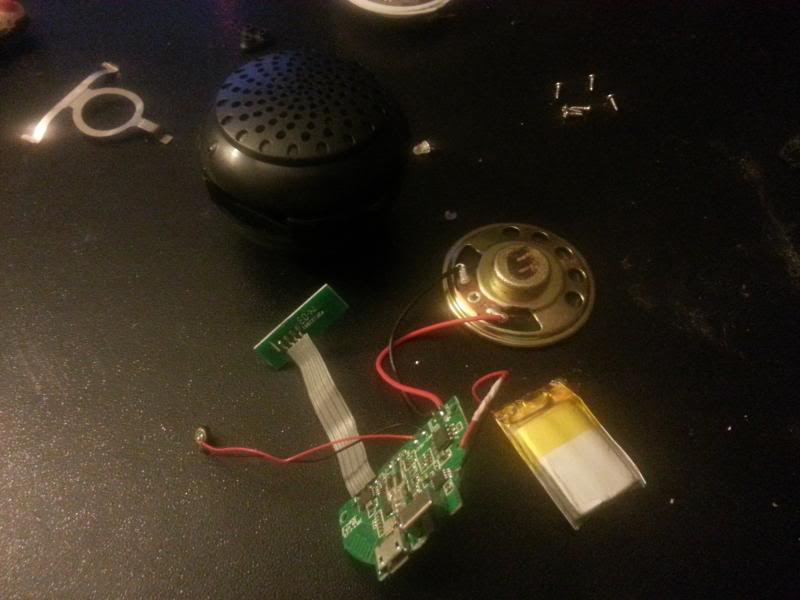
This is where the fun begins. Before I did anything, I made sure to remove the battery connections and placed the battery somewhere safe and out of the way. As you can see, that little Bluetooth kit leaves you alittle wanting in the component department. So I broke out my trusty soldering iron and went to work. For the purpose of the build, I carefully removed the power switch on the Bluetooth board, as well as the r/b indicator led, and I saved the led for later; you’ll see why just run with me on this. I replaced the 4 wire cable running to the tactile switches with something alittle more robust, and soldered in short lengths of ribbon cables for the new switch placement and the indicator led. Also in that picture, I already took the speaker from the radio and soldered it onto the Bluetooth wires to make sure it worked, and it did, so that’s another step, scrap the original Bluetooth speaker. For posterity, I removed the mic just to get it out of the way since its alittle fragile. Boom, Bluetooth is set, now we turn to the radio.
Yeah, I gutted it. All those cool components, in the trash; I don’t feel guilty at all. the only thing I saved was the speaker, the speaker clip, and the component shelf at the top of the radio:
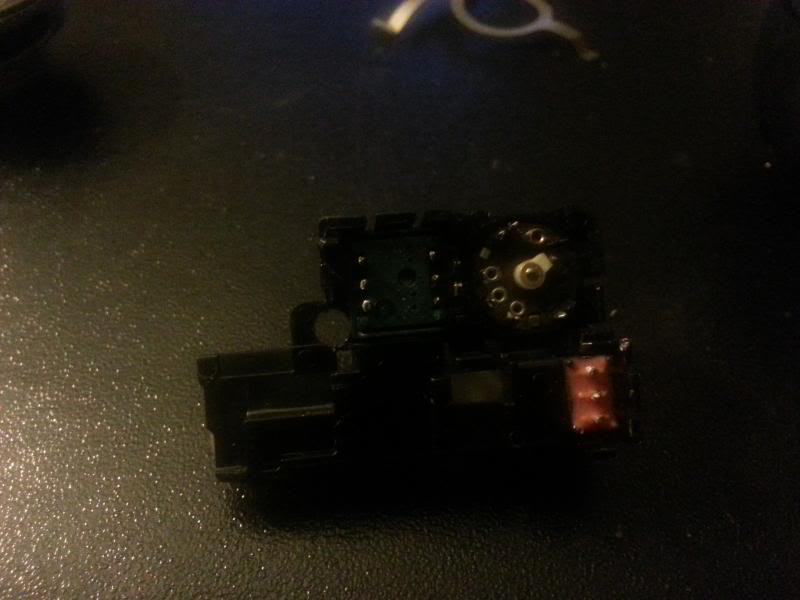
This was originally attached to a mylar flat cable, so I carefully removed all the components from the cable, and scrapped the led that came with the radio. first thing I did was take that ribbon I soldered onto the Bluetooth board for the switch and soldered the wires onto the existing radio selector switch. its a 3 way toggle so it works well. it doesn’t matter which direction you solder them on; If it makes any difference, I soldered the wires perpendicular to the switch so I could hide them under the component shelf easier. I also soldered the Bluetooth led to the now longer wires and put it in the indicator slot on the radio component shelf. see? told you I had a plan!
Now for the tactile buttons. On the original bluetooth speaker, these control volume and pause/play; I didn’t change that. On the radio, on the left side where the Push-to-talk button is, there’s three small tactile switches already on the original board! so I dremeled out the aluminium pan to give me some space for that switch board, and glued that bad boy in place; just be careful mow much glue you use because the power switch slides in right up against this so clearance is tight. for the mic placement, I drilled out the nub where the PTT switch was, and glued the little microphone in with some hotglue, bam, done. I wired everything back together and used some double stick tape to mount the board and battery to the radio body, and it looked something like this:

When its all put together, you honestly cannot see what I did to this radio. The only downside is you have to take it back apart and open the body to put the charge cable in, but its a small price to pay for how badass it looks. I honestly had way too much fun building this and cant wait to use it in gear! Thanks for looking, and try it out!
Links in this post may be affiliate links. Purchases made through them help support this site at no additional cost to you.