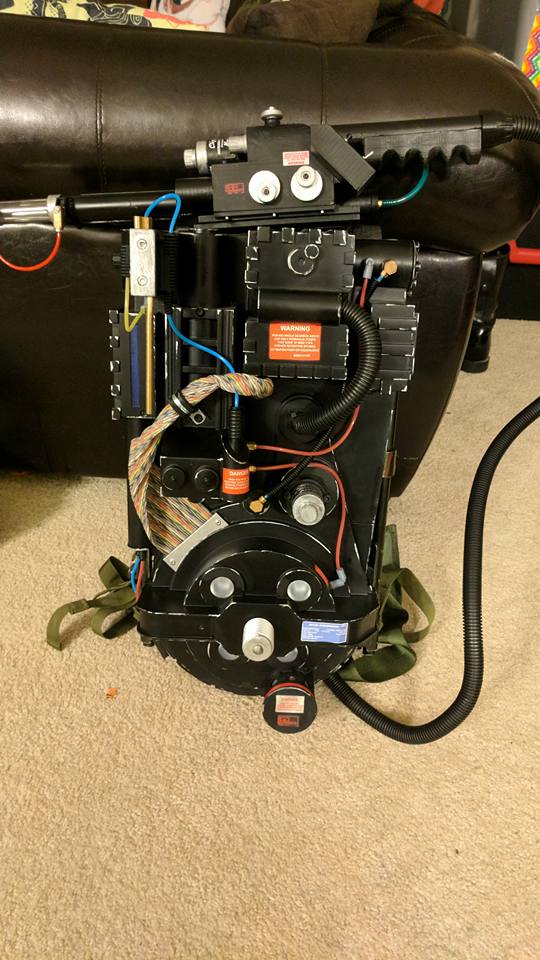
About to get my spirit pack AND my 3d printer, so this thread is the bomb for me! thanks! Are you going to use the Neutrino Wand that came with the spirit pack, a matty wand, or a 3d printed wand? If the former, are you going to print something to reinforce the v-hook as well?
3D Printed wand. I’m going with a metal V-Hook from CPU64, though.
With the insert plates, the shell should be tough enough to hold up a printed wand no problem, so long as you also bolt it to a motherboard like our full-size packs. Otherwise, yes, I will investigate a reinforcement piece.
If I had the excess of free time I’d likely have a supporting membership by now to help on those fronts.
At the very least, check the FS section, as there are several folks there selling various 3D printed items that I’m sure could get whatever you need printed up for you.
Or try the local library; a lot of them have 3d printers these days. When I heard that, I thought “yeah, but surely not in Waco.” But they do, and they just charge you for the plastic. Might be worth doing for small parts like this (though I don’t know if I would trust it to print me out an entire Neutrino Wand).
Awesome! I’m going to (probably) use the included wand this year for halloween so I don’t have to ■■■■ around with lights and sound and risk having neither (I’m a complete noob) until after. After that it’s definitely 3d printed wand time. Are you scaling to 80% so they match? I’ve seen some Matty Wands on Spirit Packs, and as cool as that is they do look a bit too big.
Got more work done. Forgot to take a picture from the rear of the inserted Clippard backing plate, or the filling I did for the holes on the clippard, speaker, and resistors on the Ion arm.
The ion arm holes were no big deal. Back with tape, fill with spot putty. Sand.
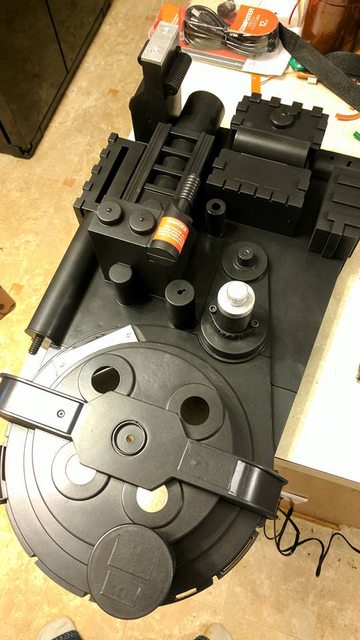
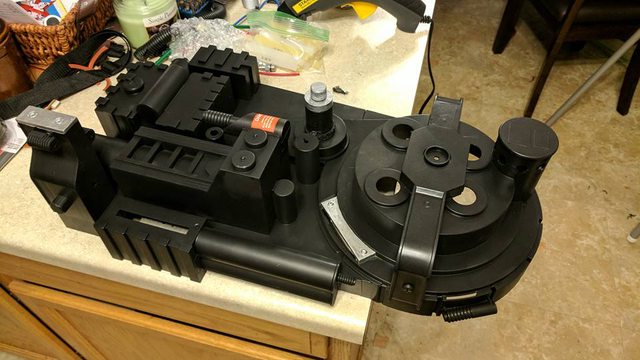
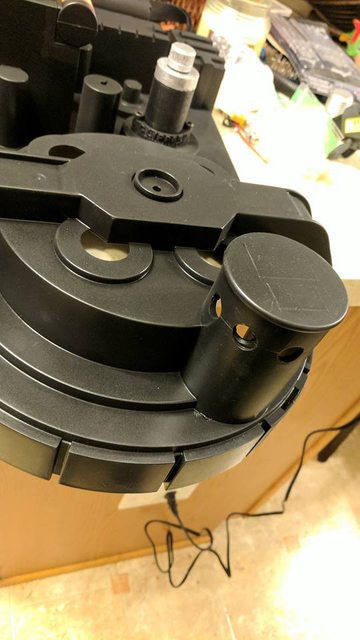
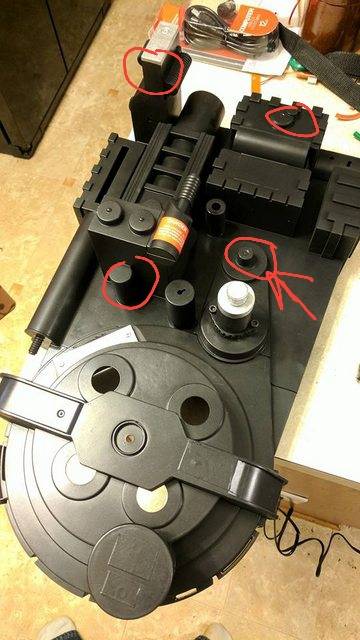
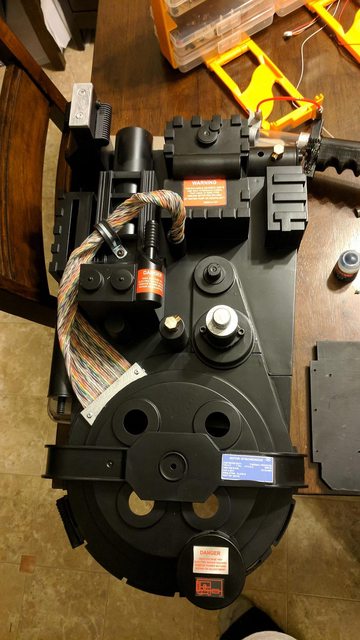
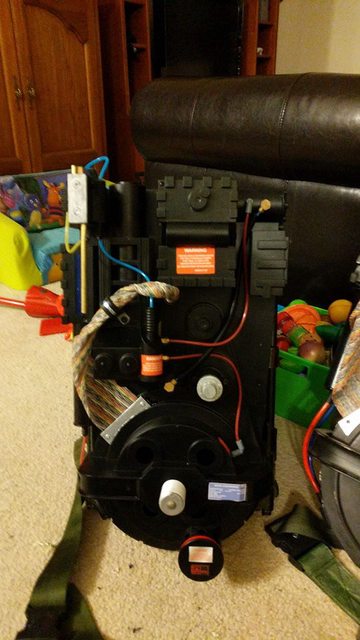
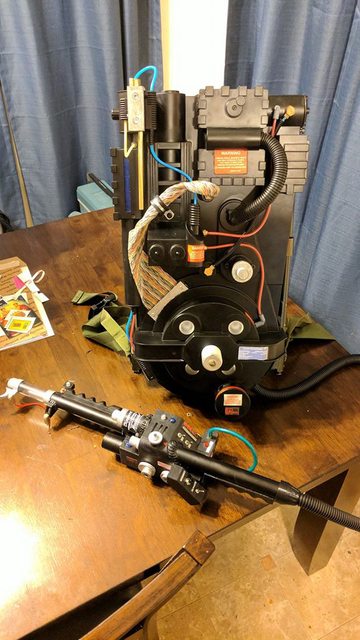
Here’s where I’m at now. 3D Printed full size resistors with modified holes for 1/8 tubing as that’s what the Spirit packs use, as well as a full size printed Clippard, full-width opened cable slot, and a drilled N-Filter. The base coat was satin black, with a dust coat of flat. Very close to my pack in finish, should be nearly dead-on with a clearcoat (not done yet). The stickers are still masked in these pictures (except one) as well.
I also picked up red, blue, and yellow tubing to re-tube the whole pack, as the included tubing is largely junk. The fittings are kinda nice, though. A repaint and they would look acceptable. Might still use them. Not sure.
Edit: Forgot to mention - I added the resistors to my Thingiverse page for this.
I don’t have a spirt pack as I have no need for it but I’d have to fix a few more things that would bother me and this is just my preference. Id take the hga end off and 3d print a new one. The tube for the loom is missing so I would print that along with using a dremel to sand down the crank knob and 3d print that too. And print rods for the iron arm. The one filler tube is high and not in it’s right place so if probably cut that off and print one or pvc.
On the Spirit packs, the loom tube is instead a boss the loom slips over. I actually like this idea.
The HGA area is kind of complex, didn’t want to cut that off. Plus a full-size HGA is huge on the corner.
The crank knob I agree on, but as it’s a cast-in surface detail, I’d have to cut it off, fill the are and sand in order to mount a new one. As I did that already for the speaker and Clippard, I decided to skip it for now.
The filler tubes don’t bother me - slight layout change, but it’s ultimately no big deal.
The ion arm I agree on as well - I have a chunk of rod here to put them in proper, but I need to epoxy fill the ion arm first, as it is hollow and won’t hold a rod otherwise.
Small progress update:
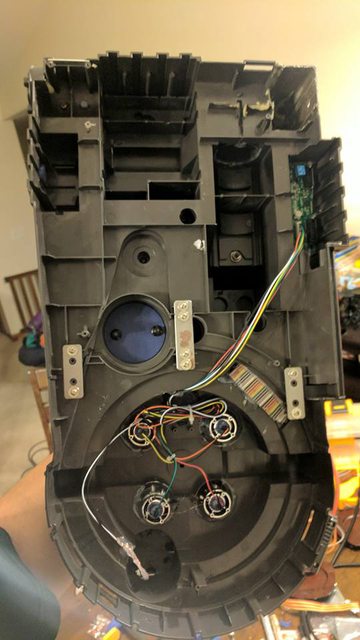
Printed the legris straights and elbows, as well as the brass elbows. They came out nice - need to polish and paint them tomorrow. Got the clearcoat on the pack shell as well, and I cut a motherboard from 16ga steel sheeting today. Got paint on one side of it - hoping to do the other side here in a few minutes.
I designed a nut-capturing M5 hardware bracket for mounting the pack shell to the motherboard, but I won’t be posting that file until I’ve tested it tomorrow.
I did however upload the remodeled brass elbow I’m using for this pack. Mounts on a 1/4" hole (easier to redrill the Spirit pack mounting holes) and accepts 1/8 tubing.
Printed brass elbows in and painted (2/3). Since I didn’t remove the molded-in one, I’m printing just the end nut so I can modify it to look like the other two.
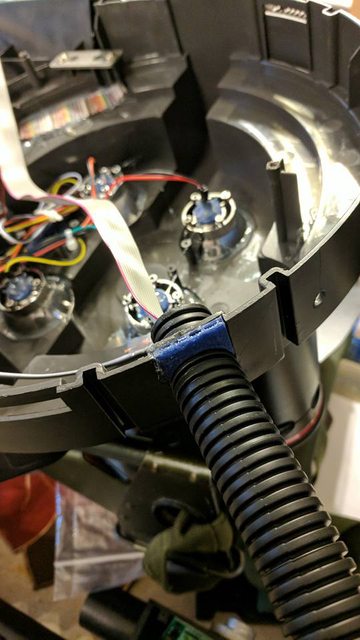
Clearcoat is on now, and the stickers are all uncovered. Also got the ribbon cable installed, as well as the cable clamp (7/8").
Shock mount will be tomorrow, as I need to drill it for a slot-head screw on top.
Looks great so far, just started mine today, although you are really doing it proper! Im just doing a basic revision to make it look better. You have convinced me to check my library 3d printer situation tho!
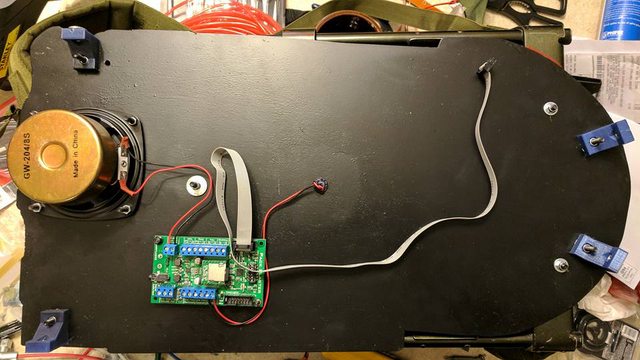
Installed missing stickers, mounted pack to the motherboard, mounted motherboard to ALICE frame, installed brass rod in Ion Arm, installed all tubing and remaining fittings, installed powercell lens.
All that is left is to install the missing 1/2" loom, electronics, and then the Clippard label and wand labels. Getting close to done here!
Made some more progress in the last couple of days.
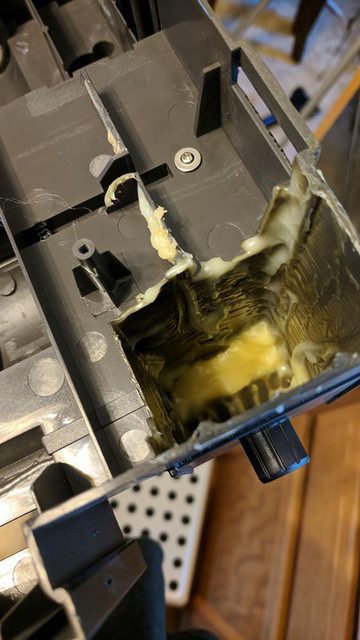
This is how I backfilled the Ion Arm. 3 full tubes of plastic bonding epoxy. This actually hissed loudly and softened the plastic with the extreme heat from the reaction. DO THIS IN STAGES or use a longer-setting (60m+) epoxy. This wasn’t my best idea.
3D Printed 2nd booster tube>cyclotron connector. The booster end is just 1/4" loom glued in place. This has to be smaller (10mm instead of 14mm) because there isn’t enough room between it and the motherboard.
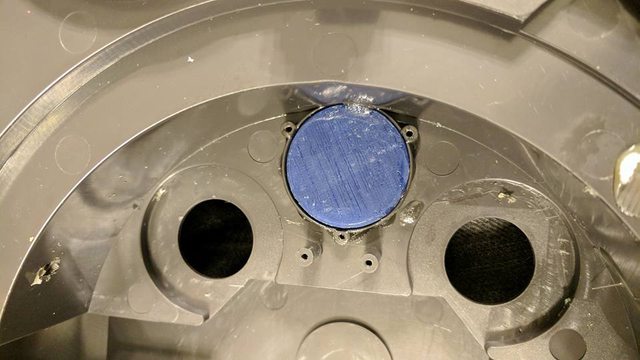
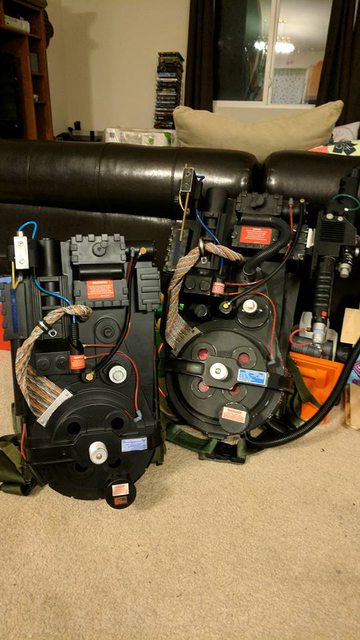
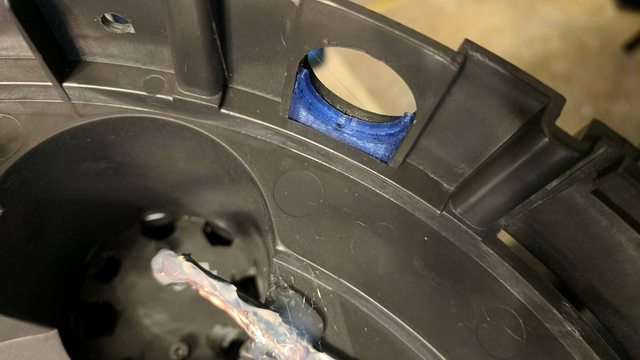
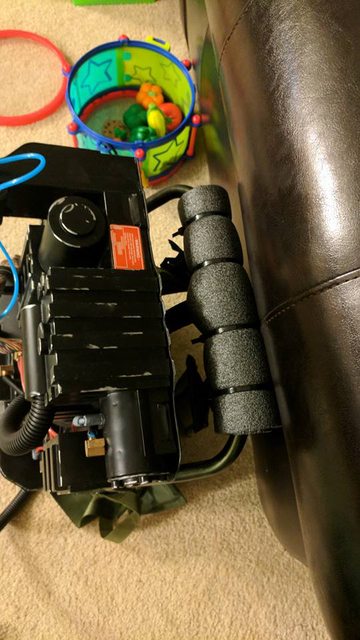
Basically done at this point. I’ve since weathered it and added the missing R701 label on the pack, as well as filled in all the shell holes and original backpack strap holes. Pretty easy, too. Cover the area with blue painters tape formed to fit the detail, then backfill with a good high-temp (Easy-flowing) HMA (hot melt adhesive). You can peel the tape away when done, and it’ll leave a nicely finished, flat fill behind. Just paint to match.
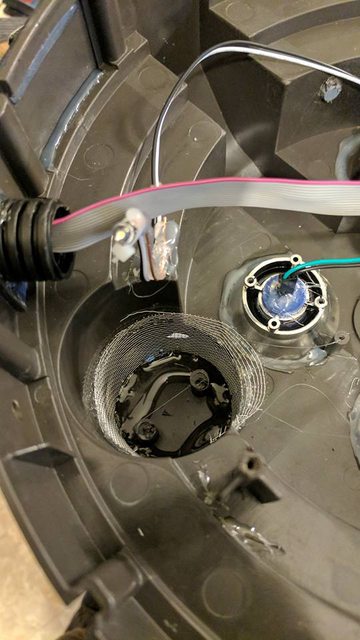
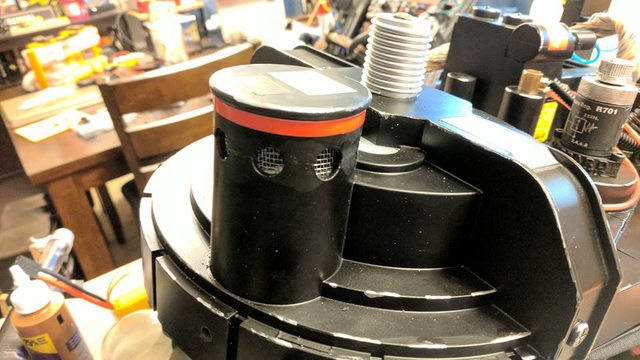
As you can see in previous posts, I drilled the N-Filter while it was still screwed together. I want to keep the labels intact, however, so punching through them to disassemble the N-Filter to remove the top of the pack’s molded-in center boss was out of the question.
Instead, I cross-drilled the screws with a hand drill (purposefully in at an angle) to break them with a 1/8" bit. Punched through them nicely. I then removed the remnants of the circle in the shell with a dremel and filed things flush with a half-round file.
A little screen material and HMA, and we’re in business.
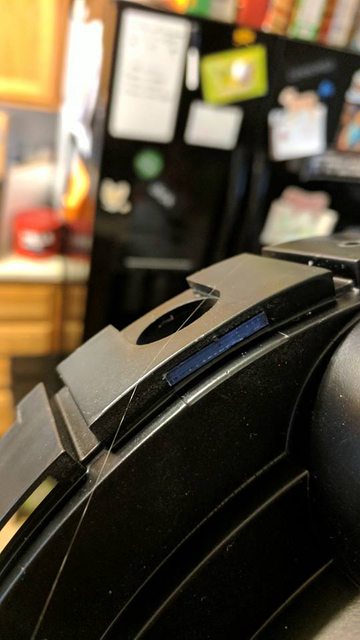
The N-Filter was epoxied back together at the “Spokes” and the paint will be further re-touched (after this picture) with satin varnish to match finish with the surrounding paint.
I then finally went back and put on the neck foam, as well as finished weathering the pack.
Can’t find a whole lot more to do at this point. I’ve been adding missing screws and such, but I think I’ve got them all now.
Just waiting on my V-Hook from CPU64. Really hoping I get it before the weekend, as this is my wife’s pack and the Windy City Ghostbusters have a packed October starting next weekend.
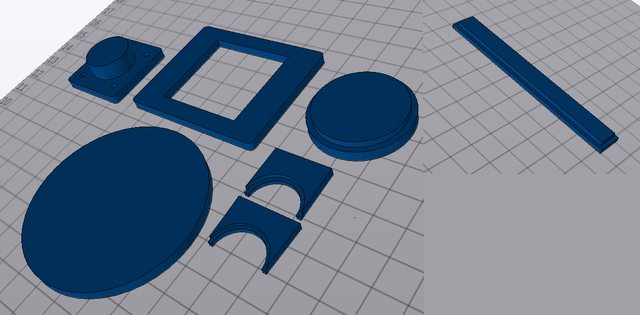
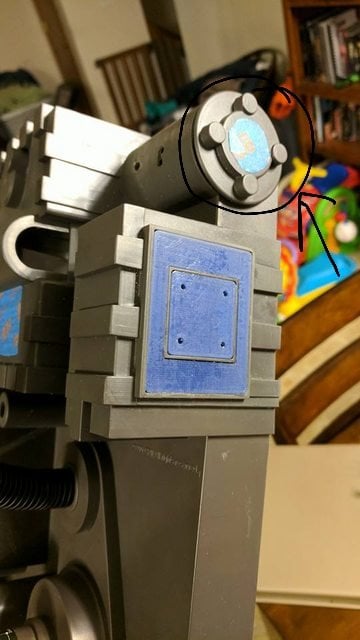
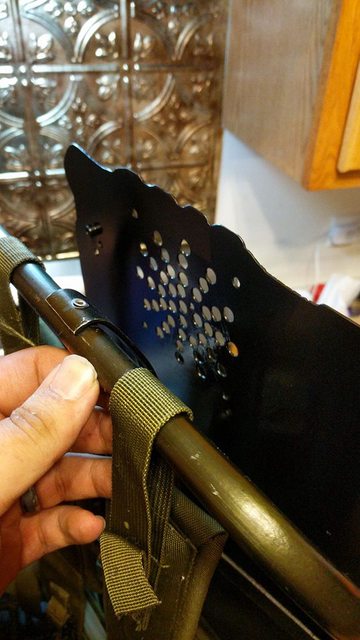
Finally got the 3d printer going; the V-Hook inner fill plate rounded peg was too big for the hole on the side of the proton pack. Any suggestions? Did yours fit right off?