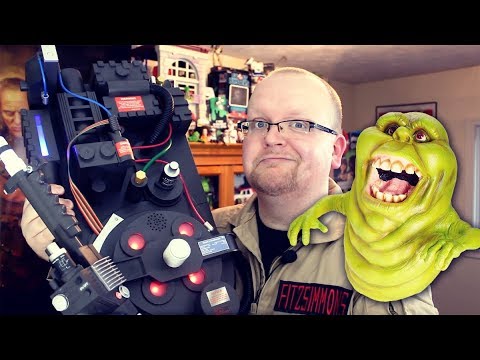
Hey guys, I know ■■■■■■, our fellow Ghosthead on this forum, told me about styrene which I am really considering using to make a Proton Pack sometime and then buy all of the resin casted parts for the things that require the details that your really not going to find anywhere else. I think I am going to have to make that a project that is worked on over time but I absolutely would love to have a decent and affordable Proton Pack now.
I see that the Spirit Halloween Proton Pack is releasing and before I get into the things I wish it had, I want to at least say the few things that I don’t like about it. It’s not even the size difference because I think it looks fairly decent. I know it’s about 20% smaller than any pack that we would build but it’s not too bad looking. It’s NOT even the fact that the brass ION Arms aren’t in place. I realize when I made a pack years ago, the ION arm was the first thing to get snagged when I took the pack to a Halloween event.
The main things I don’t like about the pack are:
The Cyclotronbumper is one whole piece with the Cyclotron itself.
The Lights don’t rotate or go up and down, or stay on without constant sound.
The way the gun is mounted.
The straps.
The speaker holes being visible.
I wonder if this thing can be completely modded…
There is a military surplus near my house and I know they have the Alice Pack Frames with the straps.
I Think it should still be mounted to a motherboard cut to fit it, plus it may give it a little more “body” but would have to make sure to leave a rectangular hole to still access the battery setup. This will also allow the big red warning sticker to be placed on the motherboard.
Fix the lights to be constantly on and animating as they should, which in this case isn’t a priority since Halloween is just about around the corner as fast as time flies.
Add the red stripe and possibly fill in the “dots” of the N-Filter with some silver acrylic paint.
Scuff it up just a bit here and there with some silver paint, just lightly to give it a worn effect.
Swap out the ribbon cable for one of the ones in the shop.
Somehow add a V-Hook to it, possibly by fixing a wood block or panel behind the mounting area inside of the pack to add support for the V-Hook and not stress the plastic. The gun will have to be opened and that silly little peg removed that they have for mounting it and maybe reinforce the bottom of the gun from the inside to add the v-hook… OR… simply don’t open the gun and find a resin gun track and use that plastic glue to put it in place but since its smaller the gun track may be too big but if it’s not too funny looking, maybe plastic glue that to the gun and then attach the other side of the V-Hook to that.
After that I would have to say this thing would be a damn cool proton pack, especially for the price. If anything I think the price makes it a nice collectors piece to own. For those of us that still plan to build a movie accurate pack someday from the plans, I still think this makes a nice display piece and along with all of the reference photos and plans that we have on the site, this still looks like a fairly decent and tangible visual reference as to where things go and how they may look. Keyword is “May” because we know a few things are off and the size is a little different.
What do you guys think about my opinion of the pack? Do you think those mods can be done? How would you go about attaching a custom motherboard to it, or attaching the v-hook to the pack and gun?
Your “to-do” list is right on track with what I have planned for mine(FedEx says it should be at my door tomorrow.) I do plan to repaint it with hammered black spray then add some weathering. I want to change up the thrower mounting right away - the peg style seems like it could be problematic as I plan to use this pack for Halloween parties.
Look forward to bouncing ideas around on here - for a $60 pack, i’m excited to see what can be made of it.
I wonder too if the wand can be modified to have the button for firing in the proper place, and to add some switches where they go. Blinking lights would be cool too.
I’m waiting to get one from my local spirit Halloween. The store is seasonal, but they assured me they are getting some in.
BRO! You are so lucky! How in the world are you getting yours already? The site says they aren’t shipping yet but I know some people got theirs already. Hey keep us updated with pictures, I would really love to see the process of it!
Just as a suggestion, but if you plan on re-working the speaker and lights, might I suggest you pick up the electronics from the GBFans store? Plus, regarding the speaker’s location, most people mount it to the motherboard facing the ALICE frame, so that should probably be done (who’s the “genius” who decided to mount the Spirit Halloween speaker on the cyclotron facing out?).
Honestly, it sounds like the electronics it comes with will need to be completely torn out as a necessary step.
Got my spirit pack today aswell and your to do list is pretty much what I’d like to do with mine aswell. I went out and got an alice frame from my local surplus shop today but am gonna wait for a motherboard to hopefully be made available before I mount it. I’ve seen it done with zip ties on the video thats been going around and I really just don’t wanna do it that way.
So for now I’m just enjoying the pack as is but I’ll be watching this thread with great interest!
B-Rad what if you get a good piece of wood and trace the pack onto it and cut it and sand it and let that be the motherboard? I am thinking that because it may be a bit before we see someone actually manufacture one just for this. I can be wrong, but at this point it may seem more like a project pack to play with for fun. The upside to that is a lot of Ghostheads want one so it can go either way. Anyways, have fun with your pack. The spirit site says they aren’t shipping them til october so I am still waiting
First step is going to be putting a V-hook for the thrower. The peg mount takes a small bump and it’s dislodged. Definitely needs a paintjob to add some volume and texture to it. All in all, for the money spent, I’m happy with where this pack can go. May look into one of these 3-D printed thrower kits or the like - the included is really tiny.
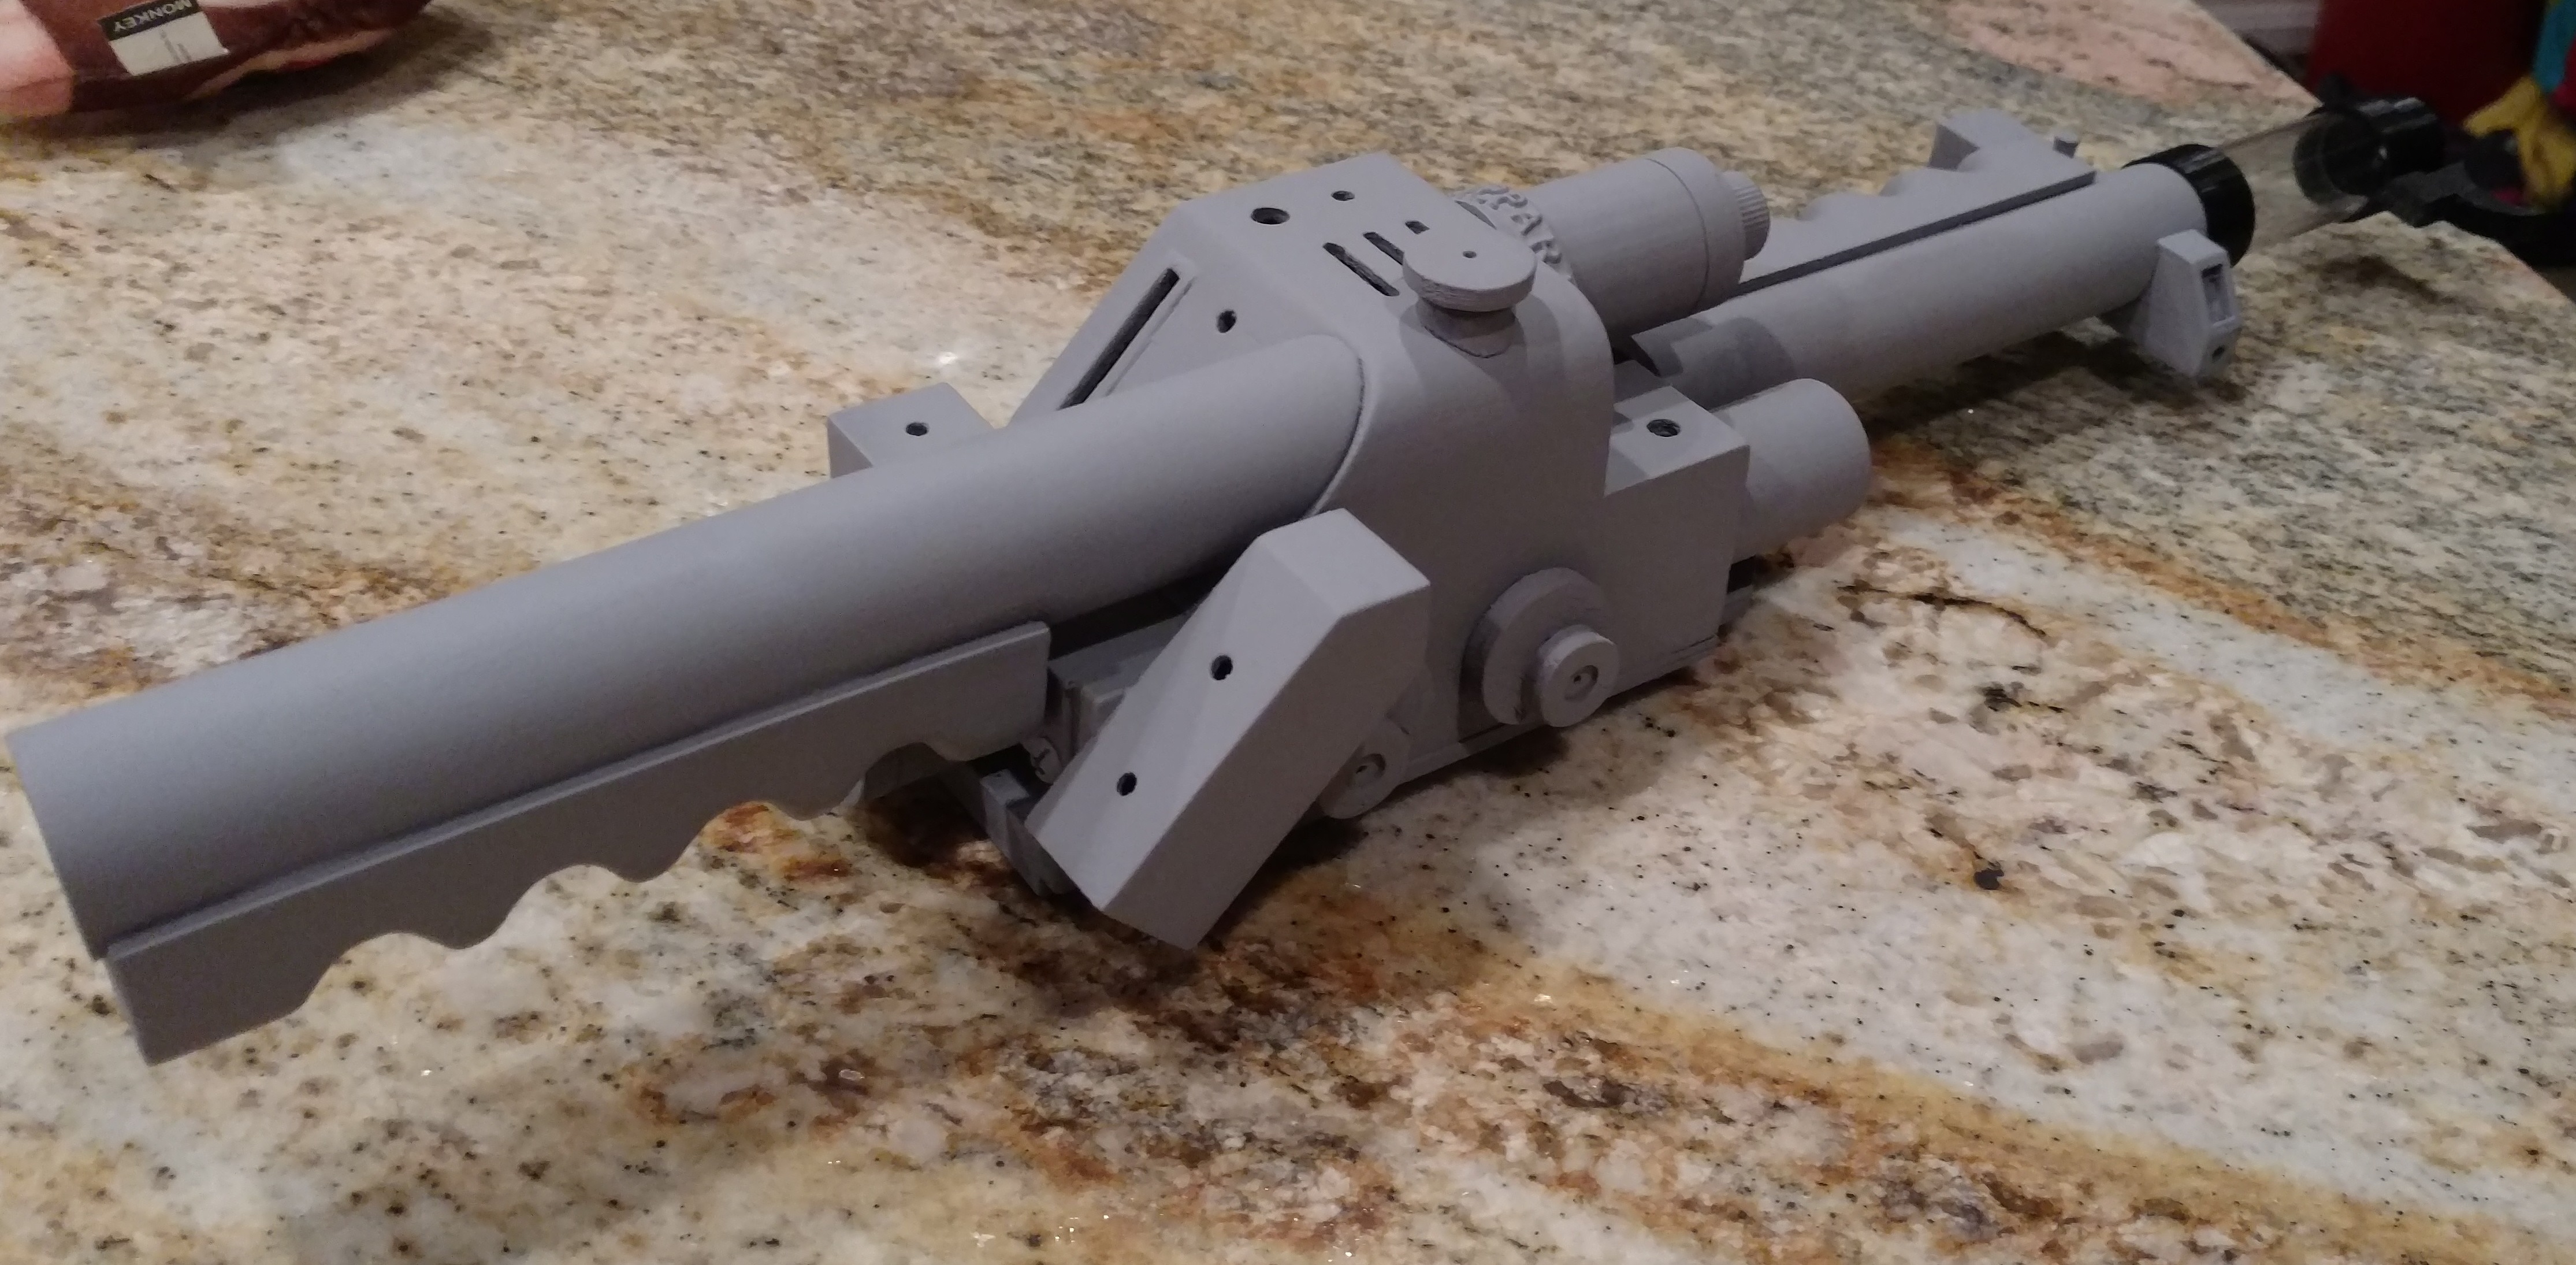
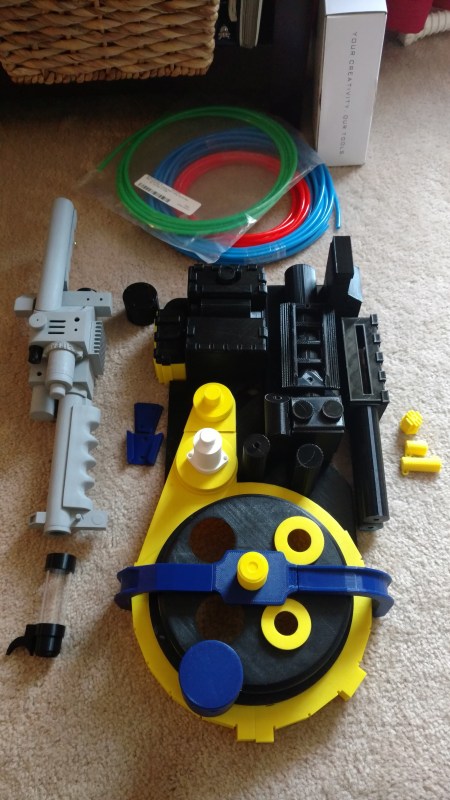
I’m building an 83% pack for my son using my 3d printer and I’ve taken some of the options on thingiverse mixed, matched, and improved the models for stability and electronics. I think the 83% scale version would be near perfect for this pack.
I’m not in a big super rush to get it modded quickly, but when it gets close to dragoncon next year and something hasn’t popped up yet I might consider that.
oh thats awesome! thats another thing I was hoping to do for this is replace the thrower since besides being smaller the included one just seems fragile to me. One good un expected whack or bump and I feel the thing will just break.
I’ll be curious to see how this matches up to a spirit pack, I might hit you up for the files if you don’t mind sharing and see if I can find a printer to do it for me.
I have the full size version of the model available on thingiverse now. I’ve made a lot of modifications to Dancinfool’s original model.
I had to make a number of modifications to the full size model for the smaller version. Scaling it down to 83% caused some walls to be way too thin to work and other little things. I’m thinking there are other parts that can be used on the spirit pack as well like replica resistors and stuff like that. Once I have the pack in hand and can see what would look good on it I’ll post all of the files to thingiverse.
I want to try to mount mine to an alice frame with alice straps, not only for accuracy but comfortability and to make it a little heavier. and while i like the gun that comes with it, i have a mattycollector gun i would like to try to swap in…
Depends on how you print it - I’m building up a CountDeMonet wand myself and I’m in it for about $12 worth of filament, $6 of PVC pipe, $5 in screws, and $3 for the test tube used to make the barrel. Not counting the Milliput I already had, and paint, electronics, etc. Owning a 3D Printer is great.
I spent a lot on filament getting everything right for my usage. Probably printed 10 whole wands worth of parts lol. Just about finished a full sized one when my wife was like uh the 7 year old can’t haul that around.
Now that I have everything dialed in with the models I printed the last wand and the full pack with a spool and a bit of filament for the 83% pack. About $25 for the pack and wand. I used left over pvc and screws I already had so can’t say how much those are. I’ll probably go through 3 cans of filler primer before it’s all said and done. That’s one of the more expensive parts
It’s a pack for a lefty. I decided to just mirror it for him as he liked the look of that the best. All of the wand and the black were the same filament. The wand has been sprayed with the filler primer and sanded smooth. The yellow was the second one. I won’t be buying the yellow again. Not a huge fan of it but the hatchbox black was great.
It’s been a fun project and that’s worth a ton to me. Hopefully it helps someone else out. The electronics I’m working on are the most expensive parts.
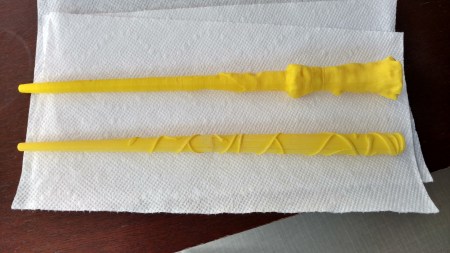
And I agree. I love my 3d printers. I’ve got two now but my monoprice maker select is the main one I use. We’ve had friends over this week that are huge Harry Potter fans and the kids are going home with Harry’s wand and Hermione’s wand
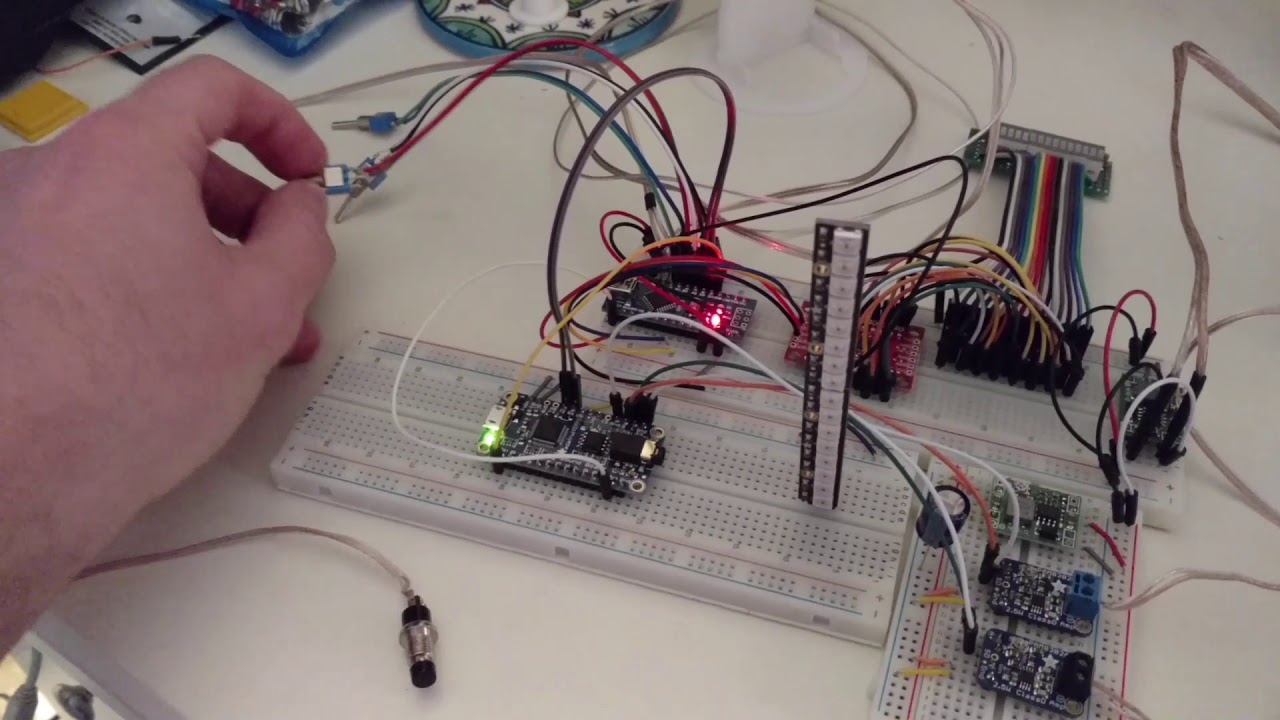
I started all of this before I found the site so I’ve just been rolling with it. I’m using some cheap arduino nano clones, a sparkfun sx1509 for the bargraph, an adafruit 16mb audio fx trigger board, and a few other bits and bobs to do the electronics. Most of the leds are various styles of neopixels. I’ve documented everything I’m working on in this thread and posted the code I’m working on
I’m nearly done with the electronics and ready to mount to permanent boards. I just have to finish soldering up the neopixel jewels I am using for the cyclotron and write the animation code for them. The rest is mostly complete. I’m not planning on using the sx1509 and the bargraph in my son’s 83% size pack as the setup I made is too large for the available space. I think he’ll have a dummy graphic in that spot for his final build. I’ll save the one I built and the code for next year when I finish my full size pack
A few other people have been helping out with the design. It’s been a really fun project. I think my son is going to go nutz when he tries it out with the pack on his back for the first time. He just wants to play with the current breadboard setup constantly. He’s been helping me figure out how everything should work for him. The journey has definitely been a blast just like with the PKE Meter I made for his costume.
I’ll probably be putting some form of this electronic package in my spirit pack. I buy the nanos in 3’s and have a bunch of other parts so it wouldn’t cost me much to do it.
Anyone have the dimensions of the Spirit Pack? I ordered one but they’re saying it won’t ship out til Oct.15th (ugh), but I want to get started on making an alice frame for it. I saw that the Spirit Halloween website has the dimensions but wanted to confirm them.