Working on my first Proton Pack (Back From The Dead!)

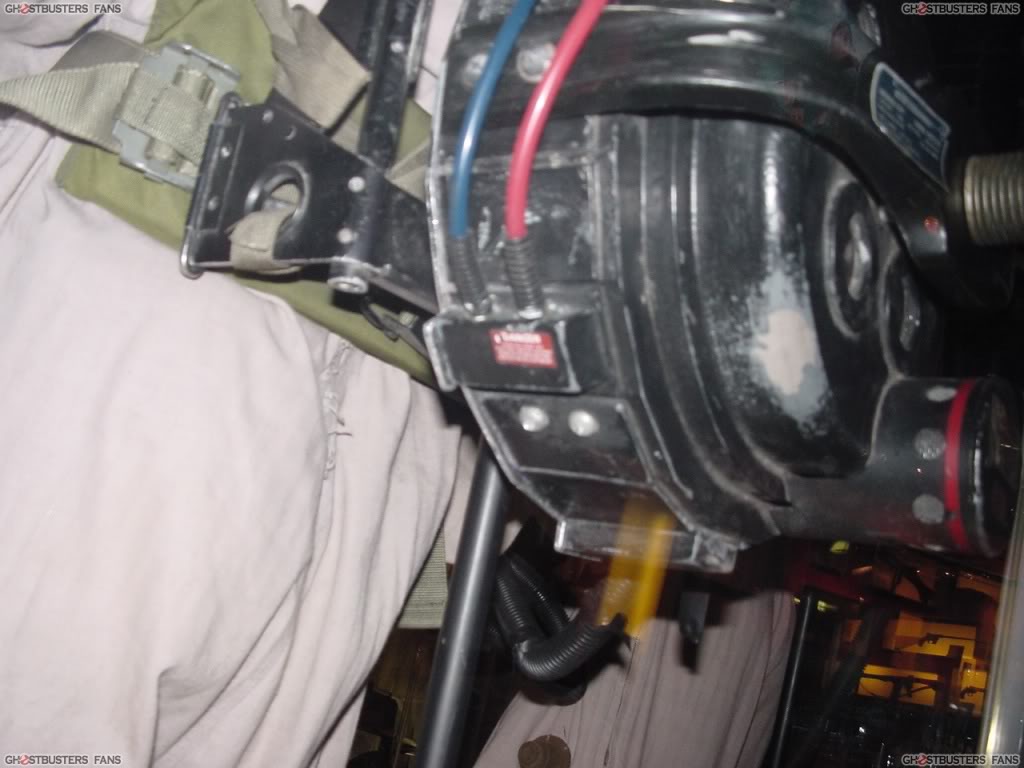
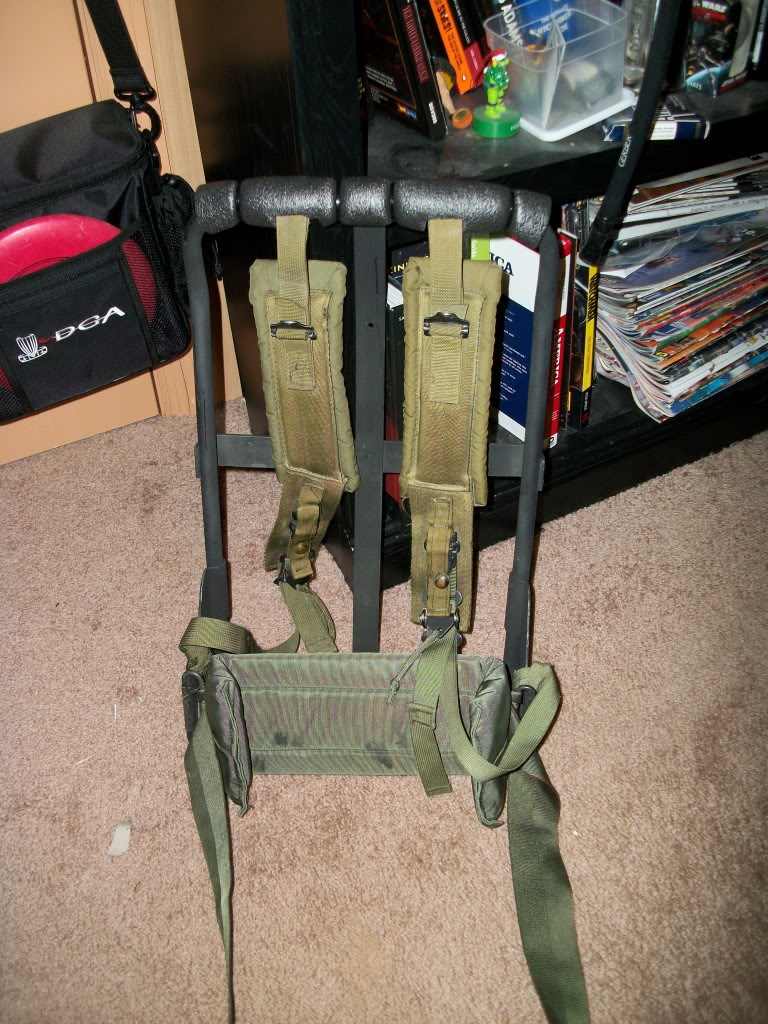
I’ve started working on a Proton Pack, first thing I got was the Alice frame and straps.

Painted and drilled, waiting to be attached to the motherboard.

As for the pack itself. I went with the Studio Creations pack.

I know it isn’t as accurate and the features are too round. But I’ve seen what others have done with it and I think they look good. With a little work, it won’t stand out as much.

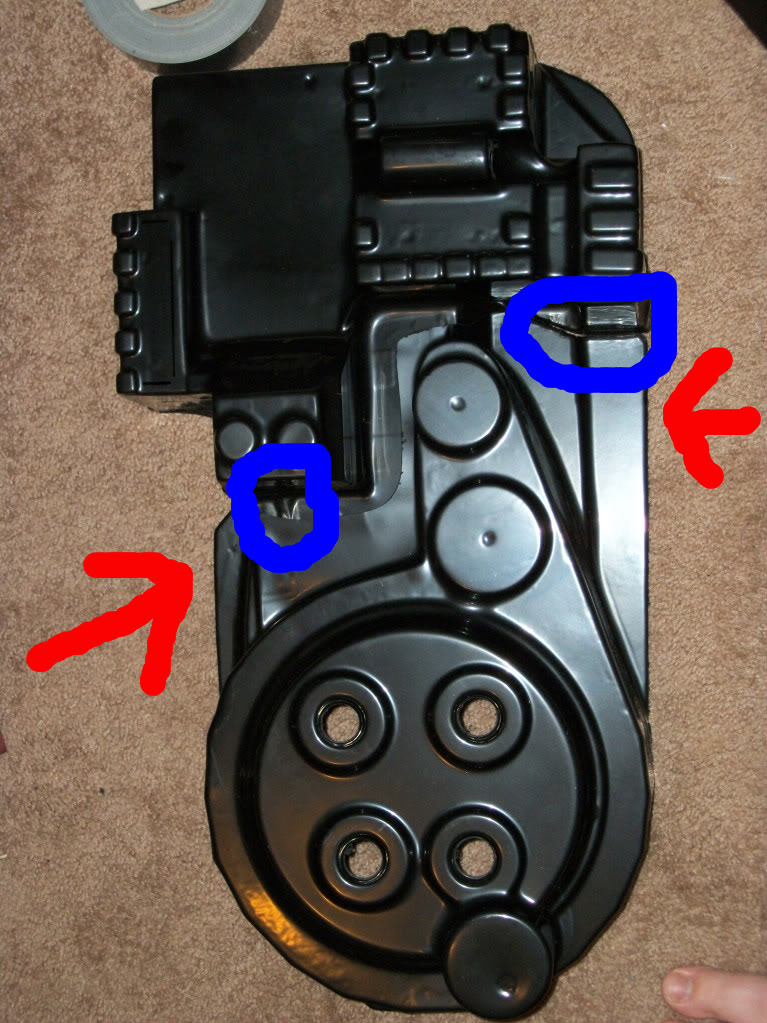
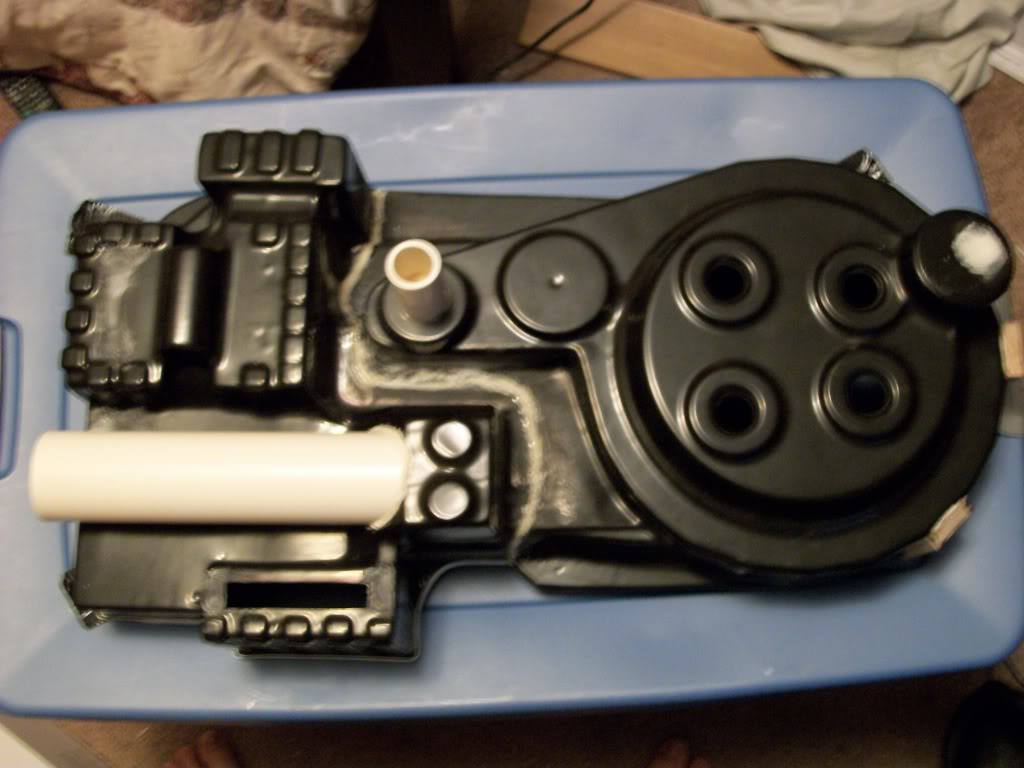
The blue circled bits are areas I know need a little work. I figured bondo and sanding with help with that. The edges need sanding before I do anything else to it and I know the bottom has a extra piece that needs to be cut off. You can’t see it on the photos because of the angle, but if you’ve seen this shell all of them have it. I am curious about the areas I have the red arrows pointing at. Should they be removed or stay since it is just going be on the motherboard?

Cool, I can’t wait to see more.. I’m on a tight budget and was also thinking of getting a Studio Creations shell, so I’m gonna be keeping an eye on this thread for sure!

That’s the main reason I went with it myself. It wasn’t as bad as I thought it would be really. The plastic is pretty thick and seems to be fairly tough.

I’m actually considering building the gun body out of cardboard, covering it with styrene.and using foam for support. I think it is doable that way. I have done some work with cardboard in the past.

image

With enough time, it can be shaped into anything. Duct tape helps. :vinzclortho:

I’d prefer to get a kit, but I’m thinking I’m going to have to hold off for when I upgrade it in the future.

After seeing how dusty that entertainment center is i dont feel bad about the cakes of dust on mine anymore…

That shell looks great.. It does need some smoothing out in certain areas and some good coats of paint to get rid of that glossy look.. I still prefer the more solid and sturdy building materials in packs (wood, alloy) but the shells from plastic and fiberglass go a long way if they are properly taken care of..

good luck and keep us updated!

Did some work on the pack today. I cut off the bottom lip thing and fixed the hole with some styrene Also sanded the edges and various little bumps all over it. Then I cut out the powercell window, which needs to be touched up a little.

Tomorrow I’m going to start with the bondo and take care of the pits and smooth out some areas. Hopefully I’ll be able to prime it shortly. Then I need to find some of the fusion metallic spray paint. I already have the flat black fusion.

Keep us updated. I have a SC pack as well. I’m impressed with it’s sturdiness and have bumped into walls a few times without destroying anything. I would recommend screwing/bolting everything you can down to the inside of the shell using washers or plastic square spacers. Not sure that there’s really anything that could be ripped off my pack without a lot of effort.

You guys reinforce it with any fiber?

Slight update.

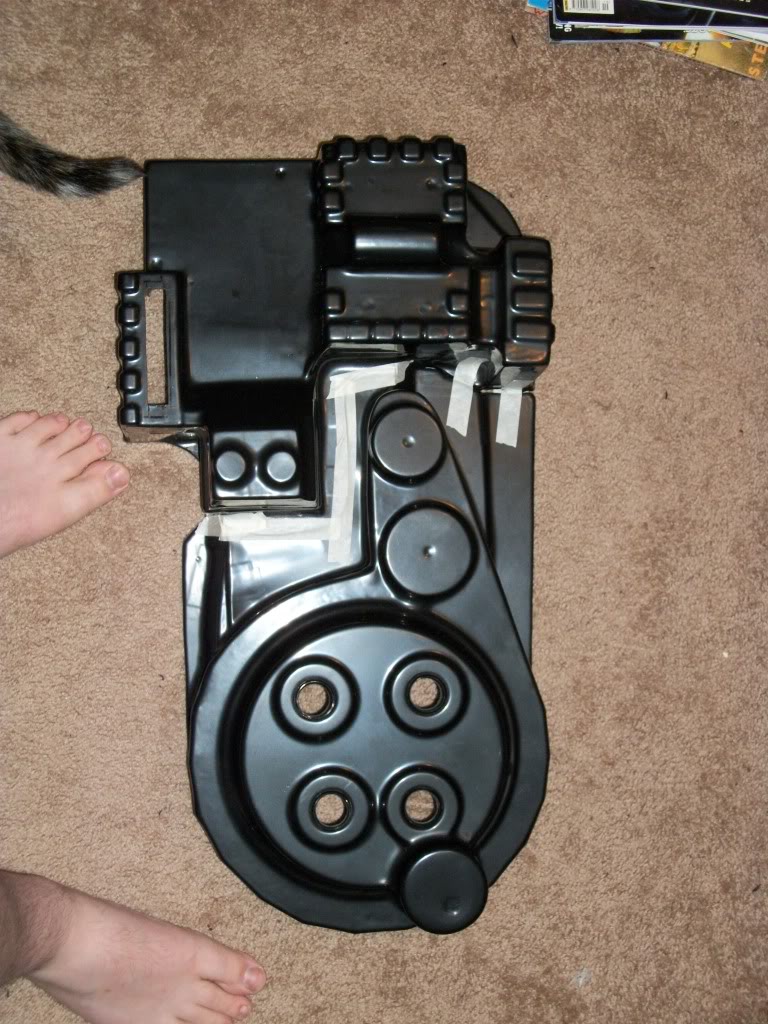
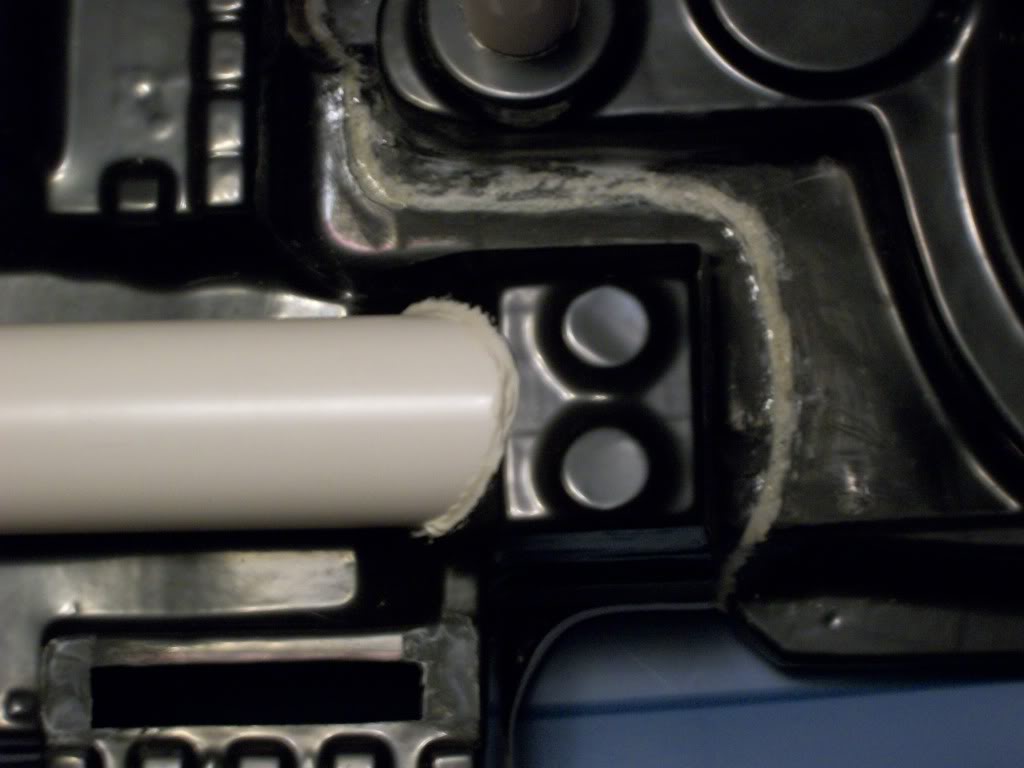
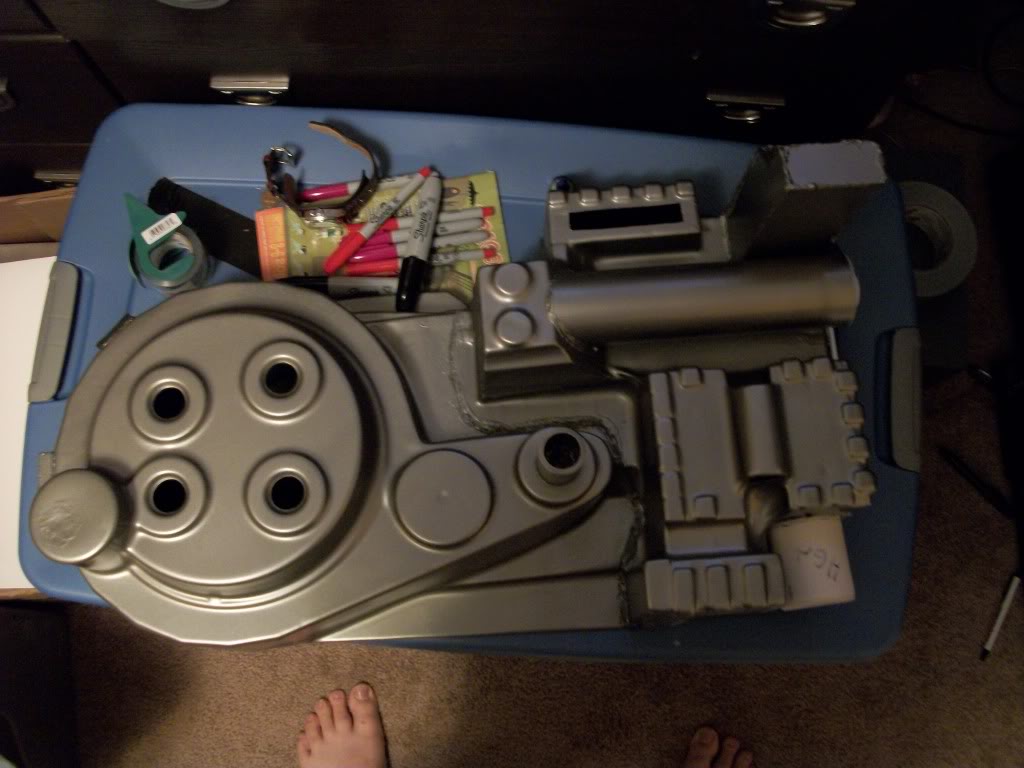
Right now I have the whole thing taped together. Some of the edges were a little off, so I had to smooth it out. This is keep the pack flat on the motherboard without having to bend the pack. I still haven’t been able to bondo or paint it yet.

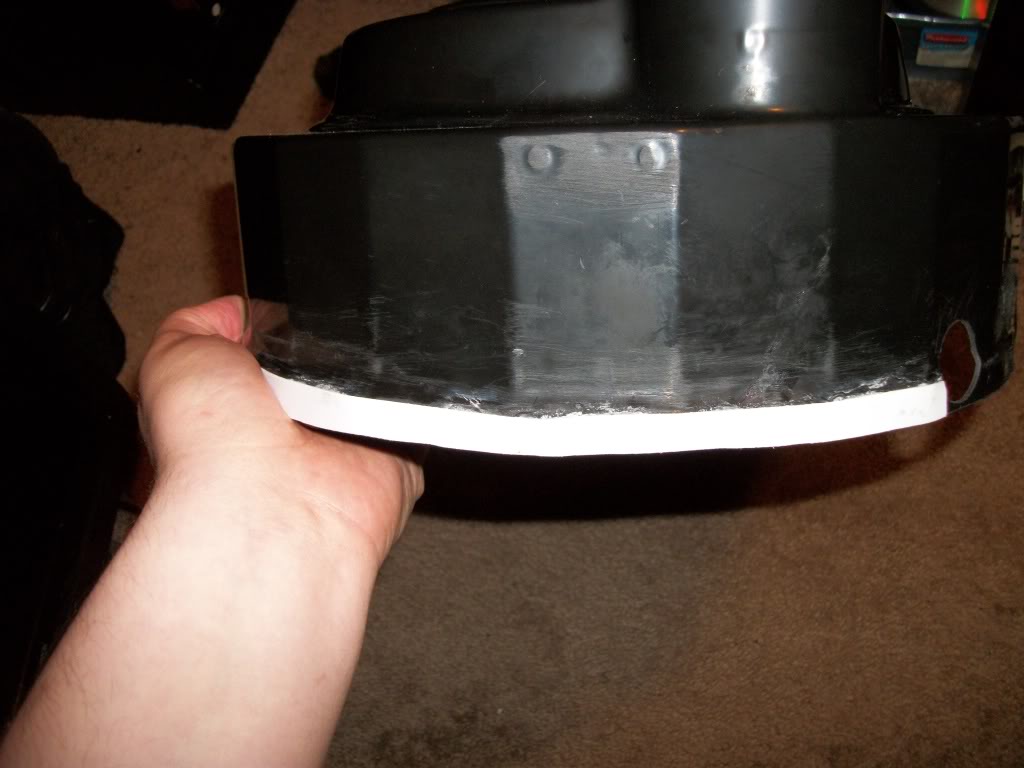
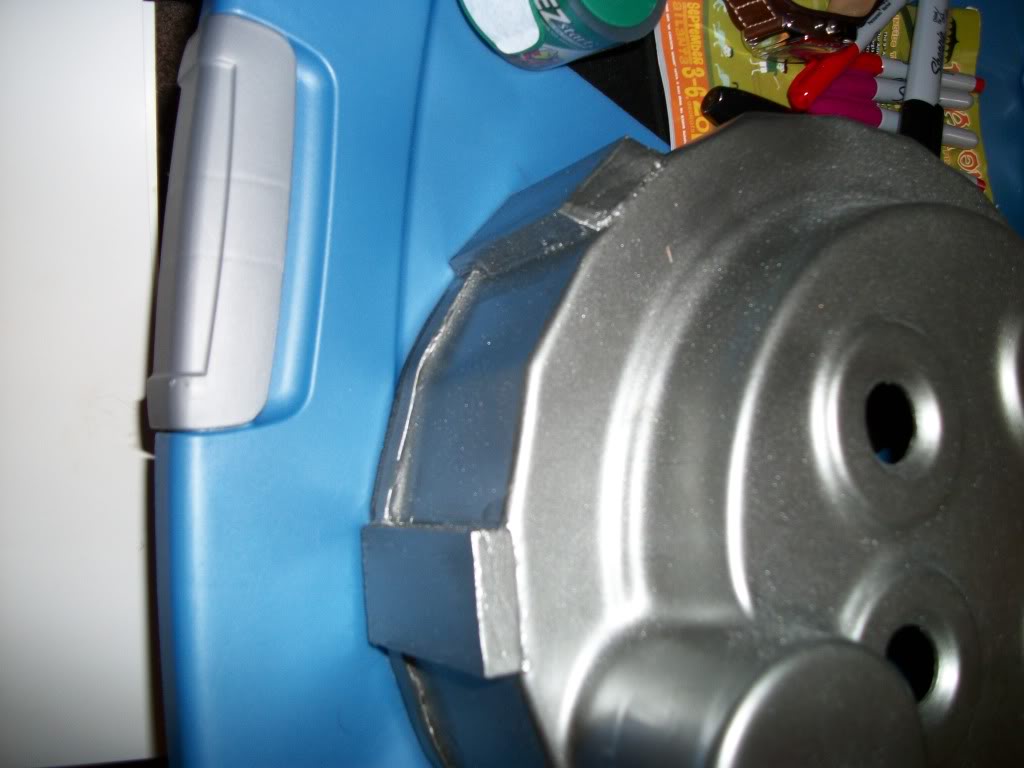
The bottom lip has been removed and covered up.

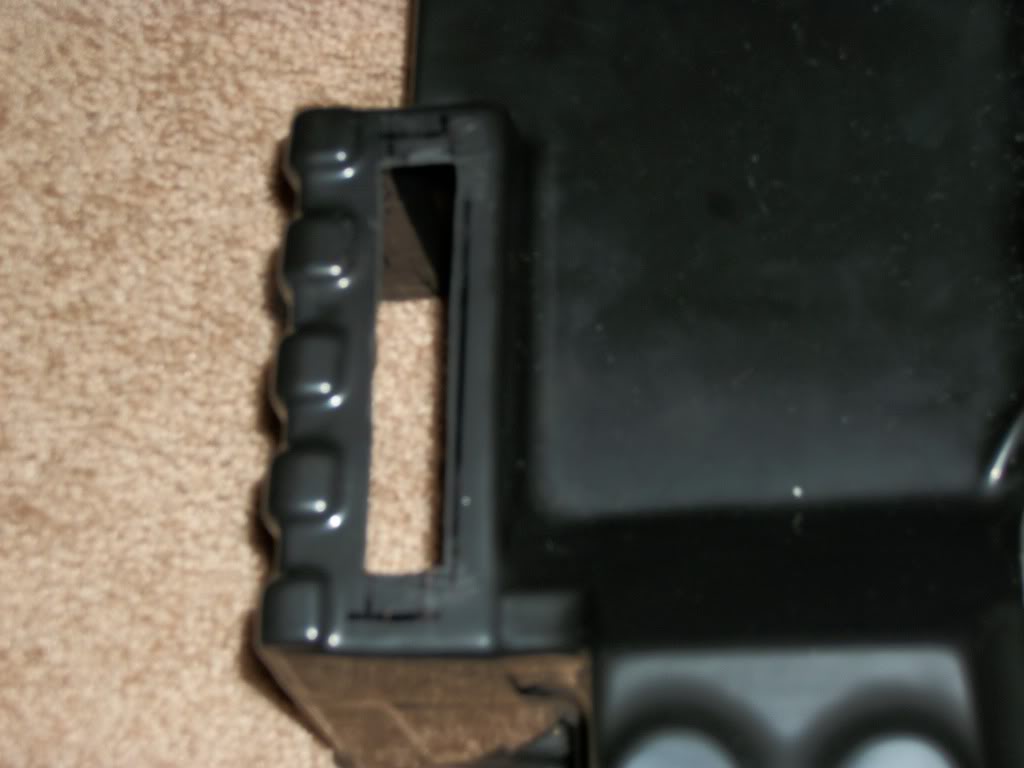
There is the powercell window, you might notice that I cut a little too deep at the bottom. But that is easily fixed.

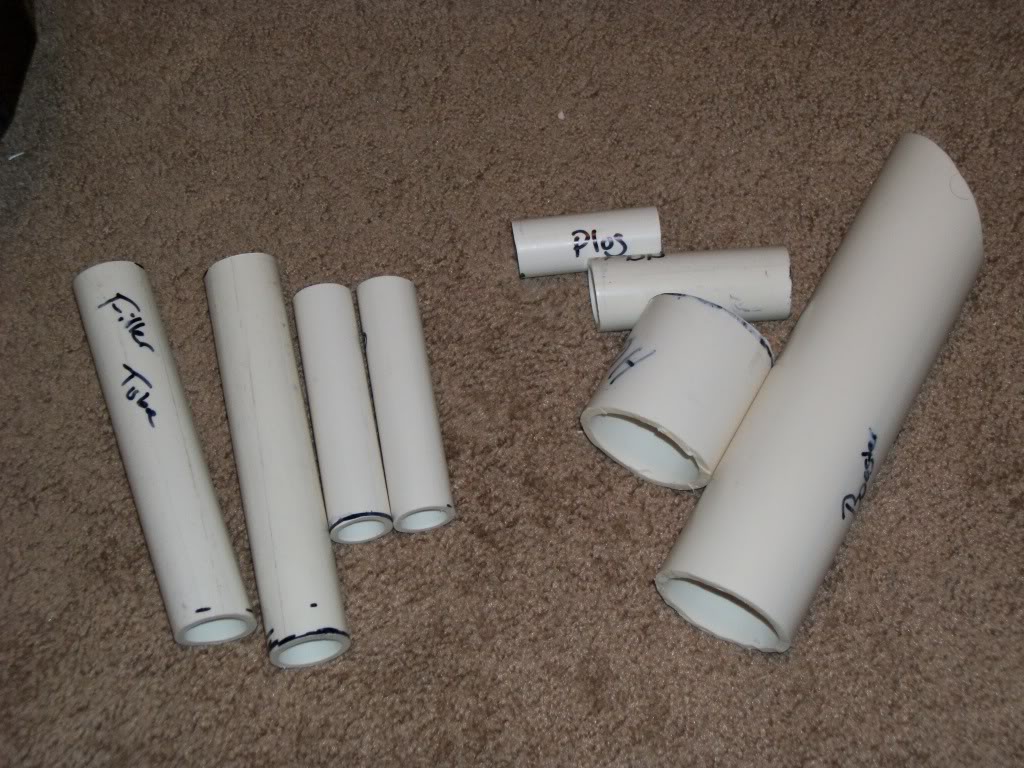
I’ve also gotten some PVC pipes and some dowels, I might go ahead and cut them to the right lengths tomorrow. I’ve also gotten the wood I’ve going to use for the motherboard, its fairly thin but seems to be pretty tough. I need to attach the bits at bottom before cutting it out though.

I don’t know the name of it, but the small boxes at the bottom and side on the plates under the cyclotron. I can probably shape them out of wood without too much trouble.

Mah, those toes look so lifelike! GG!

G

They’re made from duct tape and twenty little toes.

Just a little update, haven’t been able to do much work on the pack. I have the PVC marked off and ready to cut. But I have ordered some parts (Clippards, brass Clippard things, and the tubing), I’m going to check out a hardware store for some other bits. I might start working on the gun while I wait for those parts to come in.

I’m waiting for some stuff to come in for the pack, that combined with some bad weather has made working outside a problem. But it gave me some time to work on the gun.

image

image

Here is the beginnings of a gun box. It’s made from styrene and I’m going to reinforce it with another layer of styrene, which I learned from my hose connector build is pretty sturdy. I’ll probably put some wood blocks inside it so I can attach everything that goes on it.

Slight update, the pack is now being glued together and I’m waiting for it to completely dry.

When that’s done, I’m going to sand down the excess and get it ready for painting.

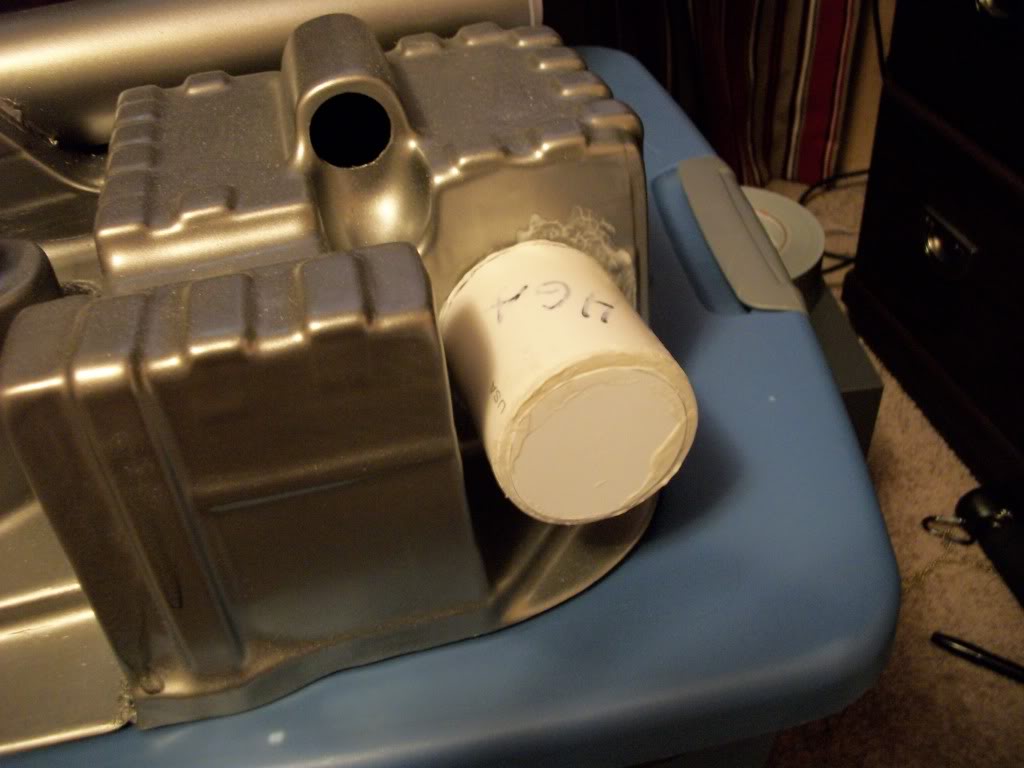
Also all the PVC bits are cut and ready to go. Of all the parts, the booster tube was probably the trickiest. I used a dremel to get the right angle instead of cutting a hole in the shell. Apparently PVC is made out of several tons of dust, dust that automatically goes for any body opening. Especially the eyes, it will even wait until you take off your goggles or go through the vents.

Scratch building the gun, eh? Ve shall be Vatch-ink your progress, heir Poltergeist!

Whoa, been a while since the last update. I’m not dead (or I am).

No, a bunch of real life stuff came up. Then in the end I had to decide between using my money for the Pack or going to Dragon*Con. I picked the Con and hope to be finished by Halloween. But here is the progress to this point.

First an update on the gun box. The styrene is a little too thin, so I’m going with foamboard. Fill in the cracks with liquid nails and smooth out any overspill. I don’t have any pictures because I only did a test run with some board that was in bad shape. I mainly did it to see what sort of abuse it can take, a decent bit.. I got some more and plan to do it the same way for the final version.

Now, on to the pack itself.

A couple of shots before I painted it silver.

The pack as of today. A lovely silver that will be covered in flat black, except for some scratches and other marks. The paint is the kind that fuses to plastic, totally worth the extra few dollars. Has a wonderful sheen and is not coming off.

Here’s the bottom of the back. I need to fill in the gap a little.

The start of my HGA, which still needs paint and the screws.

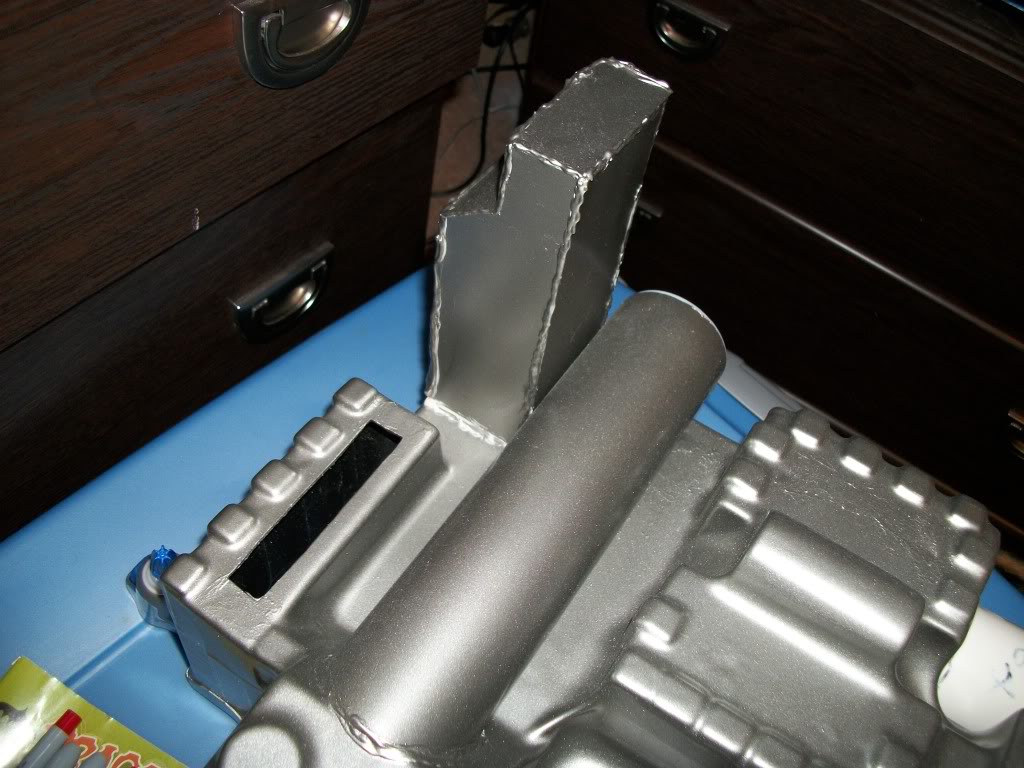
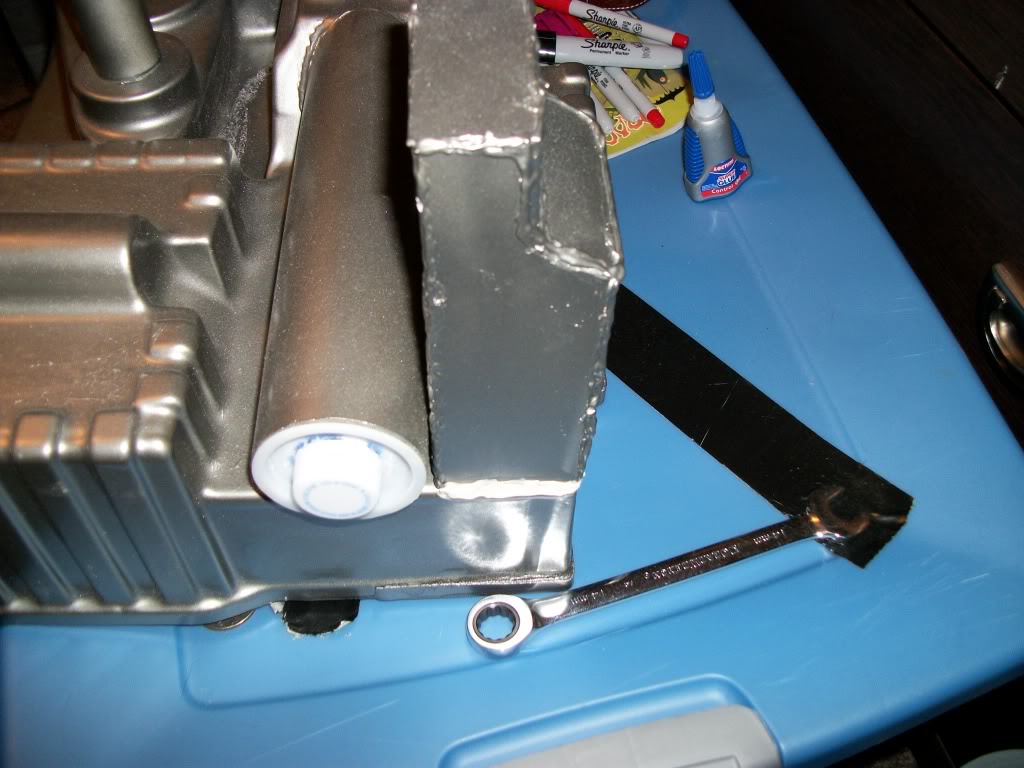
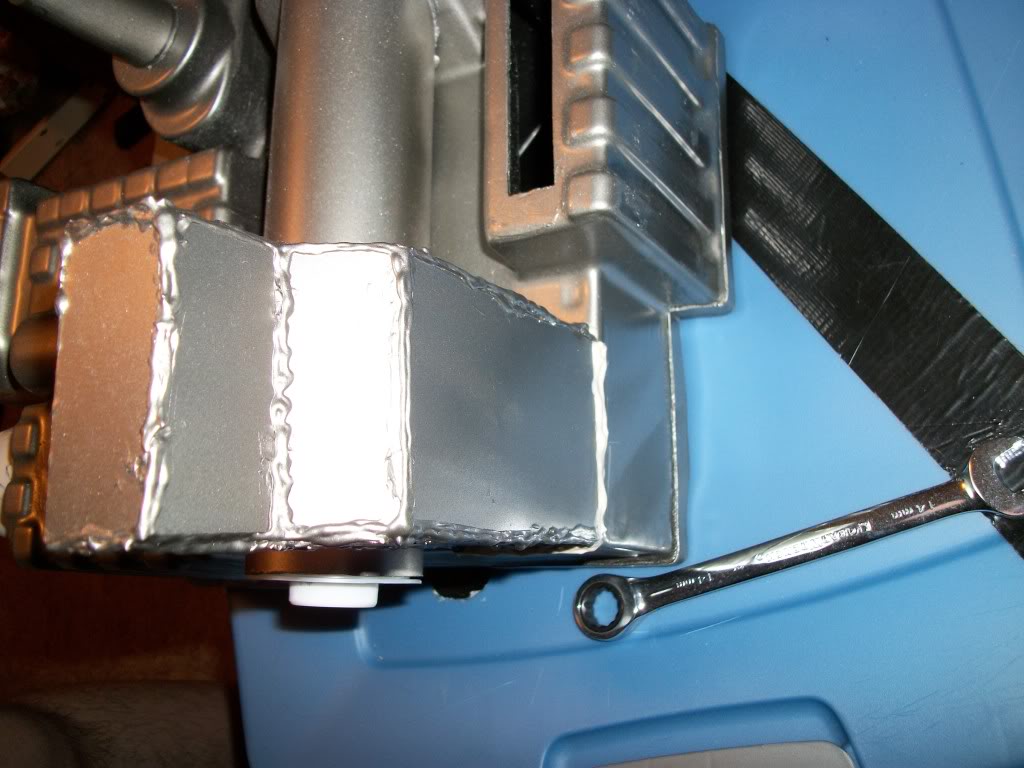
My Ion Arm, totally made out of wood with a styrene skin. The welds are liquid nails.

It is now attached to the pack with more liquid nails, although I’m going to use some screws for more support. Also the booster plug is ready to paint, made from a bottle cap and PVC pipe plug.

I did the weld on each line. It not only holds down the pieces, but I think it gives it a personal touch.

As far as the pack goes, I only need the Legis bits, Bumper (with the knob bit), and the decals. The rest I either have already or I’m building it. Since I’m enjoying scratchbuilding parts, I’m going to try it with the Ion Arm Assembly. The gun still needs various bits that attach to it and the grips.
There’s a template that I’ve got, it used to be up on hprops.com, but maybe I’m just not finding it.. It’s a template to cut out and make the gunbox from any 1/8" thick material, so if you’ve got styrene or anything more resilient it would be perfect..

seems I can’t find it on the site anymore, though, so if you’d like me to sendspace the PDF for you let me know!

I have it already and I used it when doing the foamboard version. It’s great if you decide to scratchbuild it.

Thanks for the offer though.

PEsky,

I am working on an SC shell as well. Fitting it to the MB has been fun, but it is working out.

I will look forward to more of your pics.

Have a good time at the Con, I had to cancel my trip there due to life reasons.

Cheers,

Sebastian

Lookin’ good. Hope to meet you at Dragoncon!

G

So far So Good! Keep it up!

So this project is not dead. I took some time off, but now I’m back to work.

So far I’ve bought some new parts.

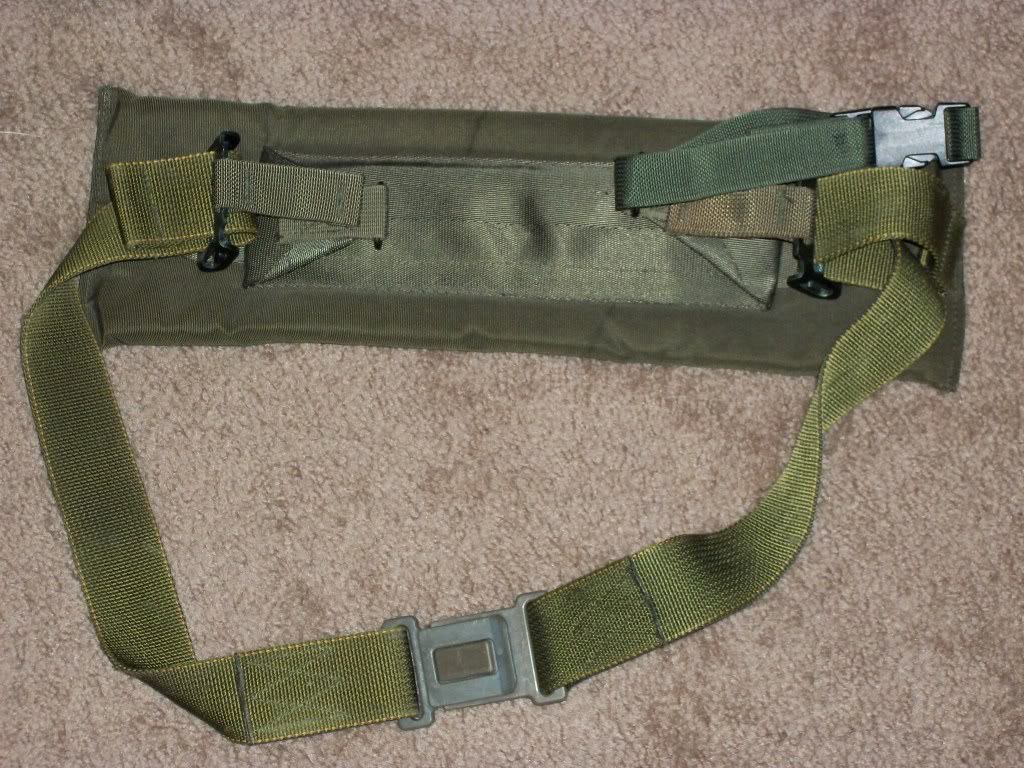
I went by the Army surplus store and found this, the accurate kidney pad for the Ghostbusters 2 pack.

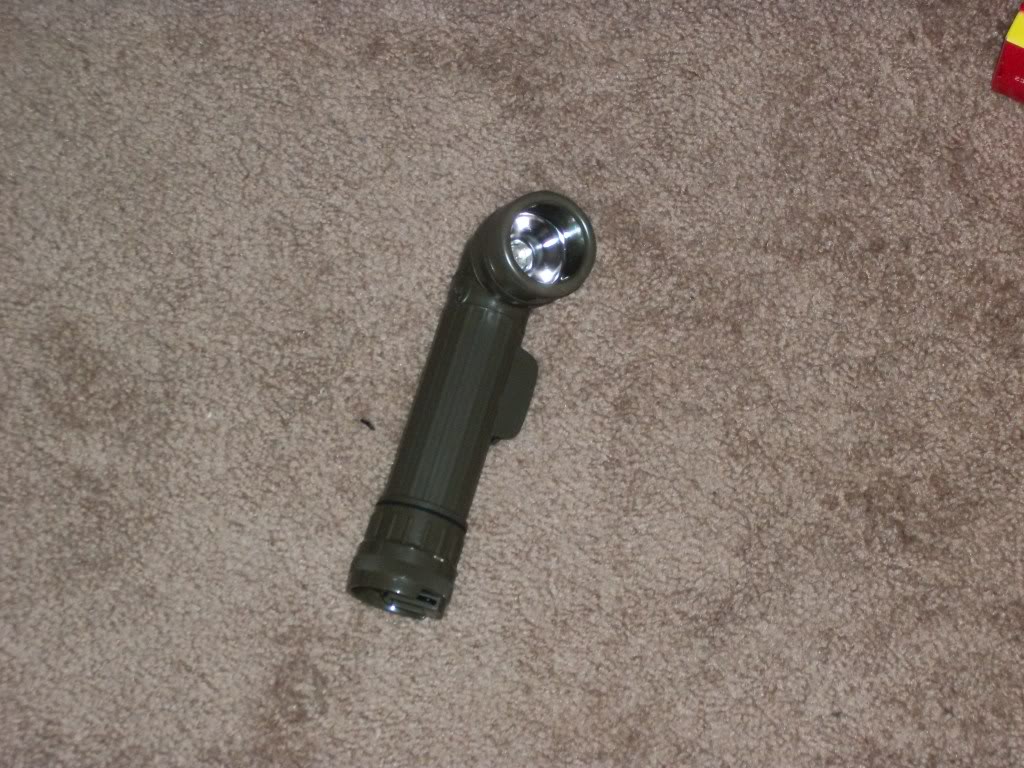
I also got this while I was there. I might use it and make it a sort of hybrid pack with the game version.

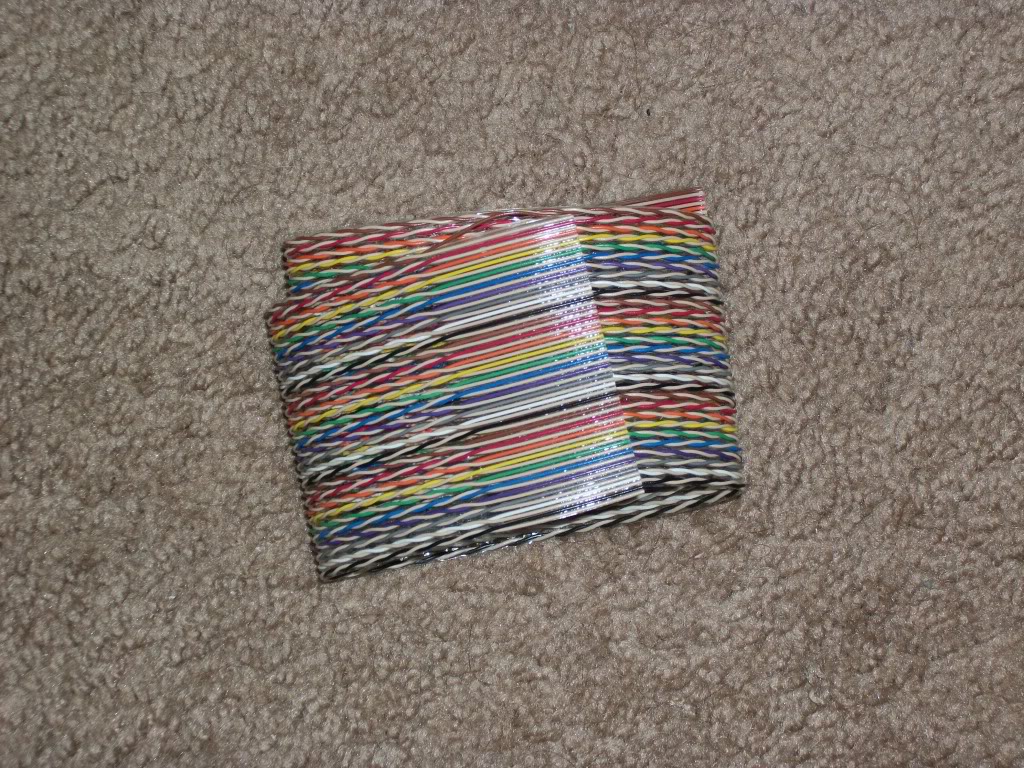
I got some ribbon cable.

These bad boys.

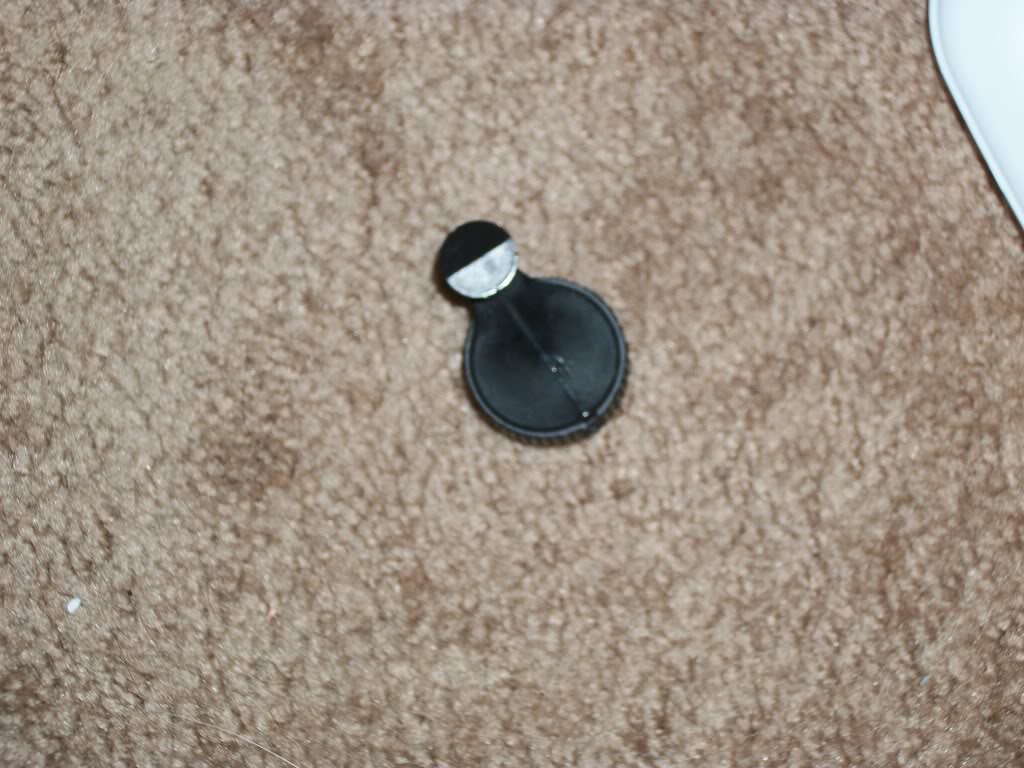
Also got this.

Right now I’ve given the Alice frame a nice coat of black paint and it’s looking great. I’ve also cut out my motherboard. I’m going to sand it, prime it, and then paint it. I’m using wood and trying to figure out the best way to attach it to the shell. I’m also ordering some more parts this weekend and hopefully finish the Ion Arm cap, which I am scratchbuilding.