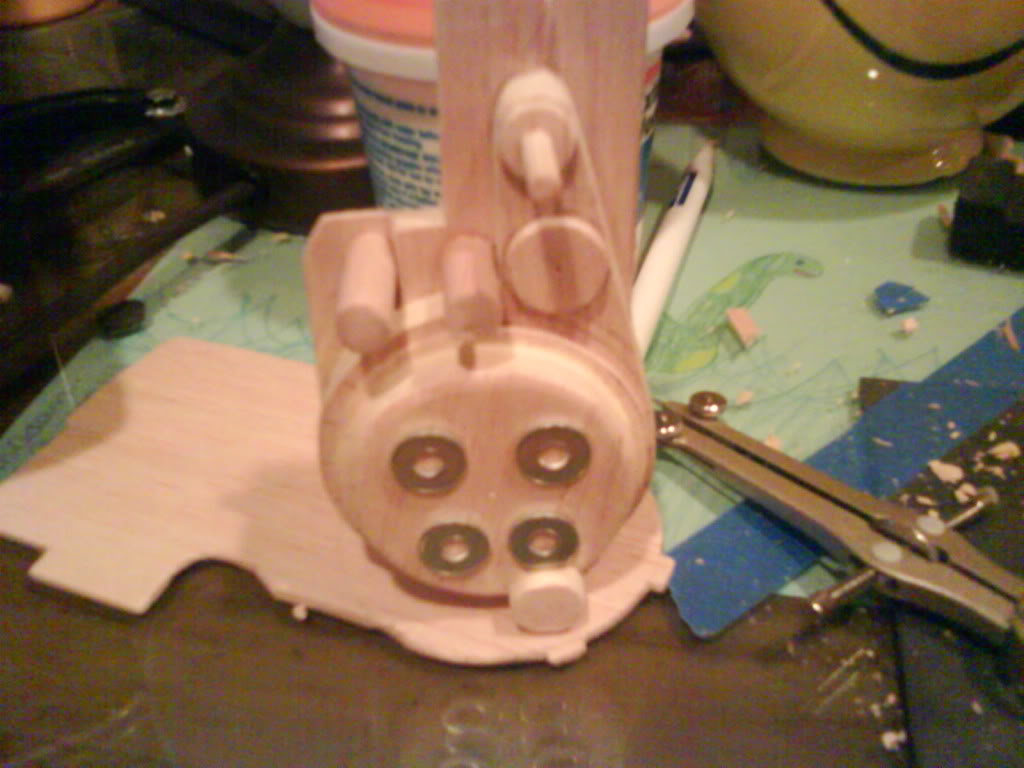
Before I start on a full size proton pack, I thought I’d make something a bit smaller to have an idea of what I’ll be getting into and what problems I can expect, so I don’t get ■■■■■■ mid build because I bit off more than I could chew. It’s 1:5 scale (odd, I know), made of balsa wood, and I used Stefan’s plans. So long story short, here’s what I have so far:
(I did something to screw up my sd card inmy camera, so you’ll have to settle with cell pictures for now)
But here’s my question, I think I have an idea how to deal with the most of the extra components (wire ribbon, connectors, the crank knob), but where I’m completely lost is the vacuum tube connecting the thrower to the pack and from the gearbox. I have almost no idea what I could use that would be a 1:5 substitute. The only thing I could think of would be wrapping a rubber gas line with glue coated thread or floss, then spraying it with a rubberized coating. But before getting into that mess, I was wondering if any of you had any ideas.
By the way, I have a new found respect for pack builders. I thought I could just push this out in a night and make it perfect, but so far I made 4 cyclotrons and I don’t know how many different bumpers, not to mention how many times I completely sanded and repainted this pack. Luckily, it’s only about 5" tall. Though, making my full size one should be quite a trip…
I would just use a proper scale black wire or something and not worry too much about the ribs.
You are looking at about 12 AWG or so I would guess. If you can find black tube around 5/32" OD that might work too. It will depend on how much flexibility you want.
Thanks everyone, and speaking of the Lego tubing, I picked up a technic set the other day just to see if it would work but sadly it’s just a bit too big. I think I may go with AJ’s idea with the wire and maybe take my tap and die set to it to add a subtle ribbing. And to bradboss, it’s 1/5th. A couple weeks ago I decided to make one, except I decided to scale it down so if I got in too deep, I wouldn’t be wasting a bunch of supplies. As for making it 1/5th, it was just an impulse decision when I started on the motherboard, which I’m kind of kicking myself in the ass for now. Looks like it will just have to serve as a desk piece, figuring I ever have a clean desk again…
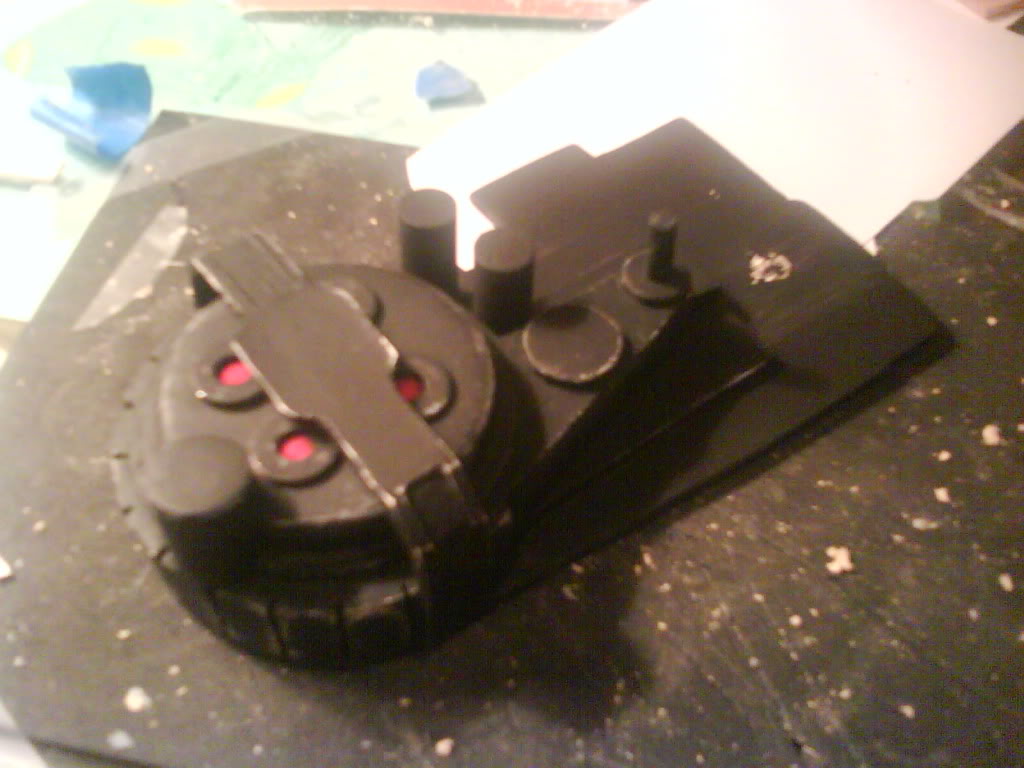
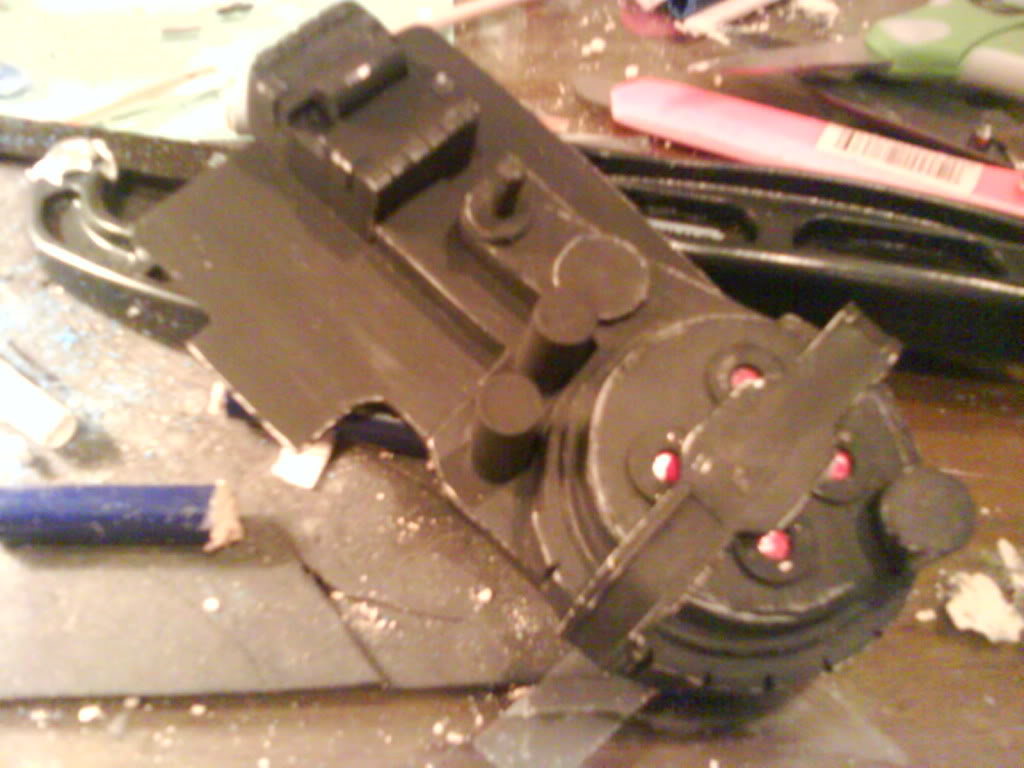
This is better than making a new topic, but anyways… It’s about 75% done and I need to repaint it. Since I’m brushing the paint on, I can’t exactly use toothpaste to help with the weathering and I’m not happy with sanding the edges. (And taking pictures really brings out the flaws that you don’t quite notice when making it)
Overall though, it’s serving its purpose and I now know what parts will be trouble when making the 1:1. Another thing, I remember reading something about a 15th plate around the spacer, but I can’t tell from the reference photos and it’s not mentioned in the plans. Is the 15th plate screen accurate or just something I happened to trip over while digging through threads?
Wow, that looks brilliant :crunch: i’m imagining that making the thrower and adding the wires and tubing is going to result in much swearing though working at that scale Oh, and kudos to the Hitchhickers book
Very nice work. The 15th plate underneath the ribbon cable clamp is screen accurate. That, along with some other small things (such as the correct OD of the booster frame should be 2.5"; the filler tubes on the cosmetic plates should be the same length, making one sit about an inch lower on the pack, and the “shelf” on the top of the power cell) have not been updated on any of the plans as far as I know.
Thanks, and I haven’t tried attaching any of the wire or tubes yet, but the thrower… I’ve started on 2 and threw away both of them, they’re a step past a pain the ass. And thanks a lot for the info,mburkit. I’ve read about some inaccuracies in the plans, but had no idea what they were.
(my second set of labels, I sneezed and lost about half of my first set)
It’s coming along, needs a few things here and there.
But, now I can say I can’t wait to start on my 1:1 pack, mainly because I am tired of trying to make a tiny thrower, let alone trying to trim those pesky thrower decals…


 Oh, and kudos to the Hitchhickers book


