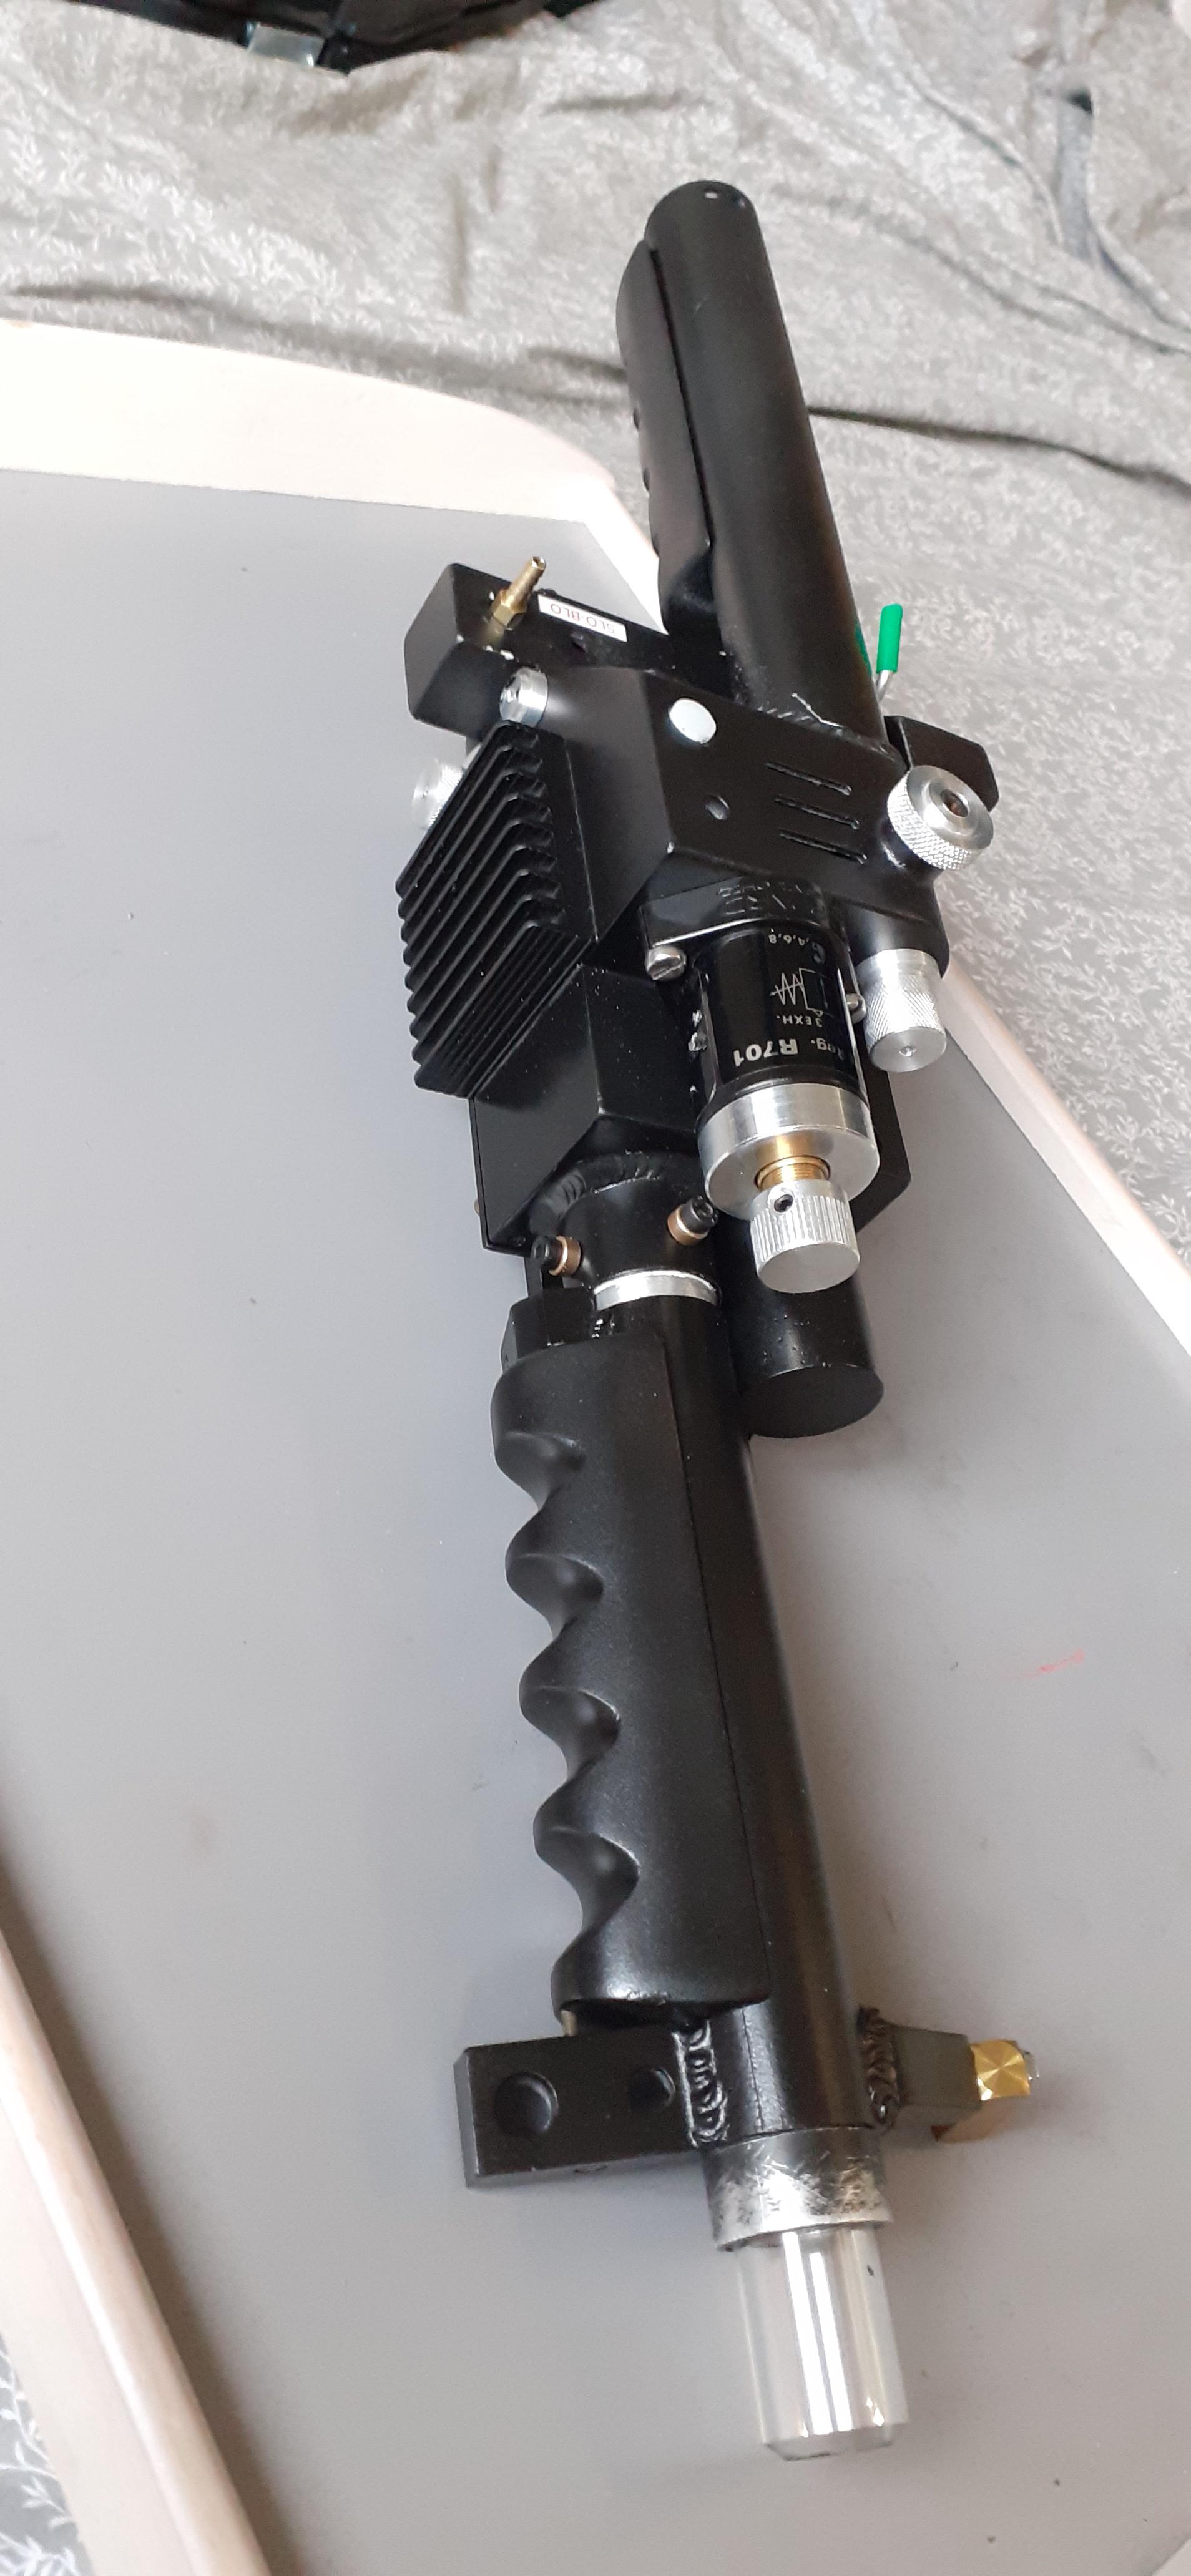
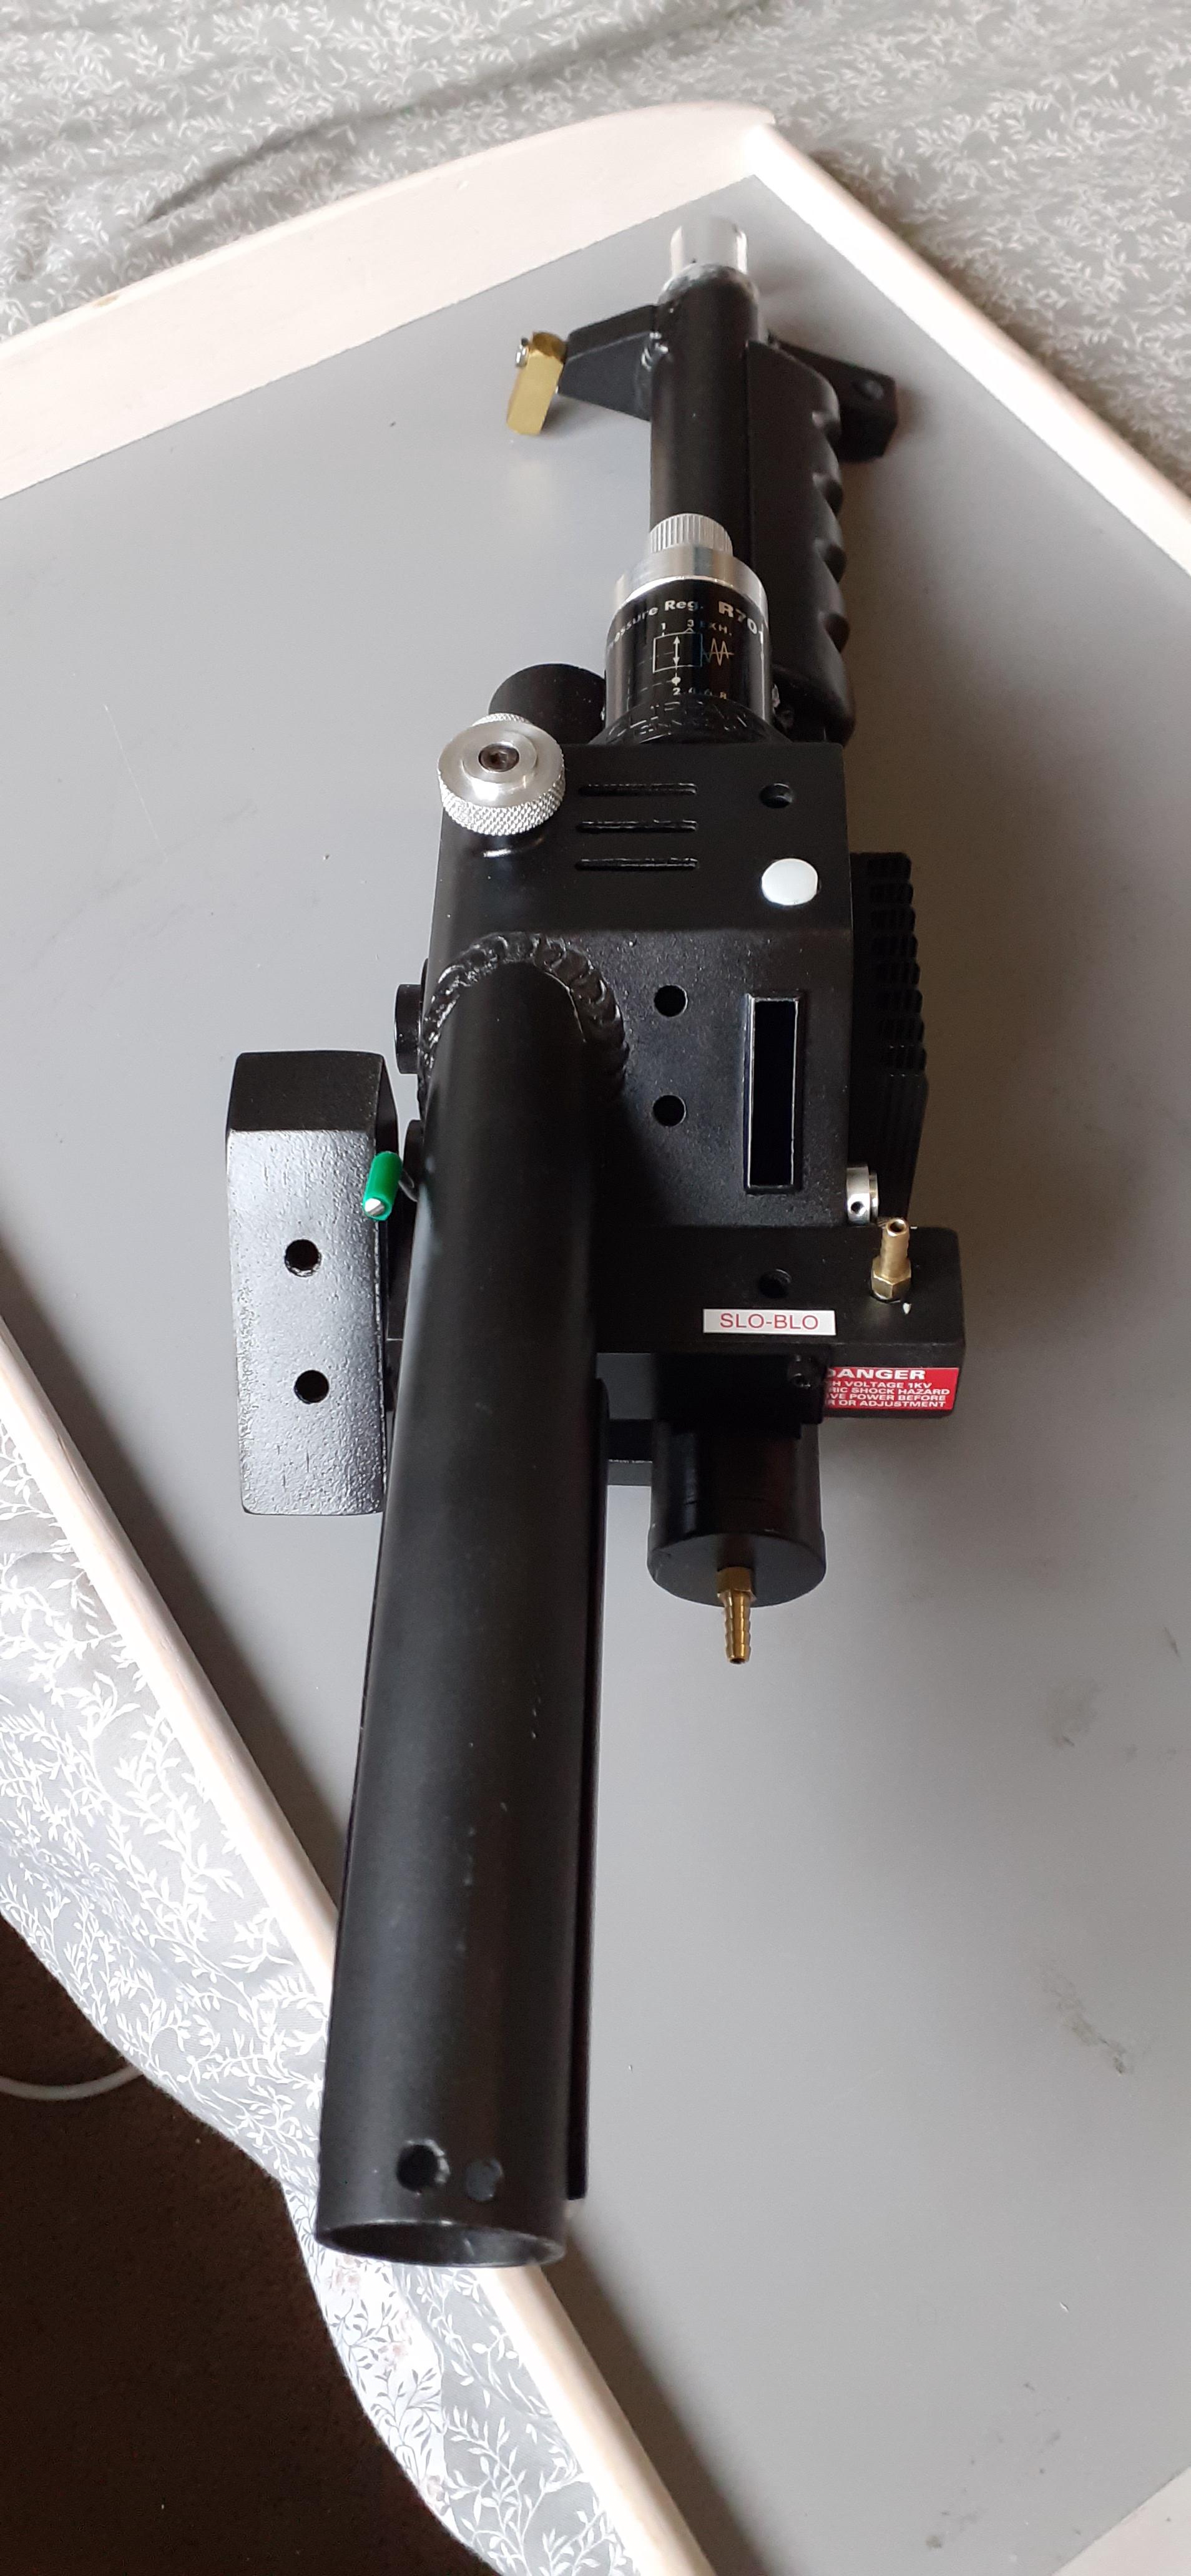
Thanks,
It’s the speaker from the GBfans shop that I’ve ordered so I assume the 4" template should work.
Thanks,
It’s the speaker from the GBfans shop that I’ve ordered so I assume the 4" template should work.
Big progress.
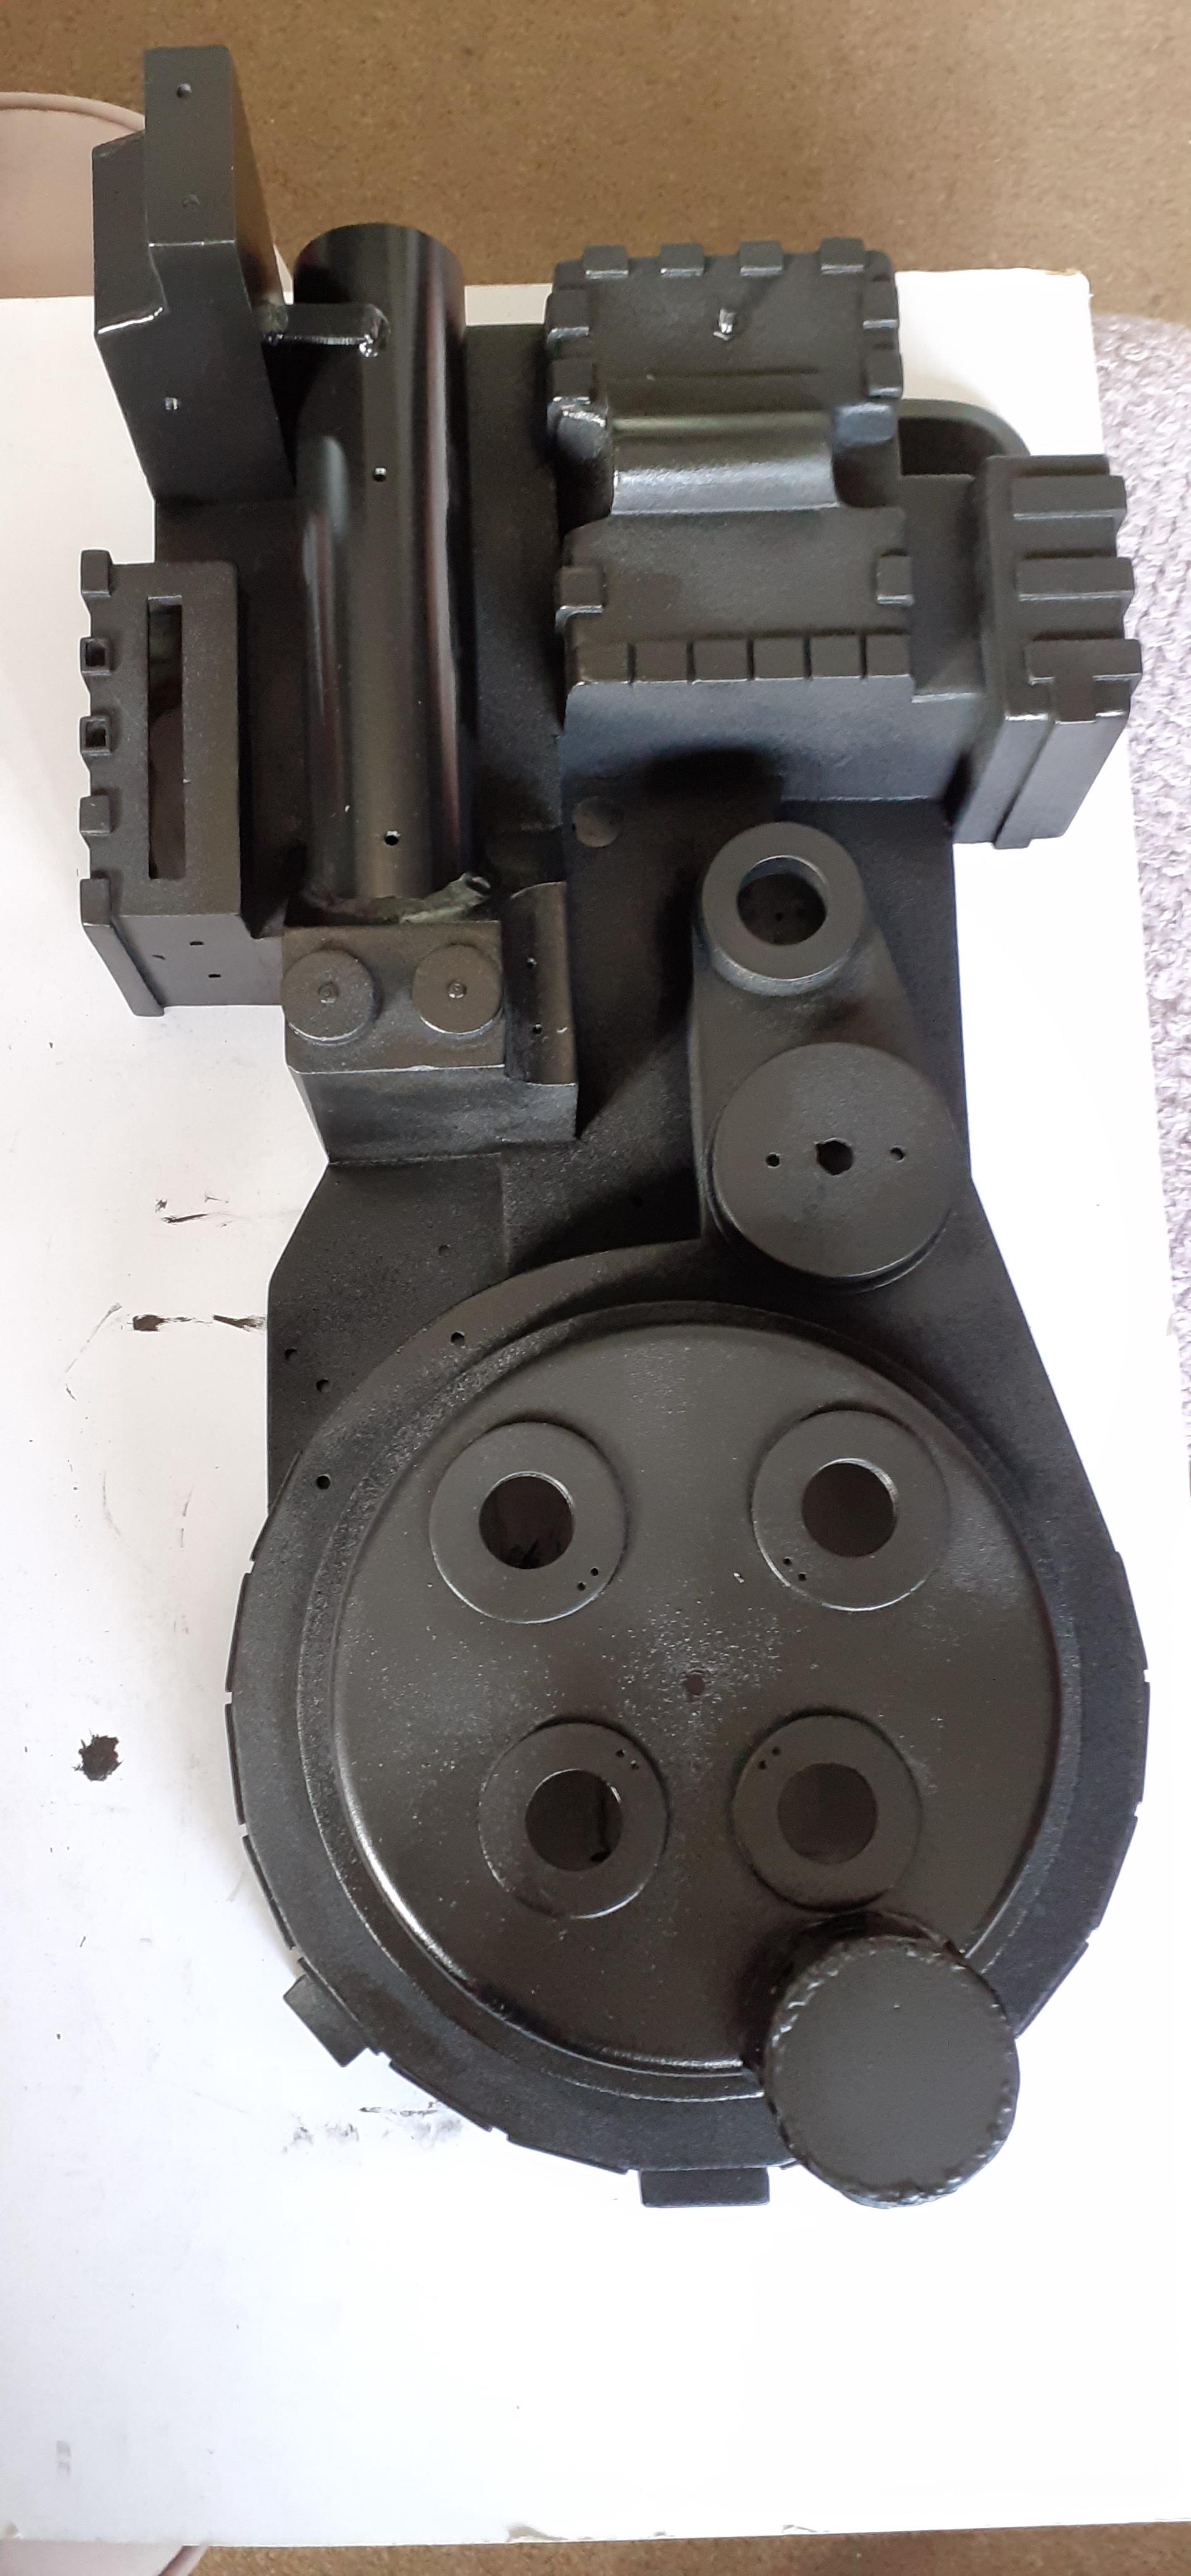
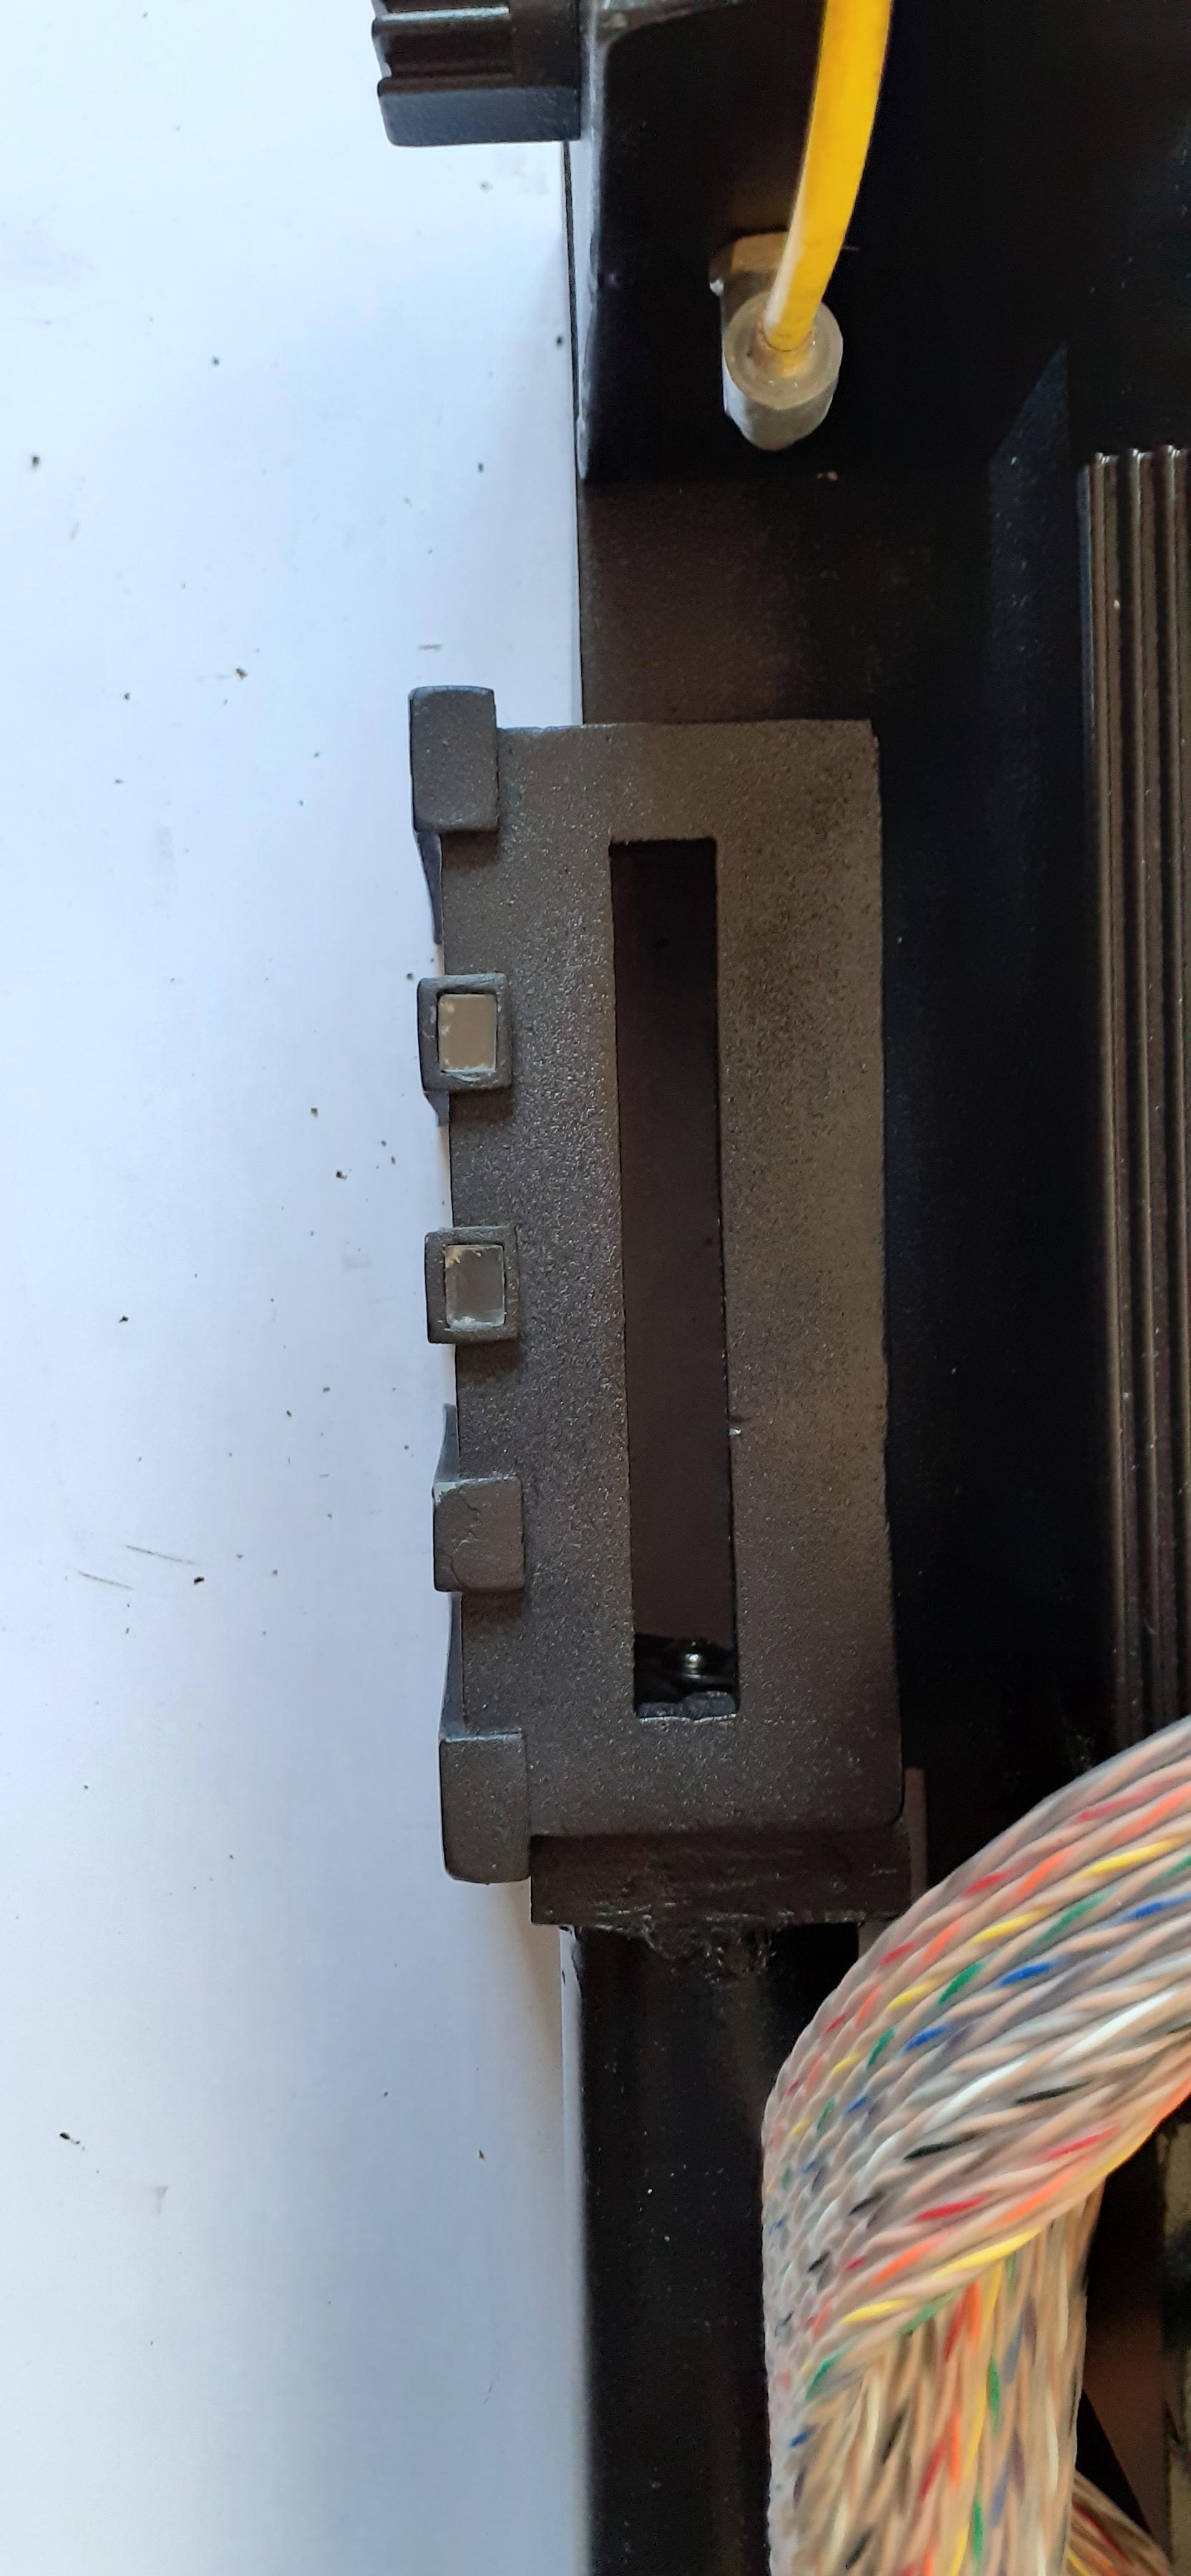
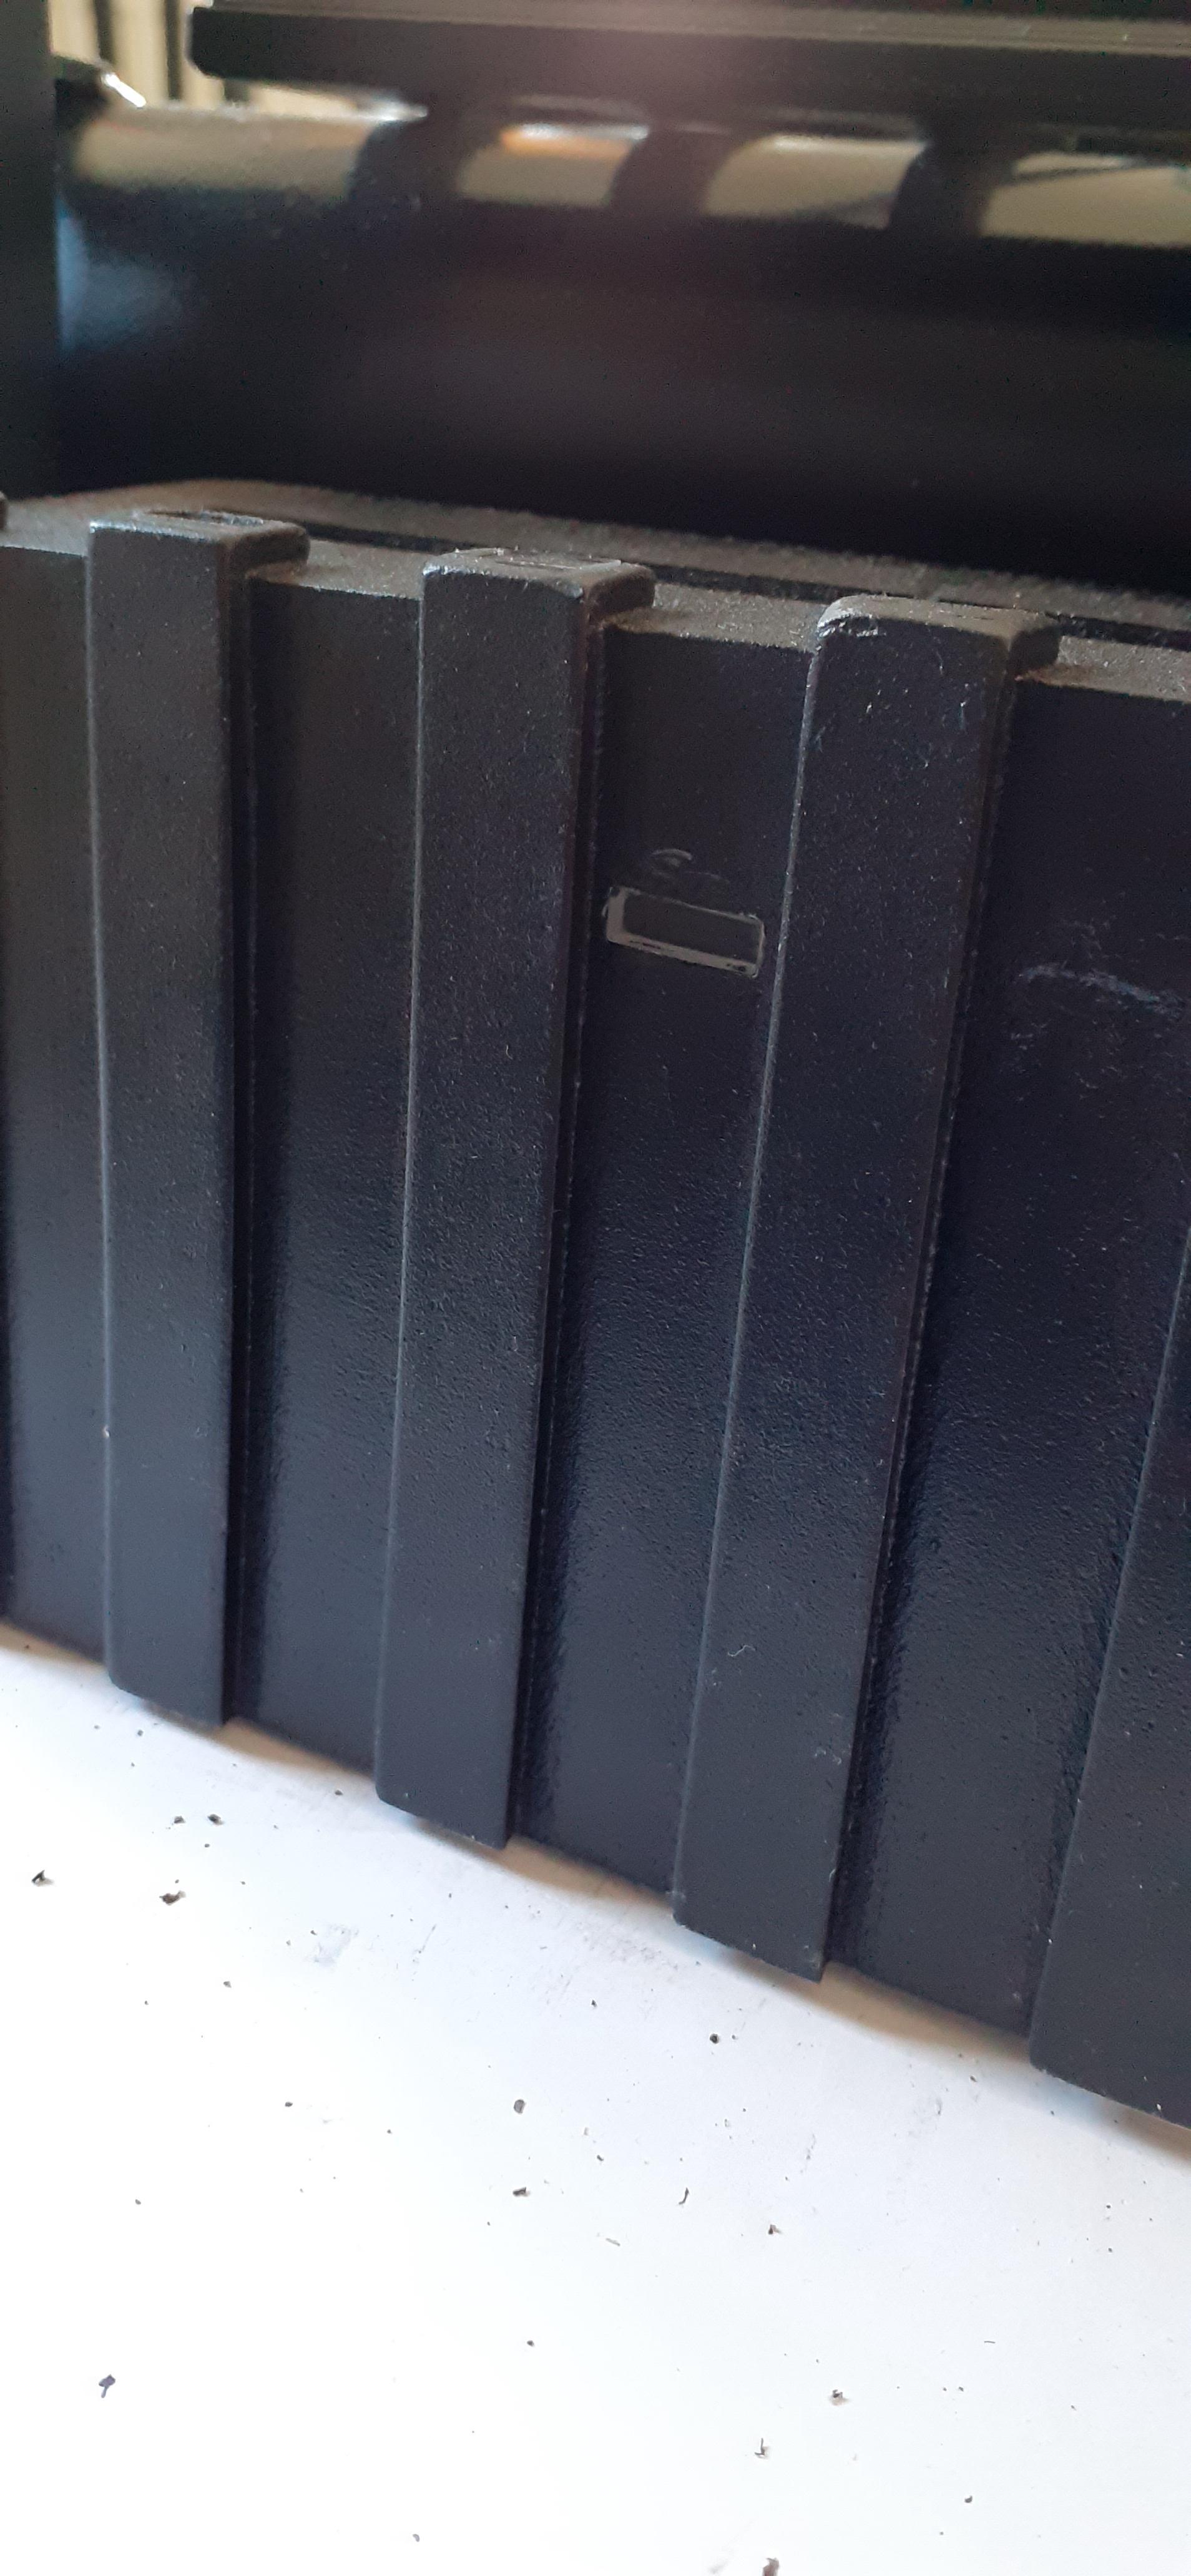
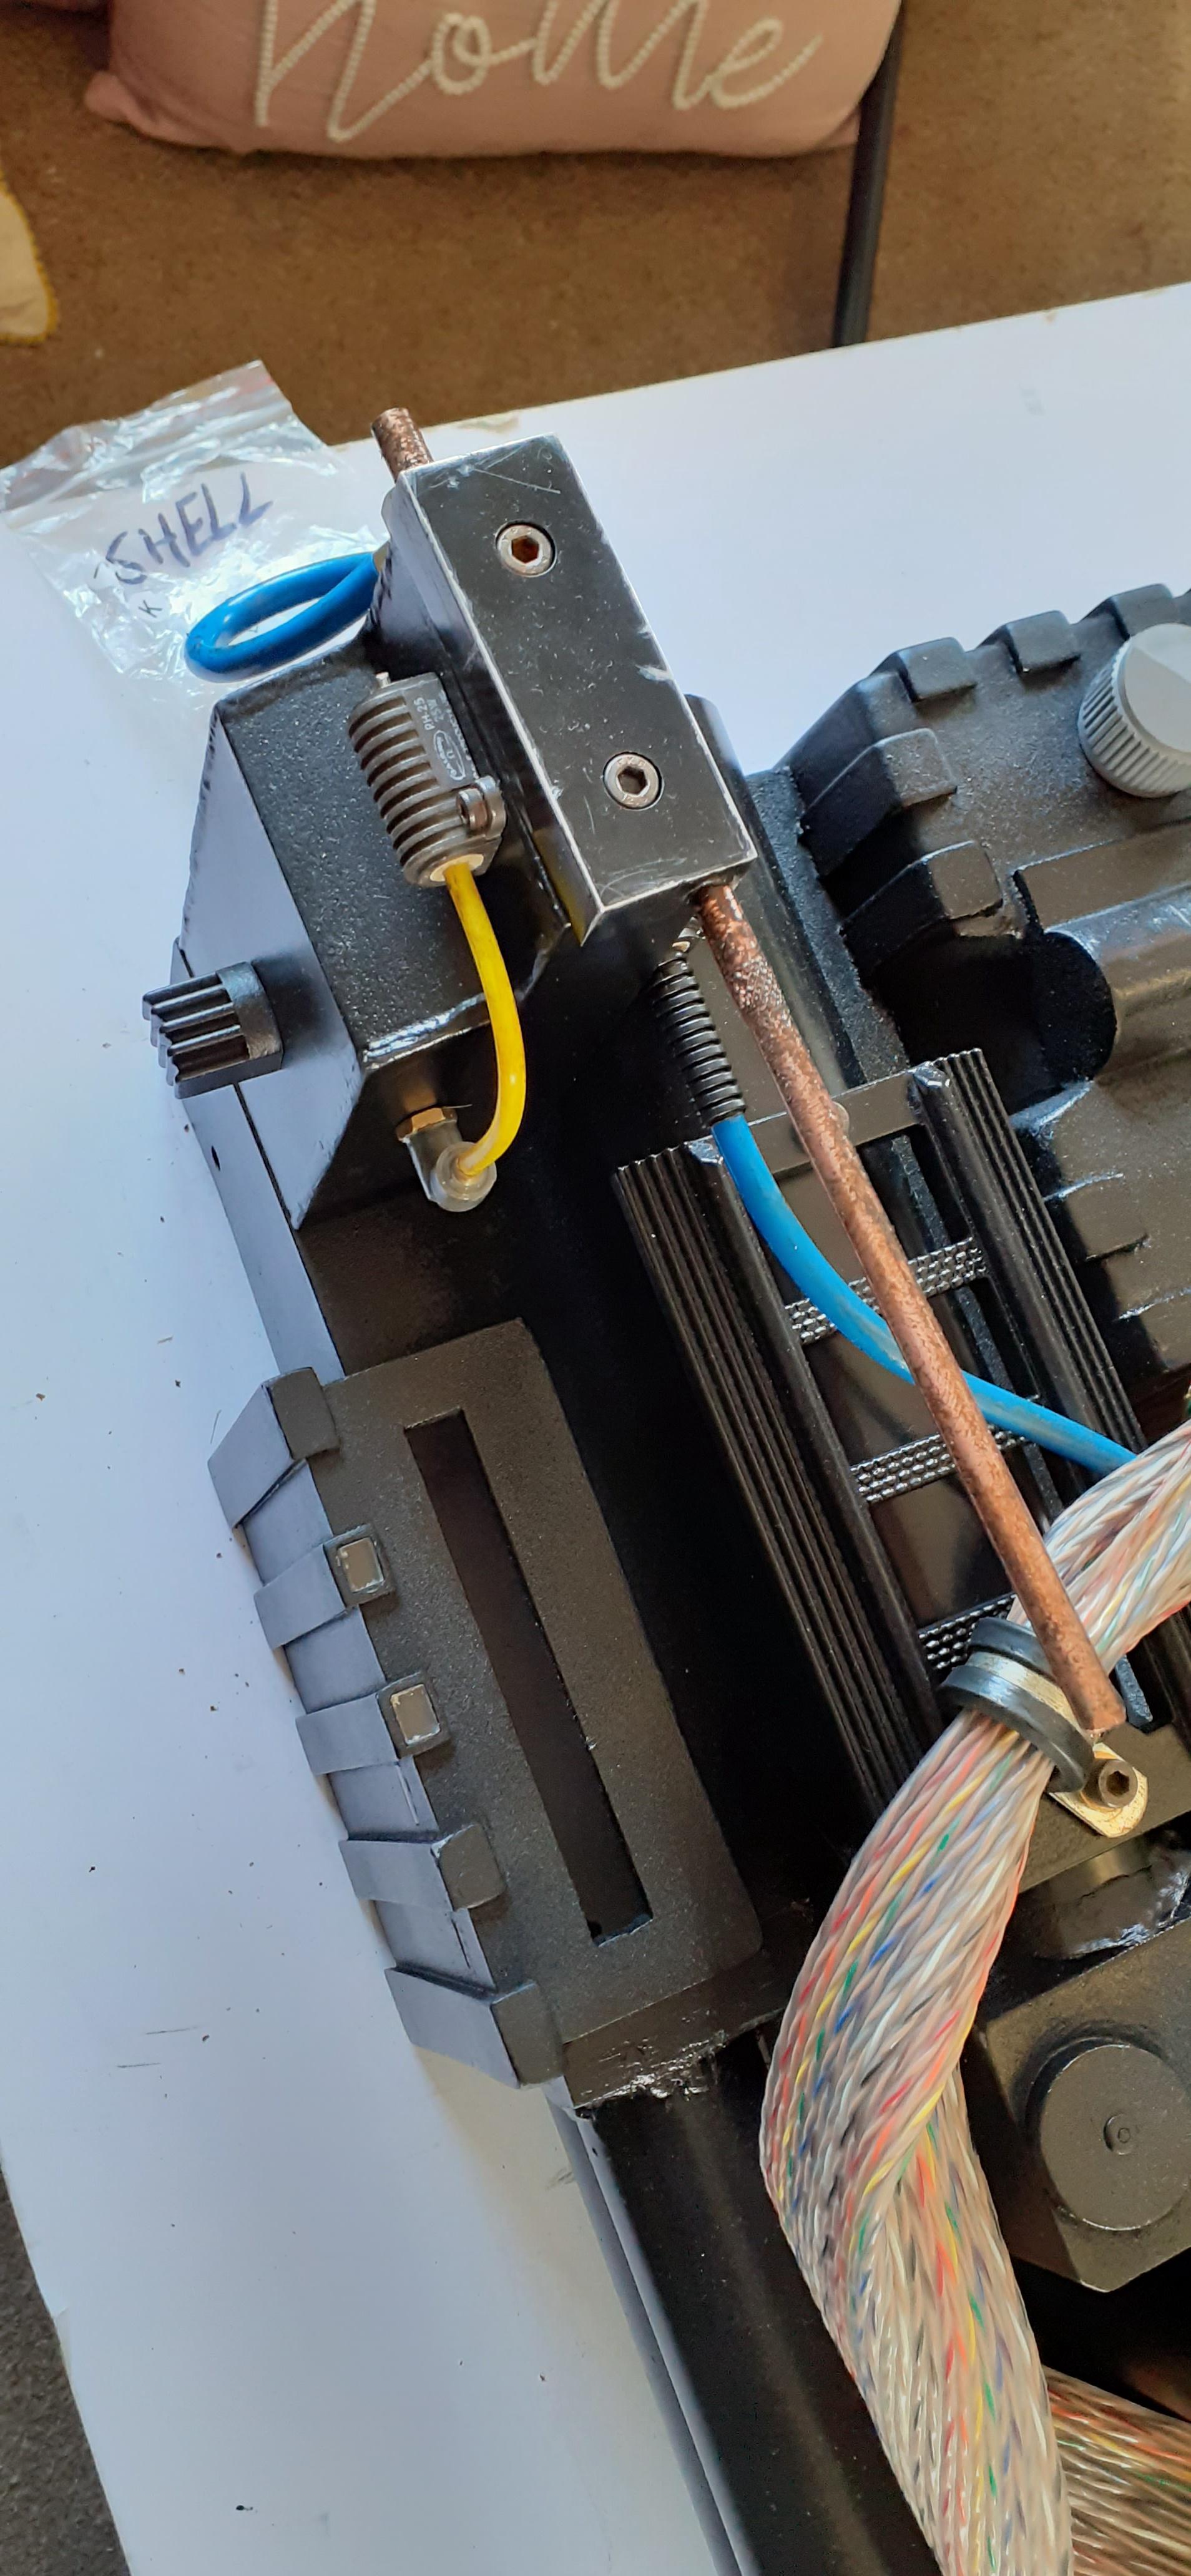
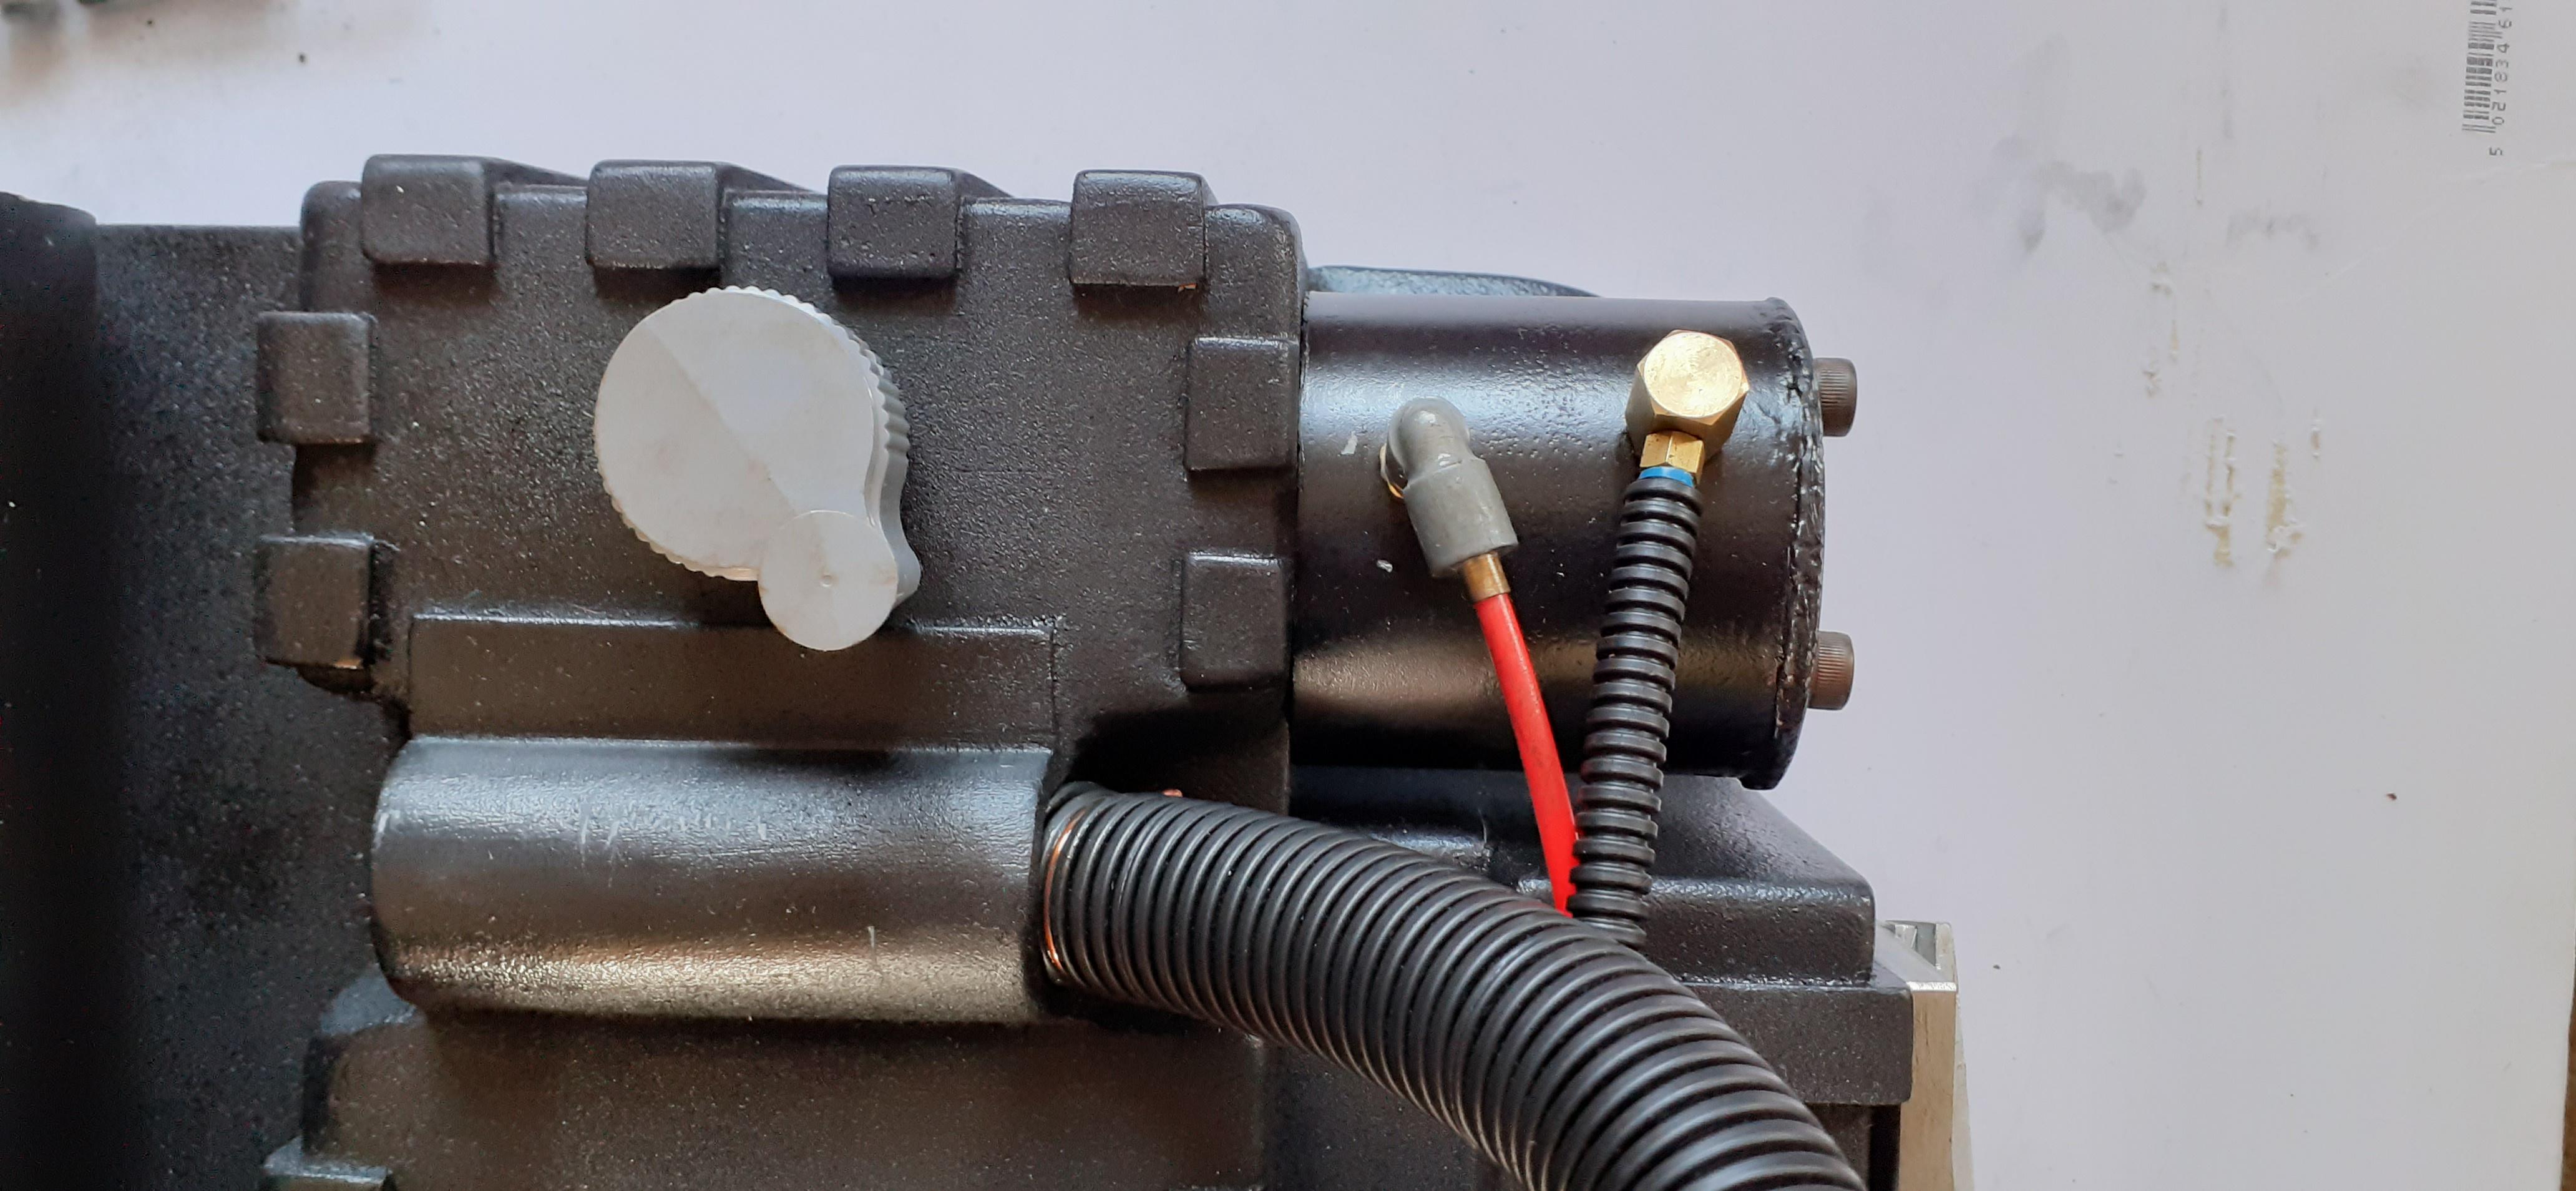
So I managed to spray over the epoxy welds pretty smoothly. And just like that I’m ready to reassemble this sucker.
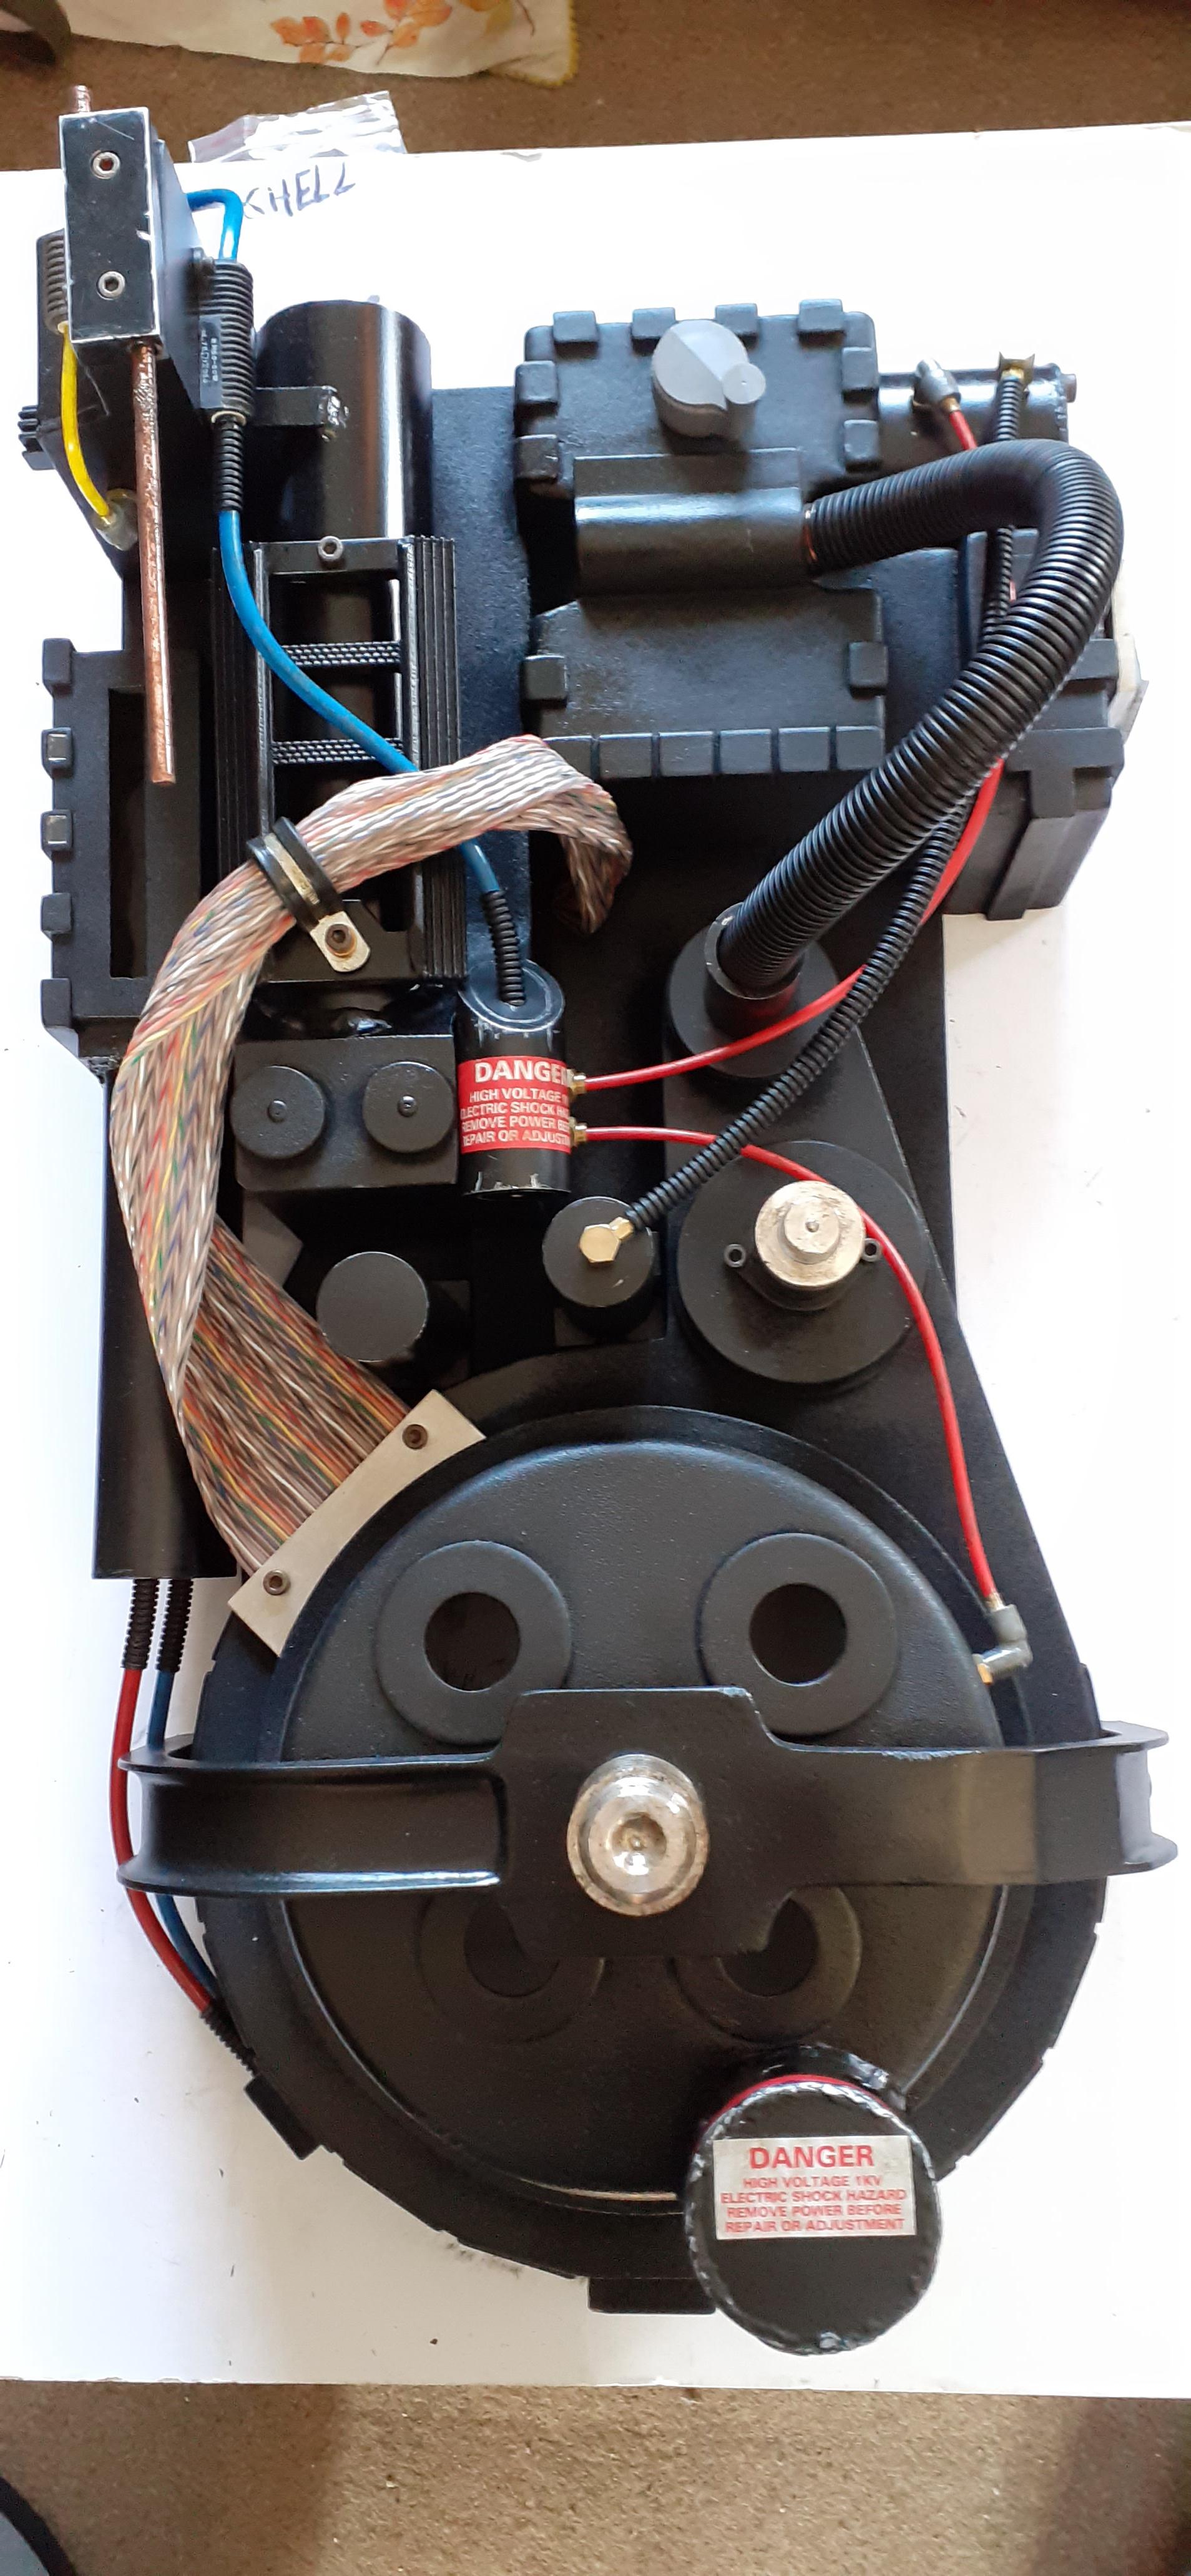
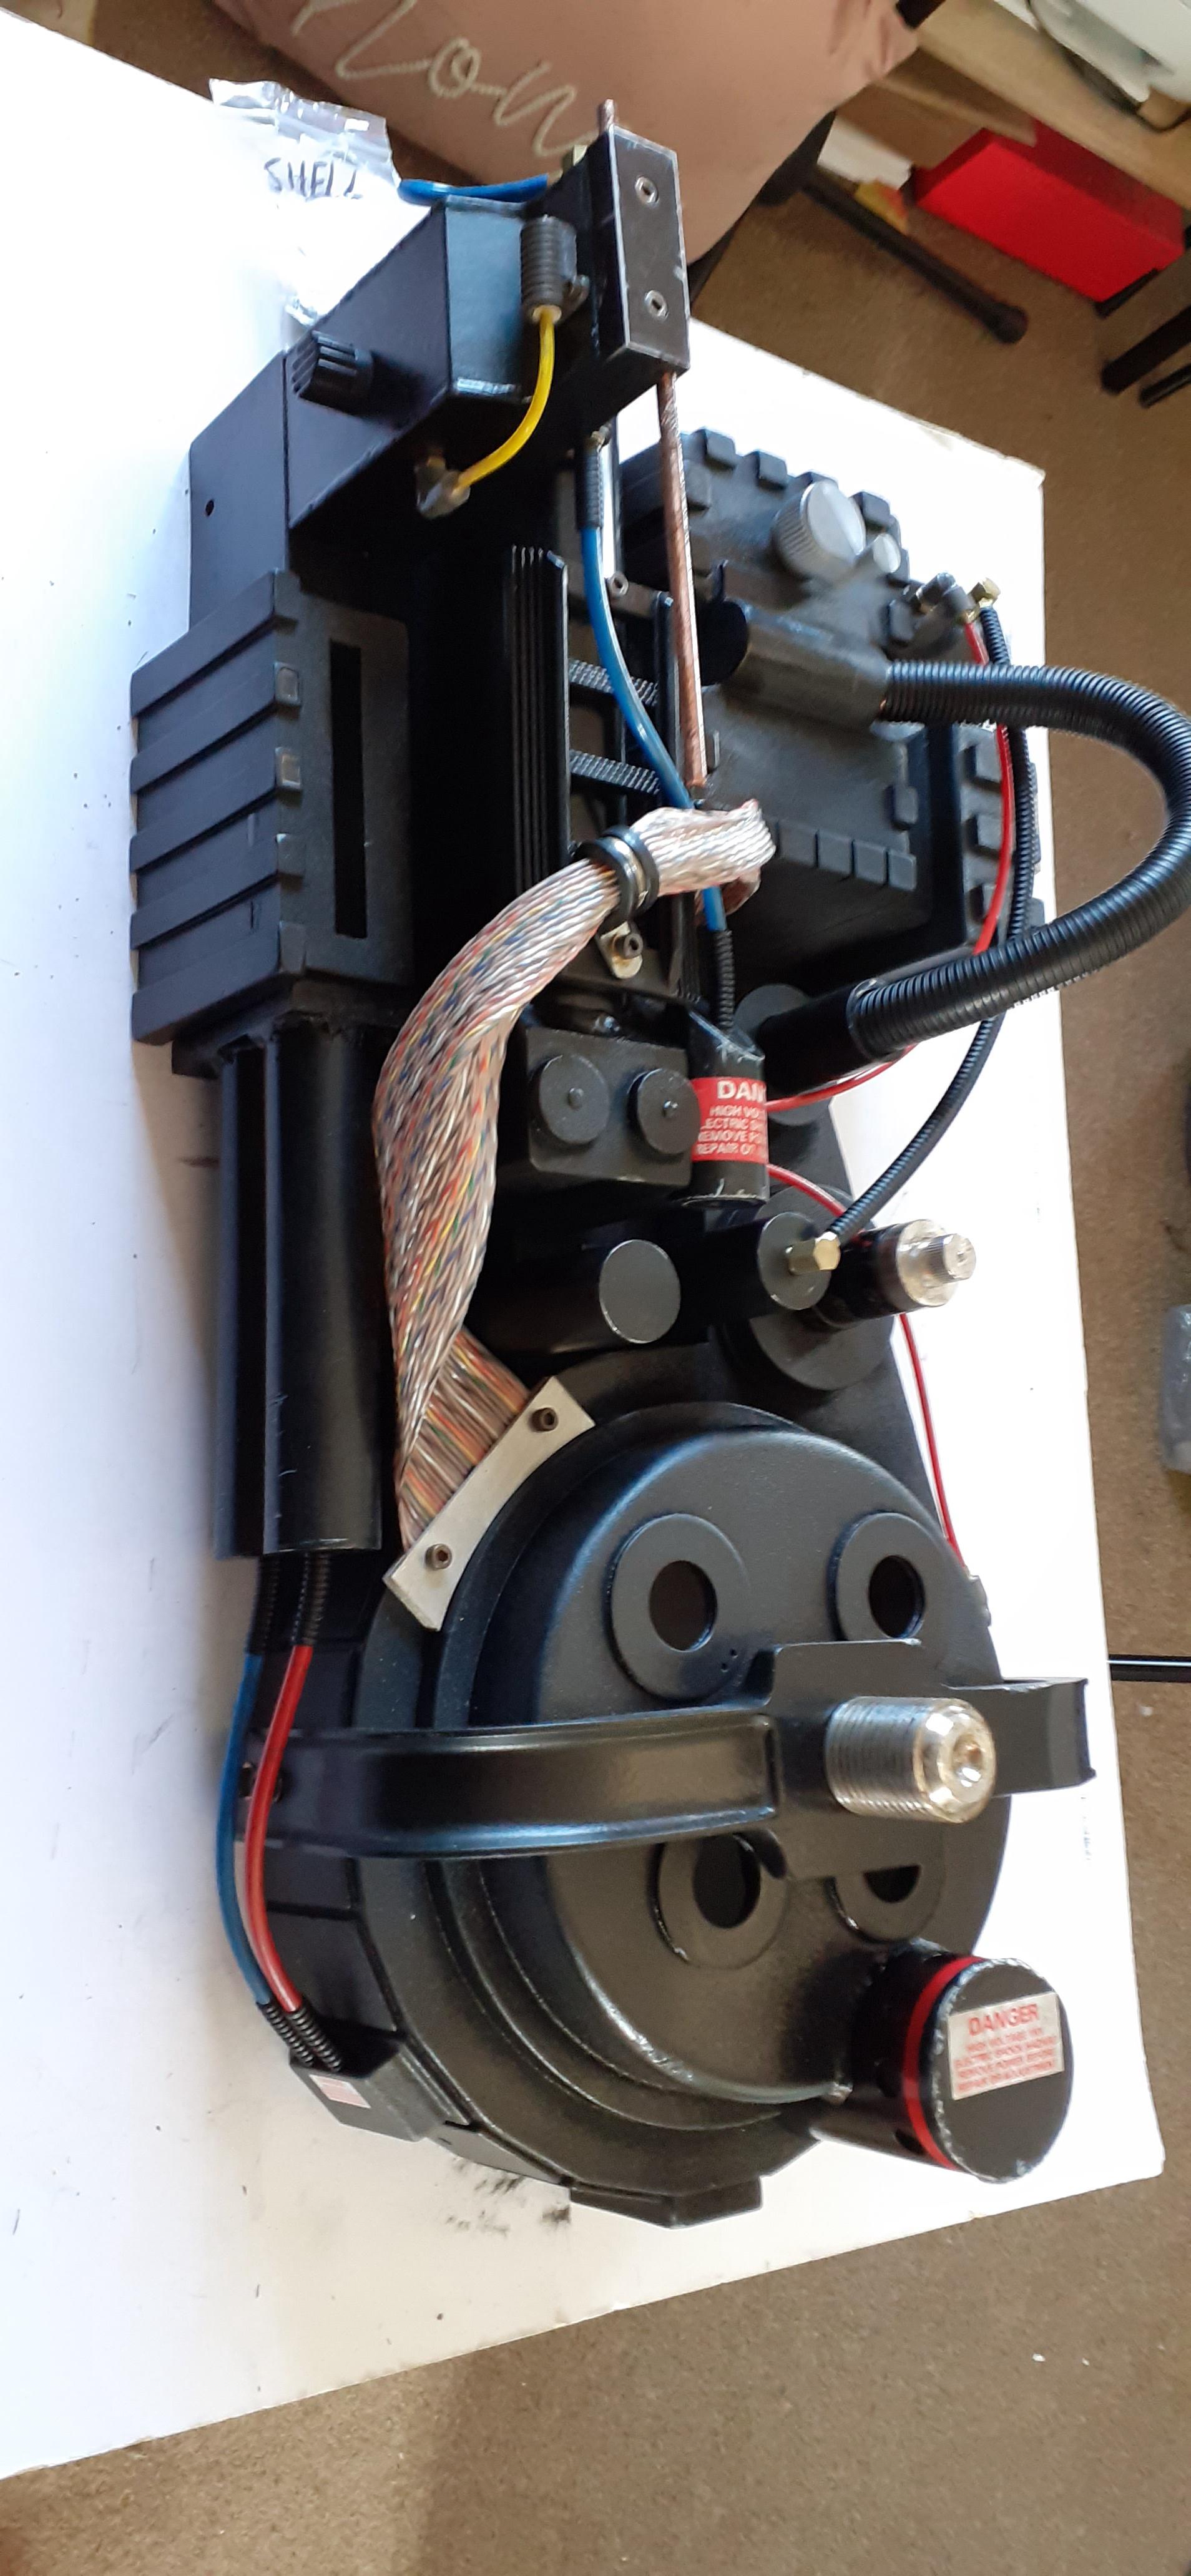
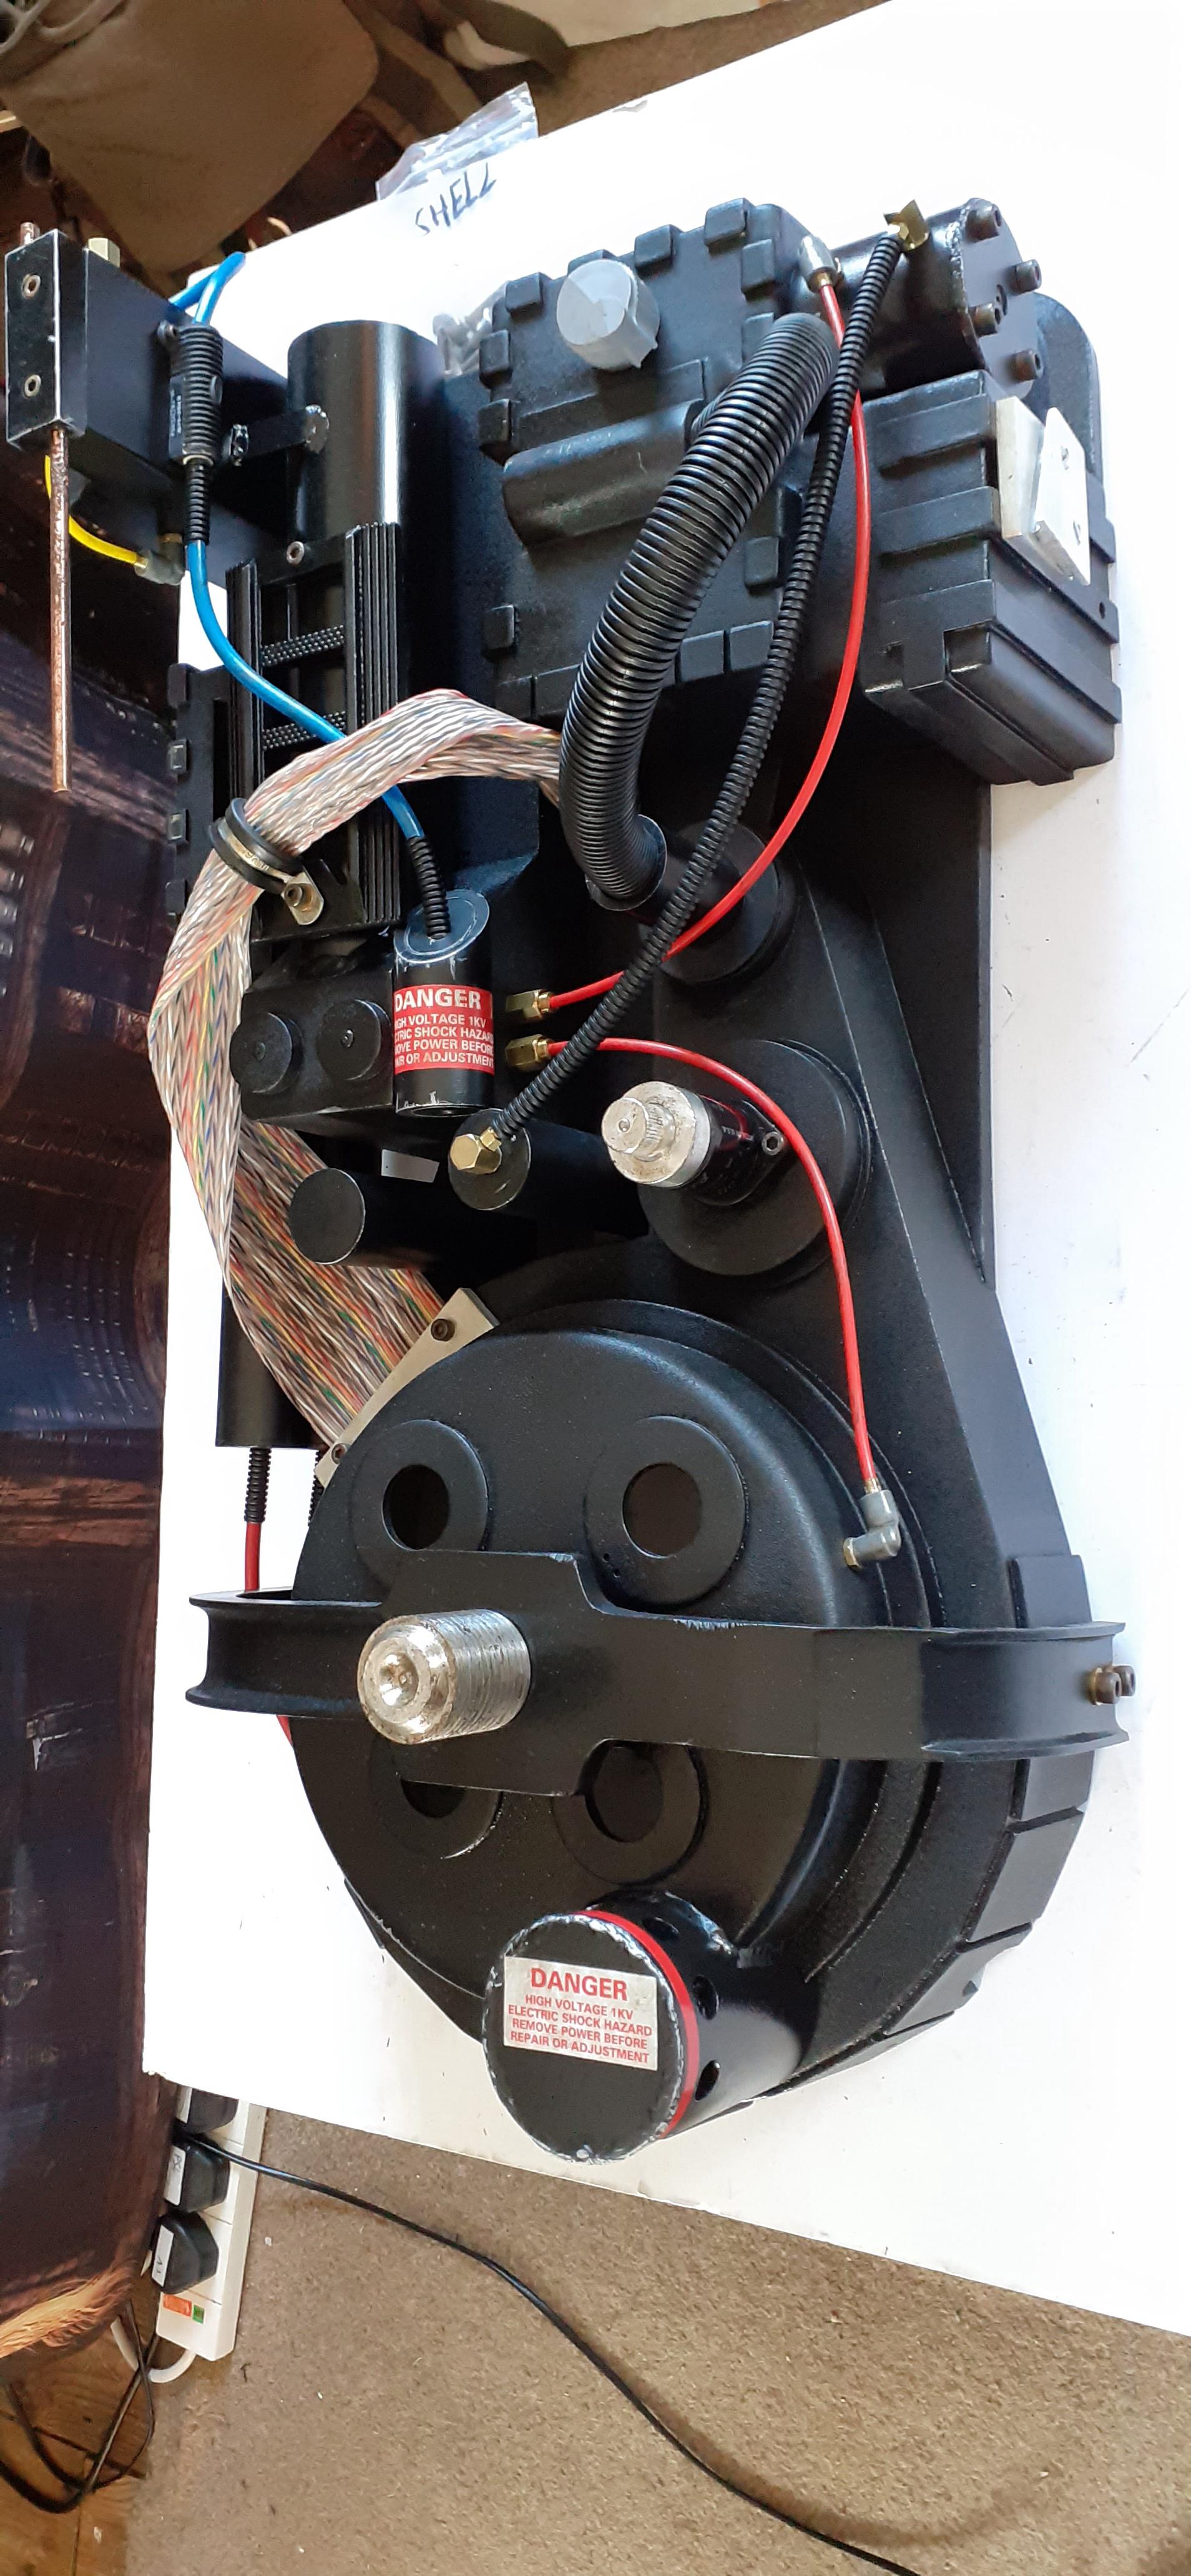
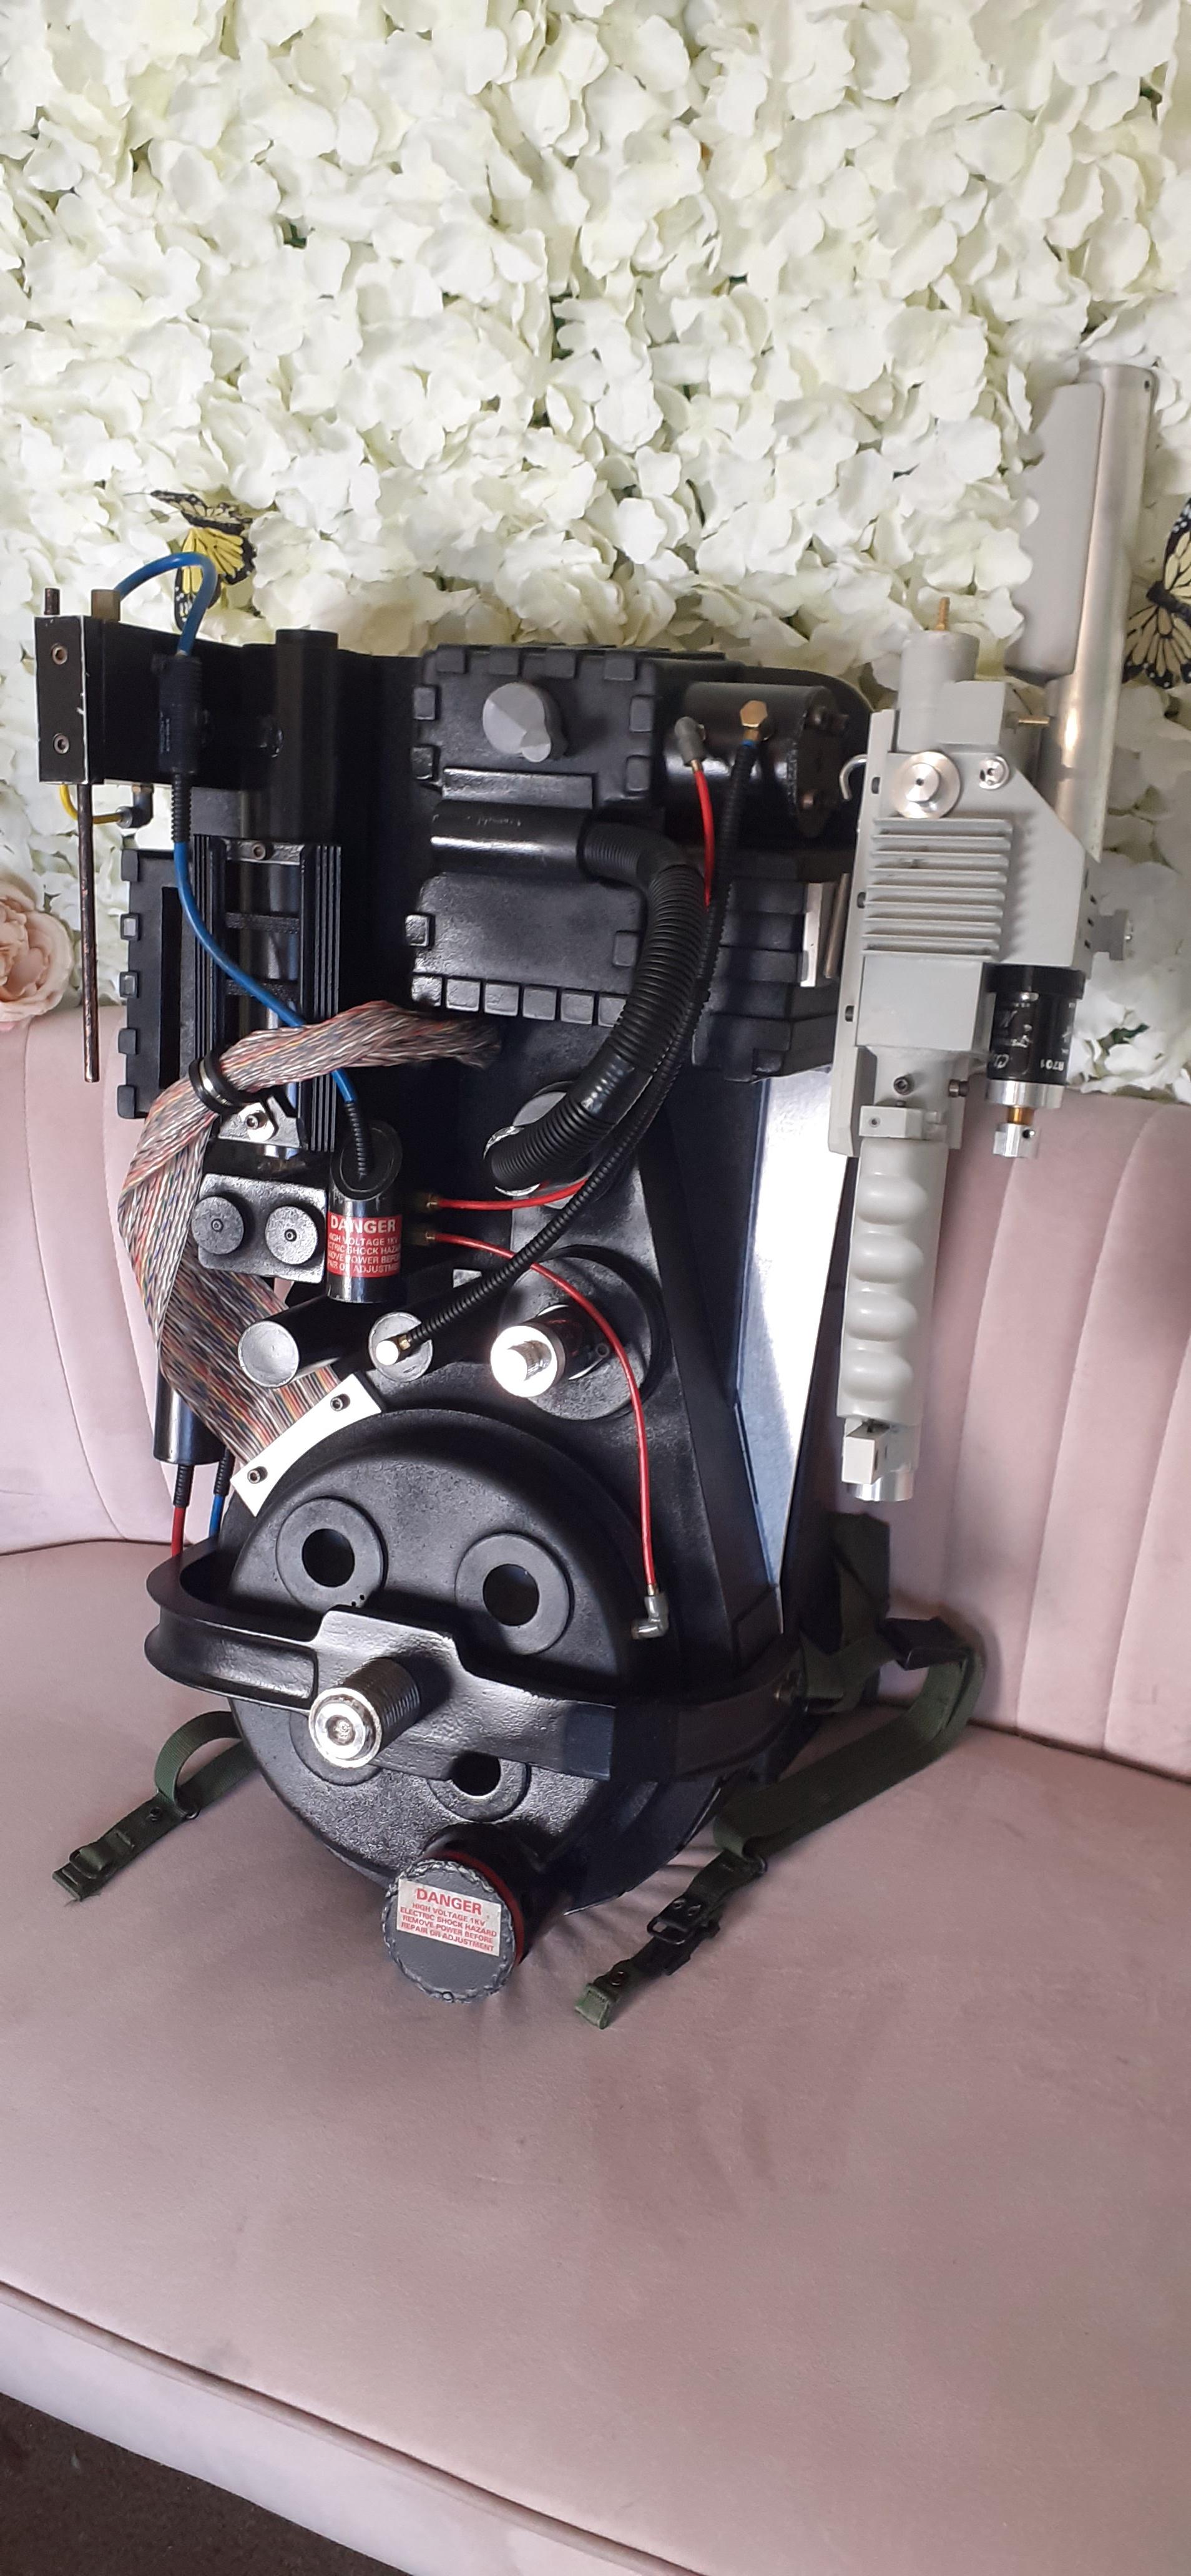
So putting it back together had a few speed bumps, a few rounded screws but nothing that couldn’t be fixed. I lightly weathered the parts that would usually be aluminium underneath and used a burnt umber wash on the bare metal parts and stickers to give it a used look. I’ll be swapping the grey crank knob for a black one and keep the other for a future GB1 pack. Ill put the lenses in once I’ve sorted out the pack lights and I’m still waiting on the rest of the labels to arrive as well as the electronics.
So until then, at least I have this to look at…

Dude, that looks amazing!
Great progress - really been enjoying your build, it’s sooo close!
Thanks, it’s been quite the learning curve for my first time building any kind of prop. But as mad as it may seem; I’m already planning and gathering parts for a second pack…
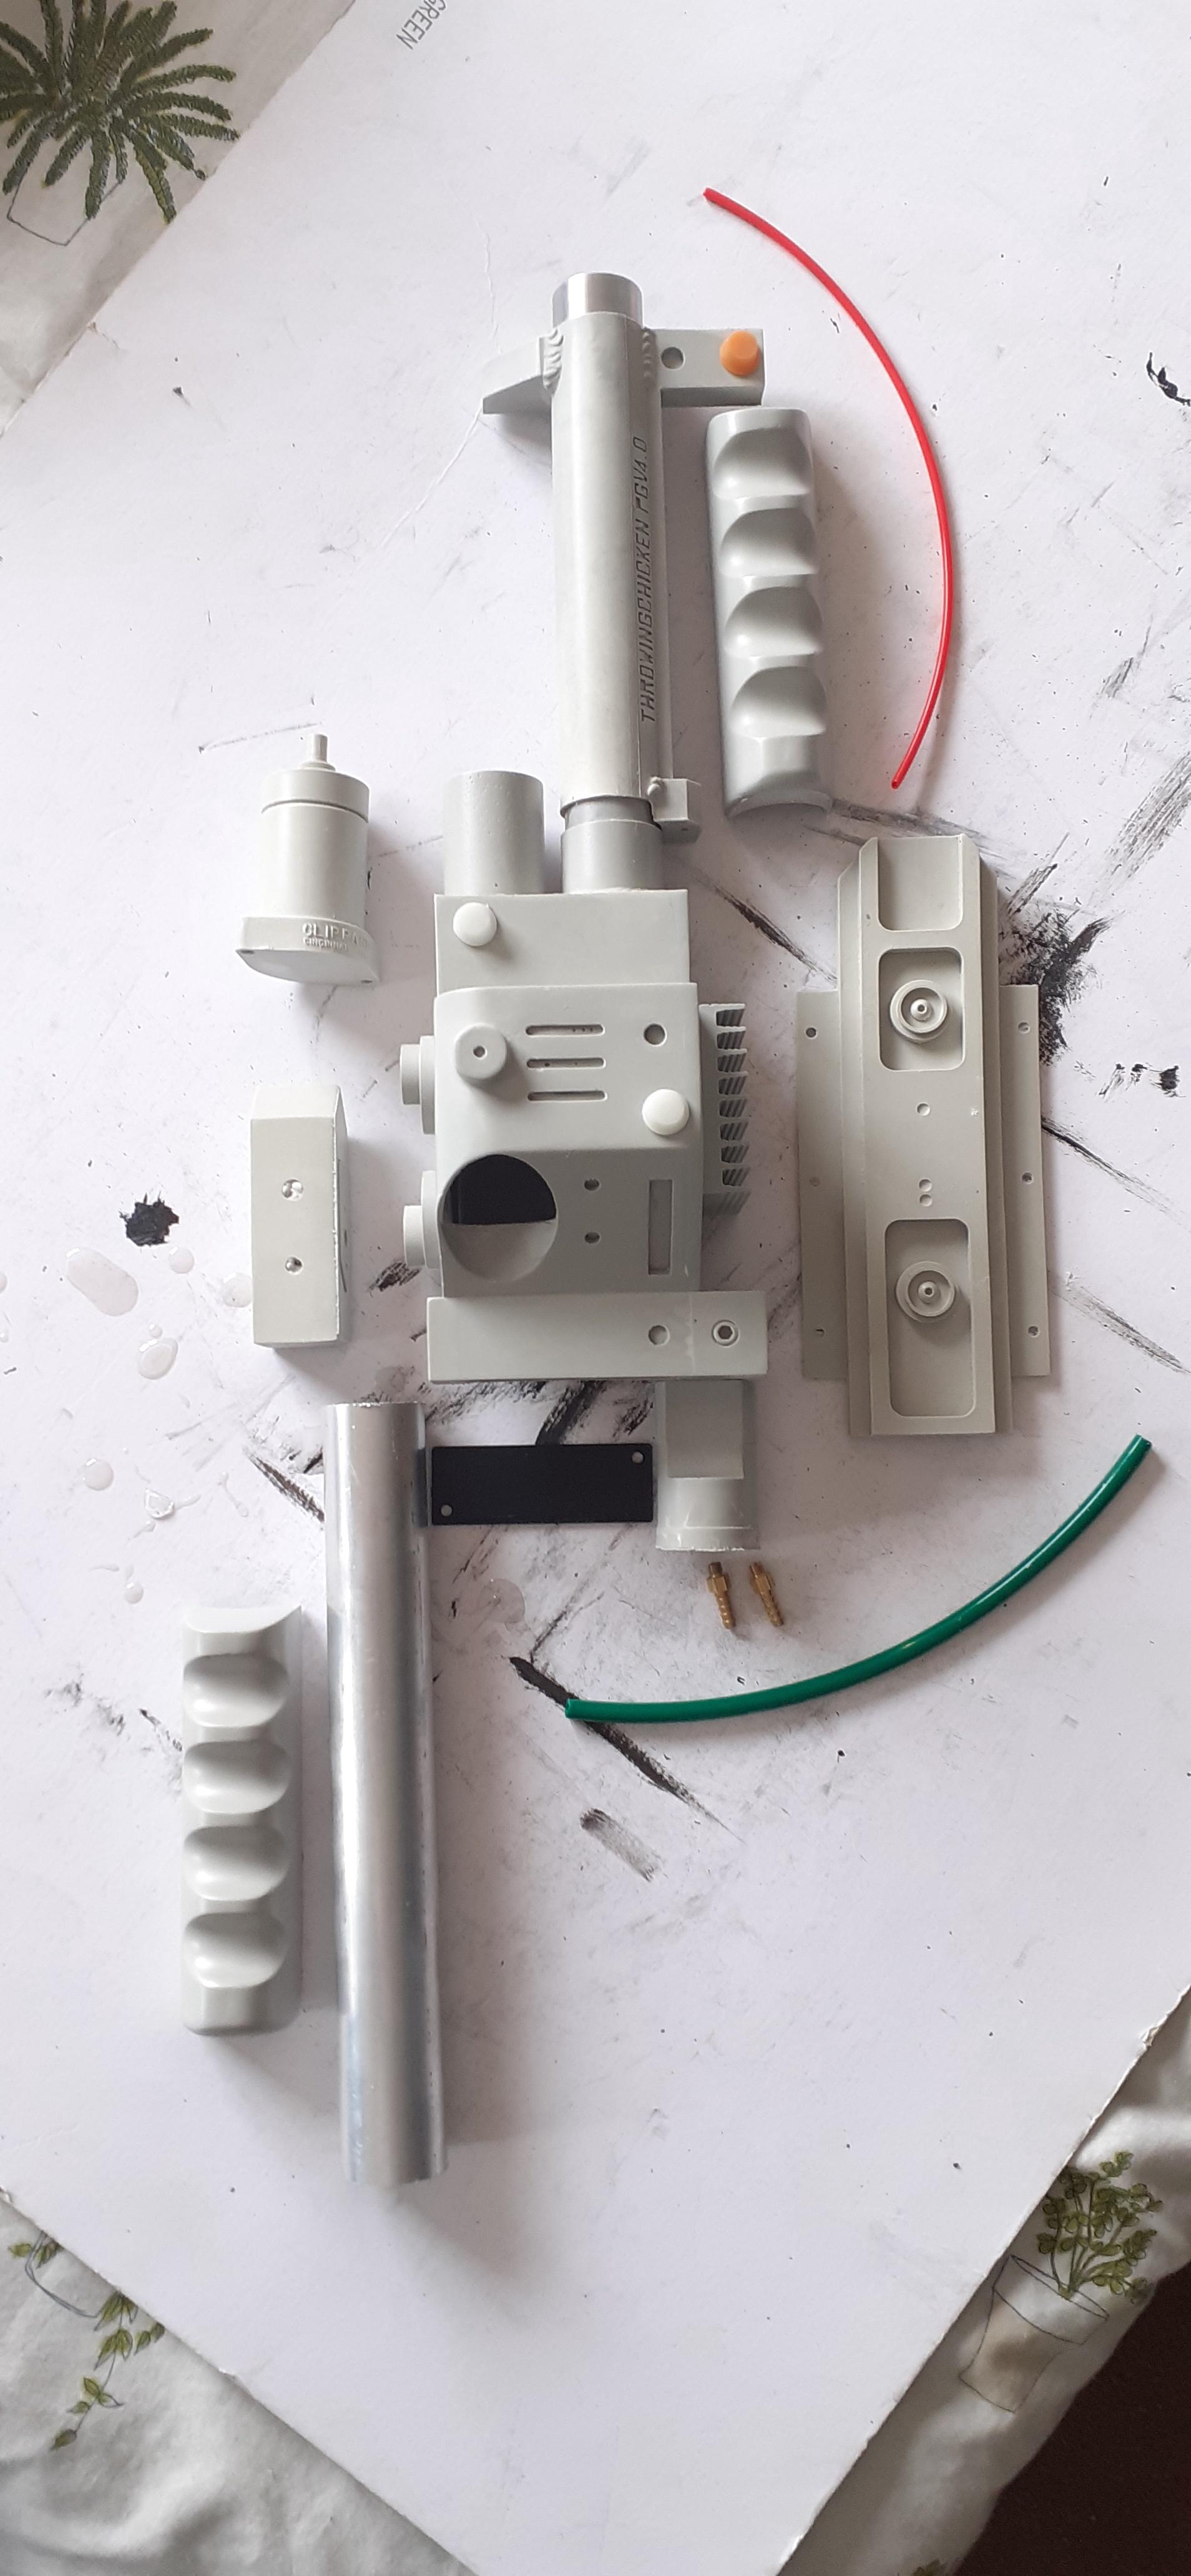
My ThrowingChicken thrower kit got here finally, so now the hard part can commence!
Justin threw in an Afterlife style front grip too, top stuff!
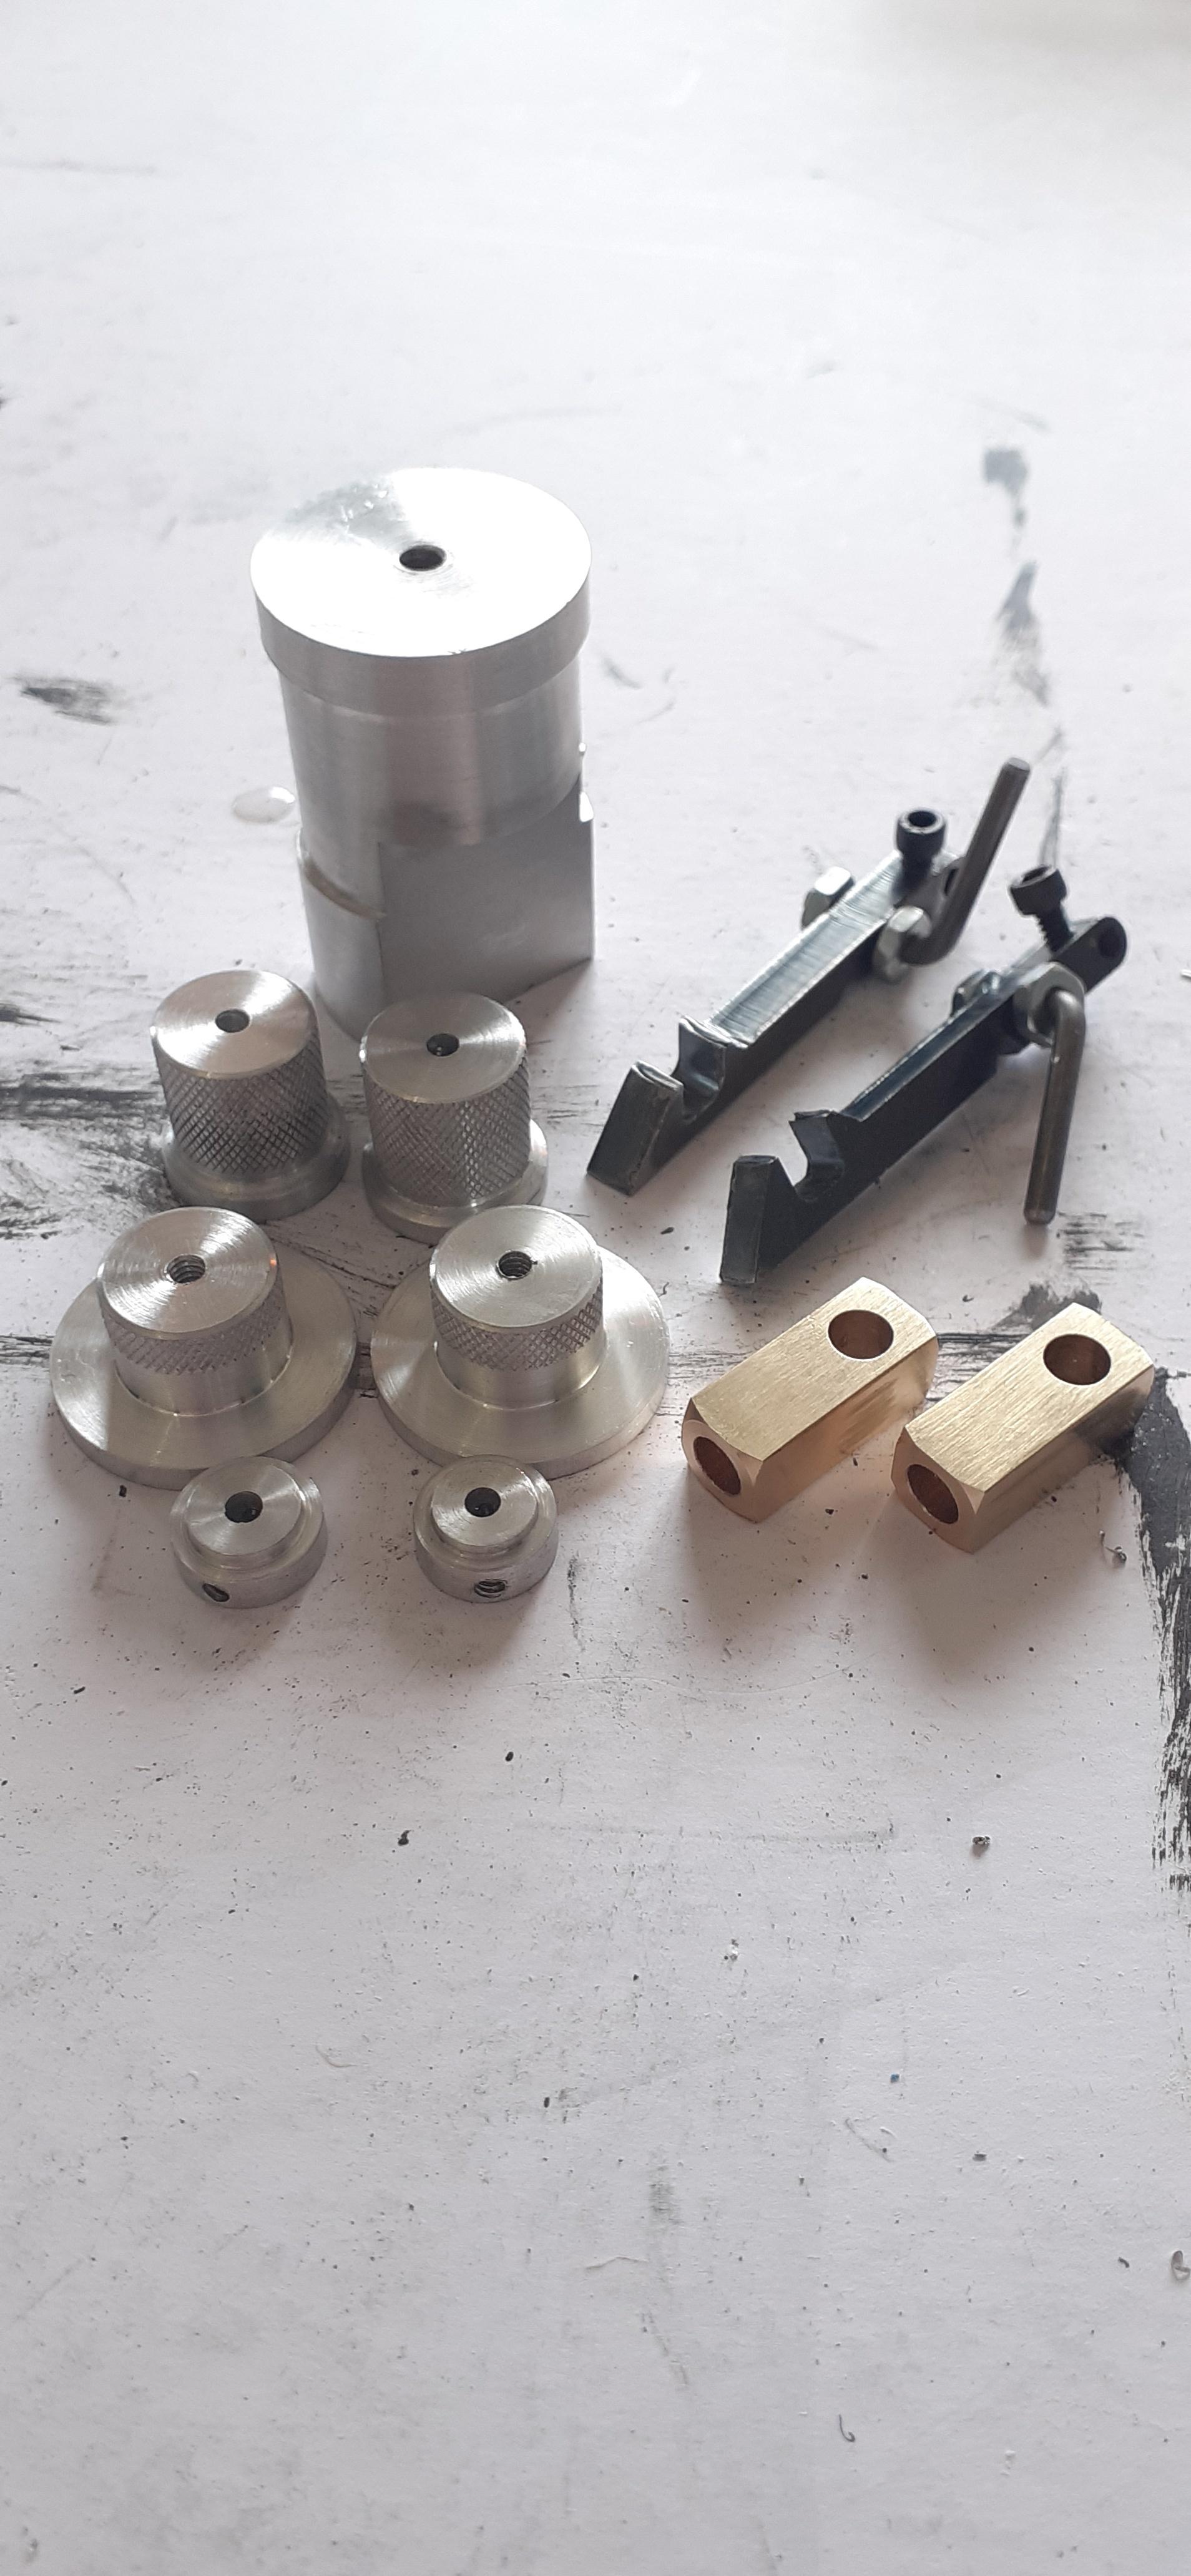
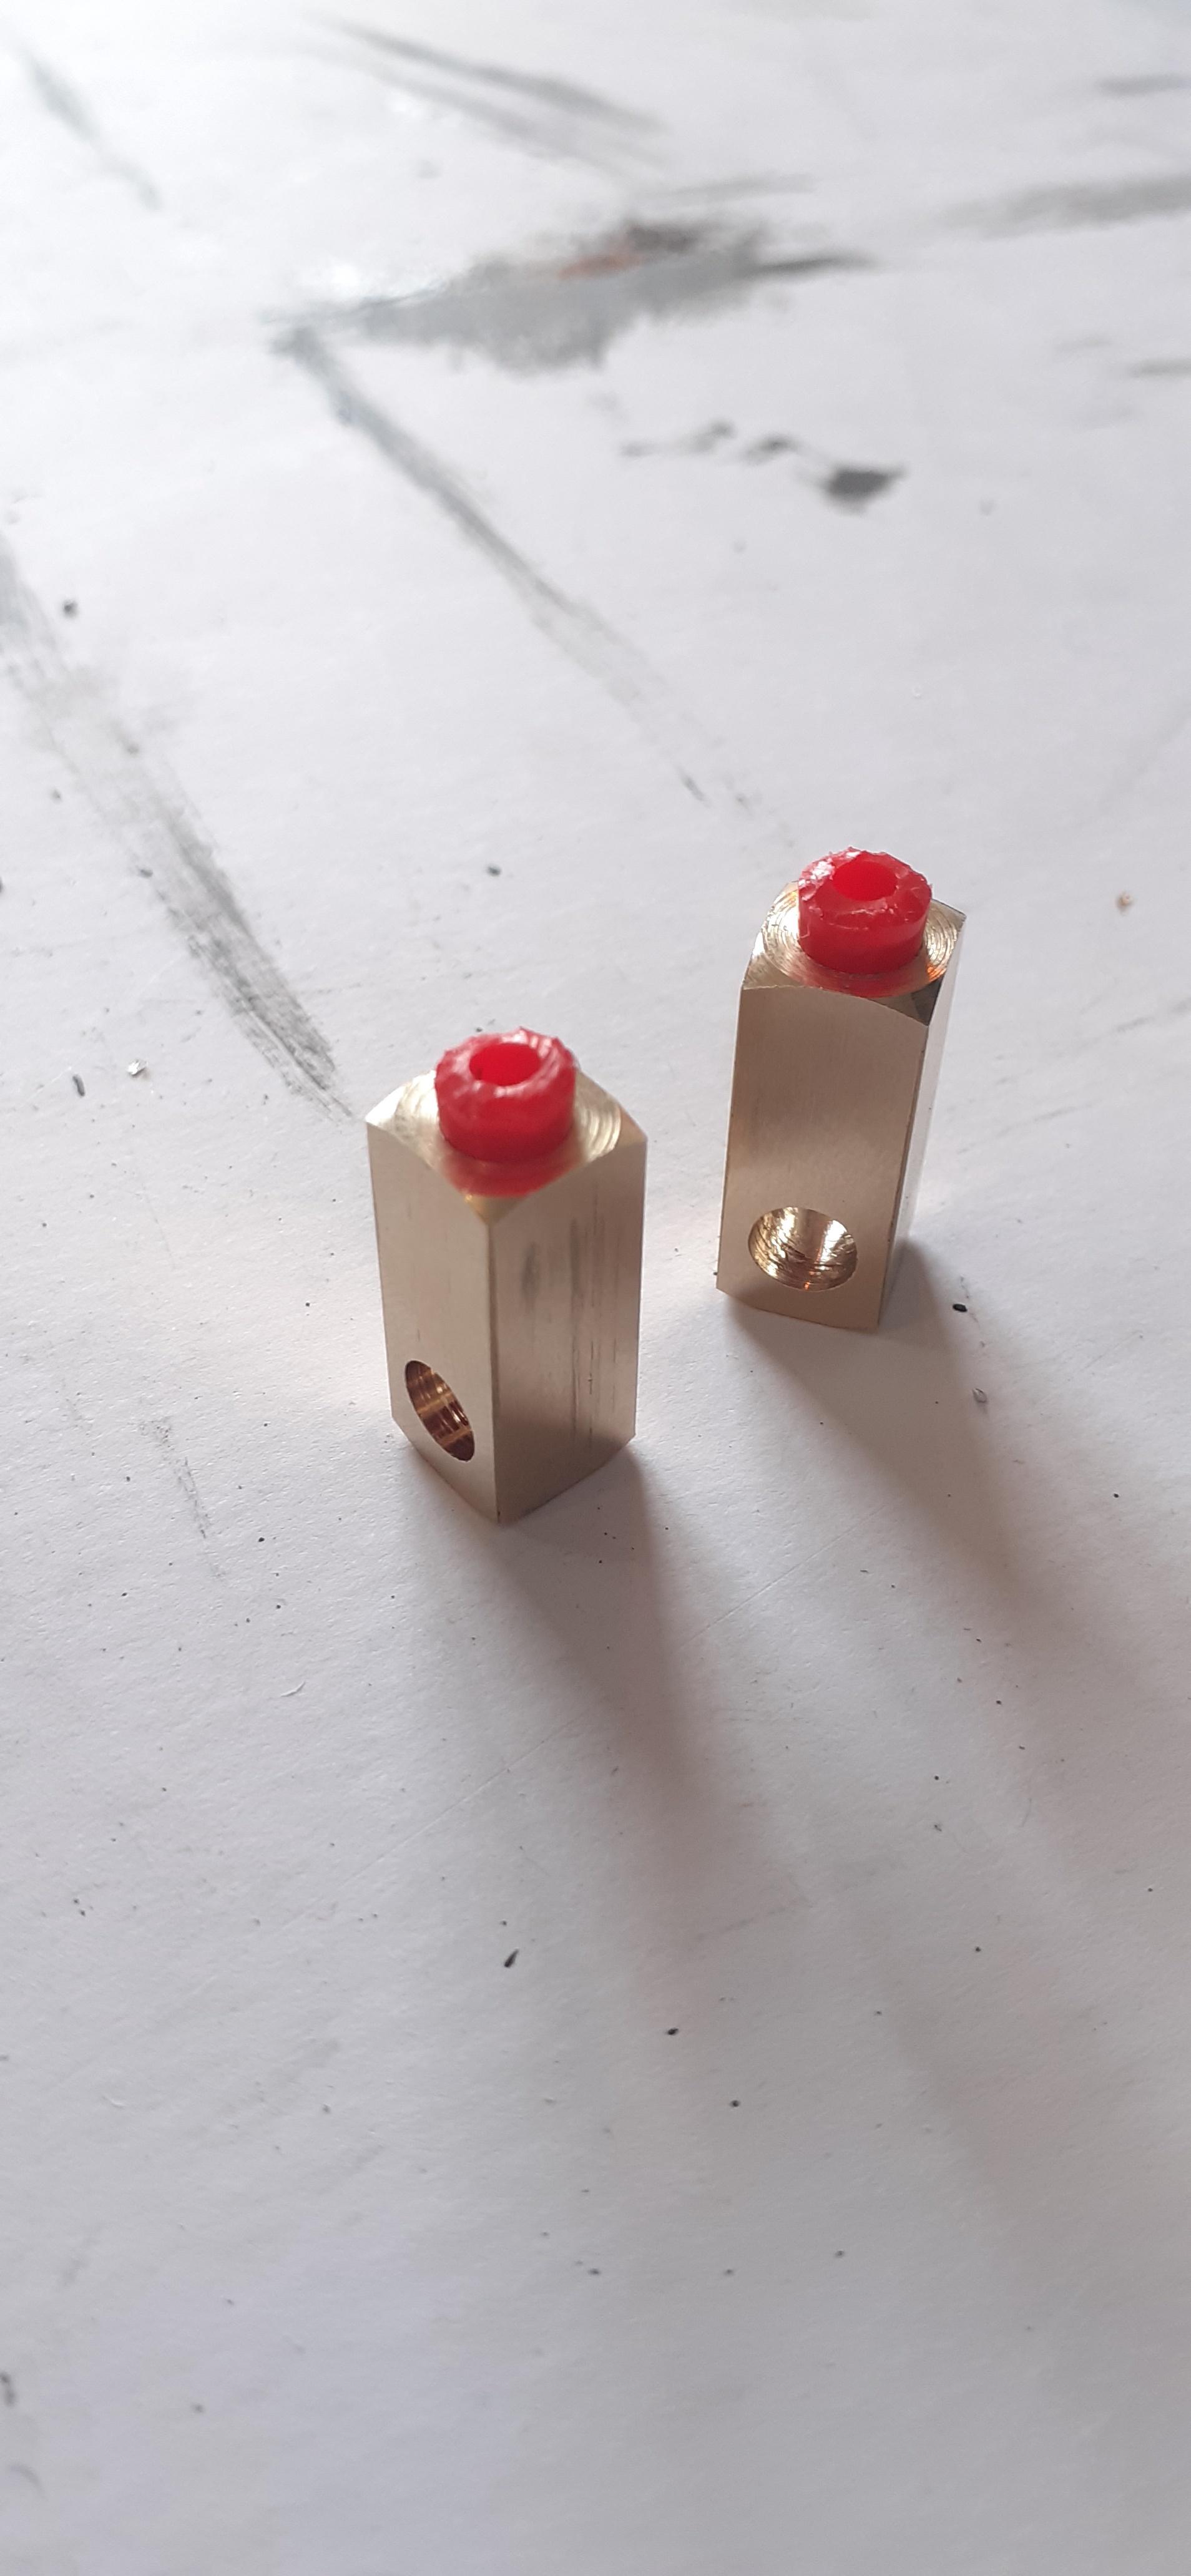
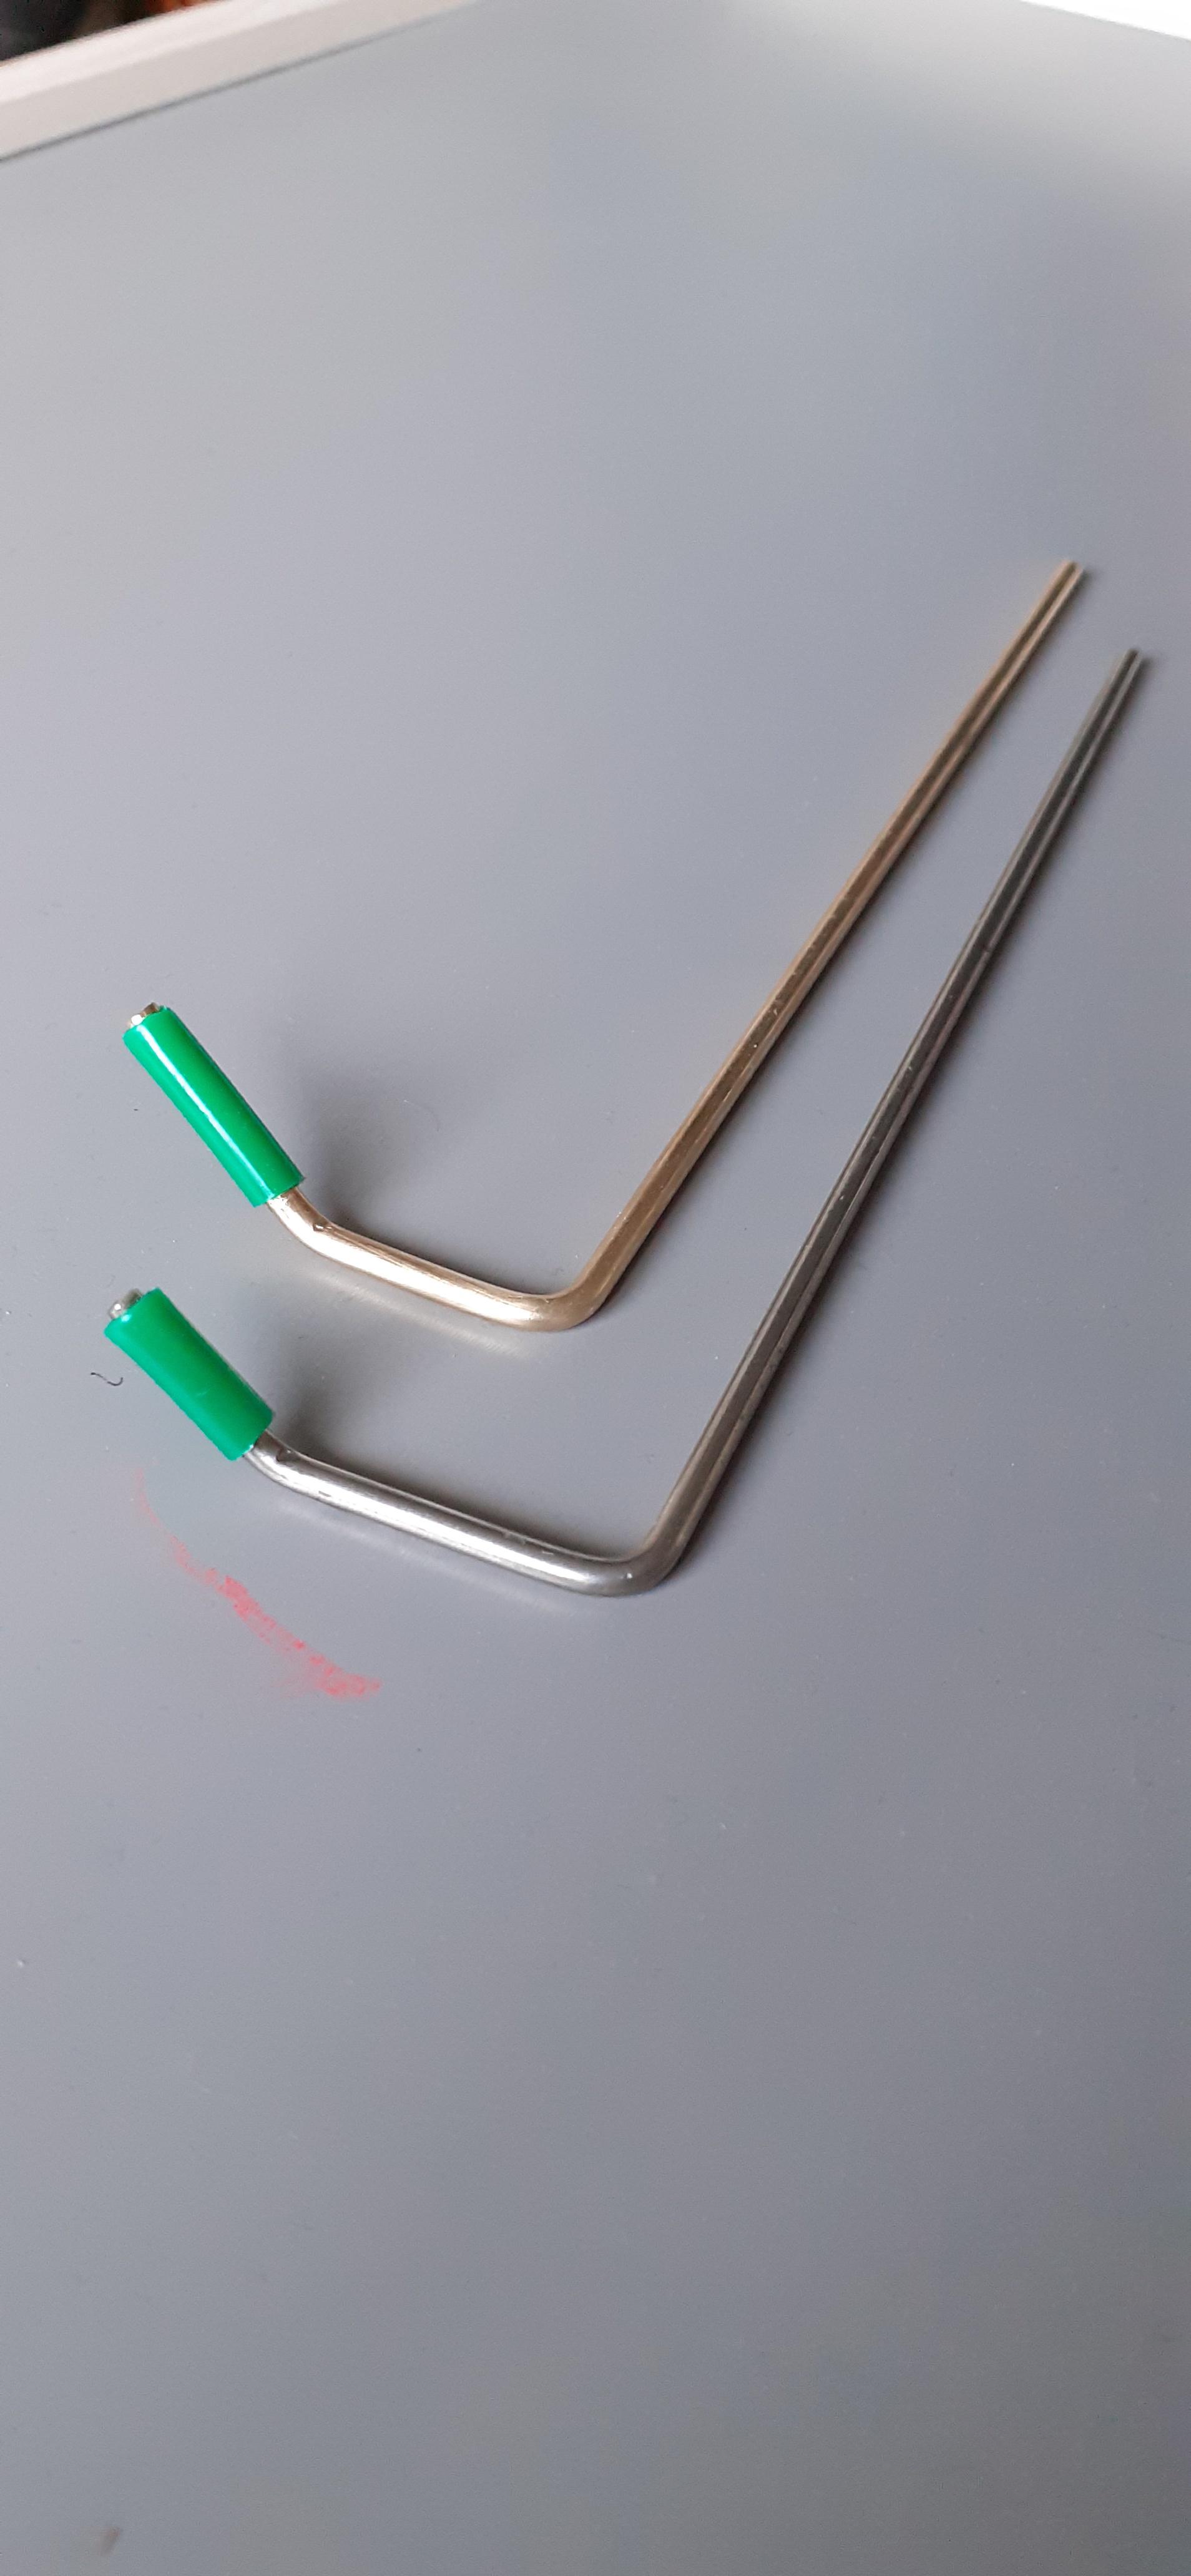
I also ordered the aluminium knobs I was missing, as well as 2 pop catches and some custom banjoes from Freekygeeky which arrived at the same time. As I’m planning on a superhero pack down the line I’ve made my own nycoil style banjoes as they are like unicorn excrement to find!
The main complication to figure out is the pop mech, as TC’s front handle design is slighlty different to most, although it has been made a bit easier now that the grip is now seperate to the handle. I’ll be pouring over Freekygeekys installation guide for sure.
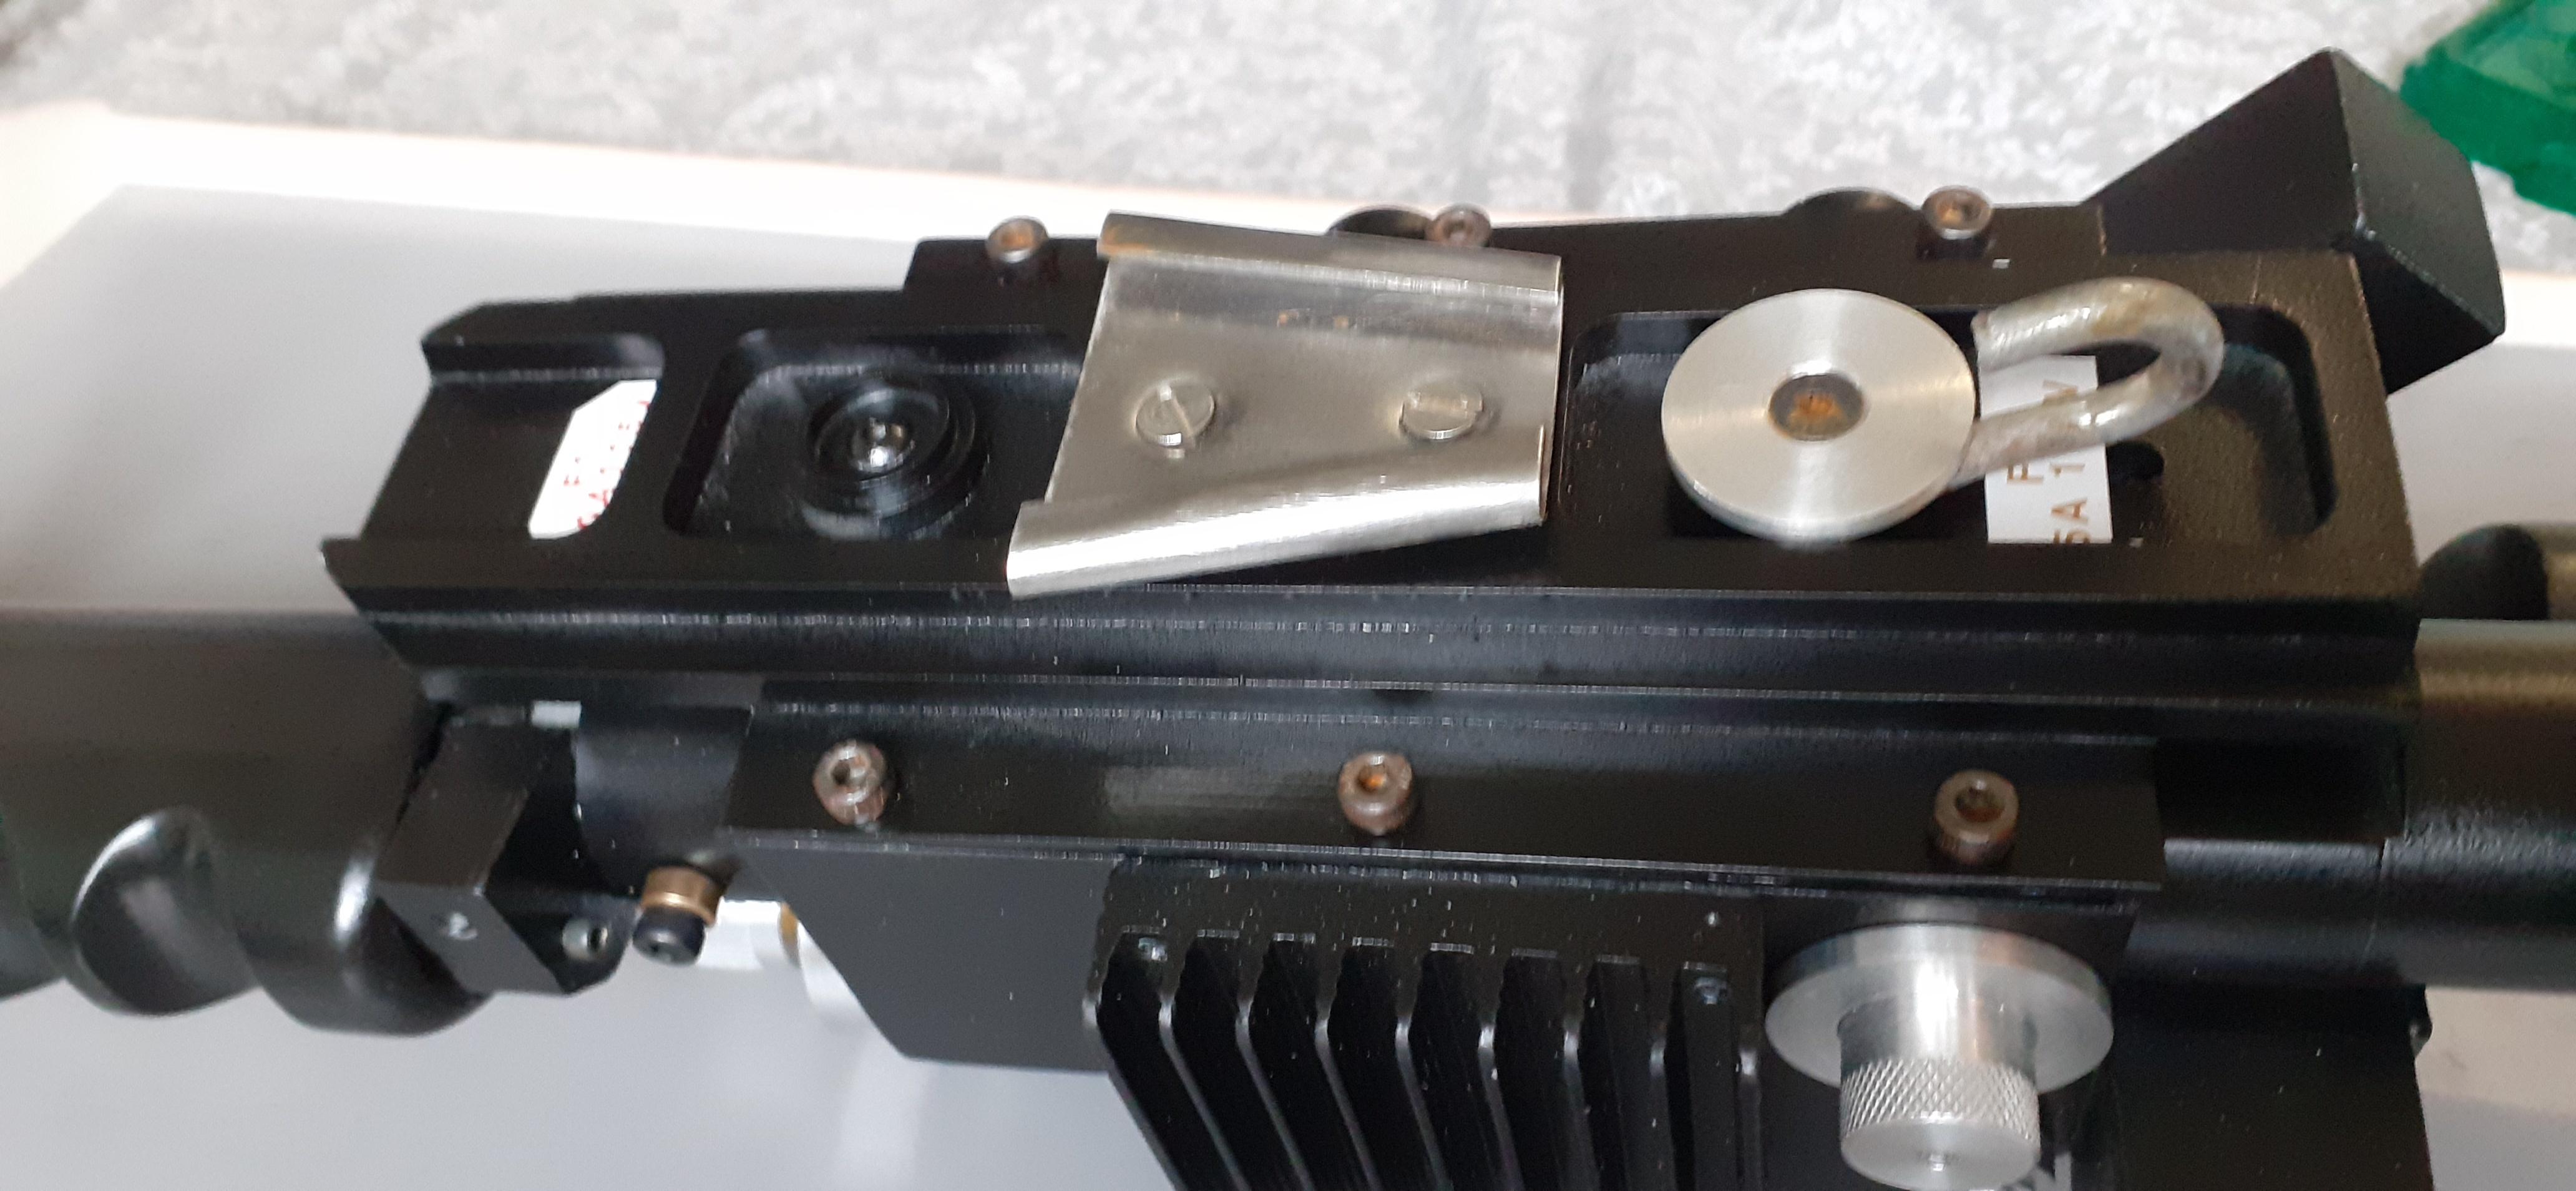
Quick question, how does one attach an S hook to the gun track as there is a disc molded into TC’s kit where the S hook should go?
Made a fair amount of progress;
Attached the rear handle pending epoxy weld,
Attached instrument bar cover,
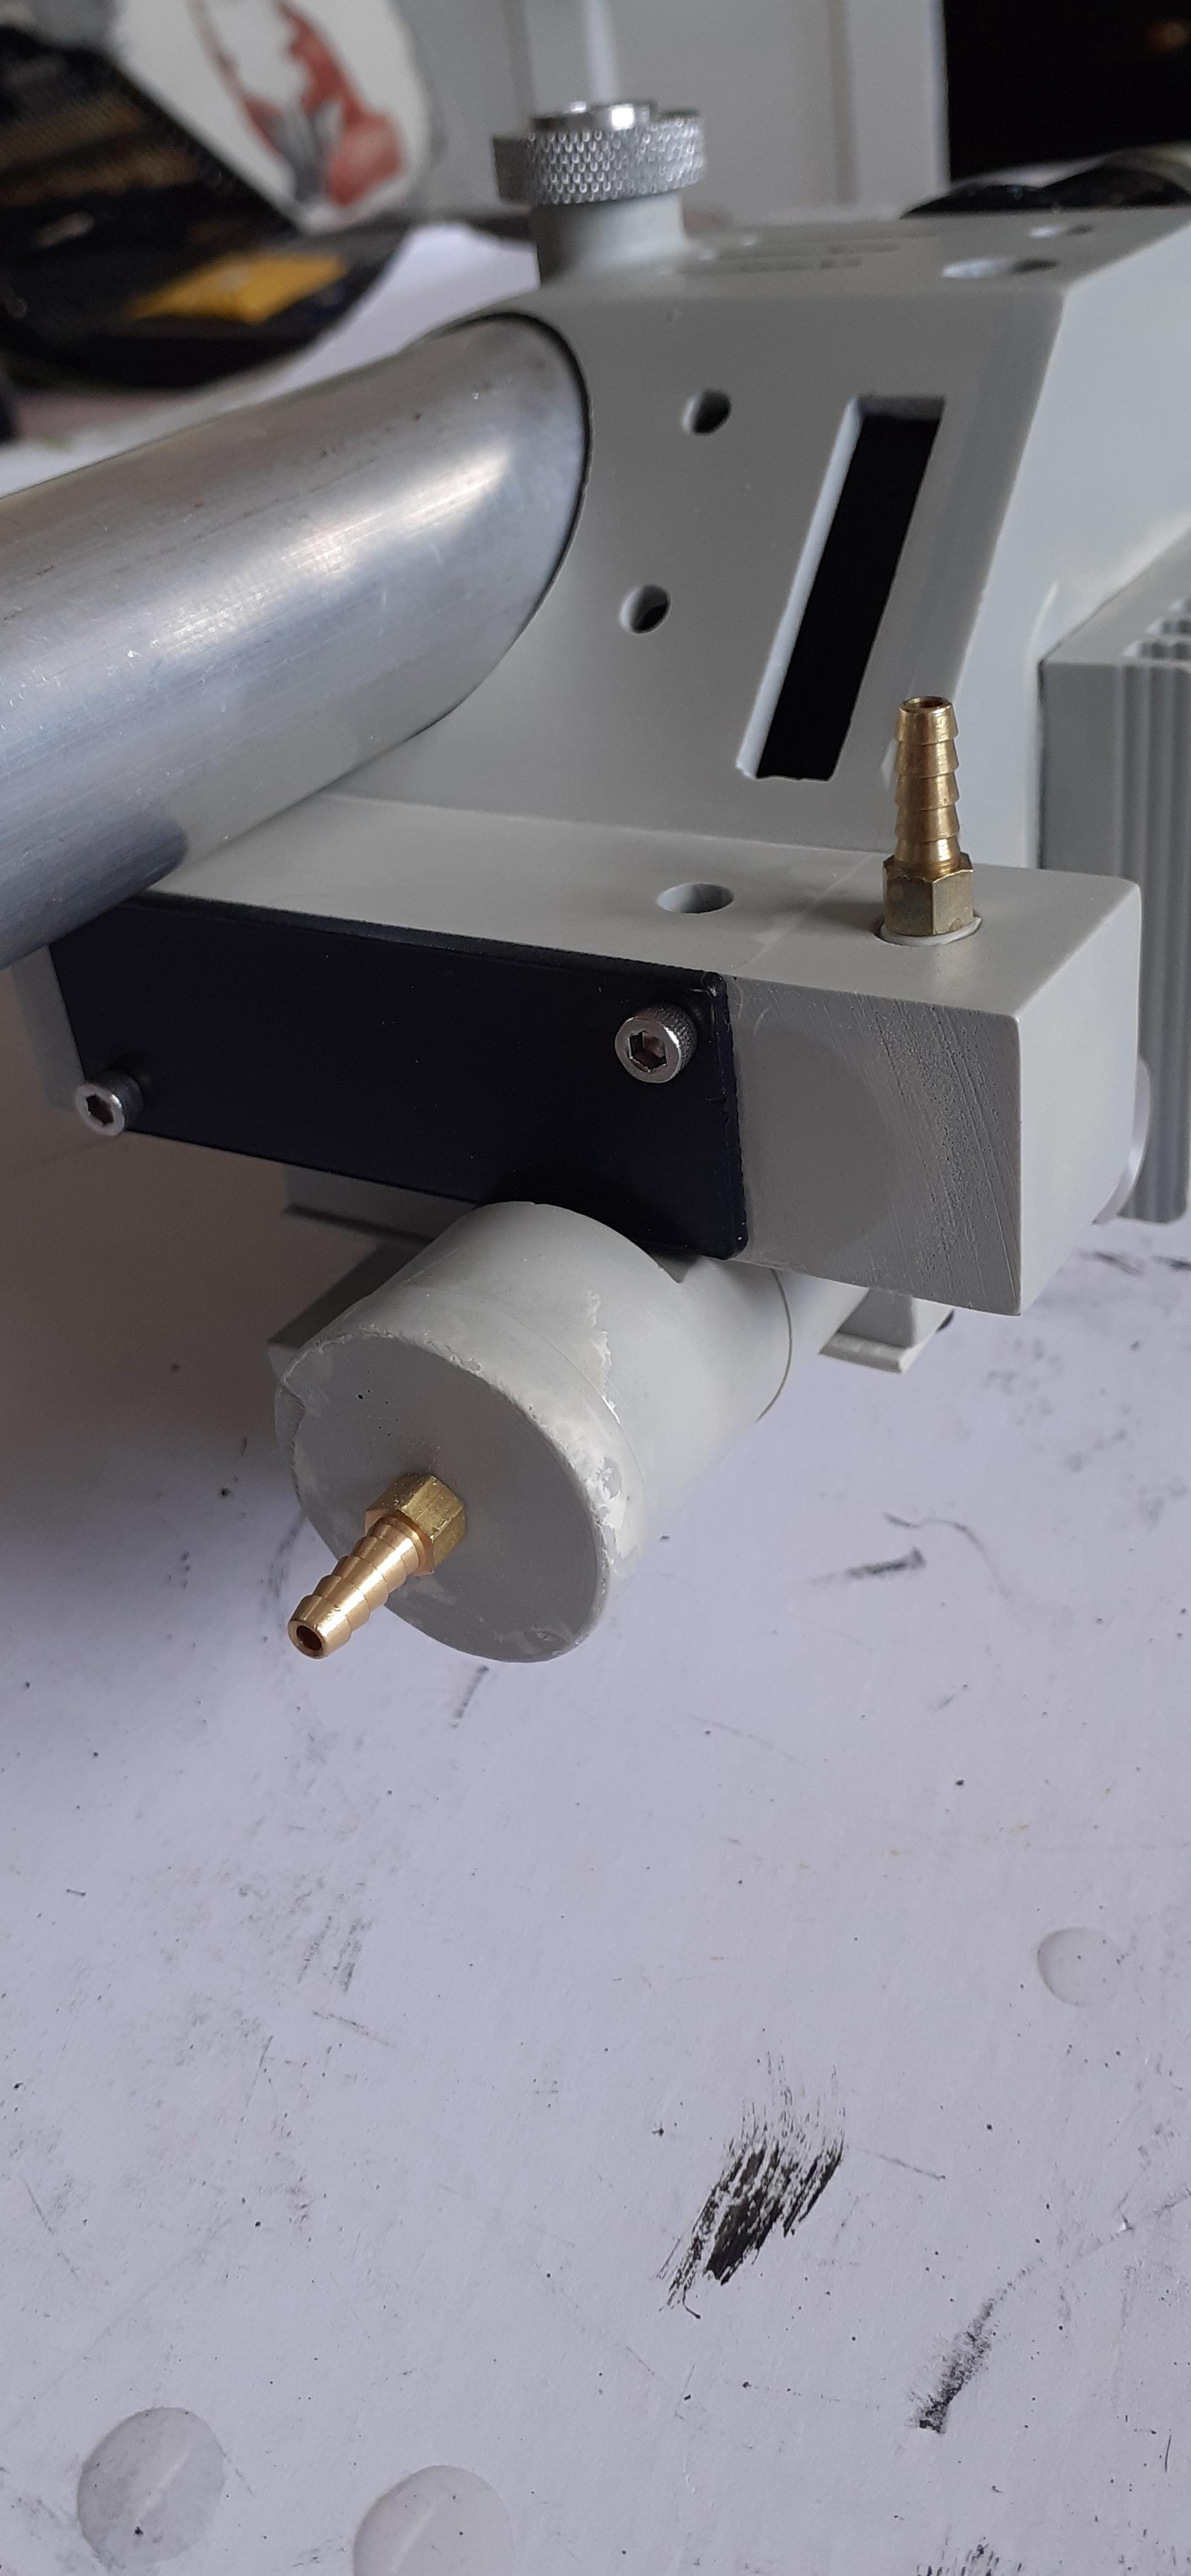
Attached rear cylinder and barbs
Attached top knob and side knob,
Attached clippard
Drilled out holes for green lever, hat lights, switches, vent, arco lights, front knob, trigger box,
Drilled and tapped the 2 screws with brass spacers to attach the front handle.
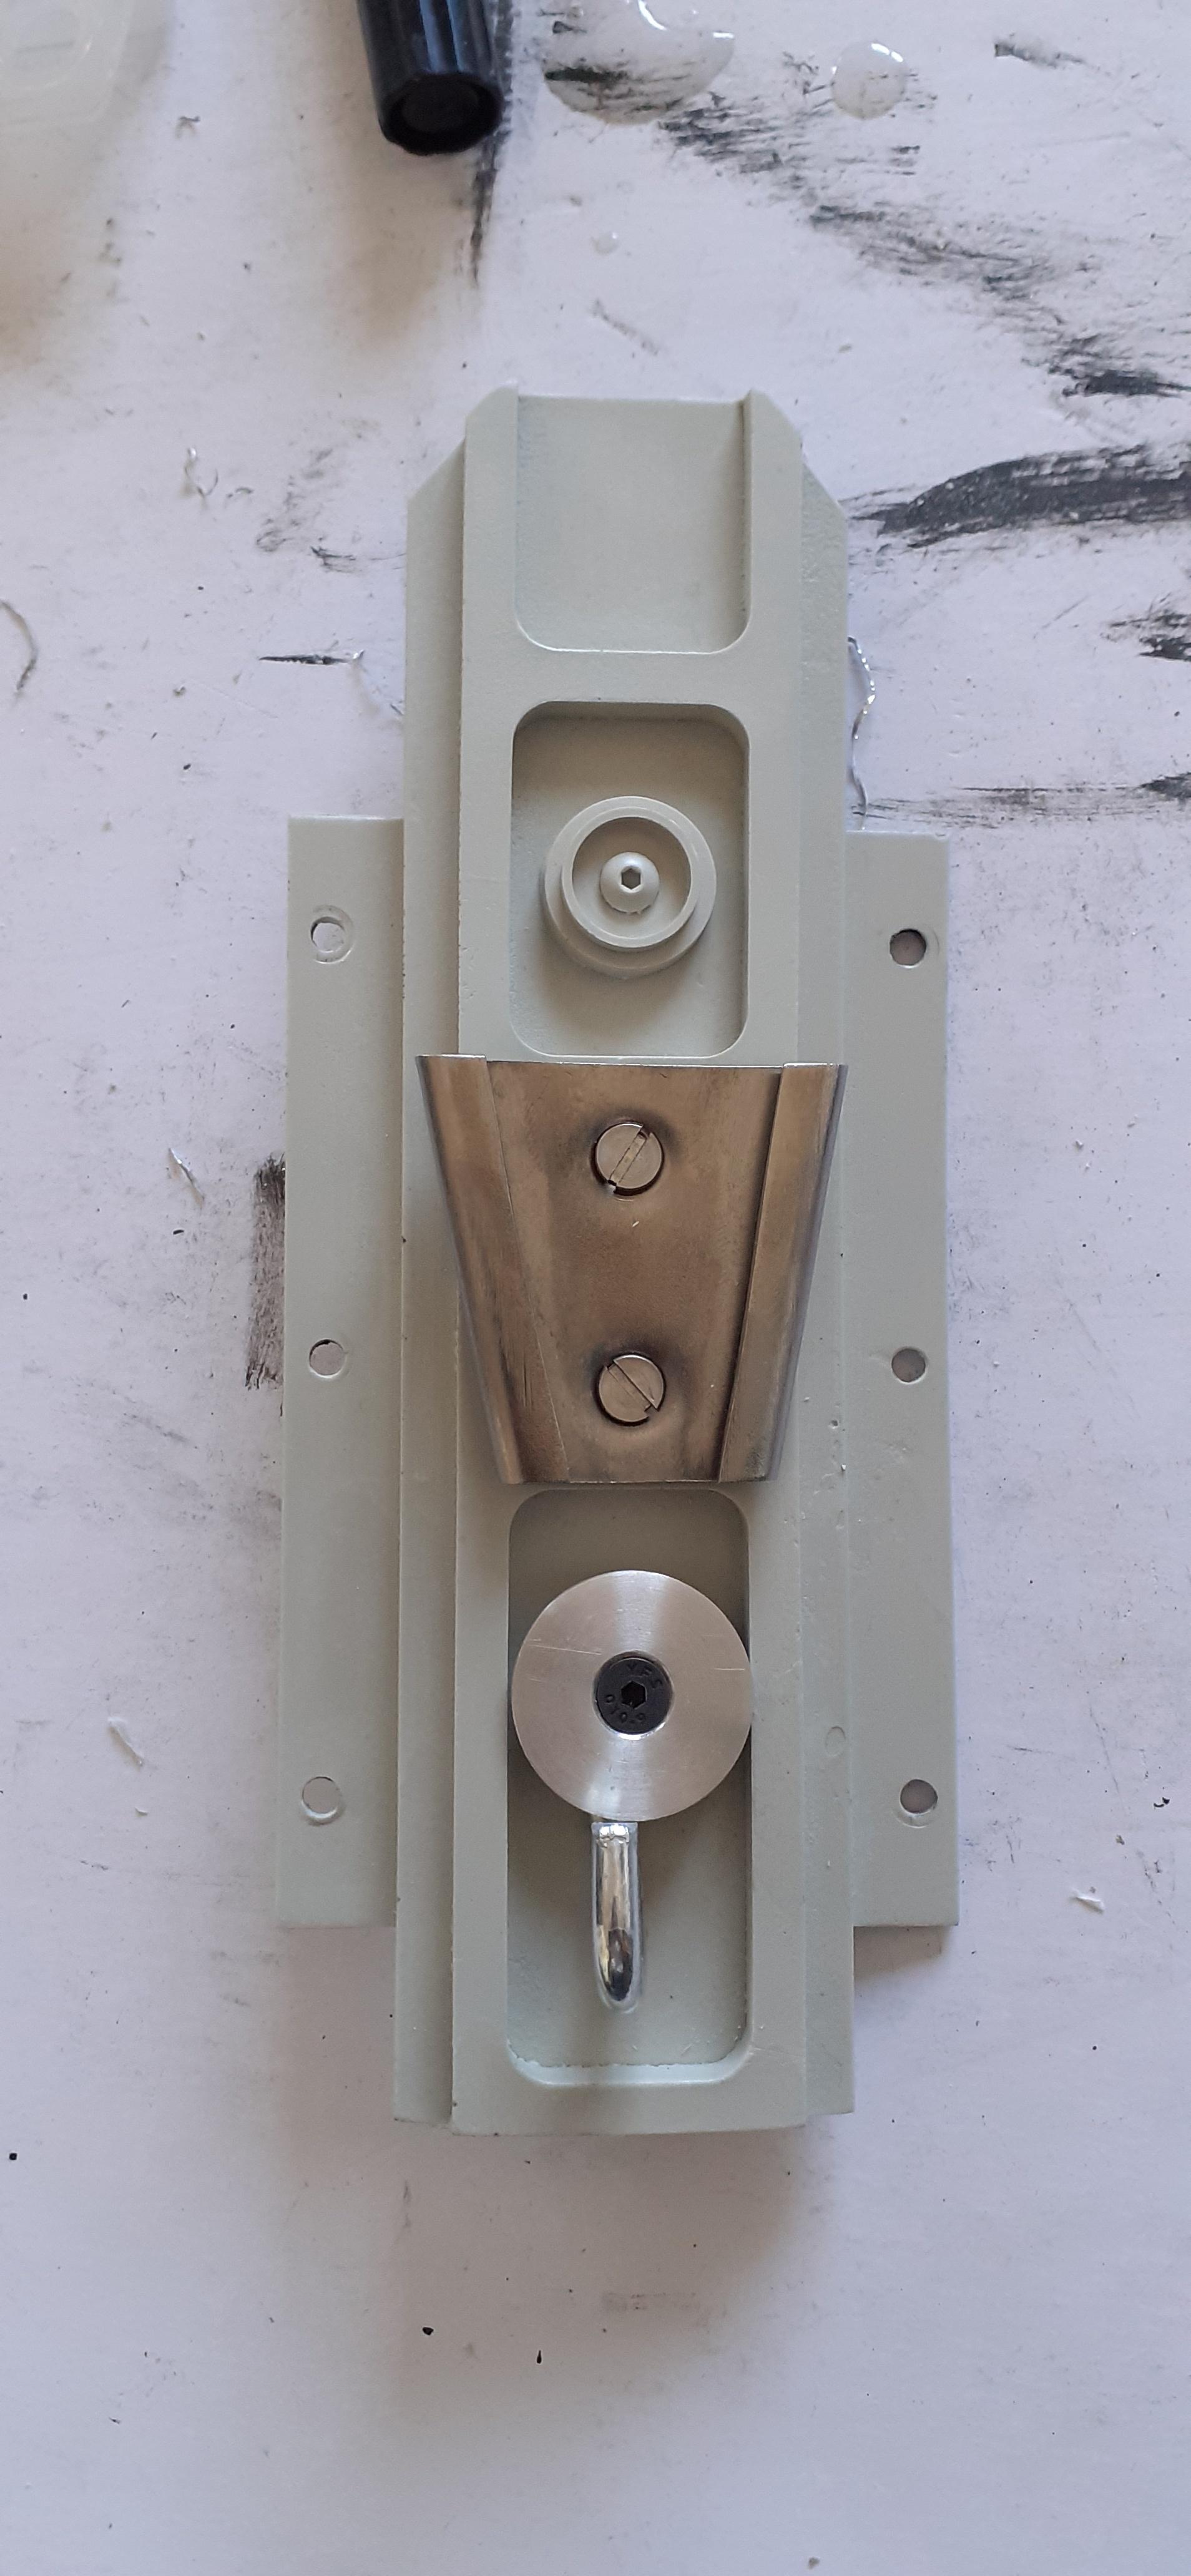
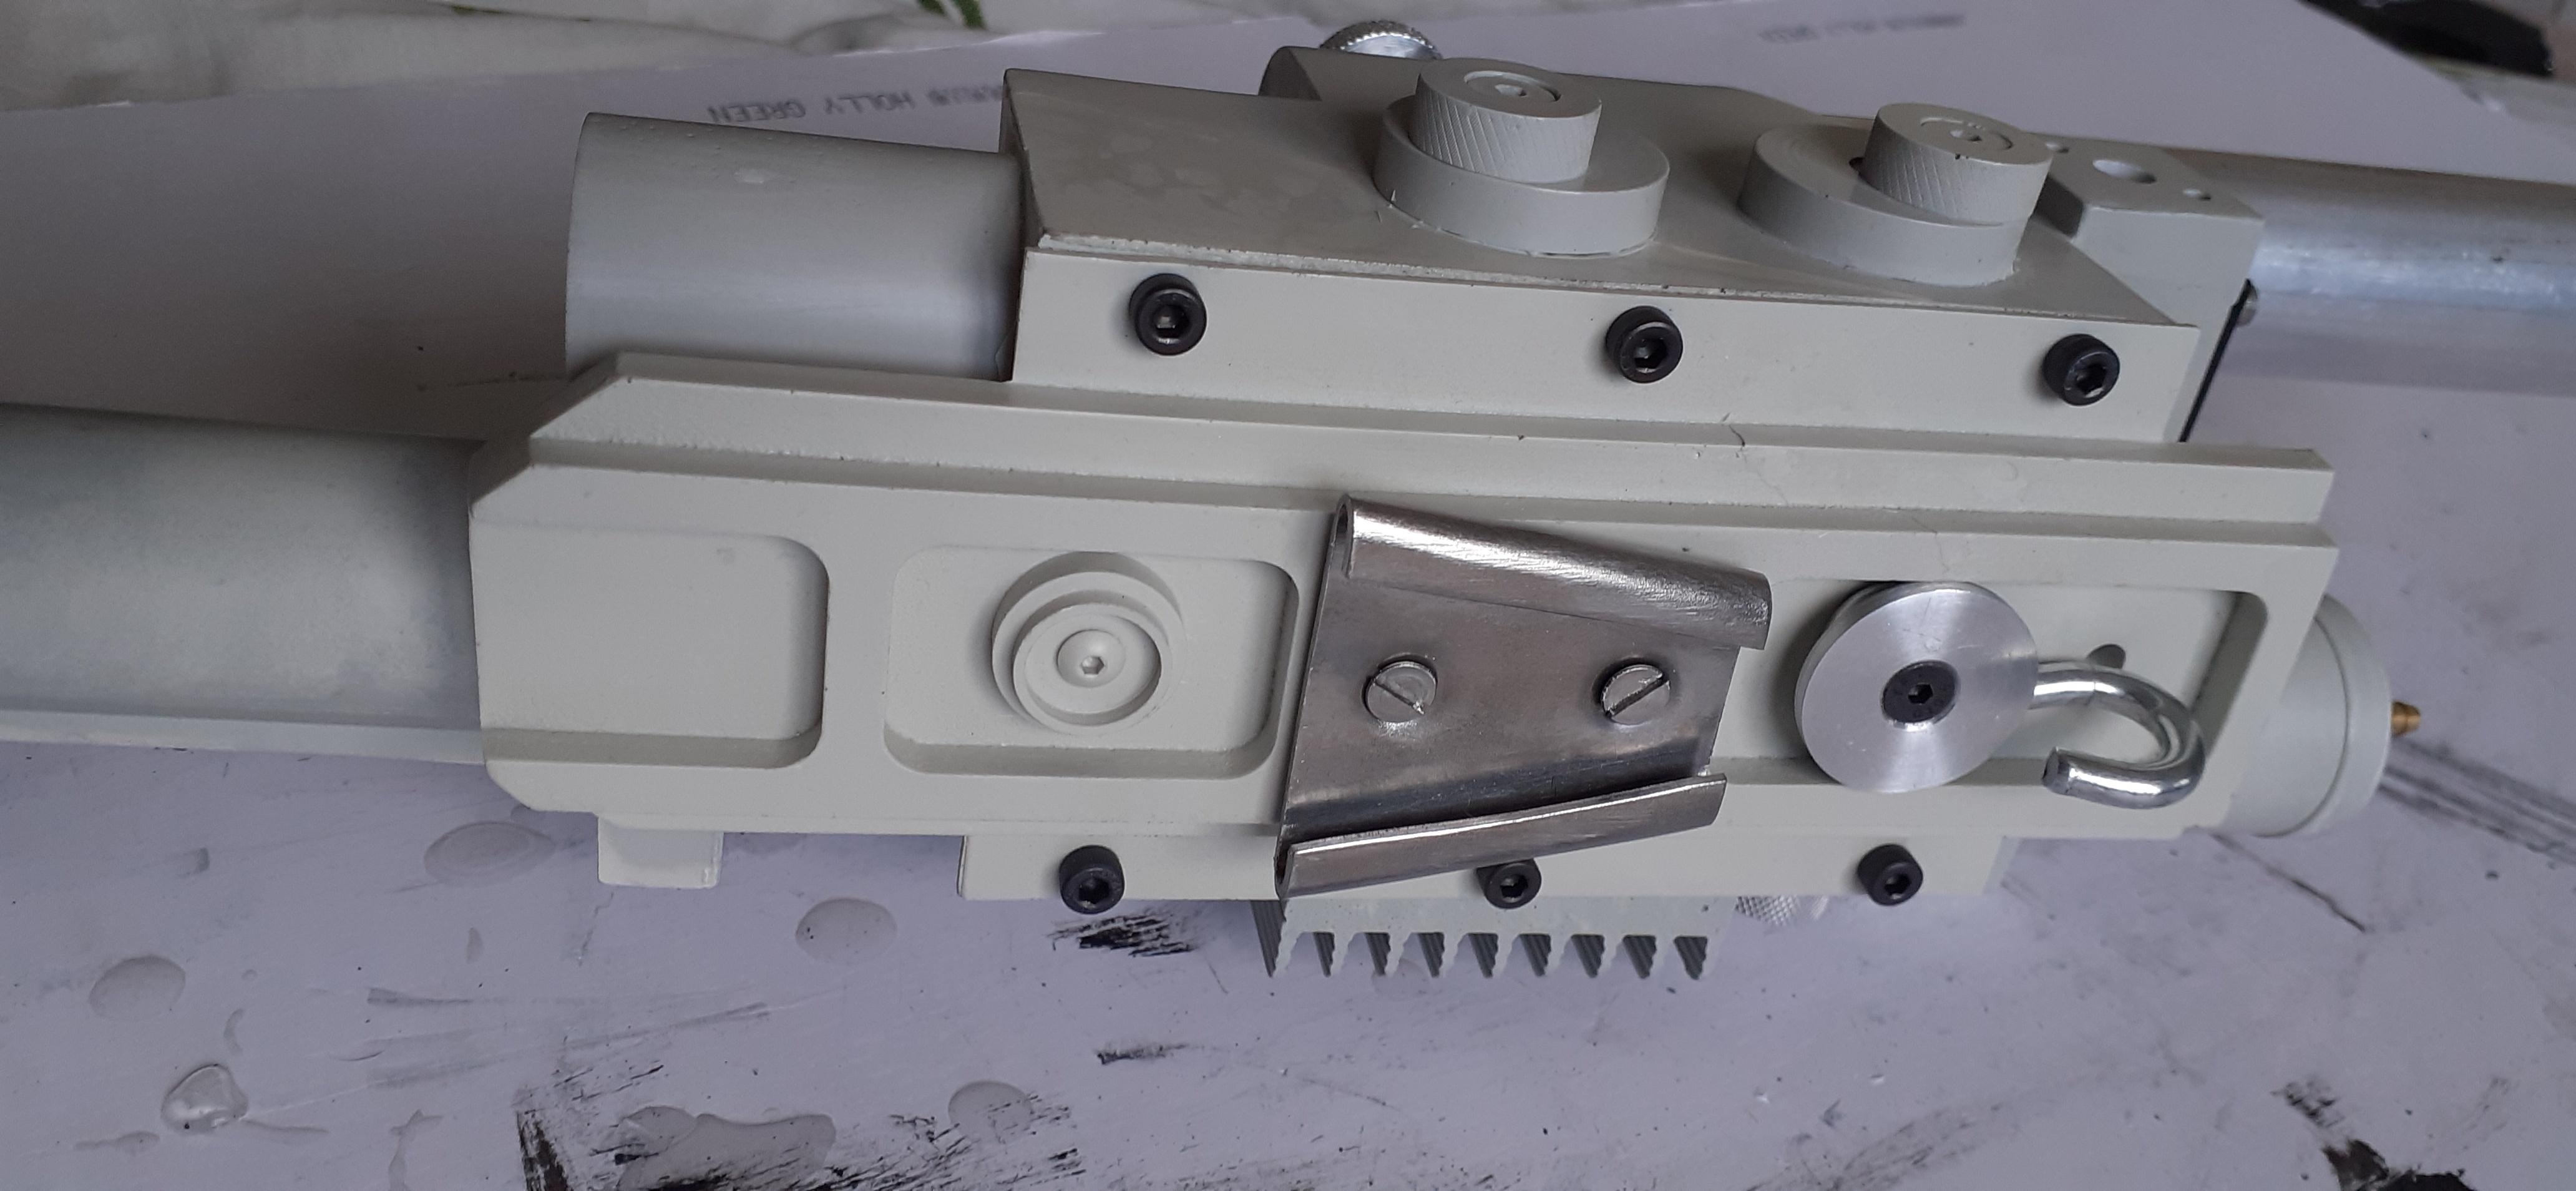
Drilled and tapped the base plate holes , plus attached v hook and s hook
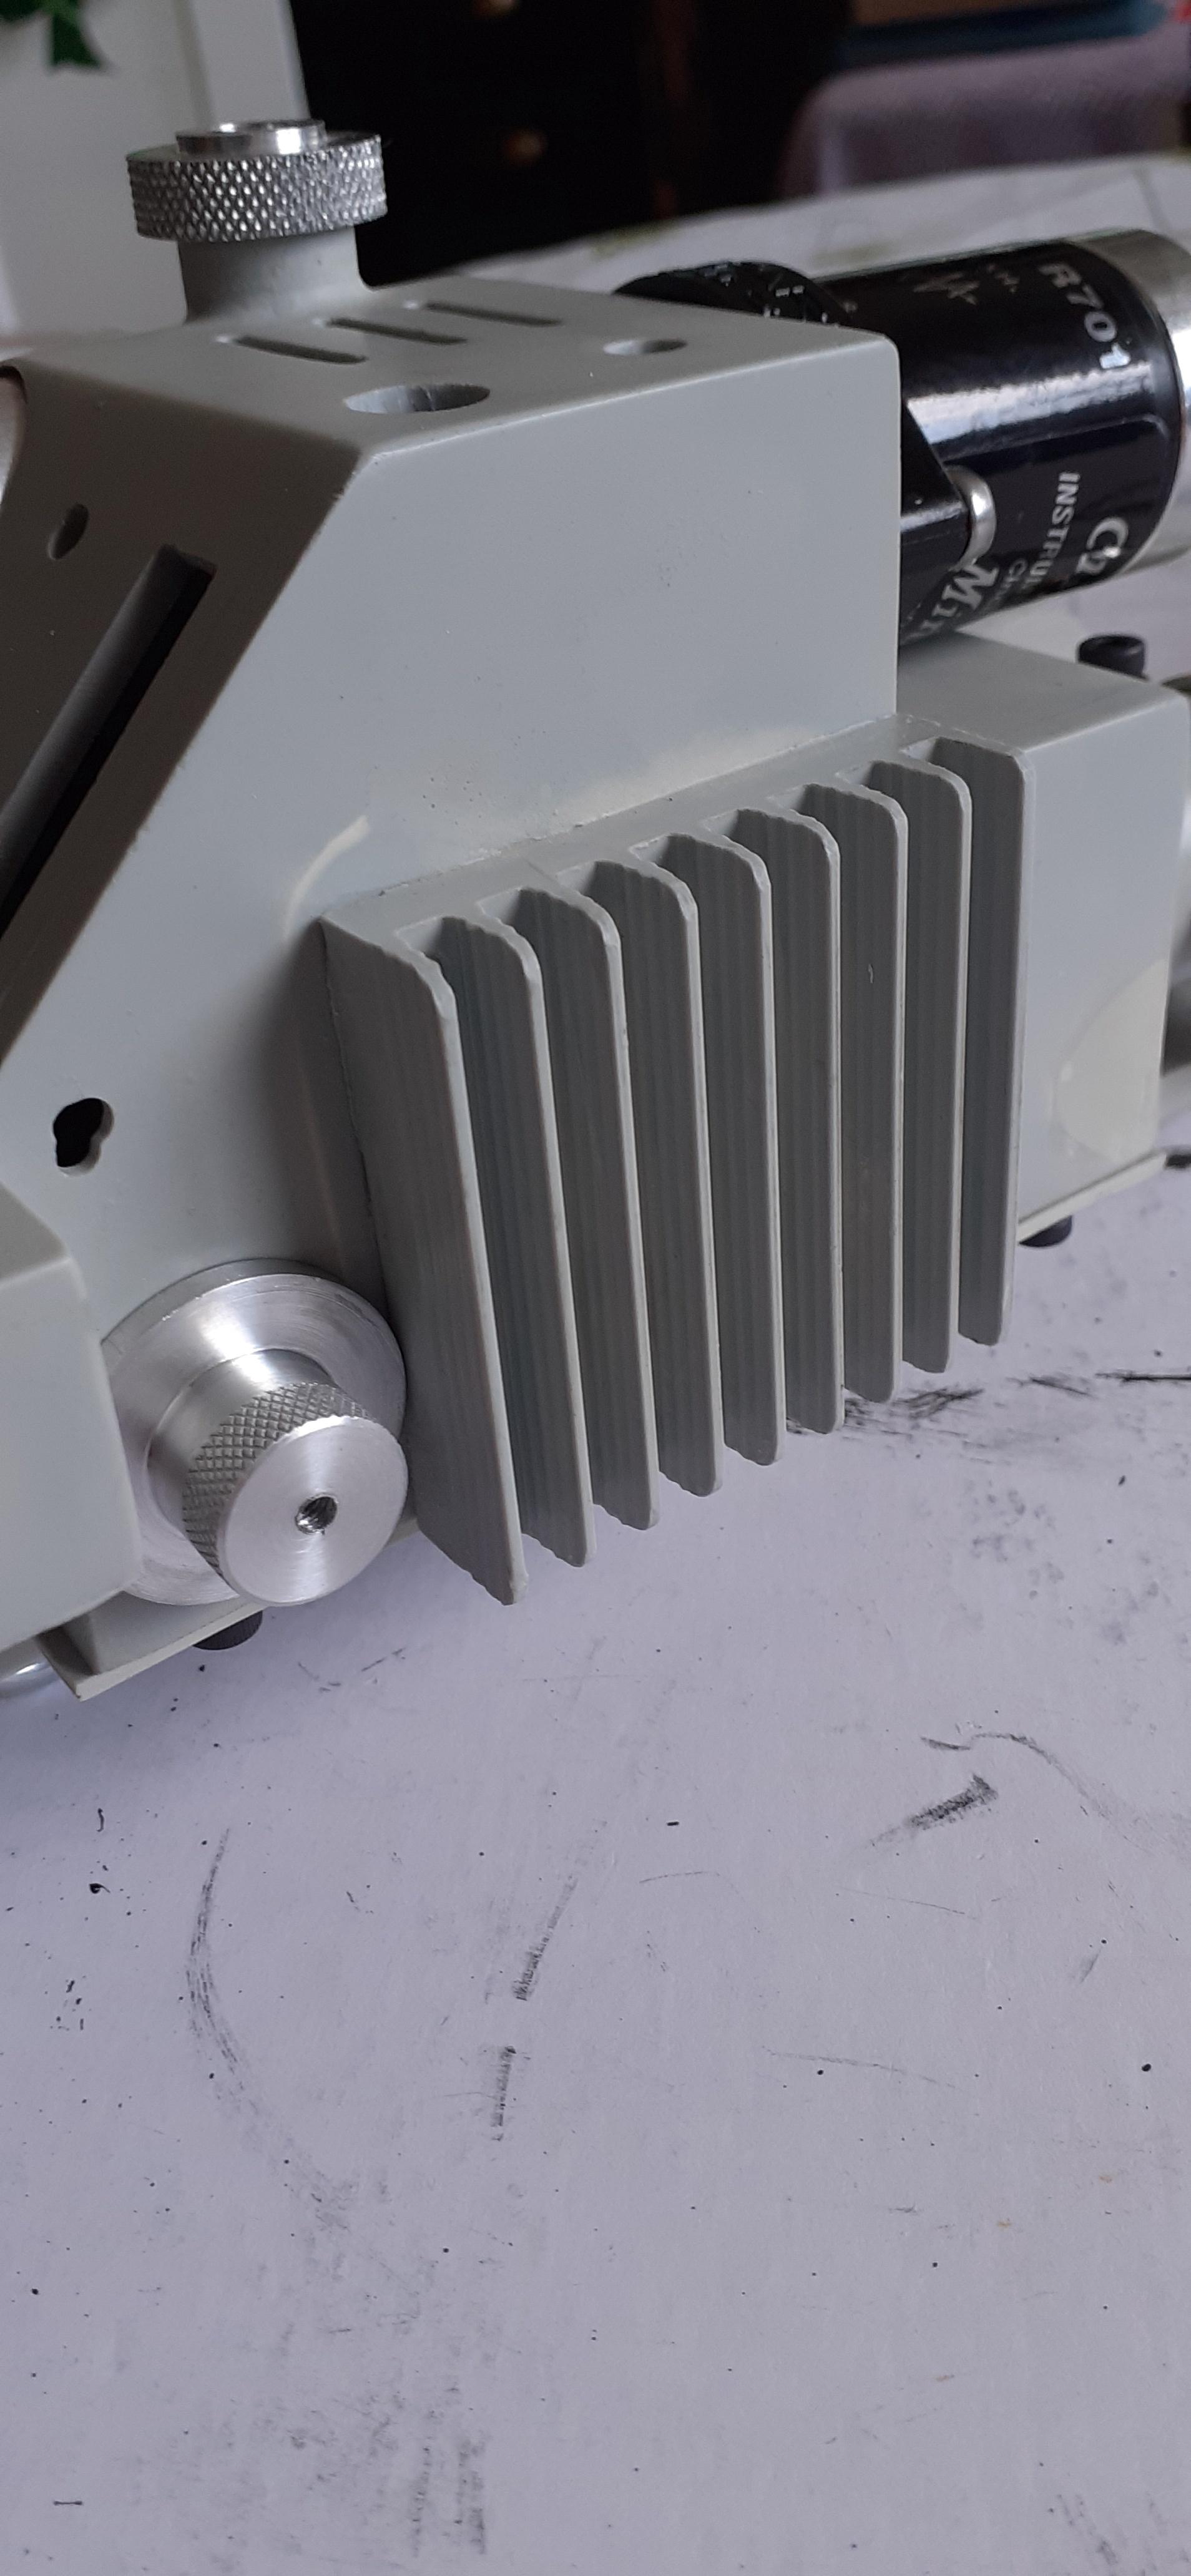
Rounded the heatsink fins for giggles.
Still need to mount the trigger box, which I’m waiting for some 6/32 bolts for and I need to dremel out a part of the inner wall to allow the front knob bolt to sit straight.
Plus grips need attaching; the front one of which needs a channel dremeled out to fit over TC’s new handle which has a raised channel on the outside of the handle for wires to be routed through under the grip.
And once again waiting for a few more parts and electronics to be delivered to finish the dry fit of the wand, plus I need the acrylic barrel to sort out the pop mech tube and set up the catch and lever.
:sigh:
Coming along great! Very cool that the front handle is now a separate piece. Mine was the solid piece which makes routing the ear wiring a little more difficult. But I had a blast putting that kit together and I learned a lot.
That old front handle was the one thing that had me worried about the kit. It took a bit longer to get my kit while he reworked the design but it was well worth the wait.
Makes the pop mech so much easier to install.
Seeing as I wont be getting my electronics for a while, does anyone know what size switches come with the GBfans wand kit? Wanting to predrill the holes accurately so they can be put straight in as soon as I get them.
A small update
Managed to put together as much of the thrower as I can, apart from the inner pop tube once I get the acrylic tube and the electronics.
I’m thinking I should be able to paint the thrower unless I’ve missed anything. Plus sorting out the pop tube will be a challenge as the inside diameter of the static centre tube is 7/8 which is the same o/d as the acrylic tube, so full need a 7/8 aluminium tube for the pop tube and somehow attach the acrylic tube to the end of it. I’m thinking a 5/8 hollow dowel to connect the two?
I’ve got some 5/8" acrylic rod, I can cut you an appropriate length if you want, and drill the centre out too if you need it. Pop me a PM if that’d help bud.
That would be great.
So a little update.
I’ve started working on my pop tube, big thanks to tobycj for sending me a custom made acrylic dowel.
So I’ve drilled and tapped through the pop tube, into the dowel, which will be the same for the frosted barrel once I get it. Using grub screws to secure them and 1 regular bolt to act as the guide. Once I get the frosted barrel I can mark and cut the slit in the static tube and cut the pop tube down to size as needed.
Tobycj drilled a hole for routing the wire for the barrel led through which will require some hackery but should be simple enough. Plus having the guide screw not directly into the frosted barrel should help avoid it cracking, as this dowel is sturdy AF
Glad it got there OK bud. Look forward to seeing it all come together!
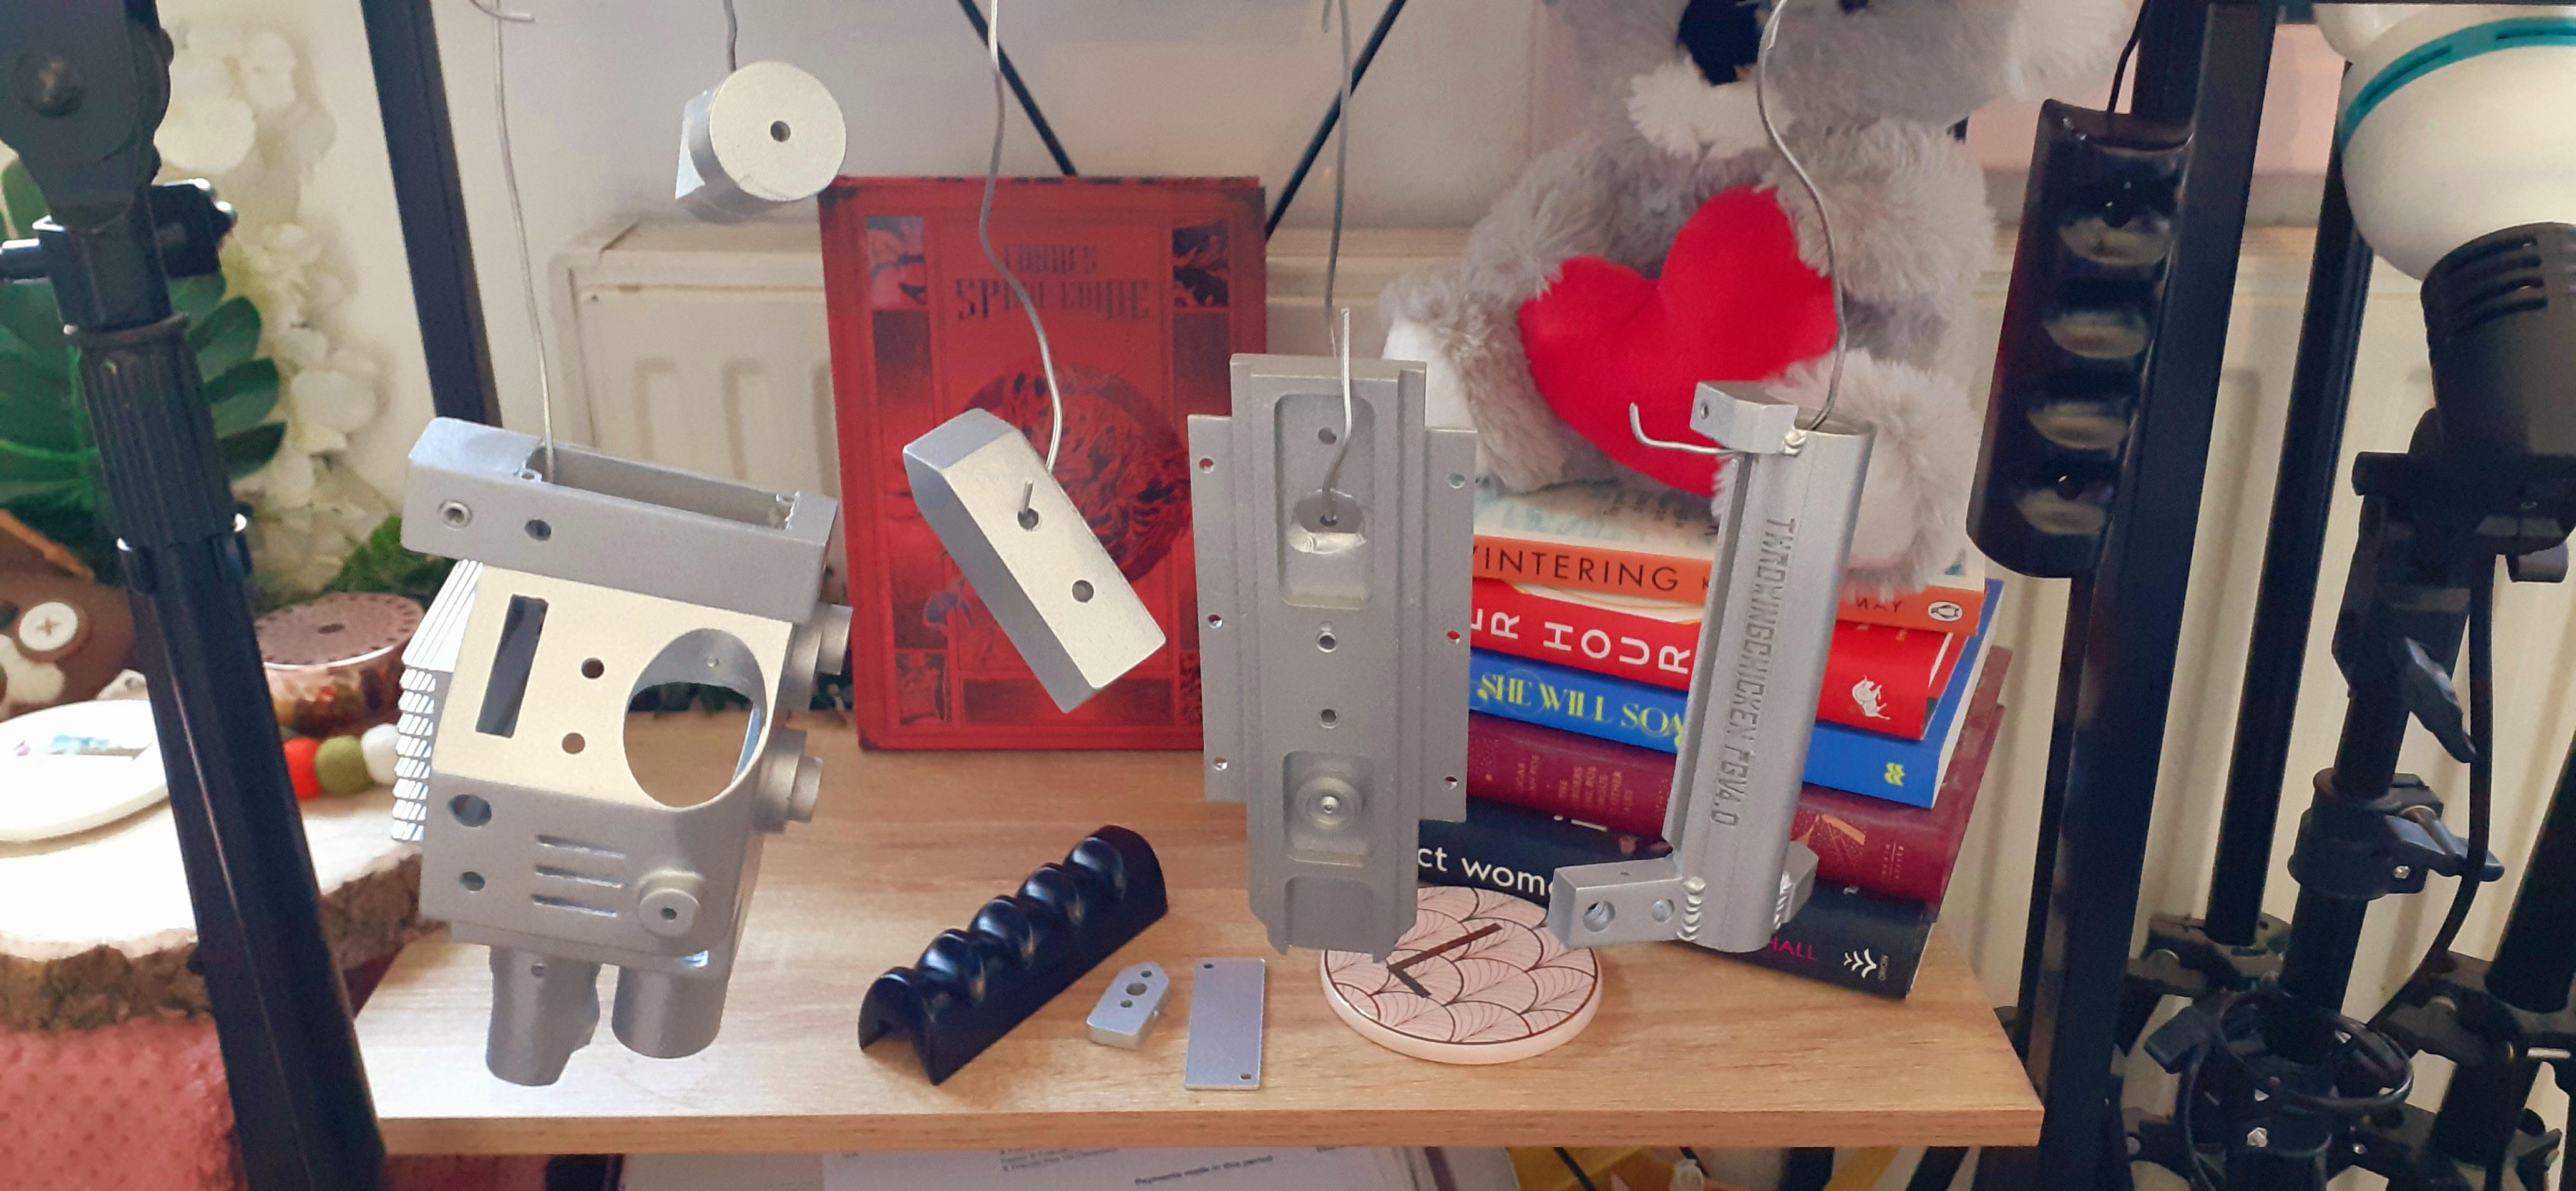
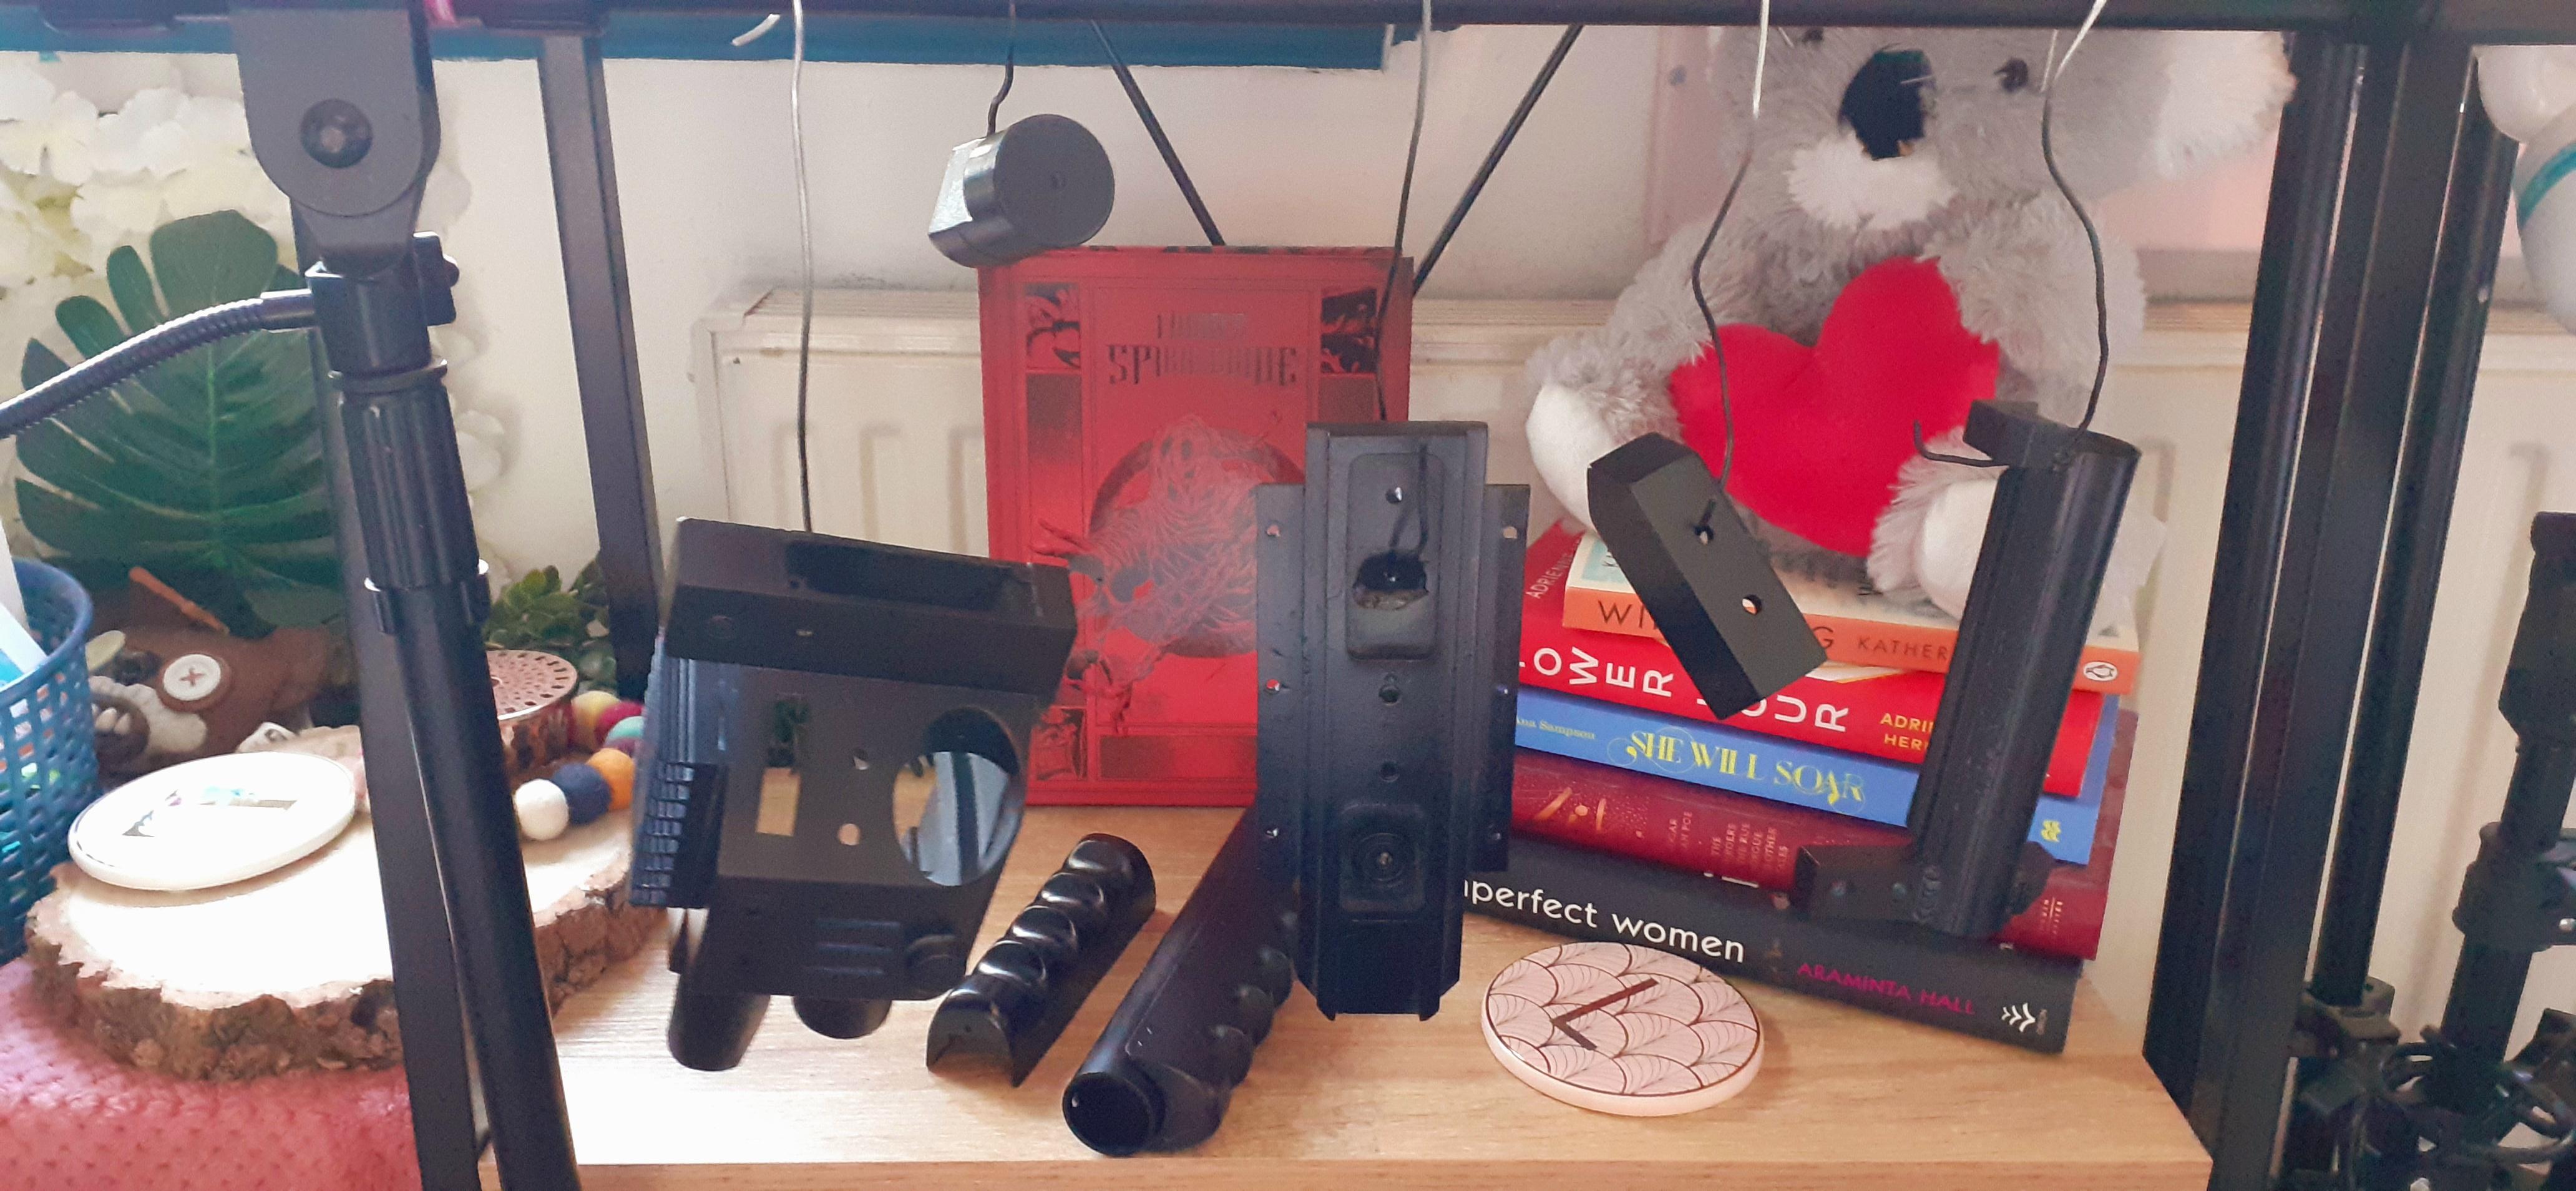
So I managed to primer my parts before the 2 week straight rain hit.
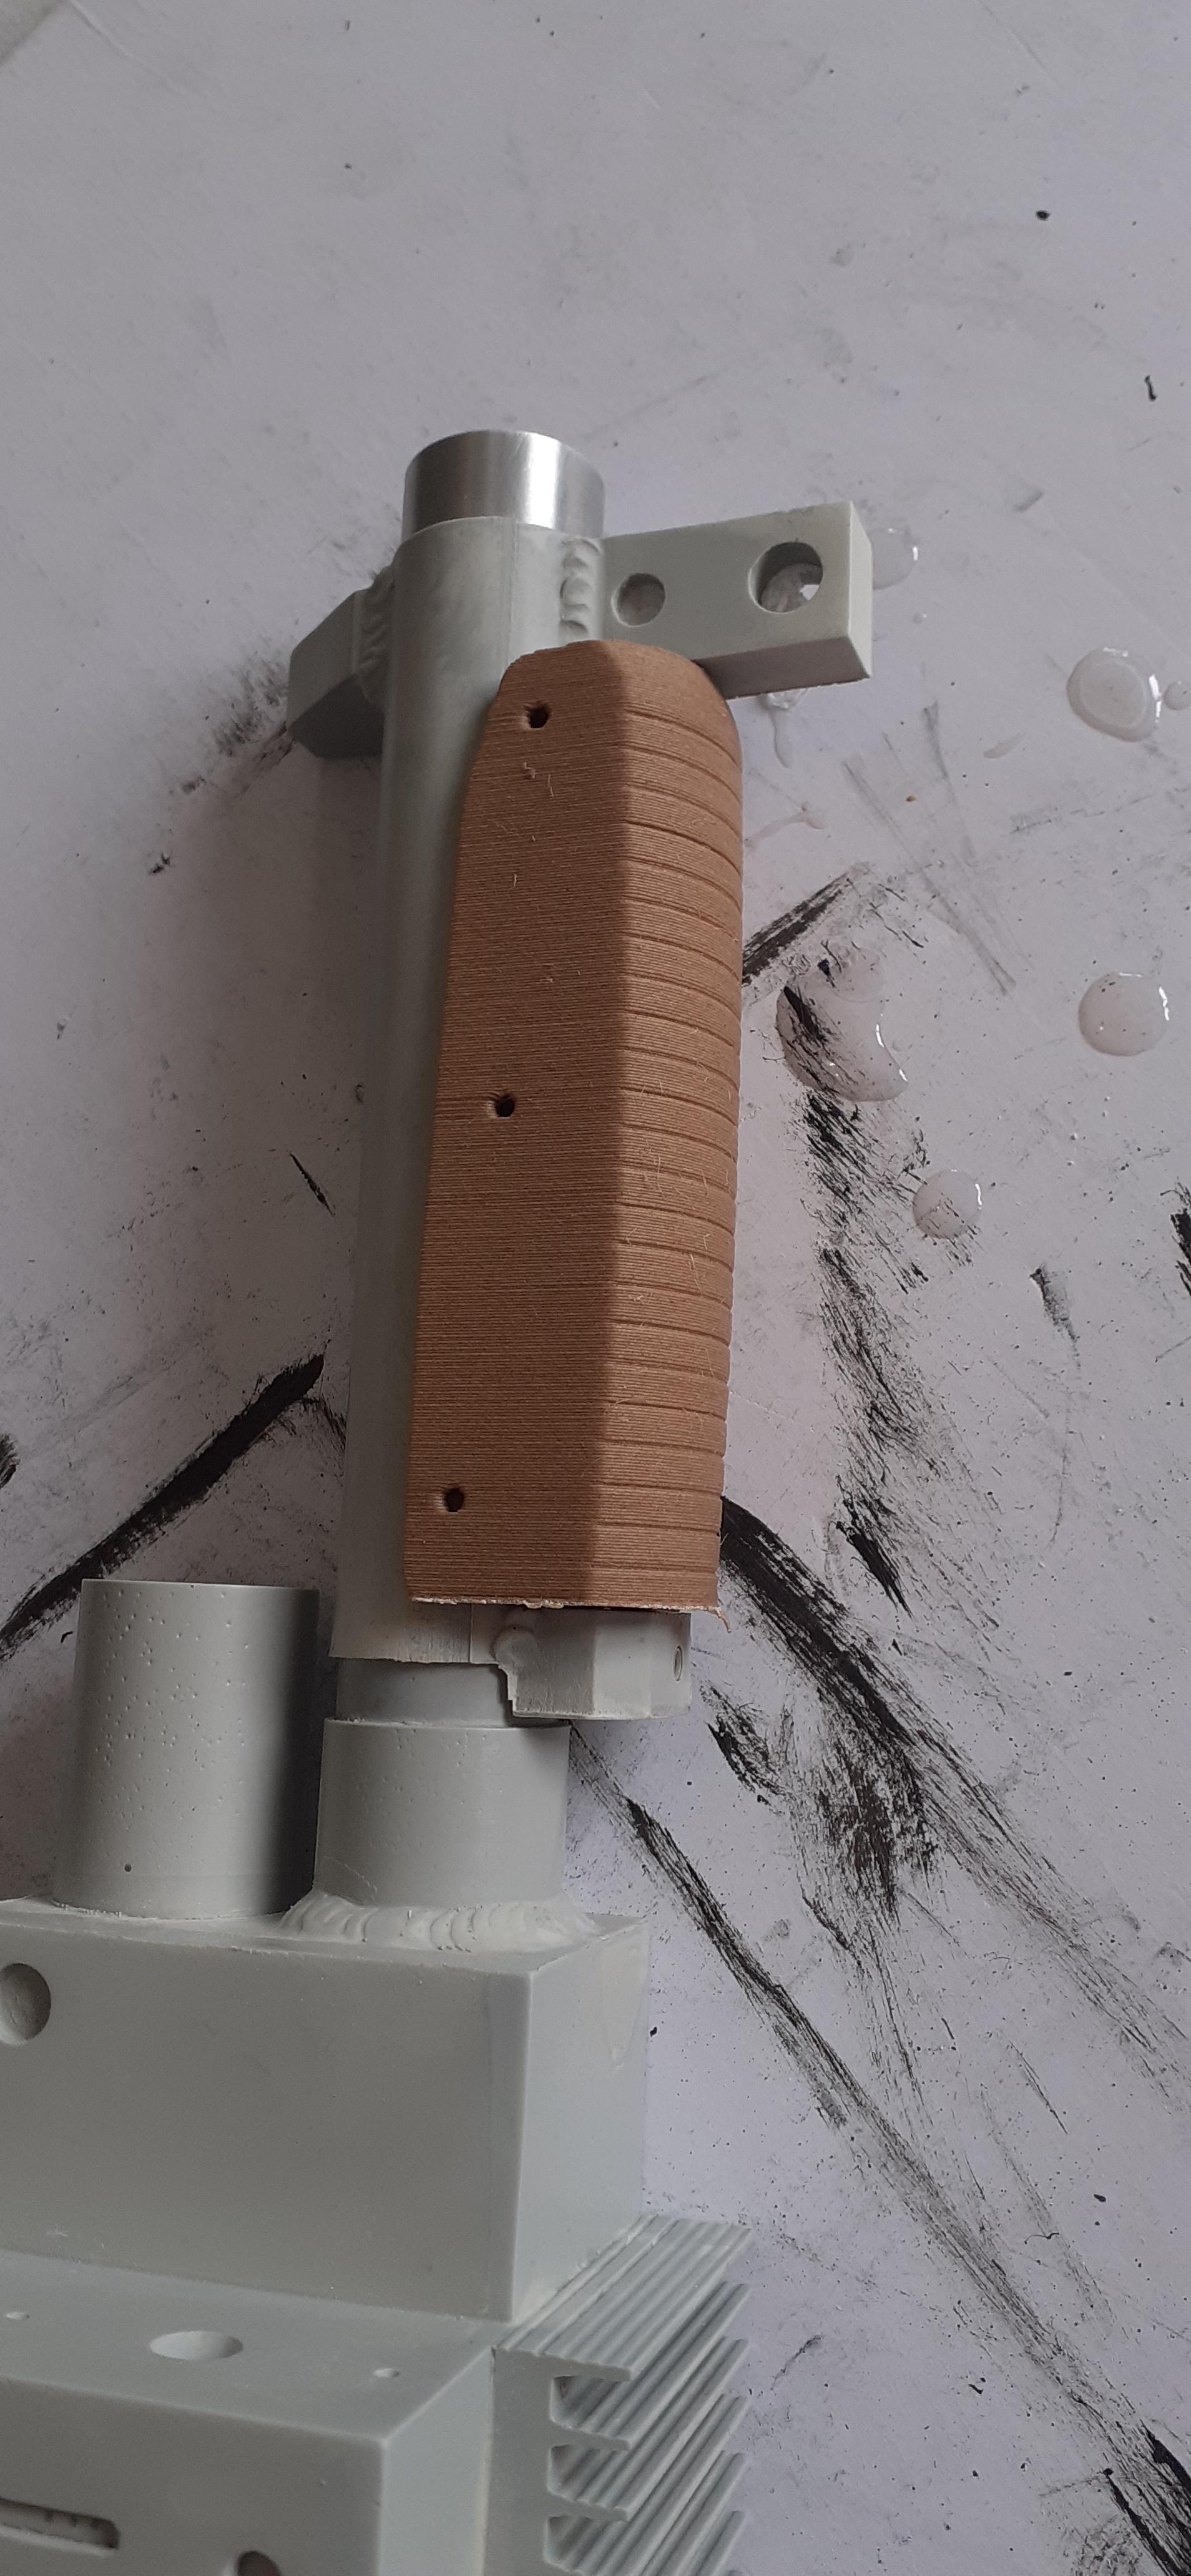
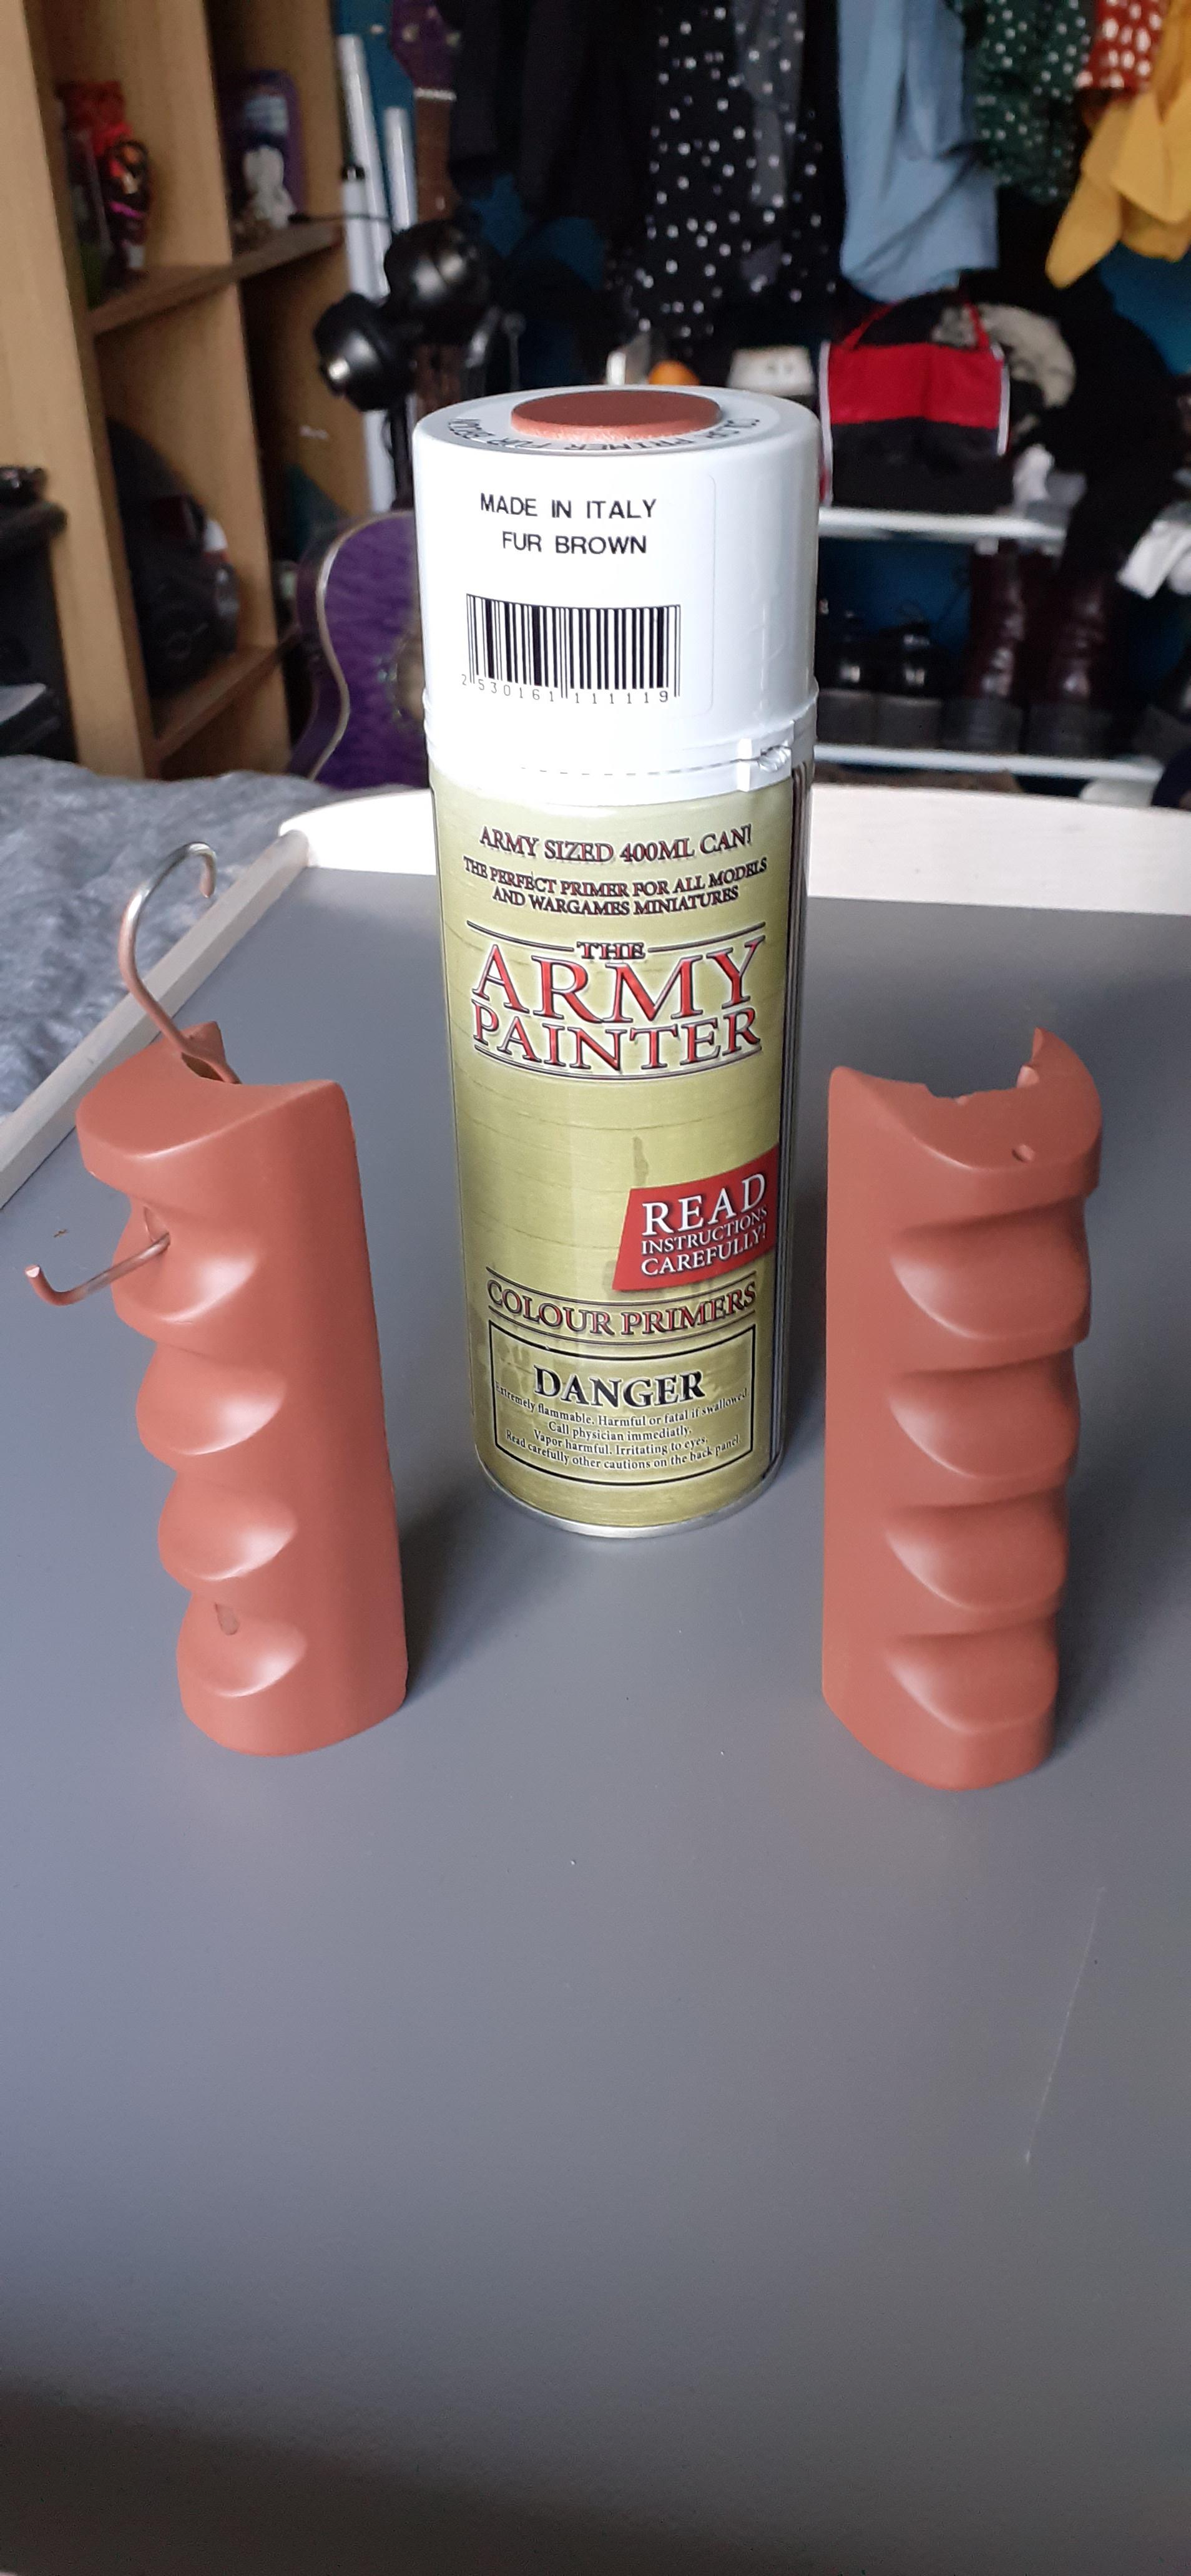
To try and recreate the look of the original grips I found this Army Painter Fur Brown primer, which hopefully will be close enough in colour for when I come to weather the grips.
A little update.
I managed to squeeze in some painting in between the rain, layed down the silver undercoat and the black top coat.
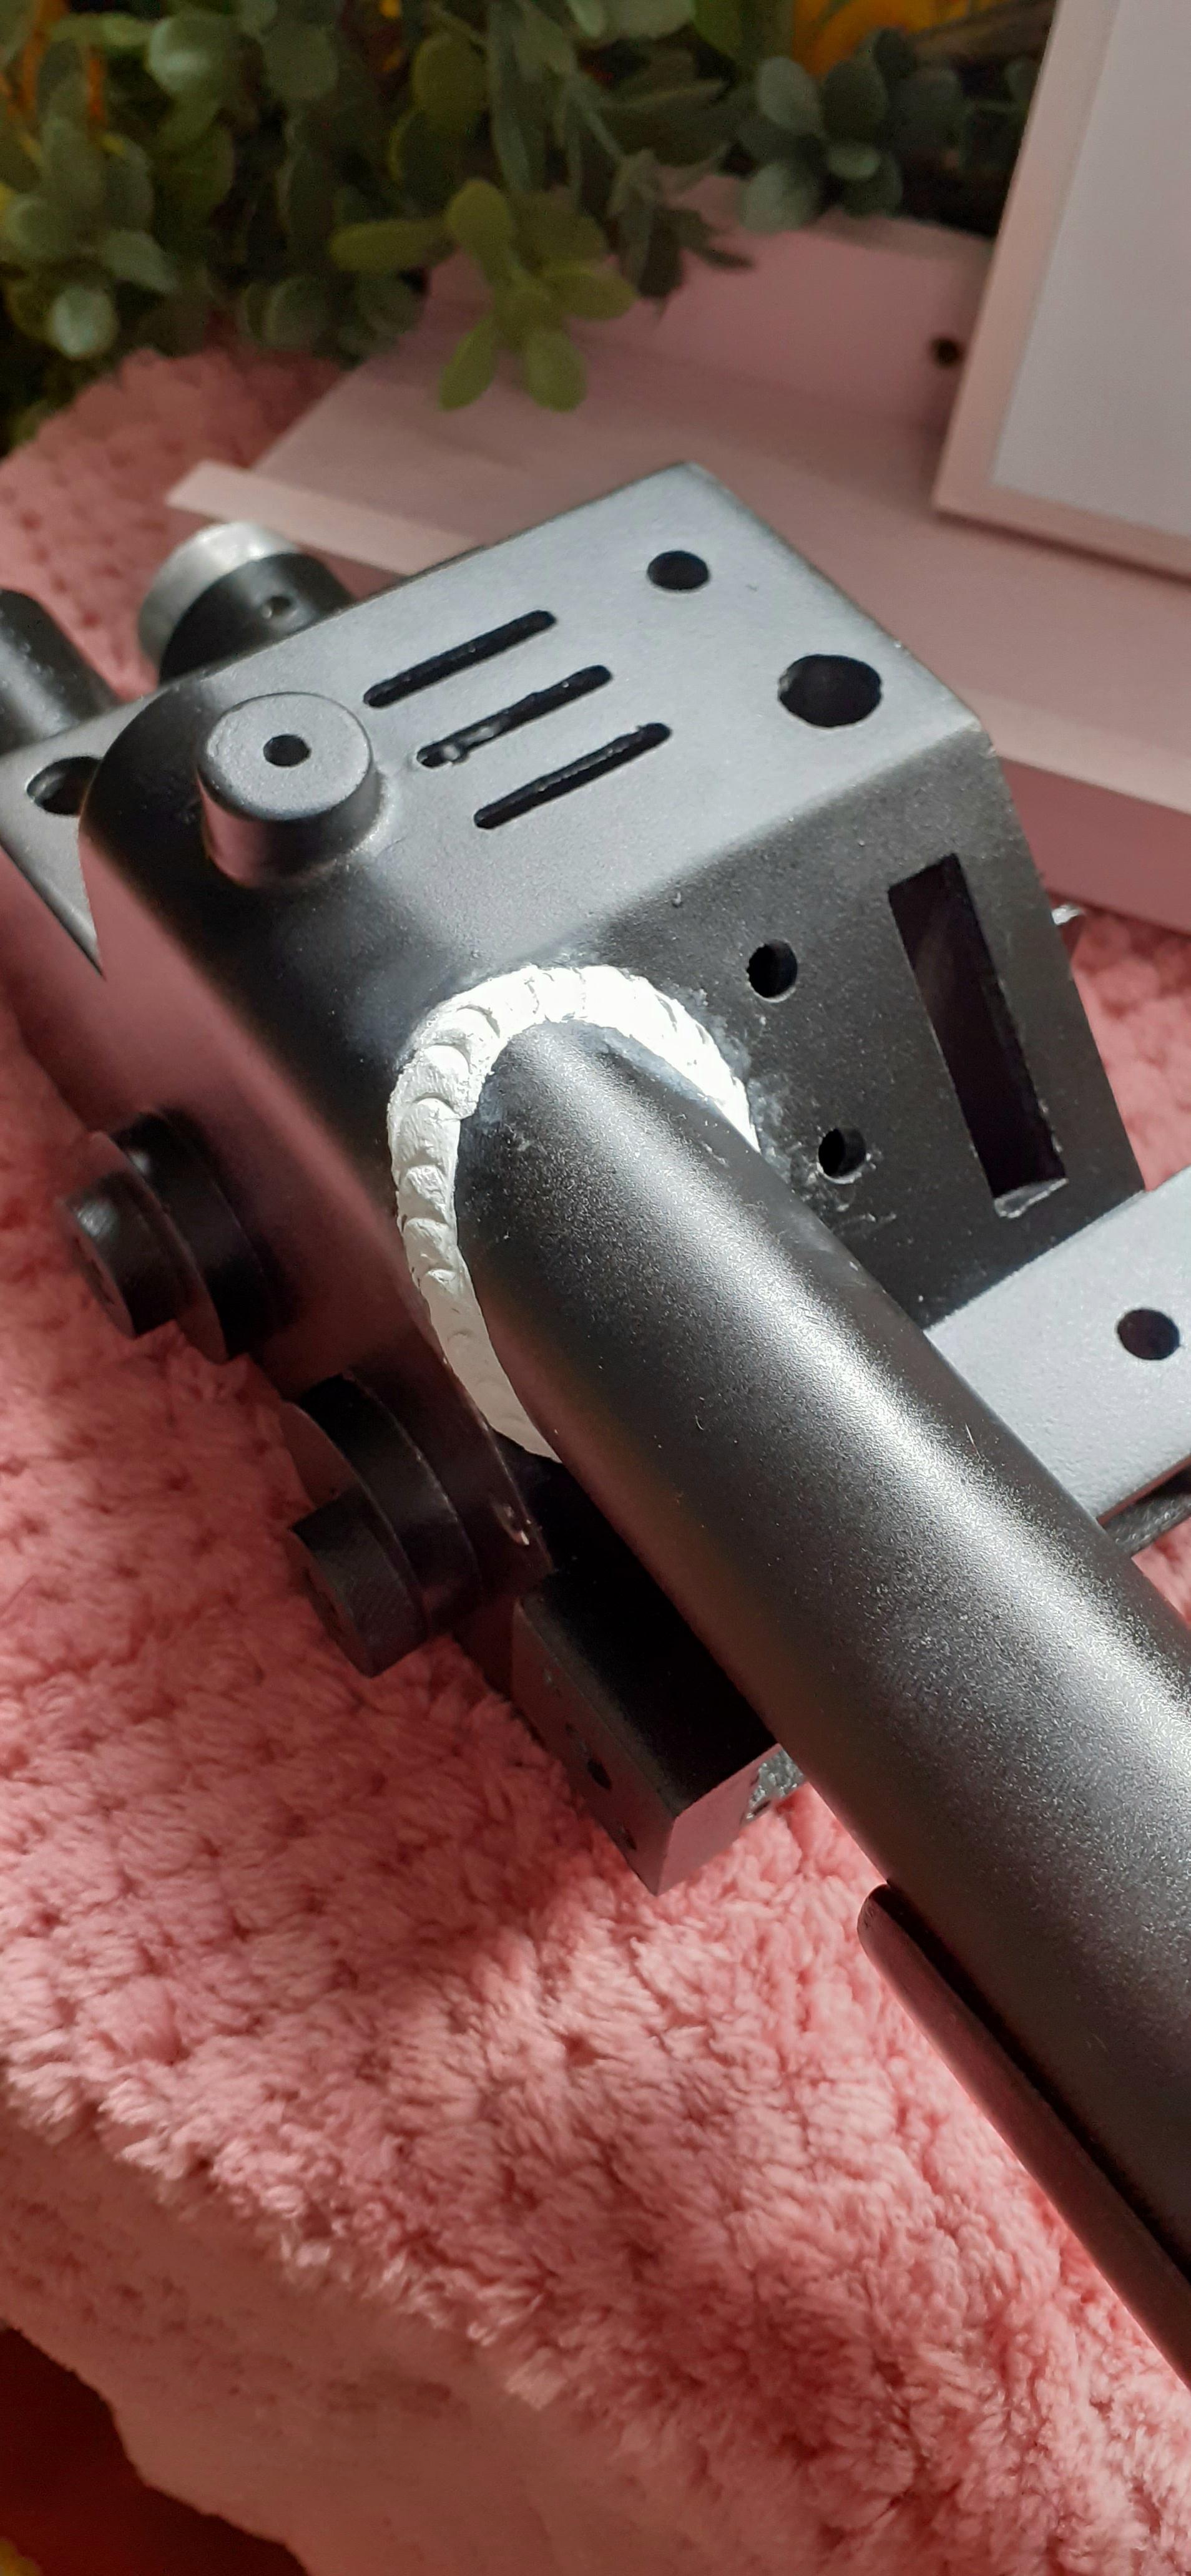
I left the paint to cure for a day, then I attached the rear handle and made the epoxy fake weld using a paper clip to make the bead. It turned out fairly well.
Just waiting for another break in the weather to paint over the weld and painting will be officially done! In the meantime I’ve been working on the pop mech…
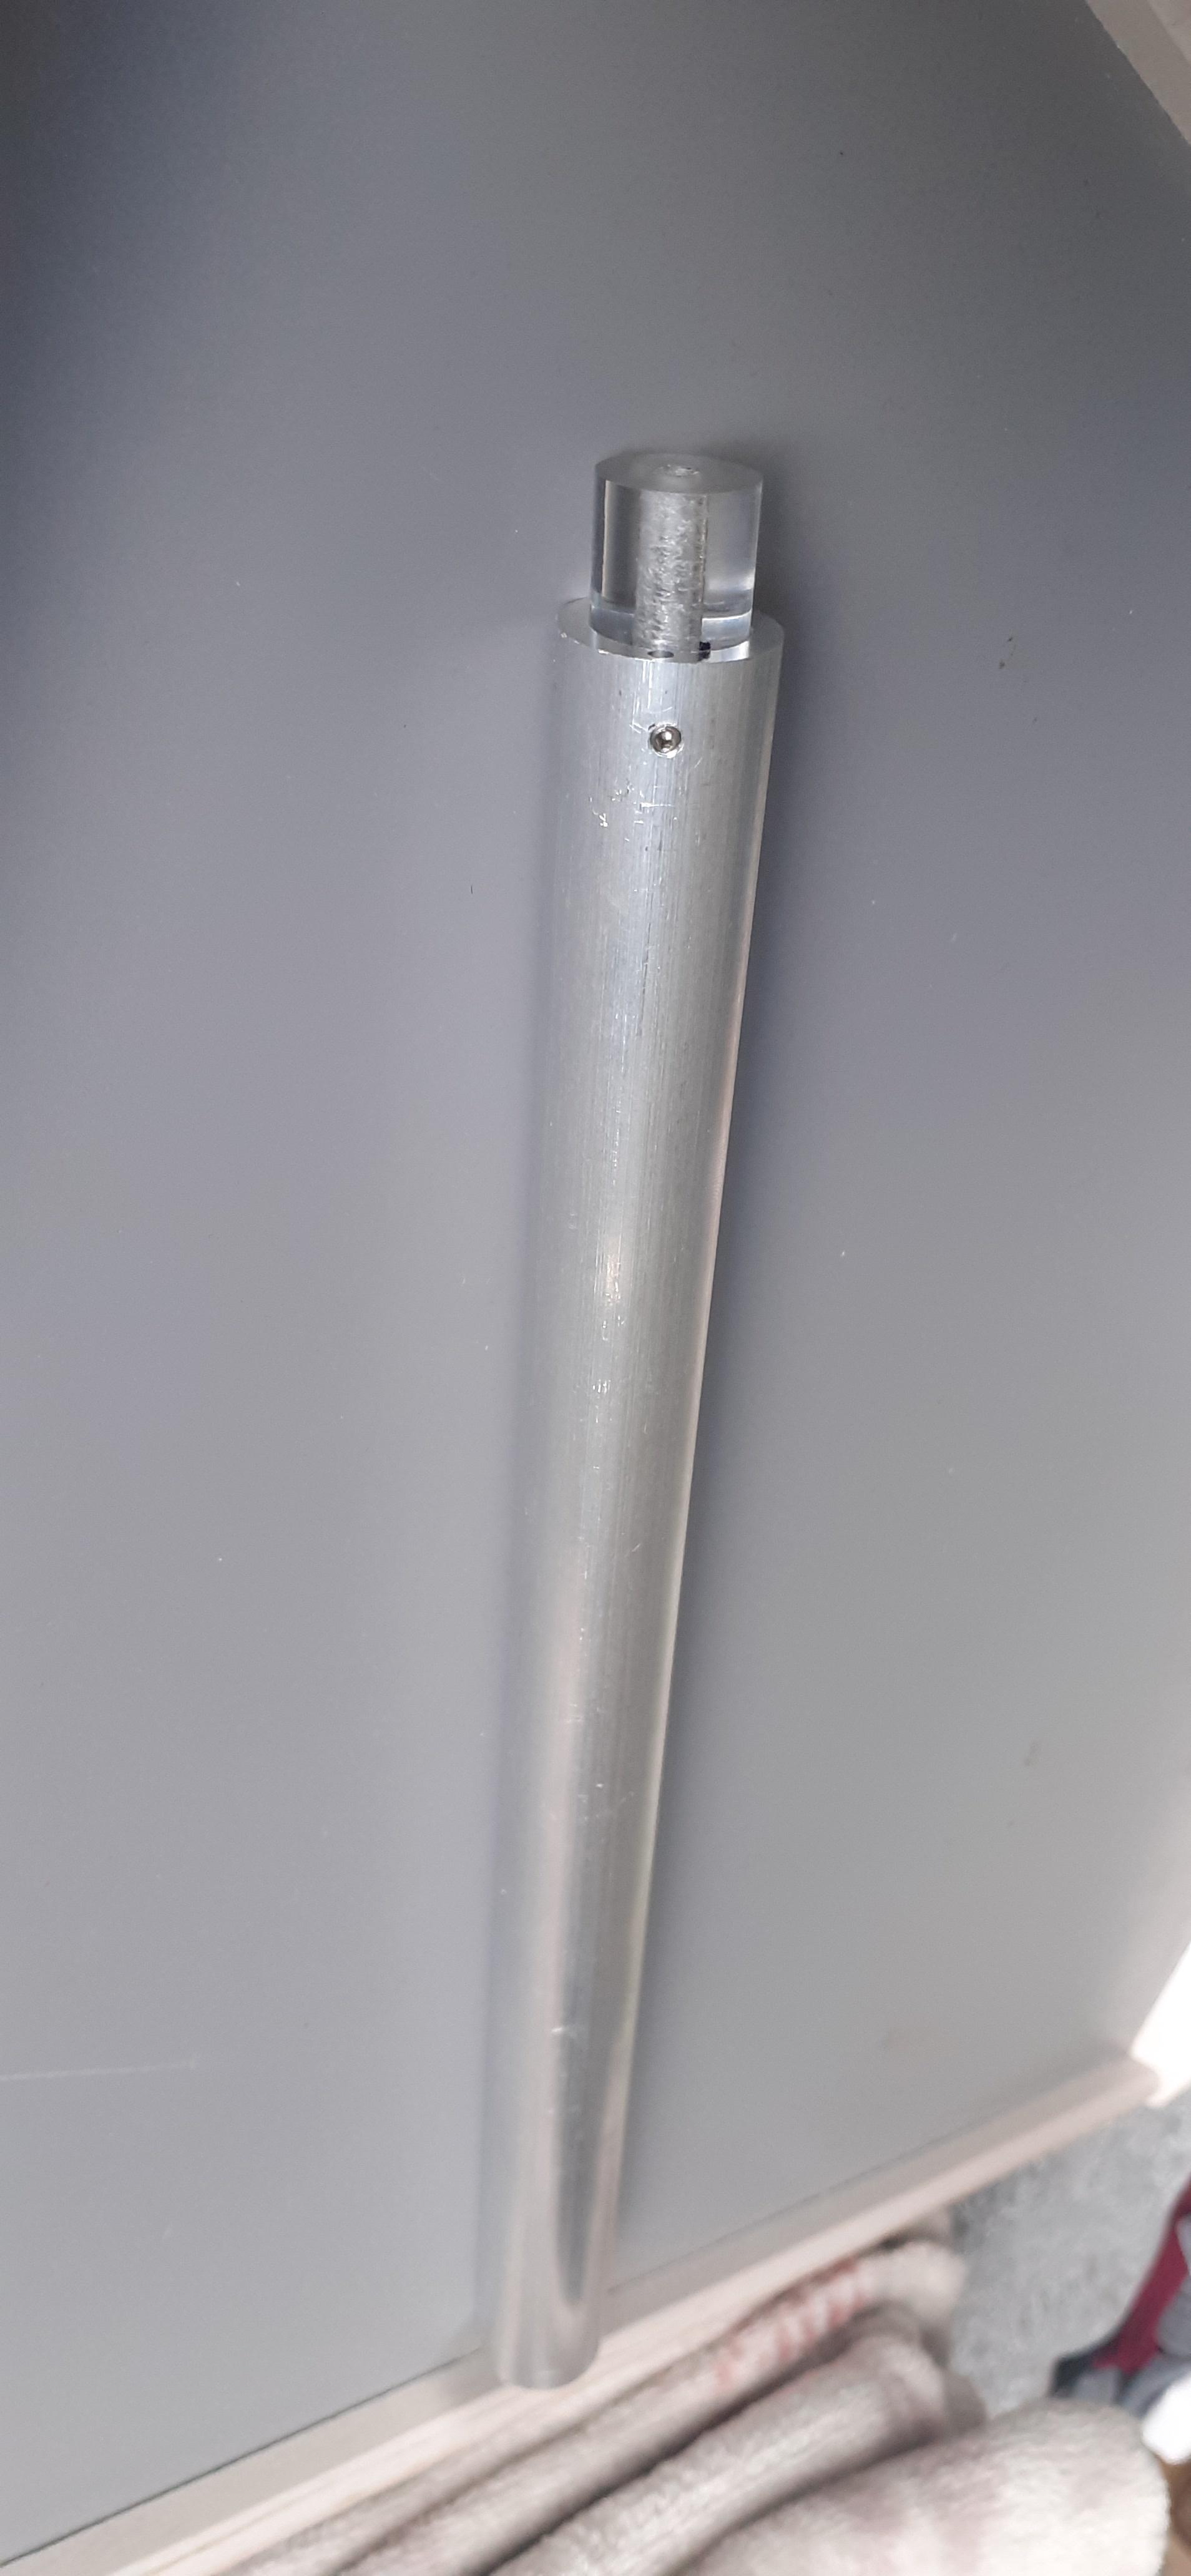
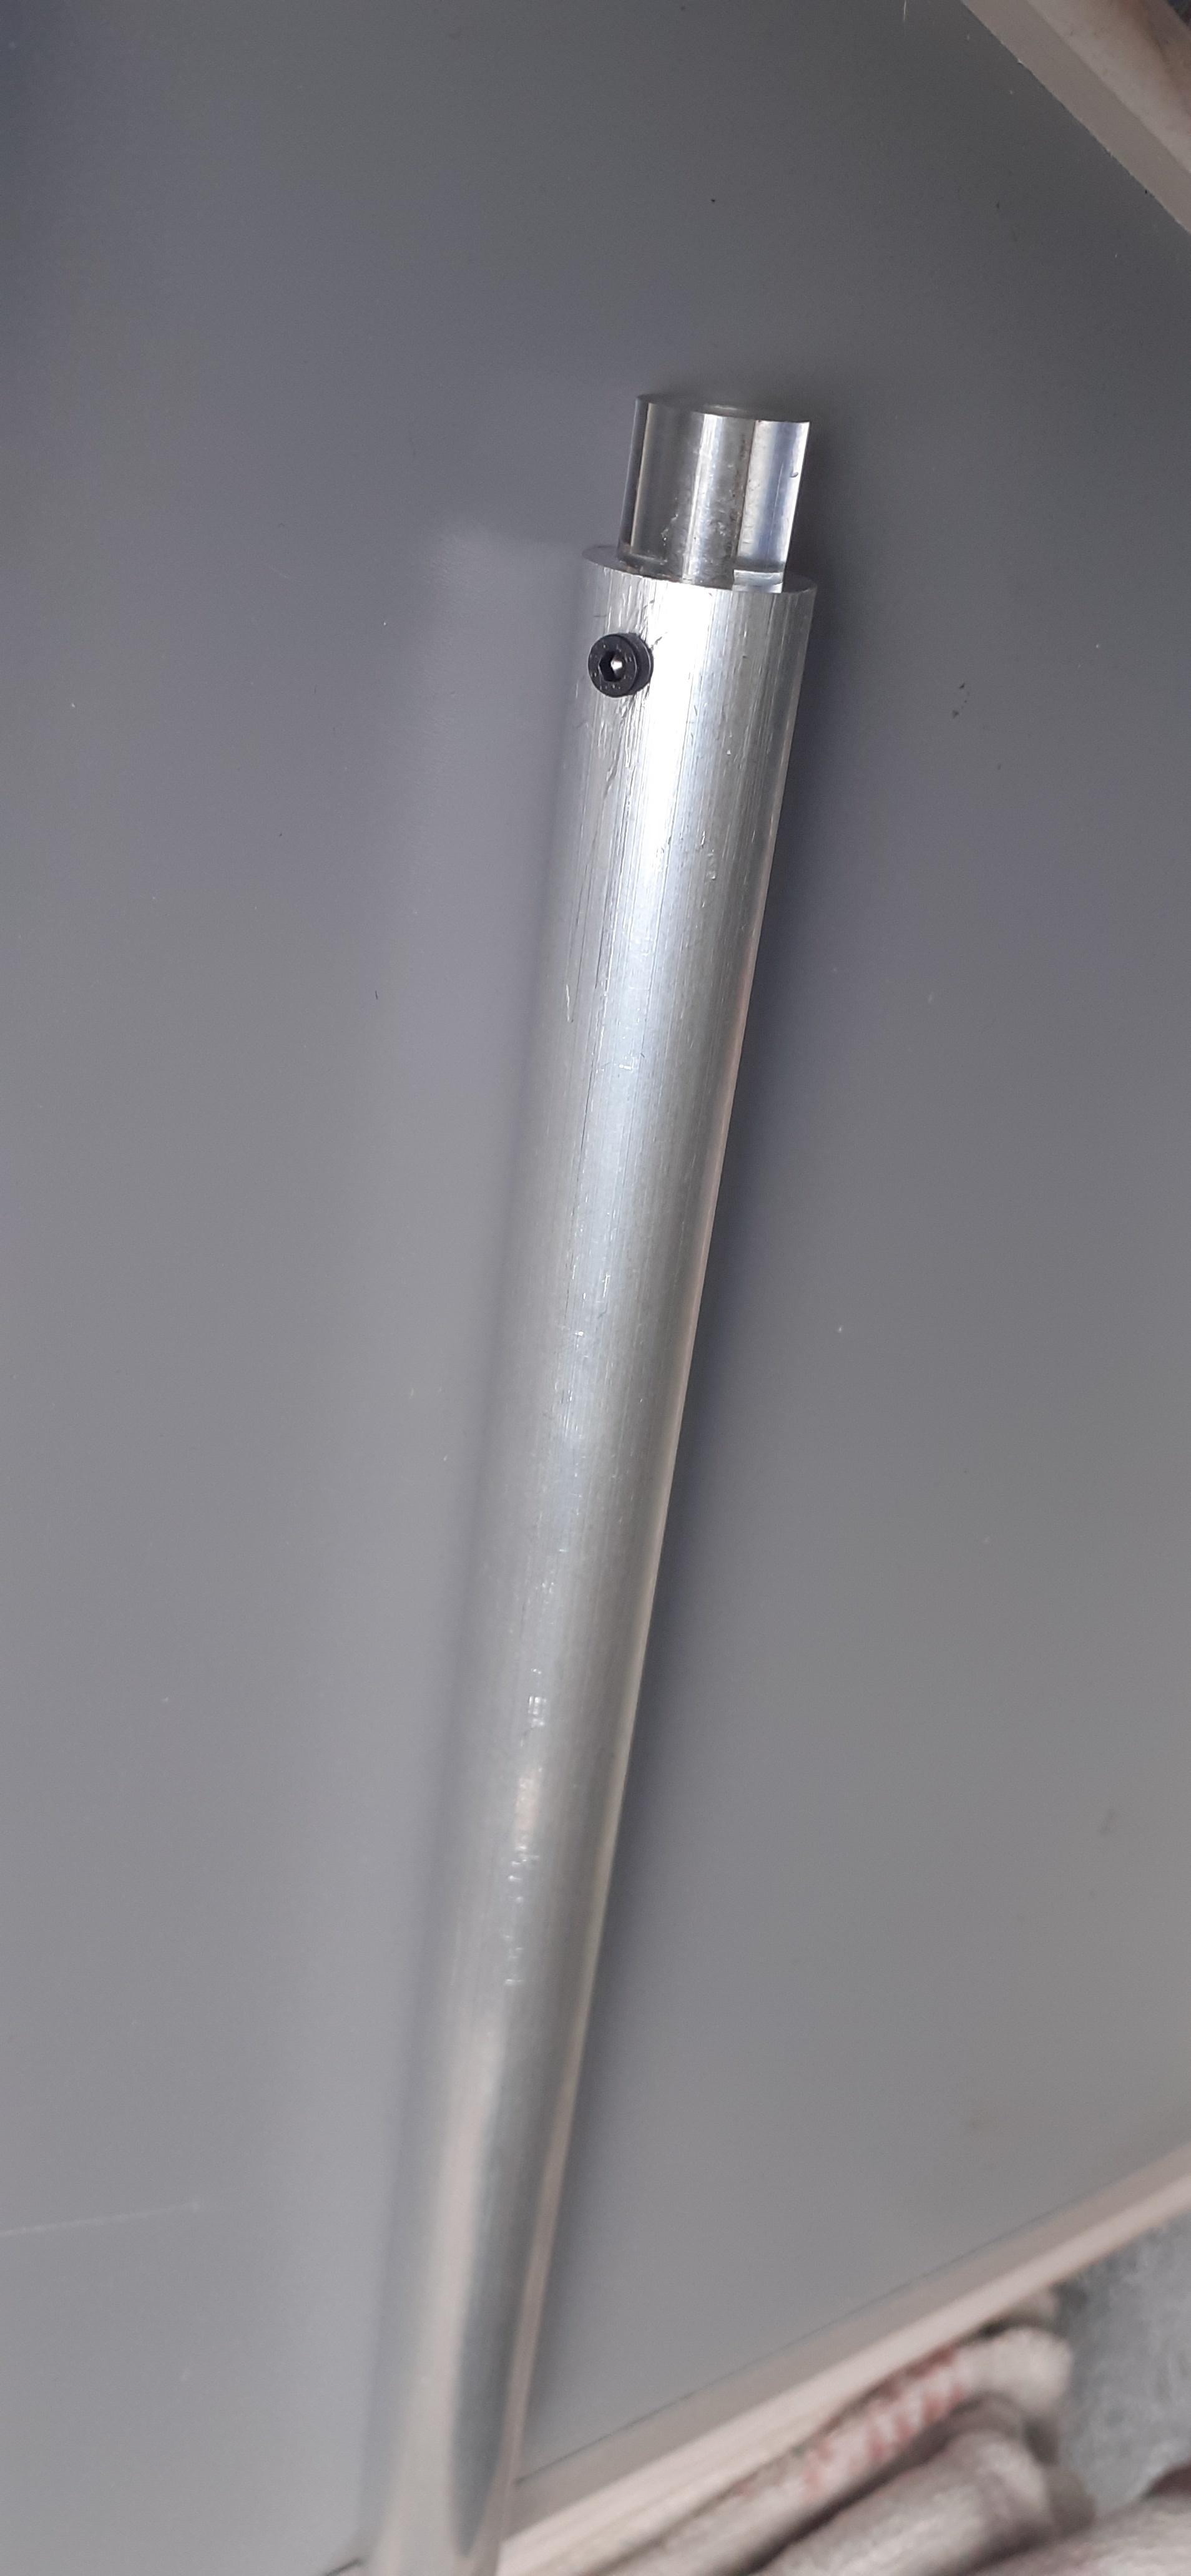
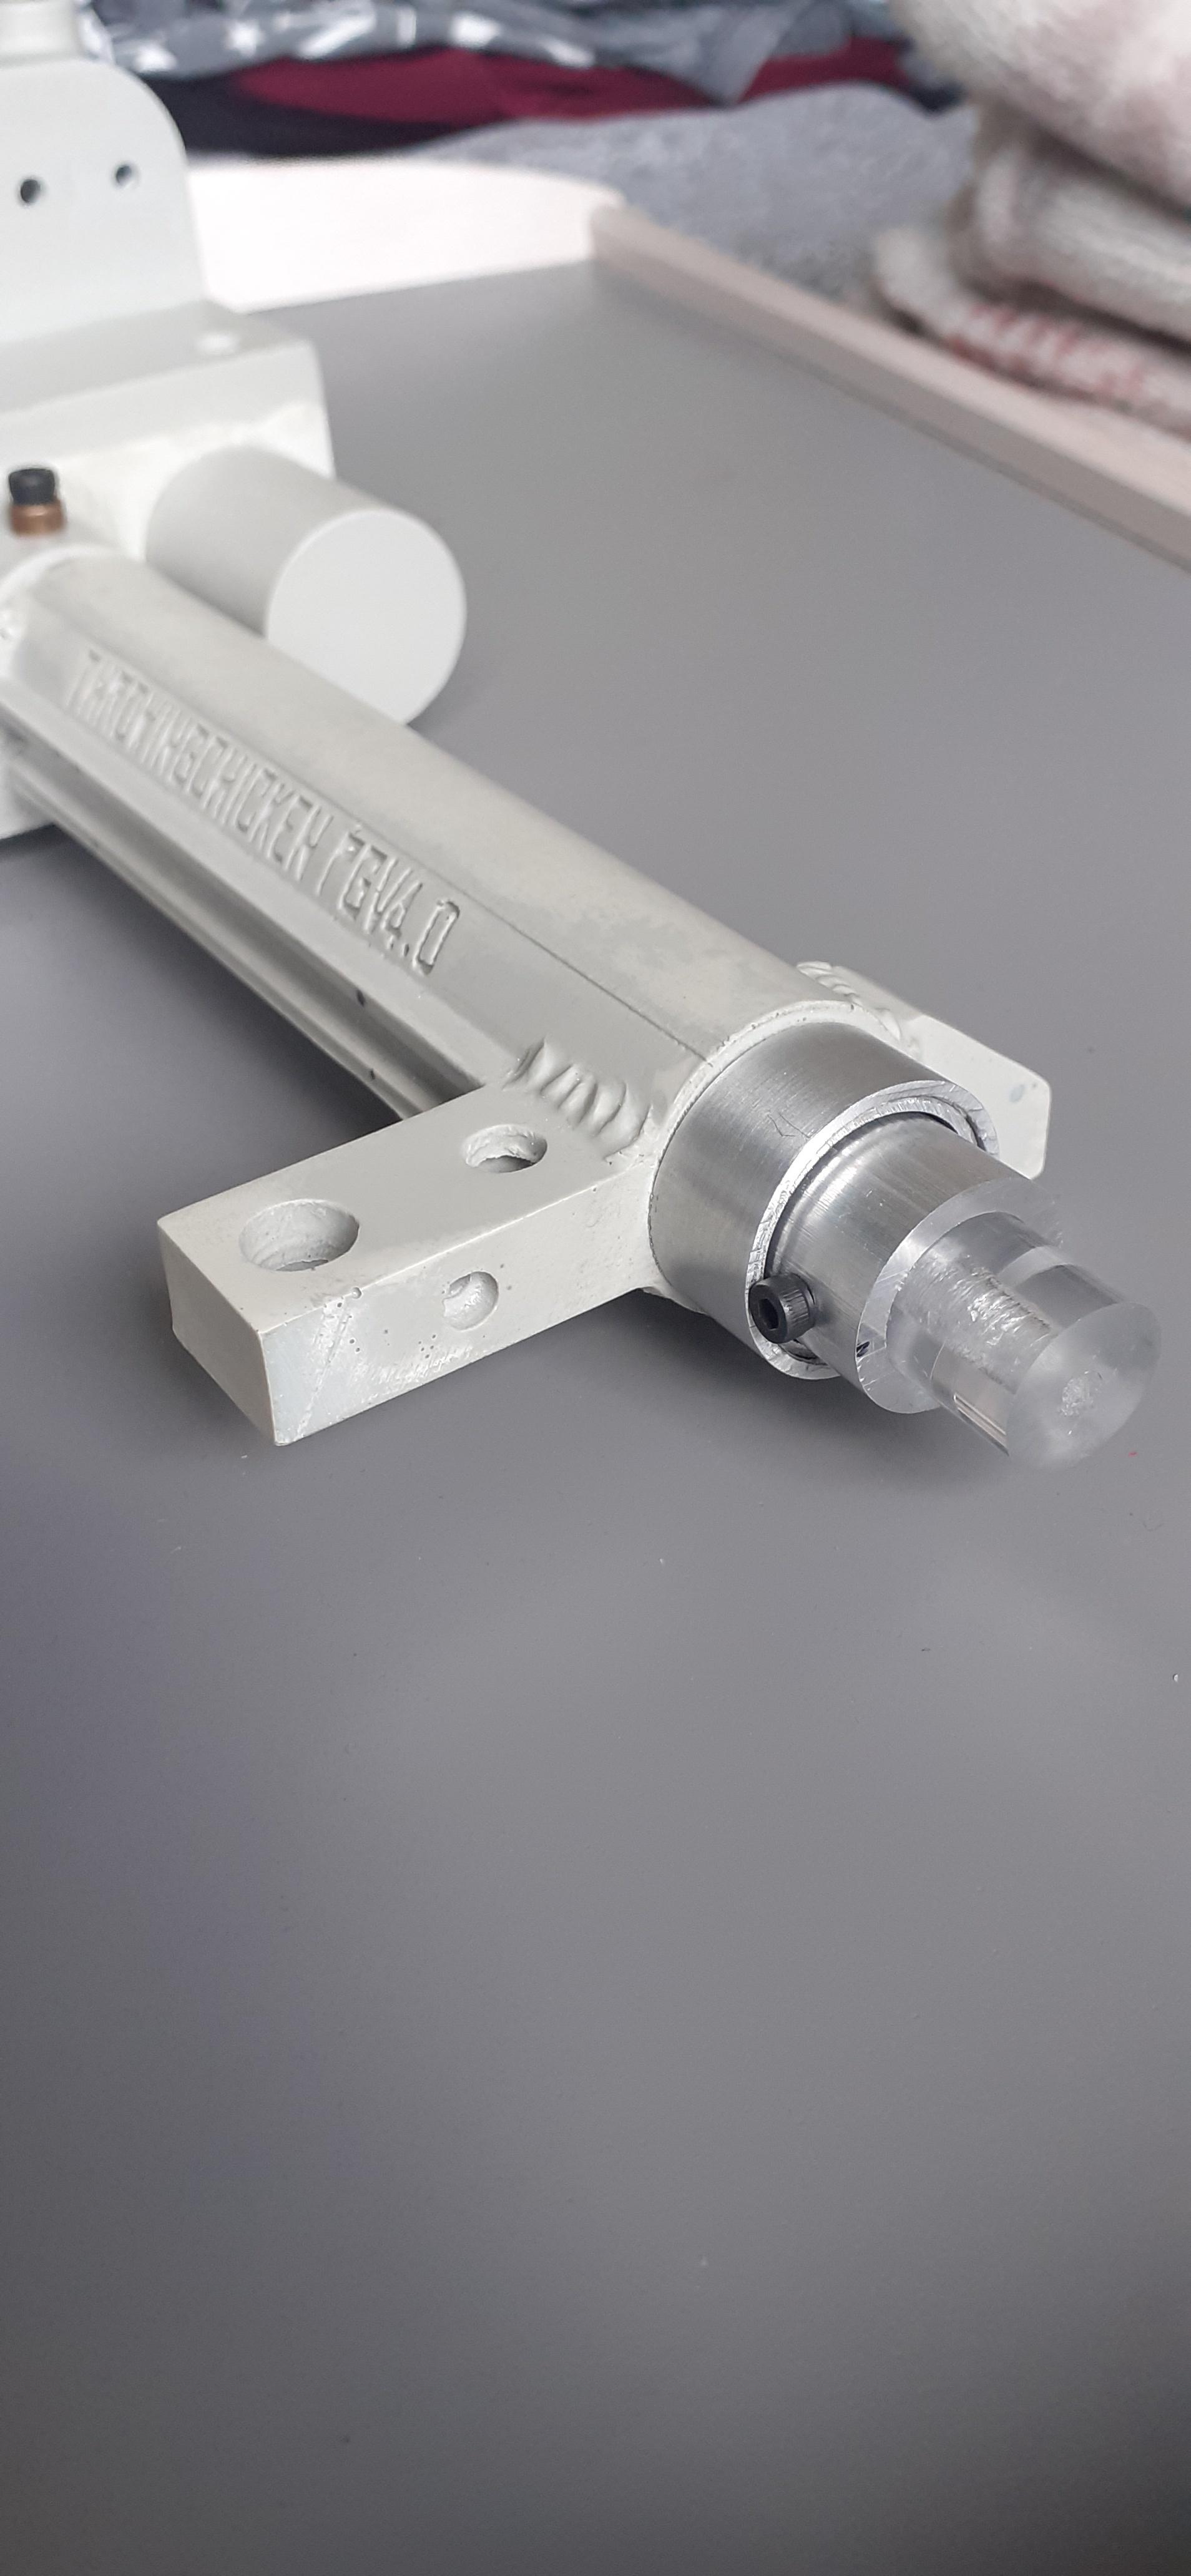
Okay, so here is my attempt at a Throwingchicken V4 compatible pop mech.
So once I got my clear acrylic tube, I got it drilled and tapped onto the end of the pop tube dowel, using m3 grub screws again. A little side note the clear acrylic tube from the shop has such crisp lines, top notch.

Next I took the “inner master tube” that came with TC’s kit; attached it to the gun body and lined up the pop tube along side to see where the guide slot would need to go. From references I found that, fully extended, the bottom frosted part should be level with the end of the barrel and for the length protruding when fully closed I eyeballed more references, although it was harder without having the trigger tip yet. So after marking the locations for either end of the slot I chain drilled a straight line between the two and filed the rest flat for a snug fit for the 6mm wide bolt head. After a test fit it looks fairly close to me.
Once that was sorted I cut off the excess length from the pop tube, drilled and tapped for a m3 bolt to line up where the pop catch can latch onto, and also cut 4" lengthways similar to Freekygeekys setup to allow the pop tube to miss the barrel lock bolt.
One problem I have encountered is the pop catch I got from freekygeeky doesnt seem to lock onto the 1/8" lever when I screw the small bolt in. It seems to not thread slightly into the hole where the lever goes through as I would assume it should?. Not sure of what to do to fix the catch to the lever as it can still spin freely from the lever even when the bolt is fully screwed in?
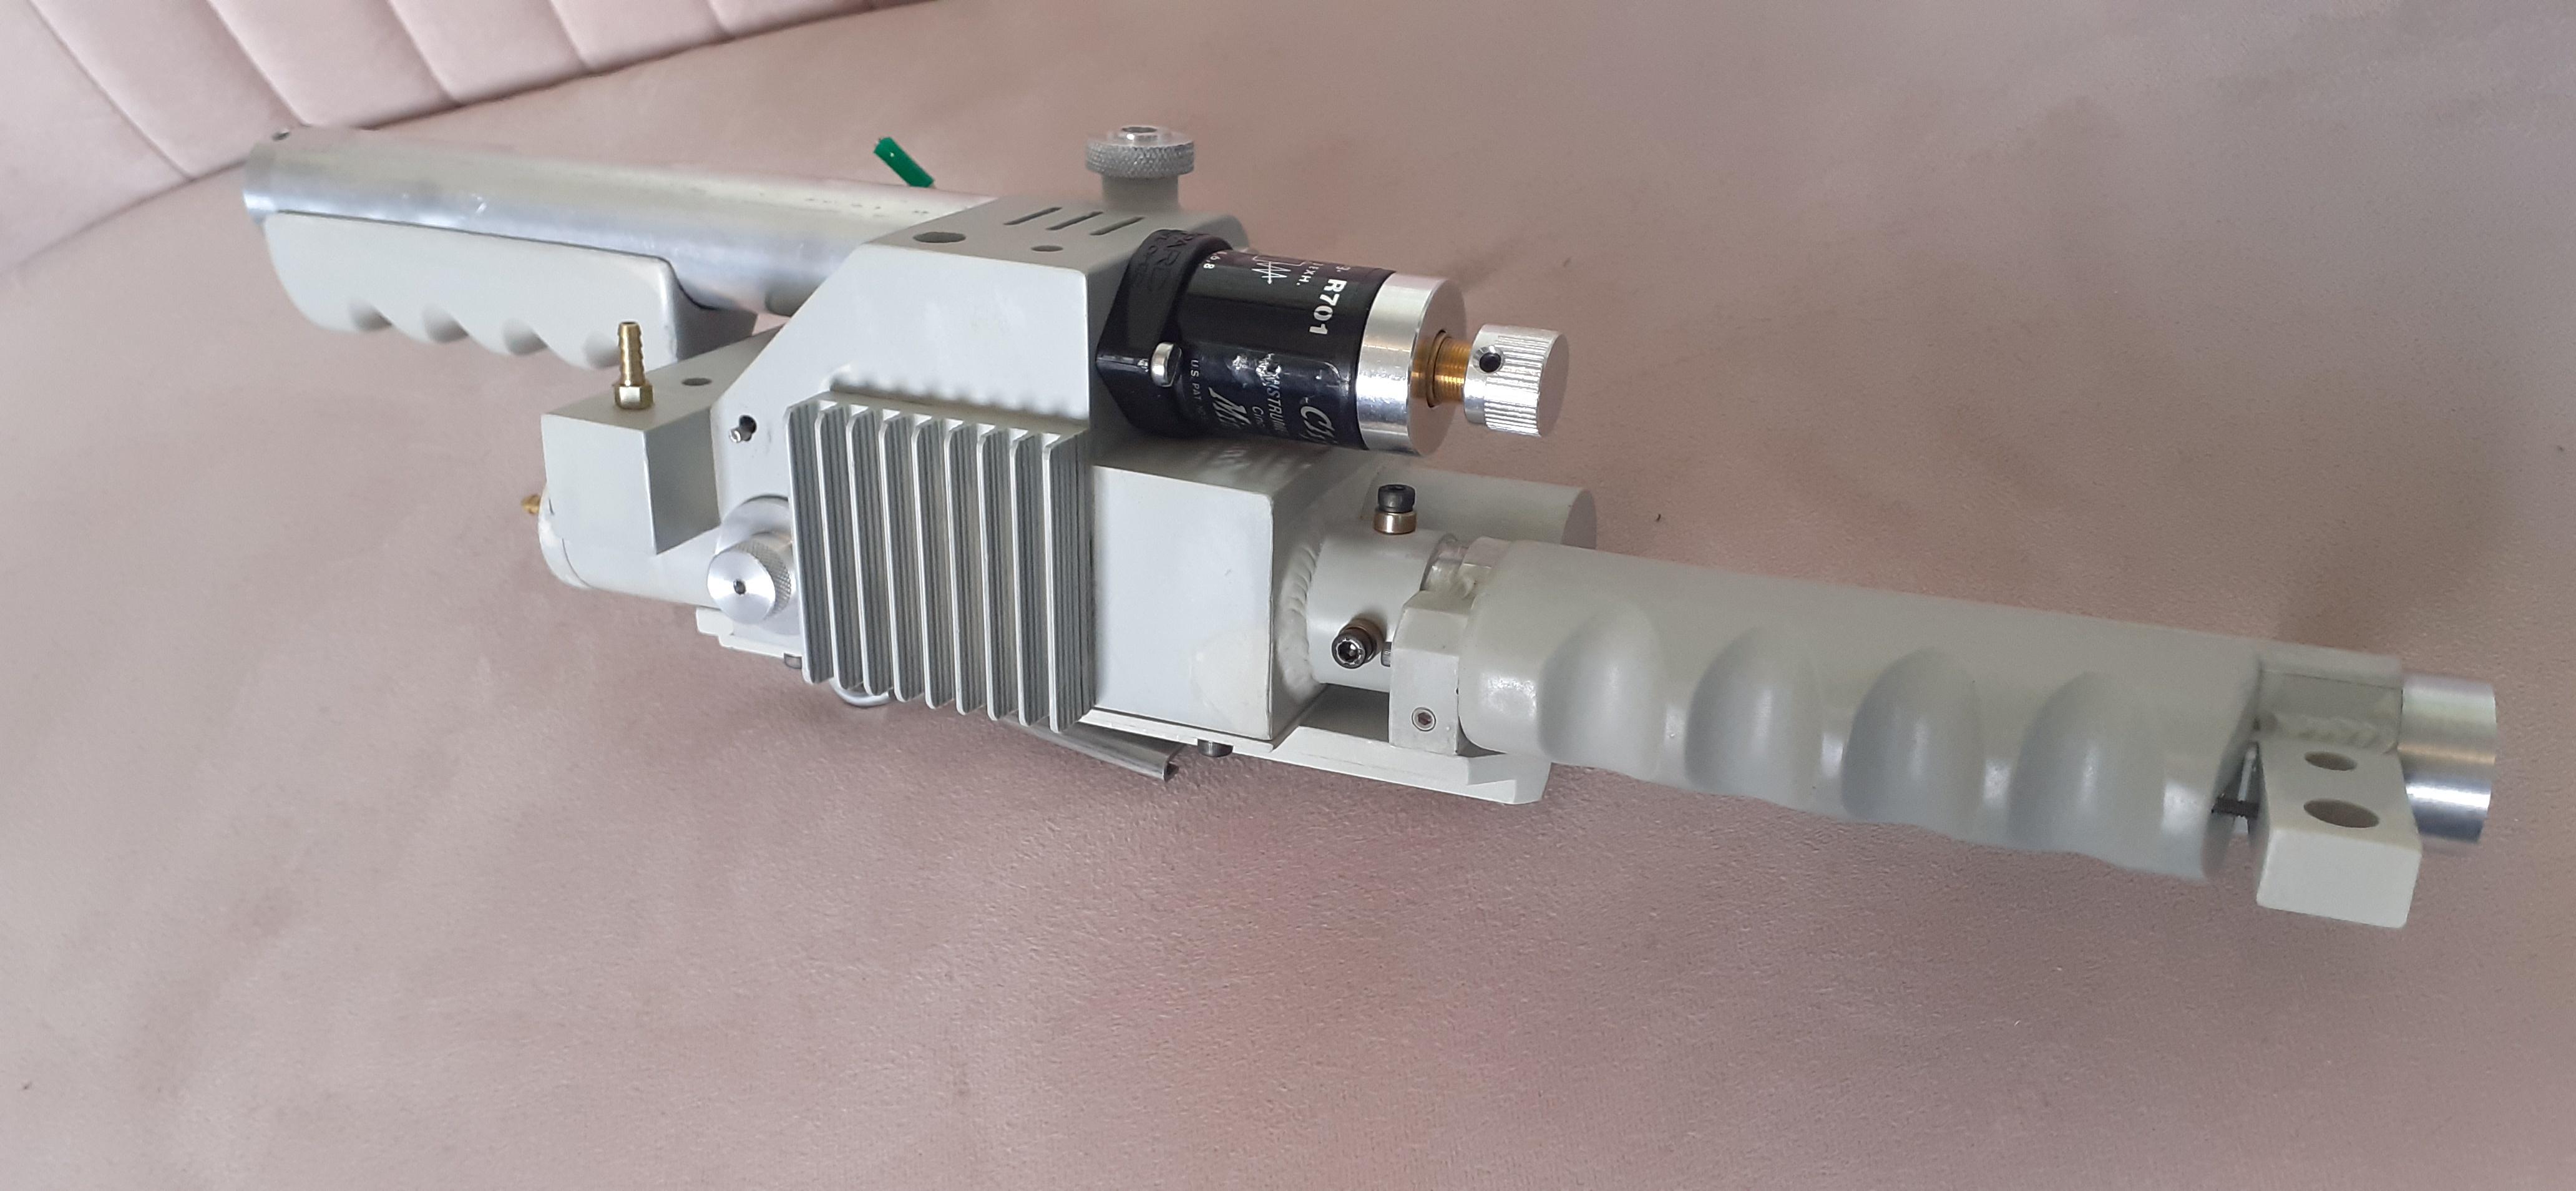
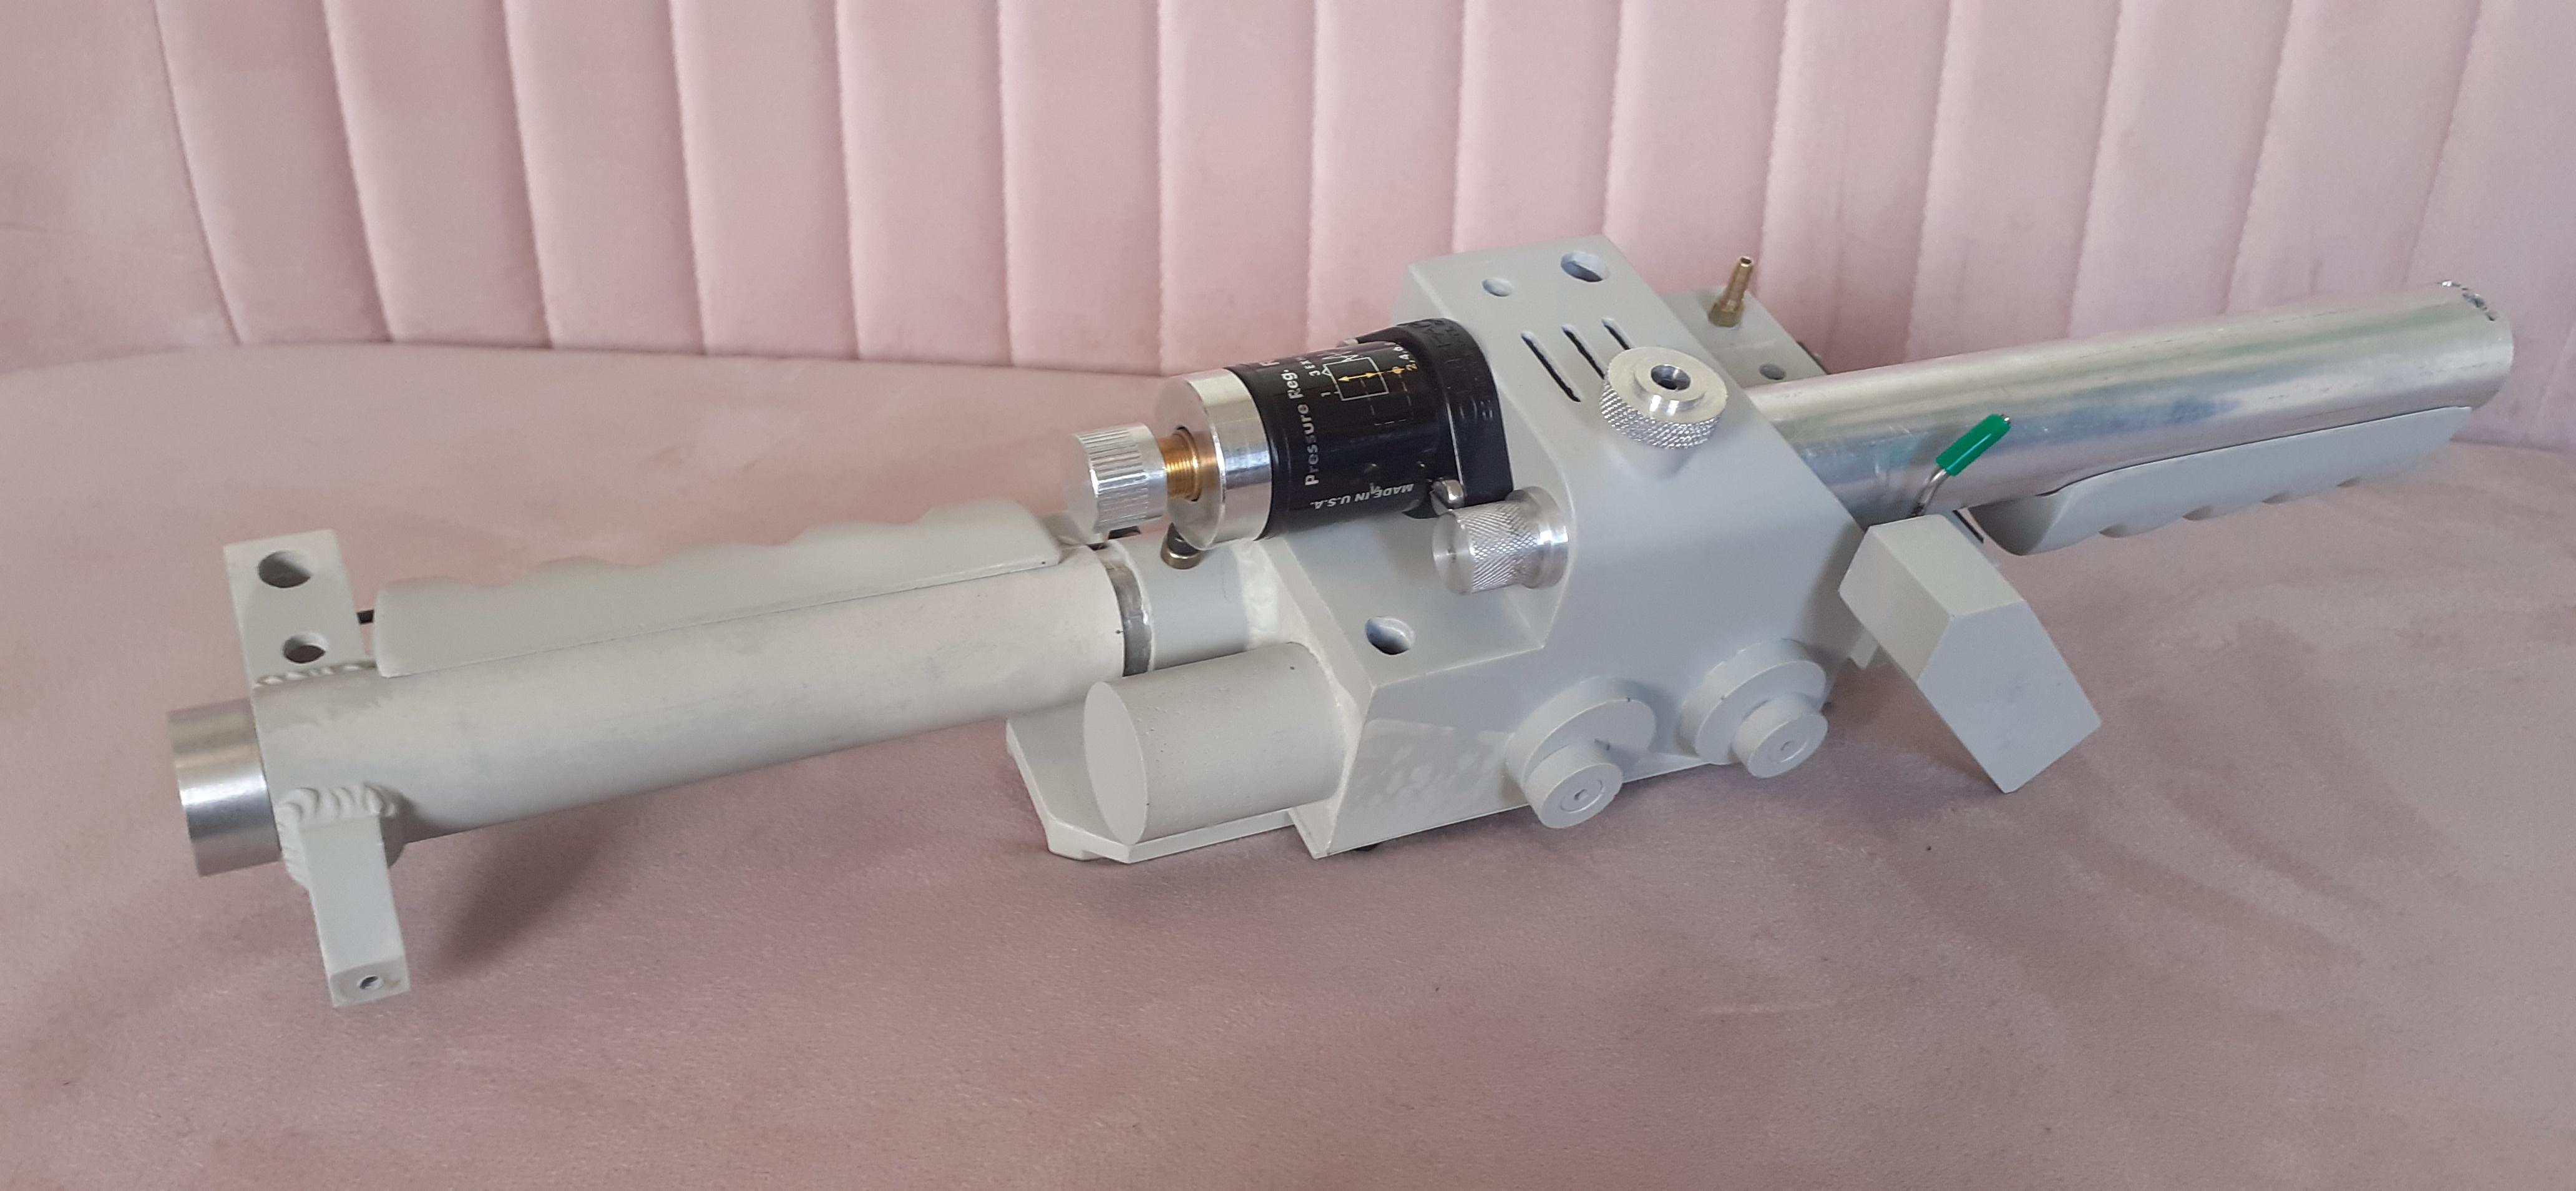
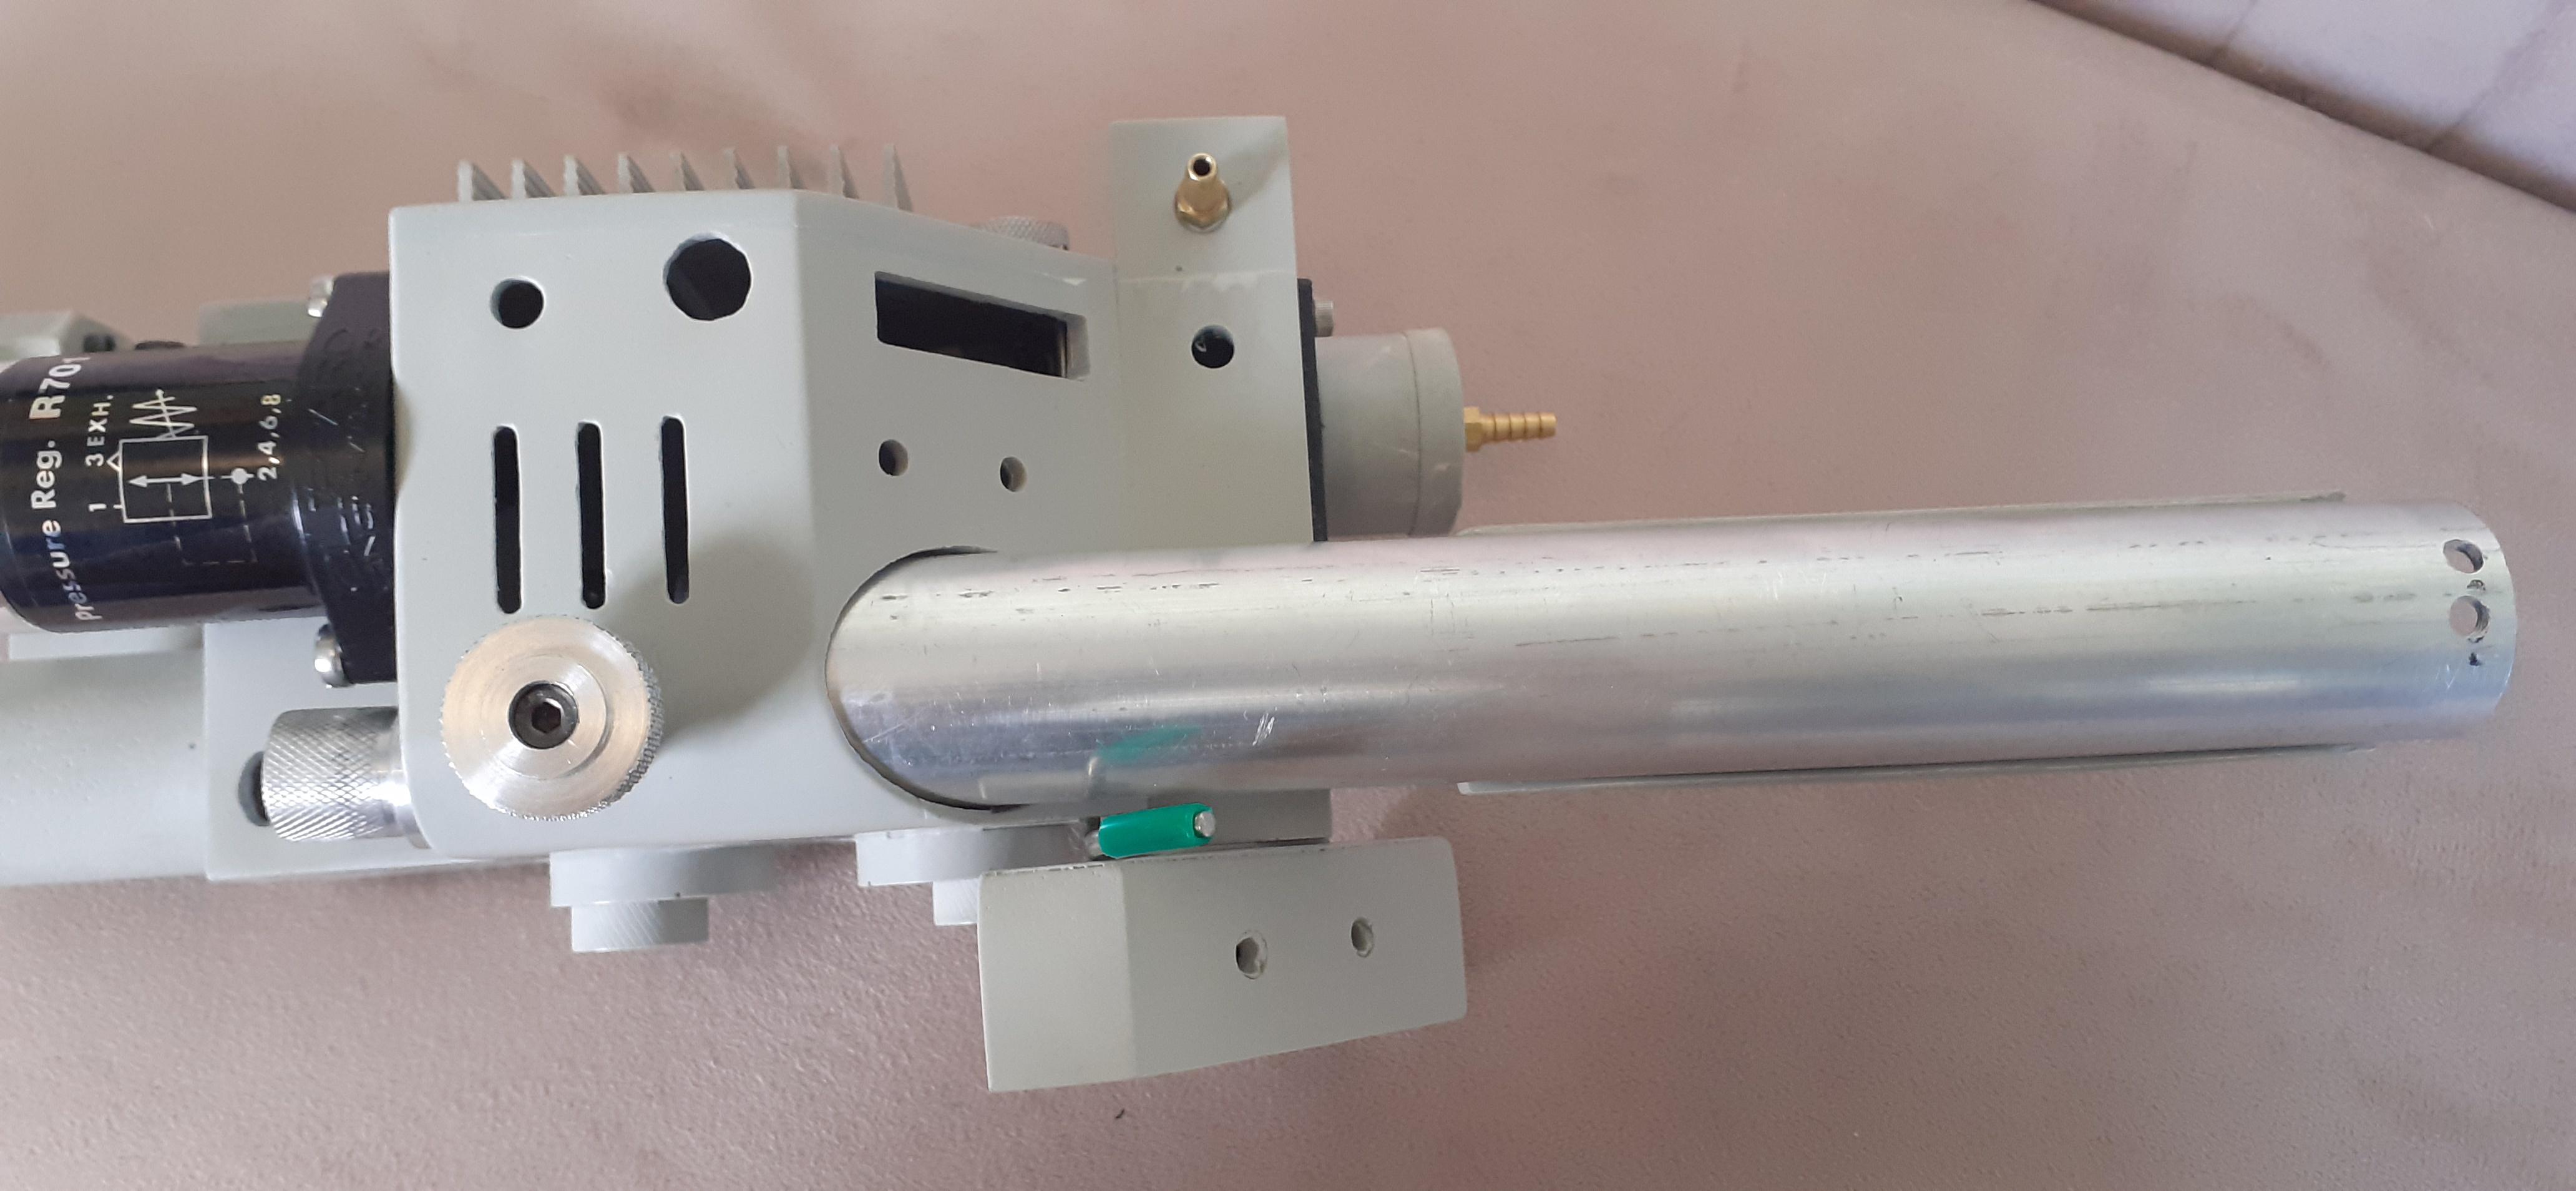
While I was at it, I thought I would put as much of the thrower back together as I could, so here’s where I’m at right now…