I would message RJ about that catch, it should definitely feed into the lever hole so that it locks in and doesn’t flow freely. I have the same steel catch and it is visible in that hole and locks to the lever.
Coming along great beyond that though, thrower is a beauty!
I get it, I’m sure it’s taking forever to get things across the pond now. If it makes you any feel better I had to file my steel catch for probably close to 40 minutes to get it to the point where it would catch the screw on the pop mech. The aluminum one I had was dead on, but the steel one was cut just a bit short. So while yours won’t screw in, mine wouldn’t catch. Seems like the steel catches may still need a little tweaking on RJ’s side.
Ah yes, I’m also part of the “40 minute filing club”. Such a minor thing but is hell on your hands. Apart from this one problem the rest of RJ’s stuff I’ve ordered has been top notch.
Ah so it looks like there’s a common issue here. That honestly surprises me because I’ve never had a fitment issue with anything from RJ, other than maybe some incredibly minor filing to get a particular fit or detail that I wanted. But yea this catch really needed some work, and it took a lot of filing and then testing and filing again before I finally got it where I wanted it. I could have just used the aluminum one but I like the feel of the steel one better so in the end it was worth it.
I saw on the pop mech install tutorial on his website that some filing might be needed so I was kind of prepared ^^
I am still definitely going to go with him for my next full thrower though, it would be a lot less faff having a proper aluminium wand rather than resin.
Hey guys, exciting times as my wand light kit was delivered the other day!
Two questions; what reflector is best to use to mount the vent light led in under the vent slits? I assume a square one but I’m not sure where to find the right size and shape.
Also what cables will I need to wire up my speaker to the soundboard (it’s the gbfans shop speaker)
The screen used reflectors were round, not square Dan.aka previously recommended a “metal replacement cone for a Fulton MX-991/U angle head torch” to me for that, but they seem to be hard to come by in the UK, so I think any similar military torch reflector would probably work ok. I picked a whole torch up for a fiver a on eBay a couple of years ago.
That’s the torch I have, I’ll check how the reflector lines up against the vent slots later for you. You should be able to just cut off the bit sticking out of the reflector, that’s part of where the bulb mounts, and then jerry rig something for your wand light LED.
Looks like it’ll be absolutely fine. You might need to square off one side so it sits centrally under the vent, but the diameter is about 39mm on the inner edge, so more than enough for the vent which is about 23mm wide on my BoK resin wand
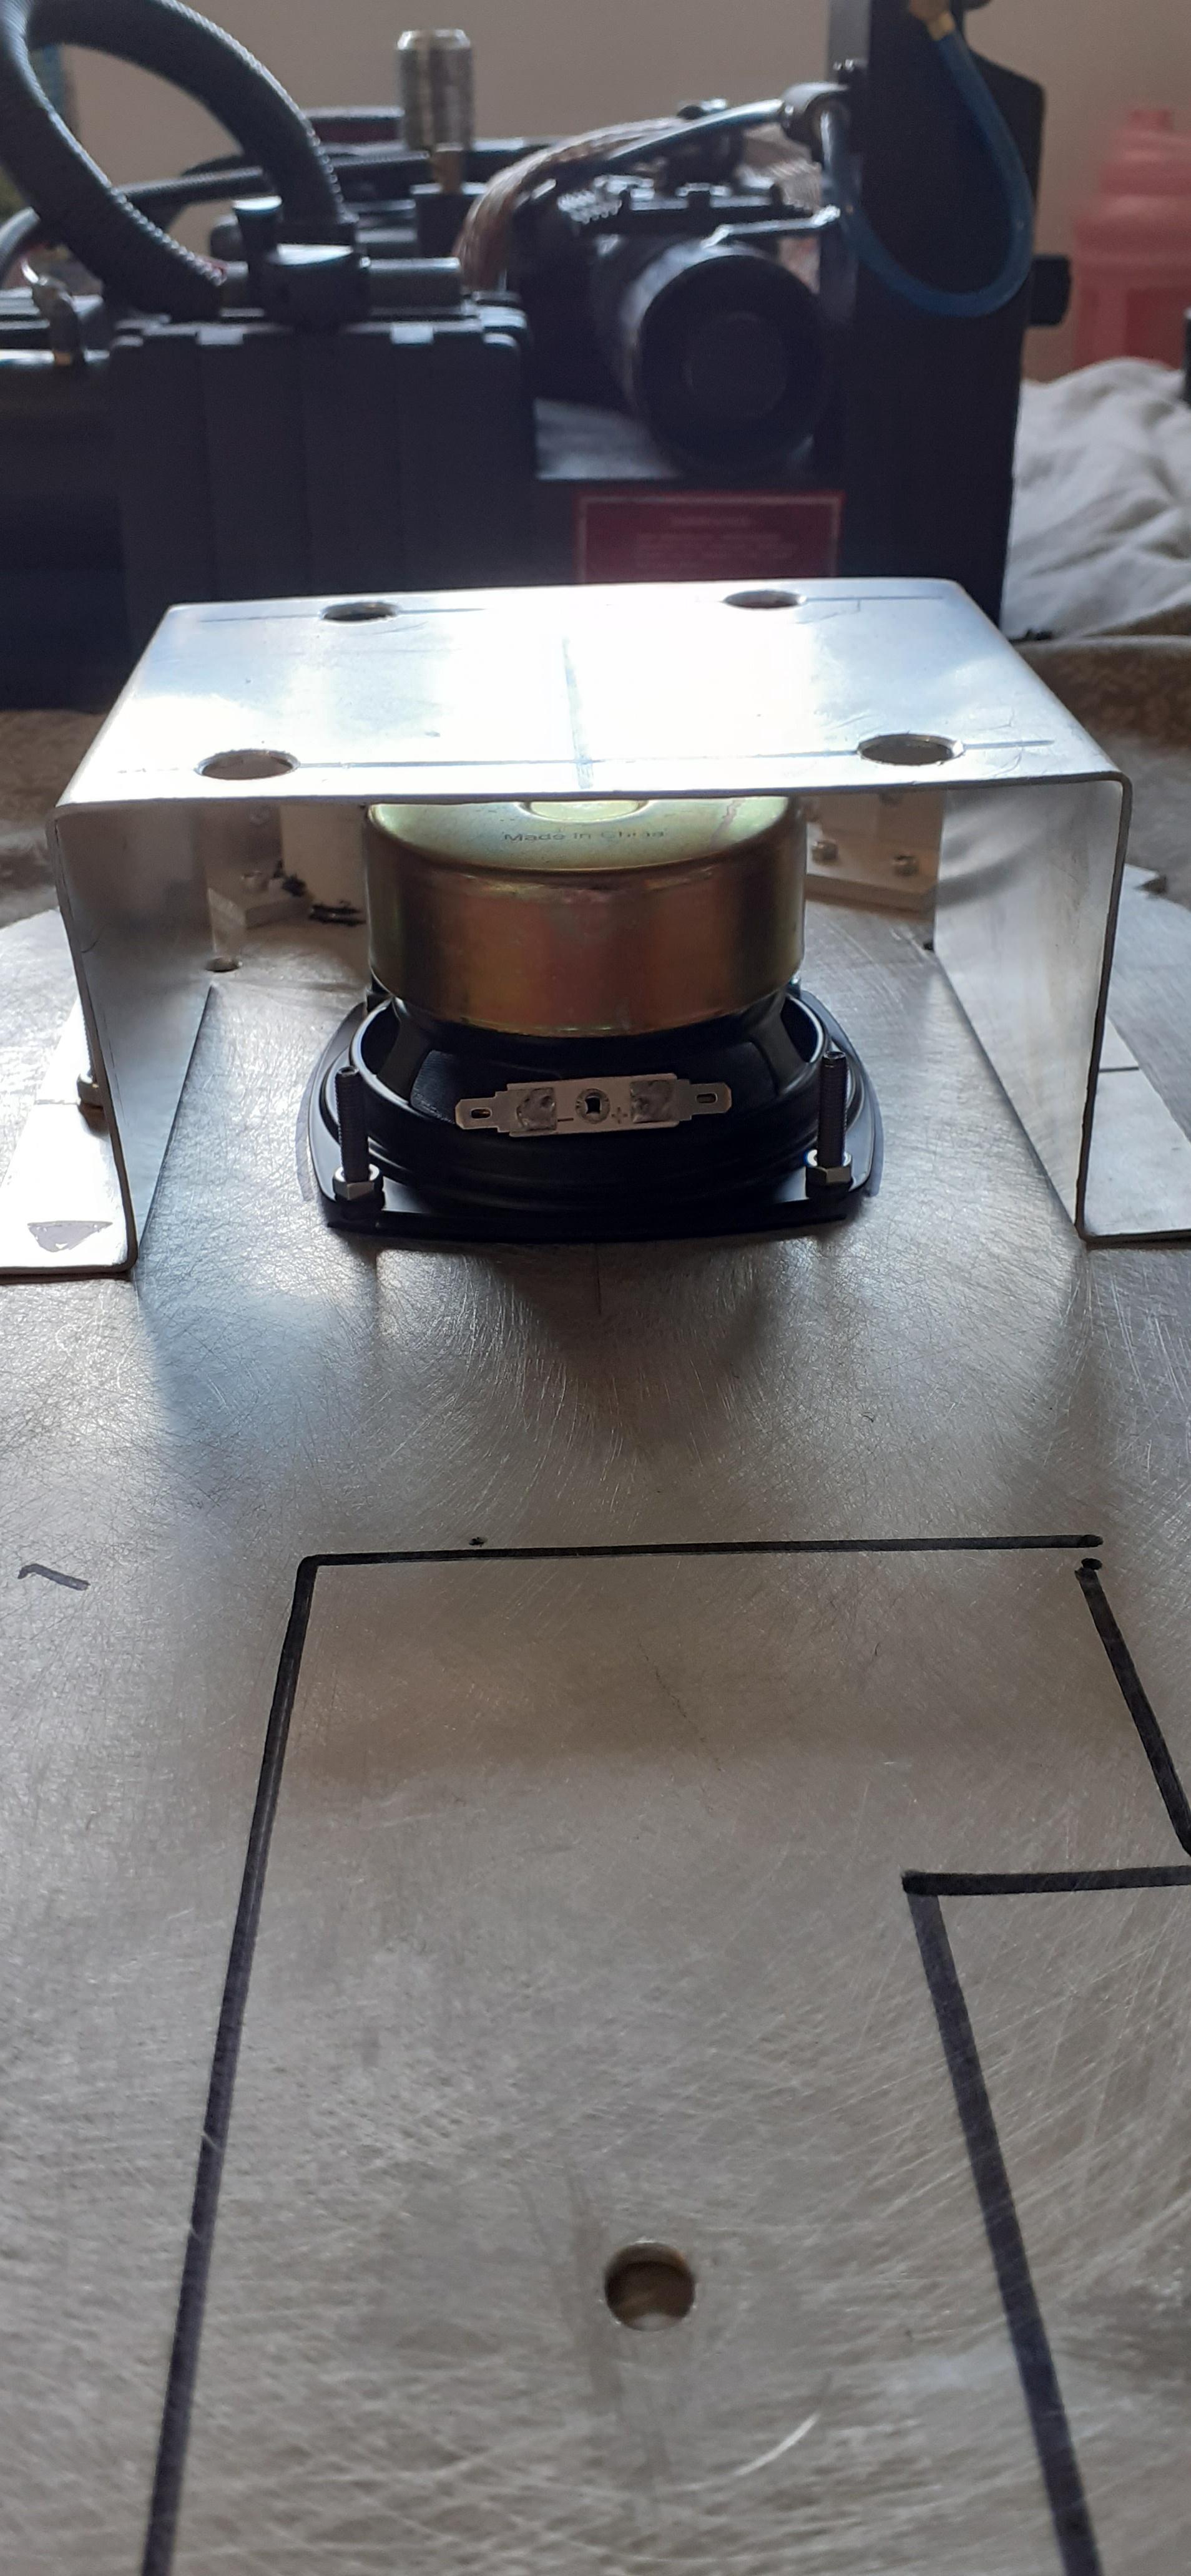
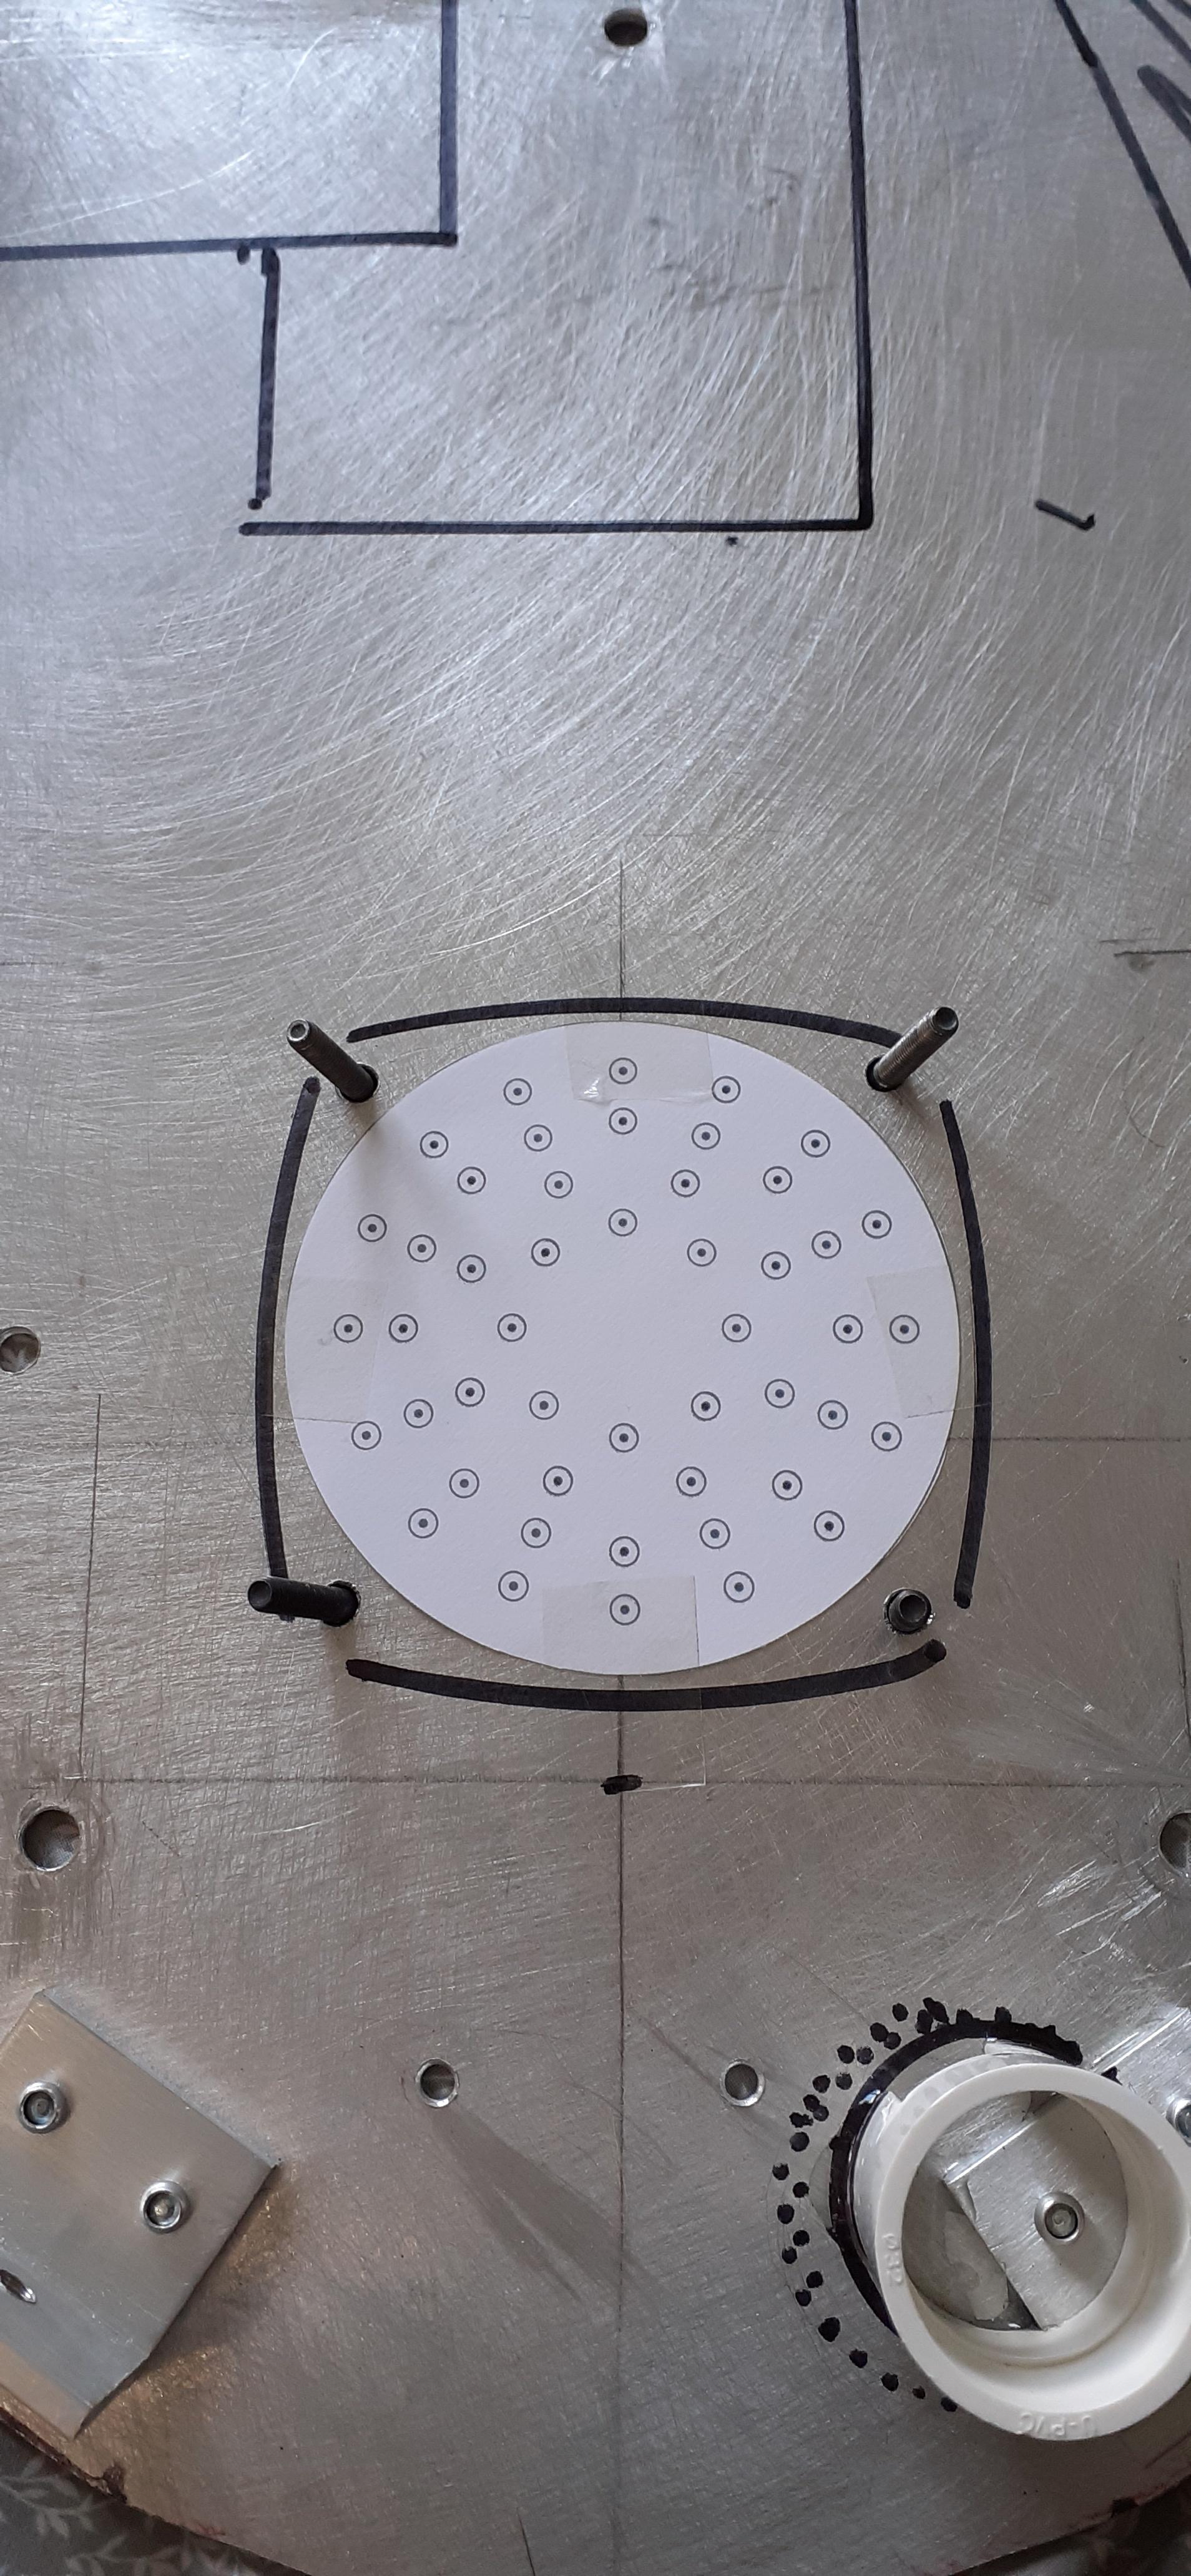
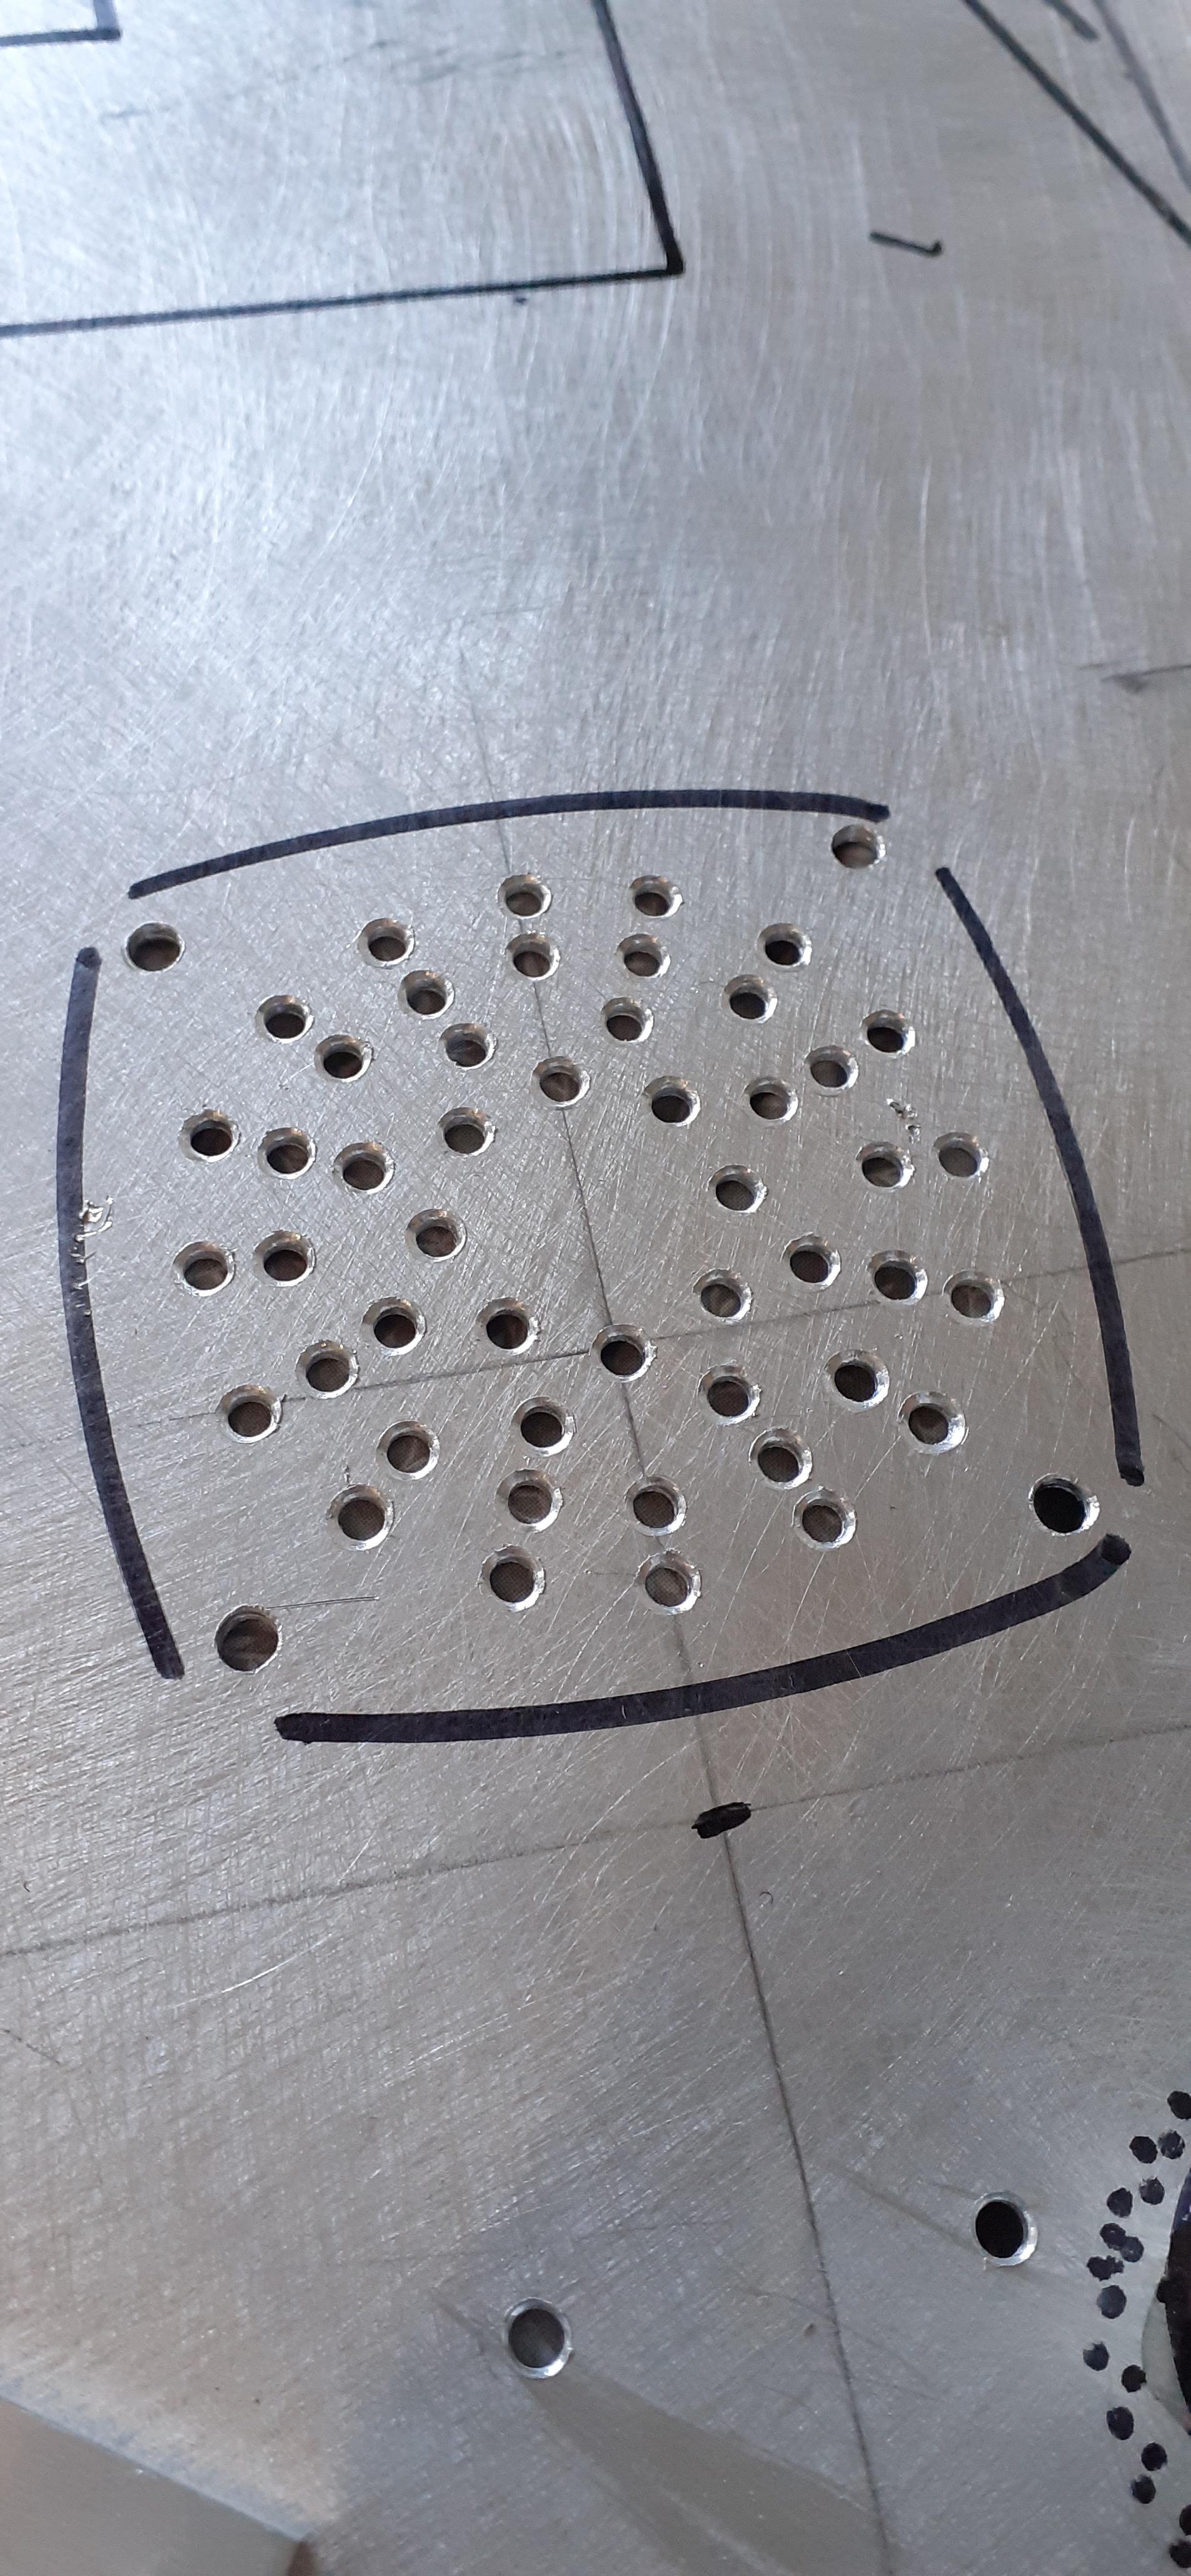
Next was the oh so joyous task of drilling a speaker grill, using Alan Hawkins 4" speaker template. I traced the outline of the speaker while bolted in and used that to position the template. Taped in place, I used a punch to mark all the holes, drilled them out (pilot first then 4.5mm) then finished them off using a countersink bit to deburr them all, not the most exciting hour and a half of my life but it looks pretty good…
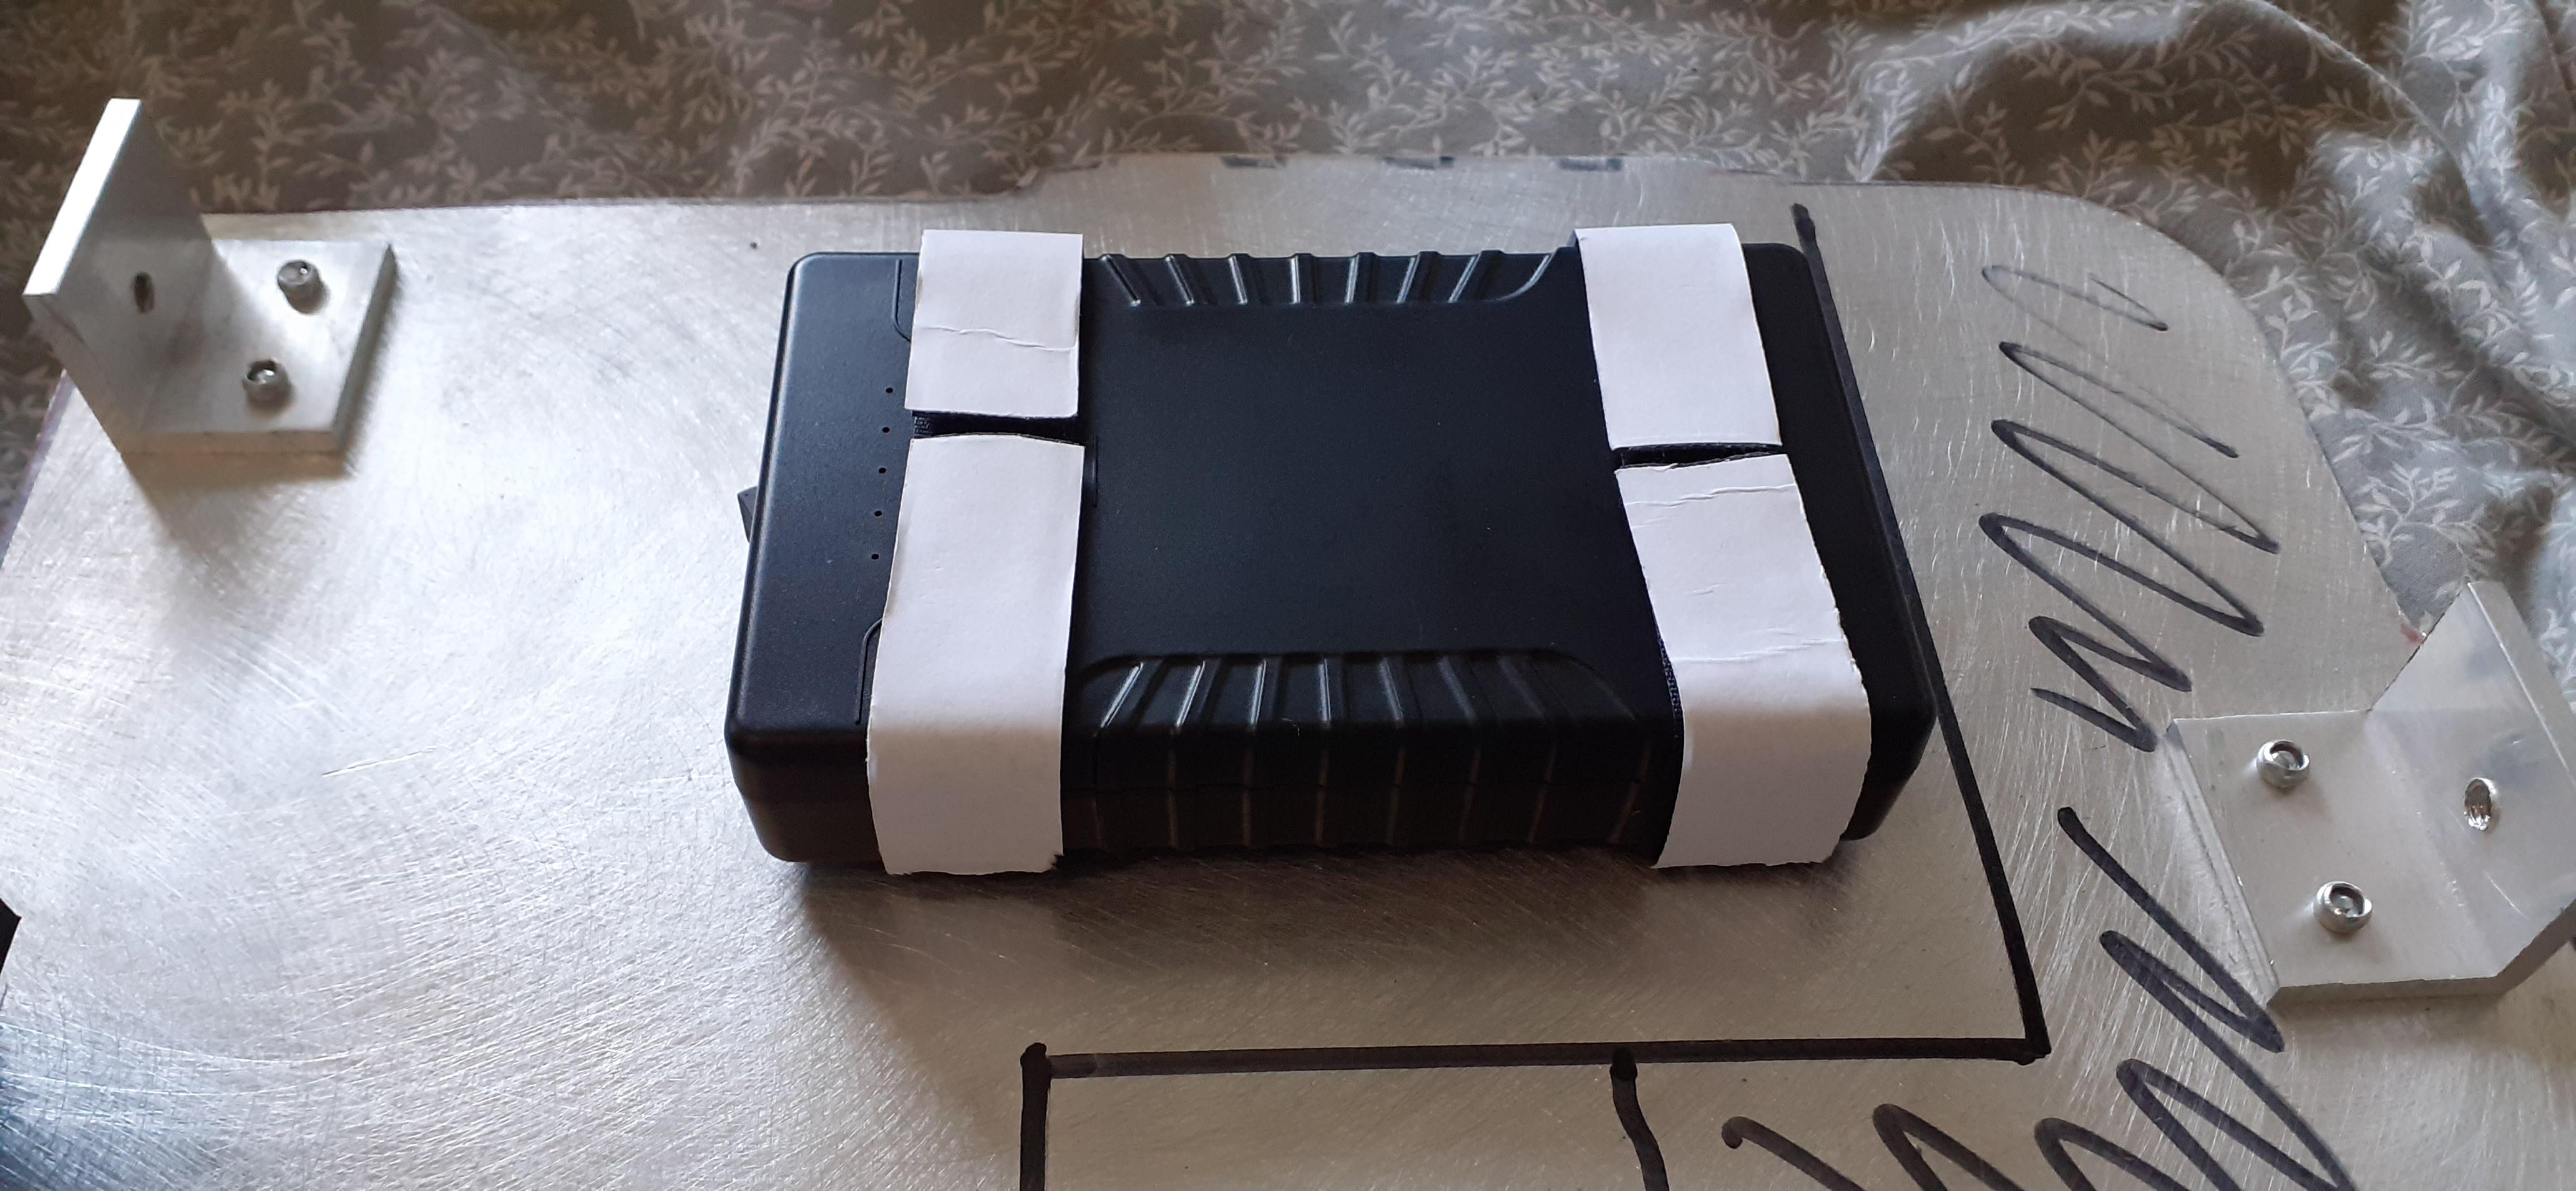
While I was at it, I sorted out mounting my Talentcell inside. The simplest way is usually the best so I used some velcro strips glued onto the mobo and battery to wrap around the battery, which holds it nice and firm but can be removed if needed.
Are you talking about the gauge of speaker wire? I just used some old speaker wire I had laying around, honestly this stuff probably came from my dad which means it’s from the 80/90’s and it works fine. It’s definitely a thicker gauge versus what came with my speakers but works great.
Ah right, it’s more so the end of the wire that connects to the speaker + and - contacts, is there a specific connector end for the wire or is it just the case of wrapping the copper wire around the contacts?
I just wrapped mine around the speaker connections tight and then put heat shrink on them. On my spirit build I just wrapped them and didn’t even cover them. If you wrap them nice and tight you shouldn’t have issues. You can also buy connectors that you crimp the wire with to use, just depends on how you want to do it. Then the other ends just slot into the terminals on the GBFans board.
So I finished up the last few bits on the shell side of things;
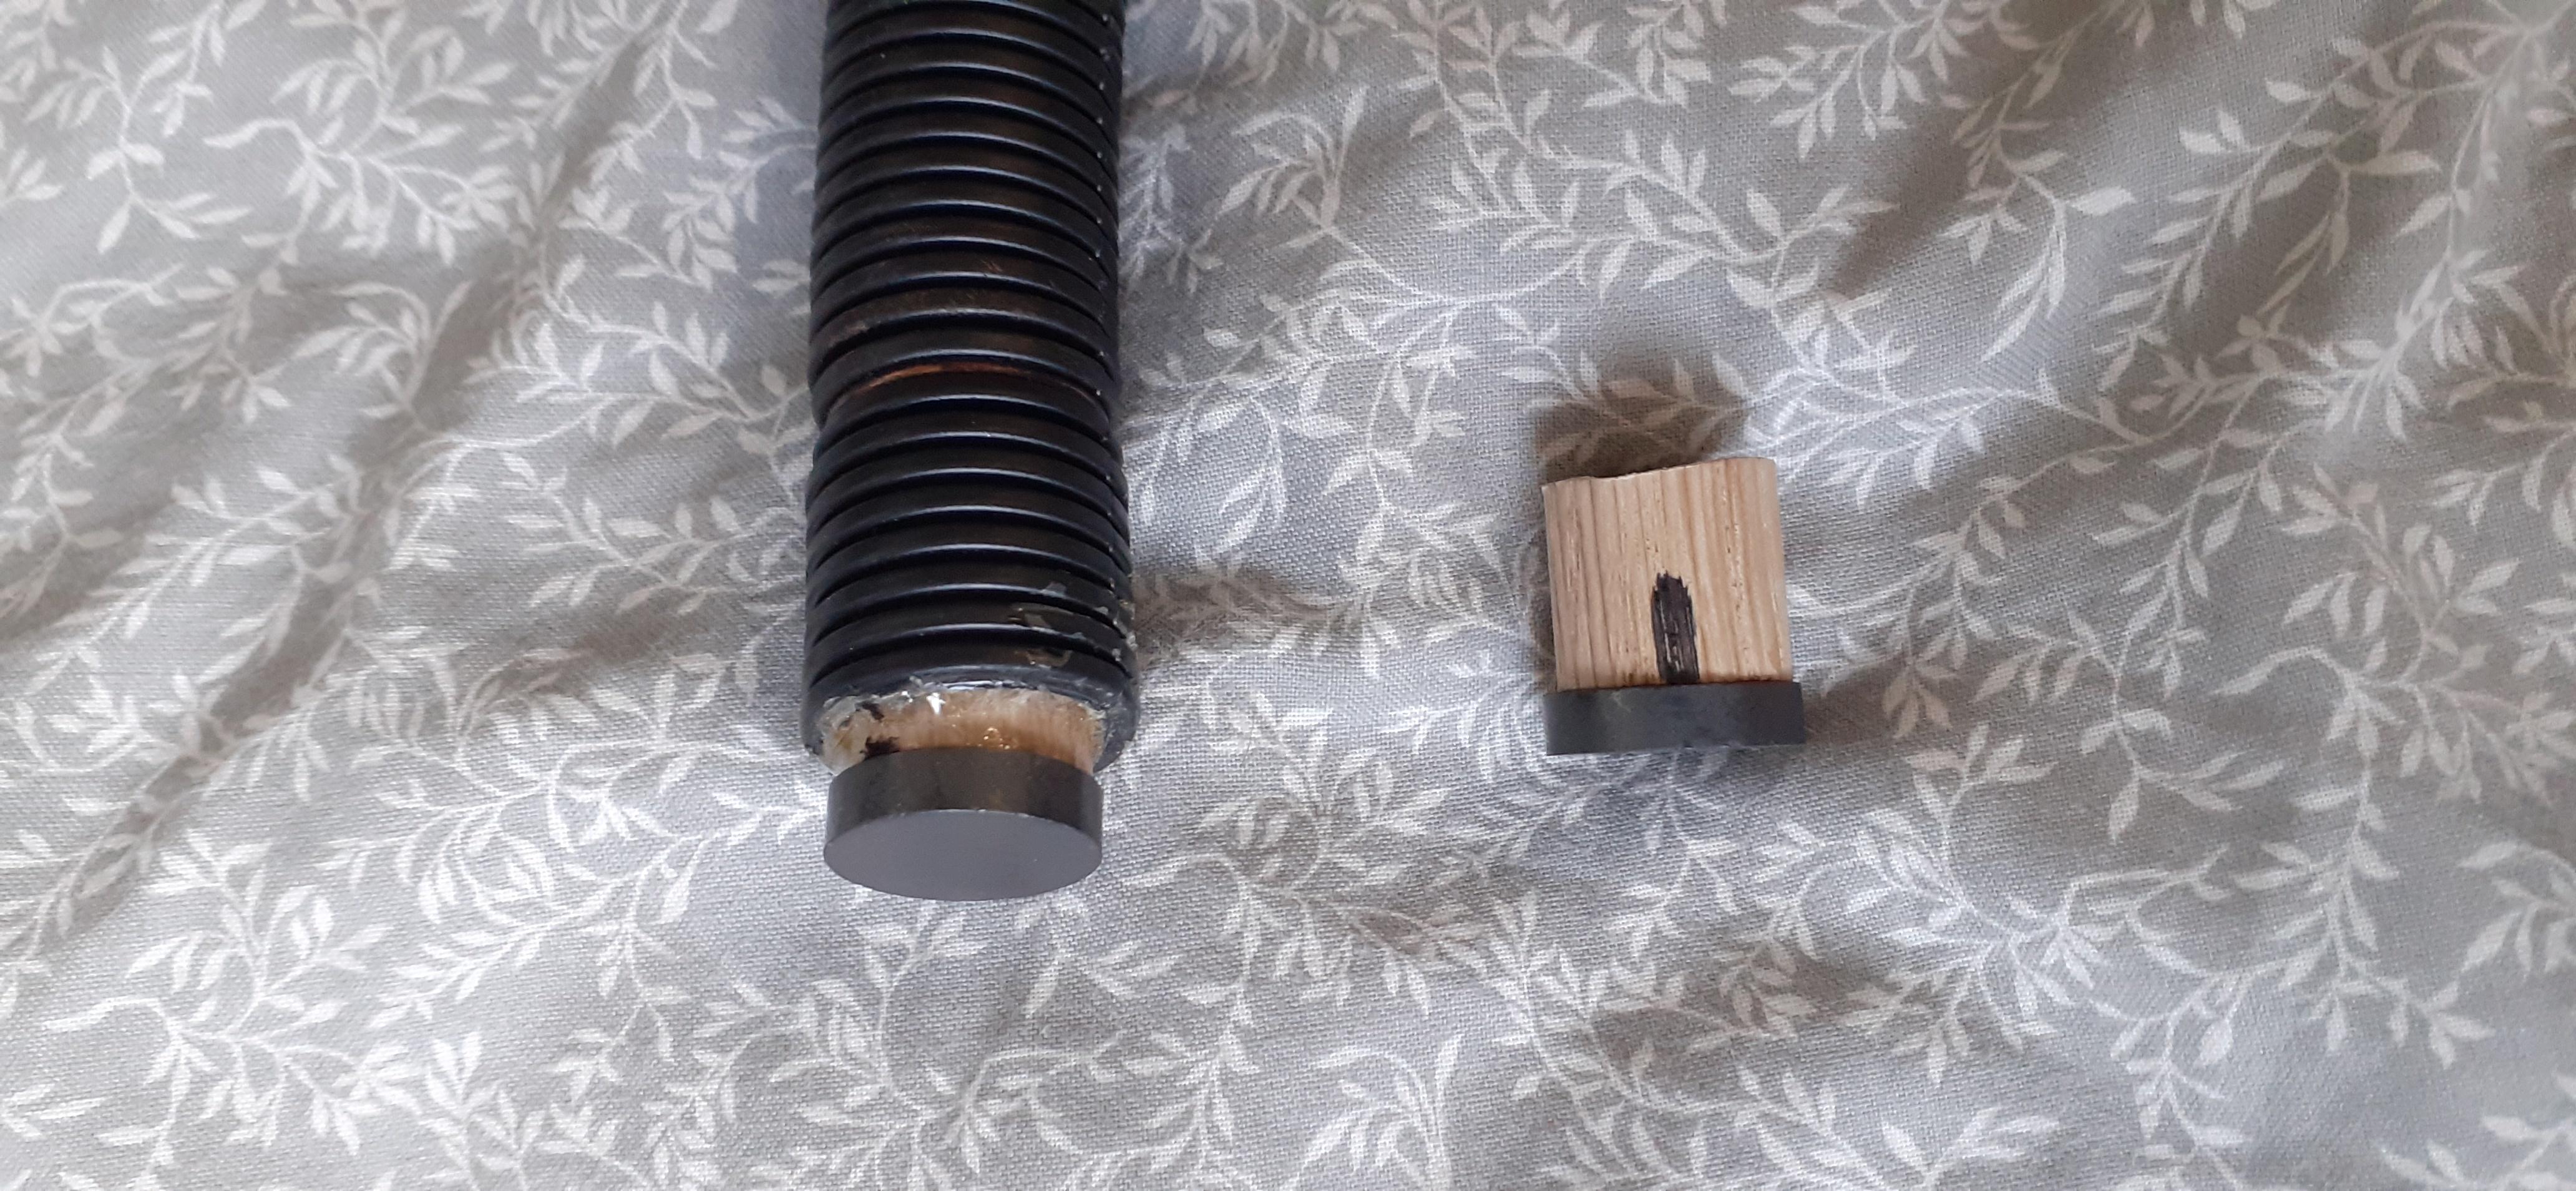
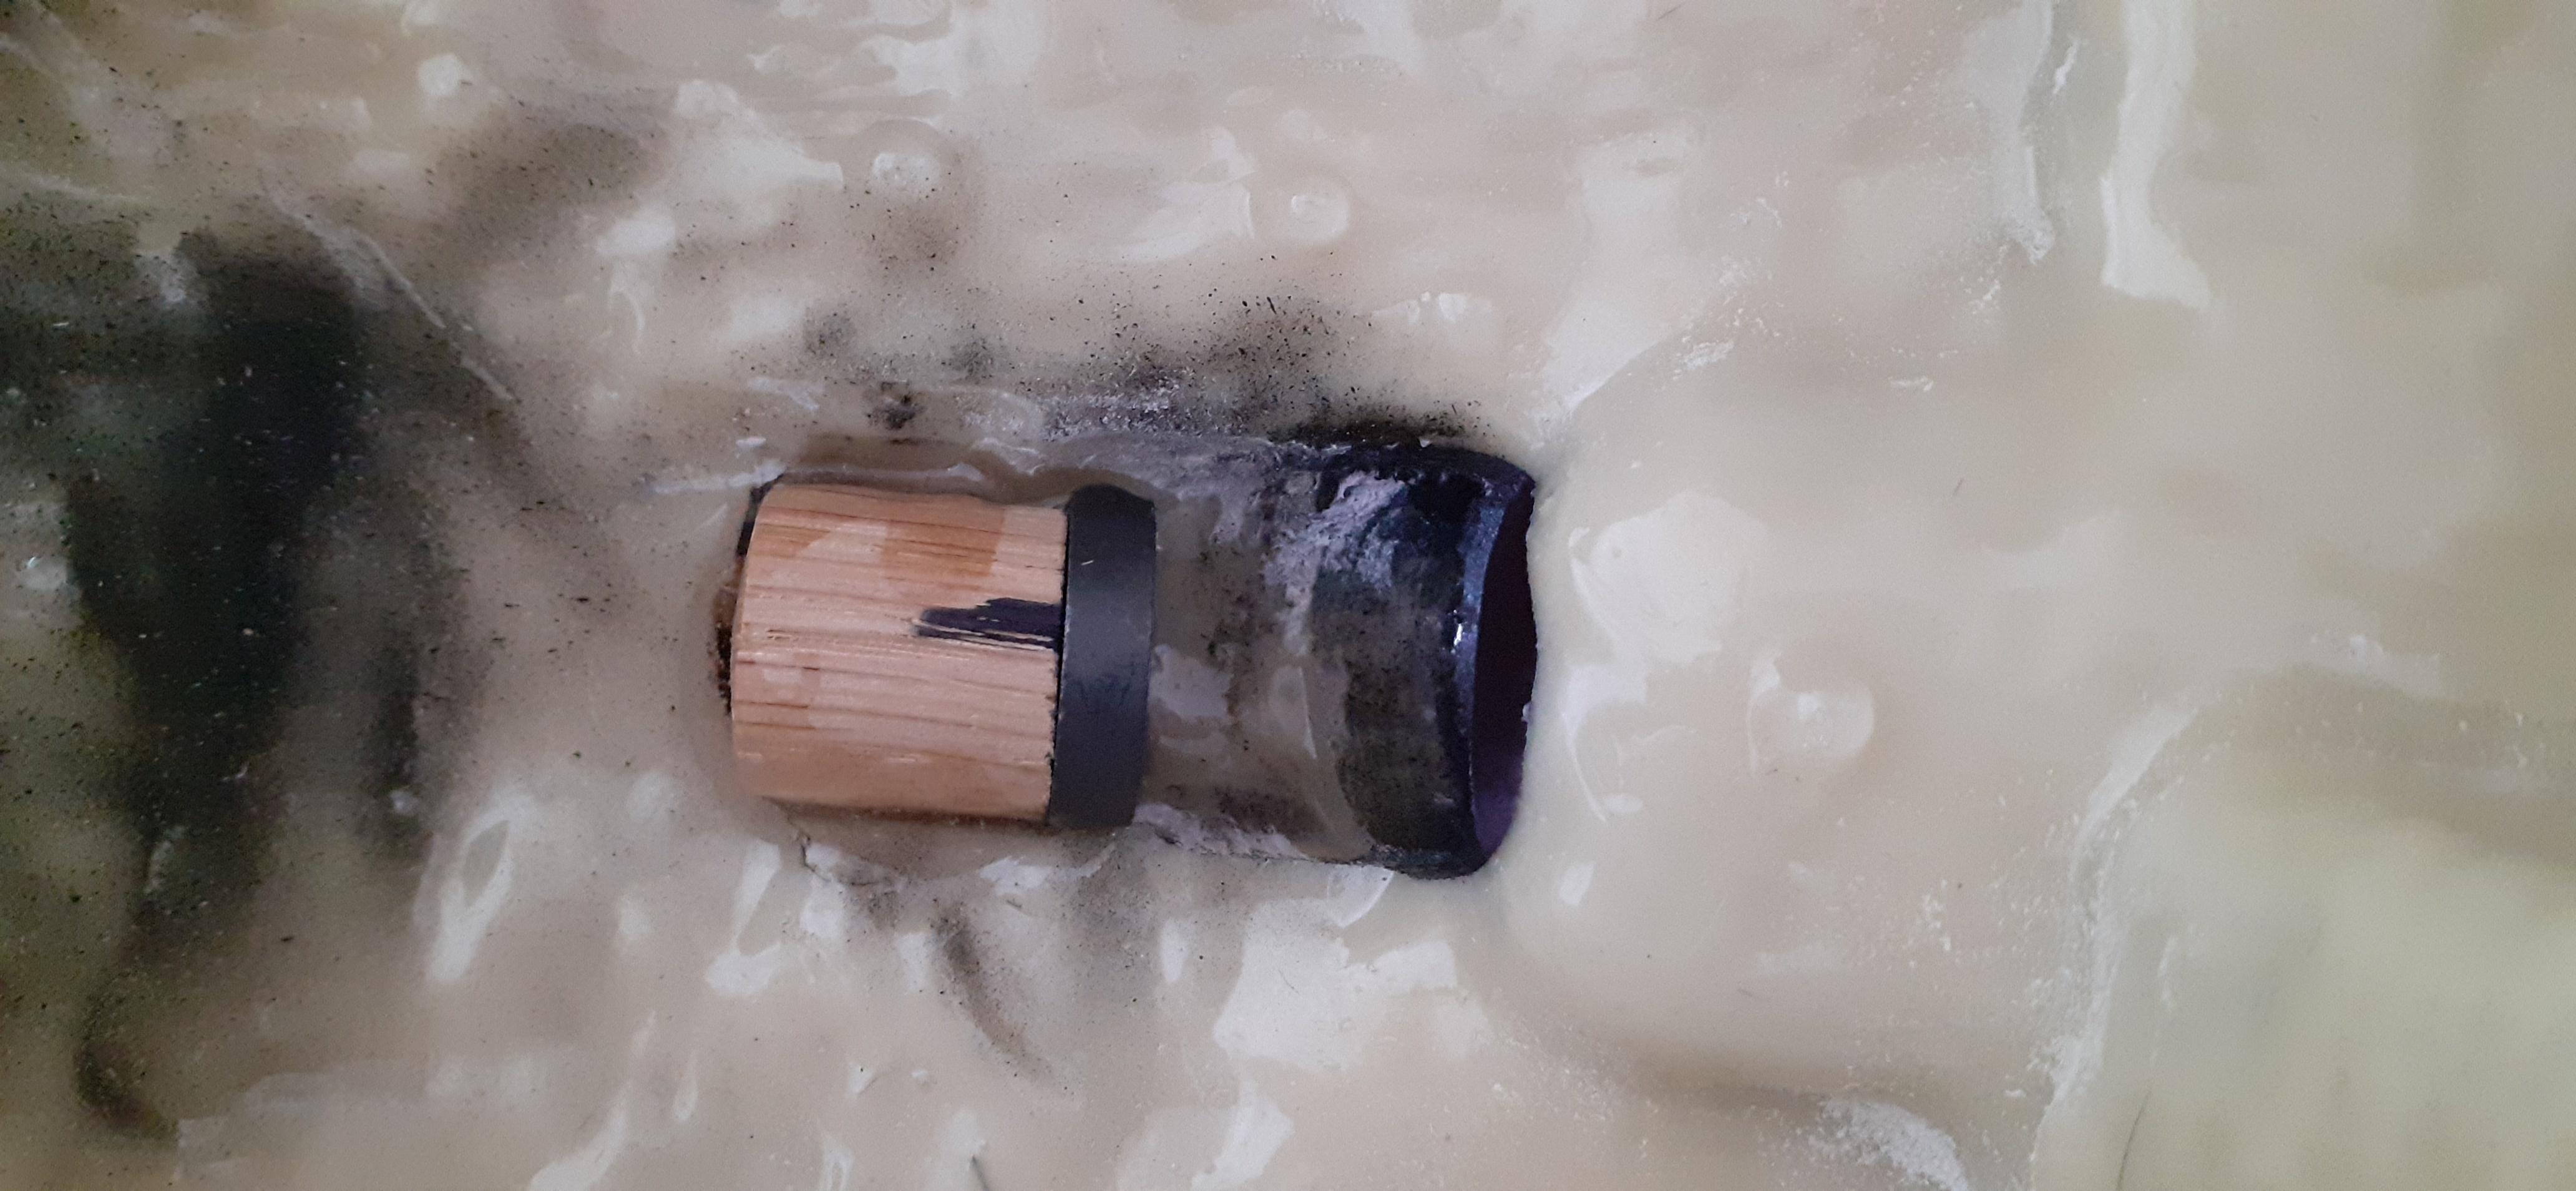
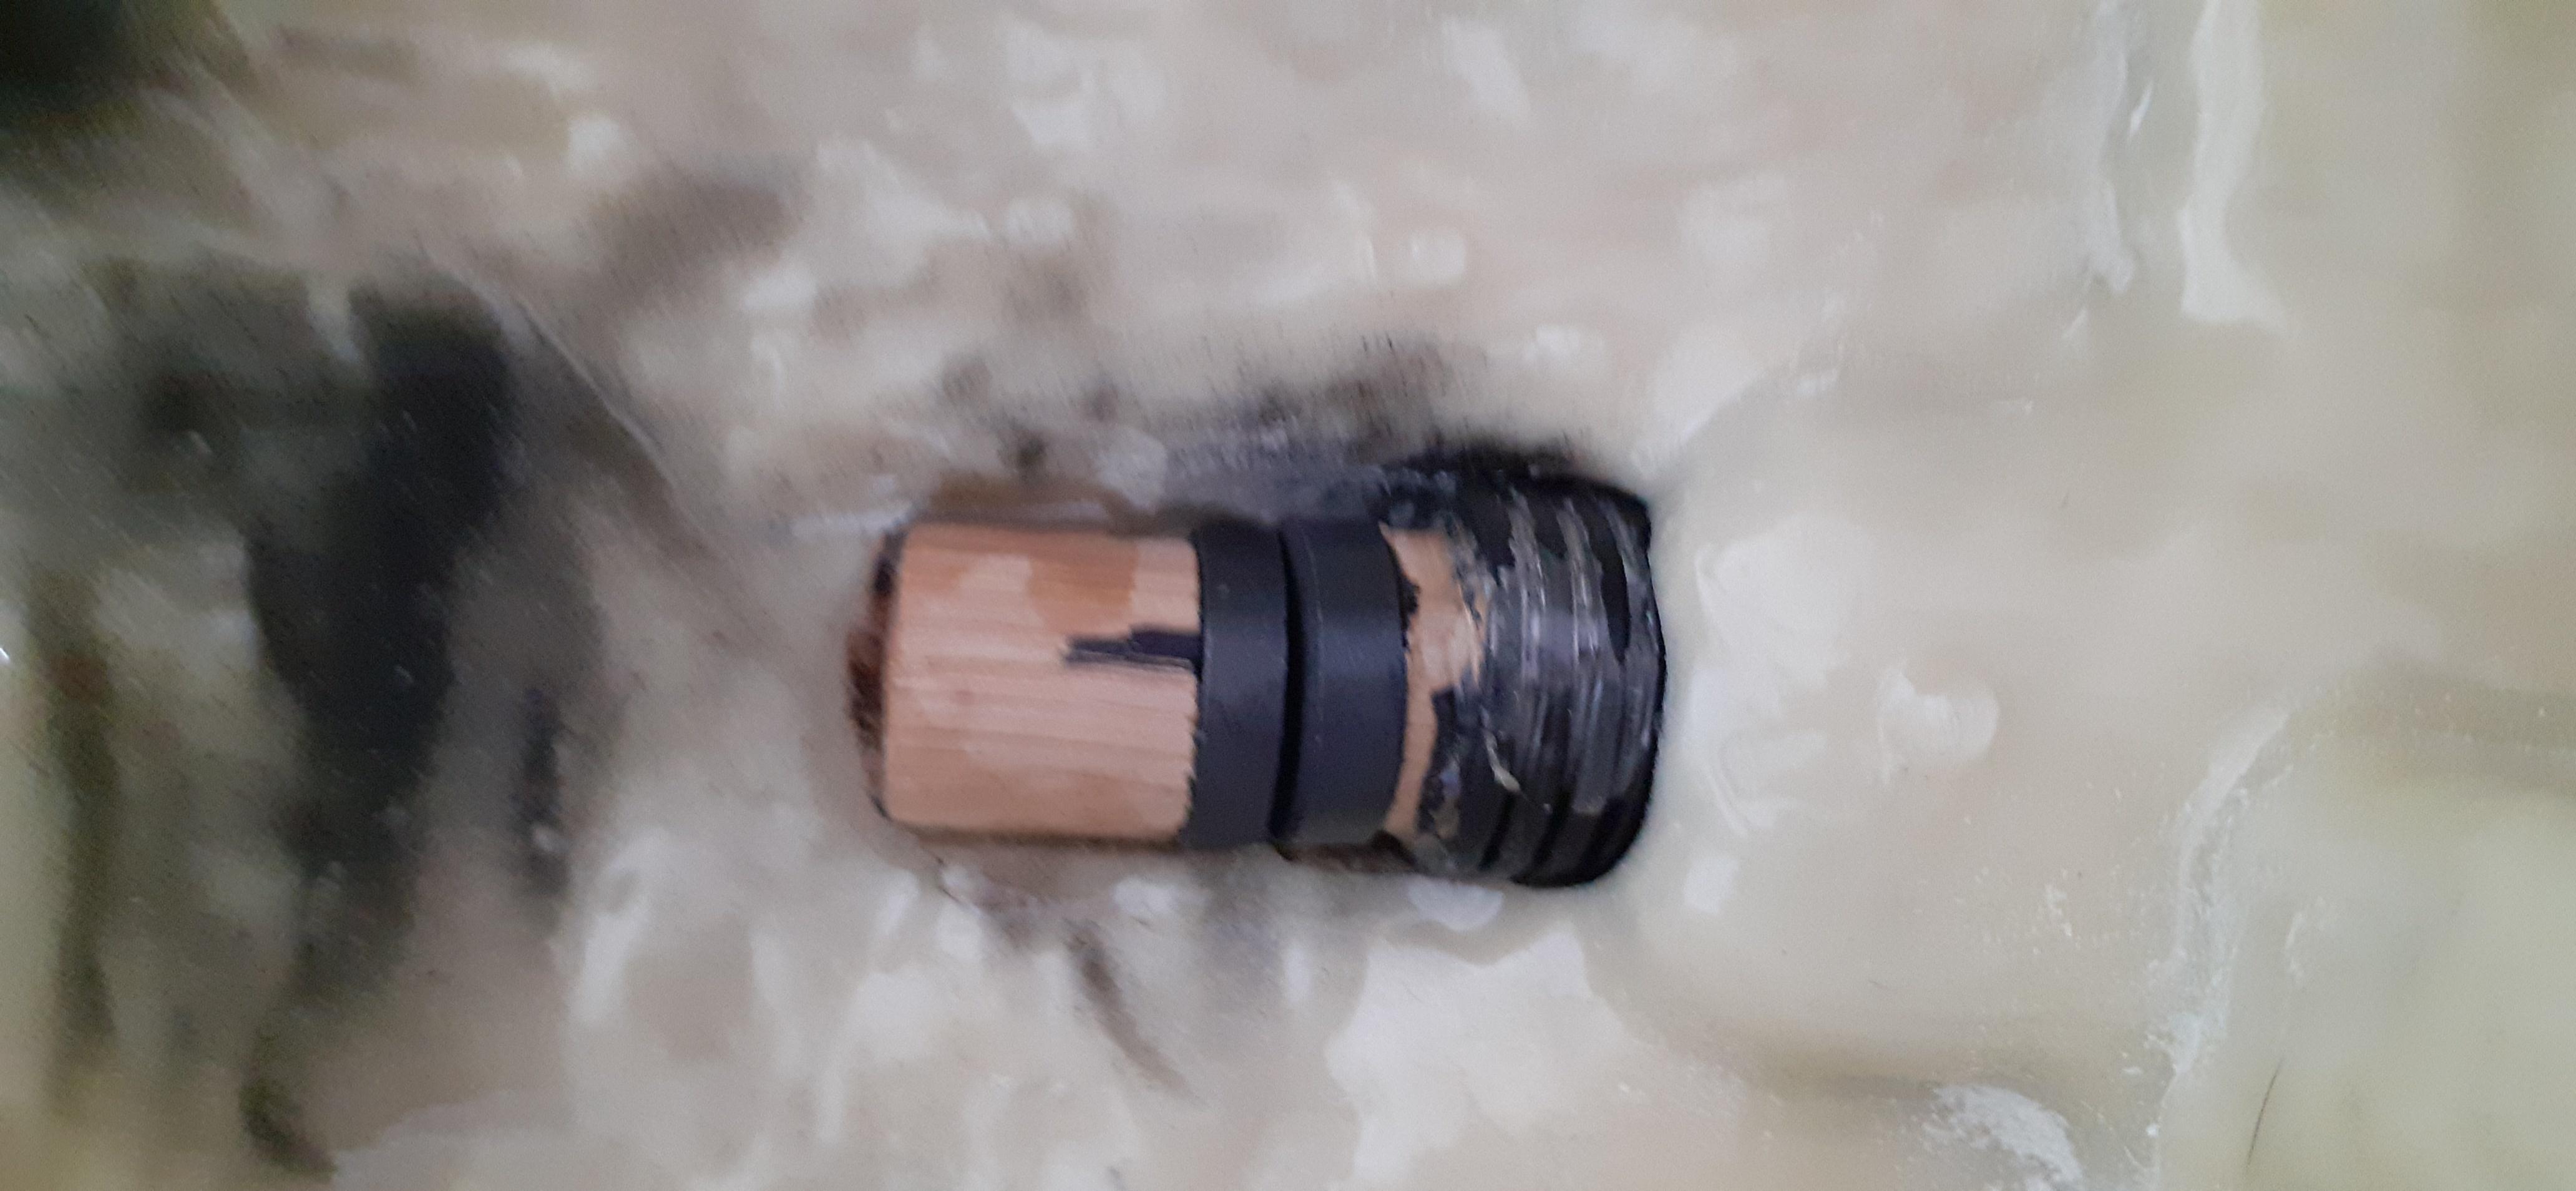
First of all, I sorted out the loom into the crank generator, I originally had planned to just have the dowel in the loom epoxied in place inside the shell, but it seemed a bit too tricky to get it to stay in place until it set. So I came across Bishopdonmiguel’s build thread and saw he used magnets to secure his loom in place. So I chopped the dowel down in the loom and cut a smaller piece of dowel to be epoxied inside the shell for the loom to connect to, with 2 7/8" magnets gorilla glued onto the ends.
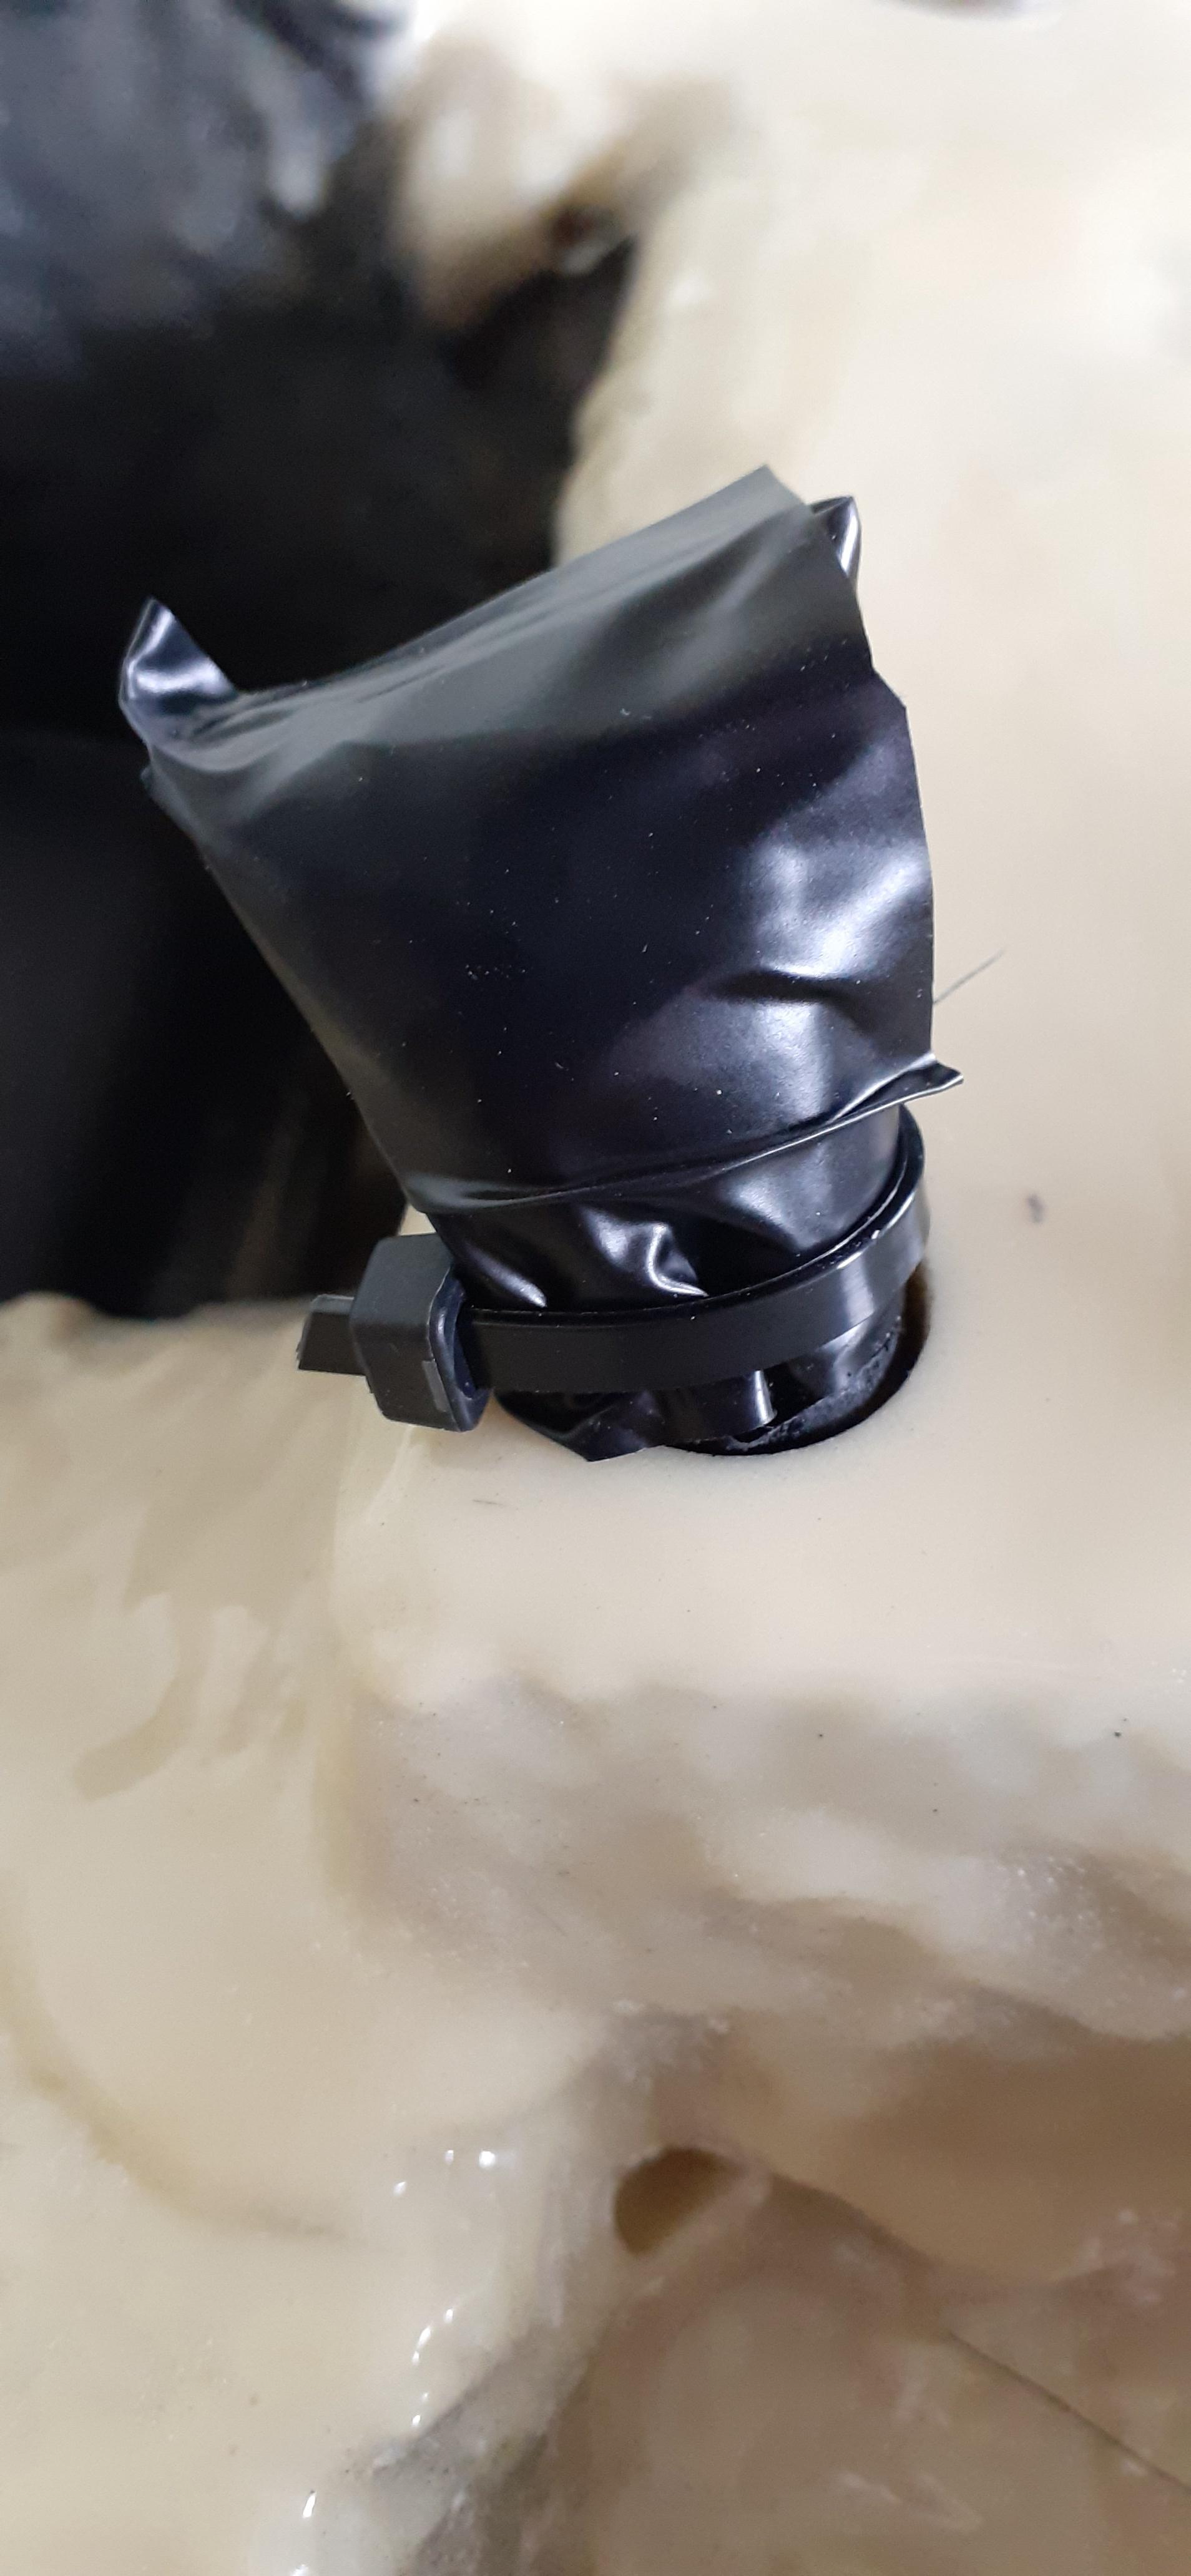
While I was there, i chopped off the excess ribbon cable, wrapped it in electrical tape and popped a cable tie around it to stop it from pulling back out.
Last and not least for the shell, I glued the powercell and cyclotron lenses in place. I also attached the aluminium plate labels; the bumper label was from GBfans and was top notch, I ordered the rest from EugeniousProps on ebay, I’ll be honest they could have been a bit better. They didnt have adhesive backing; so had to be glued on, and the edges had sharp burrs on them which I had to smooth off. But they look pretty good and do the job. Once everything was done I gave the shell a light weathering, scuffs, burnt umber wash and black wash to give various parts a dirty/rusty look.
I also swapped the grey crank knob for a black one from the GBfans shop, I’ll use the grey one on a future GB1 pack at some point.
 Dan.aka previously recommended a “metal replacement cone for a Fulton MX-991/U angle head torch” to me for that, but they seem to be hard to come by in the UK, so I think any similar military torch reflector would probably work ok. I picked a whole torch up for a fiver a on eBay a couple of years ago.