Have you cut the light vents yet?
no i havent gotten around to cutting the vents yet. im waiting on getting the body welded together so it doesnt fall apart on the mill. this project has been moving along slowly but id rather take my time and not rush.although i did get some ears cut out today!! check em out and let me know what you think.


Didn’t want to make that in one piece instead of two?
they are two seperate peices. they arent connected together except for the fact they are both on the front handle
ok. ive got a small update. Sadly, i managed to ruin my gun body by acting like a total idiot and not controlling my heat properly while welding the body together and now its shot. so like any level headed person, i got totally ■■■■■■ off and smashed it and put it in the scrap pile. oh well, ive got most of my new one built.
here are a few pics of my trigger box. its finished up just have to bolt it to the new gun box and add the switches/dry rub transfers. I was able to weld the trigger box to the rear instrument bar no problem since the metal was so much thicker.
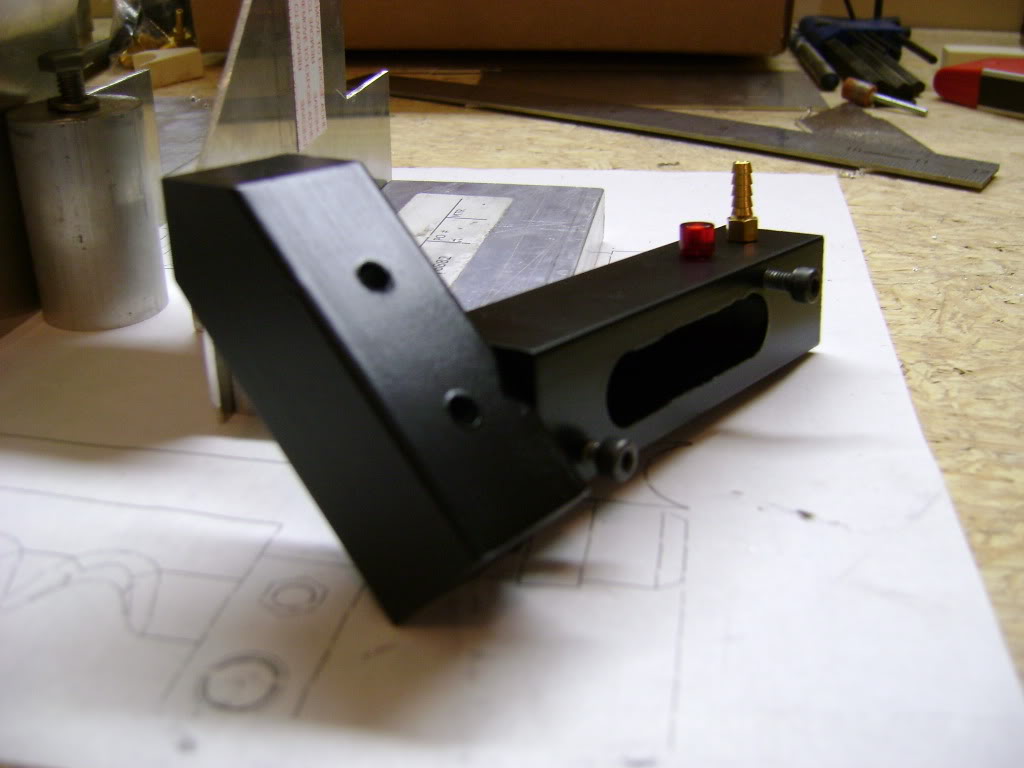
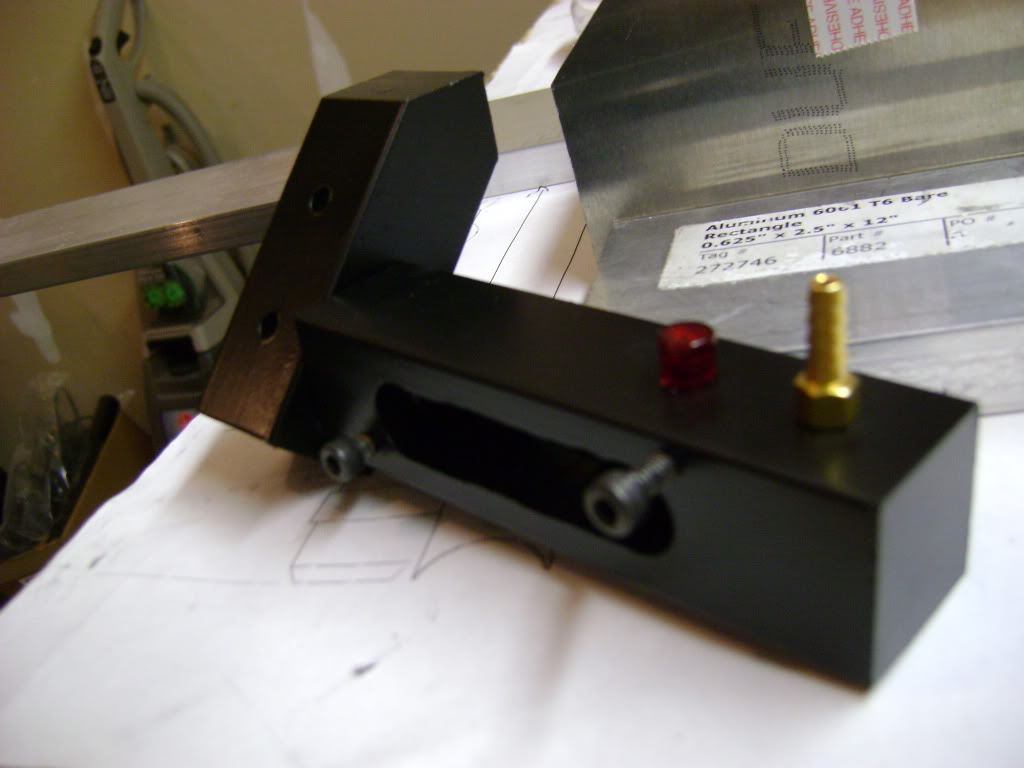
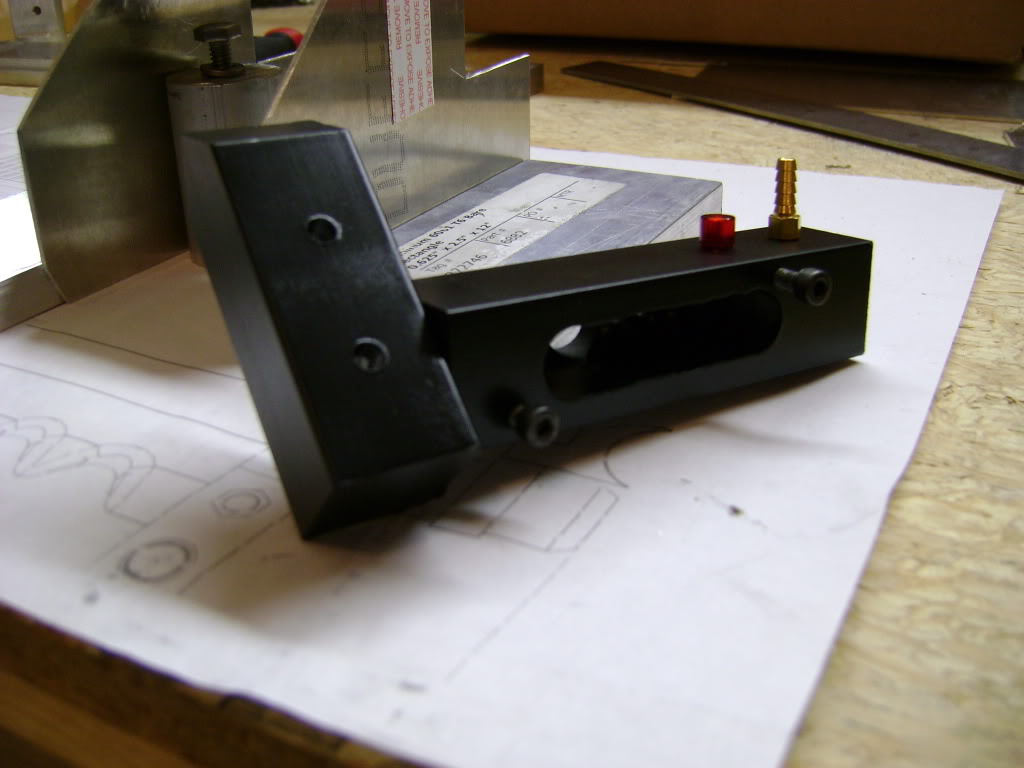
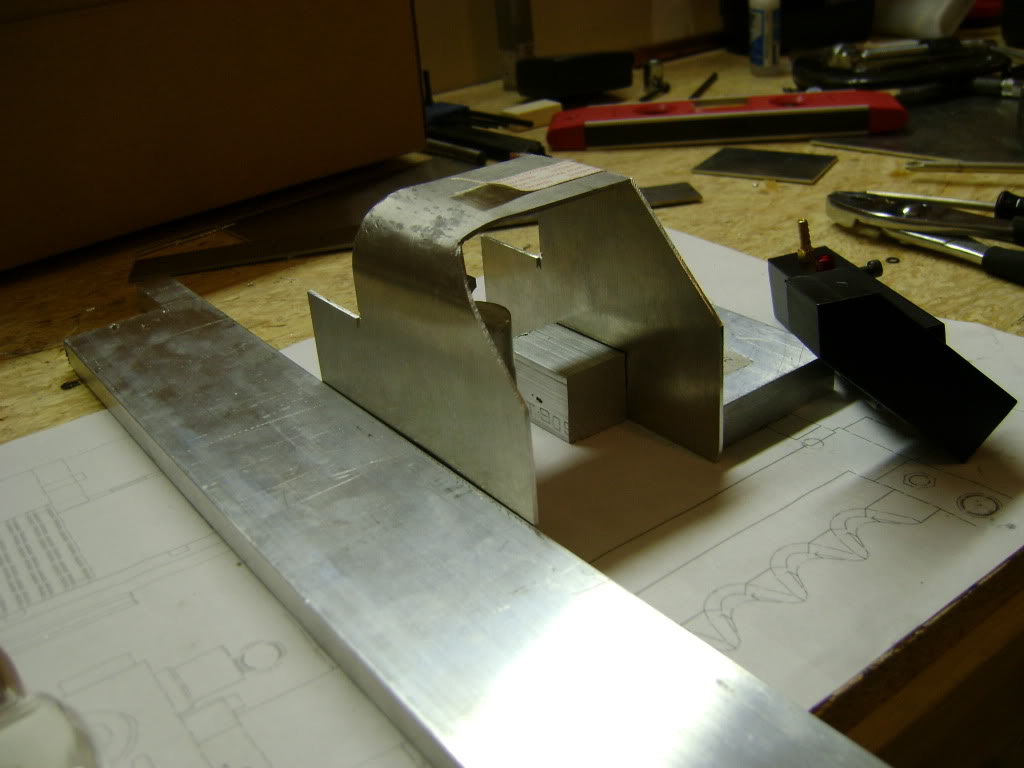
just a couple quick pics of my new gun body. dont have the plates in the pics to enclose the body, but you get the idea 

thanks
jim
It’s looking good man. Silly question though, how are you getting the push button and switch into the trigger box? Is the underneath hollowed out? The reason I ask, is because your trigger box looks different from the one you had posted on the first page. Other then that, everything is looking good! And the new gun body looks like its coming together nicely
the trigger box is actually different than the first one i posted…the end of the rear instrument bar is milled out as is the trigger box. that way its hollow and i can route the wires through. also the back of the trigger box is hollow to allow access to the switches. good eye man!
later
jim
Looking great Jim, sorry to hear about your first gun body. I love the look of your instrument bar!
…also I’d love to see your milling machine! Maybe an action shot?
the milling machine actually belongs to a guy i work for…but theres a few more parts i will be milling, so ill probably get some pics posted of it in action  did you get your package yet?
later
jim
ok, slow progress since i had to rebuild my gun body, but i cut a few more parts today. im much happier with these parts since they are much more accurate


i had the cylinders turned and i milled them the rest of the way.
later
jim
Damn that’s nice.
drool
Jim that is looking friggin’ awesome!!!
Solid injector tubes???
you’re either a certified genius, or an authentic wacko..
haha they are actually hollow and have caps machined into them. suprisingly light!
later
jim
another small update guys…i have everything laid out and ready to be welded this thursday. hopefully i dont burn this gun body up like the last one. :walterpeck: anyway, i have just about everything finished up and cut the rear handle tonight..which was a major pain getting the angle right. i didnt want to cut a 1.25 hole into the face so i just cut the handle and will cut a smaller hole before welding it..hoping that will give me a little more room inside the body.


Awesome.
I know it doesn’t apply anymore but I still think the handle tube should be going into the box and riveted to the side before welding.
Looks great either way and can’t wait till its done and all lit up.
I’m dieing to weld up an aluminum gun as well but I can’t afford a gas tank for my MIG welder yet.
I’ve got a MIG welder,no tank,can’t afford it just like you CPU,and an old fashion stick welder,though I don’t know how to weld,they both were given to me by my cousin when he got a better machine and he knew that I wanted to learn how to weld.
Again Jimbo,your thrower looks great.
I’d actually hate to paint that thing (looks great unpainted). And Exoray’s heat sink would look sick on that…