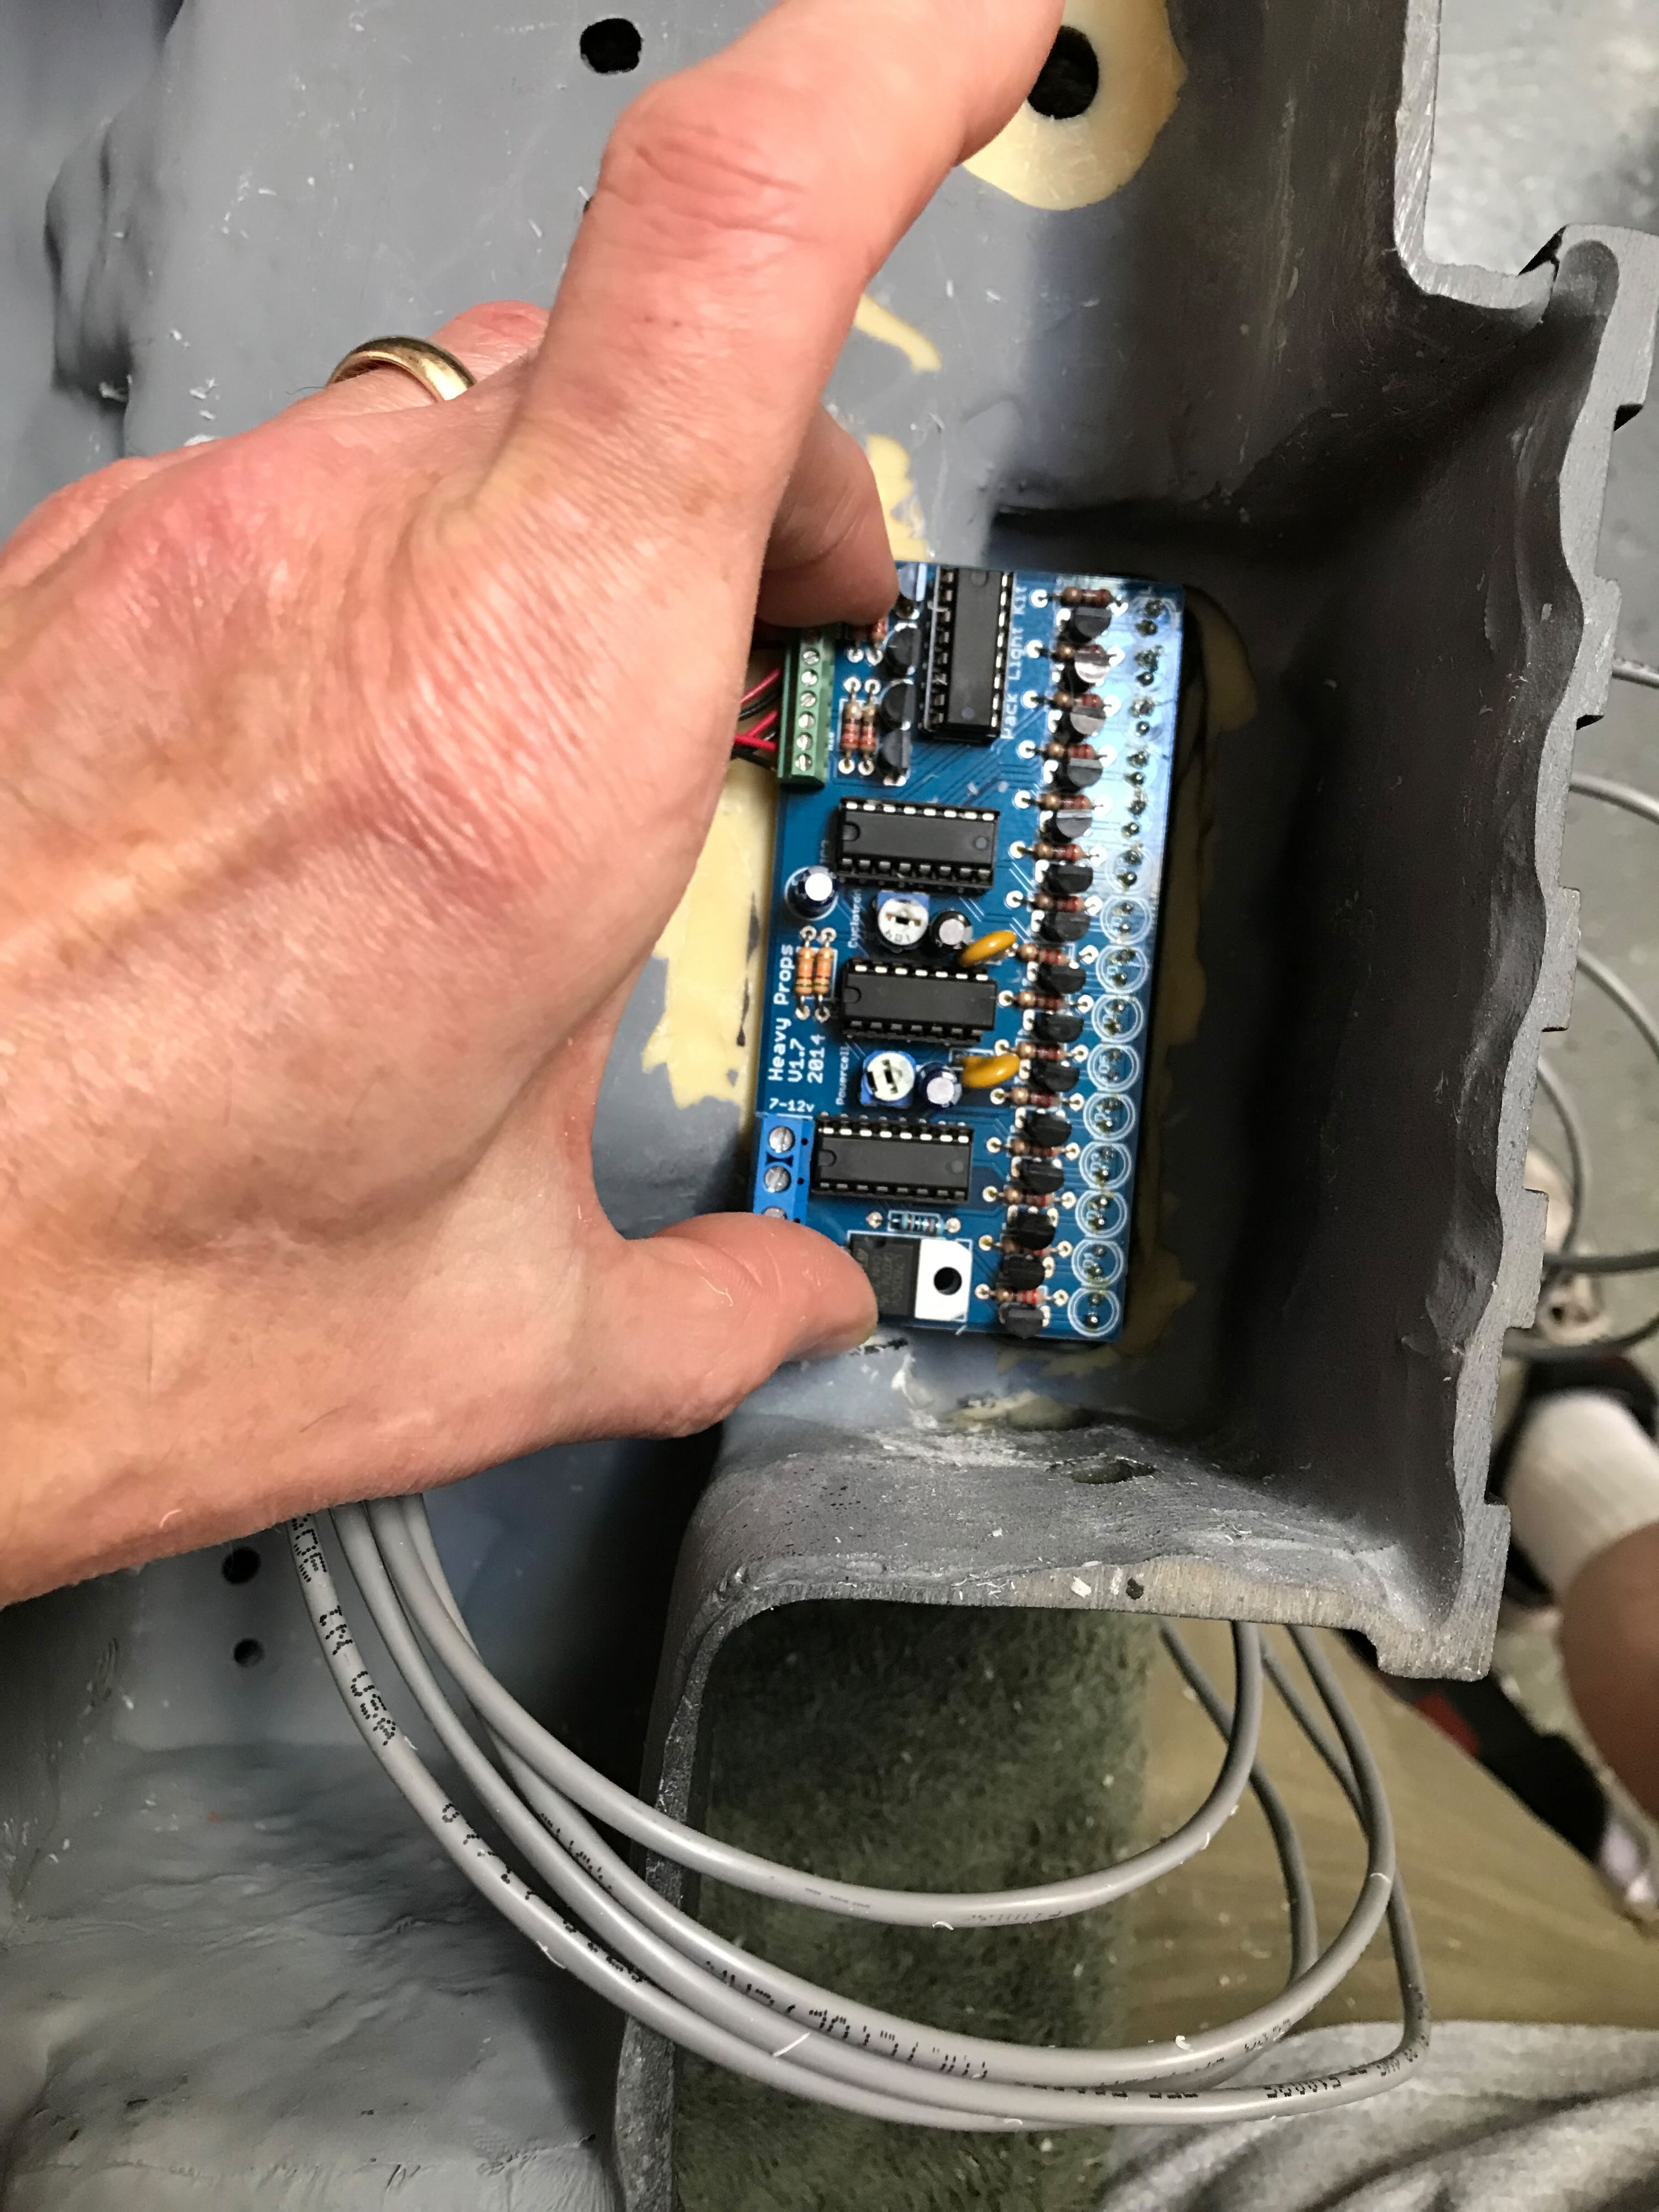
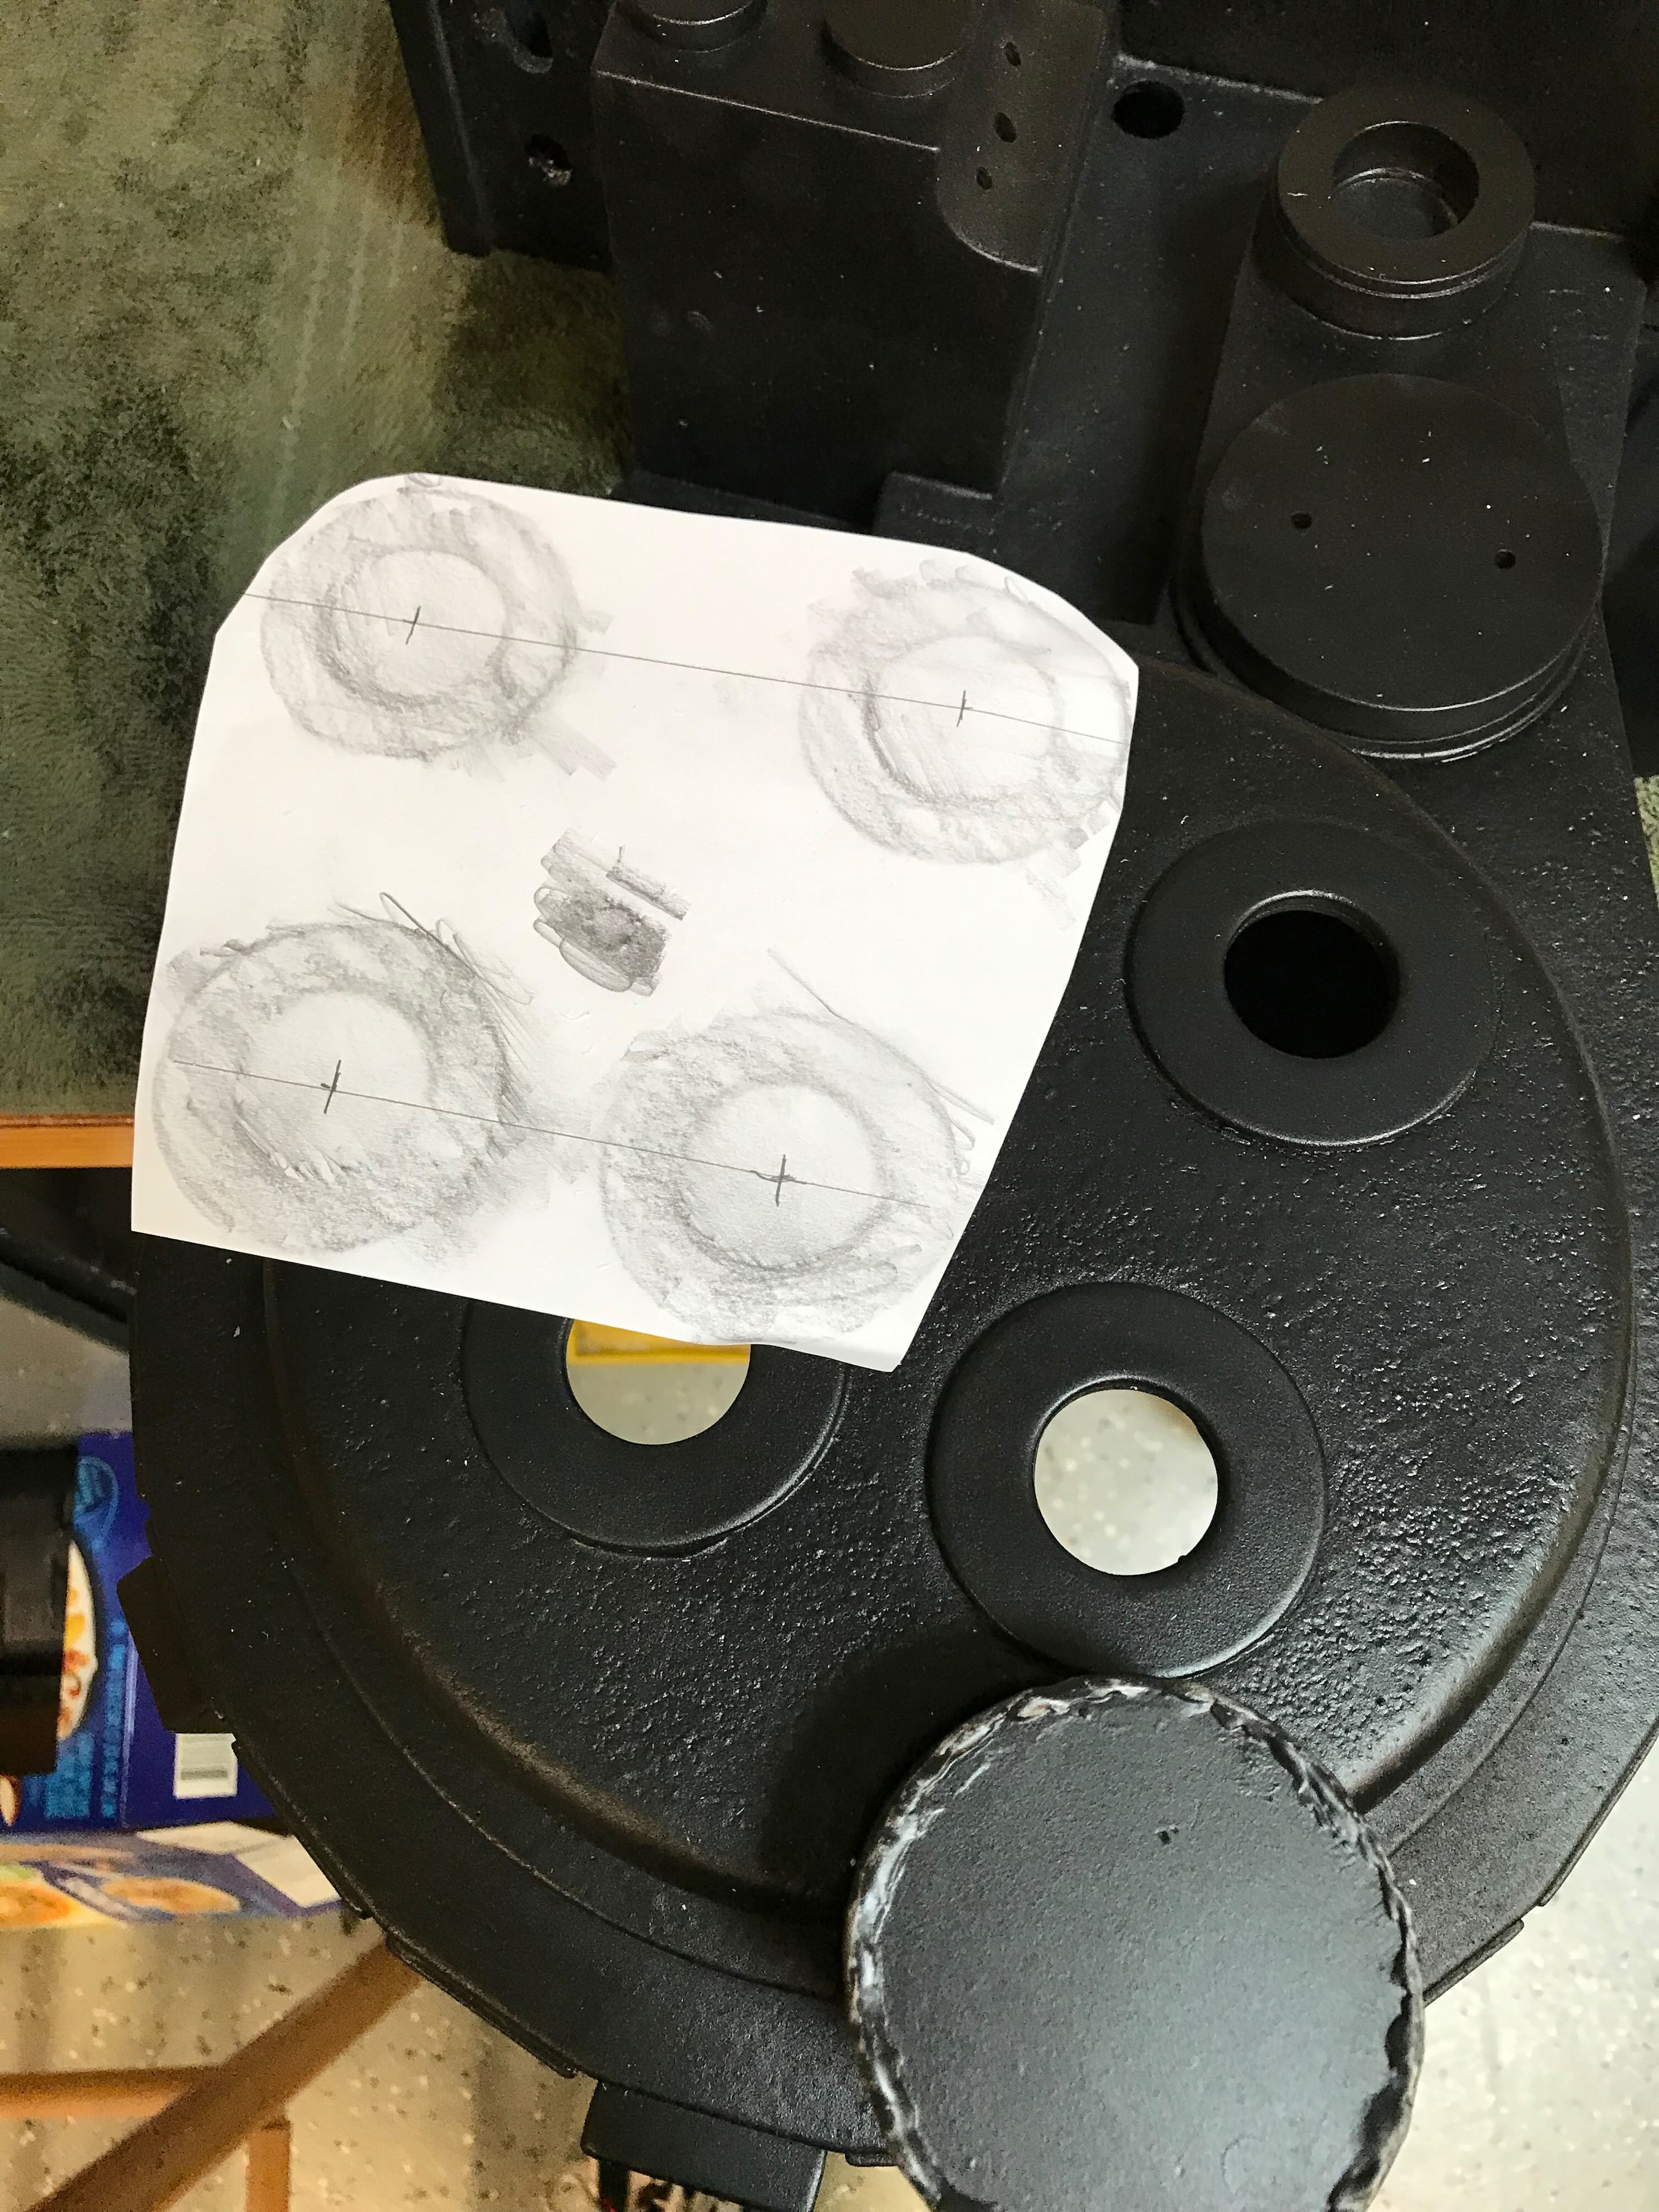
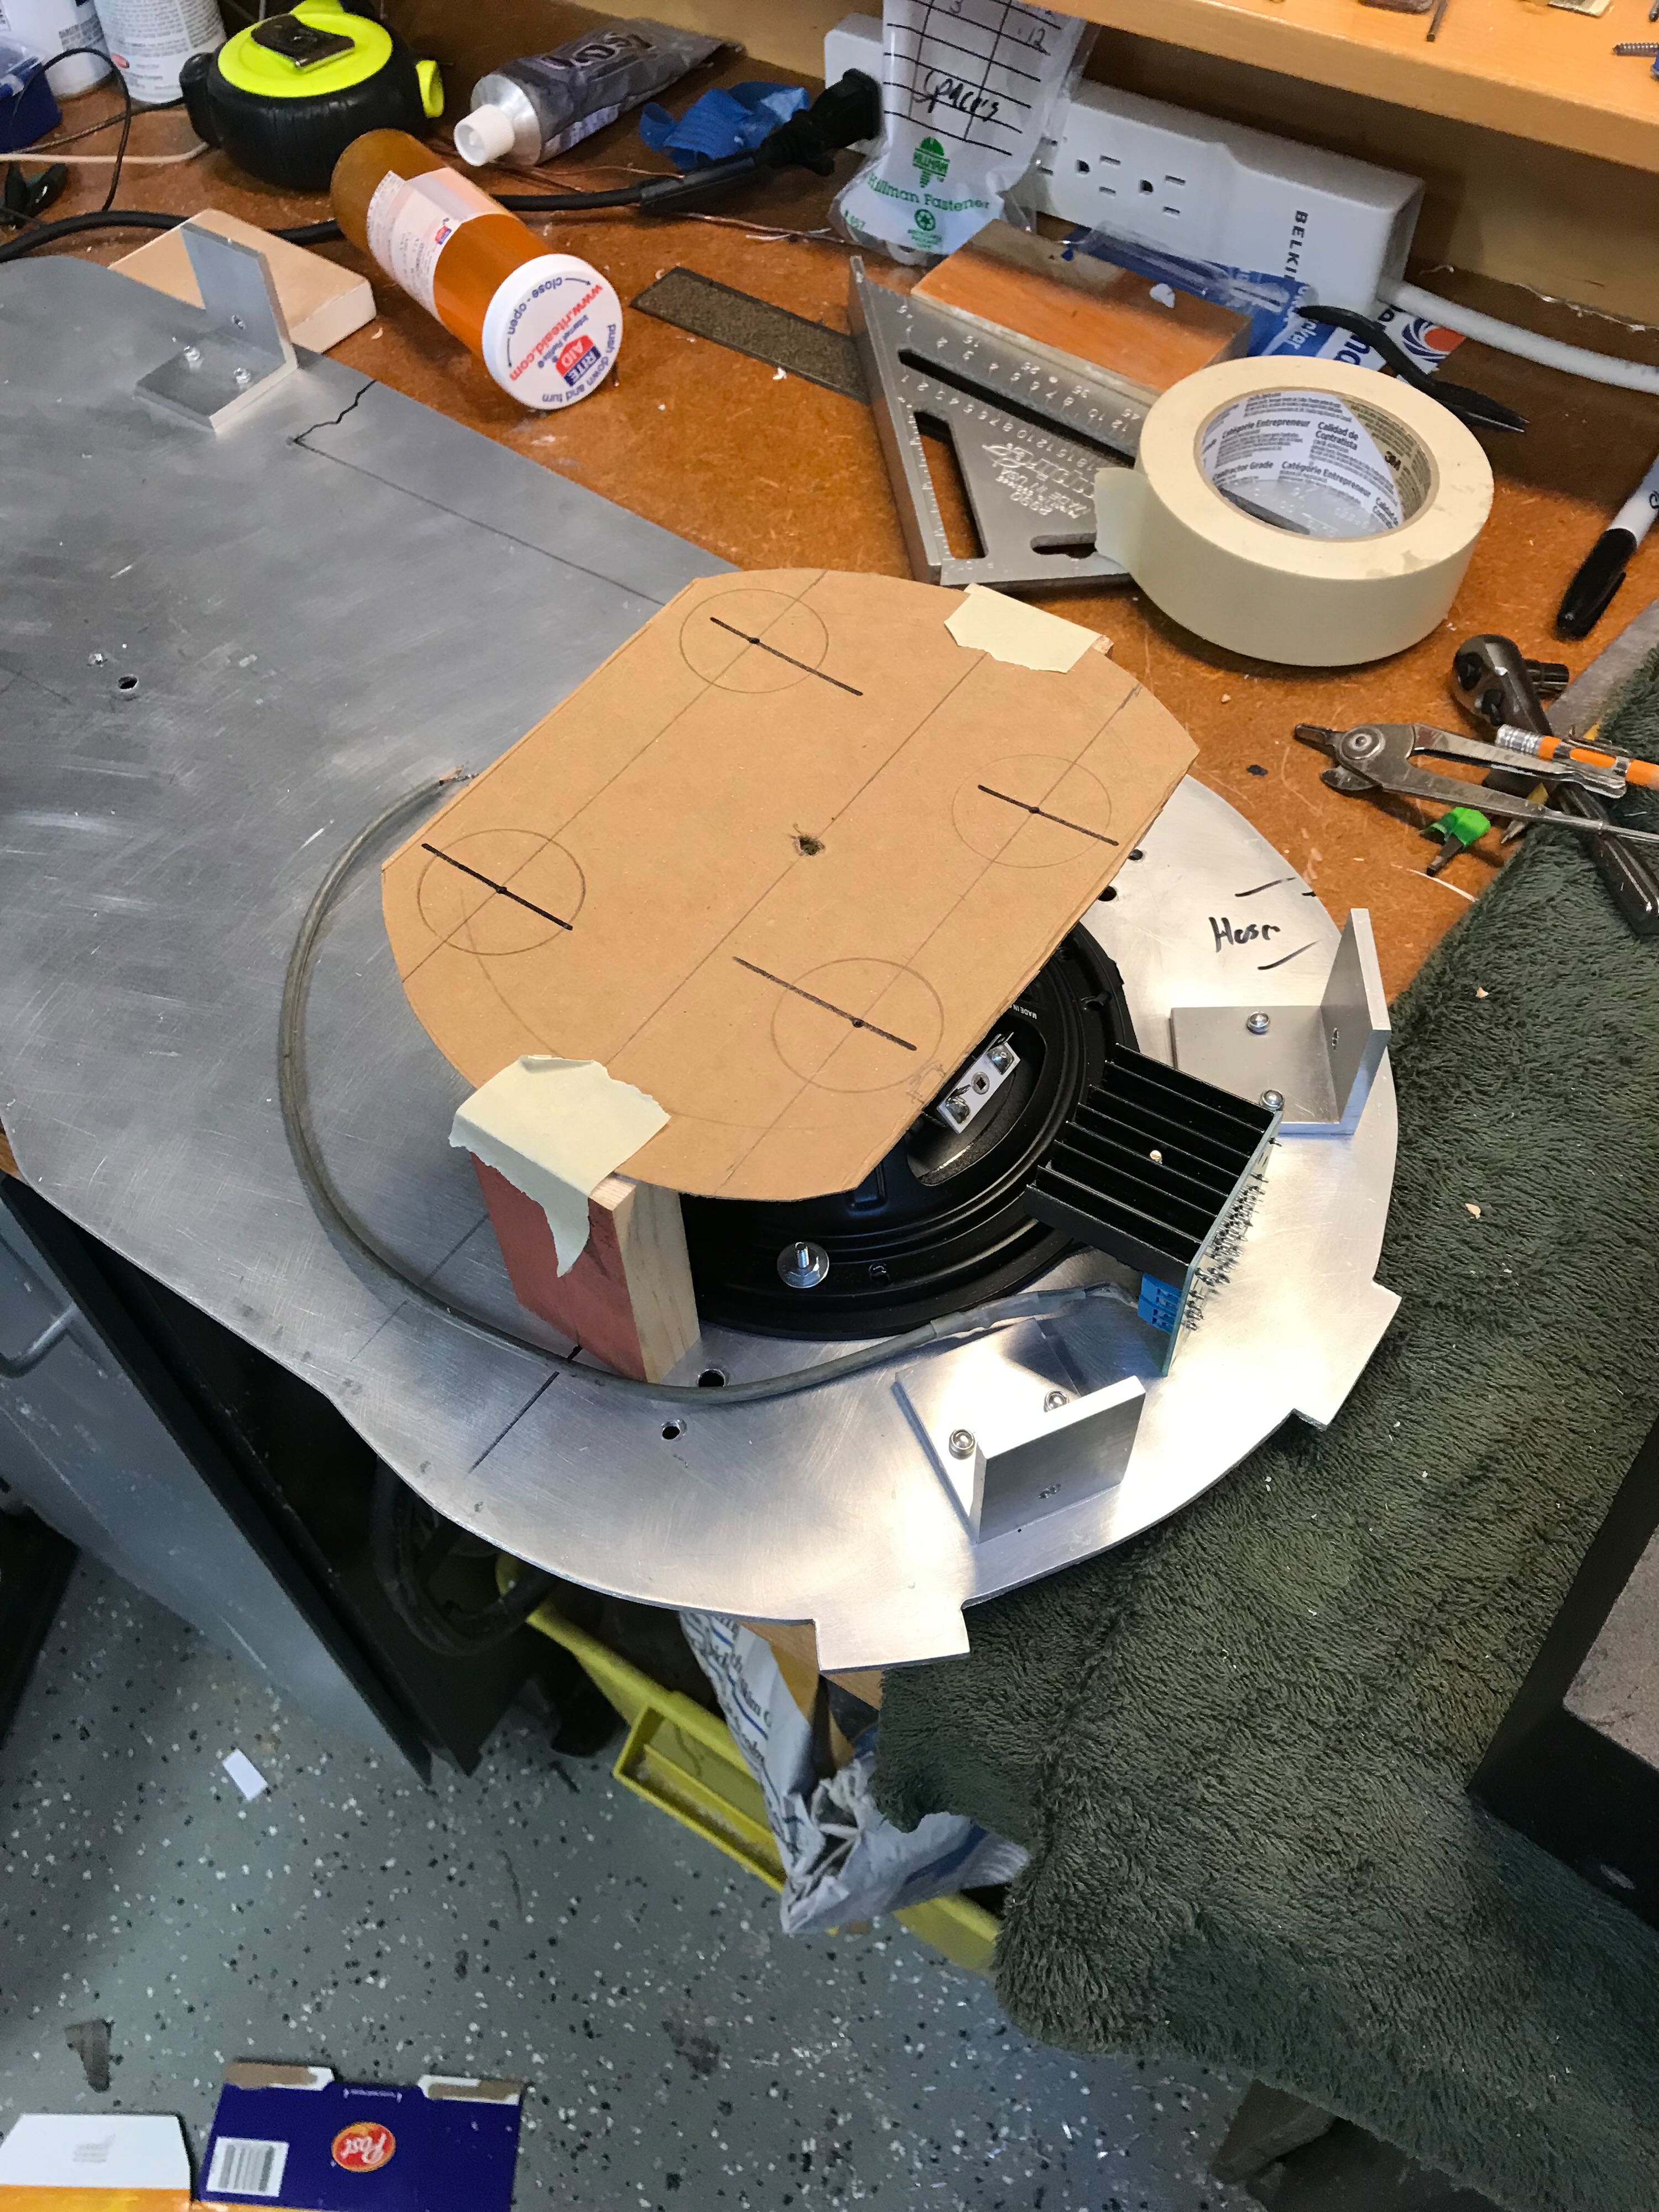
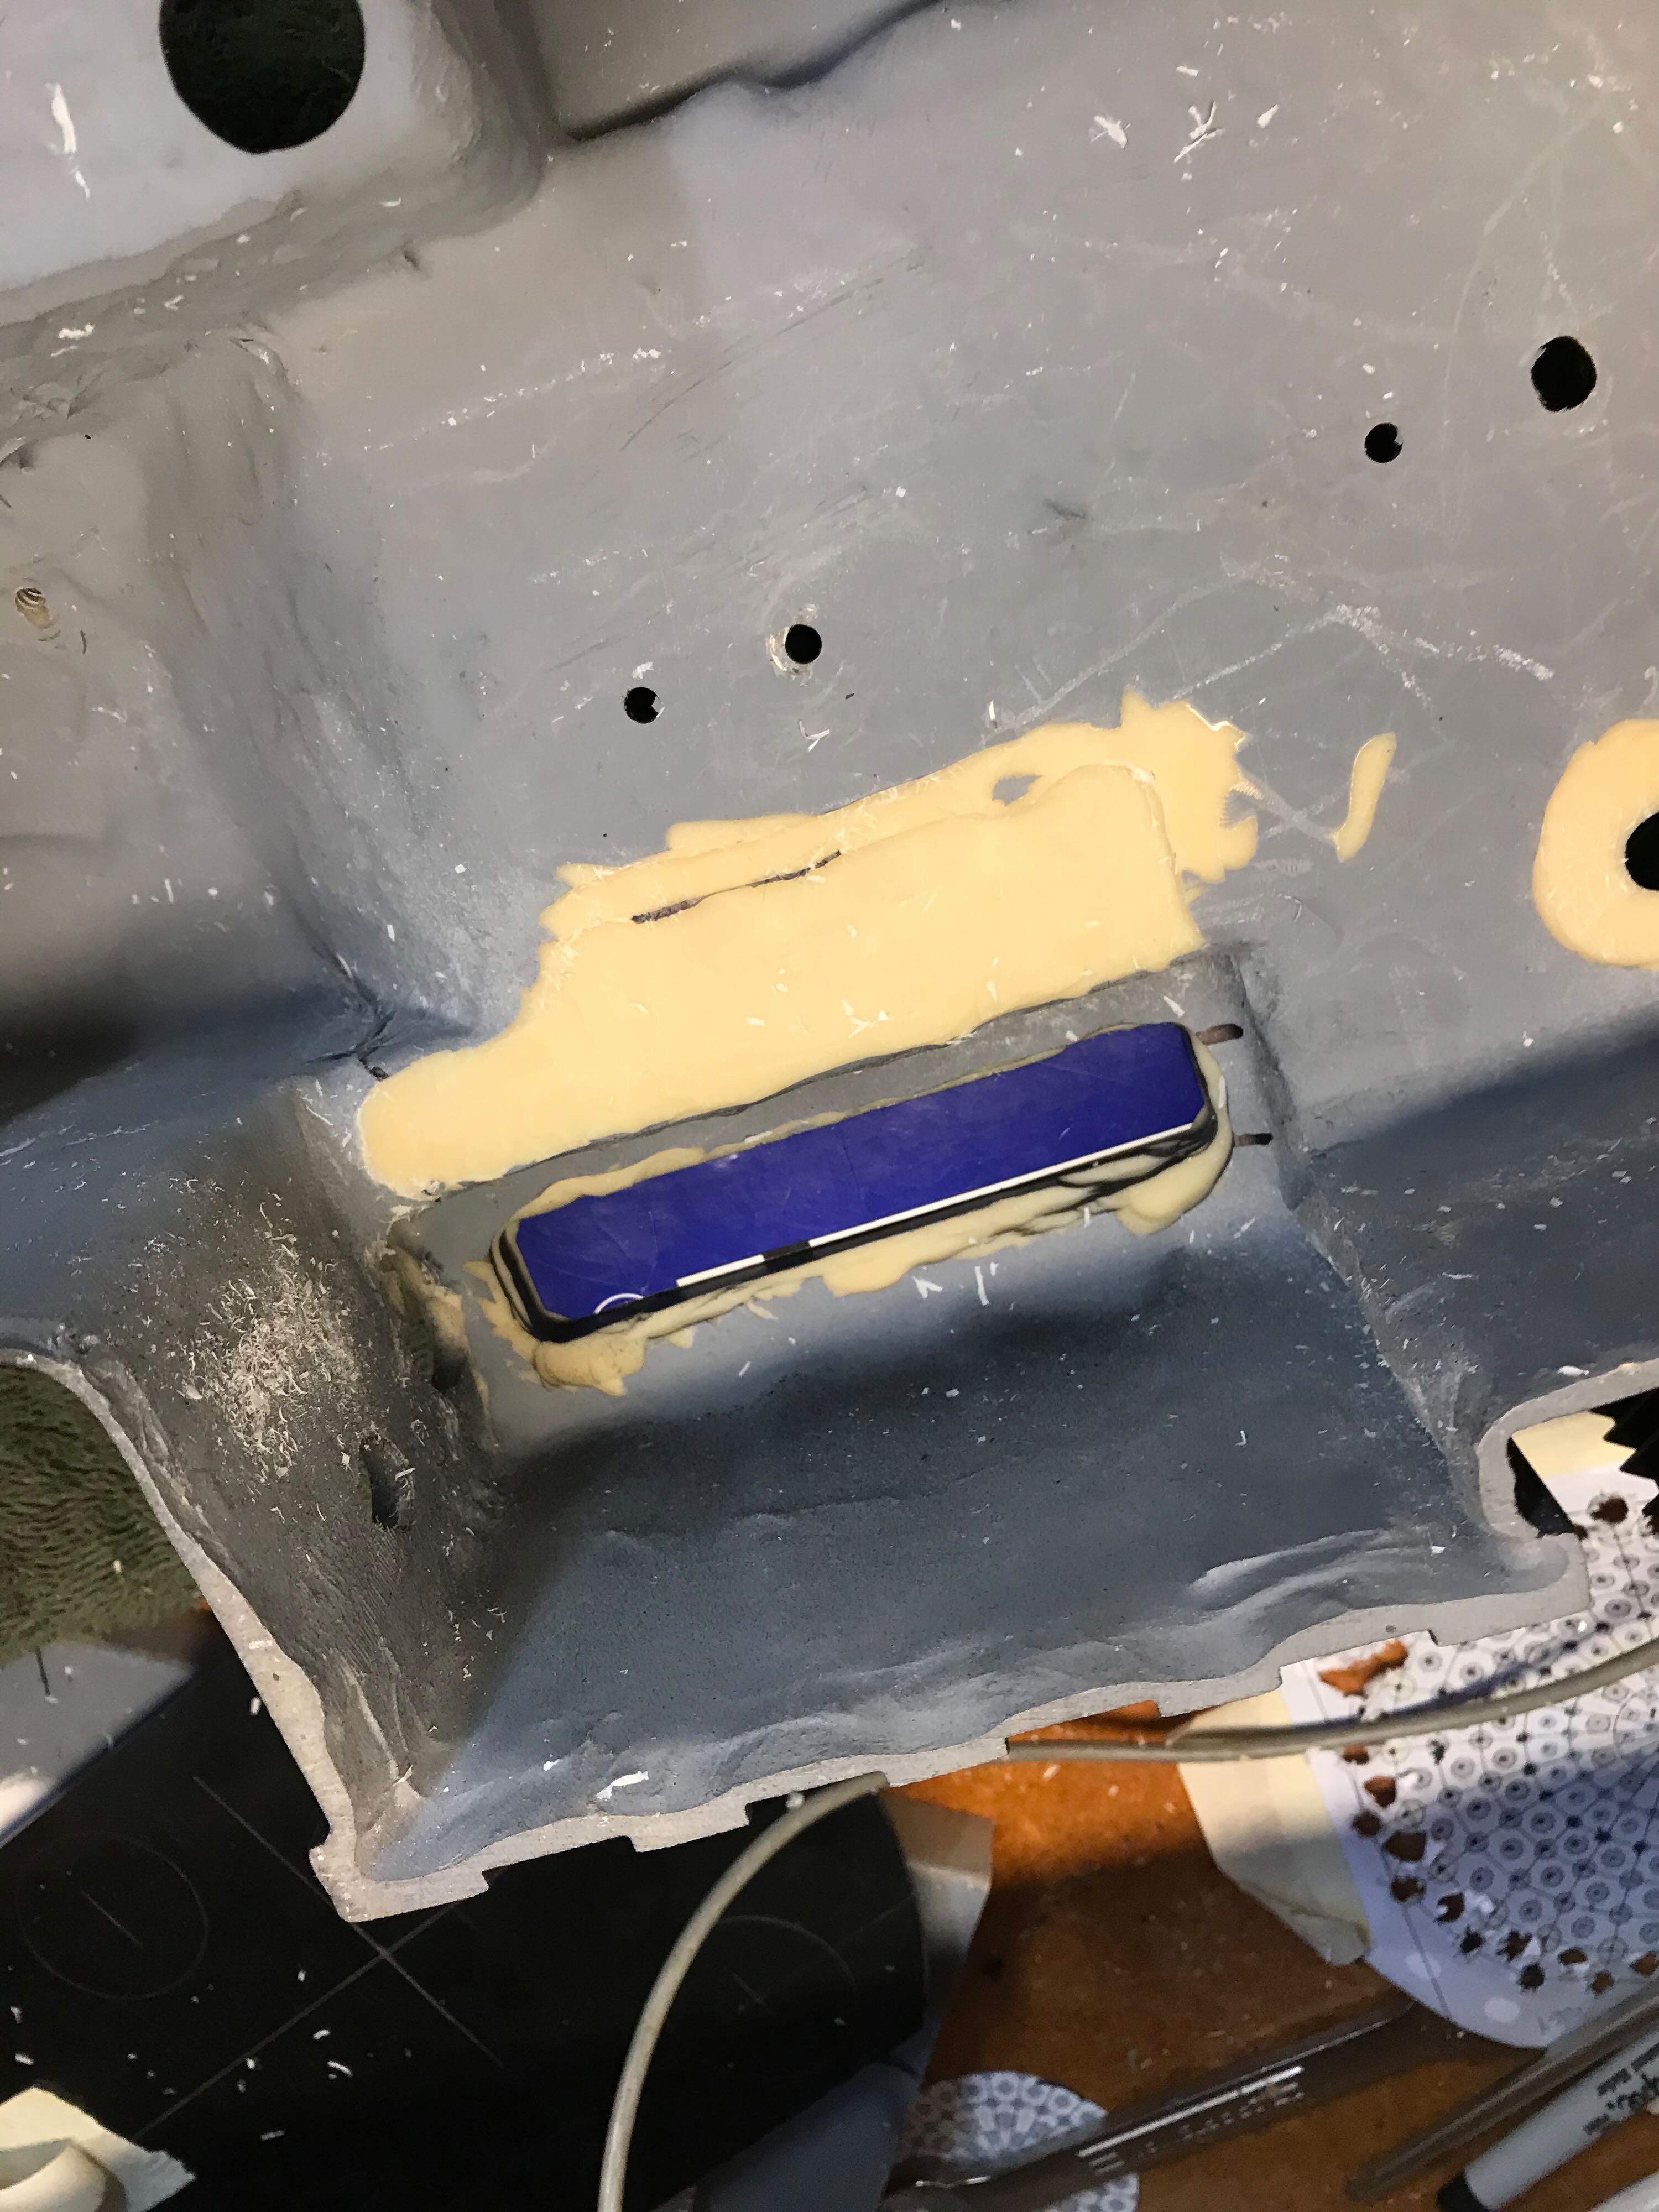
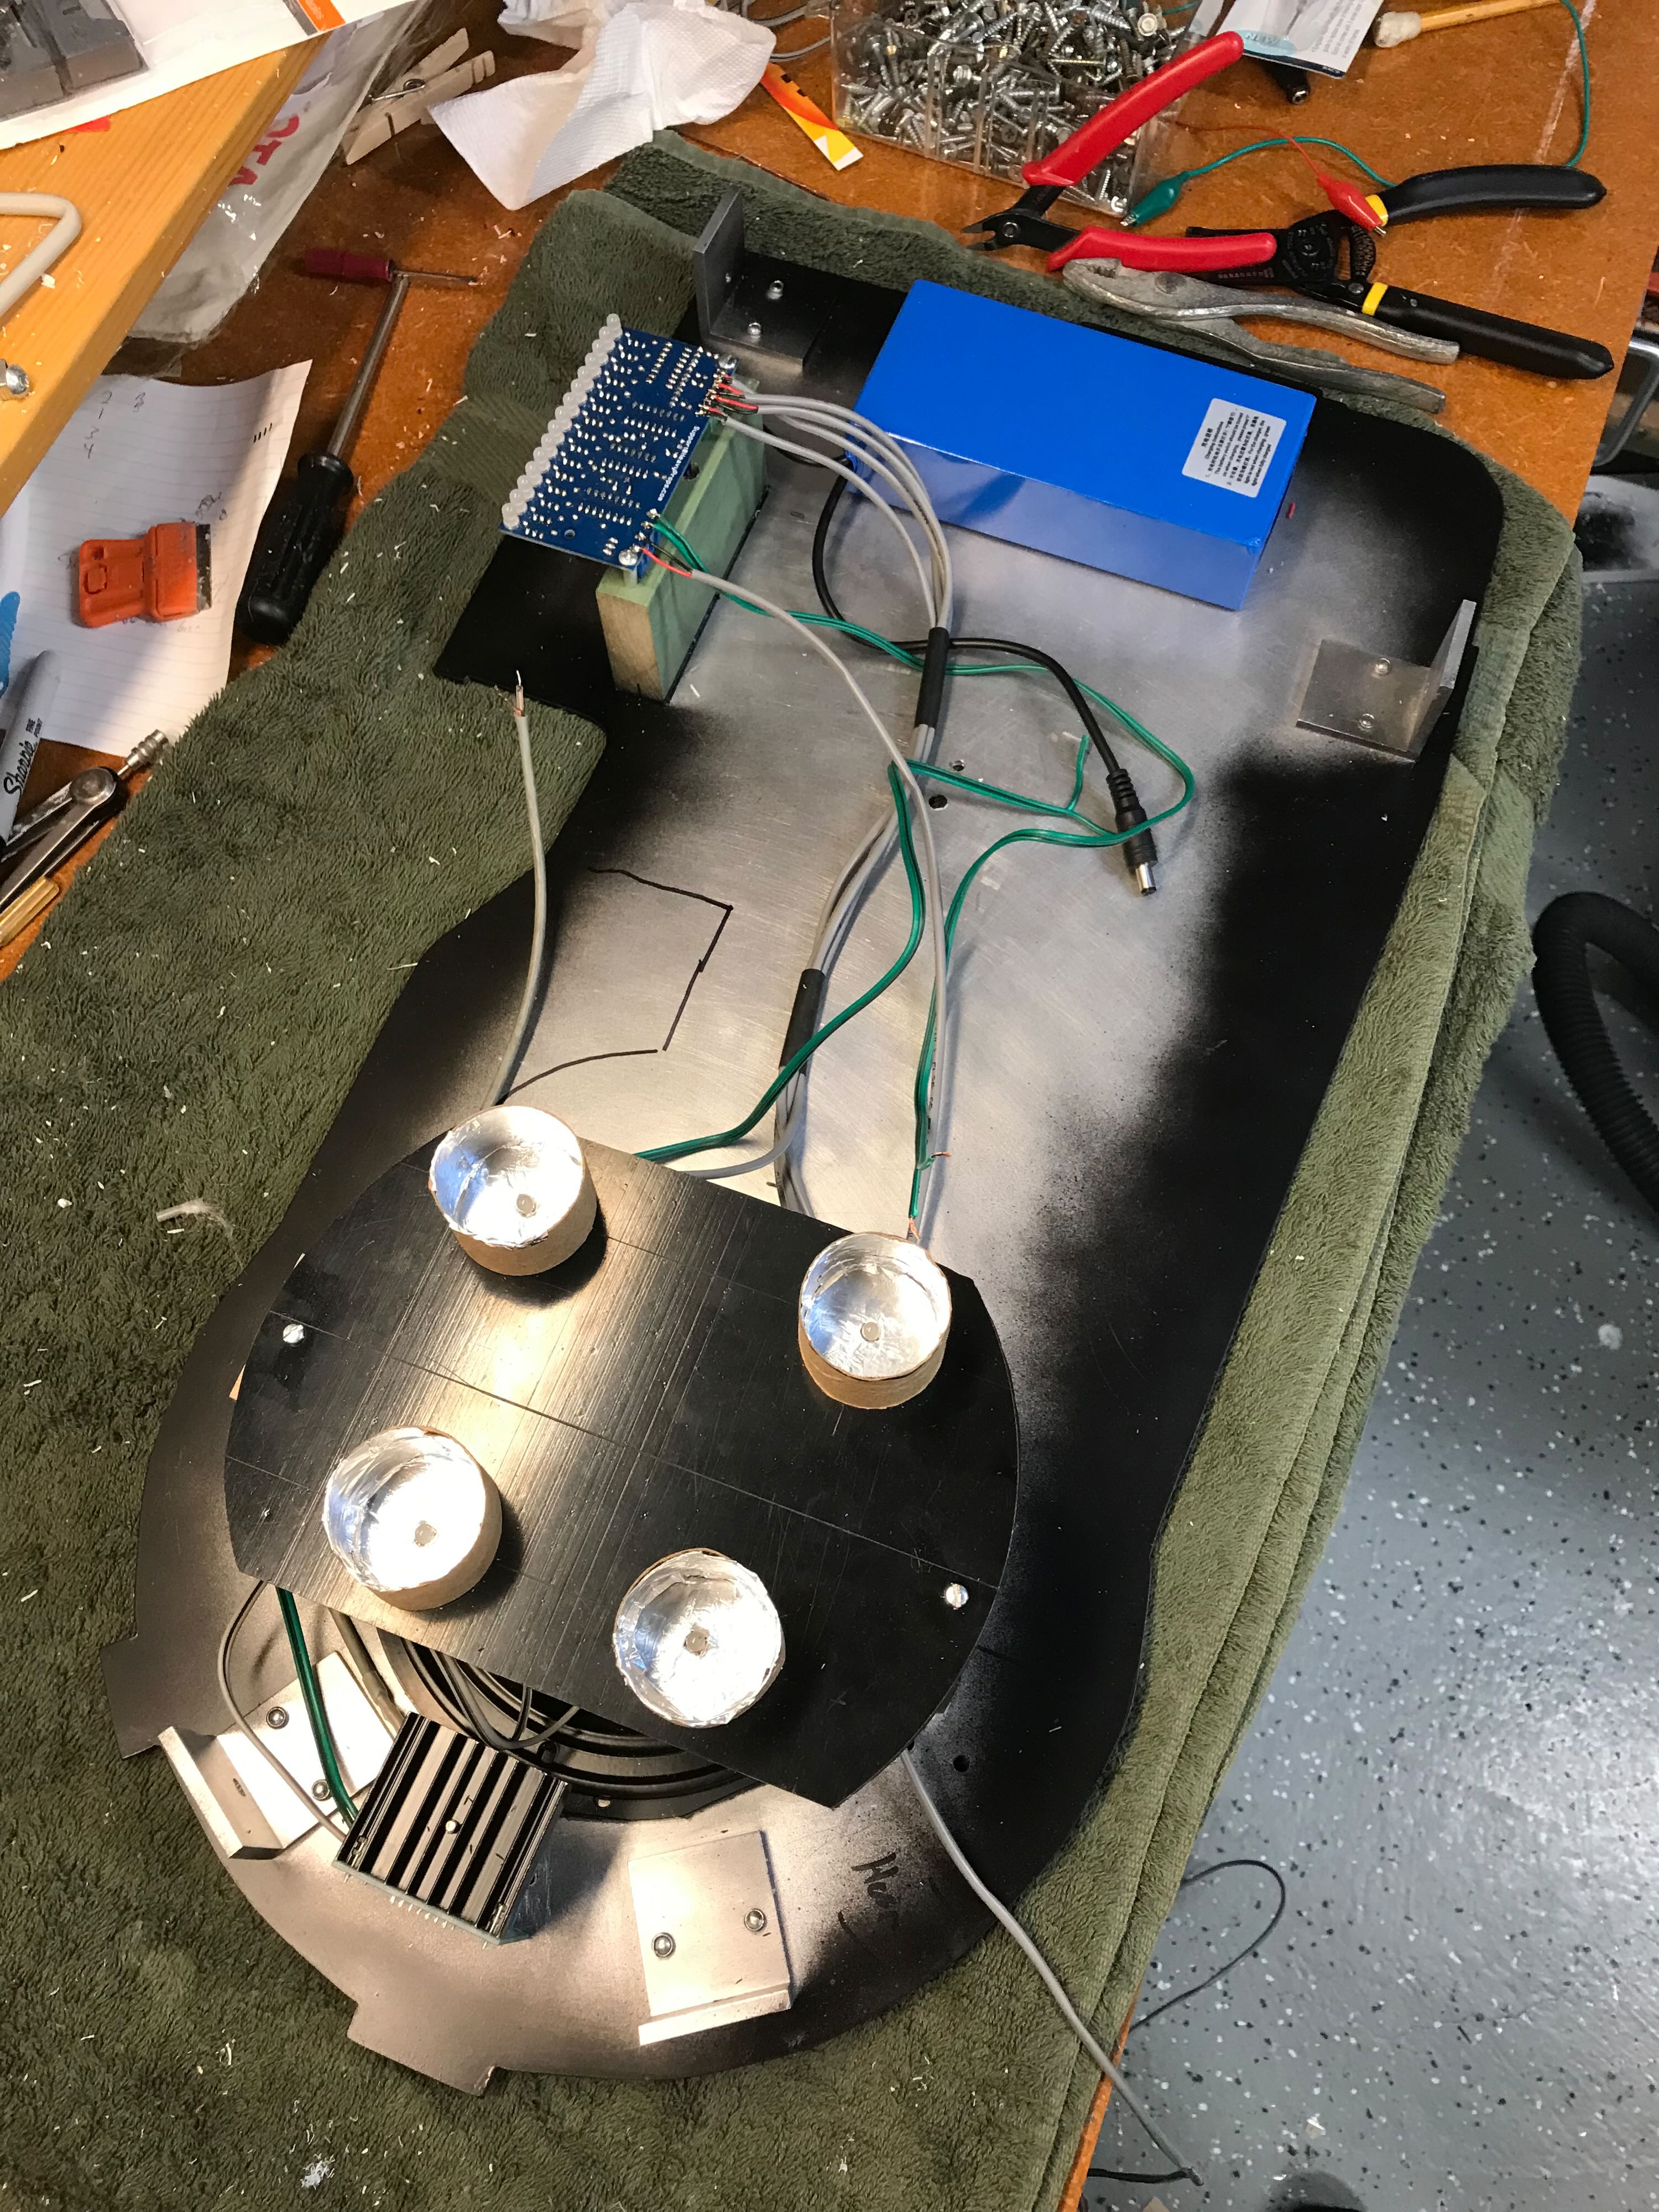
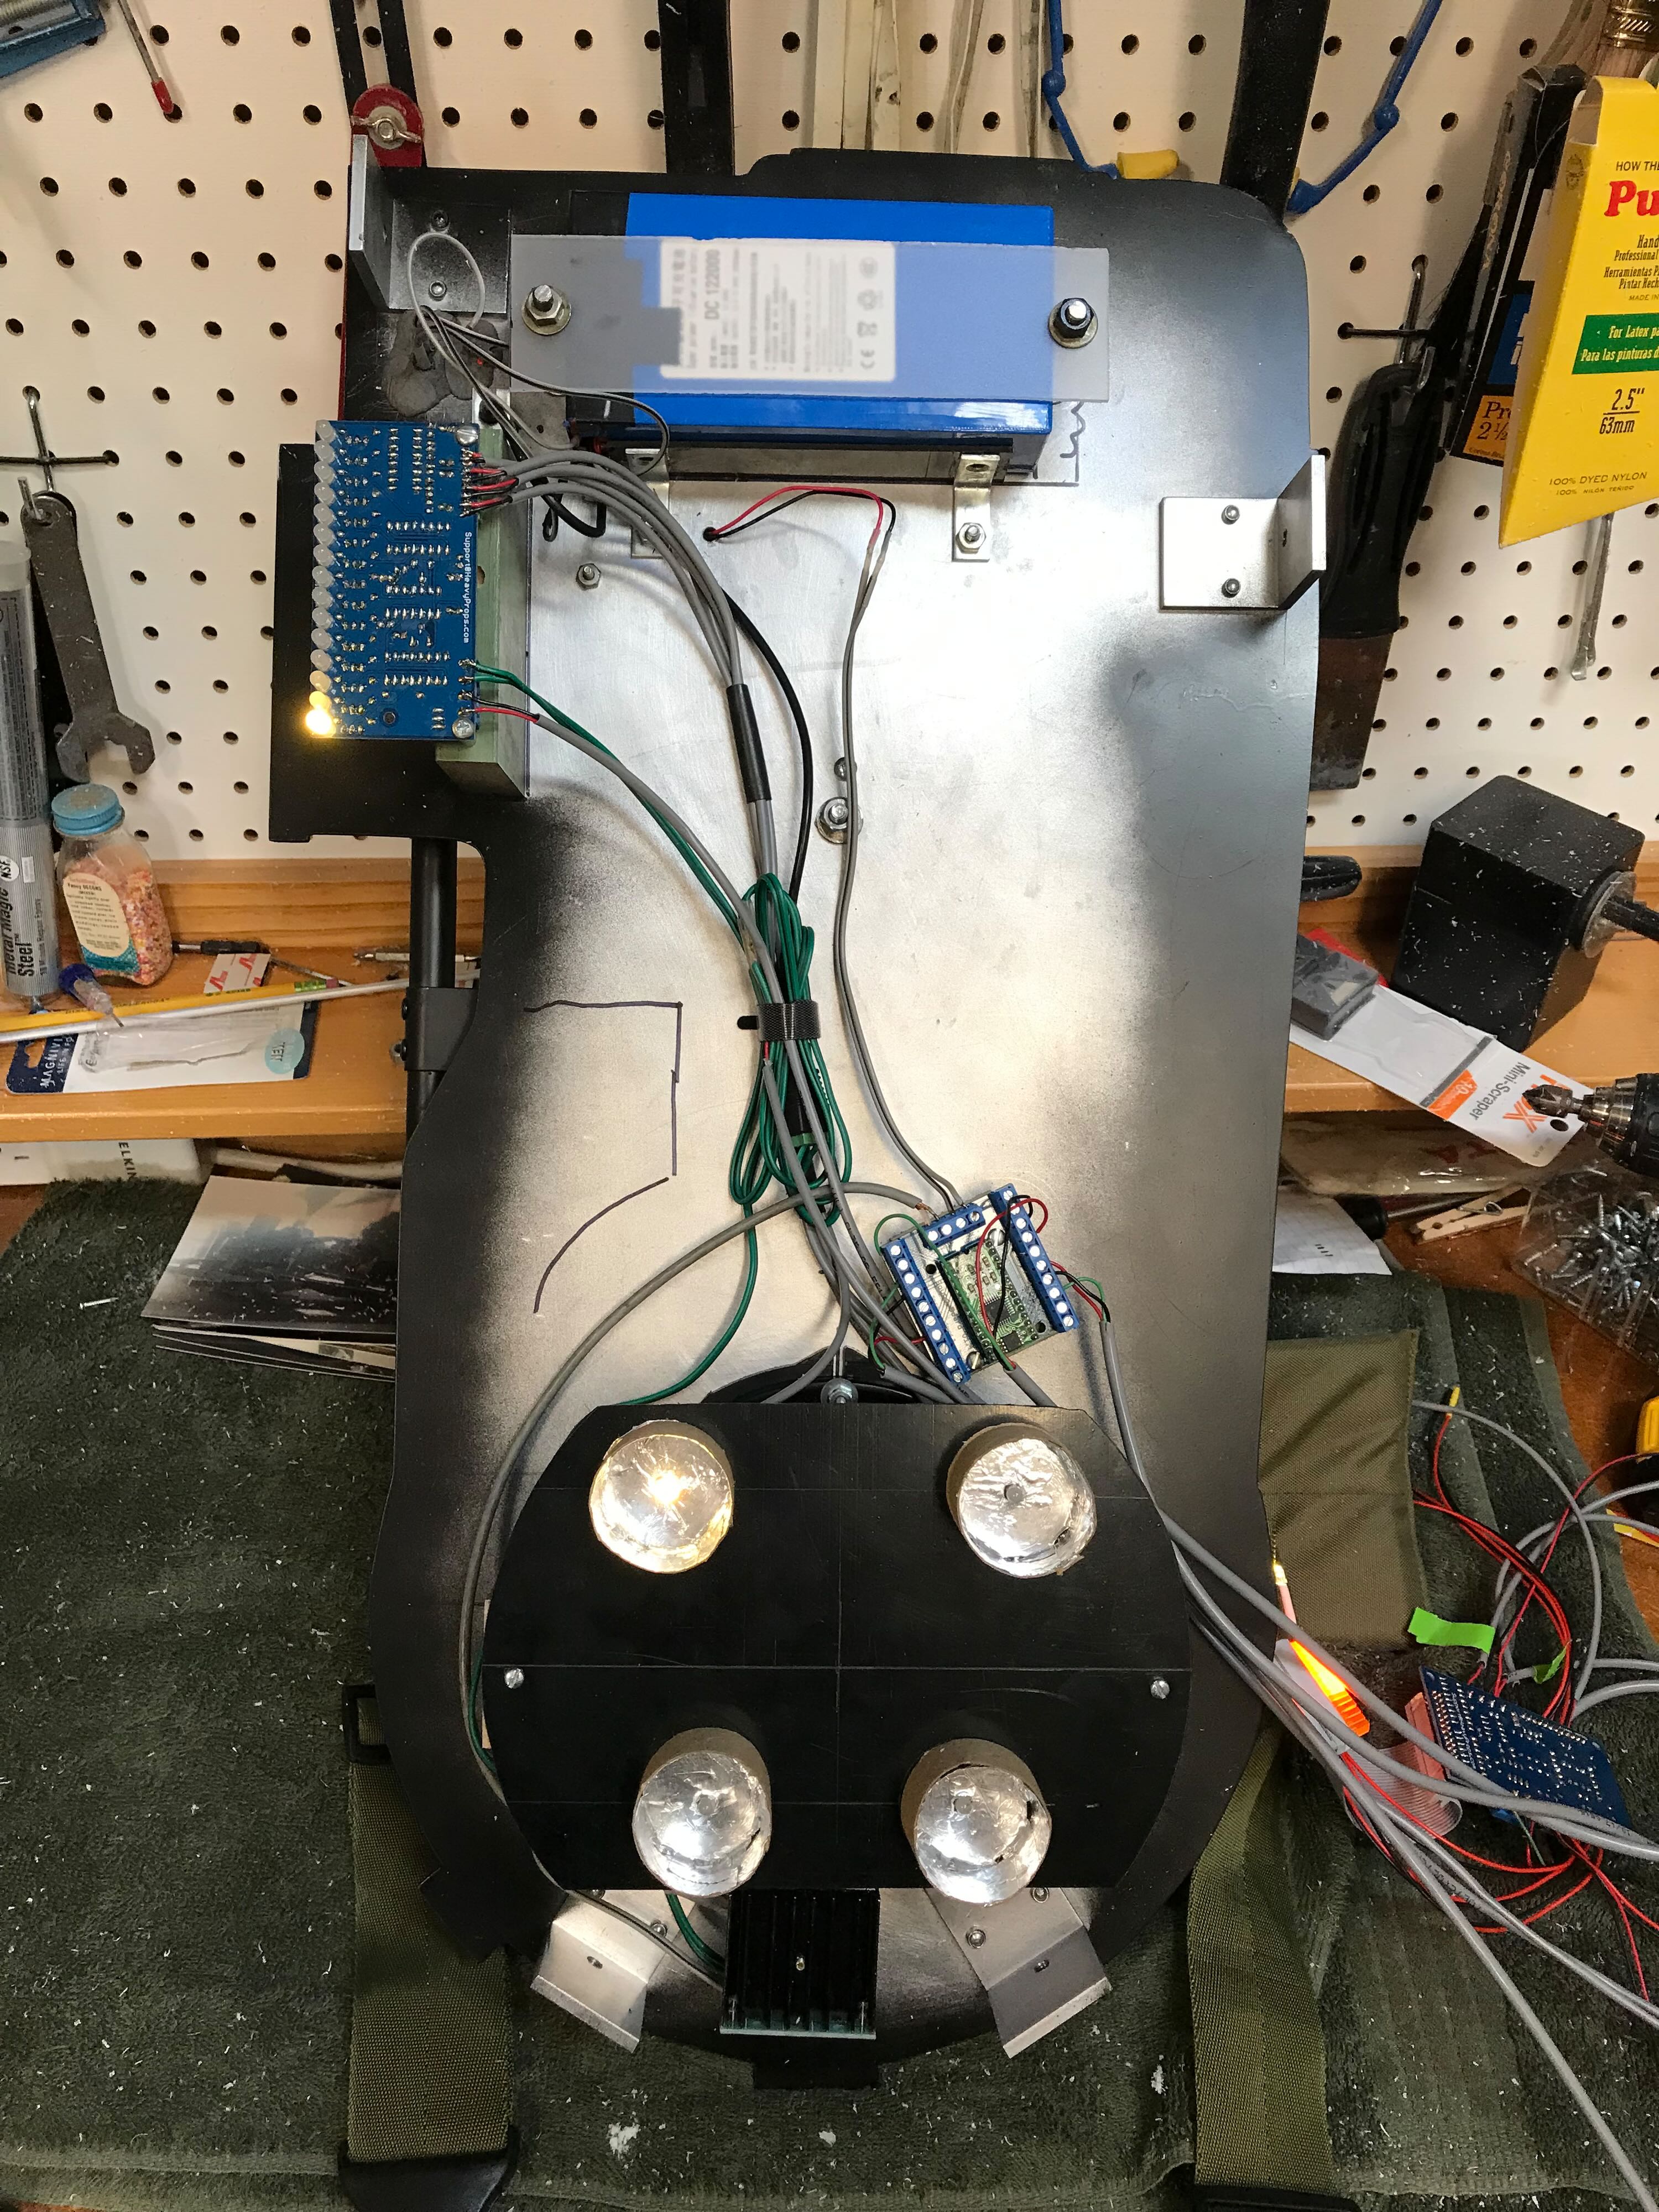
6/30/22 - The design of the PCB for the Power Cell lights left a little to be desired. The board was too wide to allow the LEDs to snug up close to the blue window. So unless you were looking almost straight into the power cell the LEDs would be obscured by the edges of the rectangular opening.
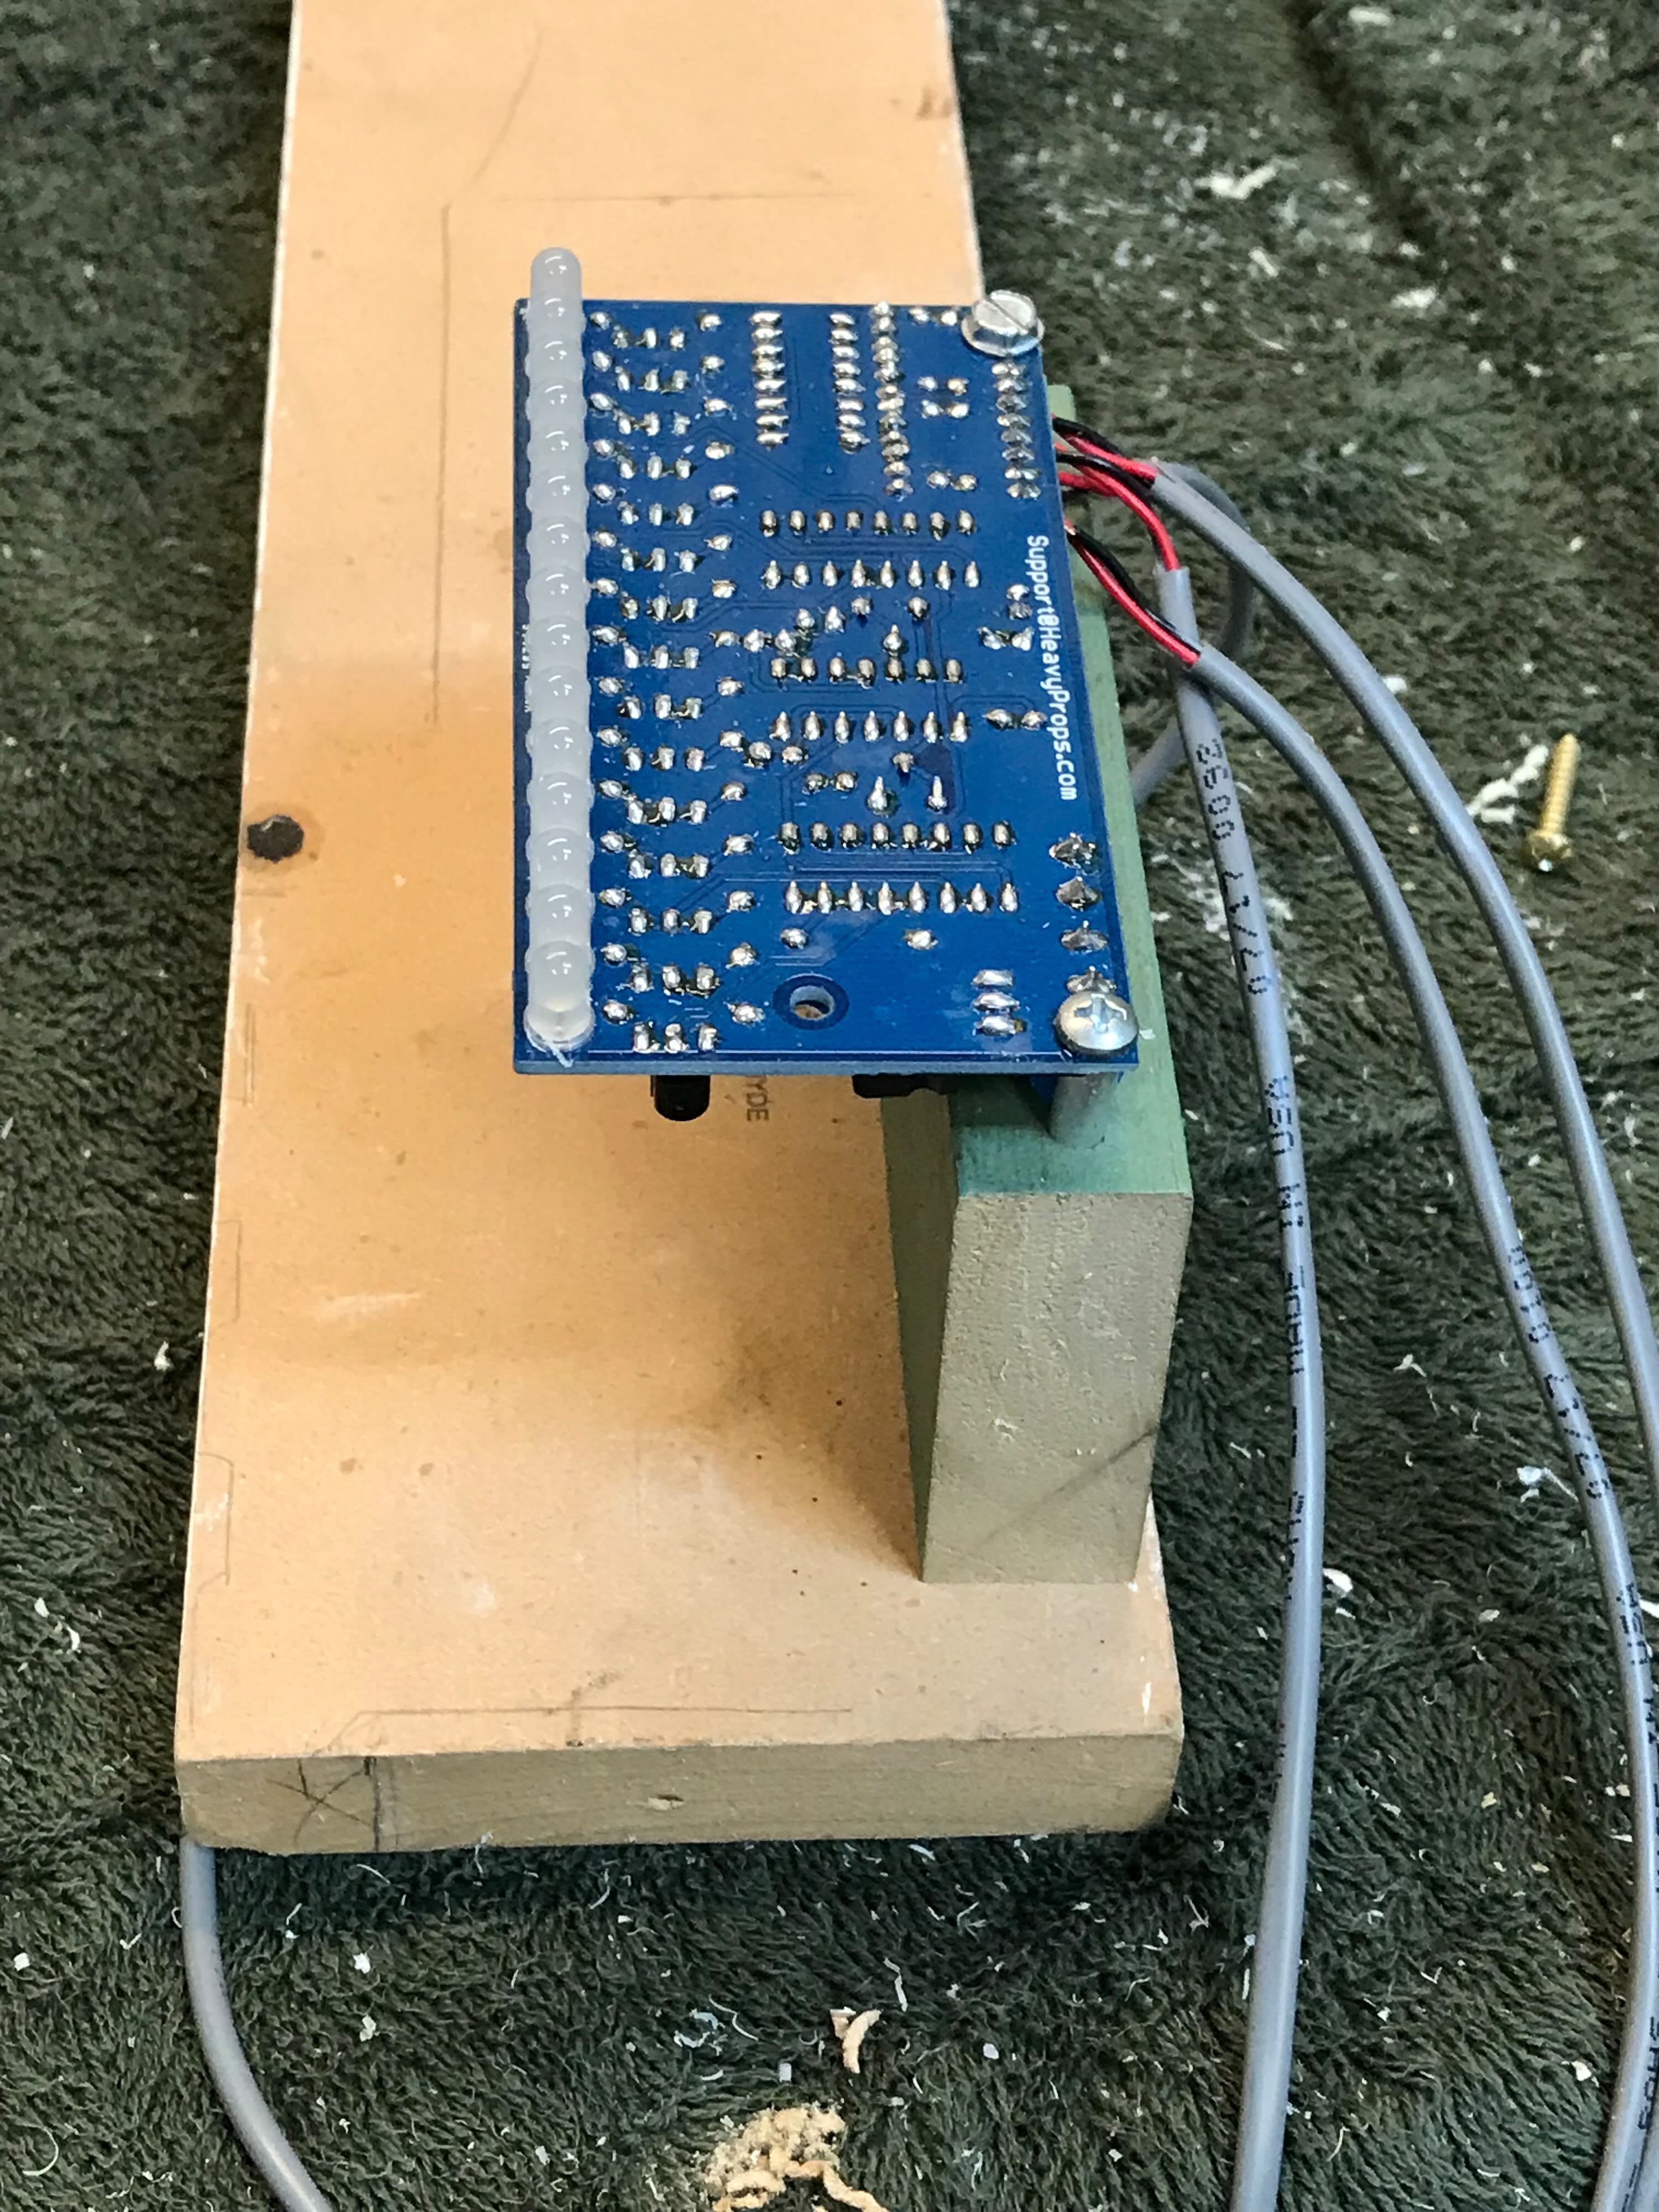
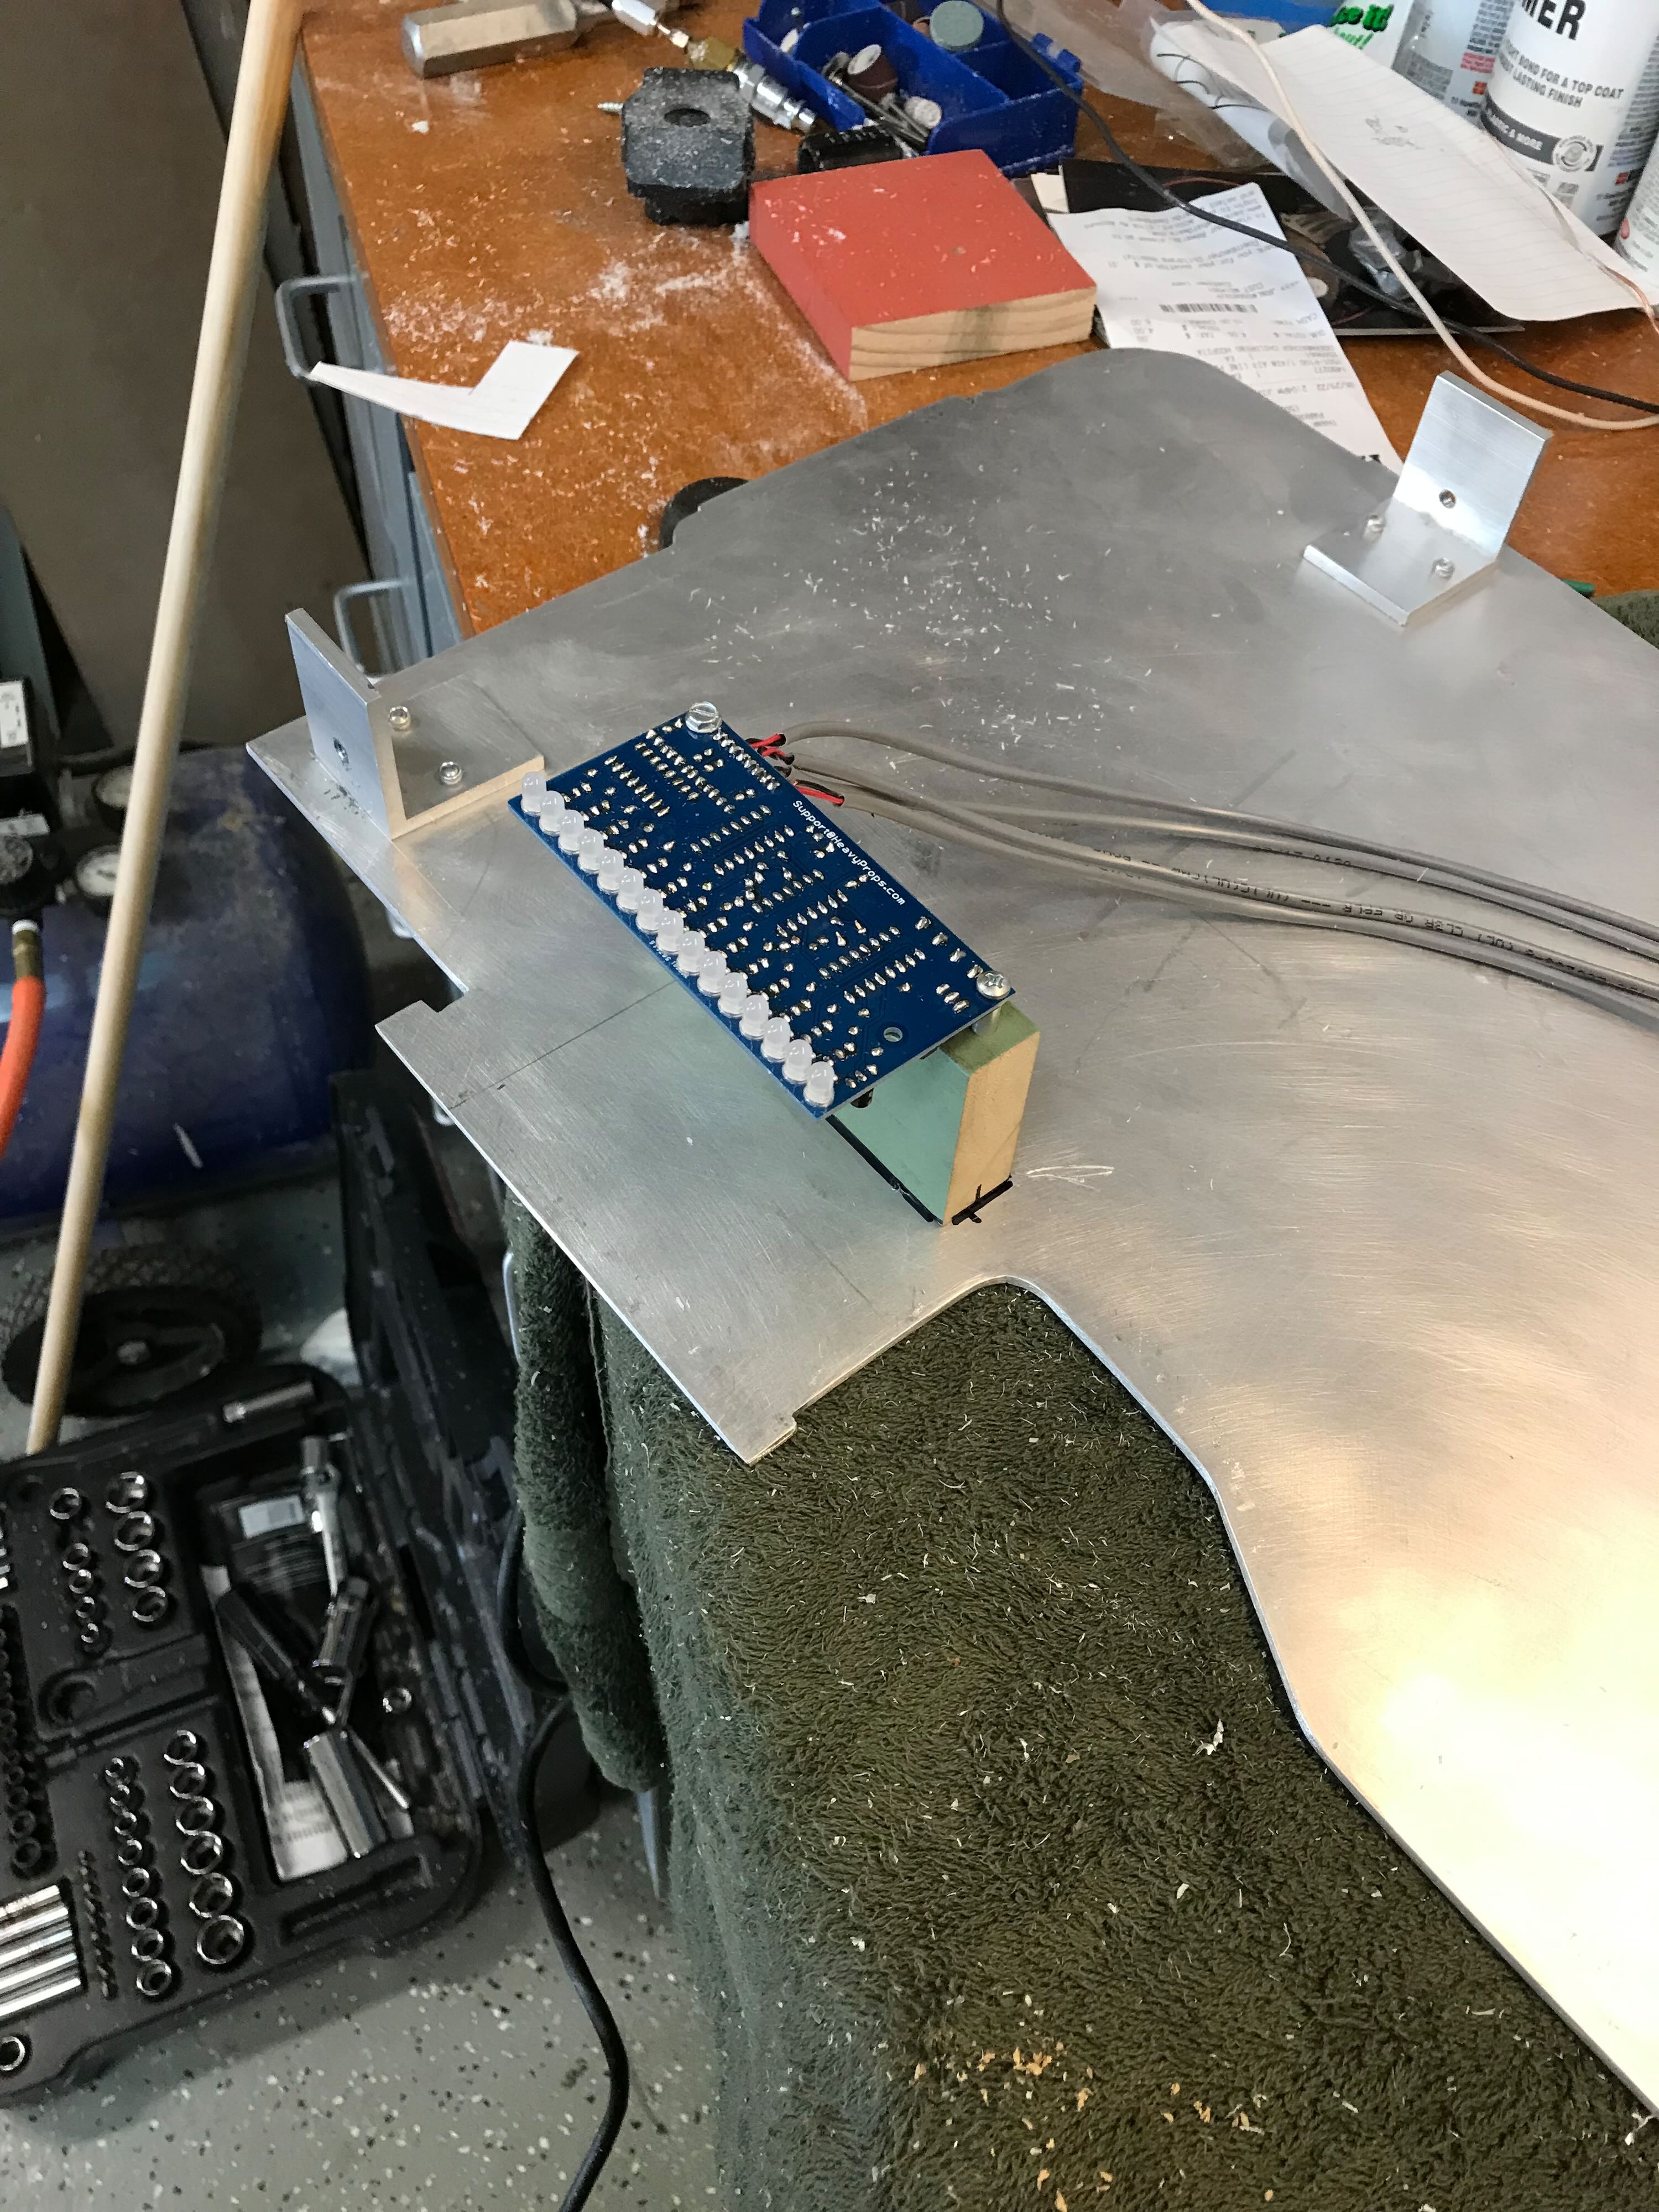
Most builds mount the Power Cell lights to a shaped piece of metal. As I was looking to save costs (and labor) I salvaged a piece of wood from my front porch bench I’d recently rebuilt to support the LEDs and PCB. I used a bit of aluminum tubing as spacers to clear the components on the PCB. Getting the LEDs to line up with the window took a fair amount of effort.
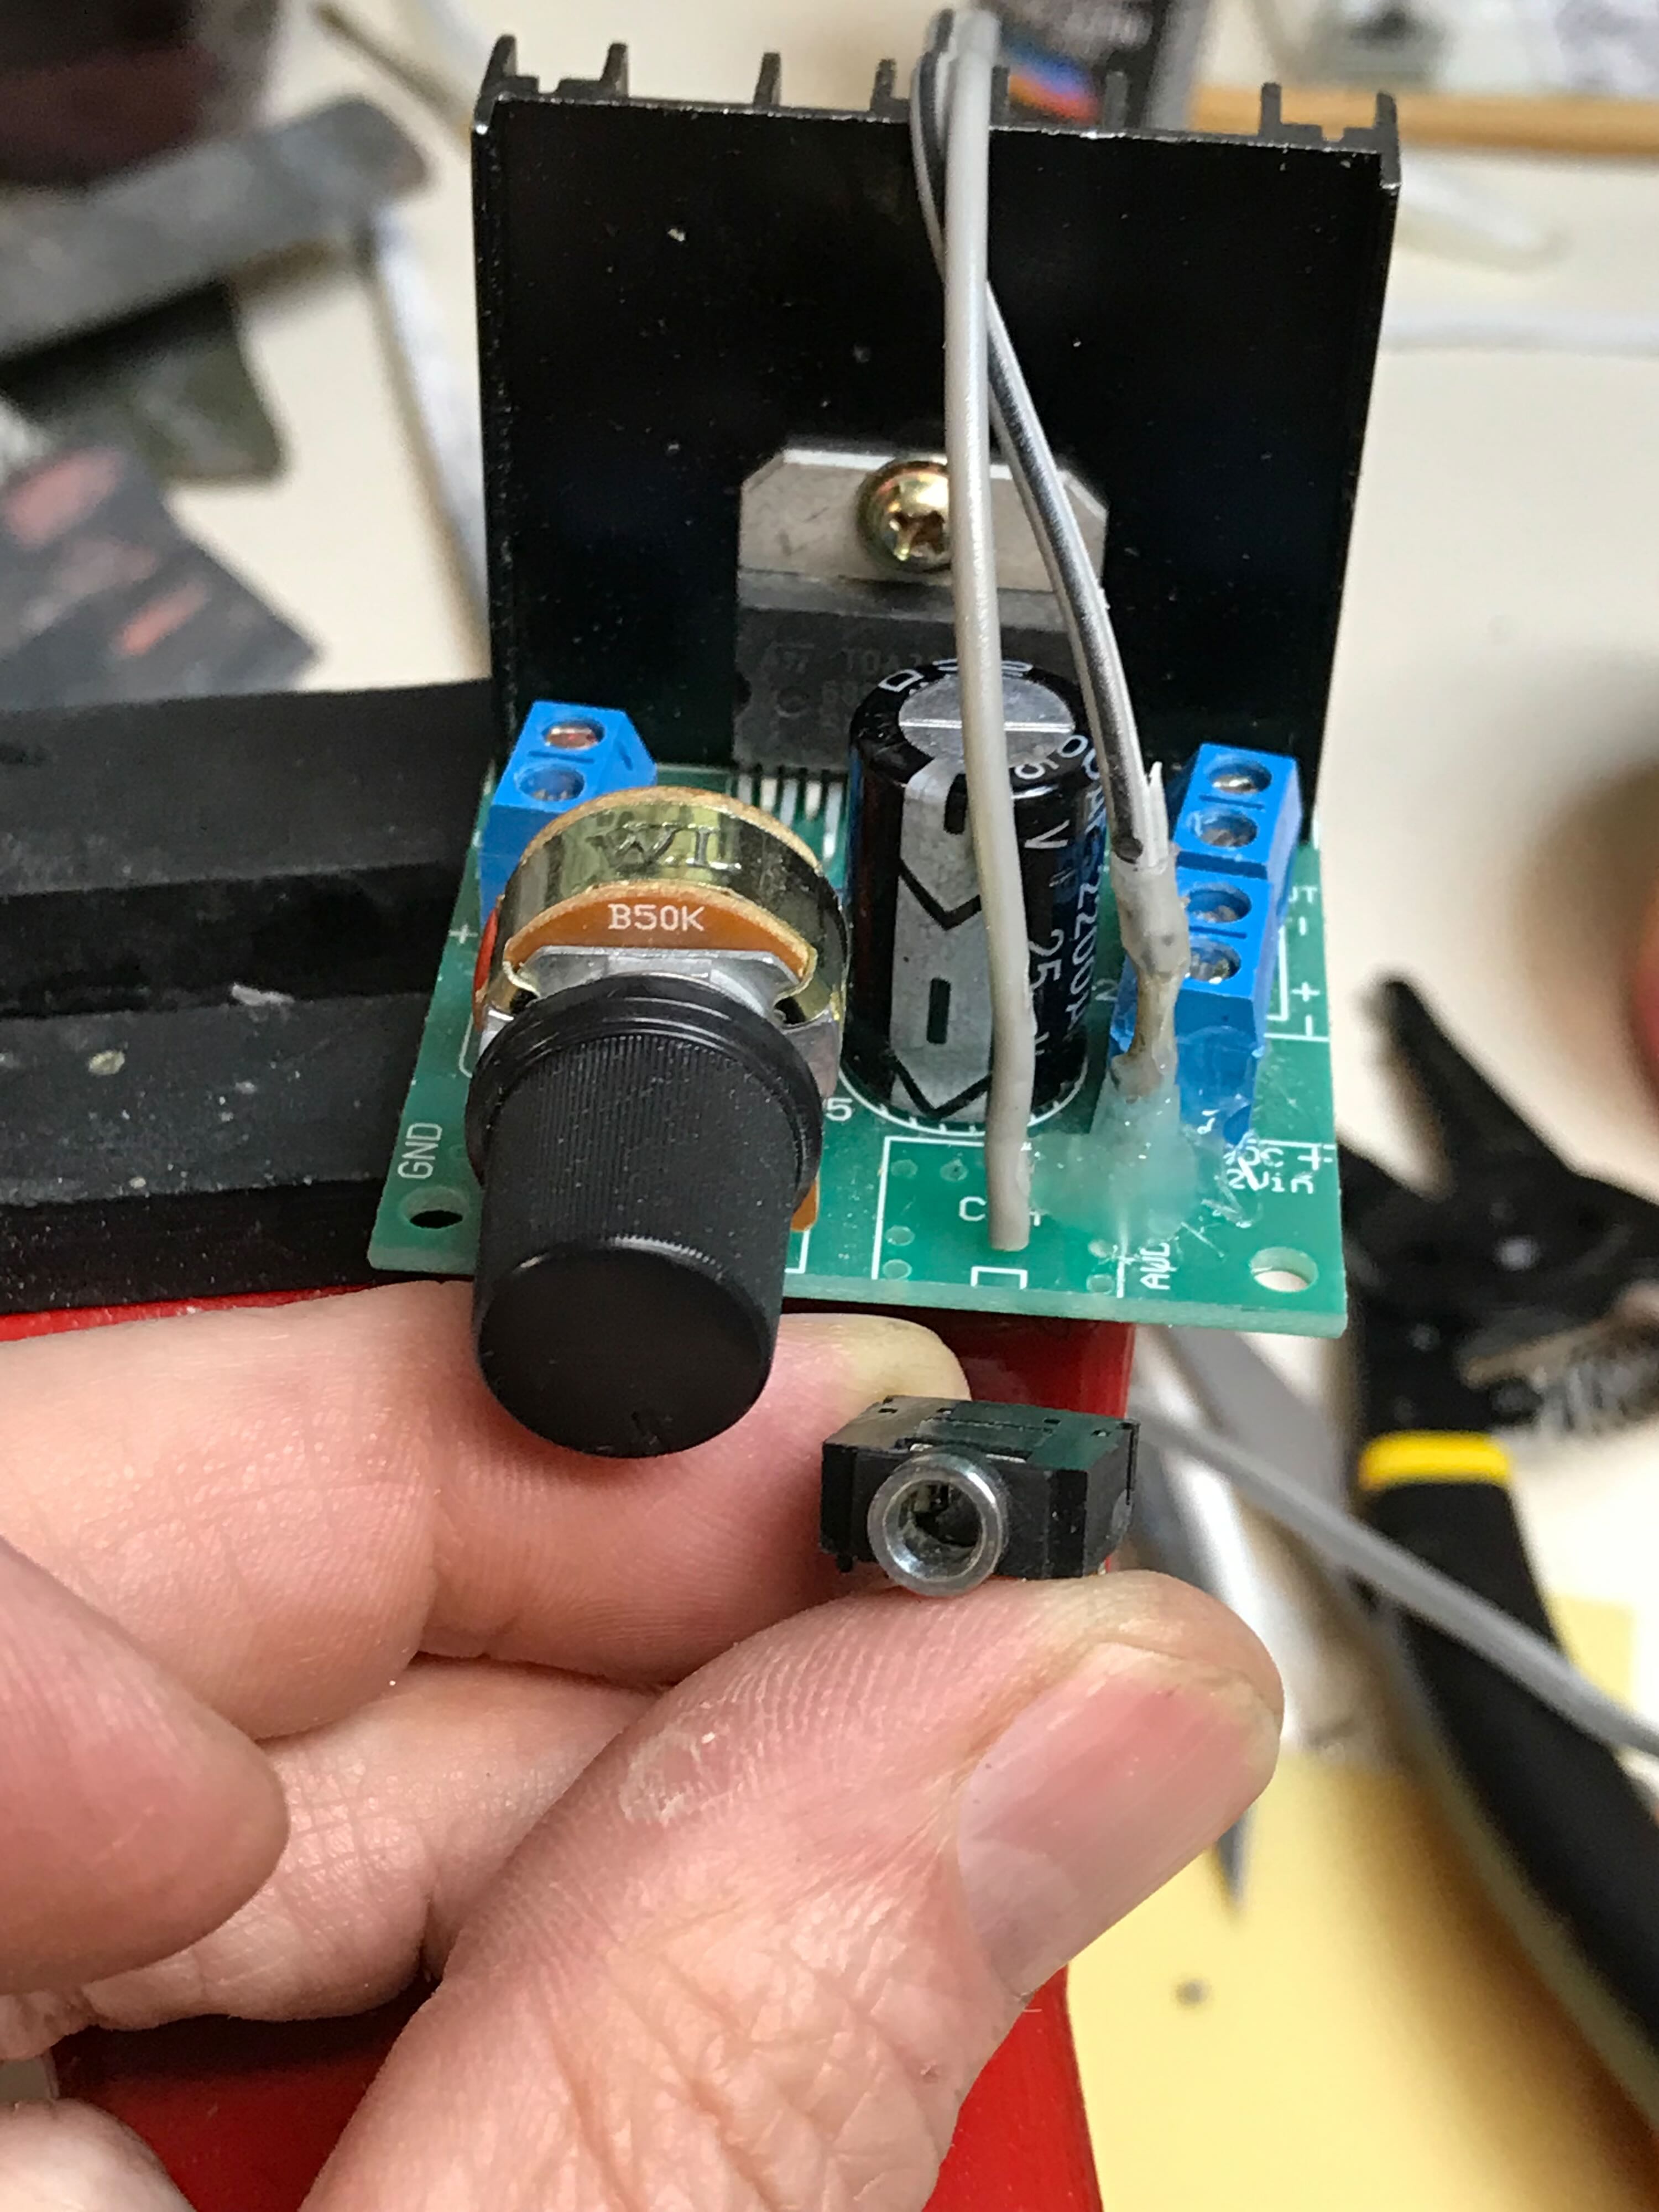
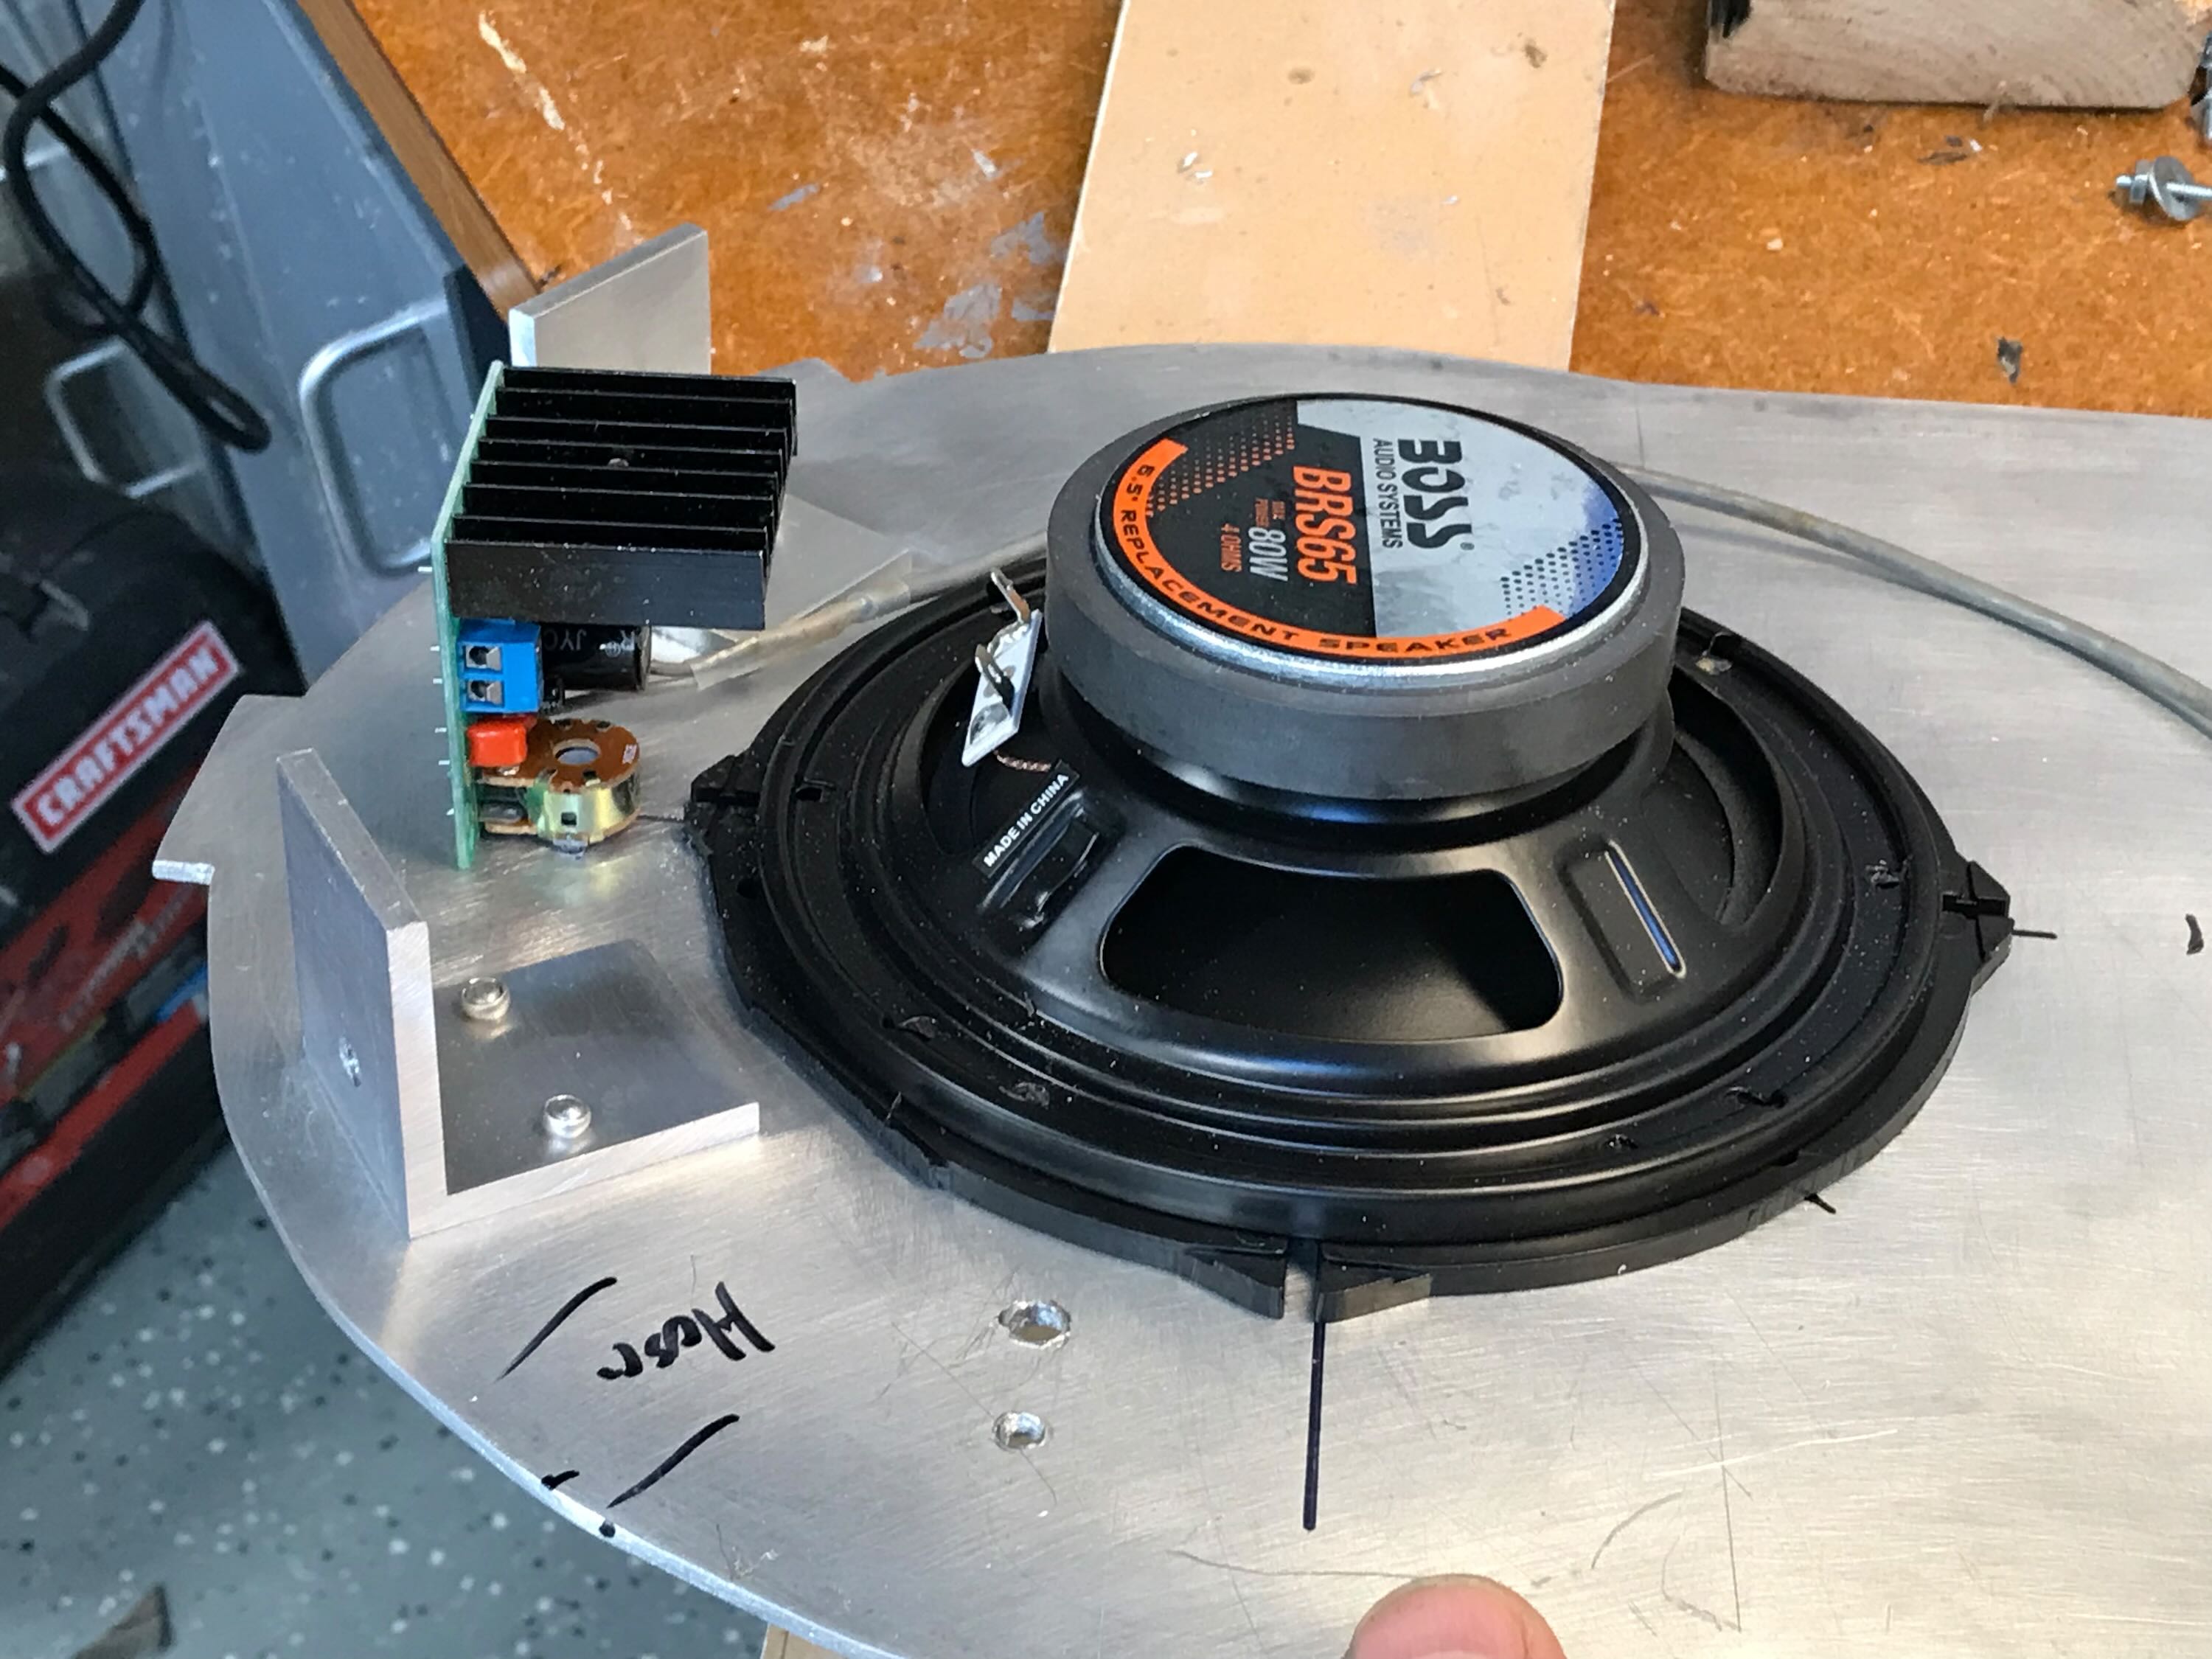
I removed the analog jack from the small amplifier Wes bought and soldered the wiring directly to the PCB. Connecting the Heavy Props sound board directly to the amp input created a lot of distortion. After a lot of research and experimentation I ended up adding a 50K ohm resistor into the line to mitigate the distortion. It’s not perfect, but it’s acceptable.
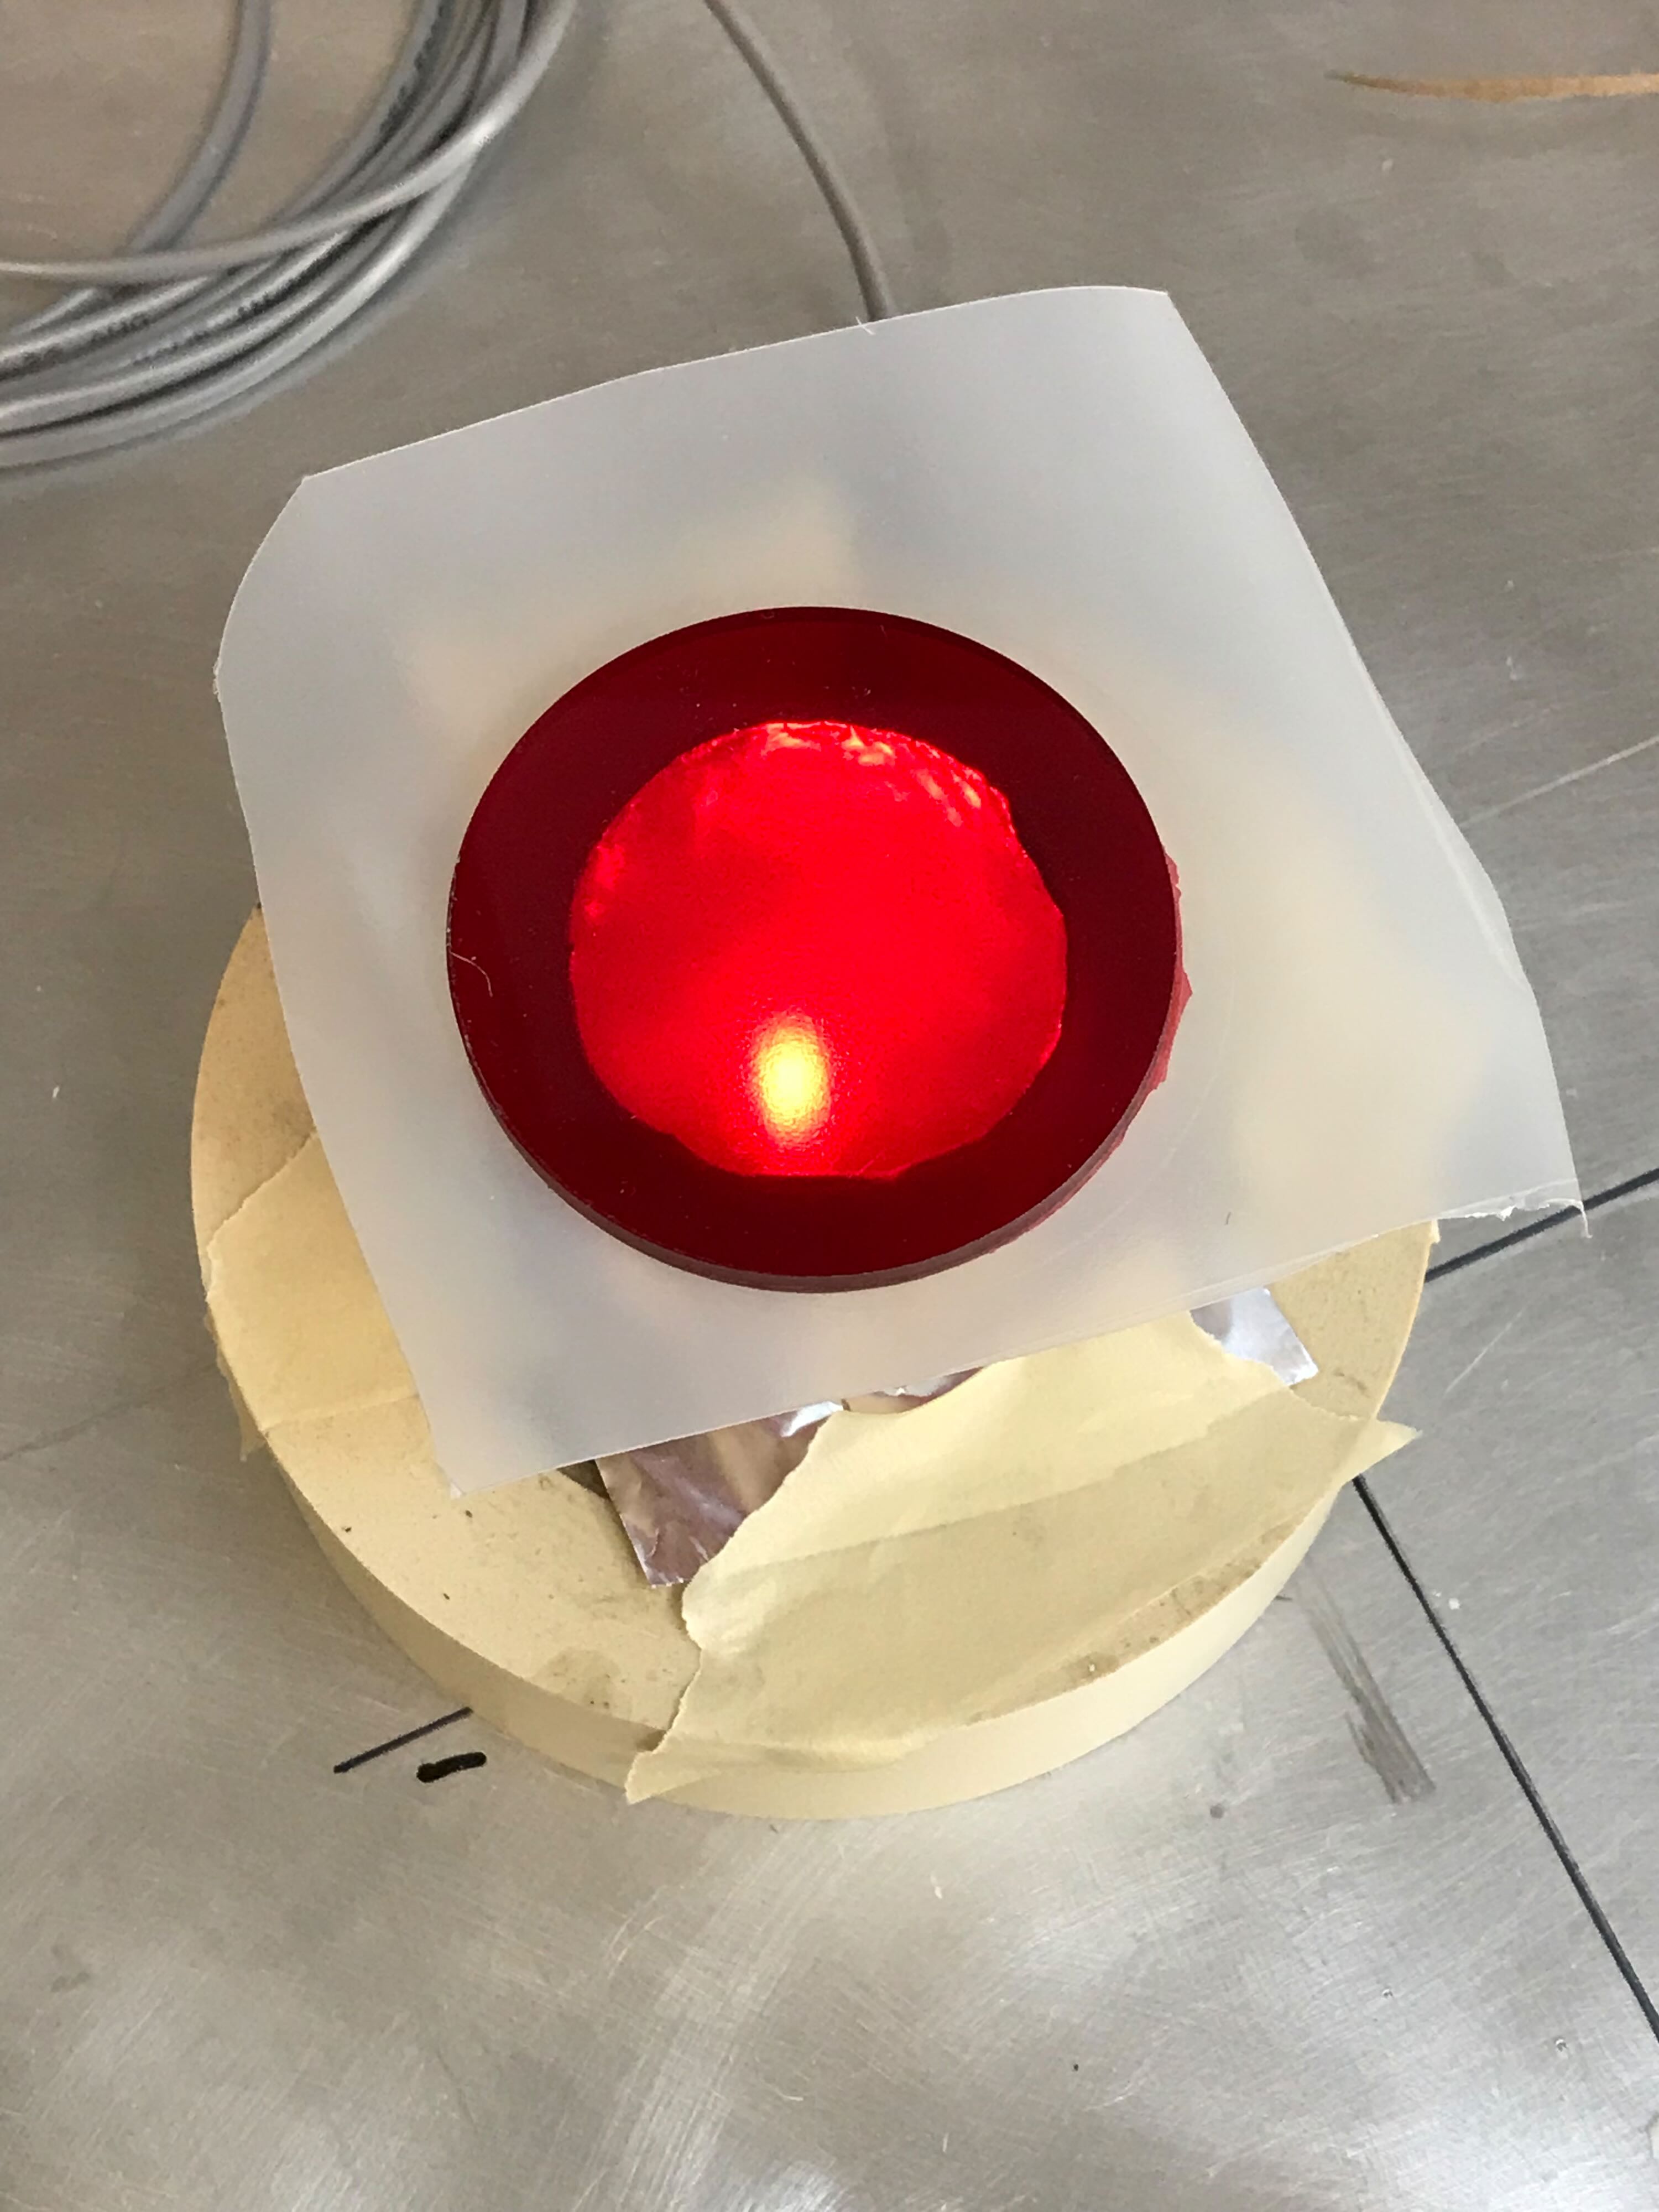
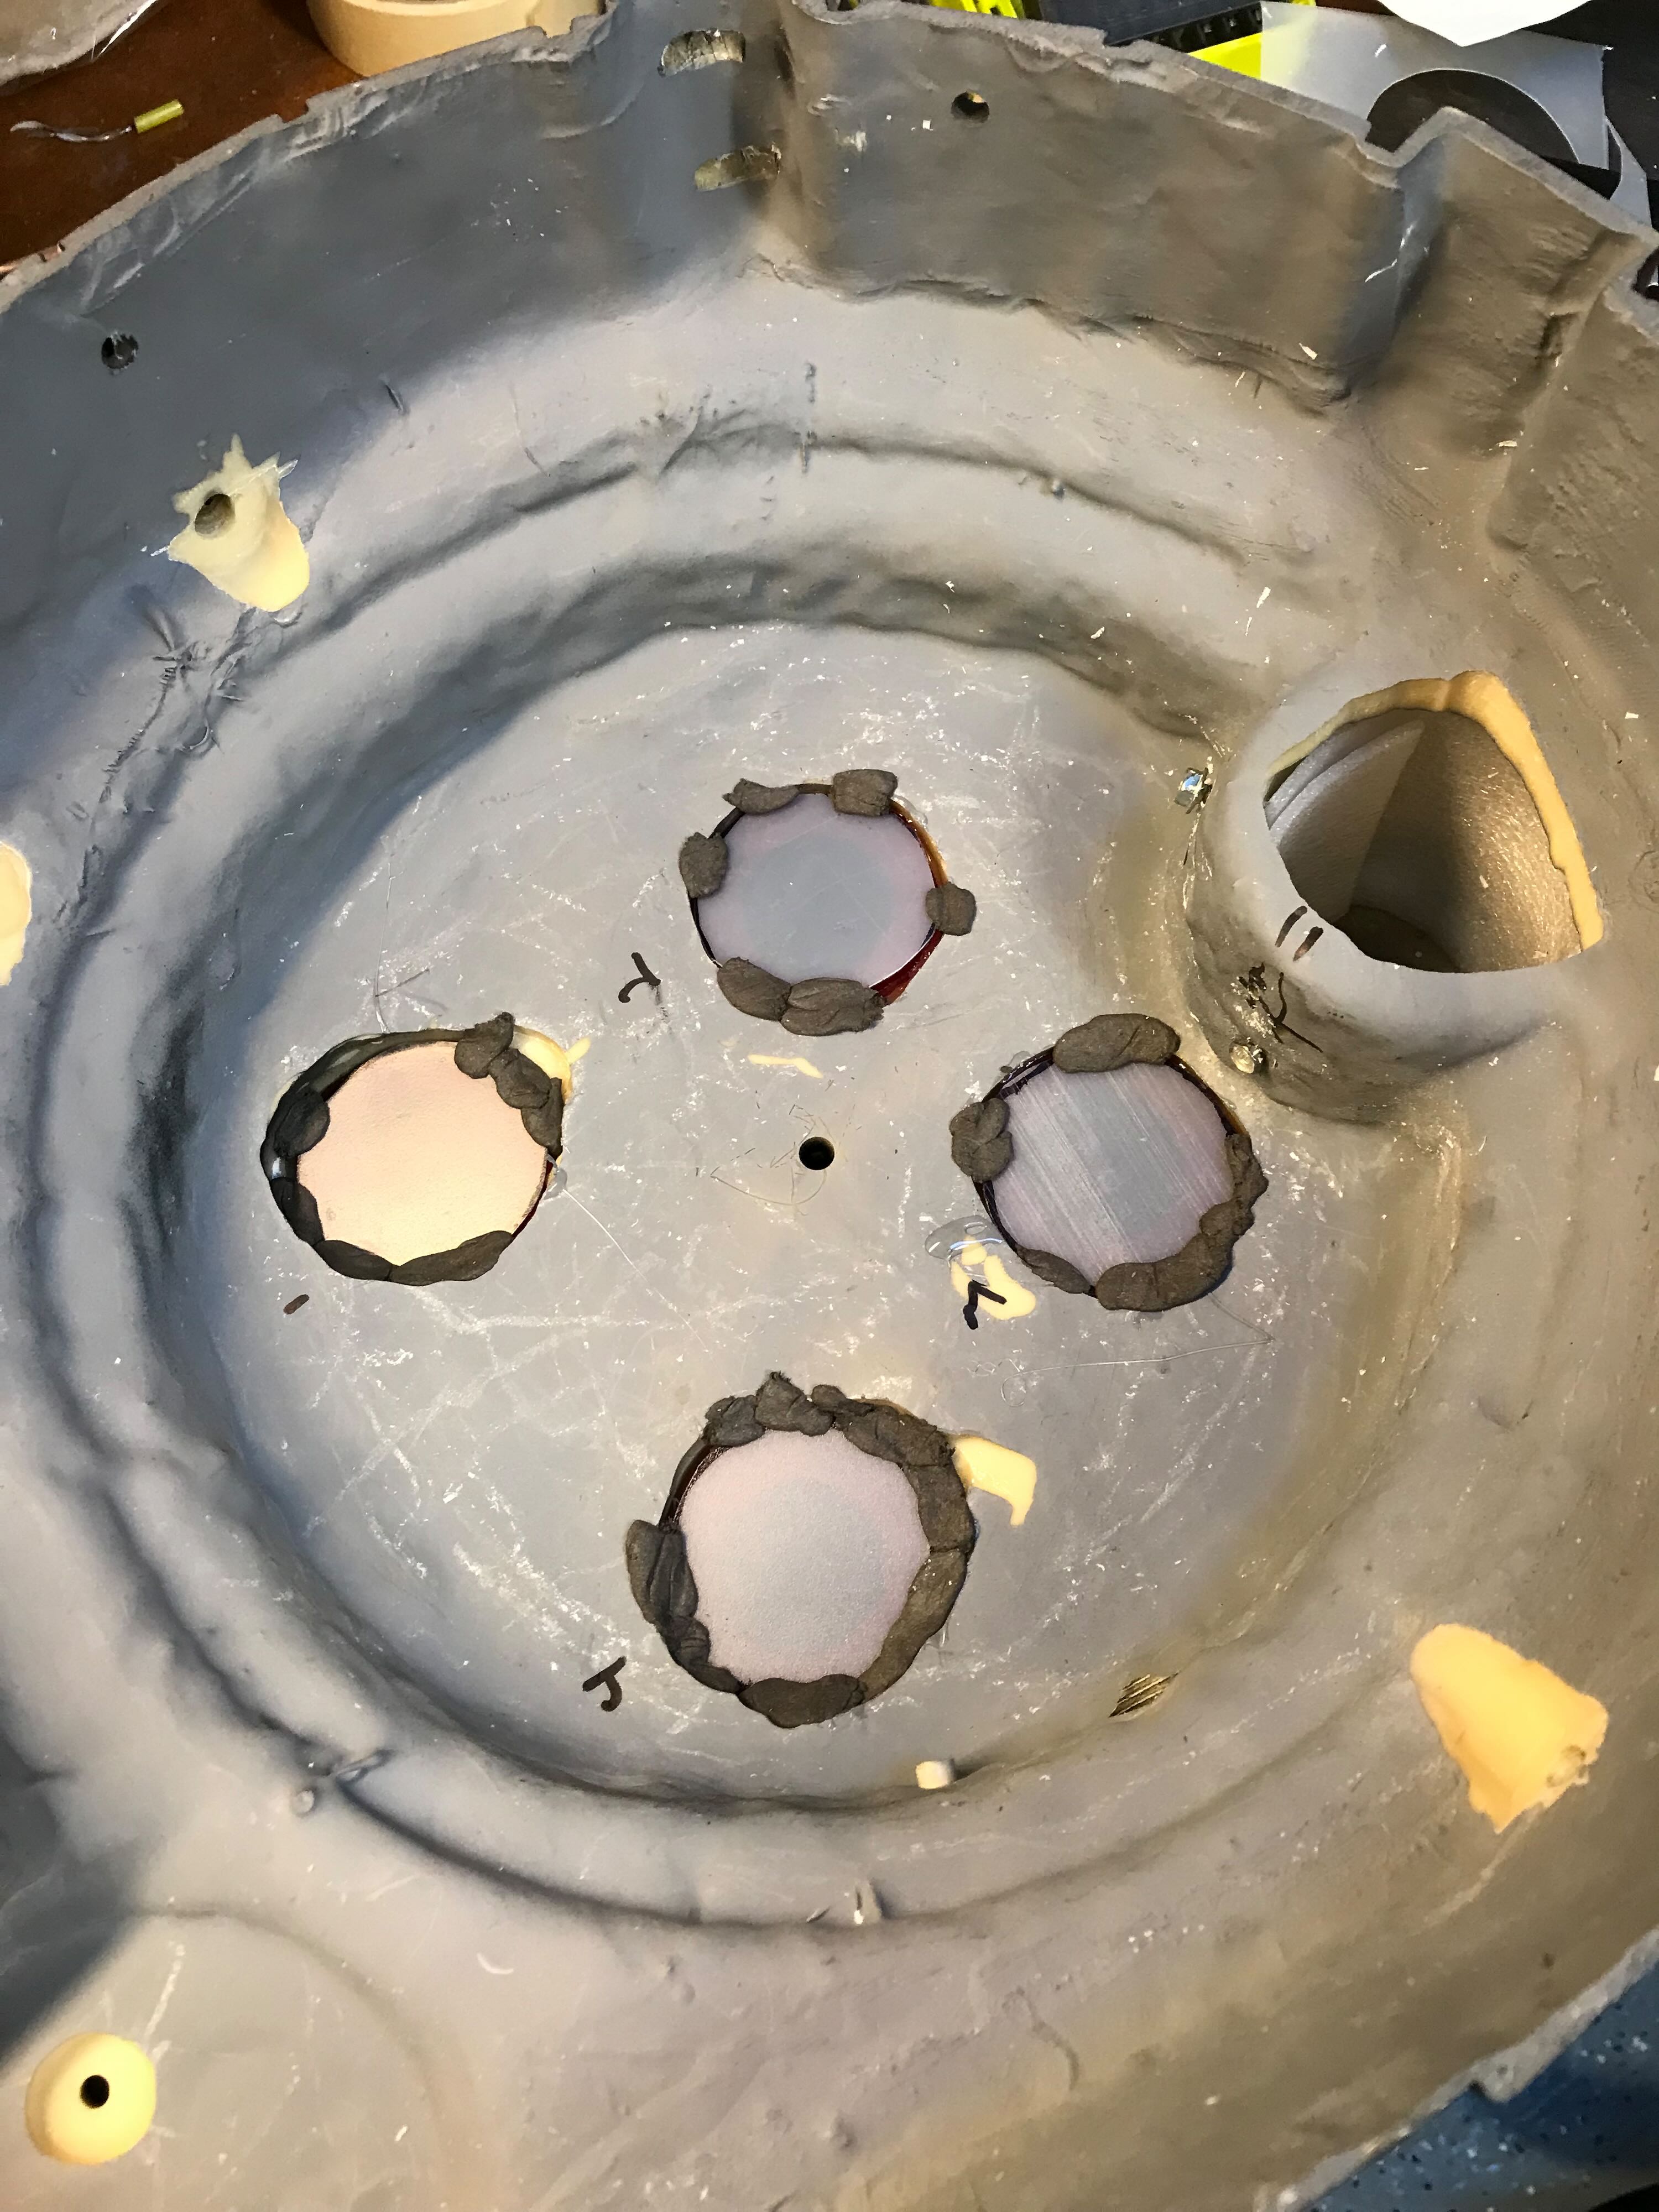
7/1/22 - The Cyclotron LEDs that came with the Heavy Prop kit weren’t super-huge (5mm) or bright. To pump up the light a bit I reused our 1984 approach of using reflective metal foil inside cardboard tubes.
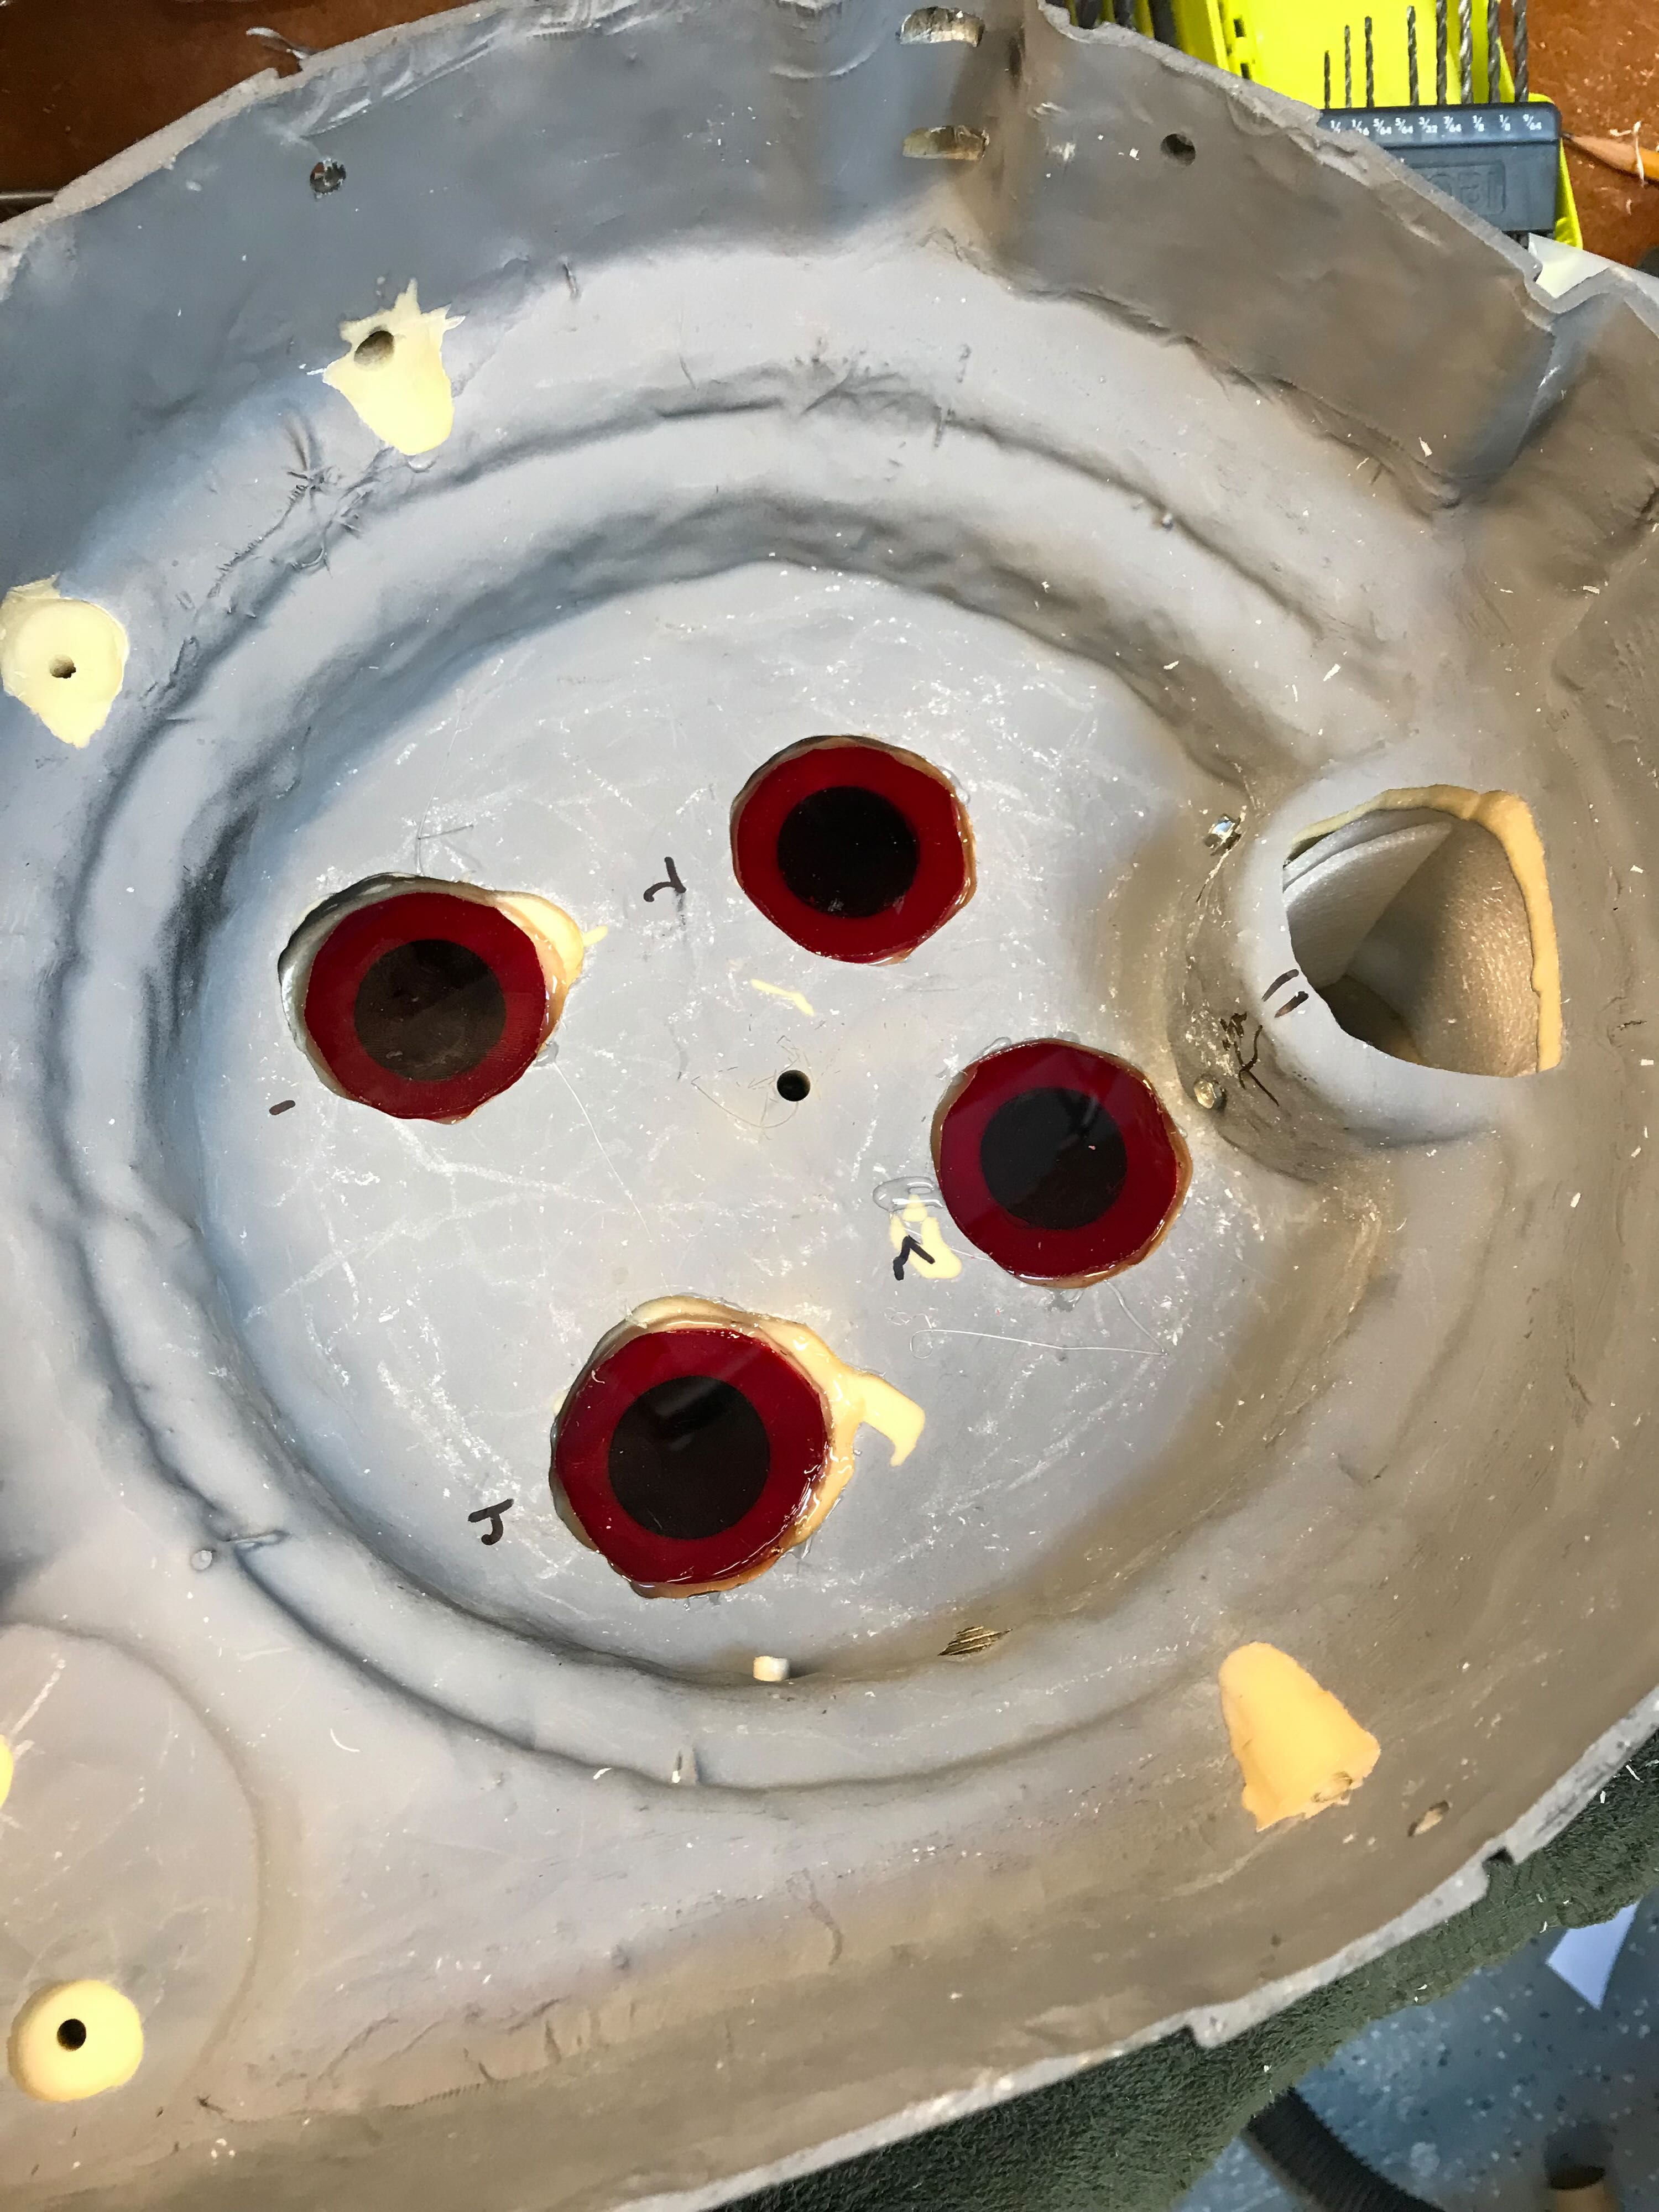
I wanted to obscure the LEDs and reflectors a bit through the red lenses, so after a bit of trial and error I found that a piece from a plastic gallon jug added a nice bit of diffusion.
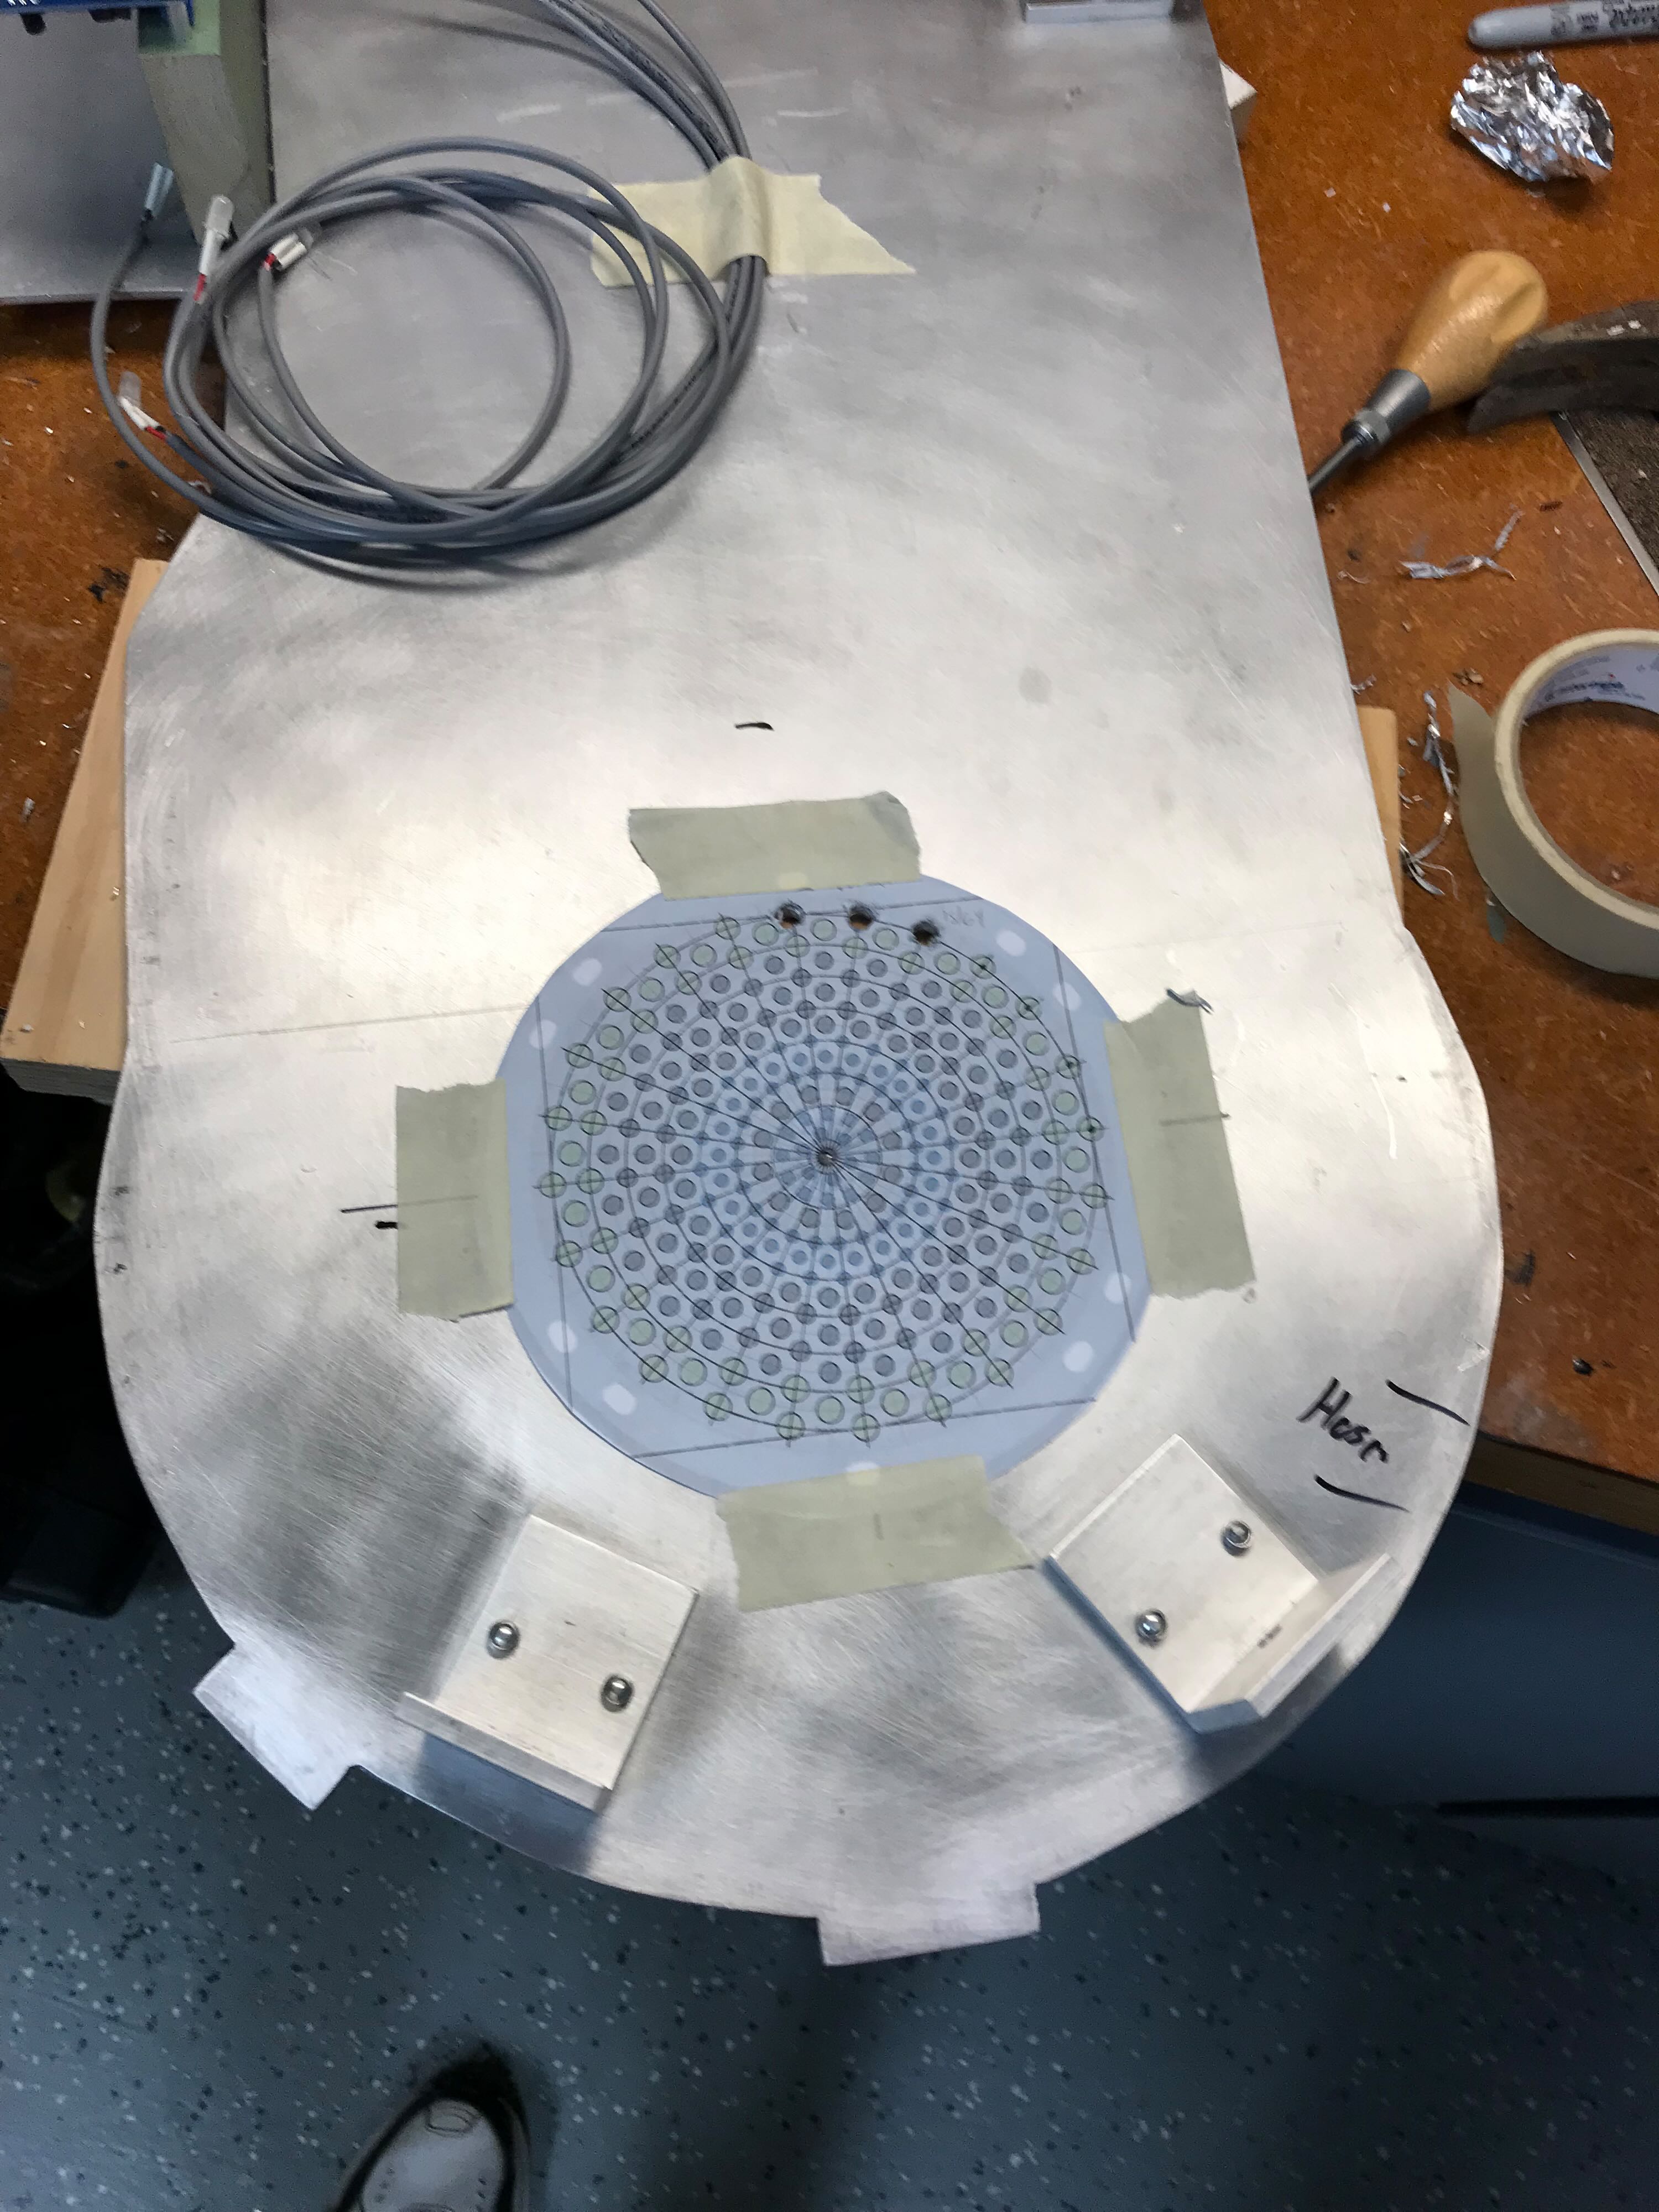
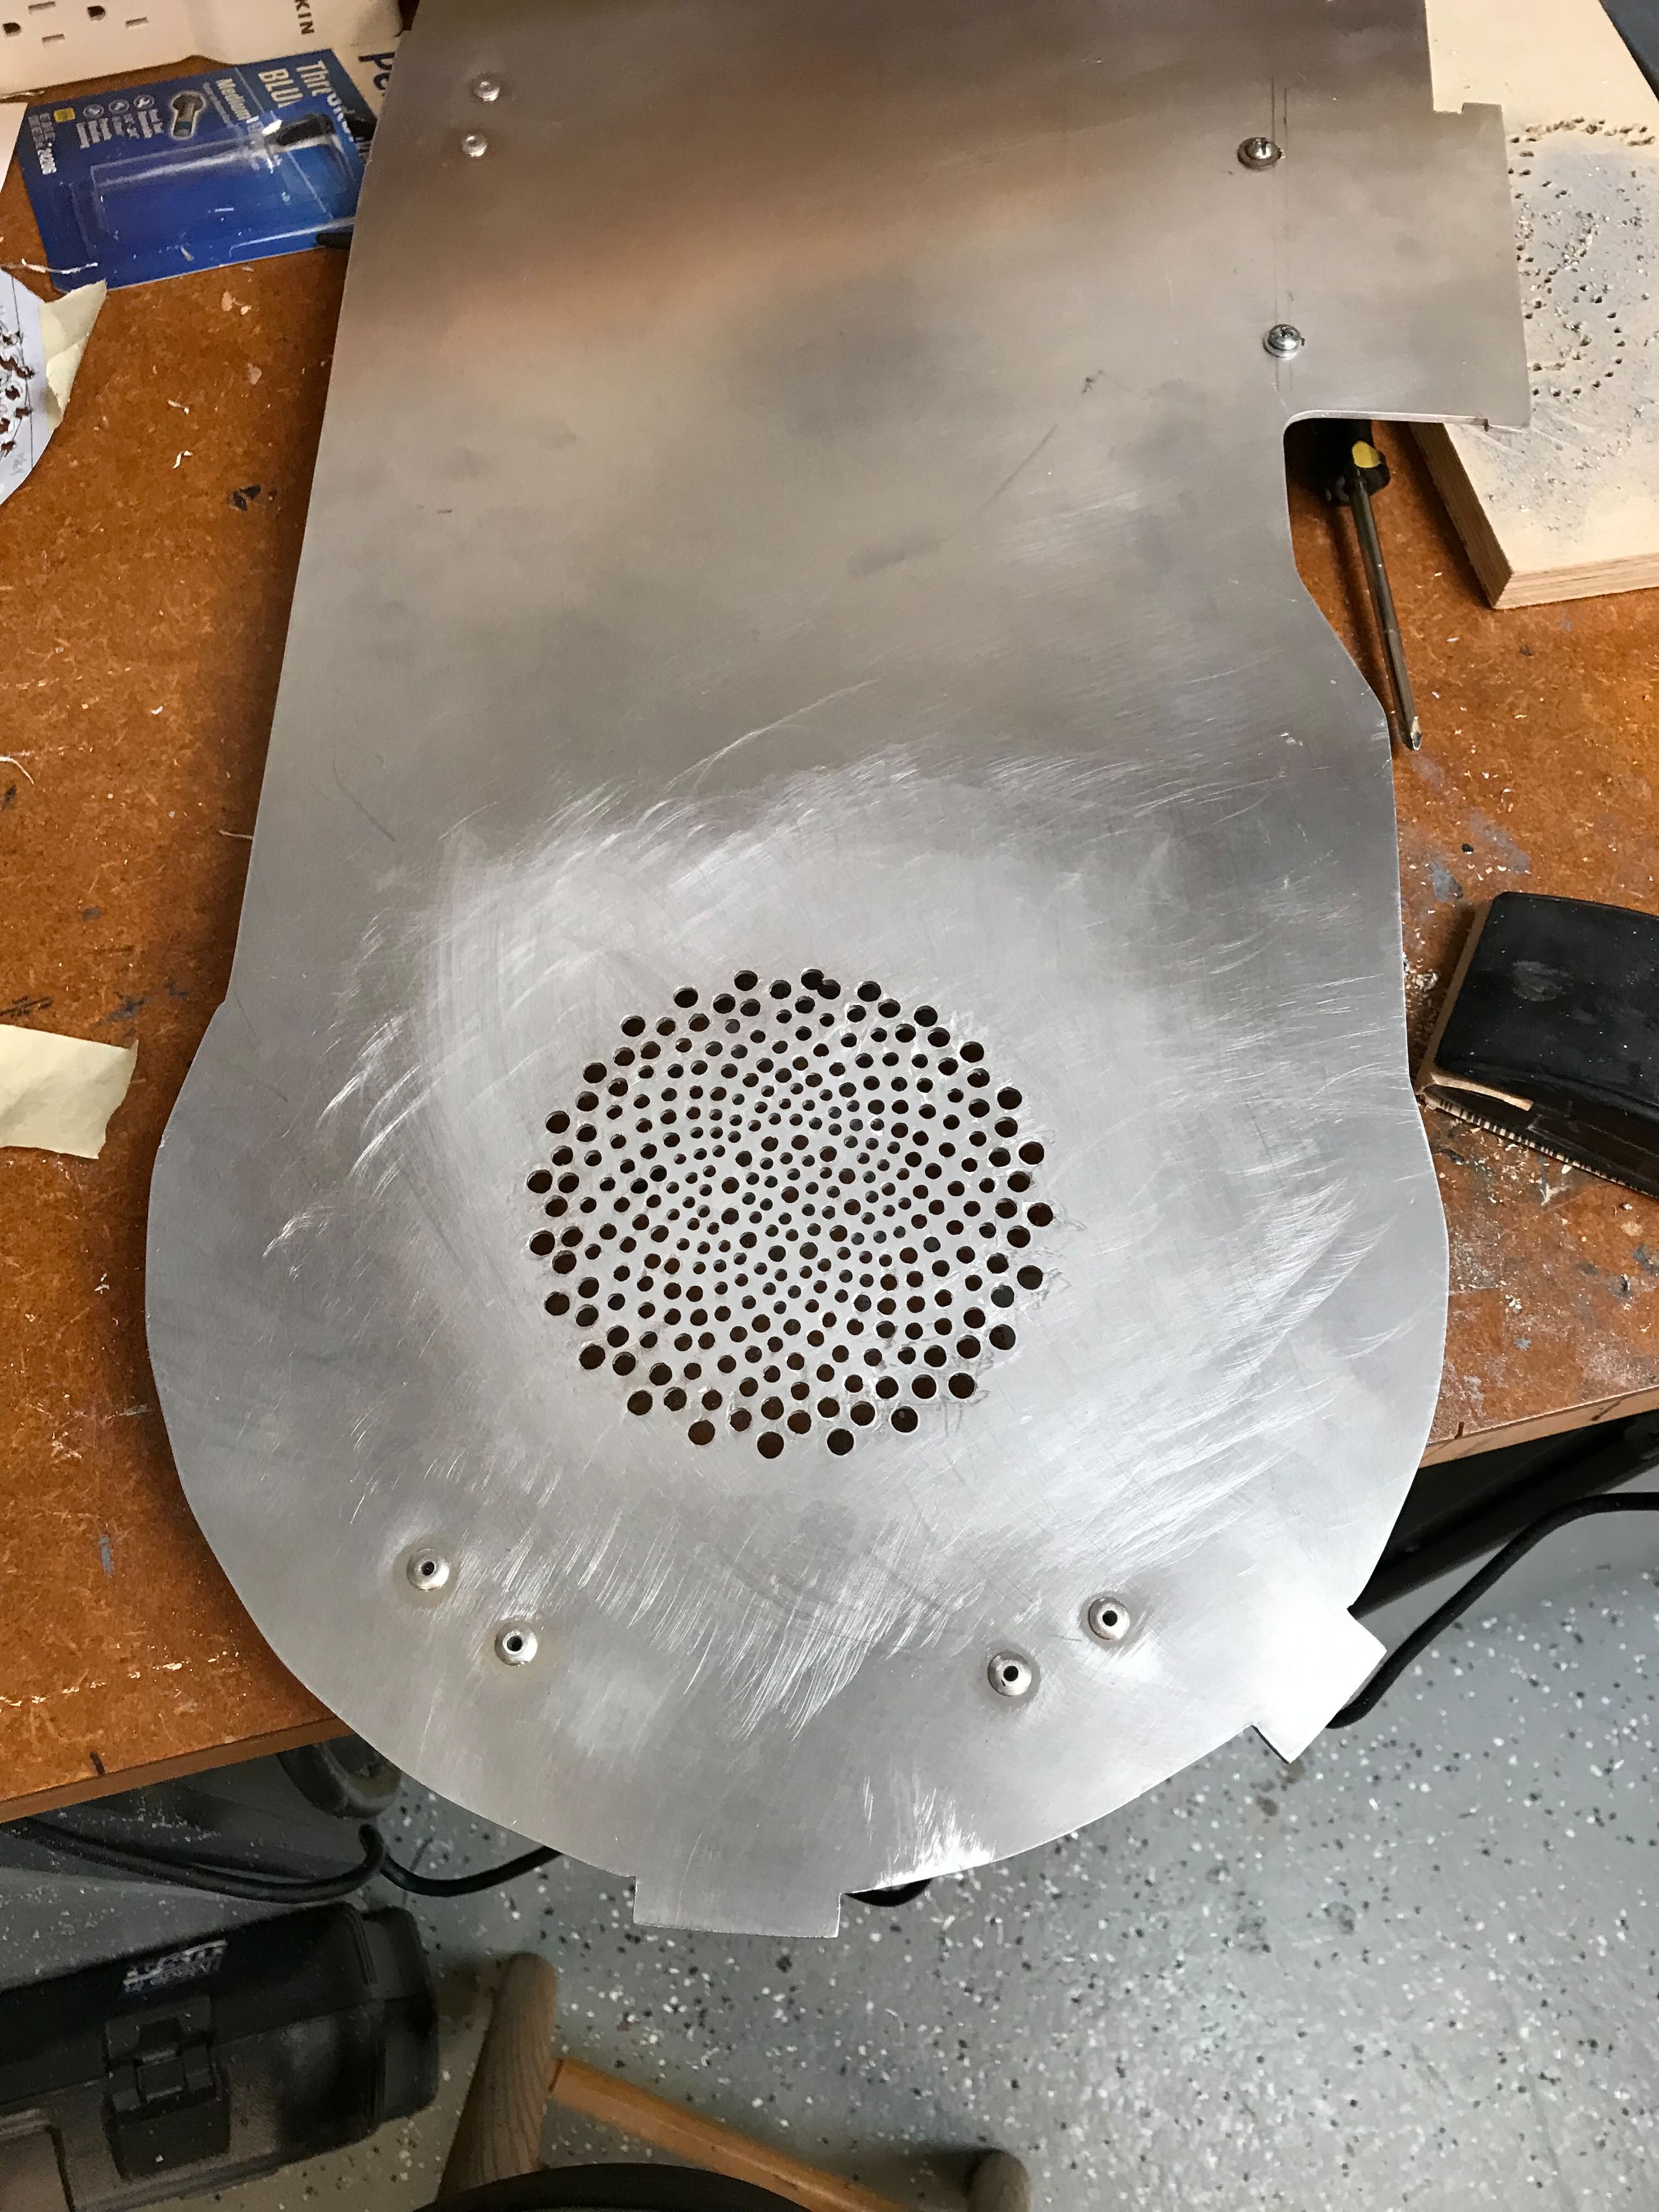
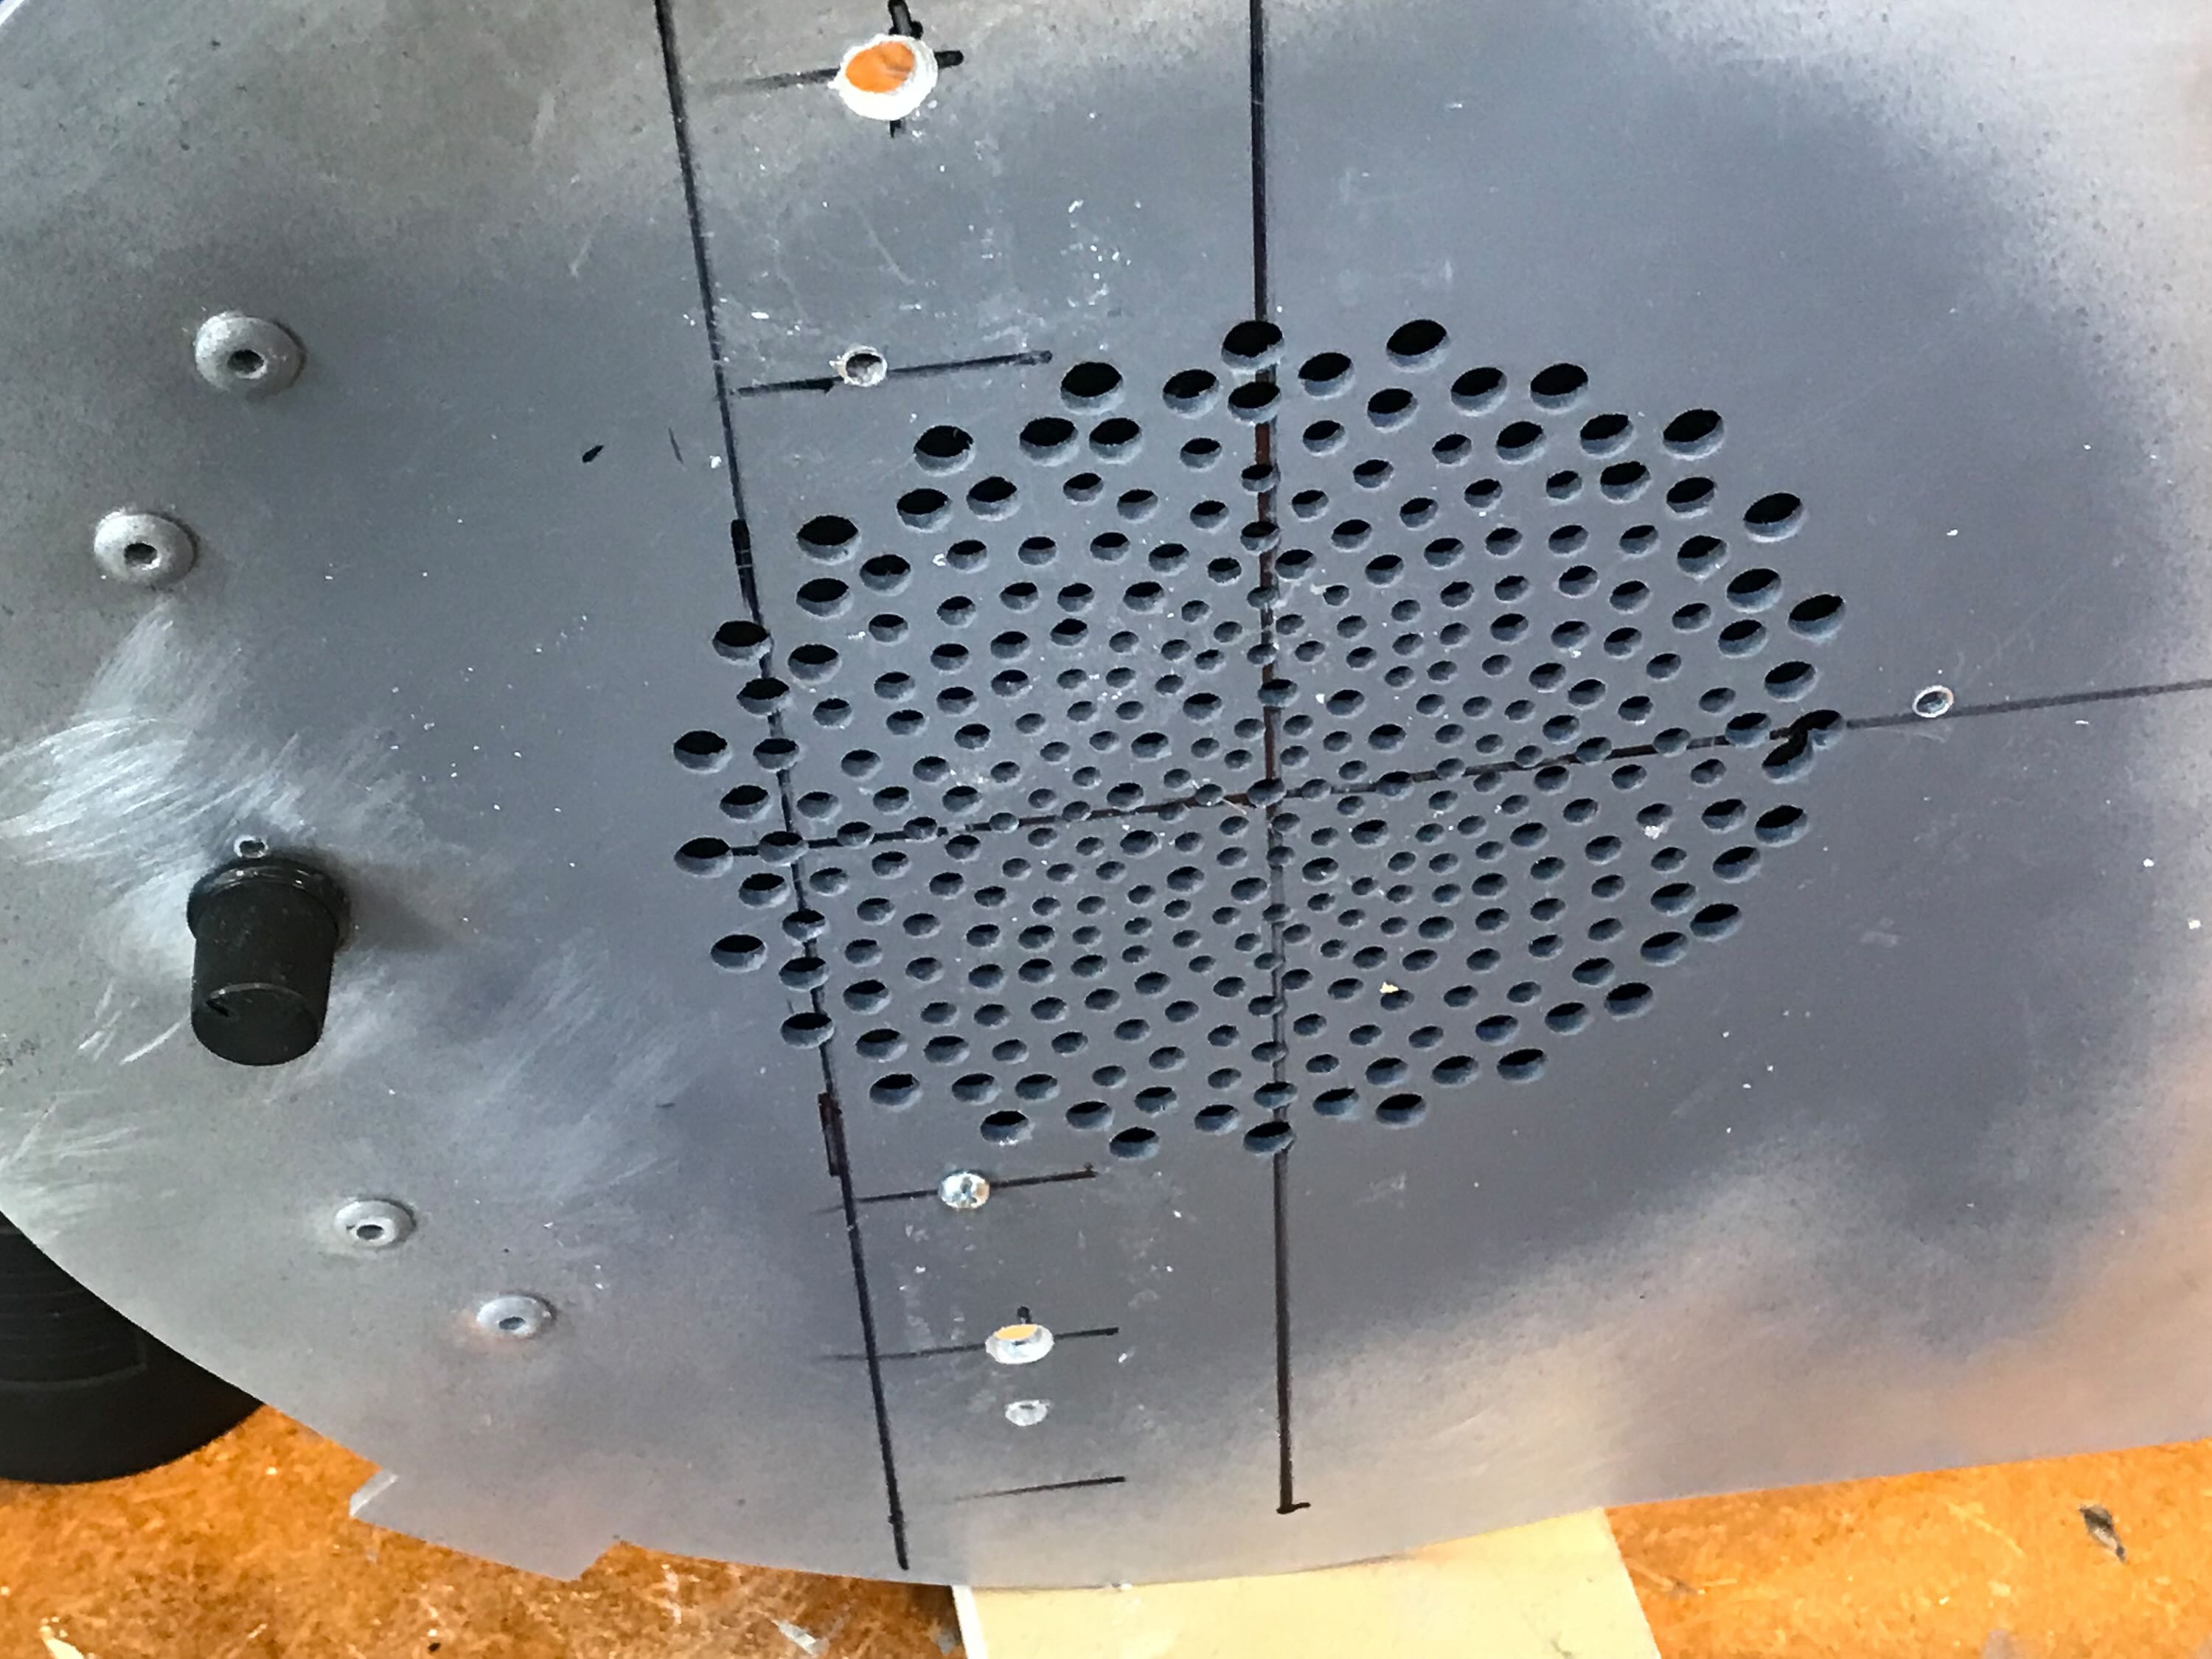
My friend Patrick (@GohstTarp) sent me a copy of the speaker grille template designed by @bishopdonmiguel. I scaled it to match the 6.25" speaker we had and proceeded to punch and then drill the 300+ holes. It took 2-3 hours. It’s not my best work. I started with a bit that was too big, so a few of my early holes ate into each other. As it will be pretty much impossible to see these holes while the pack is being worn I wasn’t too concerned about the error. I ground and sanded the burrs, somewhat crudely.
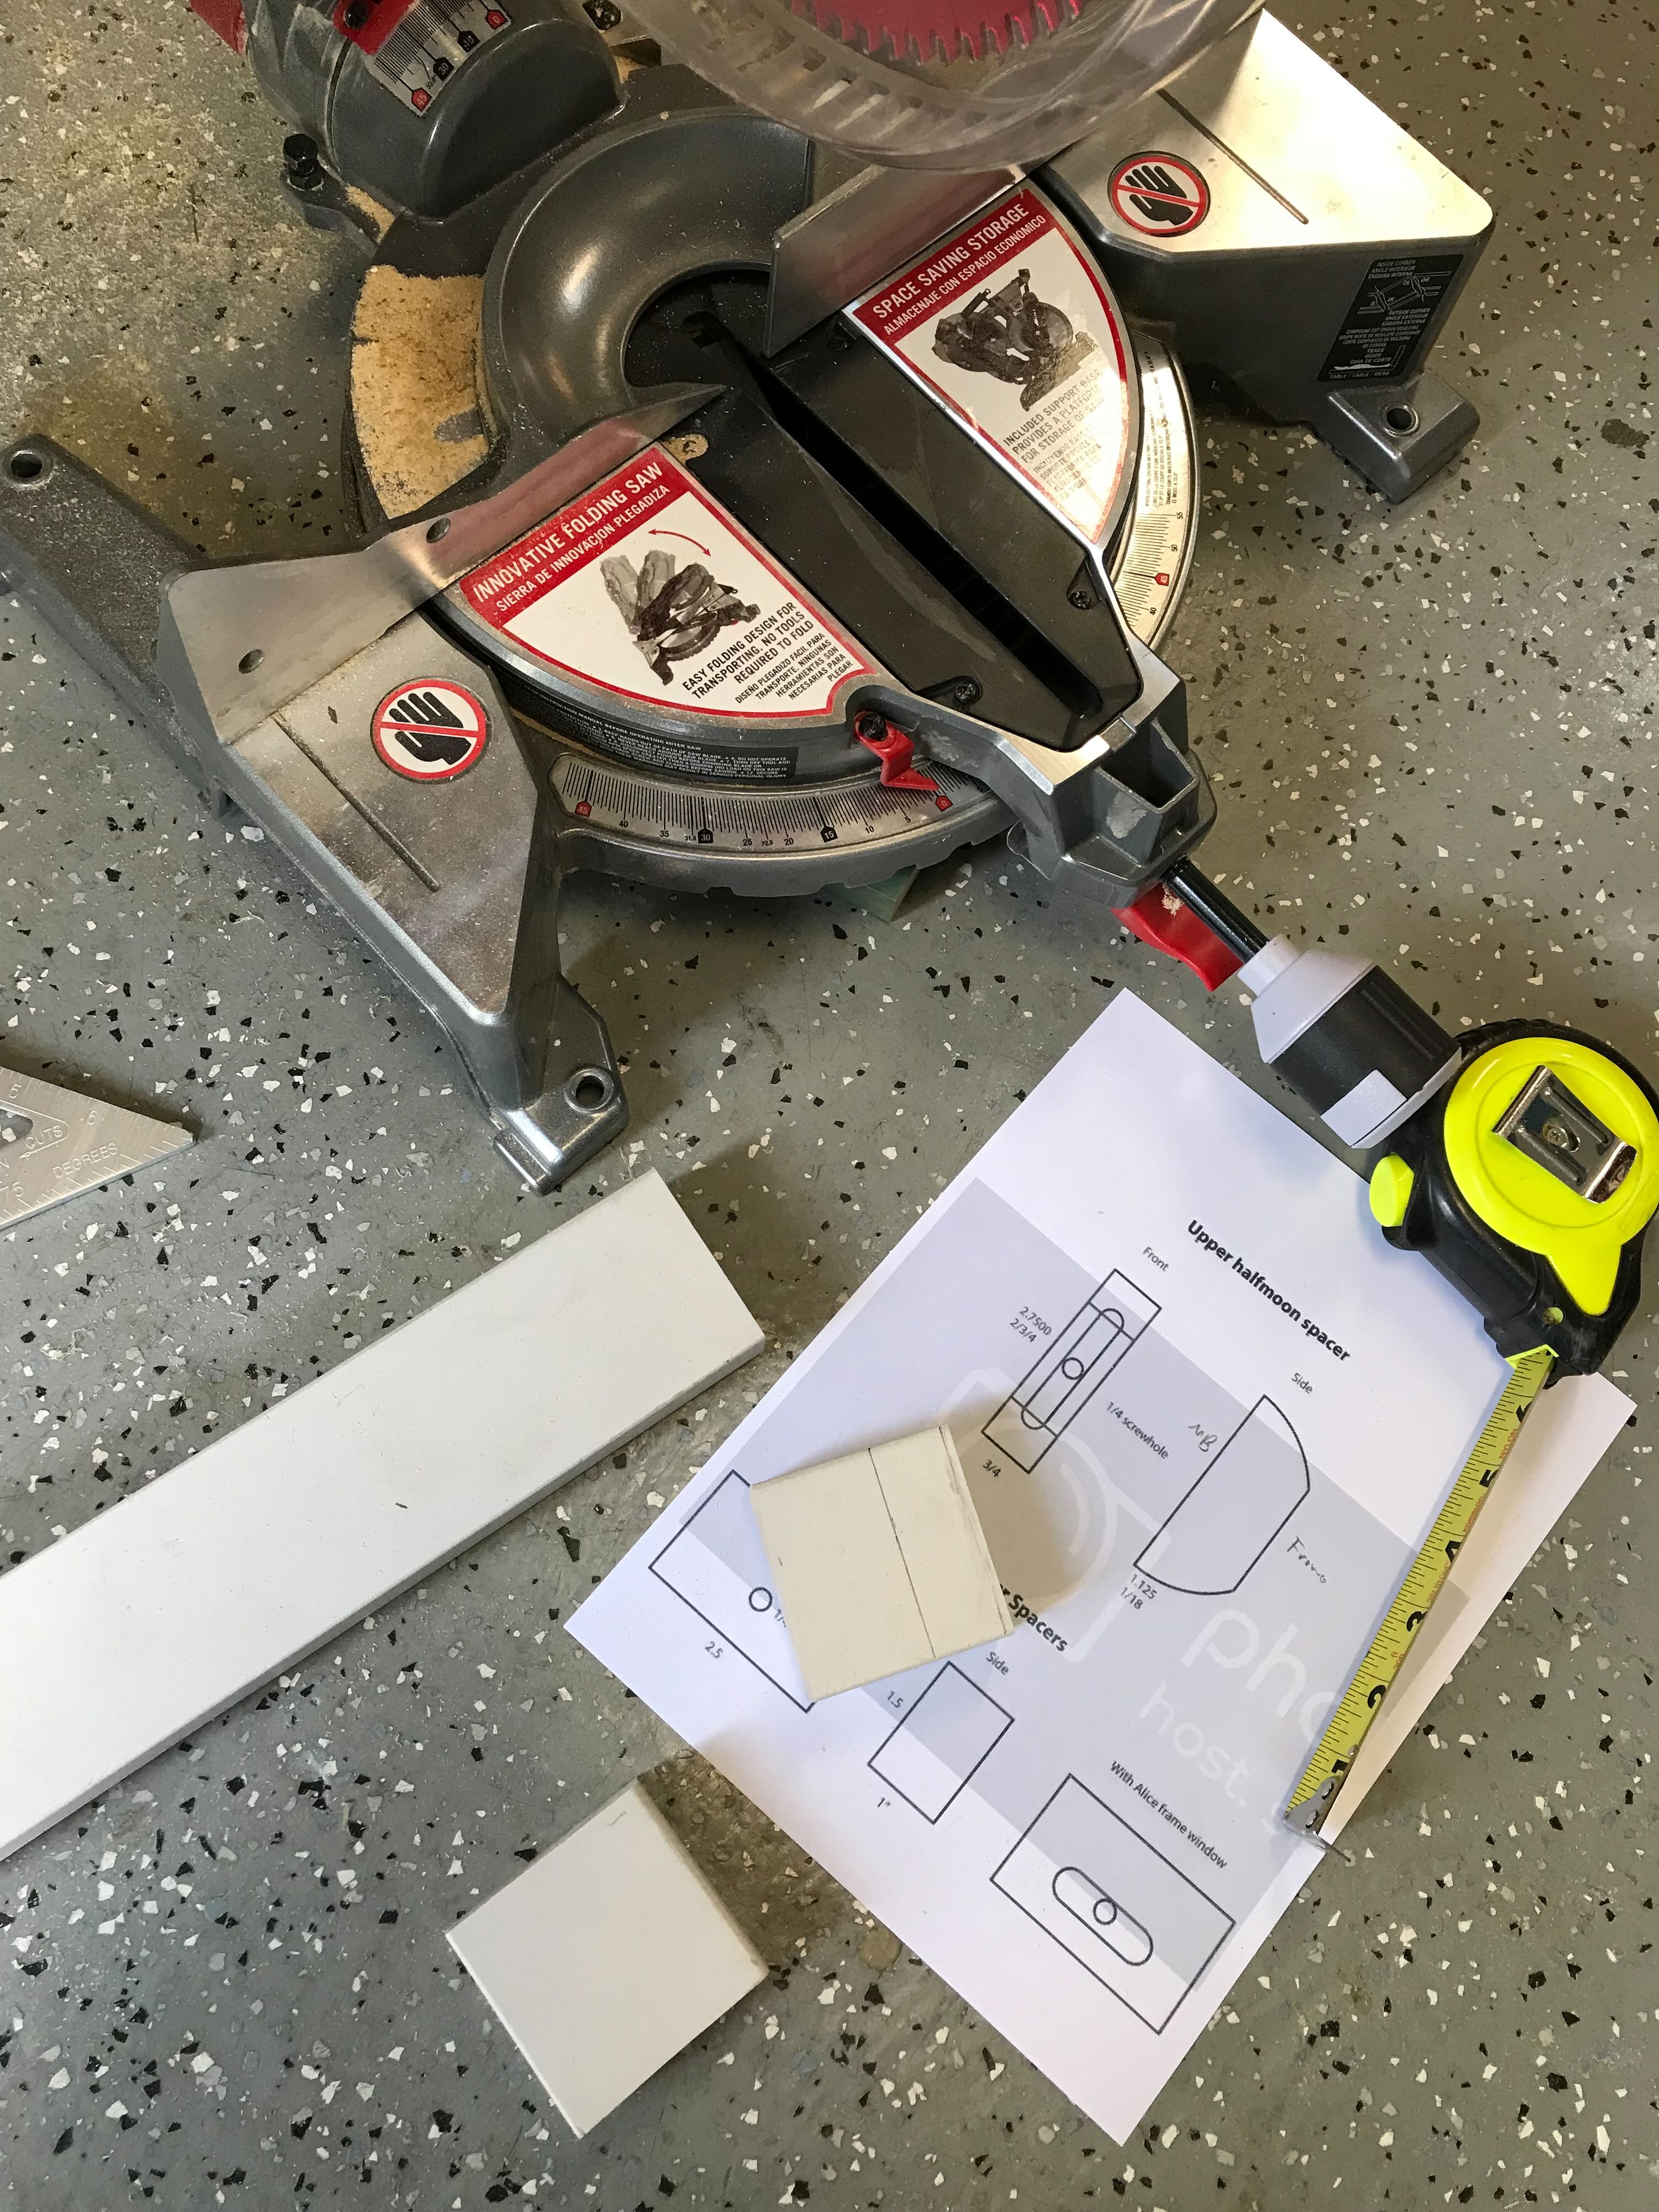
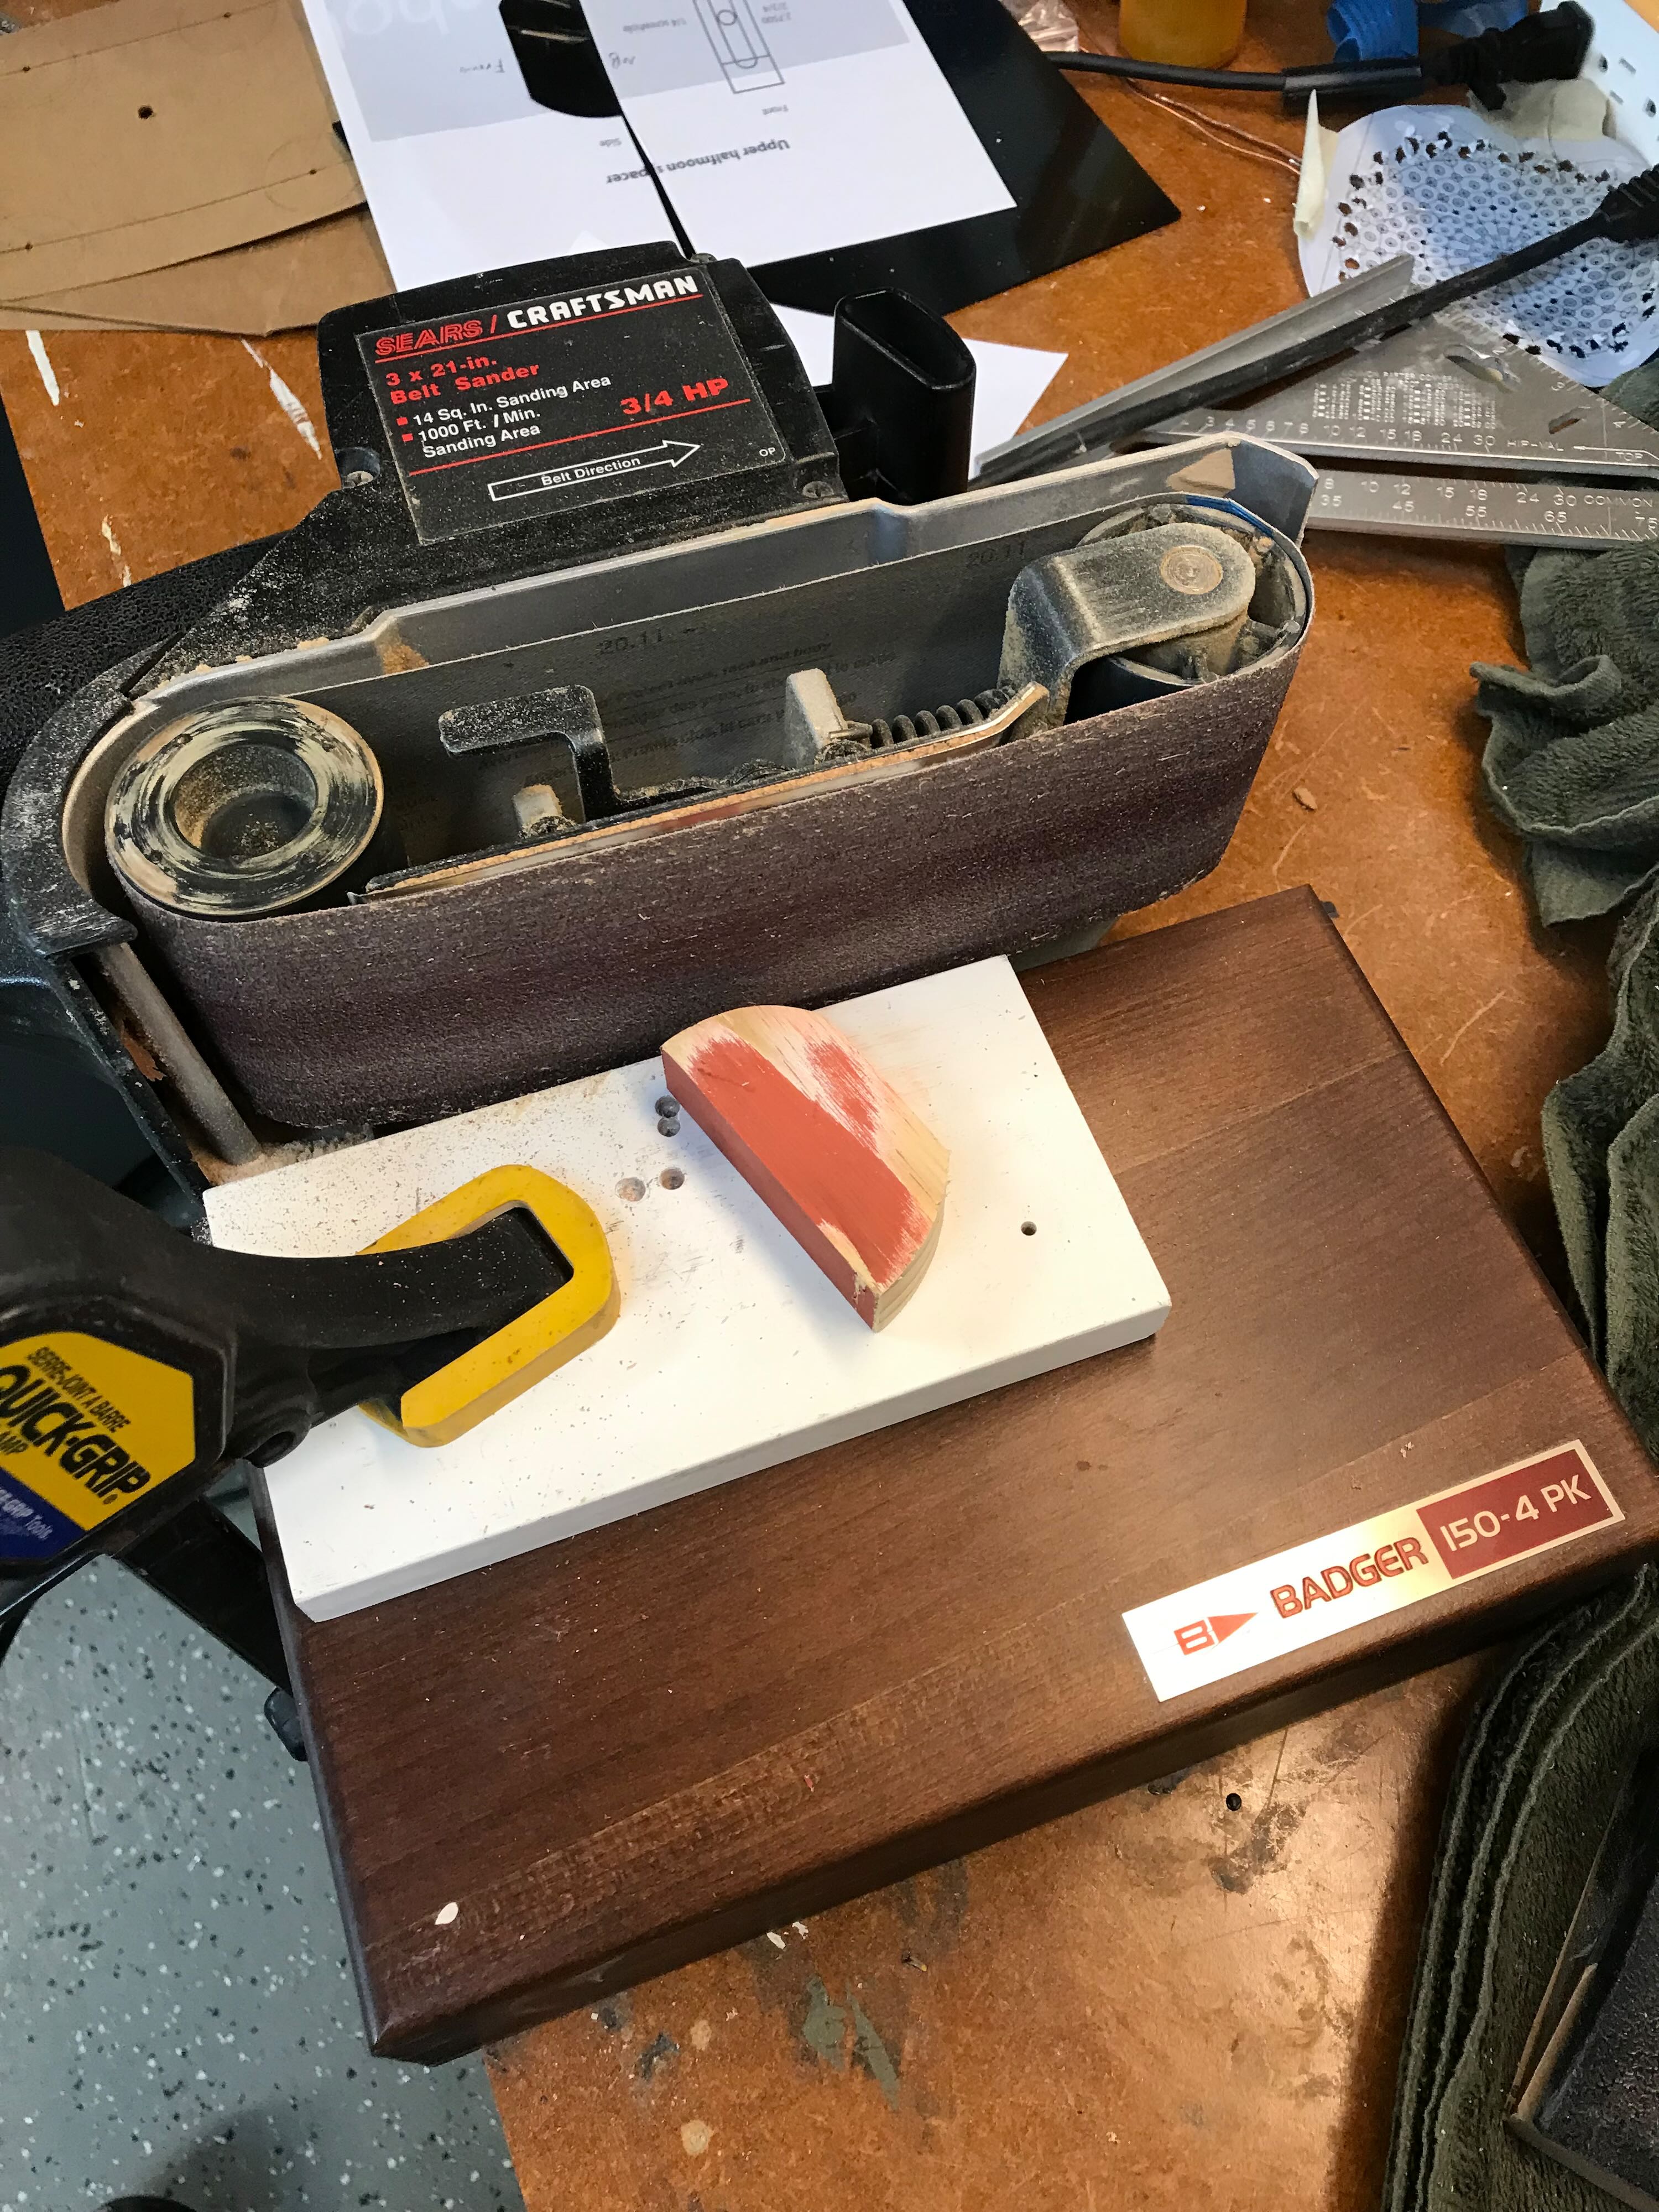
7/2/22 - Using a template I found on GBFans I used scrap 3/4" wood to fabricate the spacers. I cut the bottom ones with a chop saw and the top with a coping saw. I assembled a crude little sanding station around a belt sander to clean up the rounded edges. Again, as these would be barely visible I didn’t spend a ton of time making them perfect.
First of all, I want to say you’re doing a really good job with this build. I do have a question though: are bentofkent proton pack shells only resin and no fiberglass? If so, does it feel brittle? I’d almost suggest doing a layer of glass inside it just to be safe.
Thanks for commenting on my build thread; I appreciate it.
AFAIK Benofkent only makes resin kits. The guy I’m building this for bought this kit in 2015 IIRC.
The resin used in this kit seems somewhat pliable. It doesn’t seem as brittle as something like unreinforced fiberglass resin would be. That said, if you dropped this pack it would almost certainly fracture. Repairing such a fracture probably wouldn’t be that hard. In the almost 40 years I’ve had my scratch-built pack I’ve never outright dropped it; it’s tipped over a few times.
As I’ve noted in the build thread, the resin in parts of this pack is REALLY thick, requiring a lot of cutting with a Dremel to make openings or room for bolts. That wouldn’t be as much of an issue with fiberglass. A bunch of parts, like the Ion Arm, are pure resin (not hollow), so that adds to the weight.
If I was ever going to buy a Proton Pack kit I’d probably opt for one laid up in fiberglass, like the original props. And if I had been building this Benofkent kit for myself I might have reinforced it with fiberglass cloth and resin.
Thanks for taking the time to comment on my build thread. I’m glad you’re enjoying it.
Building a pack is a pretty daunting task, so you have to break it down into as many individual little steps as you can. I made a punch list on my phone (that I was constantly updating, which kind of defeats the purpose) and ended up with 63 individual steps. I took over 200 photos over the course of the build. I’ll probably share around half of them here.
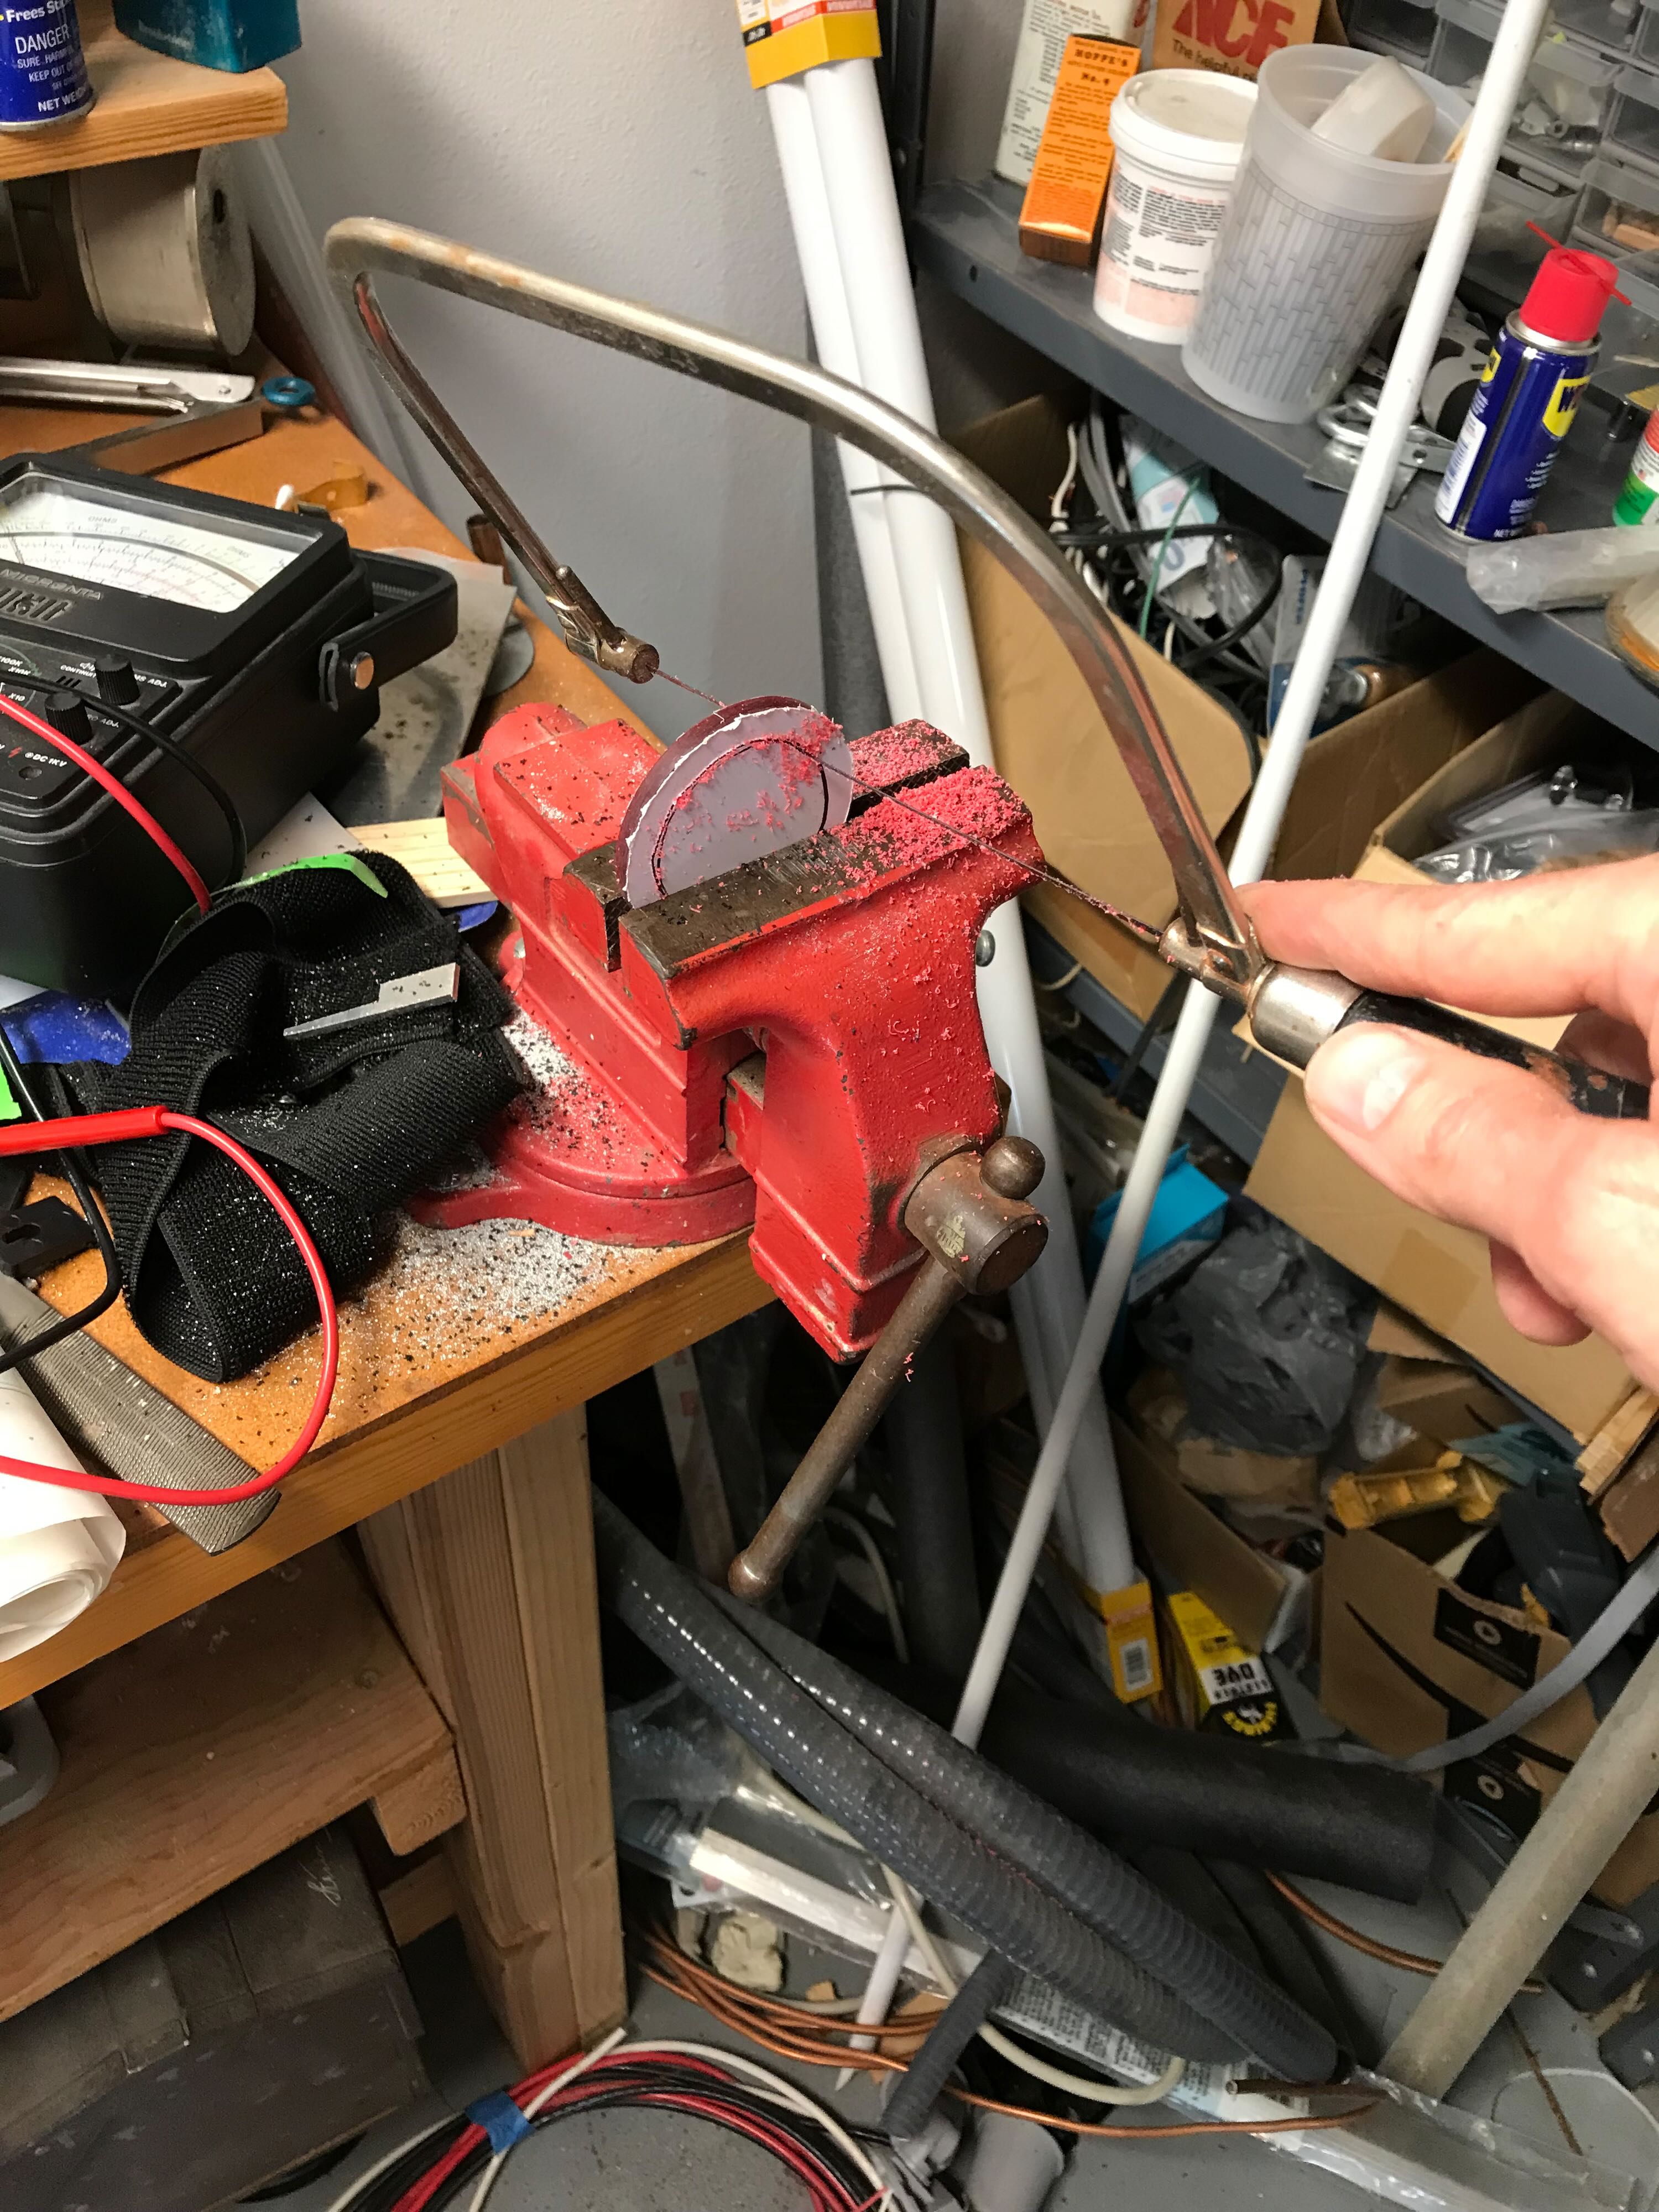
7/4/22 - The red lenses that came with the kit were too large to fit in the openings I’d routed into the Cyclotron, so I cut all four down with a coping saw.
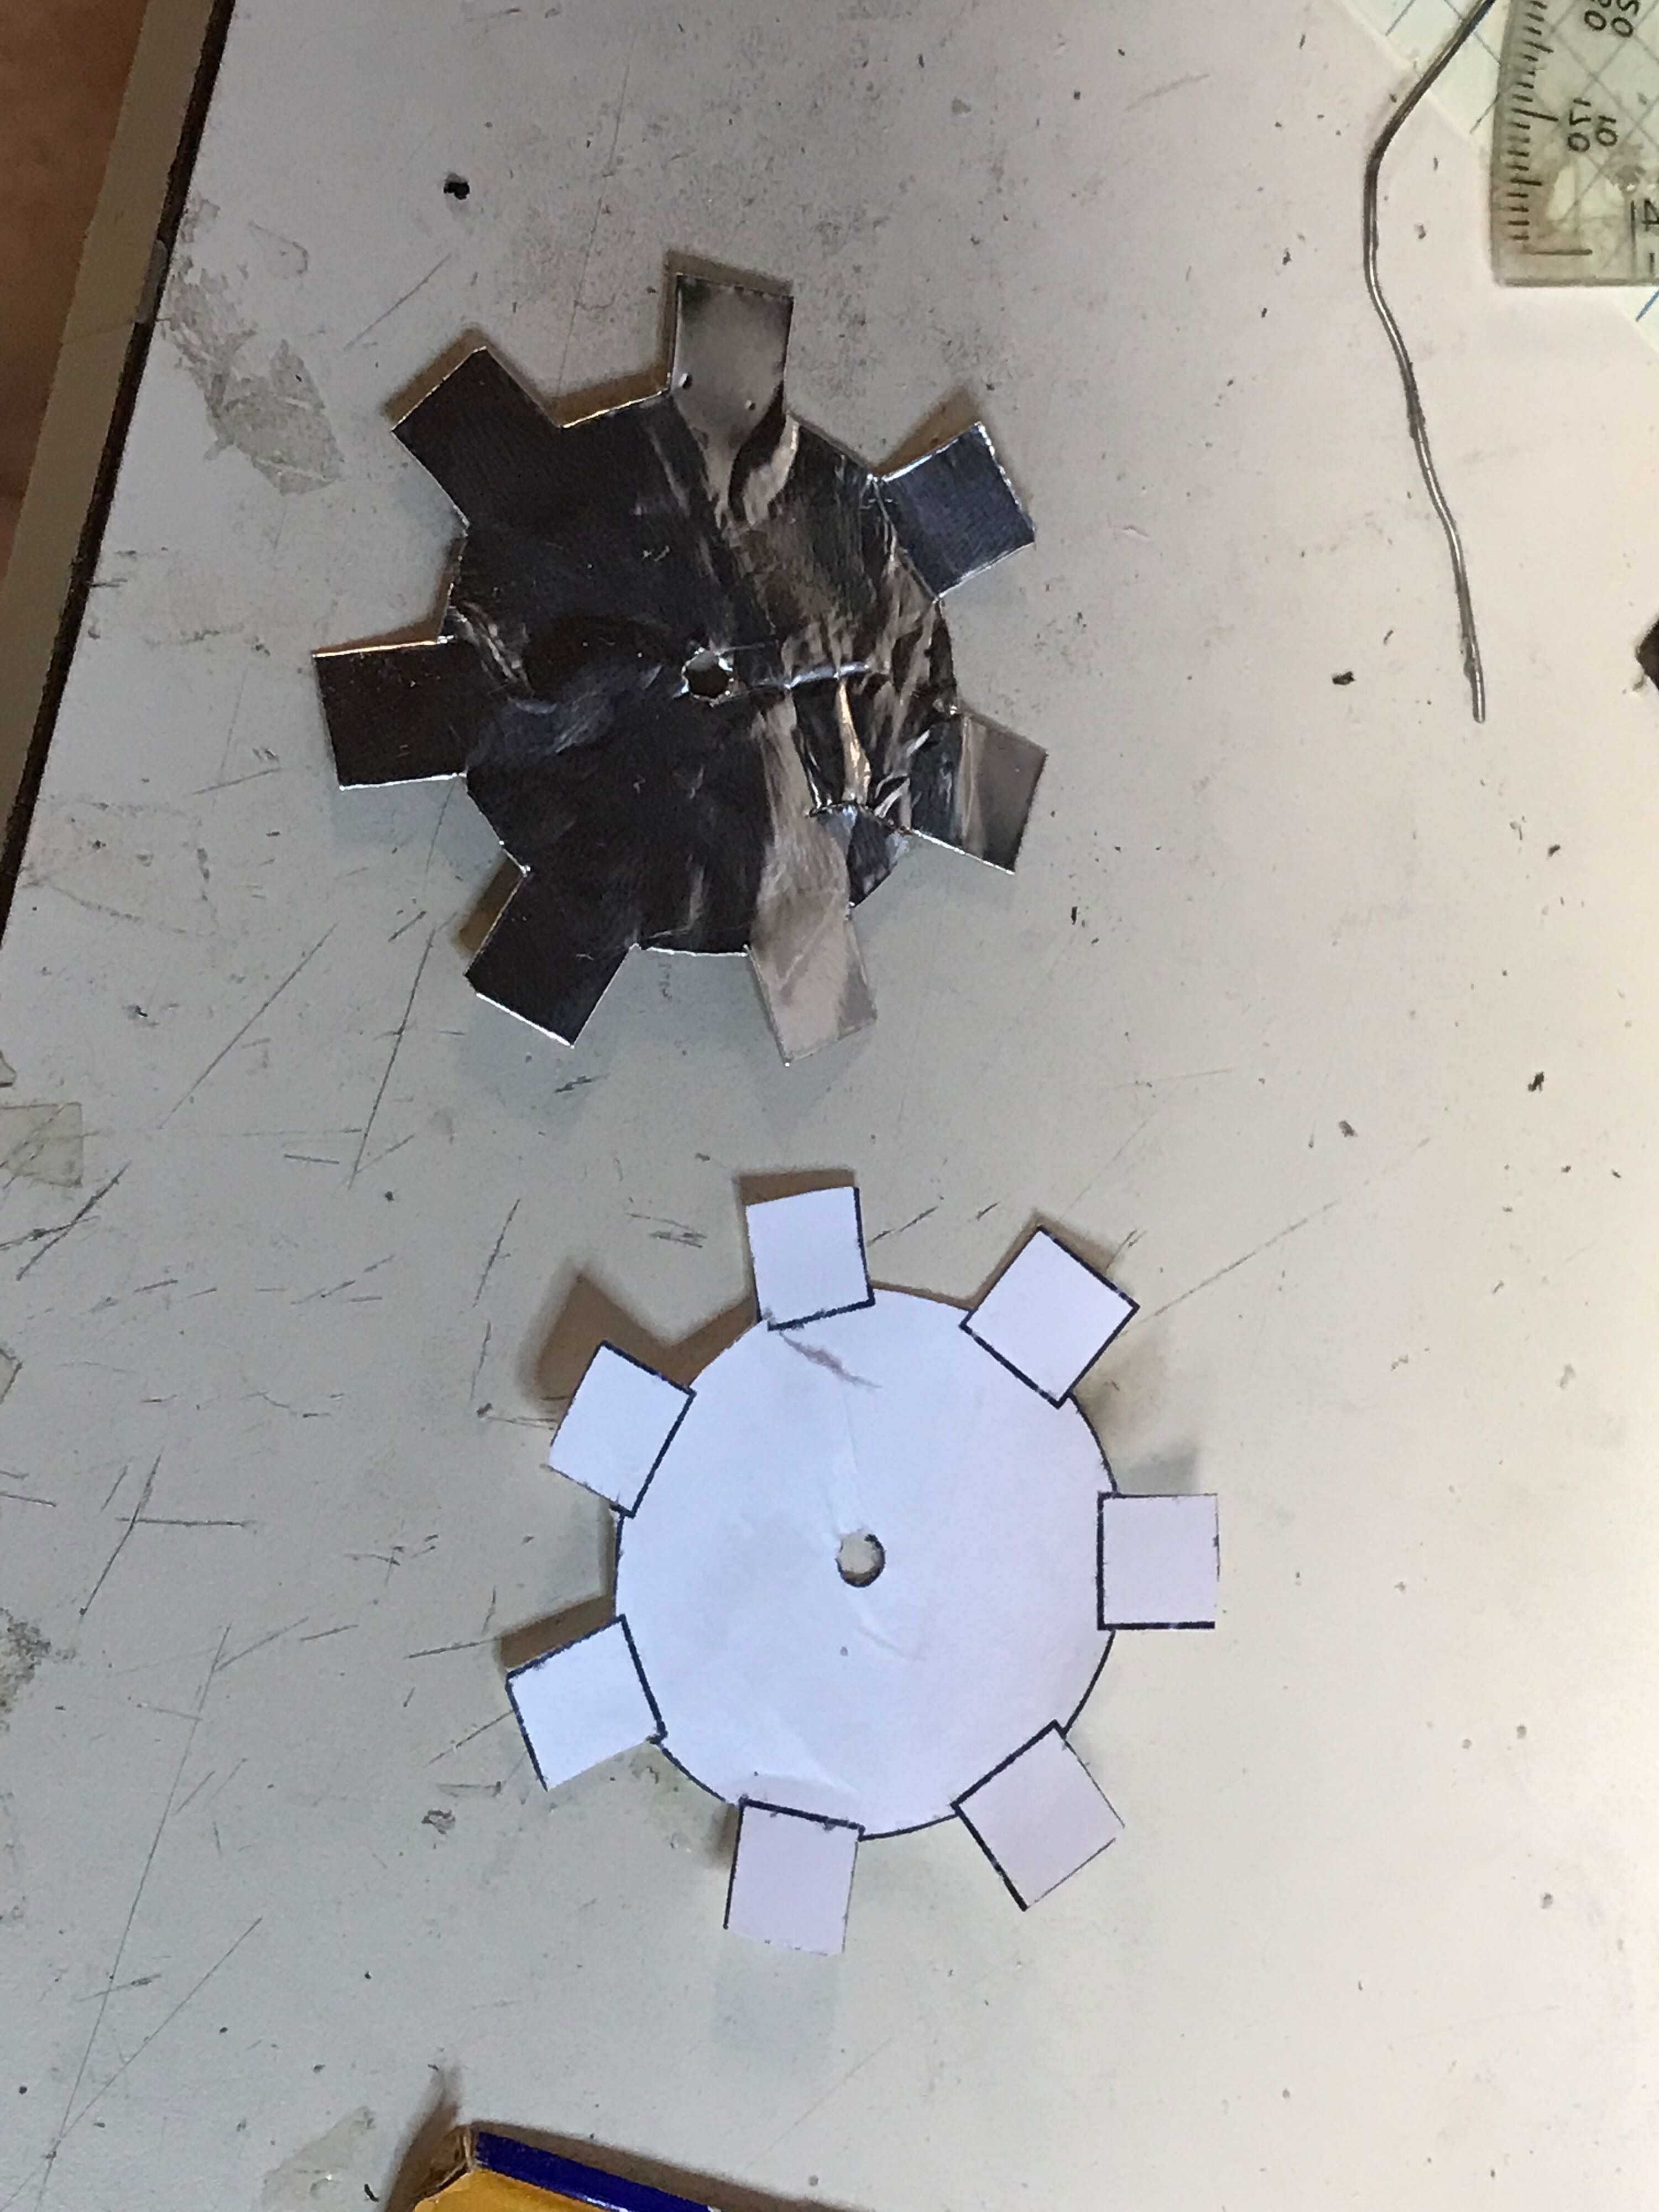
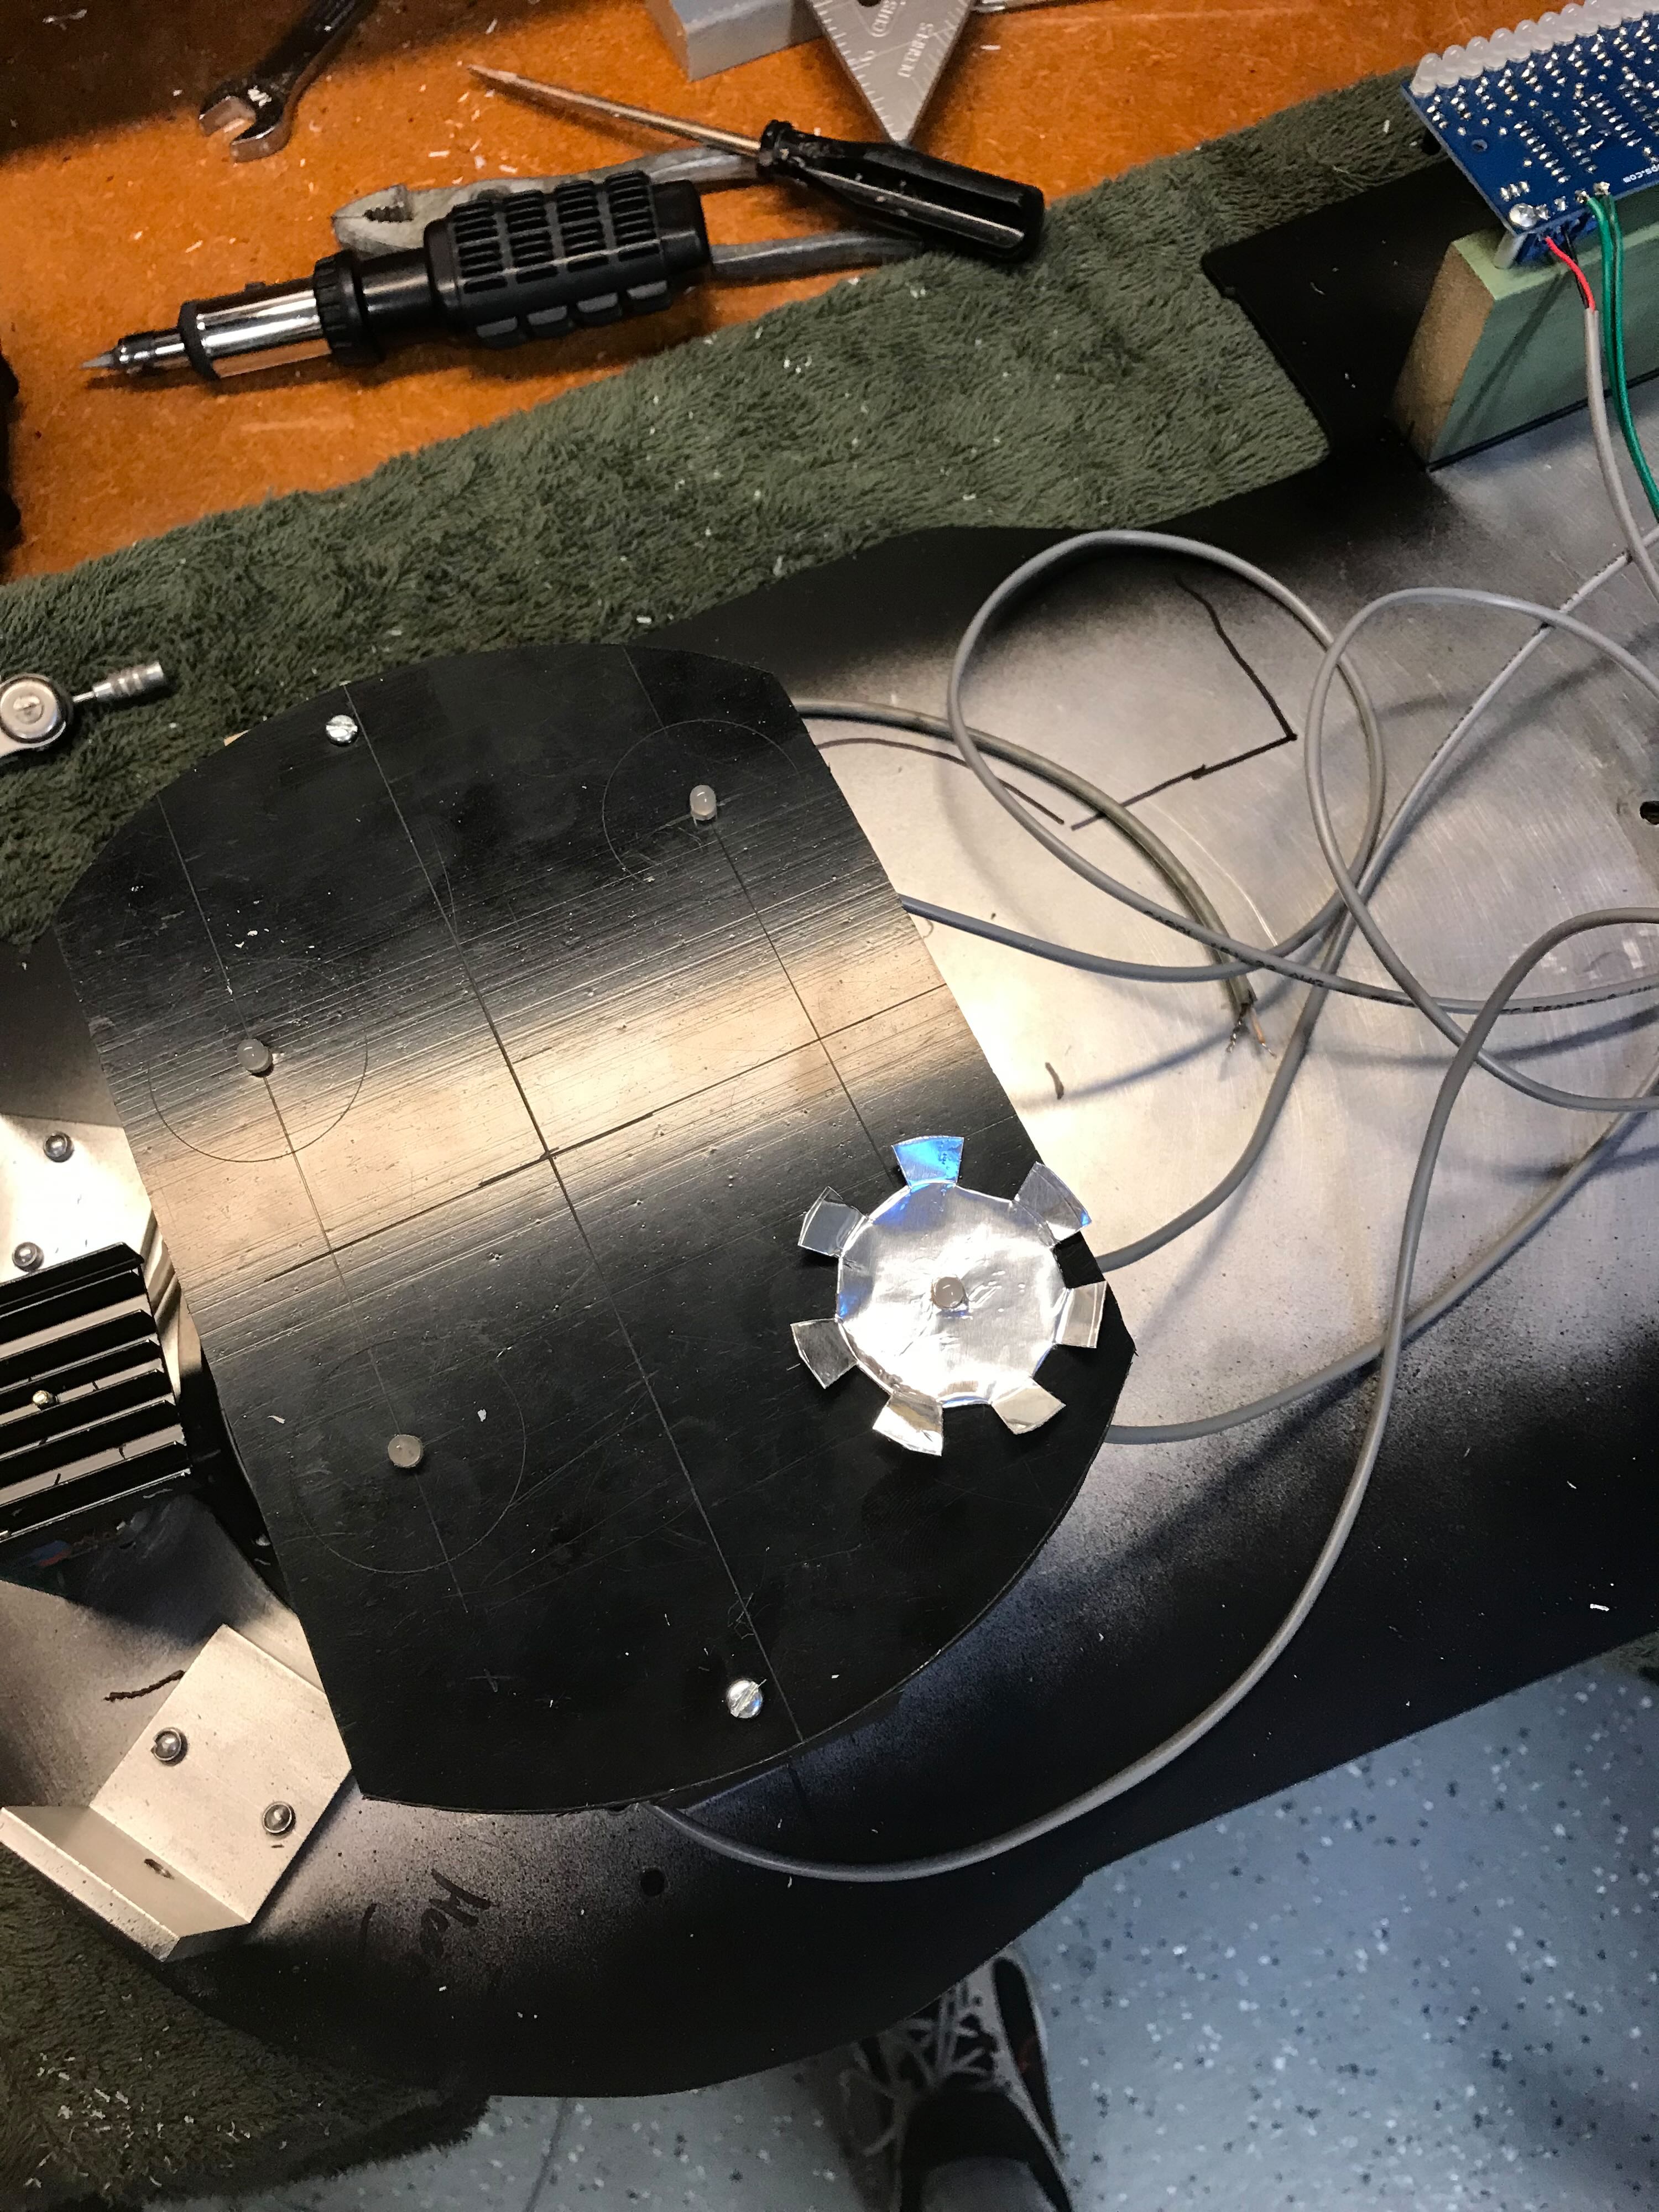
7/6/22 - I used 3" HVAC foil tape to line my cardboard reflectors. I made a little template in illustrator to guide the cutting of pieces that would stick to the underlying platform. The little tabs would stick the cardboard tubes to the platform.
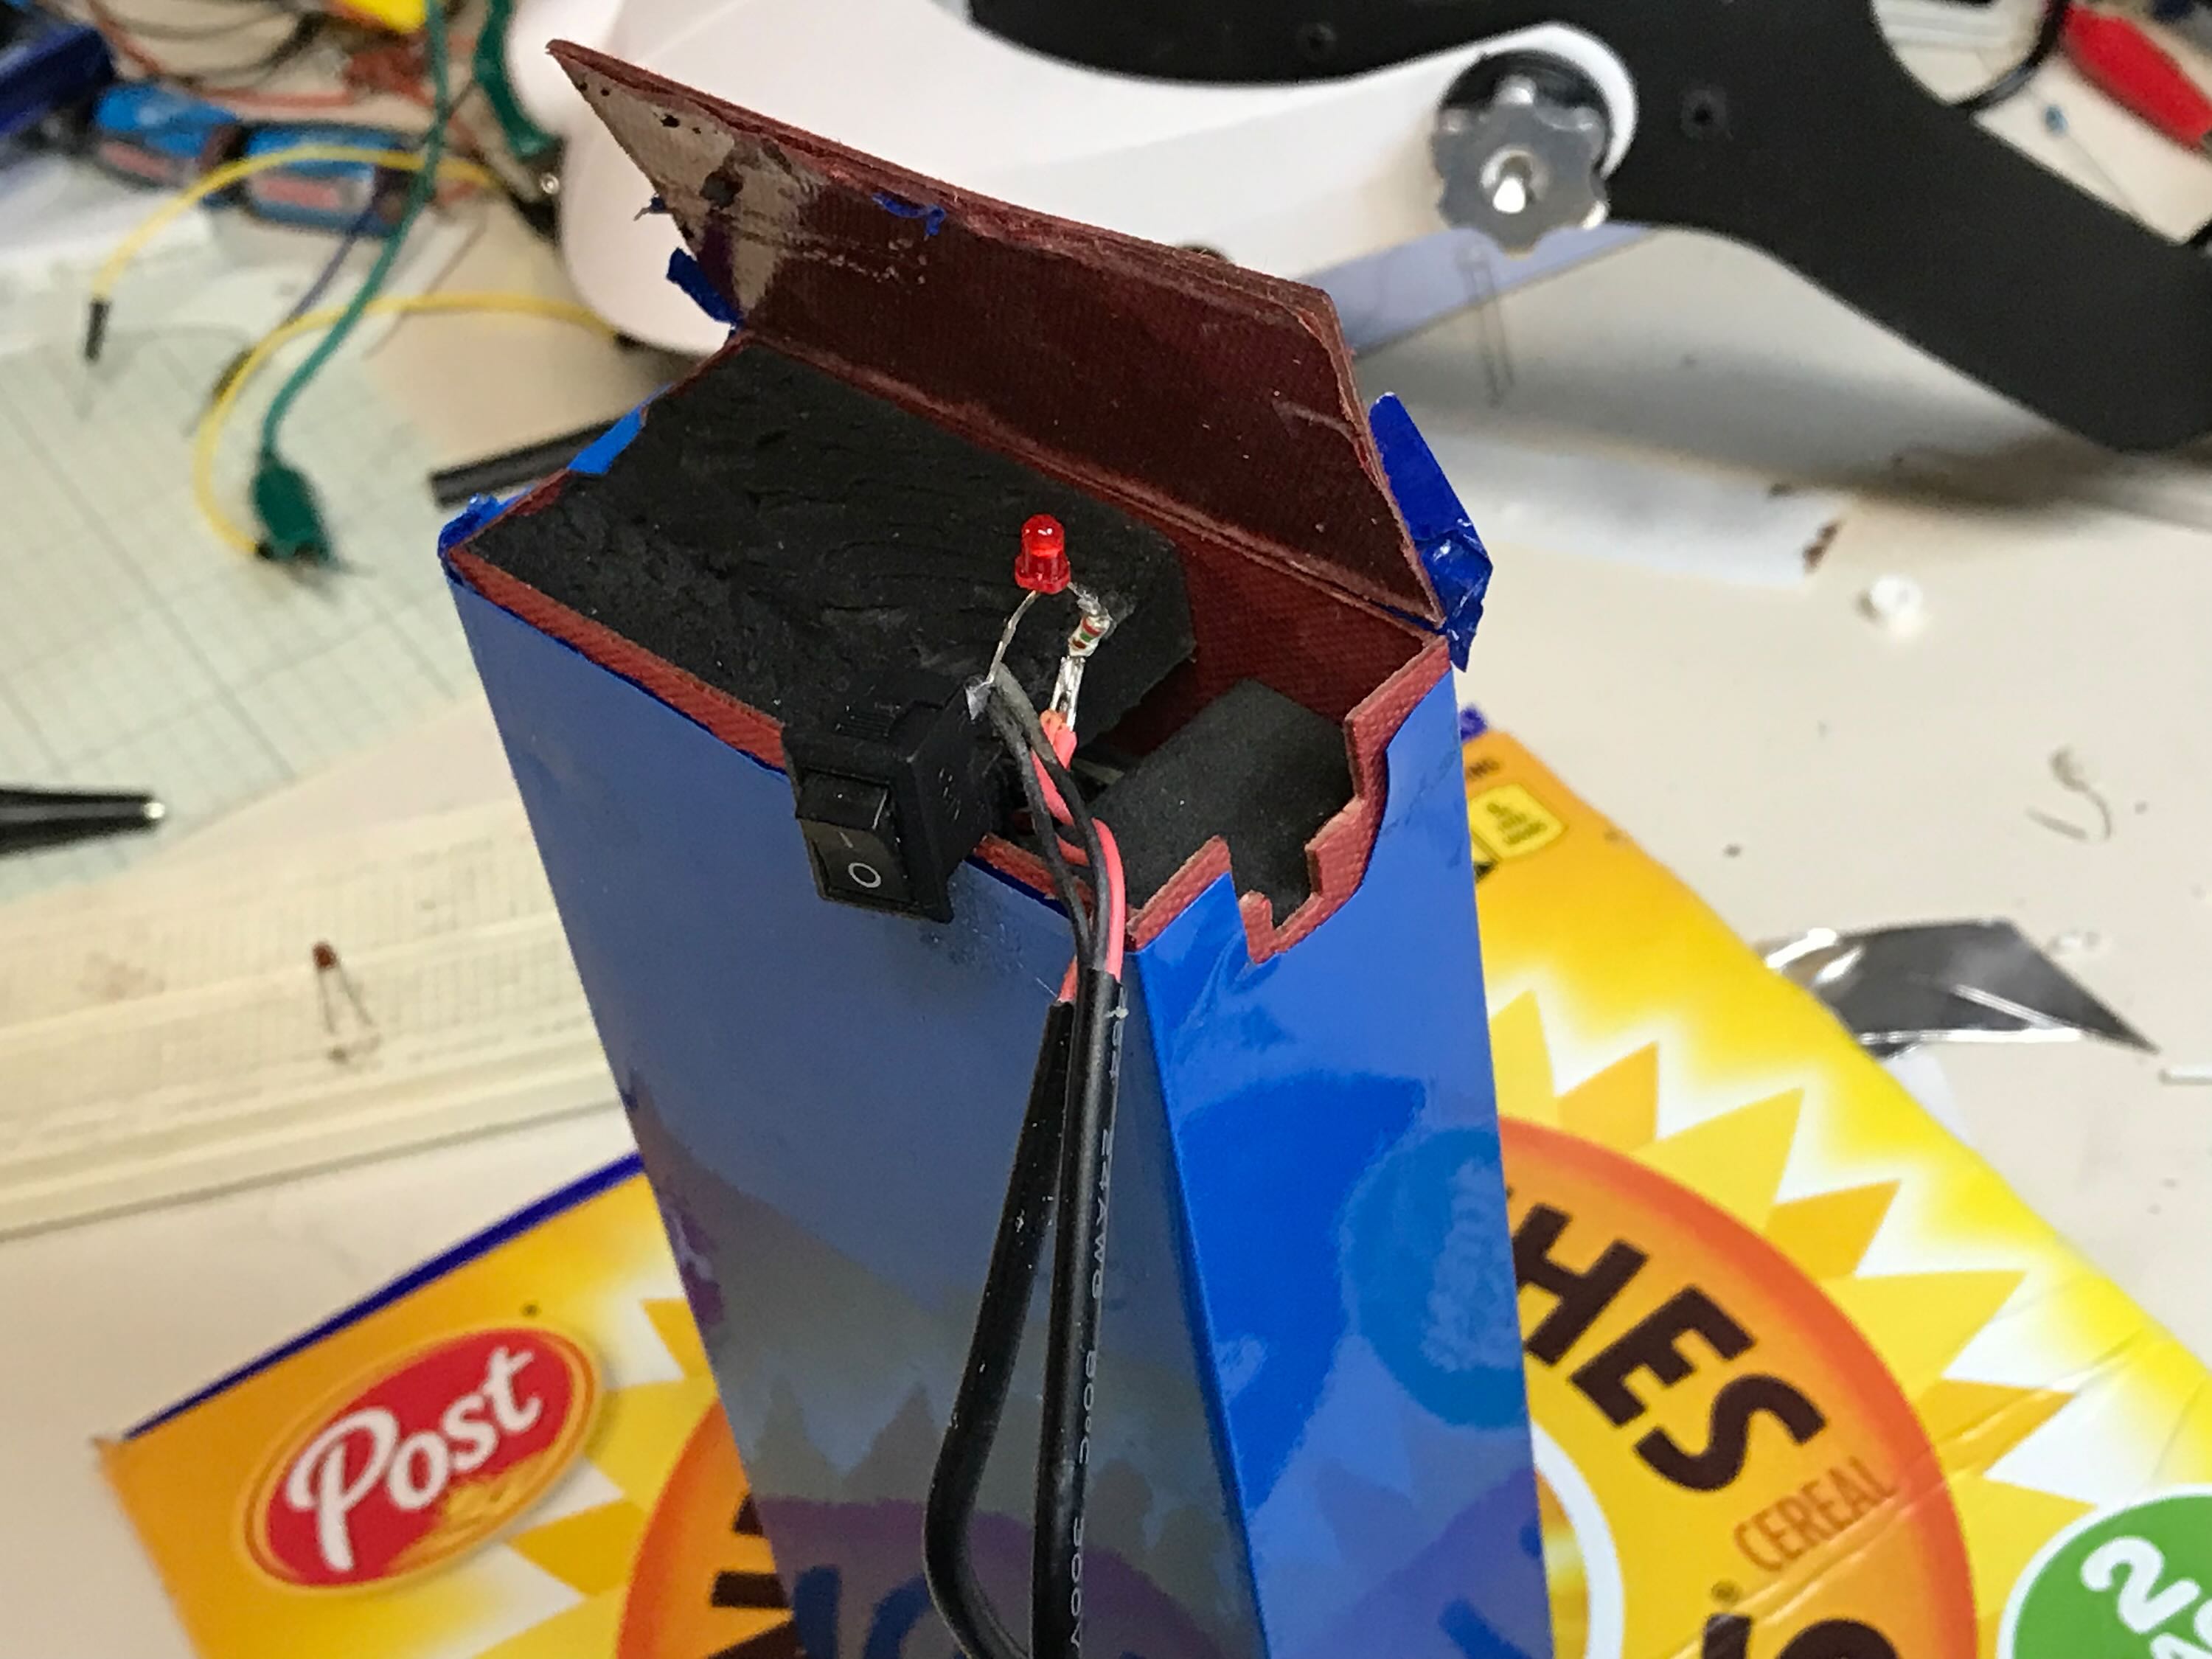
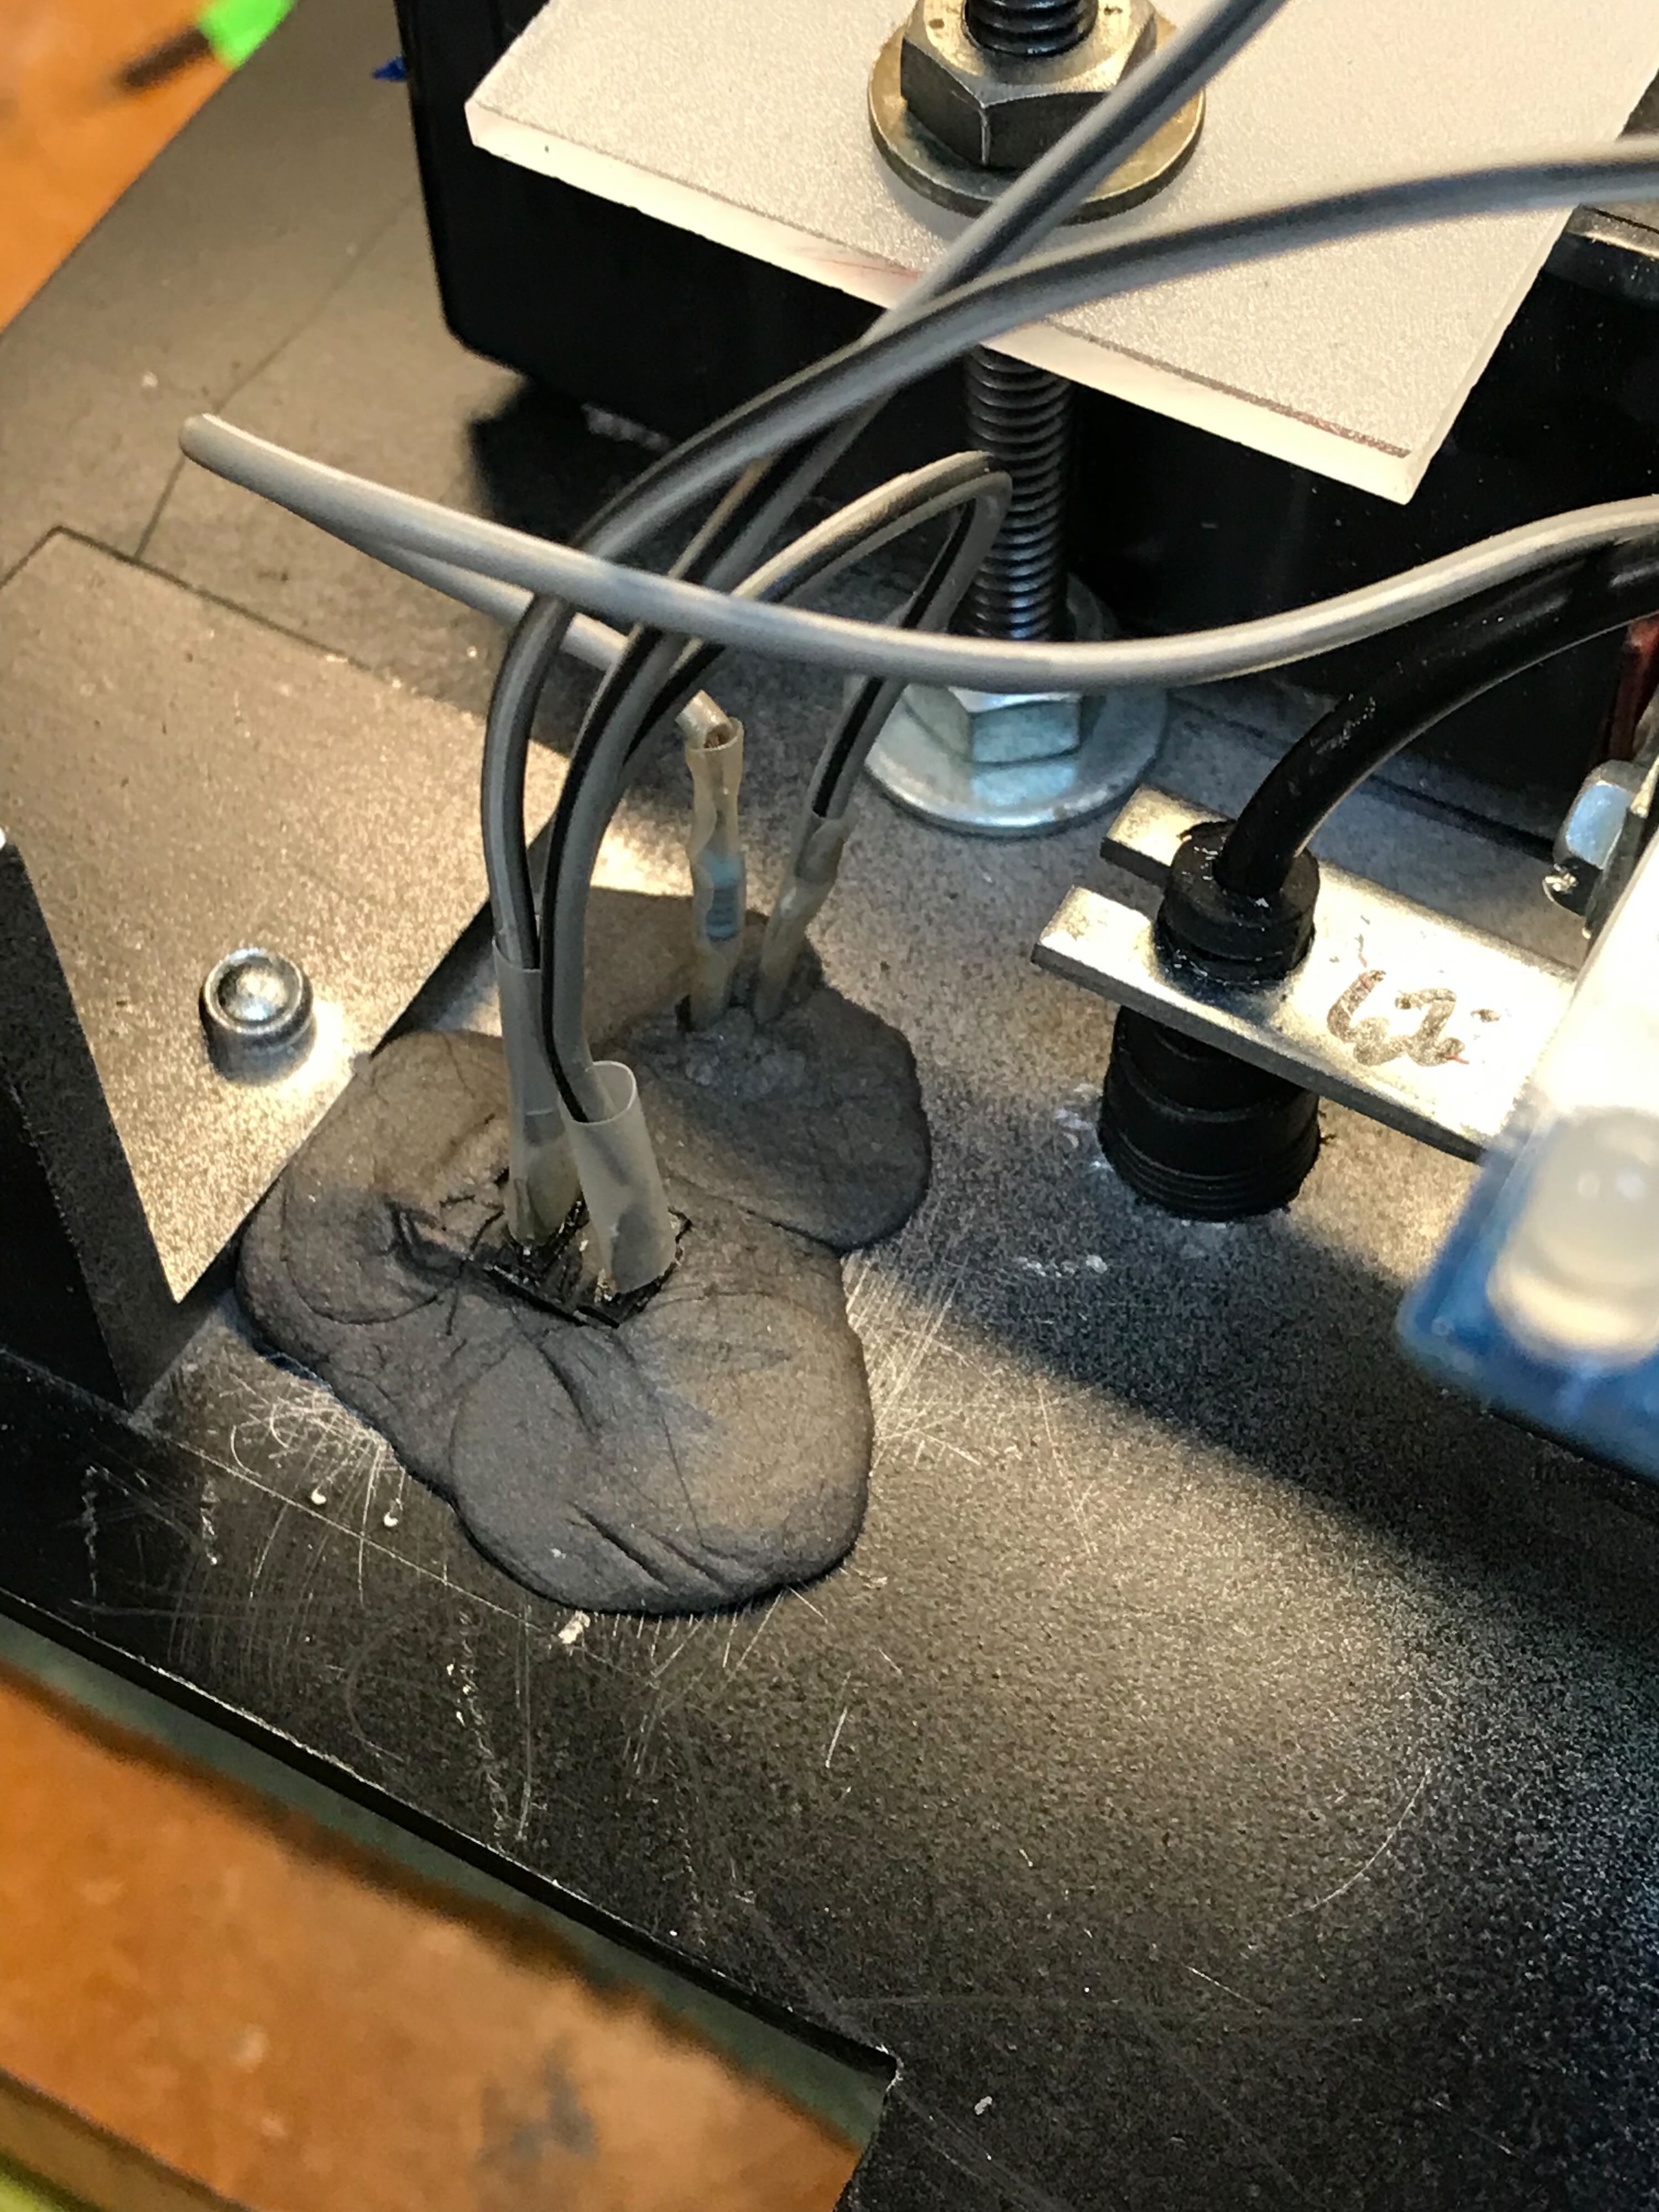
7/8/22 - I debated whether to mount the battery inside or outside. I decided on the former, which meant performing some surgery on the battery. I wanted to move the main power switch to the motherboard to act as a master kill switch. I also moved the red LED (and its resistor) that indicates when the power was on.
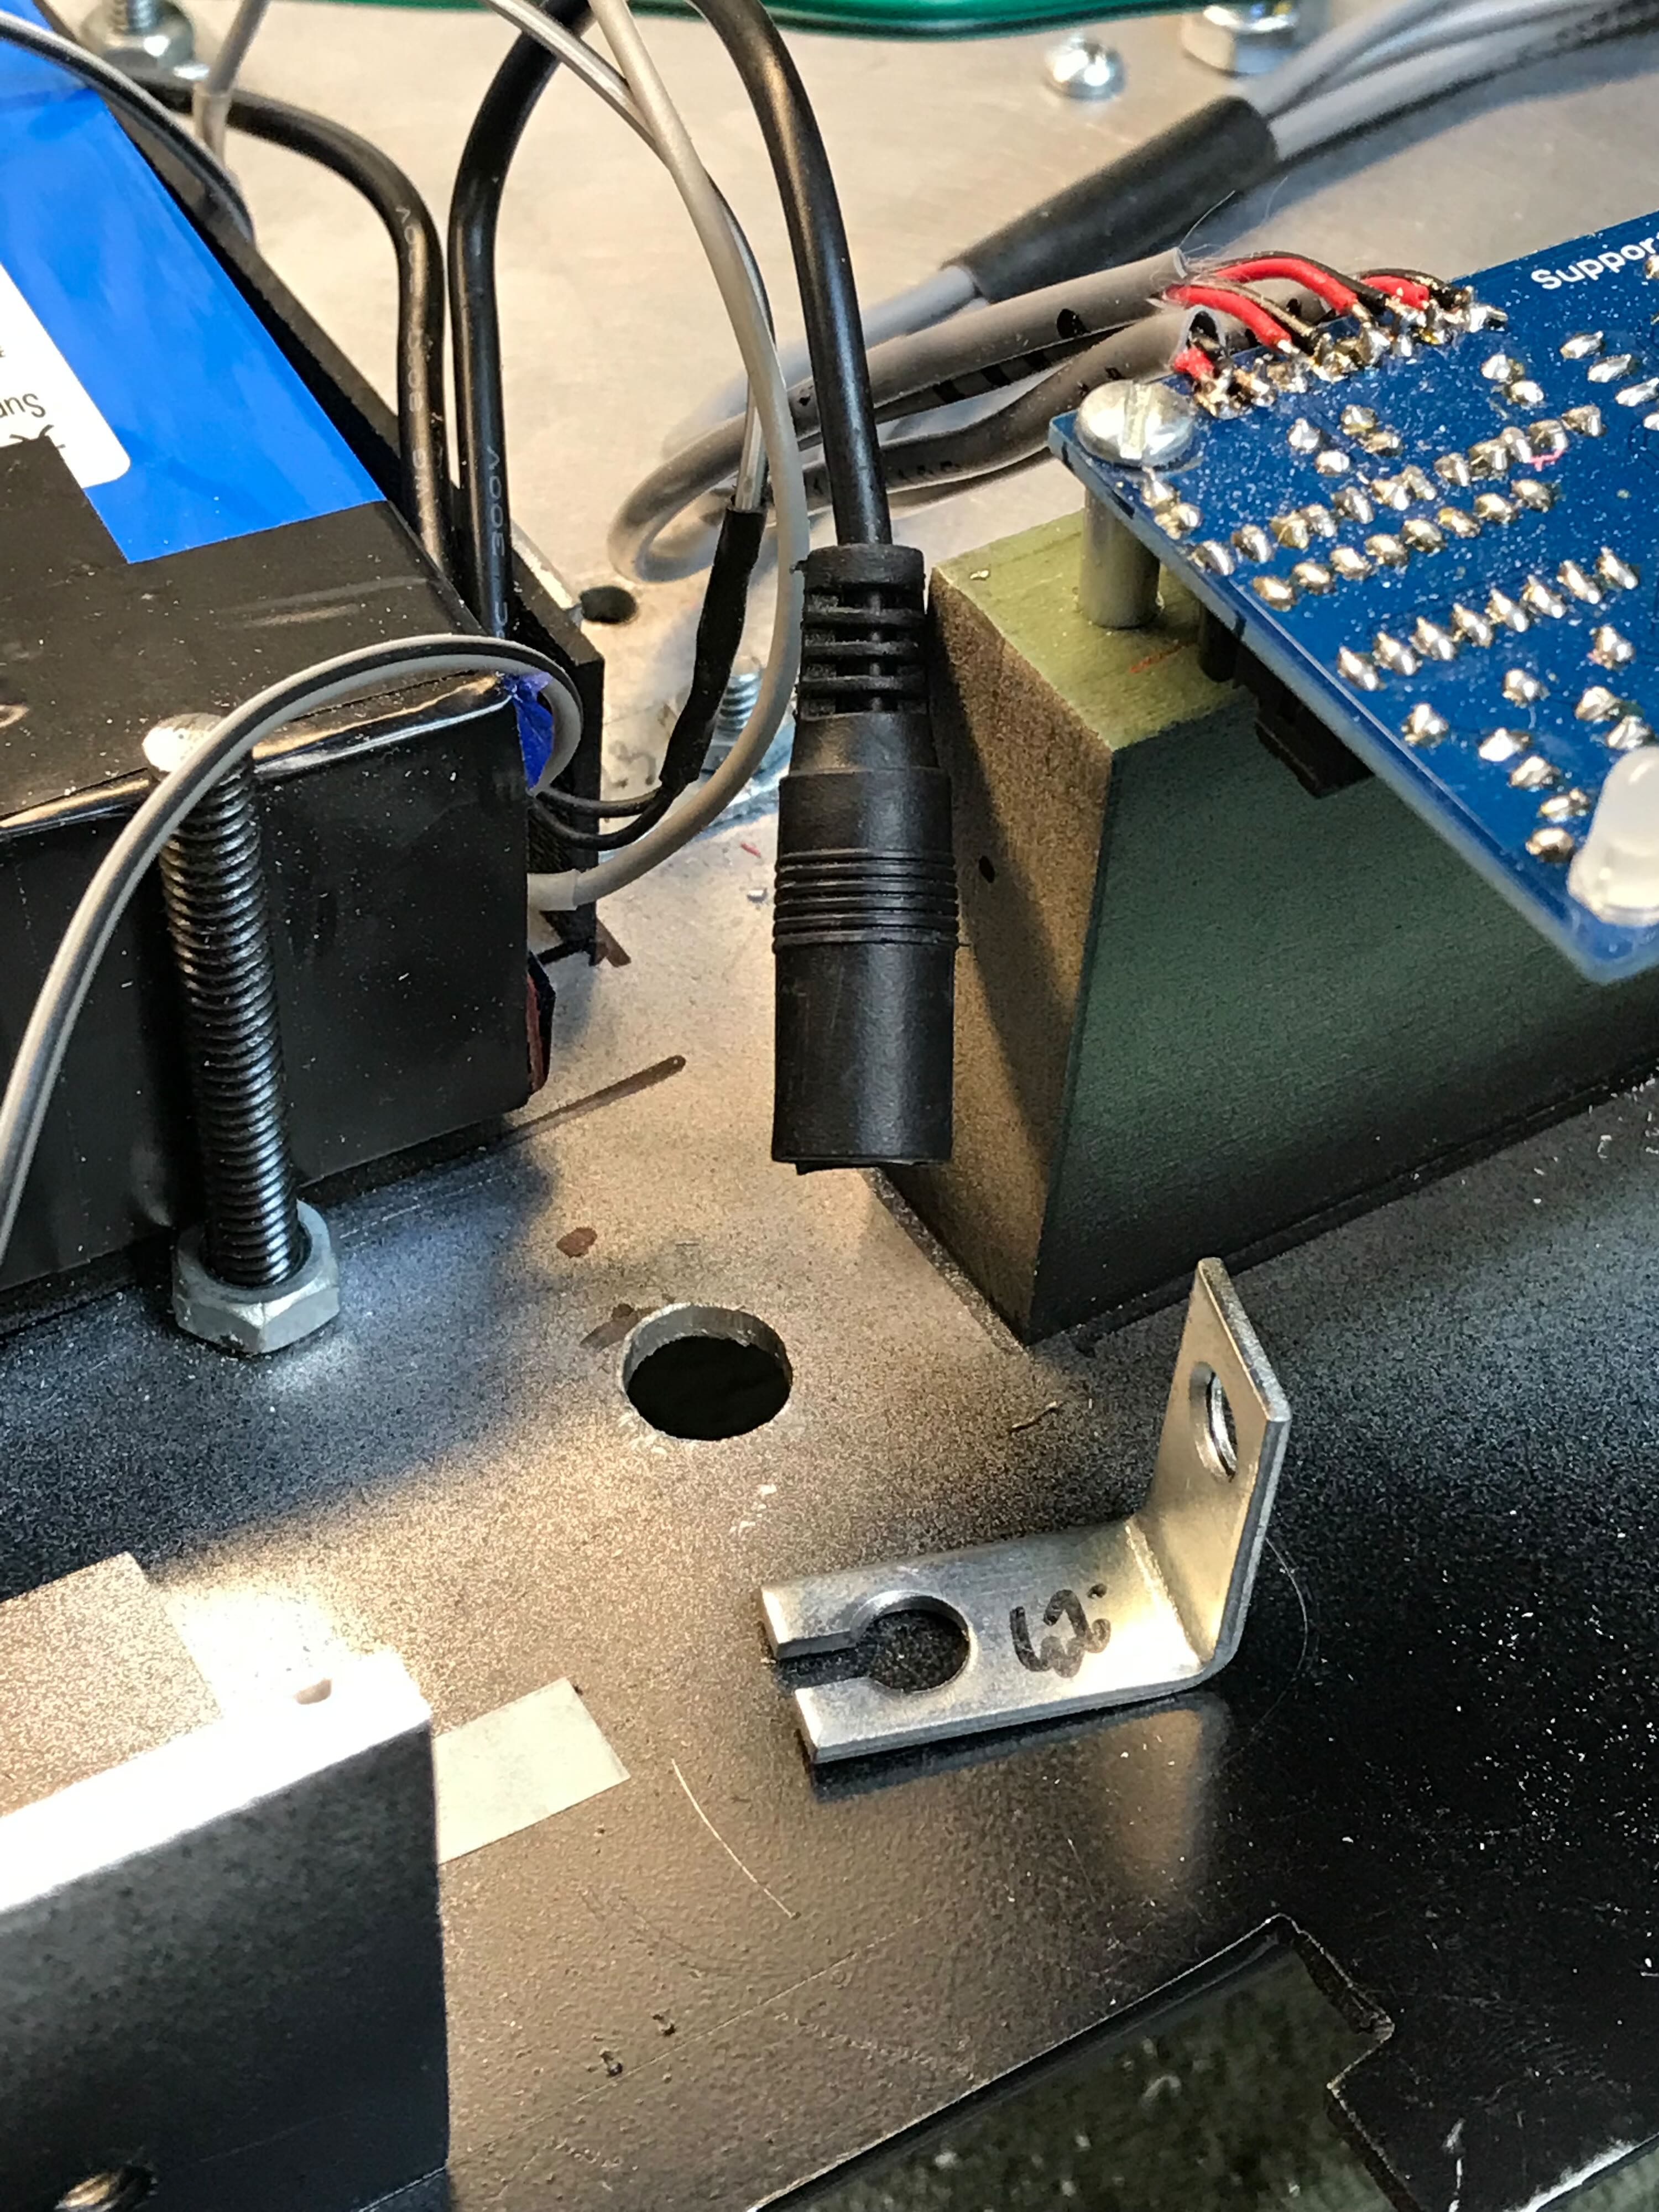
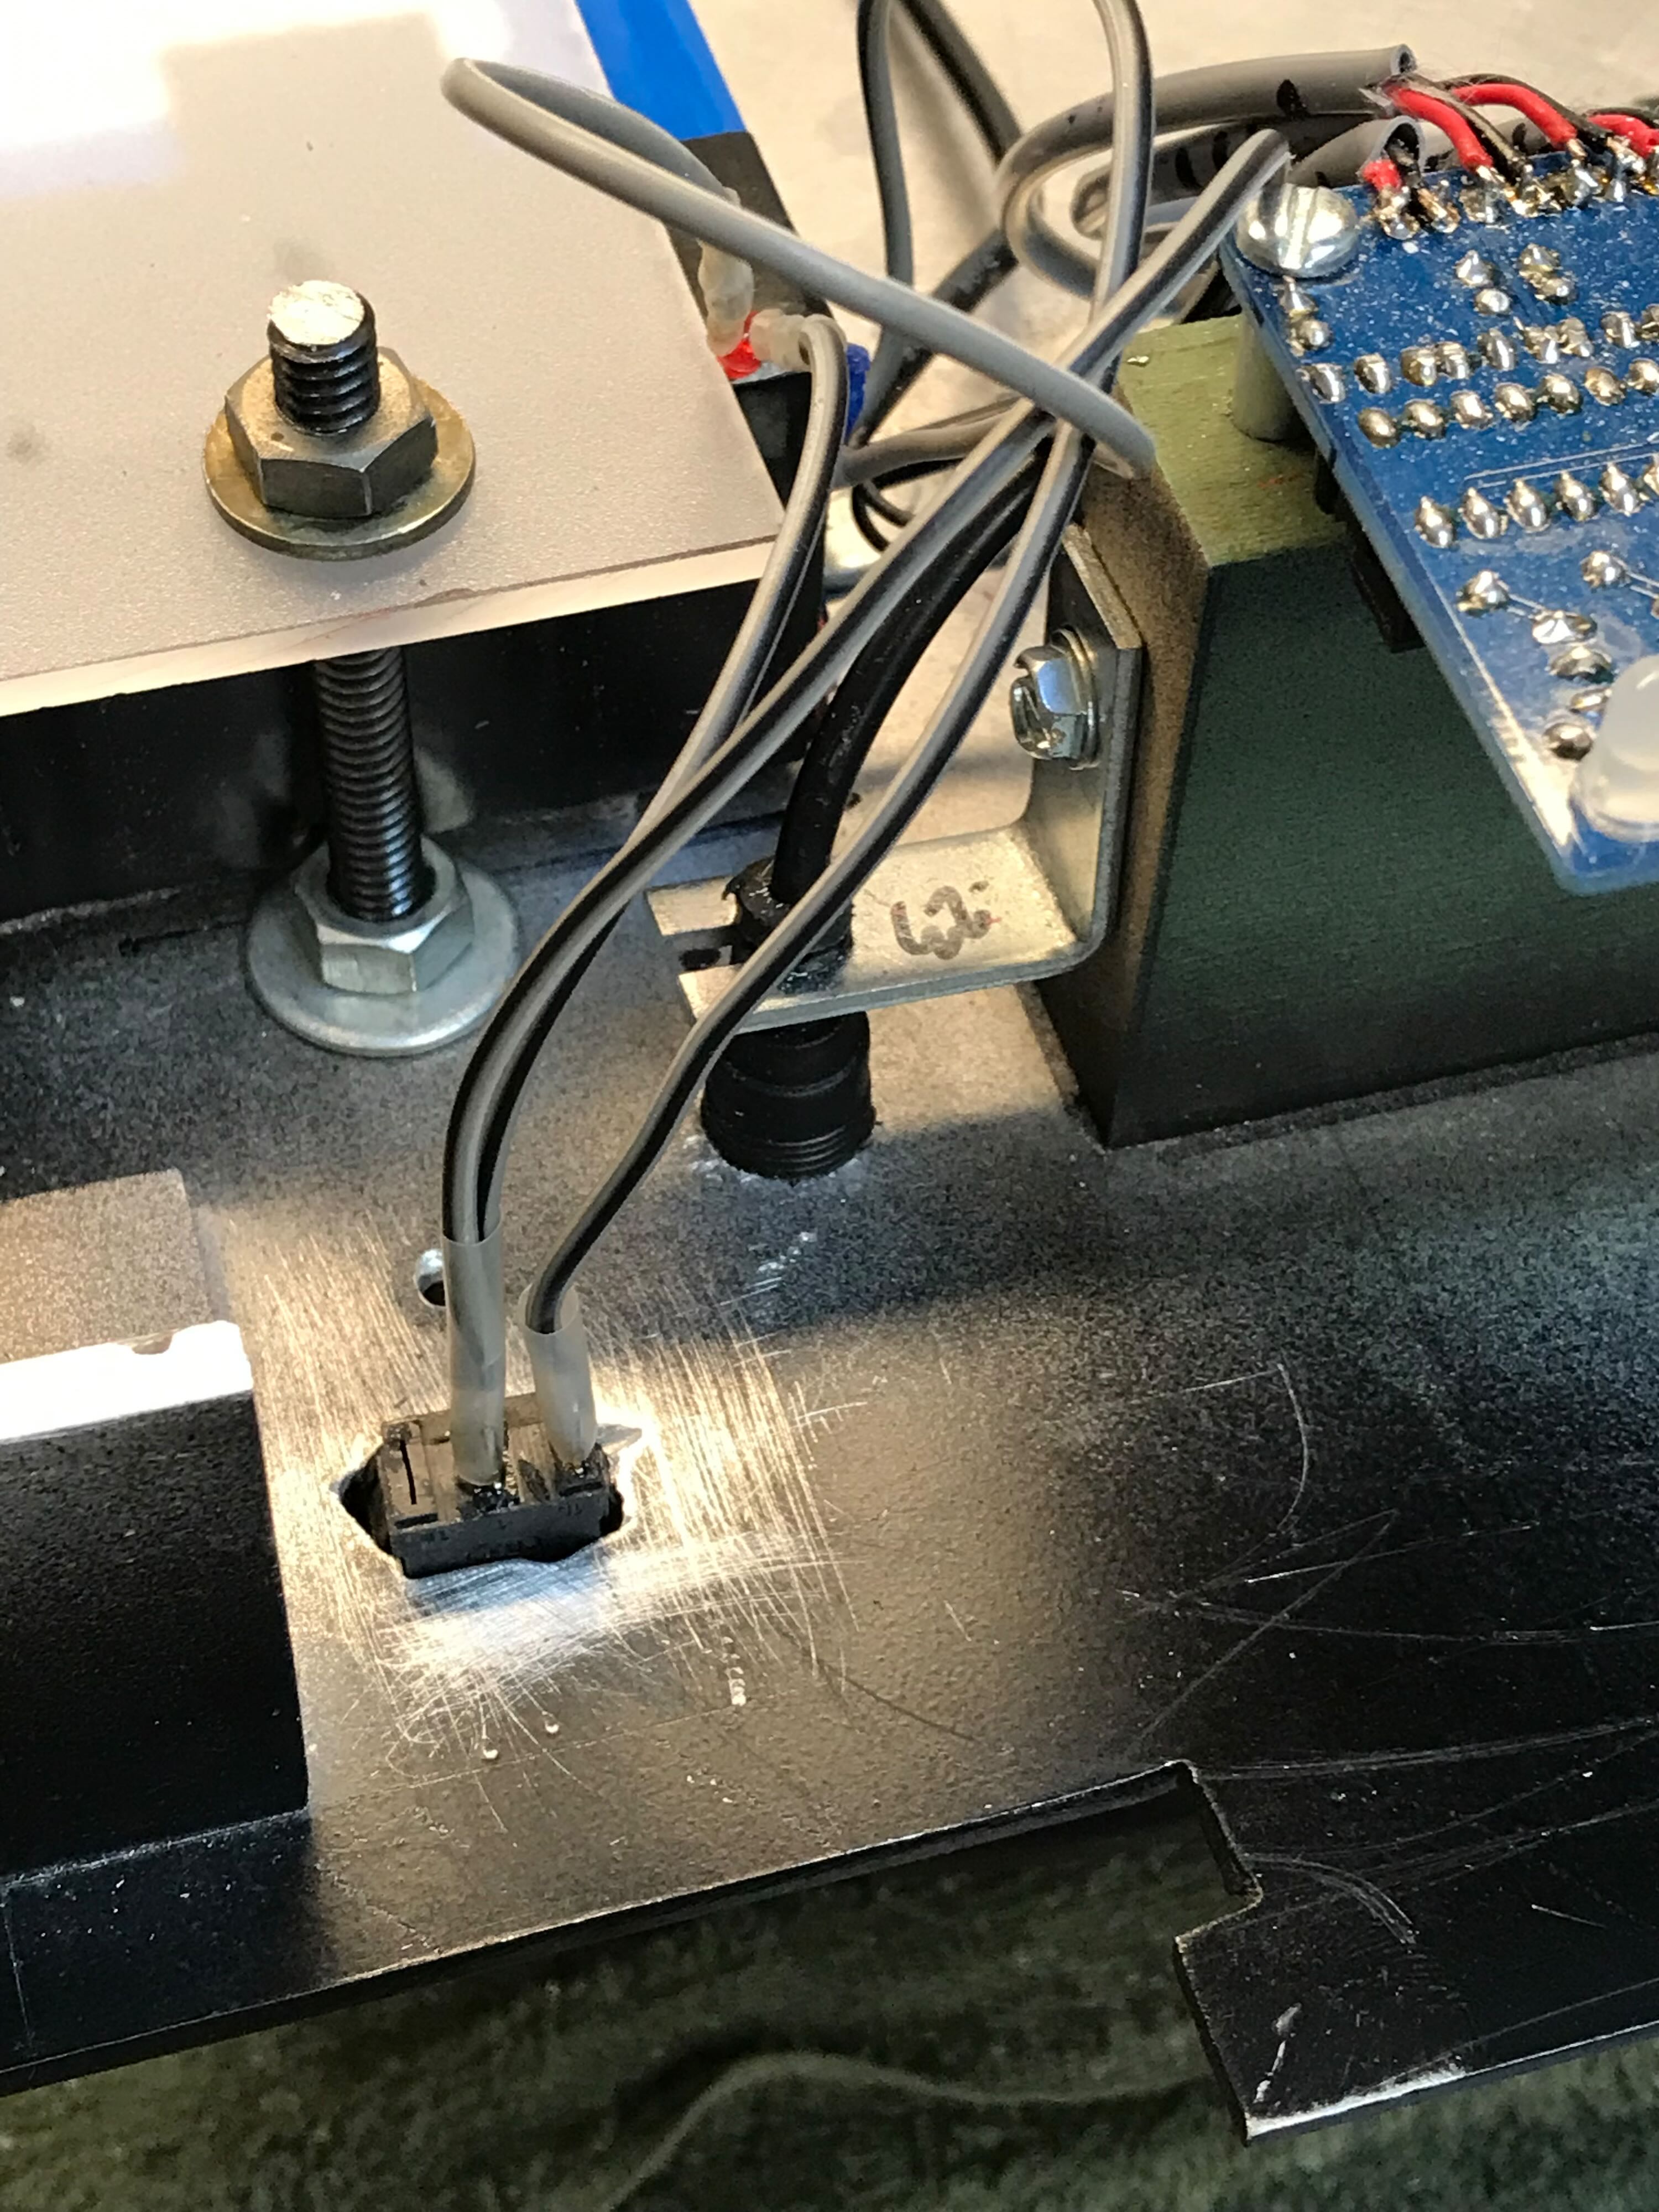
I drilled a hole into the motherboard through which I secured the charging jack. I modified a spare corner bracket I had to hold in the jack. If I’d been more ambitious I would have purchased a jack that could be bolted to the motherboard and spliced the wiring from the battery to that.
I didn’t do the most awesome job of cutting a rectangular hole into the motherboard to accommodate the kill switch. The hole for the LED was more straightforward. A generous helping of epoxy putty secured the switch and LED pretty well
I bolted on some spare metal corner braces to support the battery and used scrap acrylic and ABS plastic, bolts and nuts to secure the battery to the motherboard. I put a bit of packing foam between the battery and the motherboard to insulate it a bit from the metal.
Here’s a test of the assembled electronics. Things are mostly working, though I goofed up one of the connections which resulted in the pack hum sound coming on after the thrower firing effect is triggered. I didn’t want that sound effect running all of the time. I corrected the error later.
I don’t know how to make the YouTube thumbnail and player appear here. The YouTube BBcode thing just appends “YouTube” to the beginning and end of the link for me.
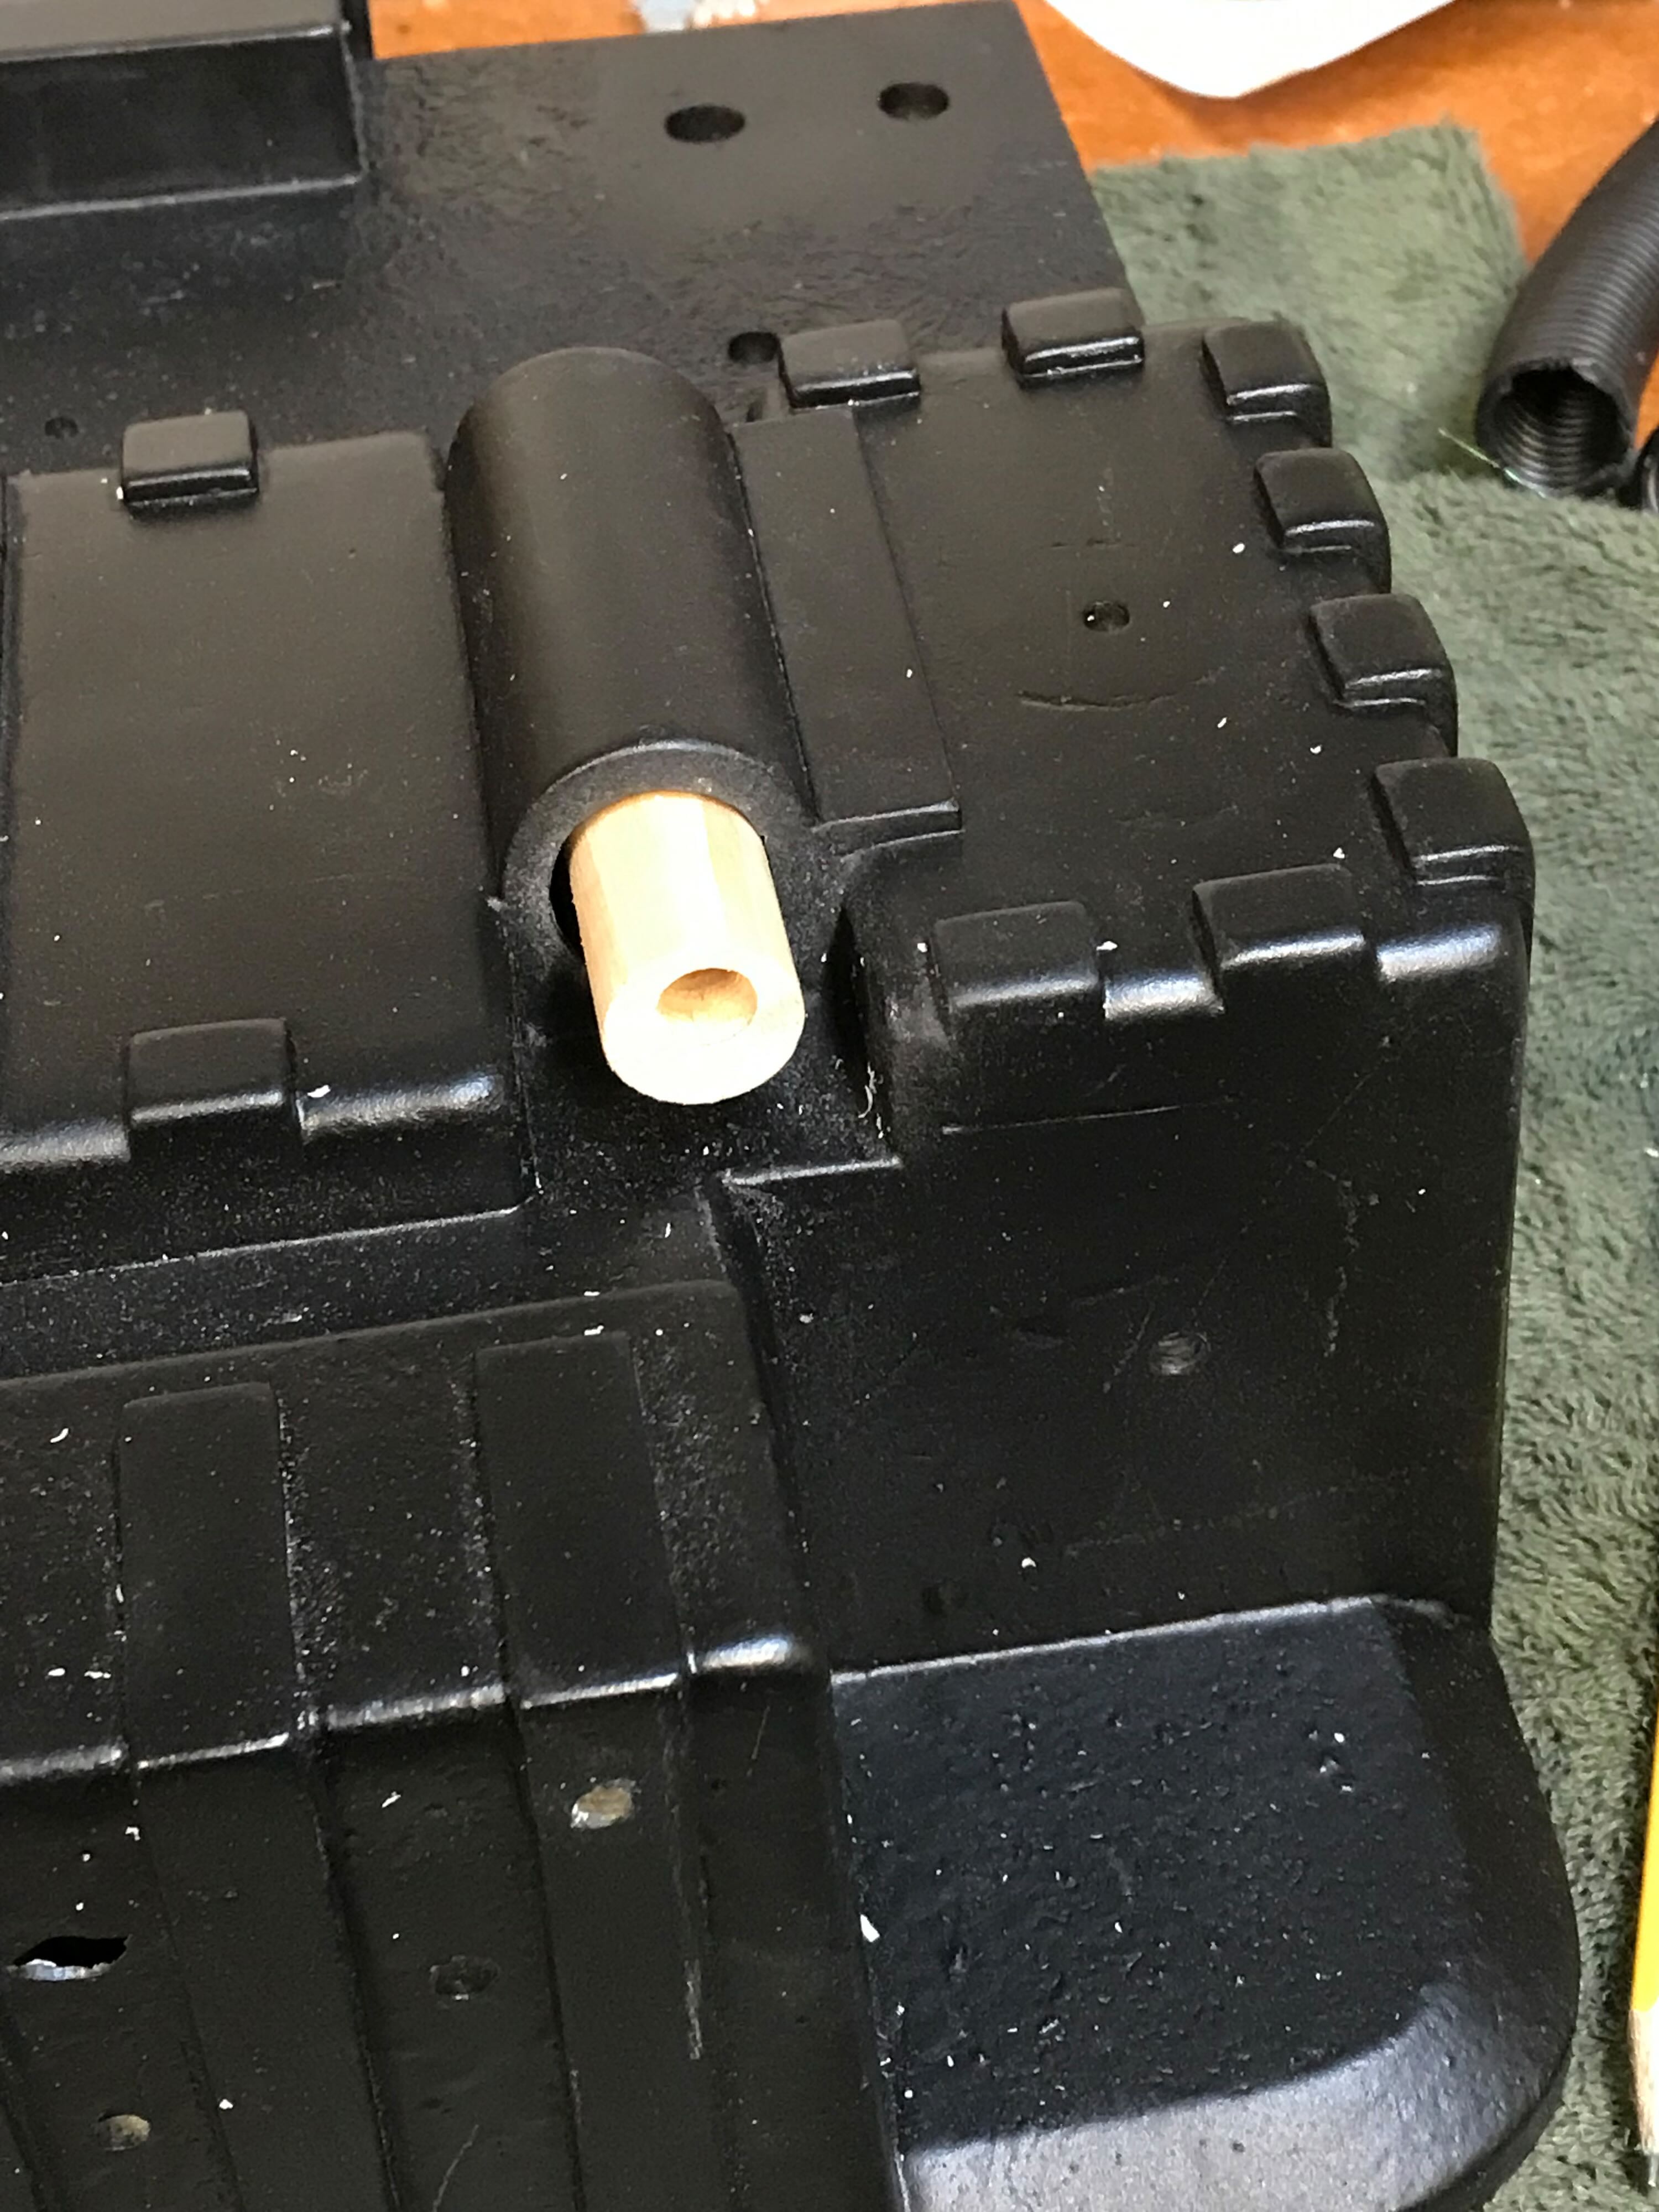
7/9/22 - Happy birthday to me. As I continued to deal with a cold I installed a dowel into the crank generator to attach the hose. Wes had partially cut into that hole. I used a pocket hole drill bit that allowed me to screw the dowel into the resin at the opposite end. I also added a dowel to secure the other end of the hose (not pictured).
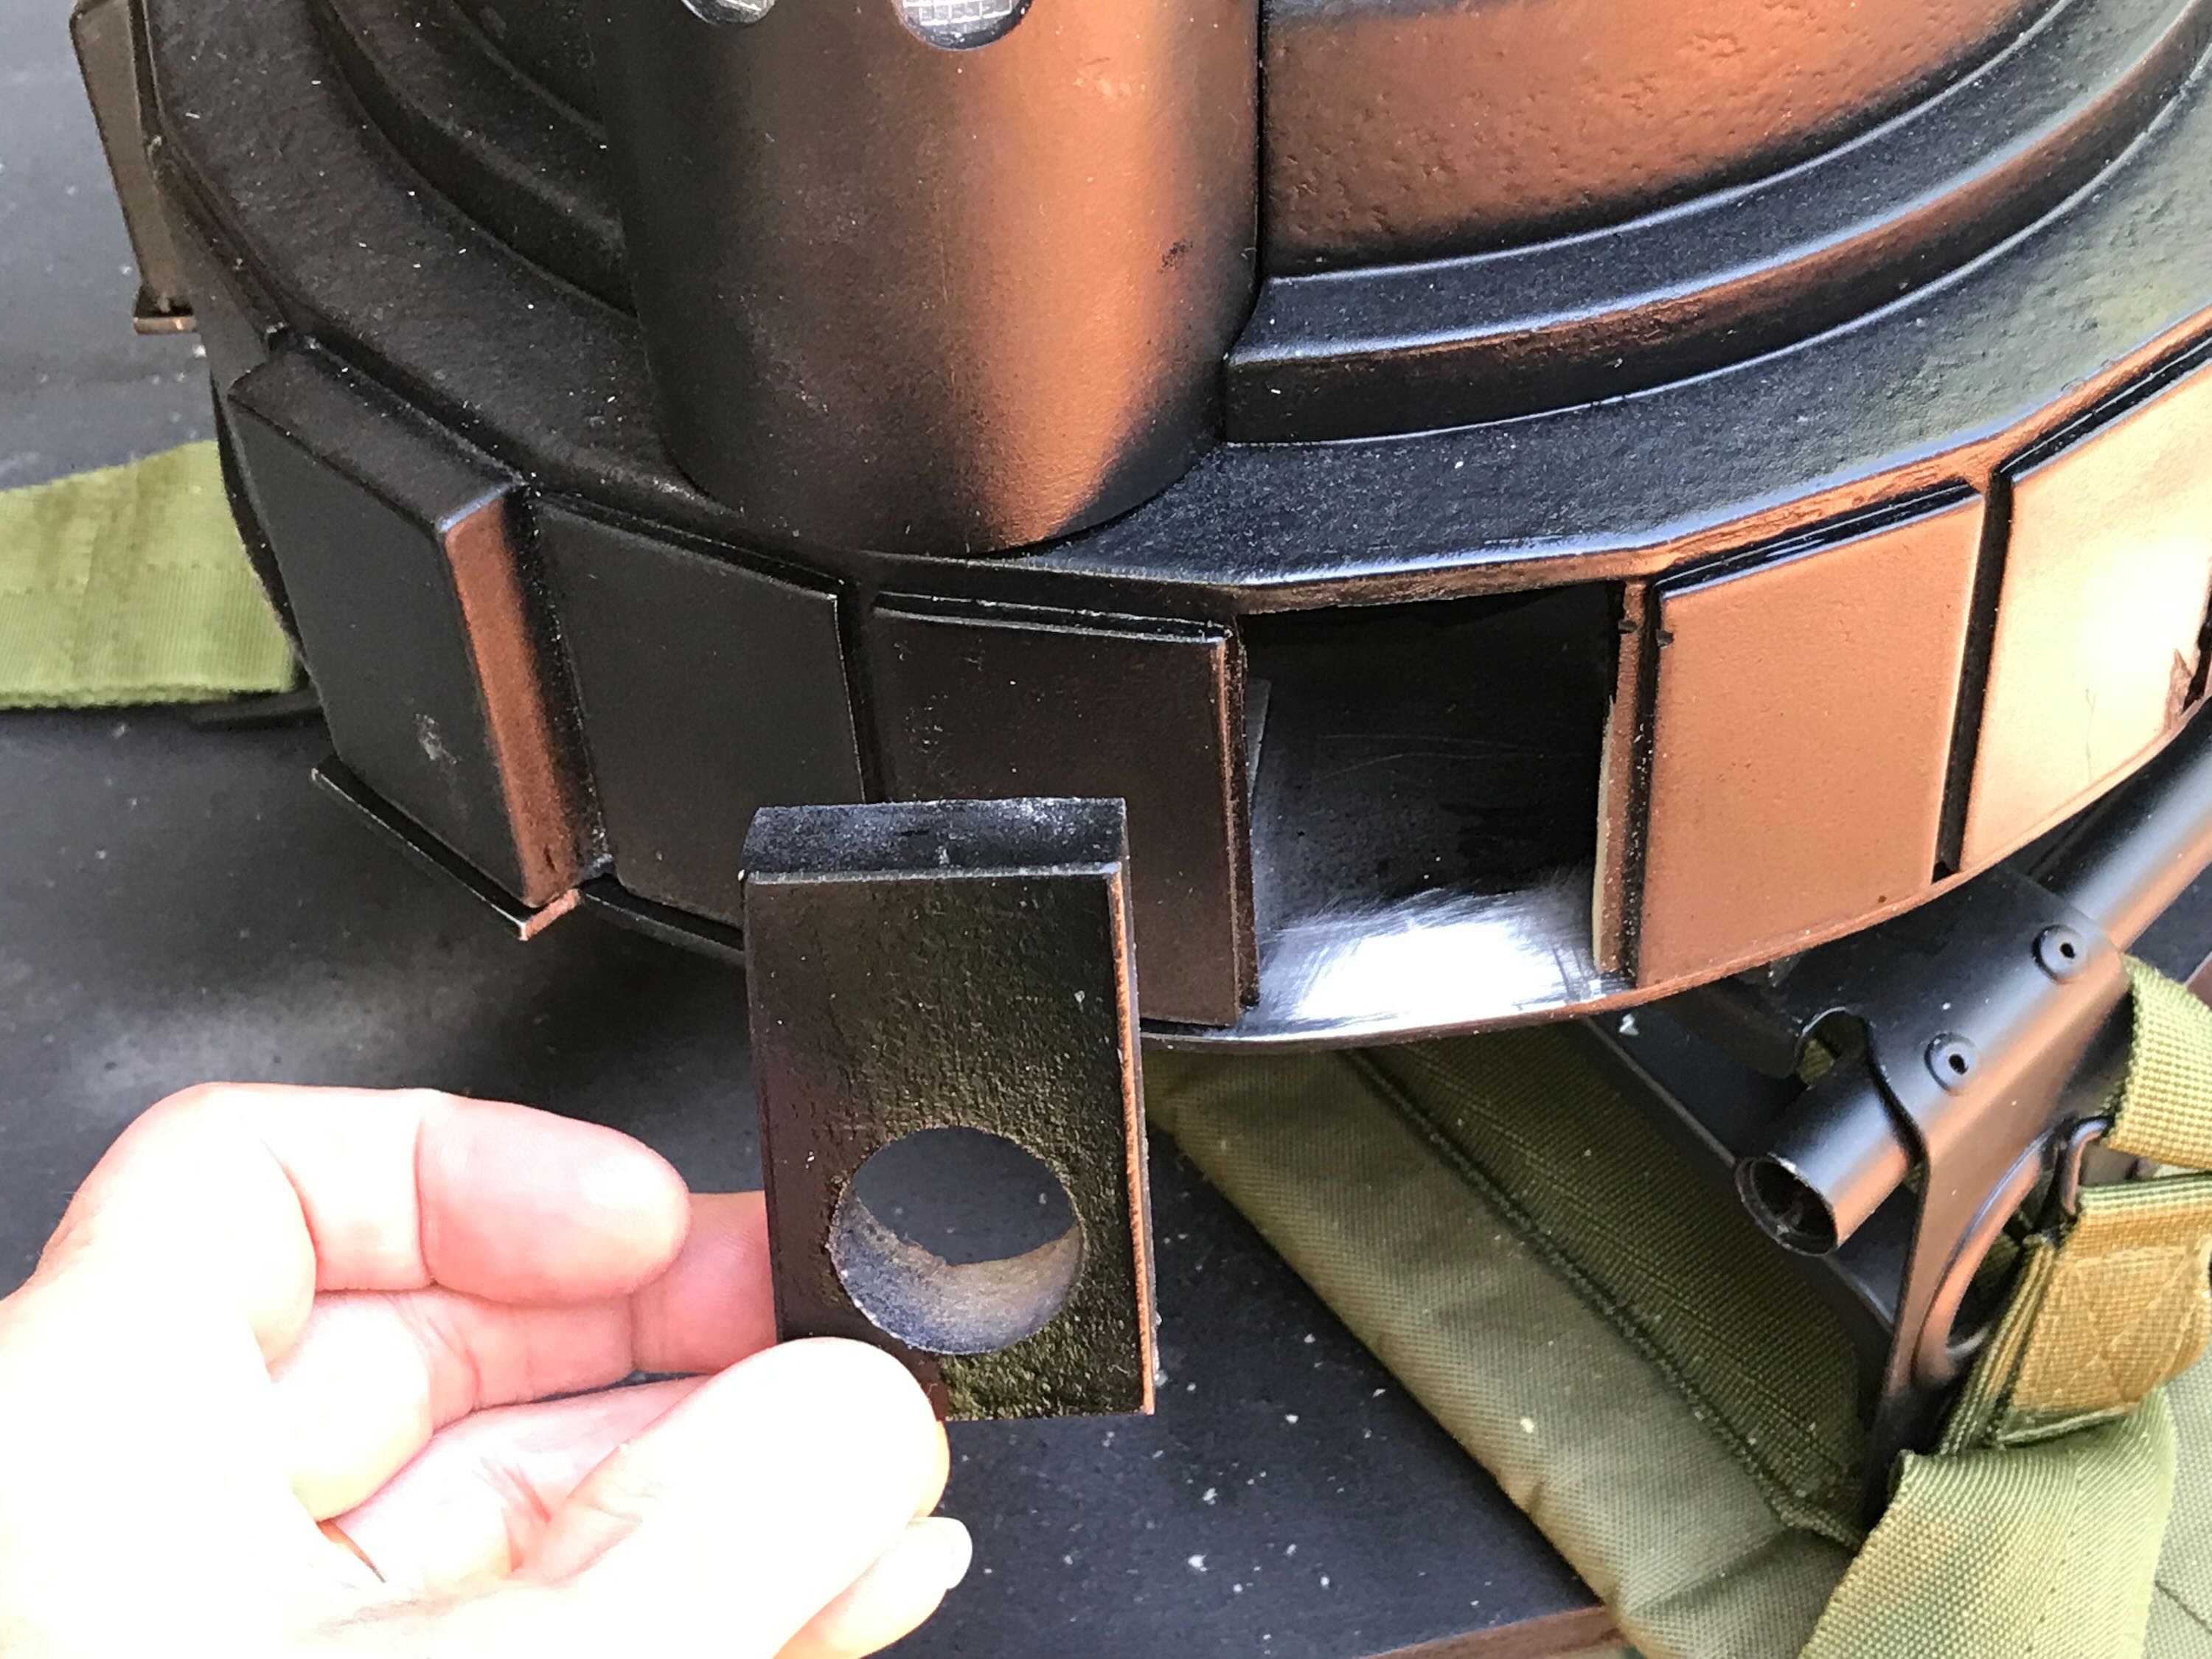
I decided it would be easier, and produce a cleaner, more-accurate look, to replace the whole plate the main hose plugs into with a block of wood. I used my Dremel to cut that plate out of the resin shell and fabricated a replacement with another piece of 3/4" scrap wood. I epoxied and clamped this to the motherboard.
I mixed some white and black acrylic paint to make a medium grey I could airbrush onto the crank knob. I prefer the grey knobs from GB1. I added the stickers the next day. I had to use spray adhesive to make the ones going onto the textured areas stick properly.
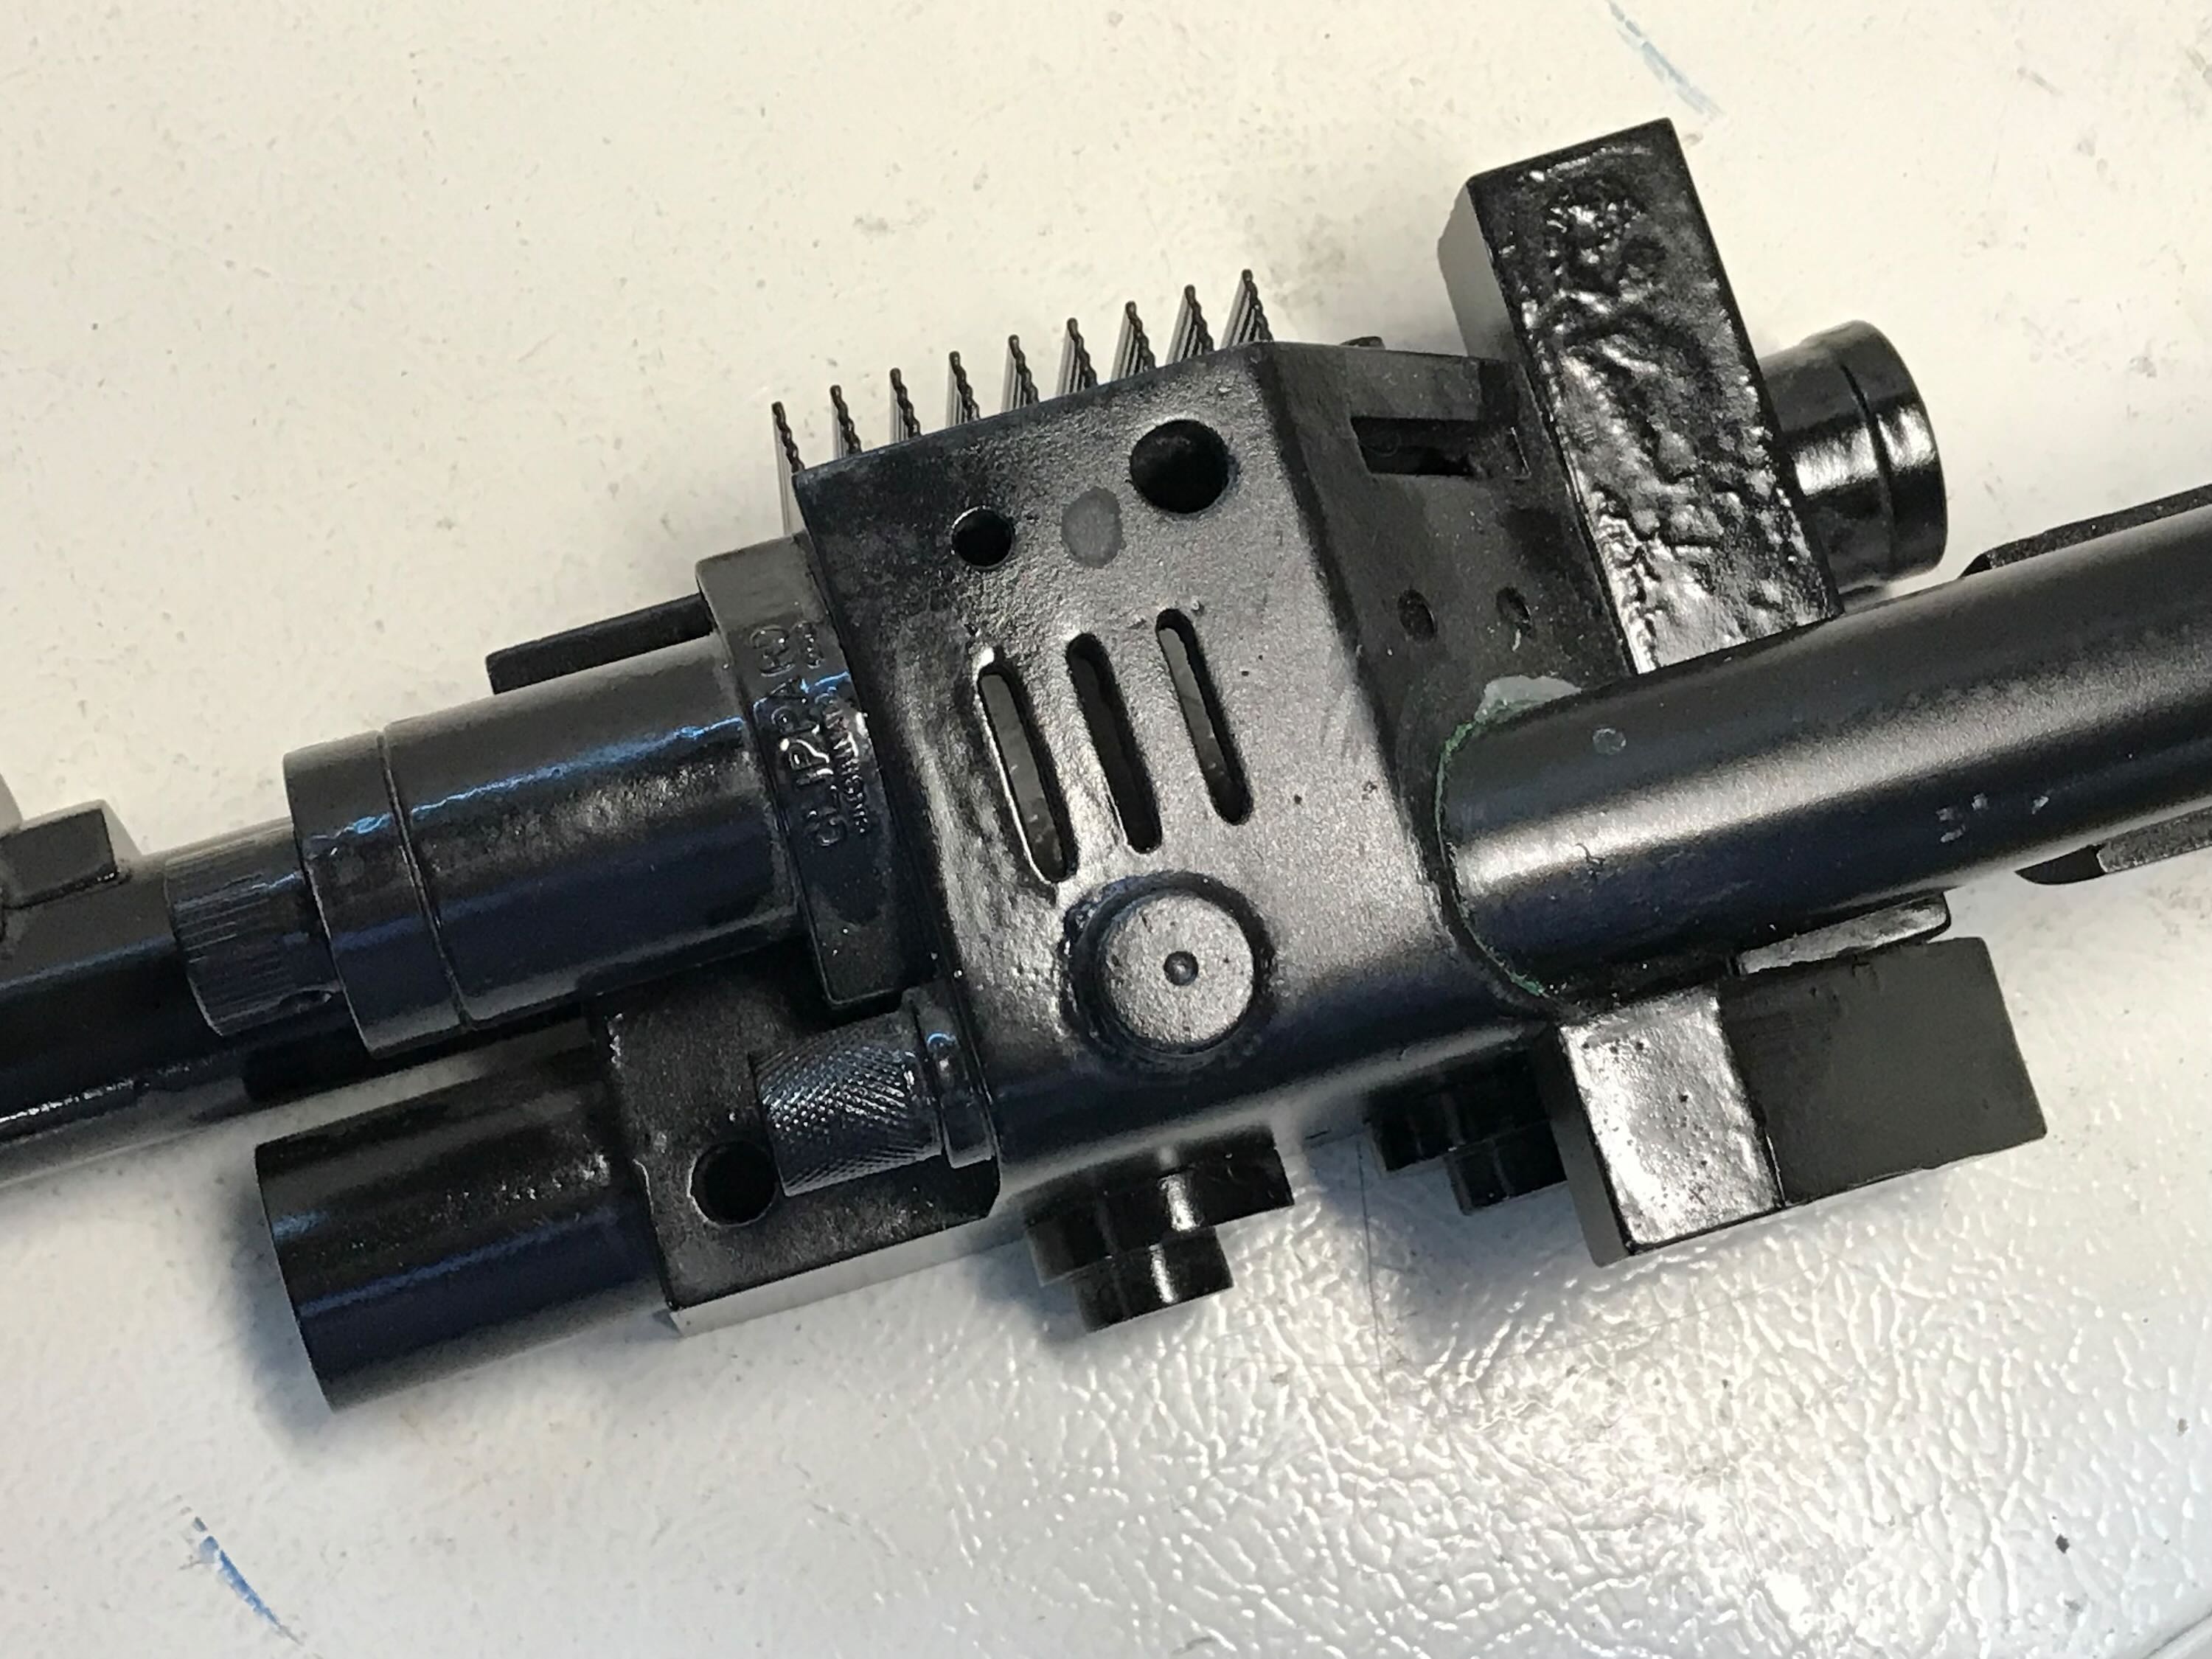
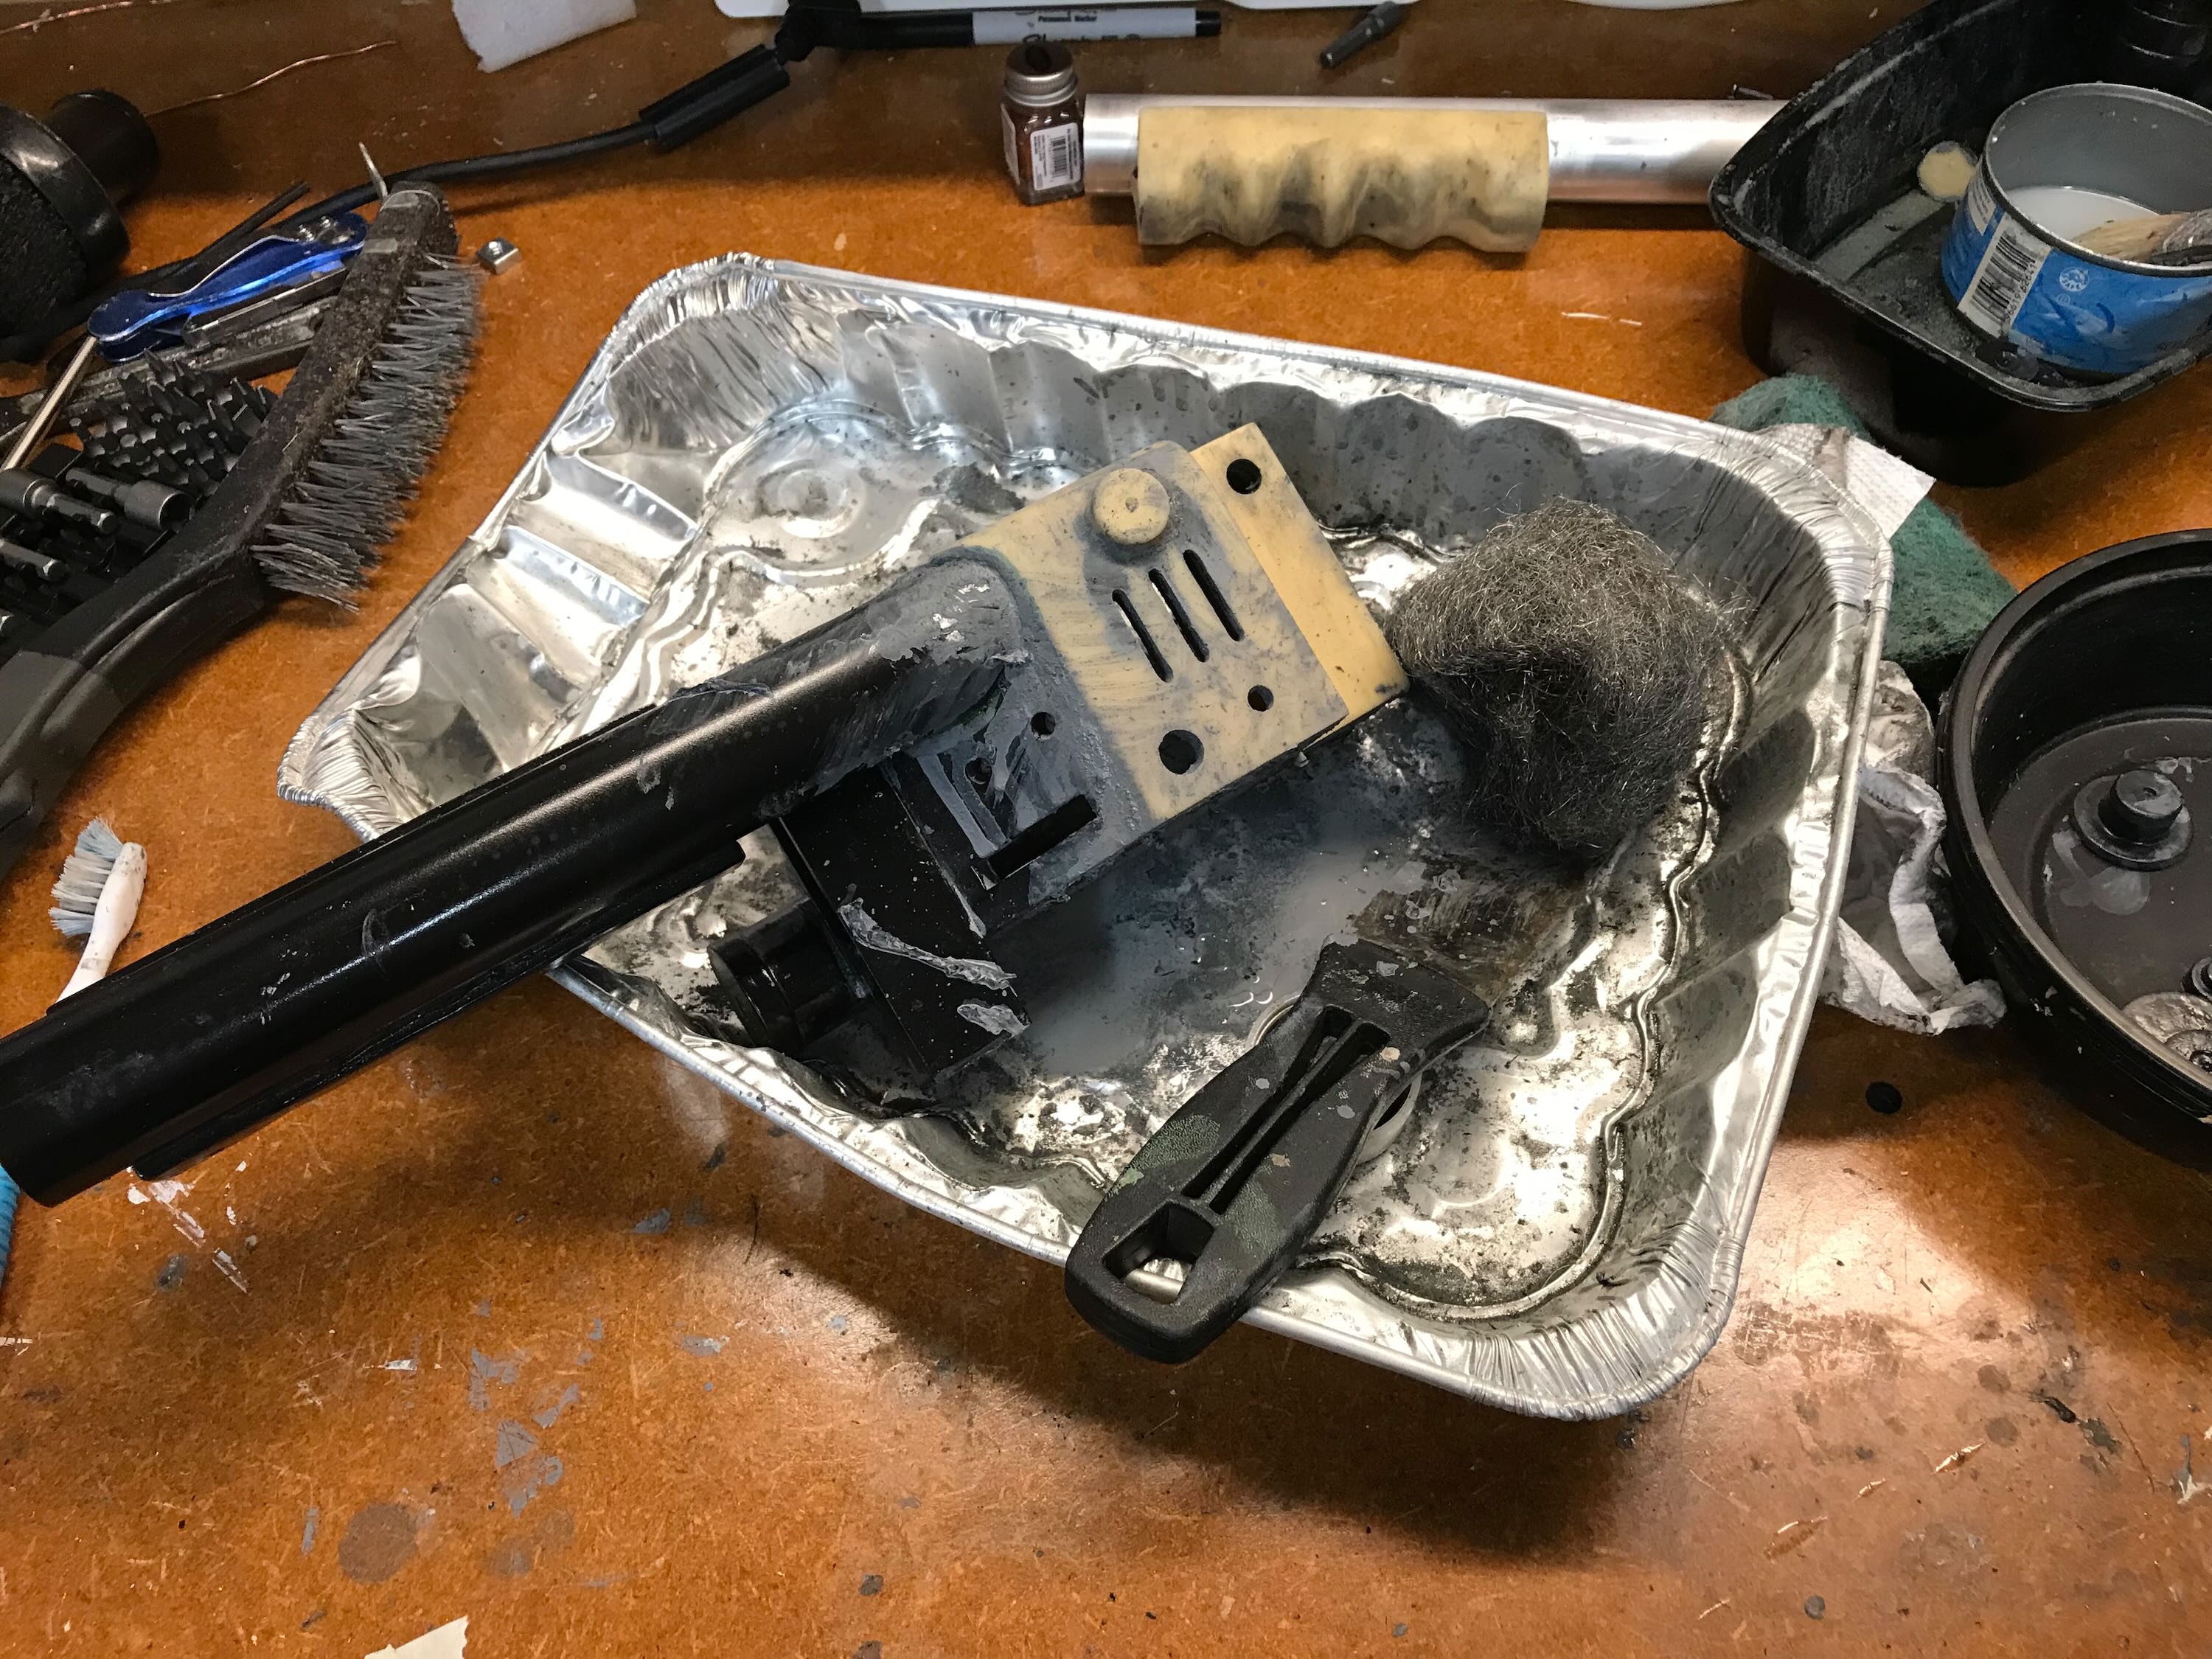
Simply disassembling the parts as I had with the shell would be insufficient. I had to take it apart AND strip off the paint. I used acetone, an old aluminum roasting tray, fine steel wool, and a lot of scrubbing to get off the paint. This took over two hours, and it was gross work.
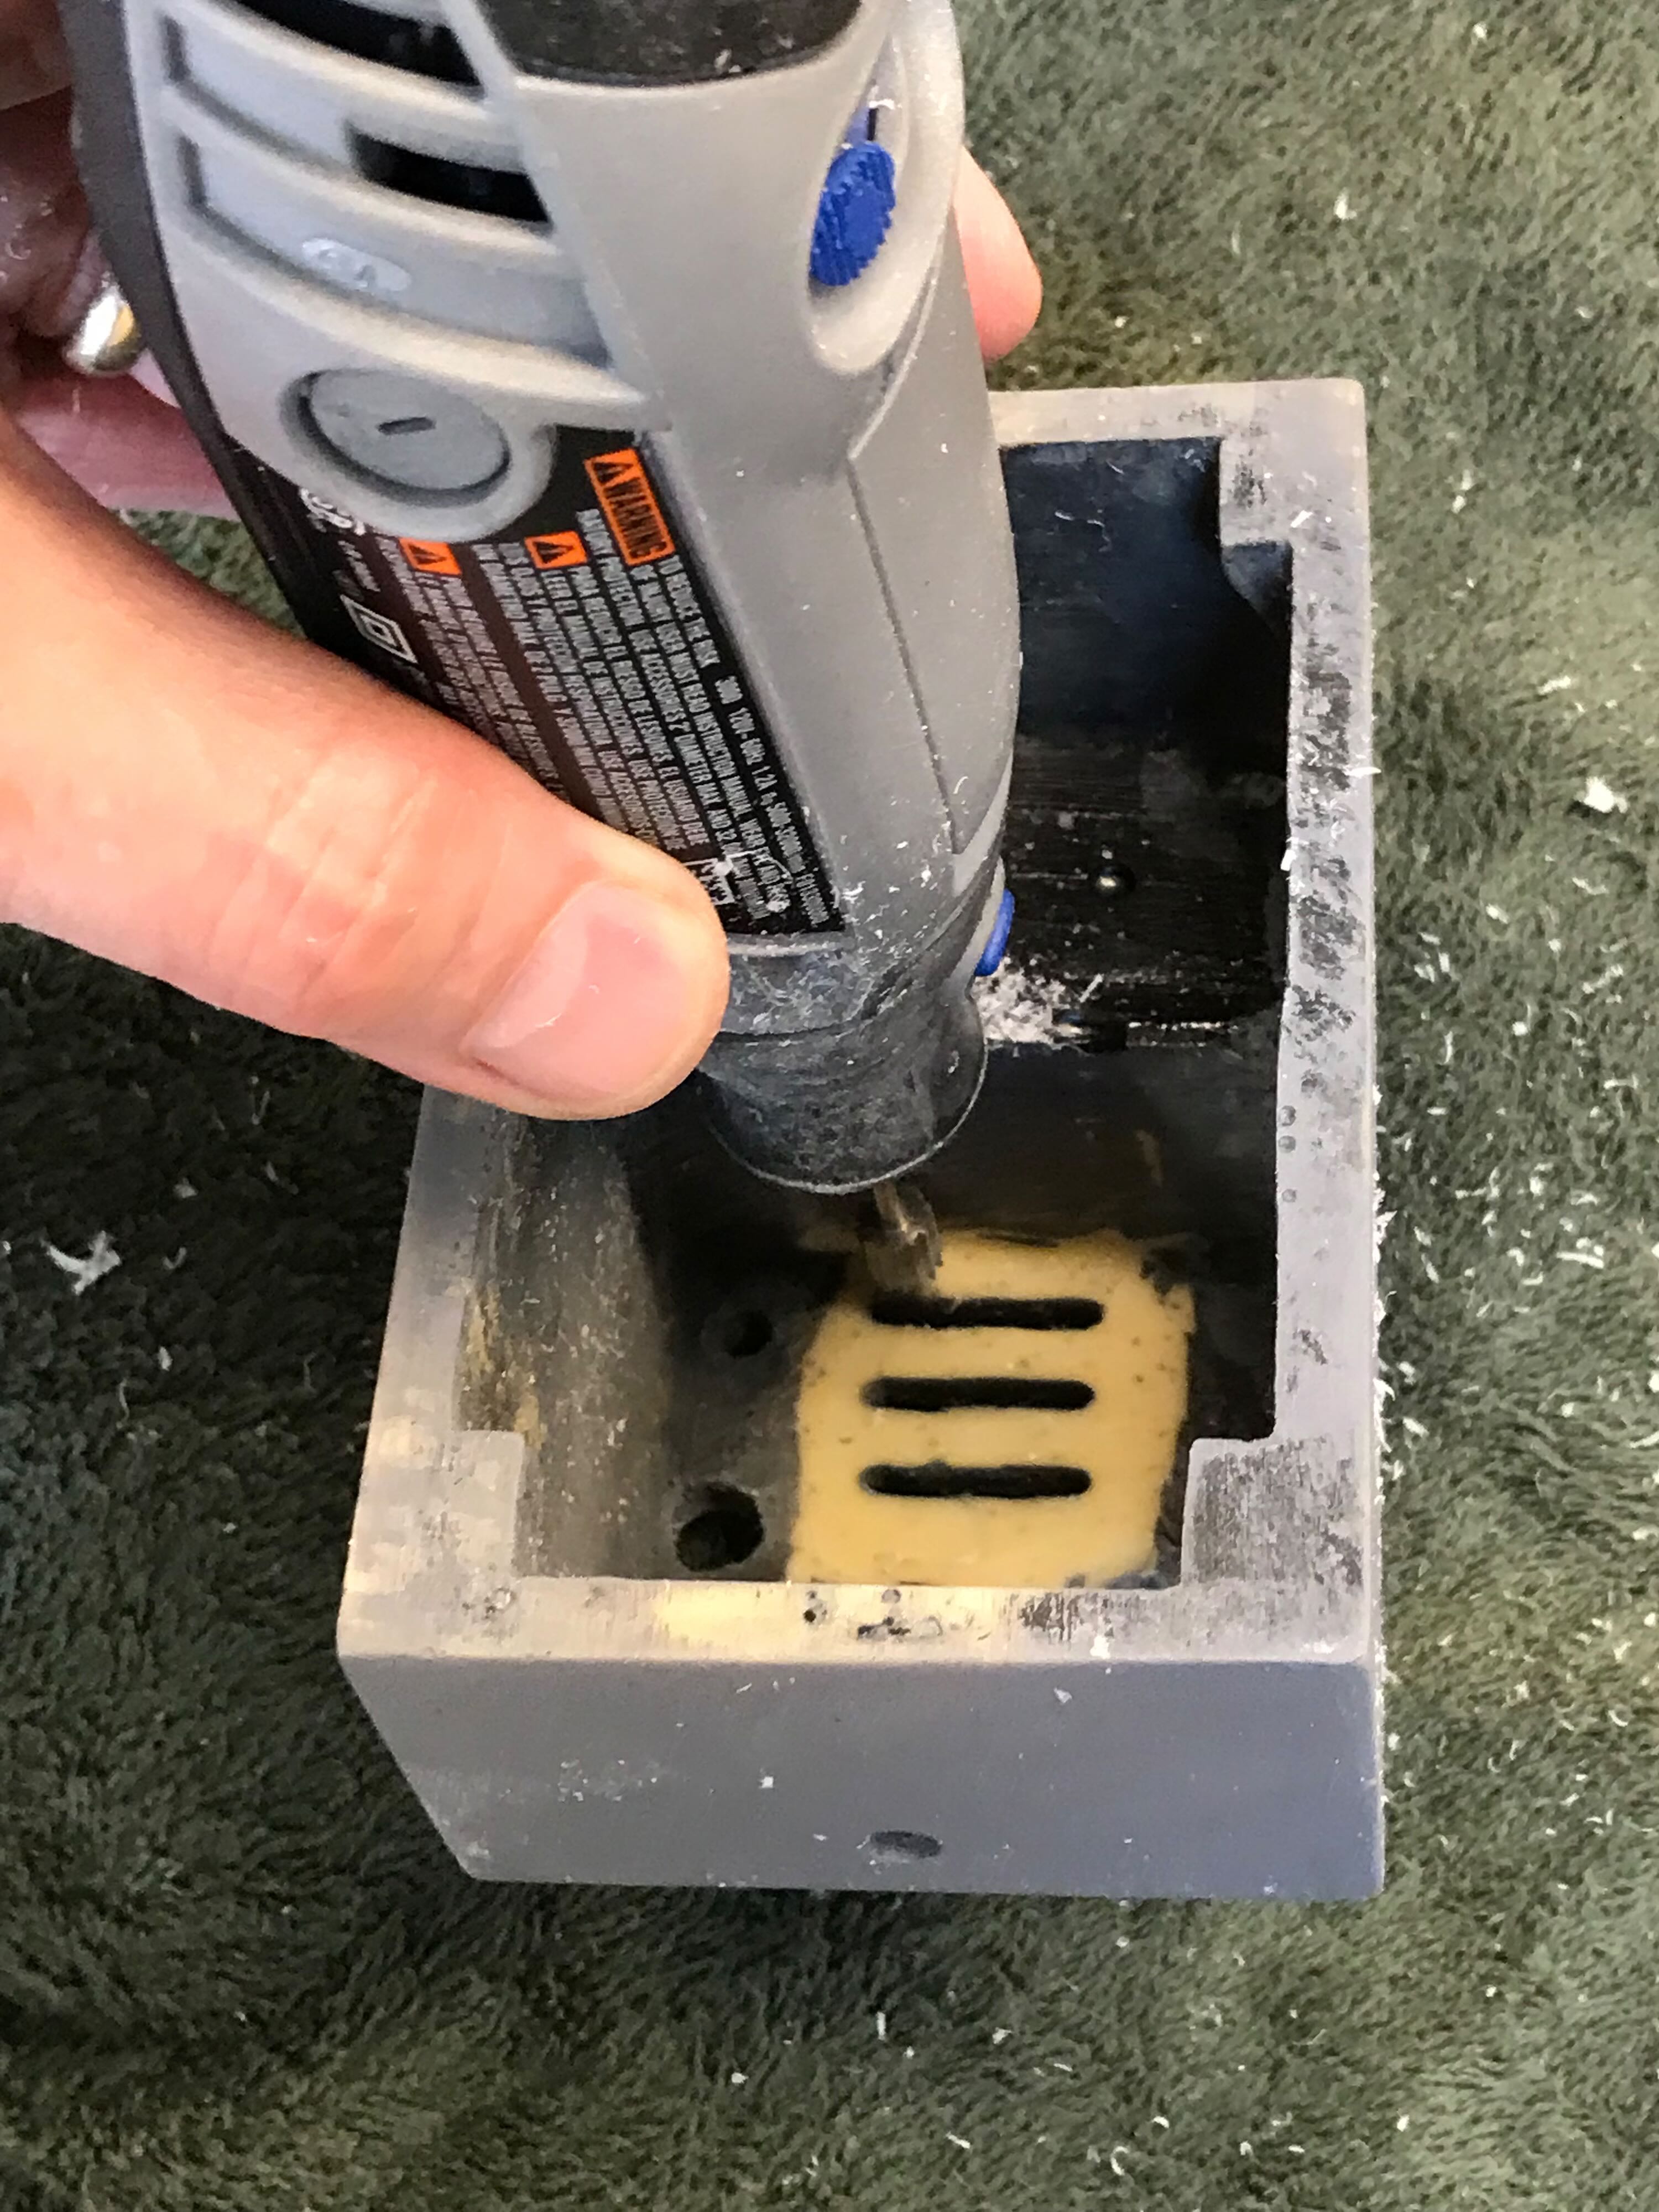
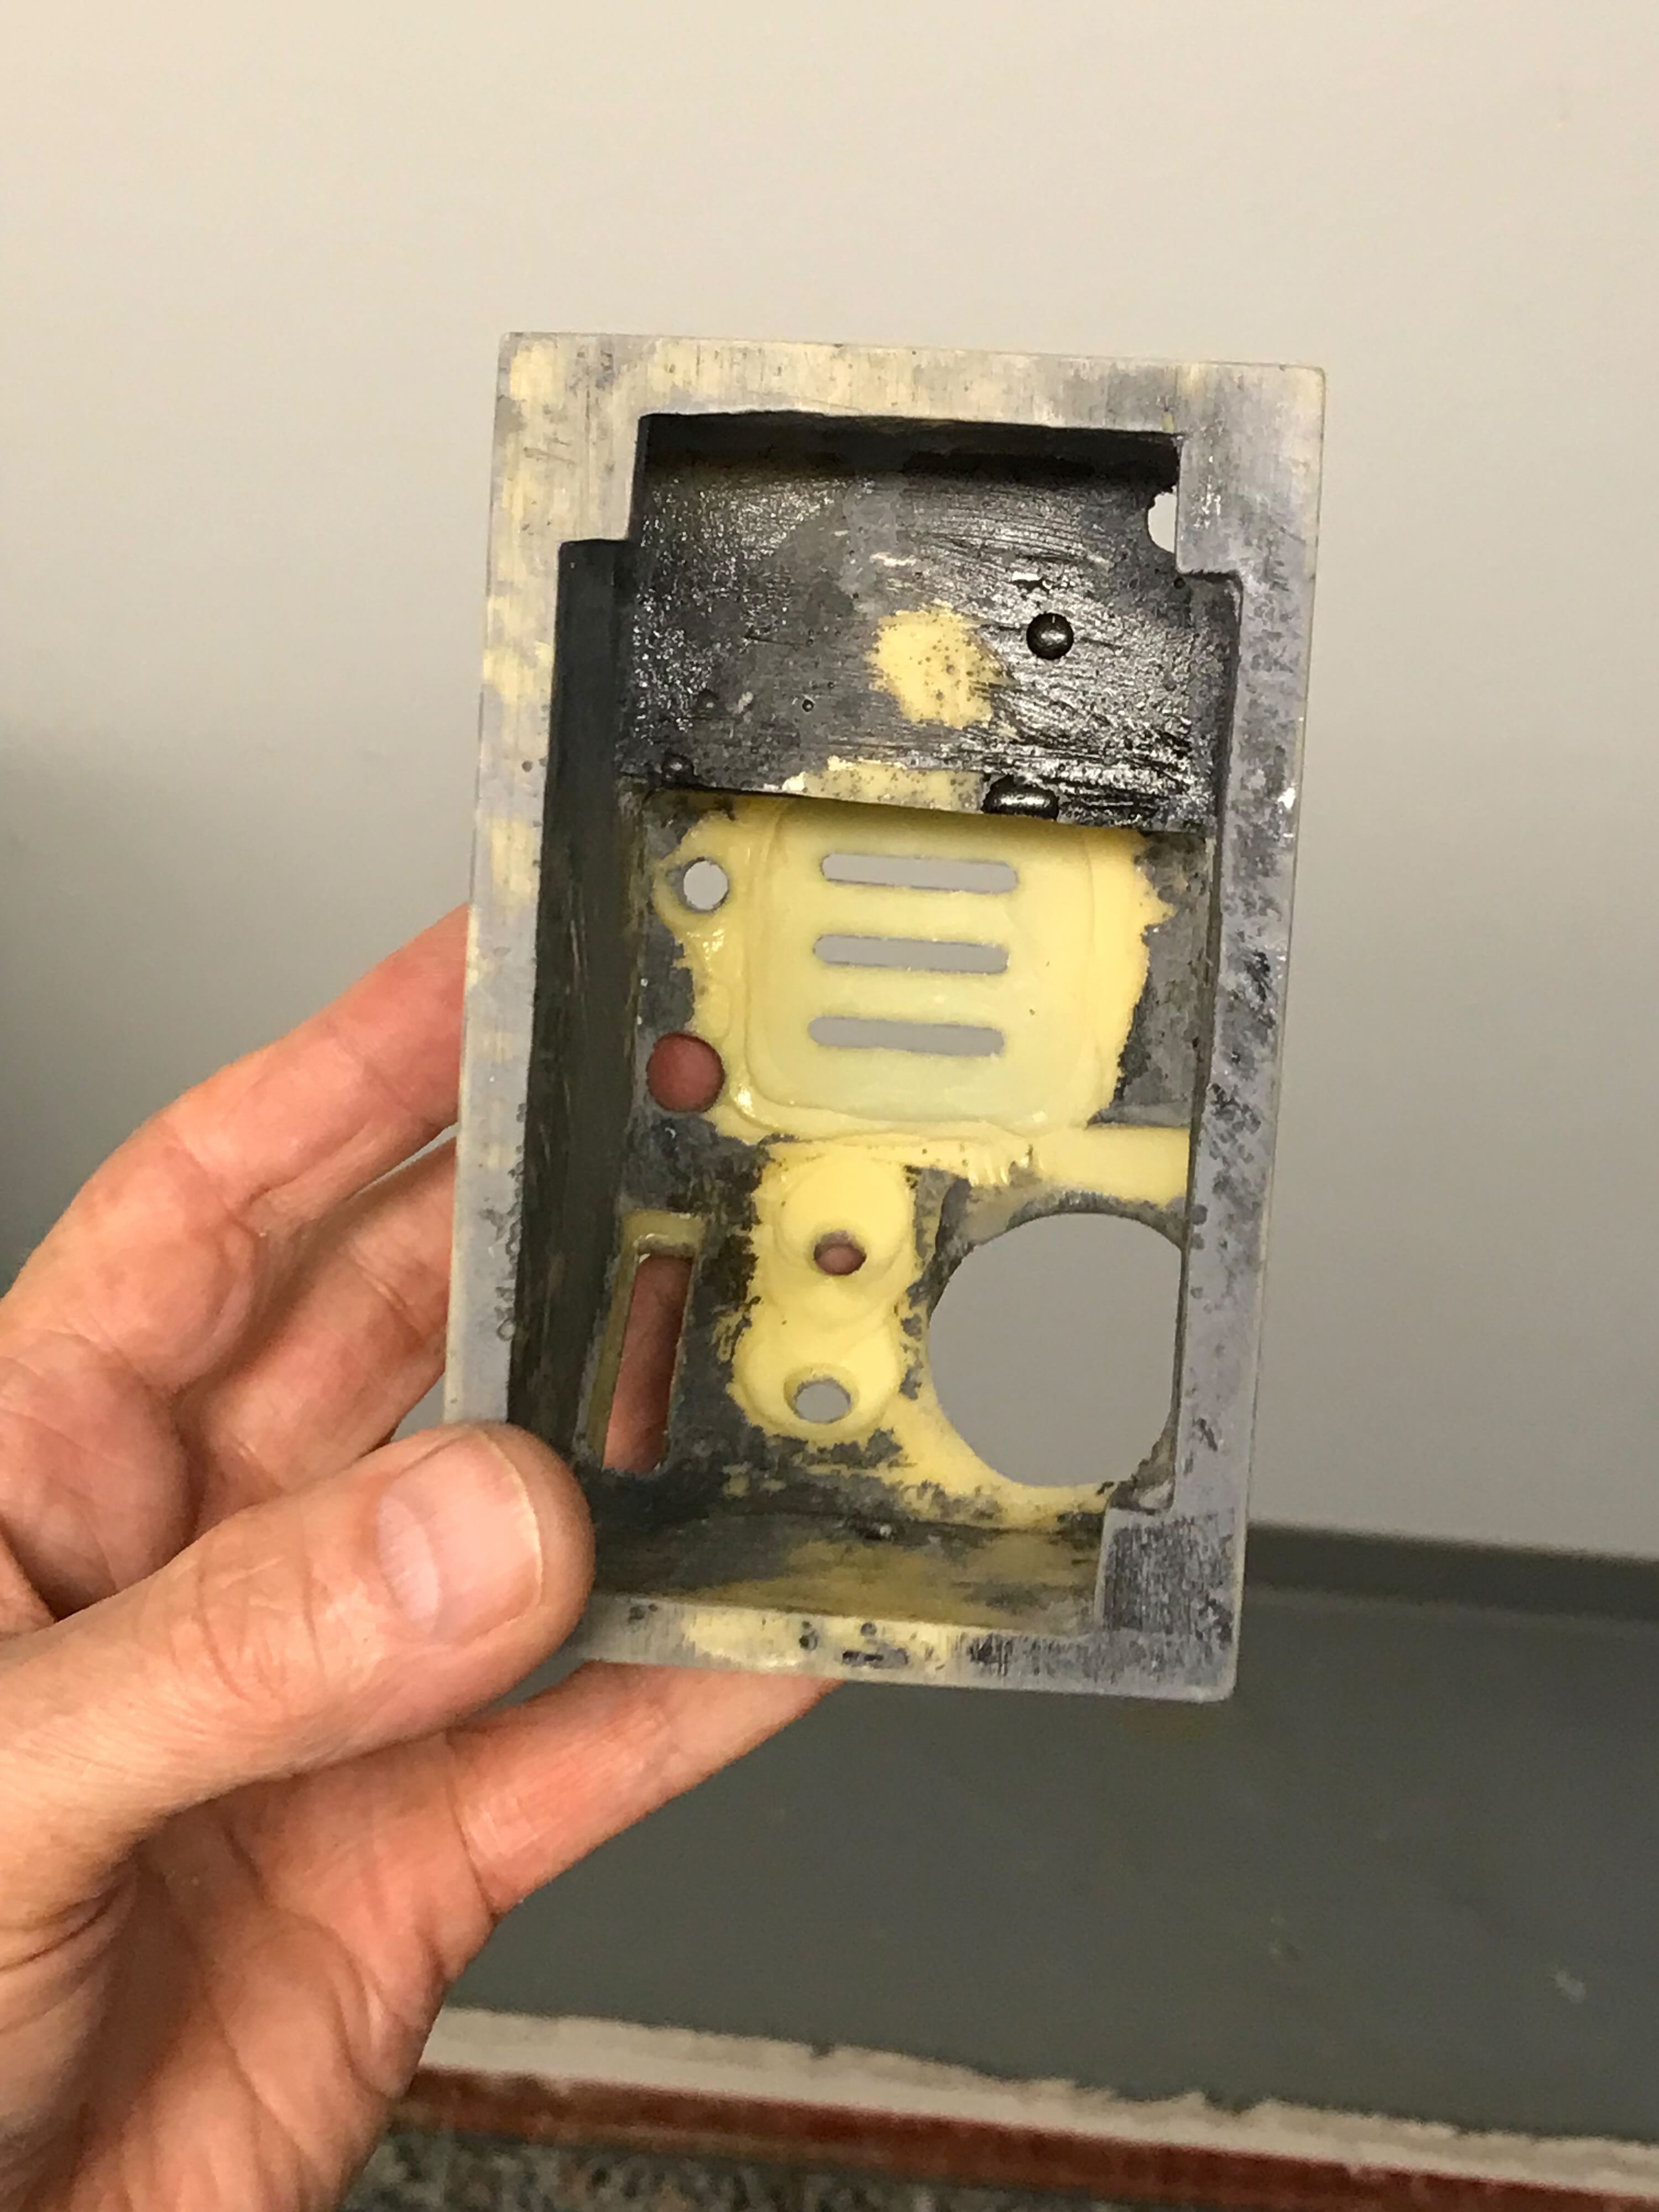
7/13/22 - The resin making up the main thrower box was WAY too thick around the vent openings, so I had to Dremel those down. I wasn’t able to use the grinding jig I’d used for parts of the shell, and I didn’t want to take the time to build my own, so I just carefully did it by hand, carefully checking the thickness over and over. I got the edges down to a somewhat consistent 3/32(ish) of an inch.
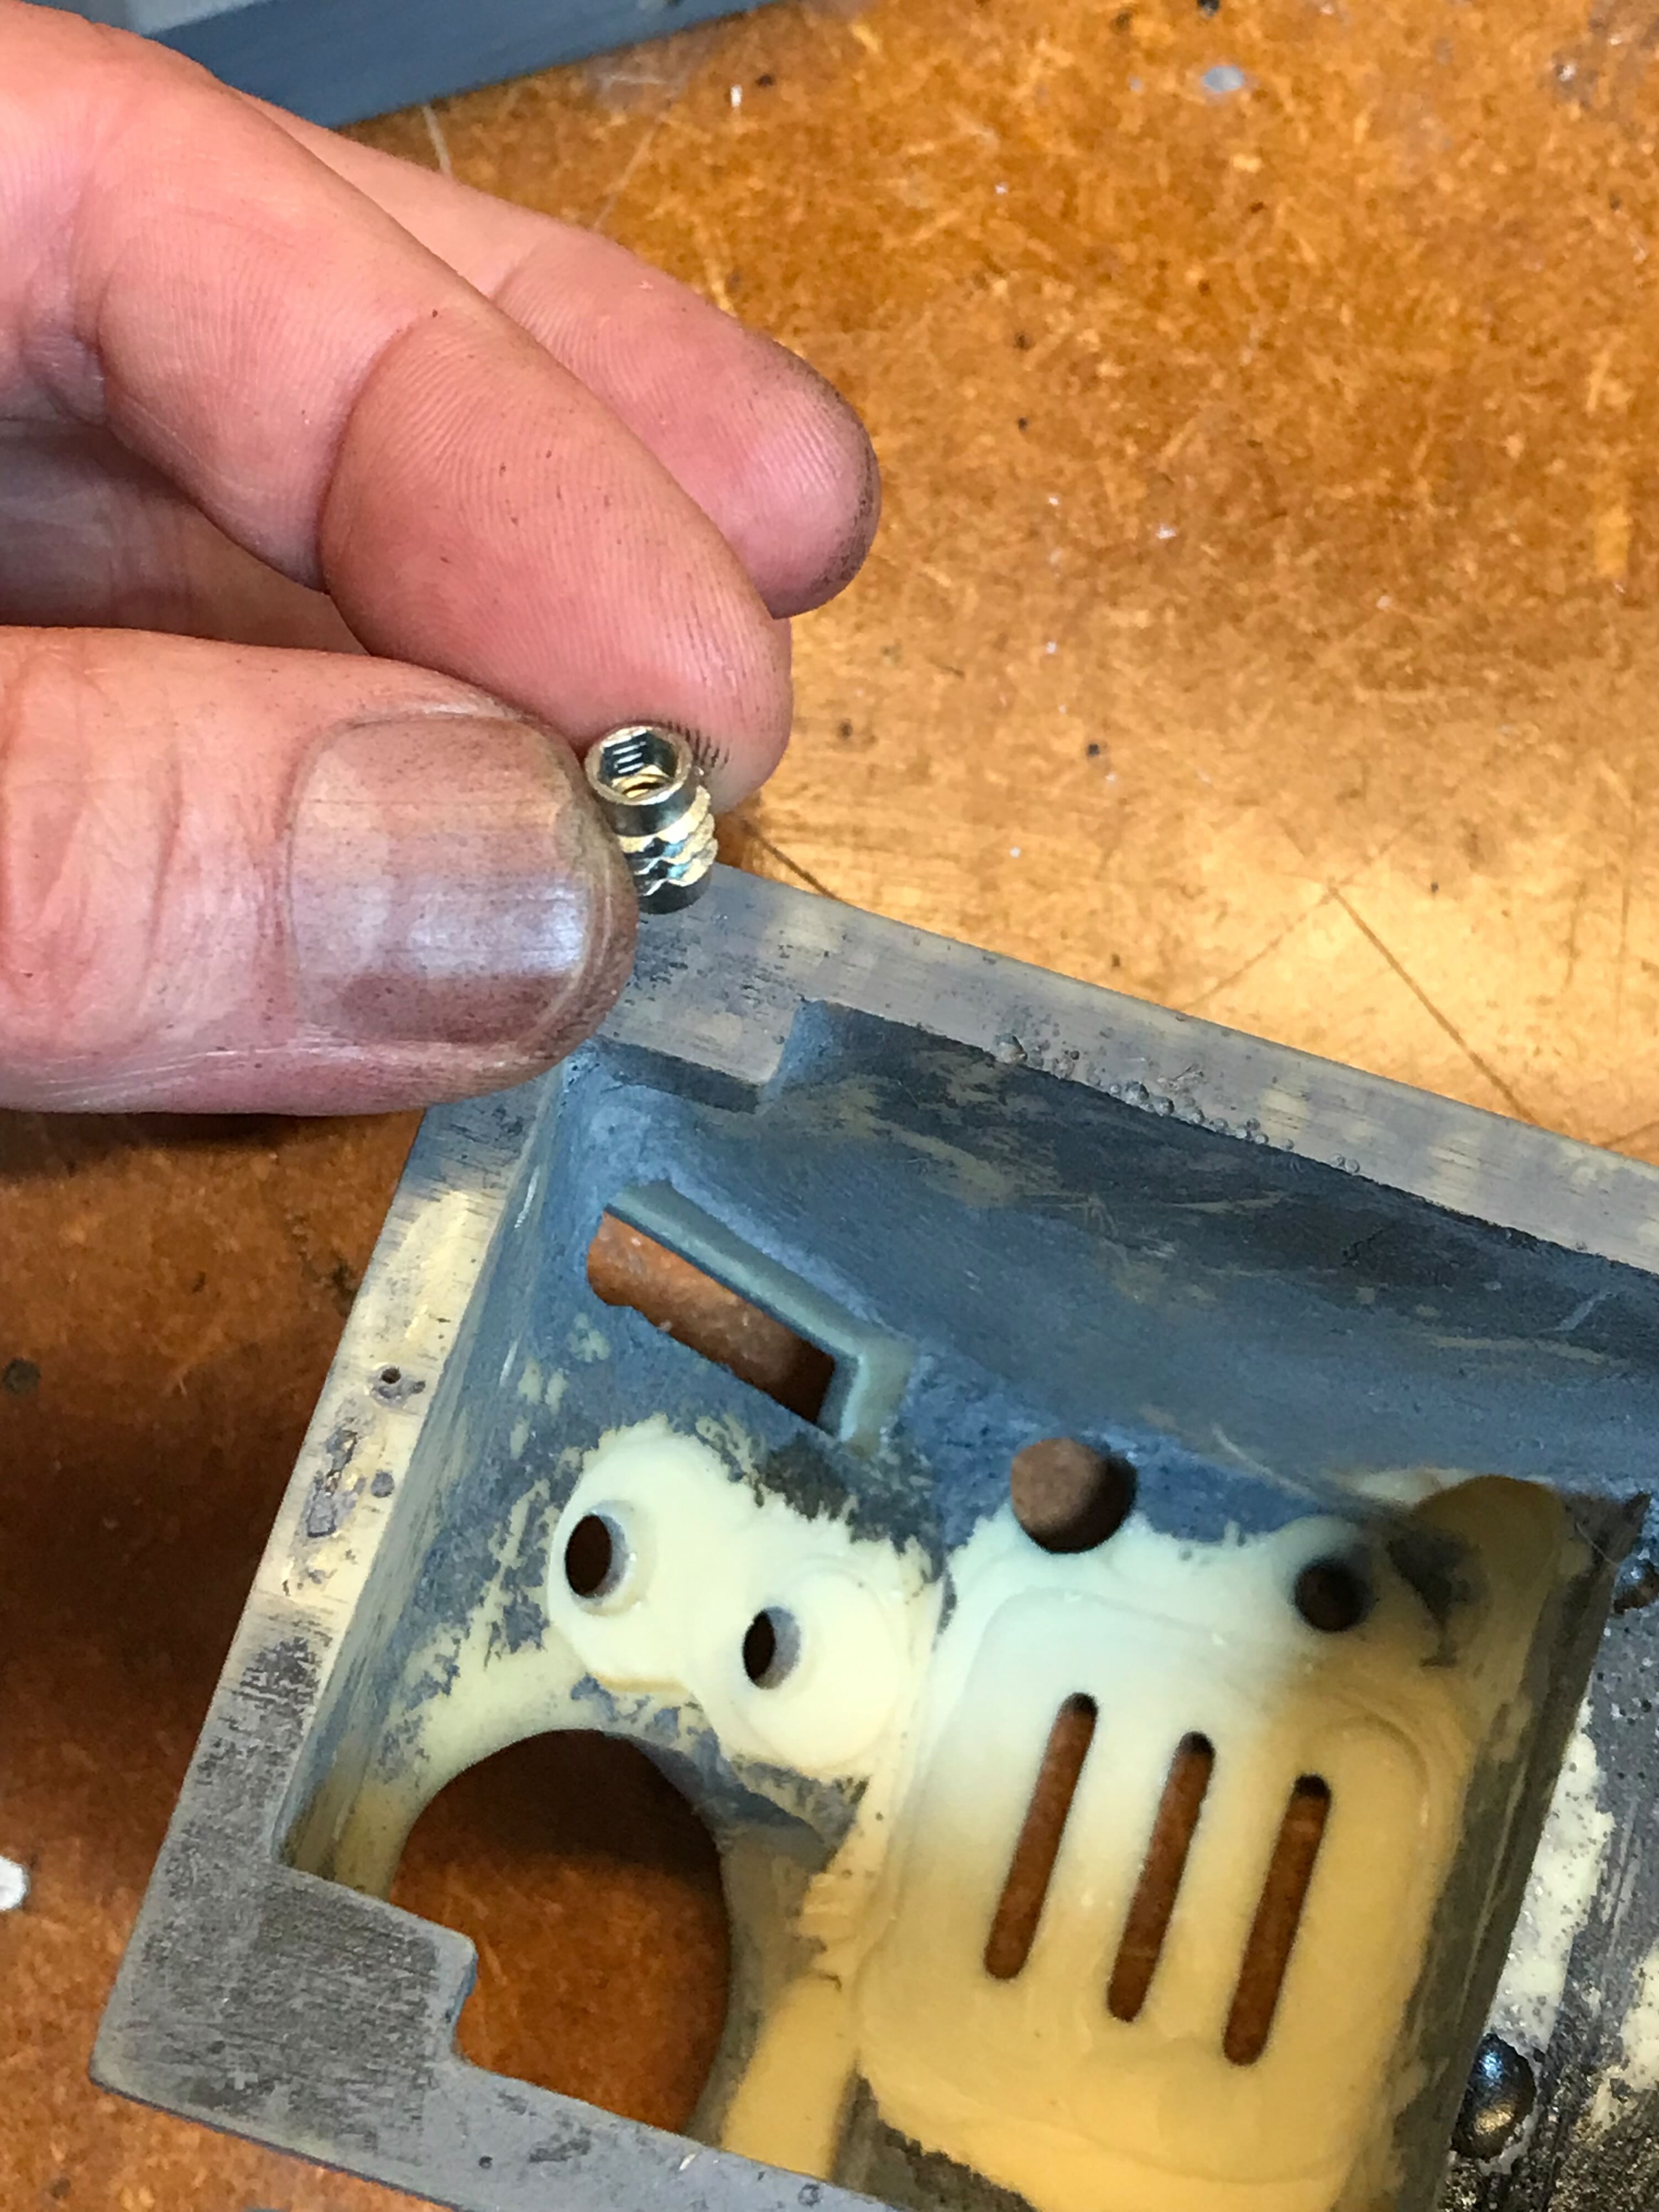
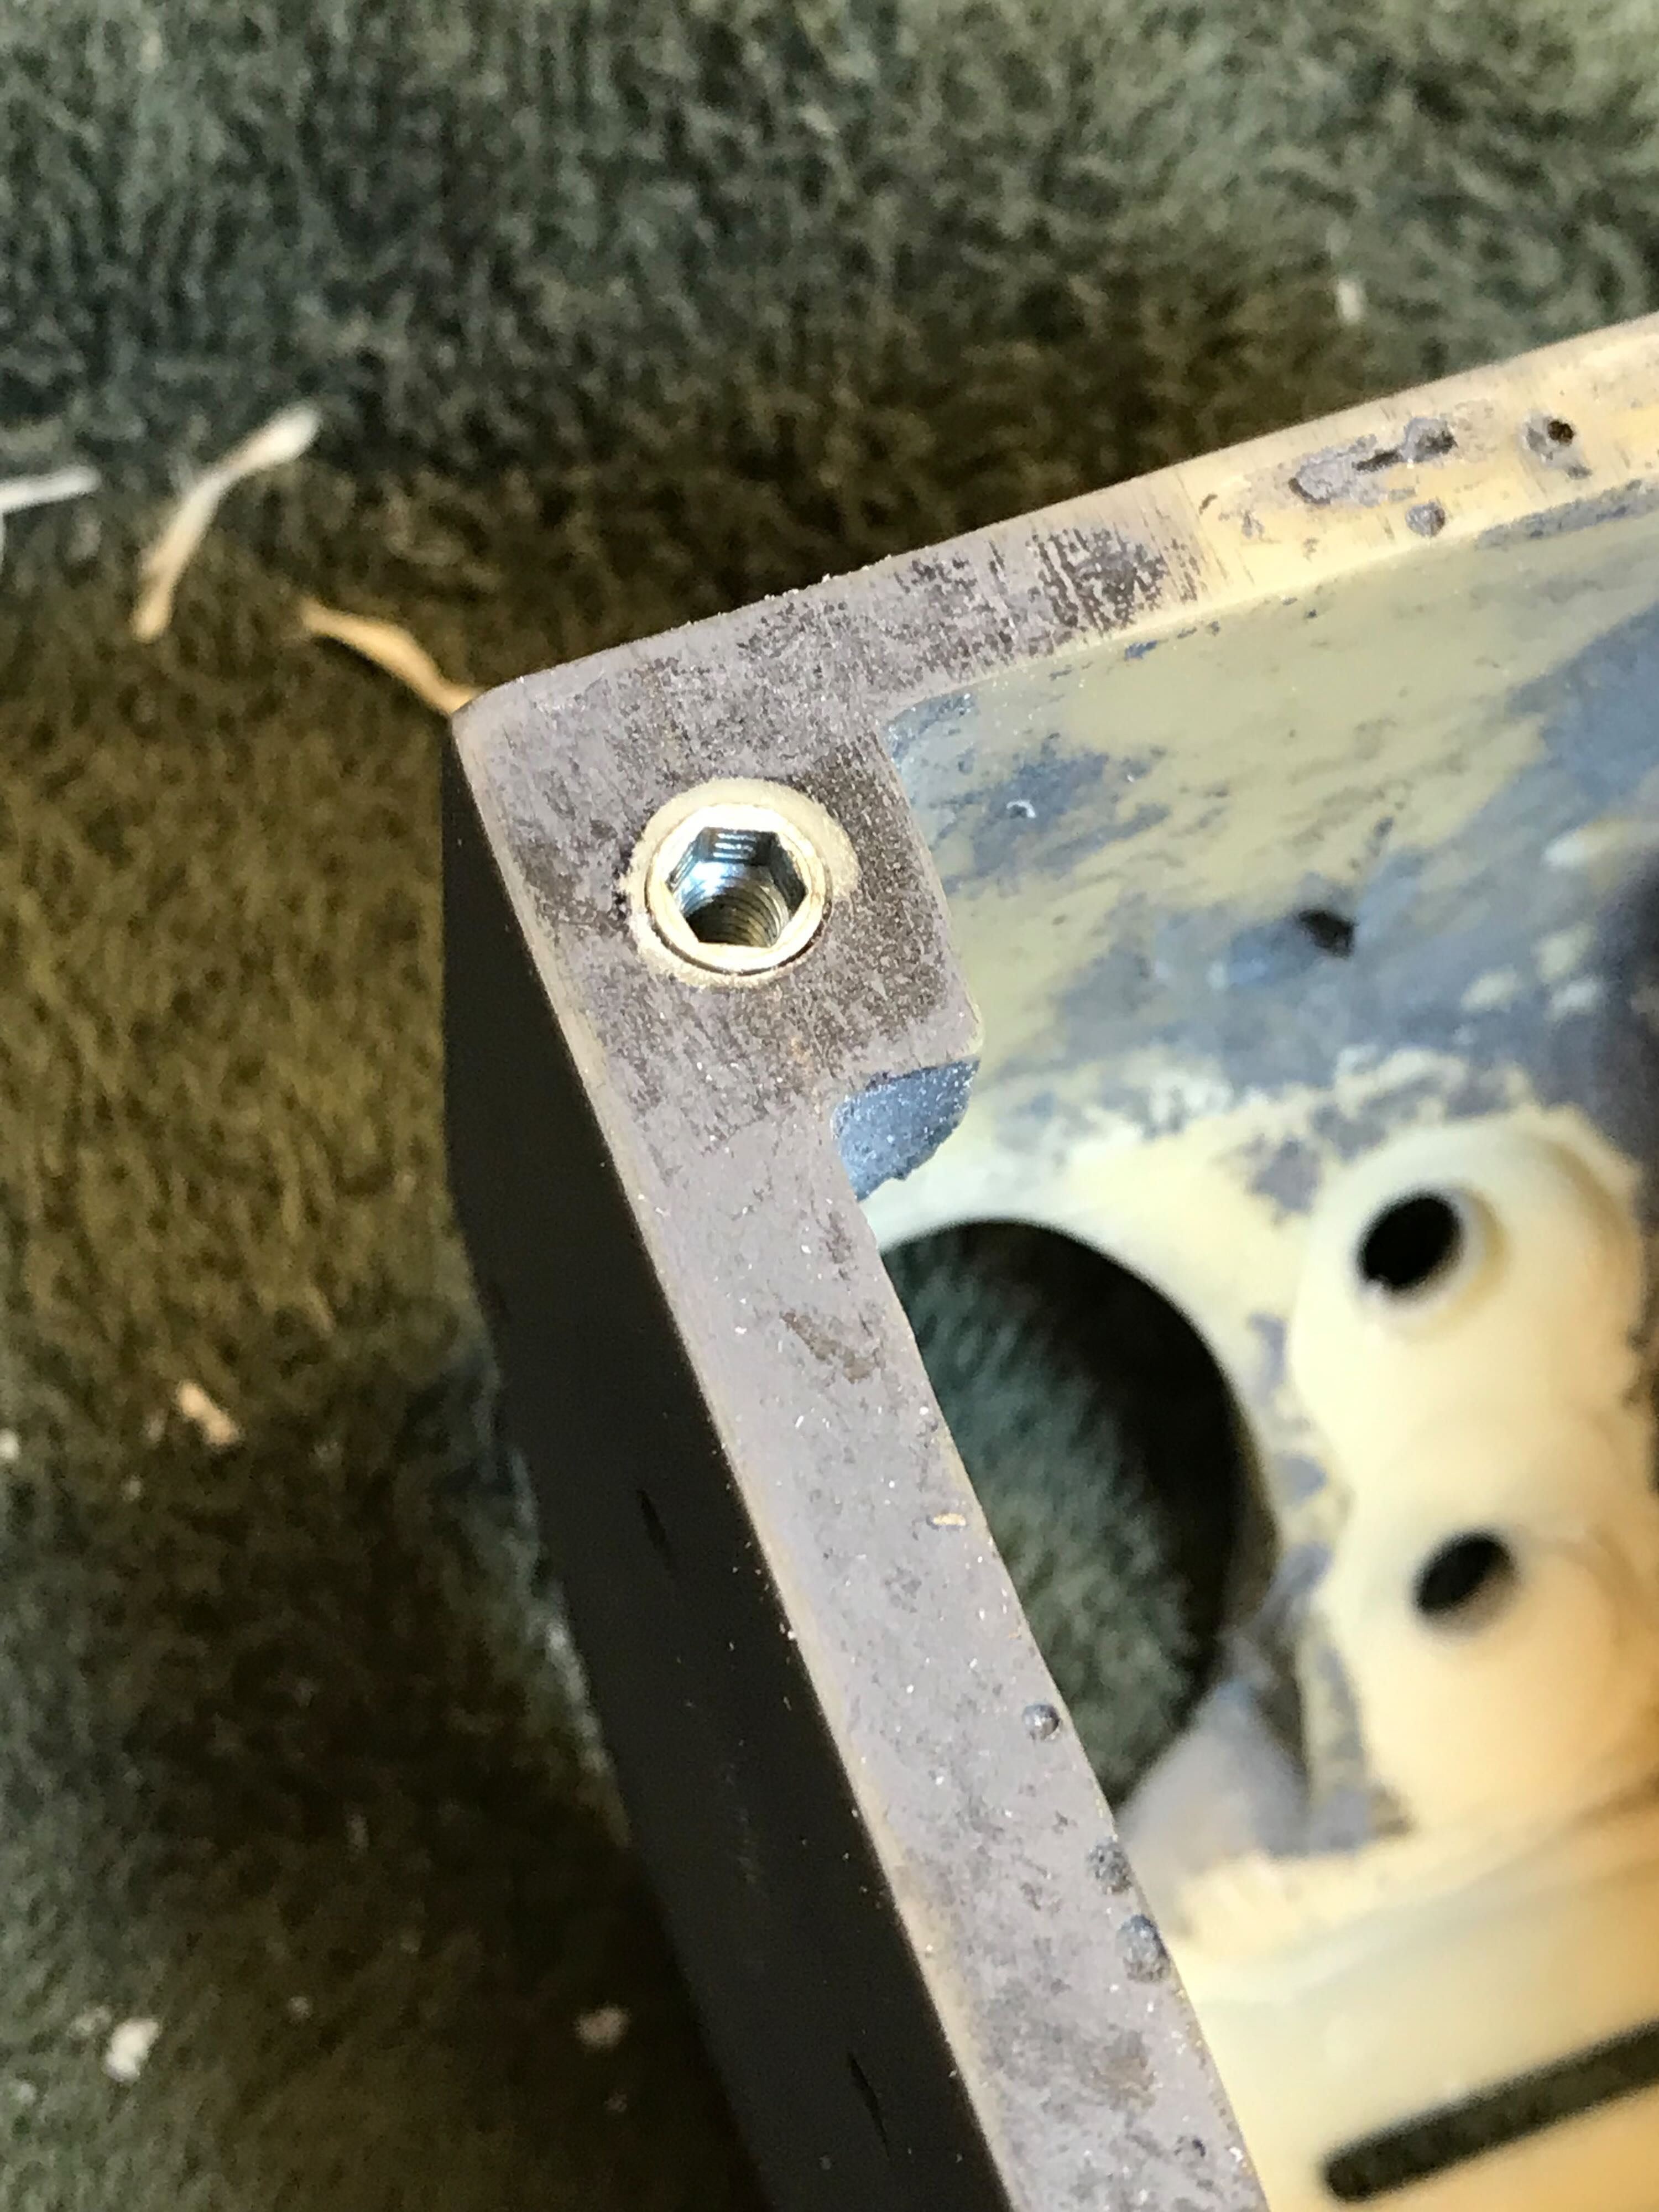
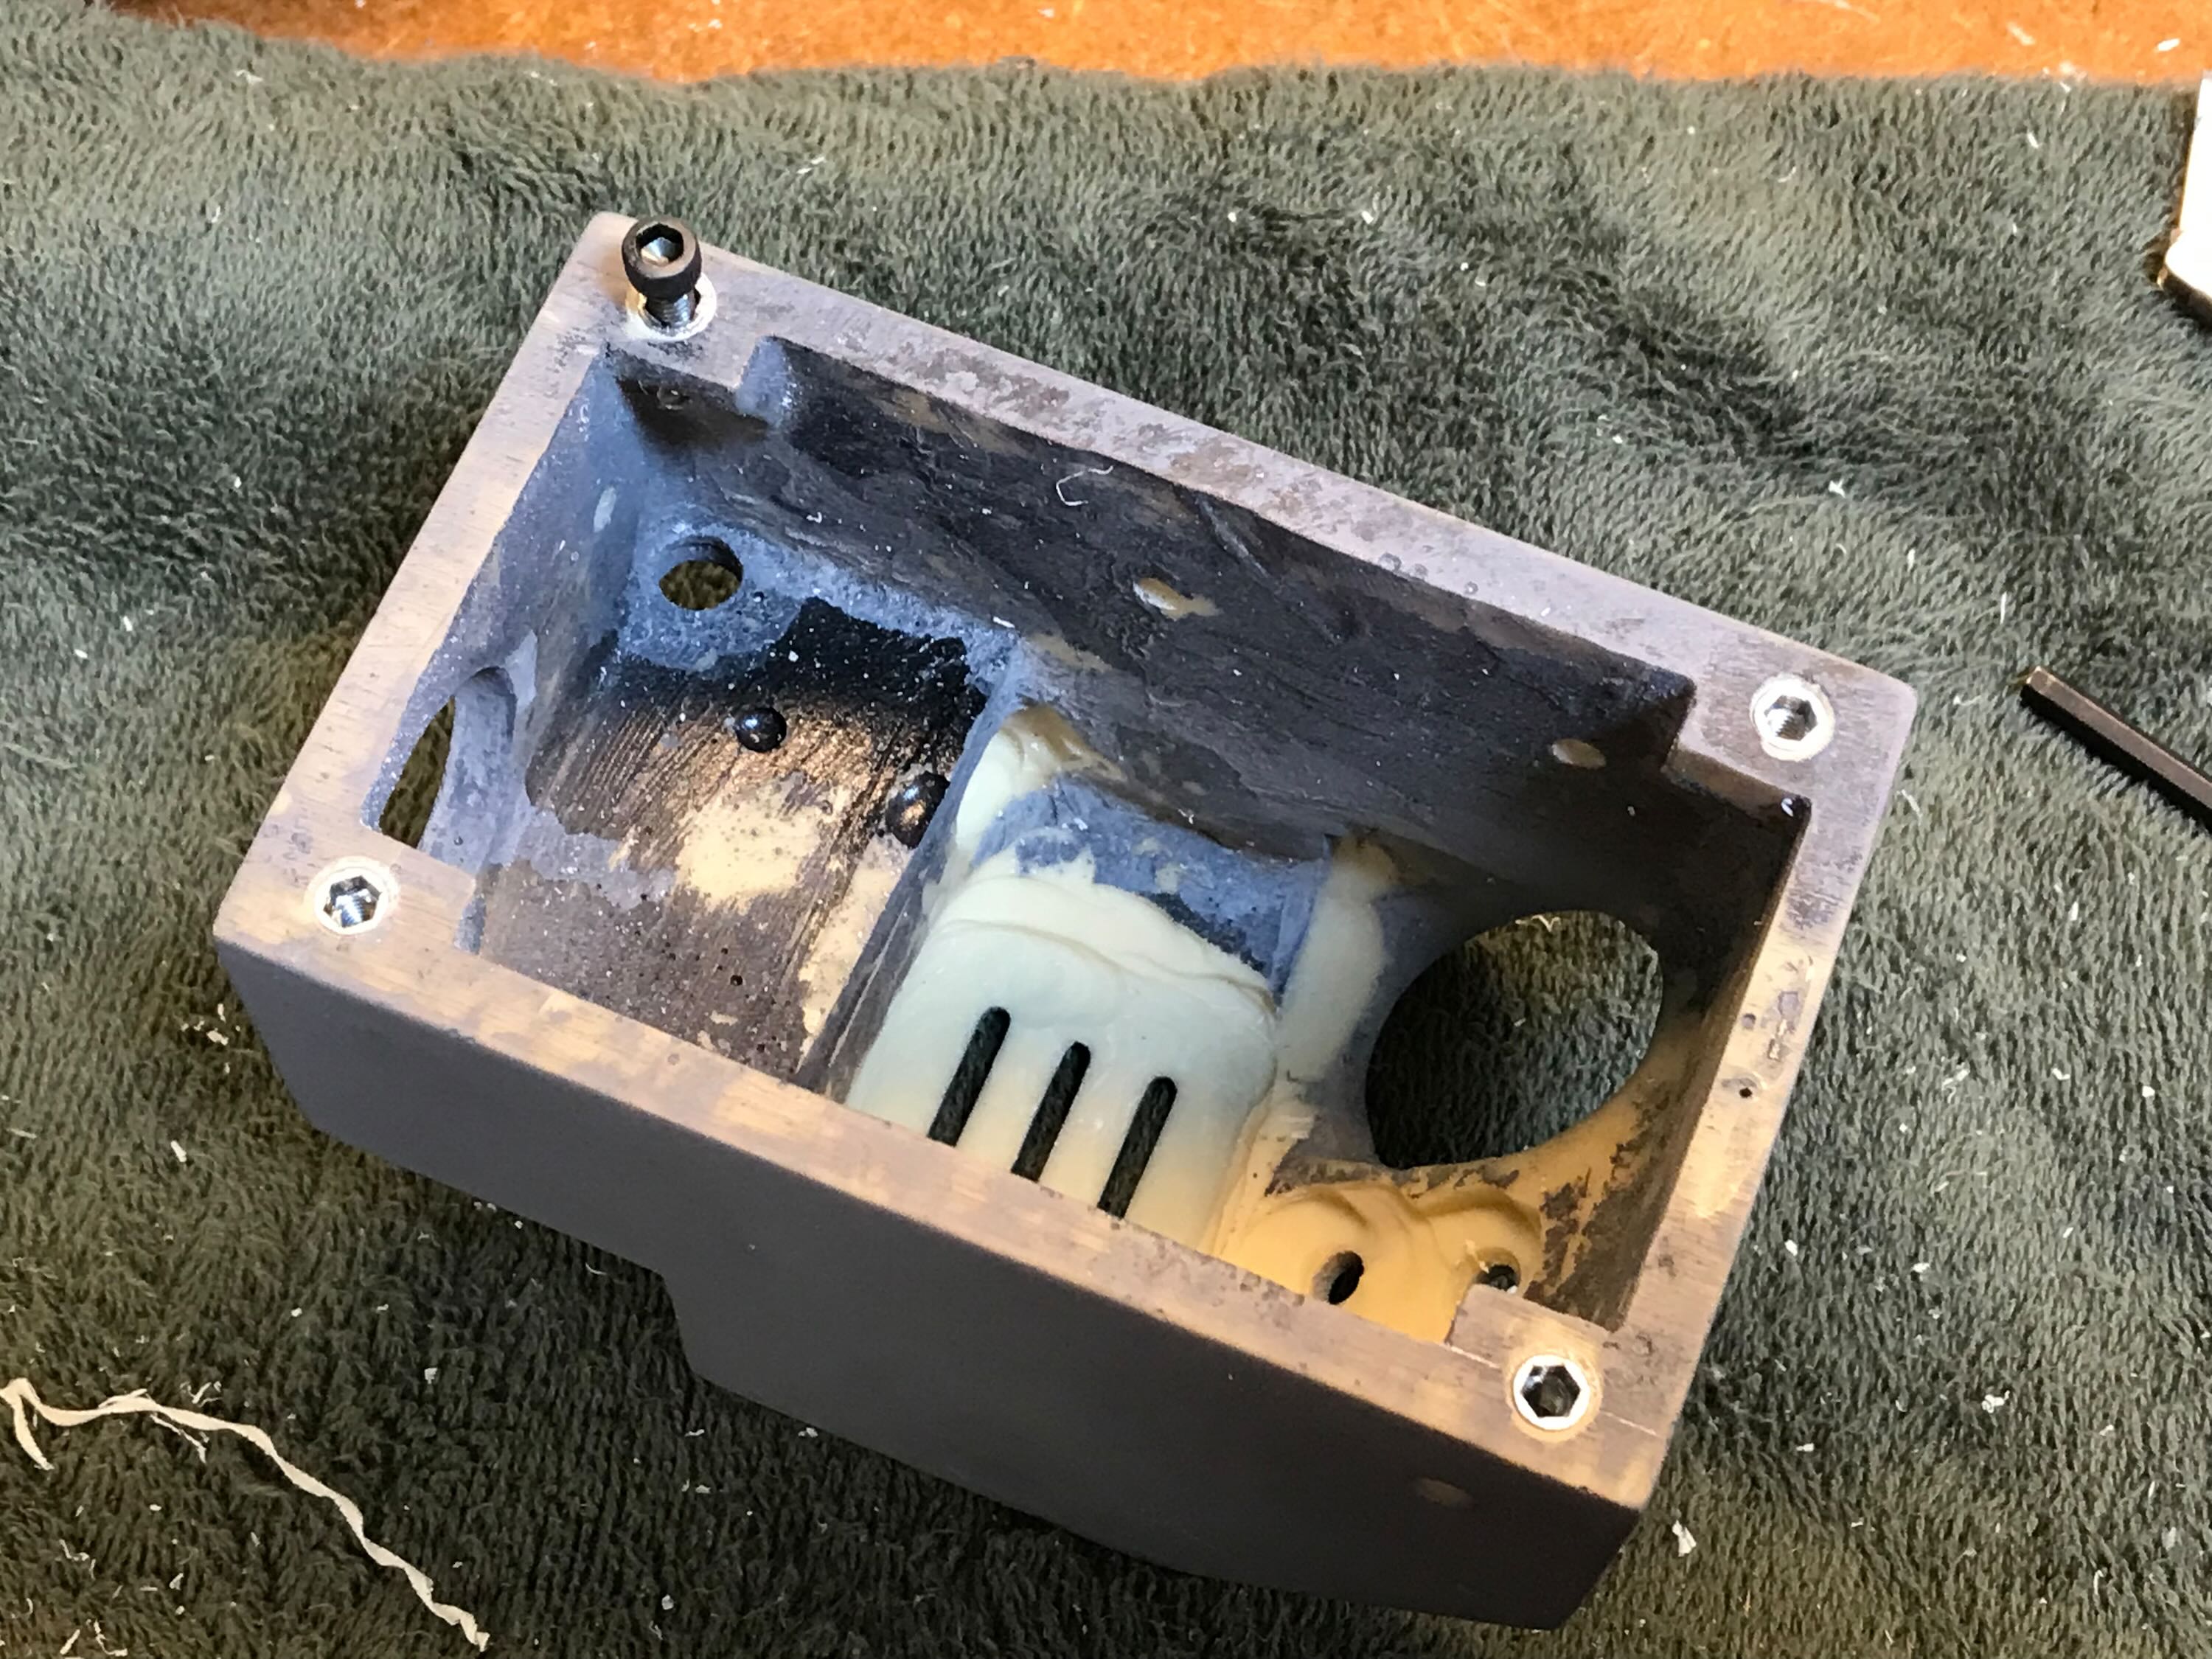
7/14/22 - I was very happy to see that the thrower box had been cast with wider areas on the inner corners. My happiness was compounded by the fact that the hardware store a block north of me had the perfect threaded inserts to screw into those areas.
It was a fairly simple matter to drill 1/4" holes into those corners and then use an Allen wrench to screw the coarse outer threads of the insert into the resin. It went remarkably smoothly.
7/15/22 - Two days after priming the thrower with this Rustoleum primer it still hadn’t really set up, and the few black pieces I’d painted still felt tacky, despite it being super-hot. So I opted to strip off the paint AGAIN and spent two hours shopping for new primer and black paint. I re-primed with a Krylon grey primer. I could immediately tell the Krylon primer was drying much faster.
7/16/22 - The Krylon primer had dried and stuck very well to the resin, so I proceeded to paint the black parts with a Behr Satin spray paint. My new-ish can of Rustoleum black satin had petered out with 15% of the paint left. I don’t think I’ll be buying Rustoleum products any more.
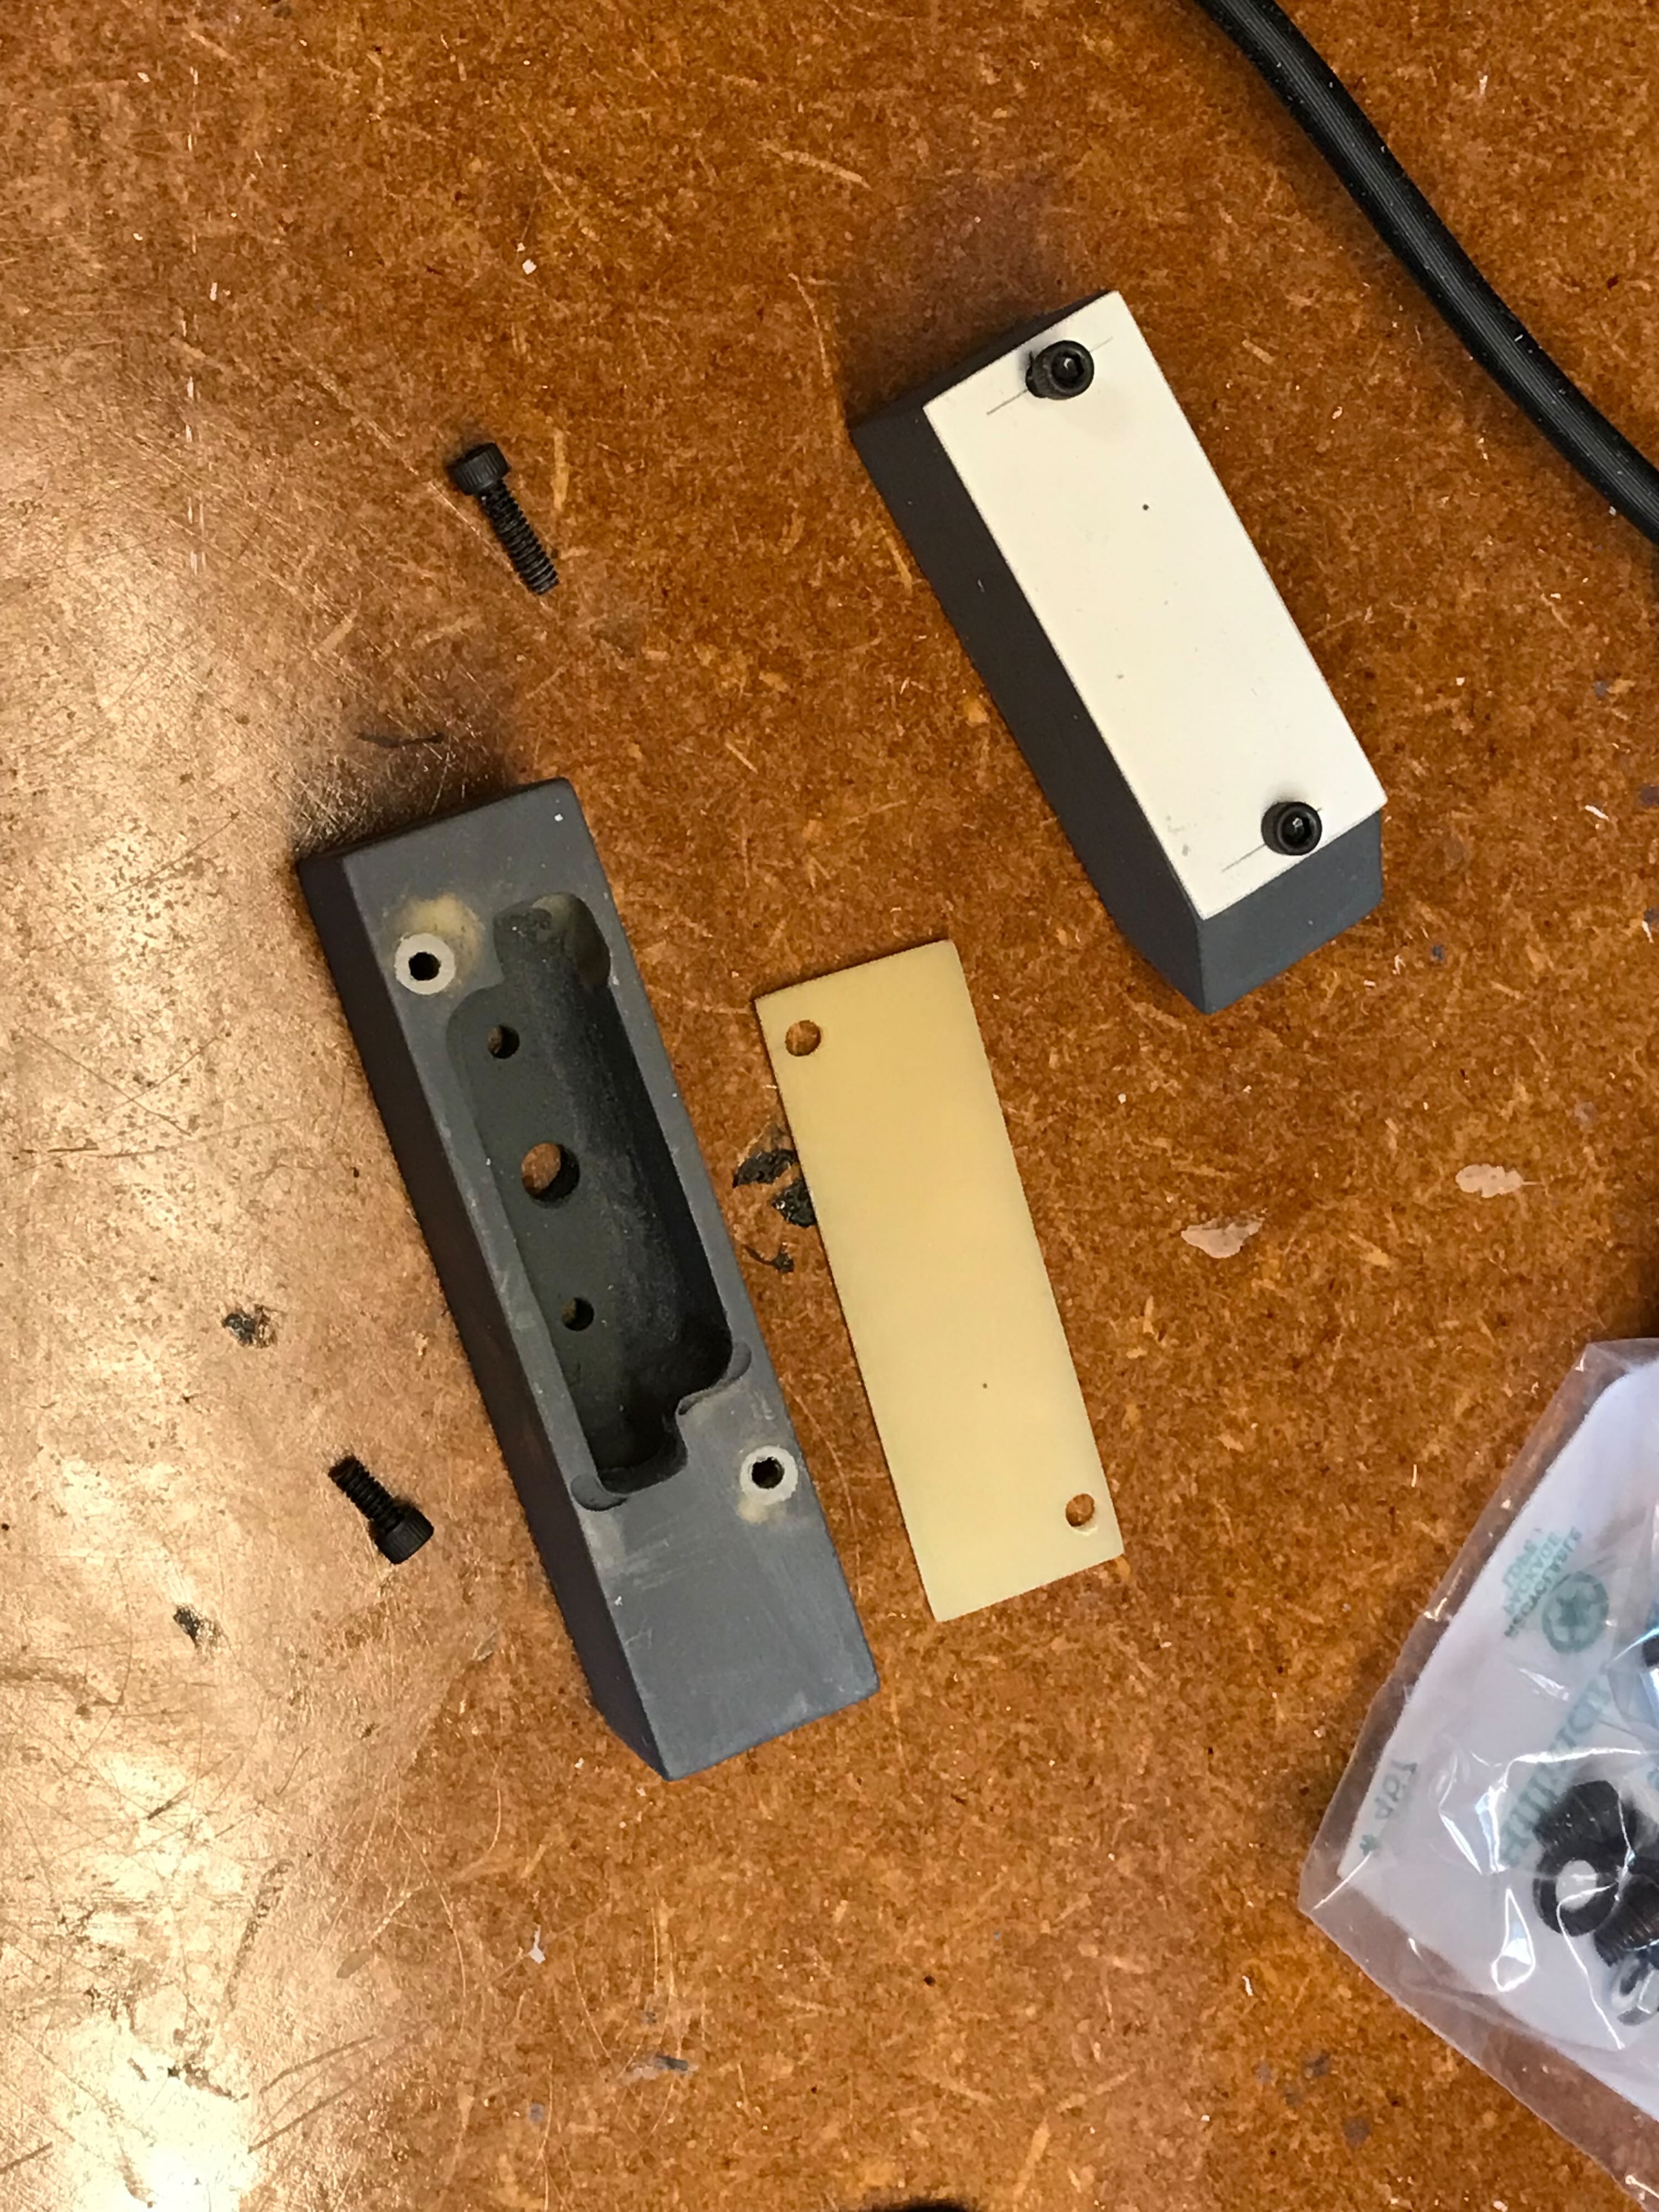
I started drilling and tapping the sub-boxes, using scrap sheet plastic for their covers.