And thank you!
Looks great! You done ma shell proud 
YAY!
Some more updates -
Added more greebles to the shell. The bumper and Clippard are just sitting for now until I get the light kit from the guy I’m building this for.
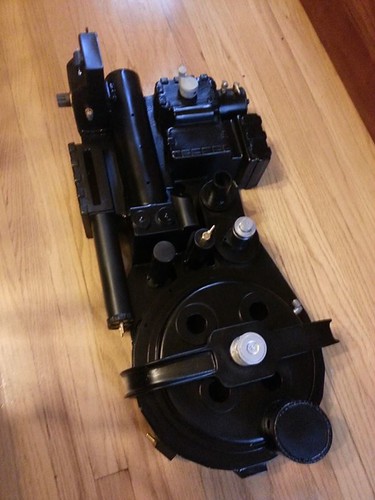
Thrower time! I looked through the forum and could not find a good build thread. That and the fact that the previous owner of the kit had already done some work left me scratching my head looking for the best way to build it. Here is what I came up with over the last two days.
Made a port so that the wires can pass though -
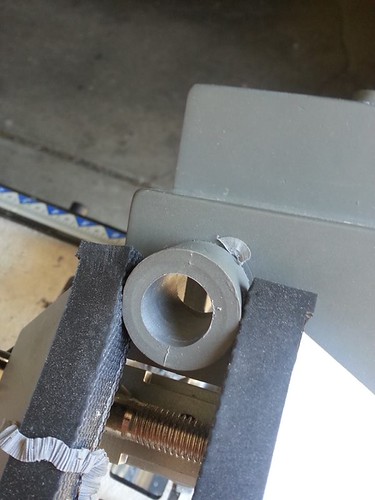
Then sanded down a section for the front handle -
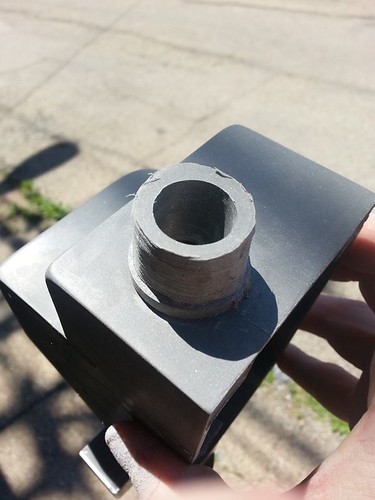
Front handle fits, just need to saw it down by about 3" (blech!) -
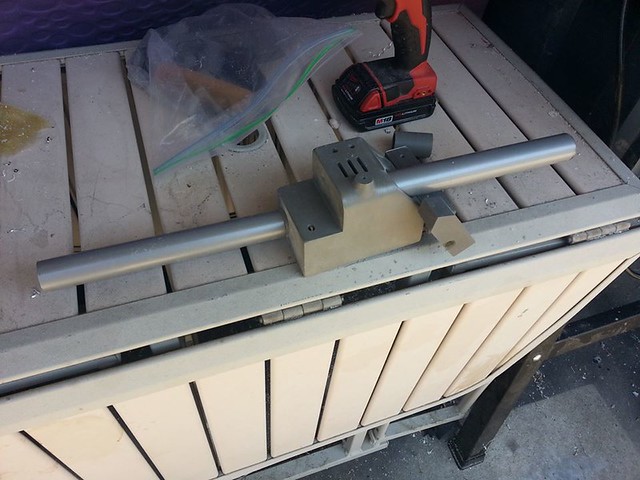
Did the same for the tube that goes in the front handle -
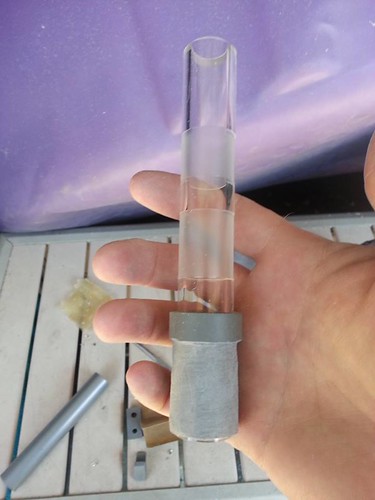
Fits great!
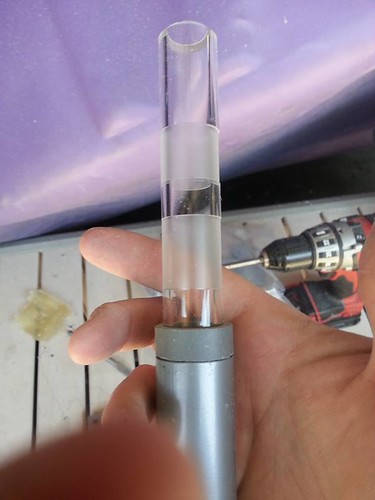
Nice and level. Handles are attached!
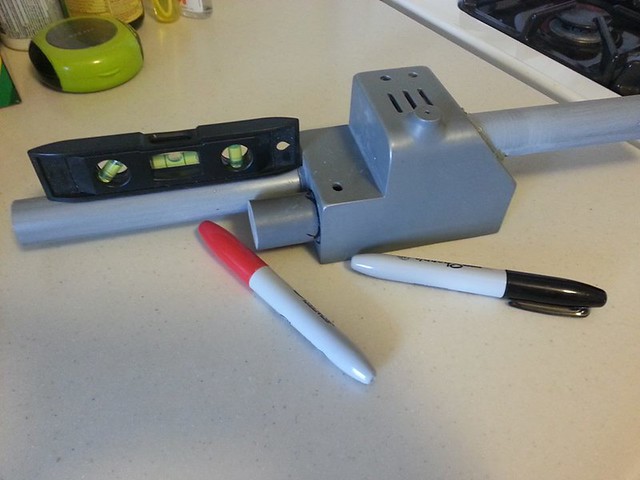
Added the welds (I sanded them down a bit -
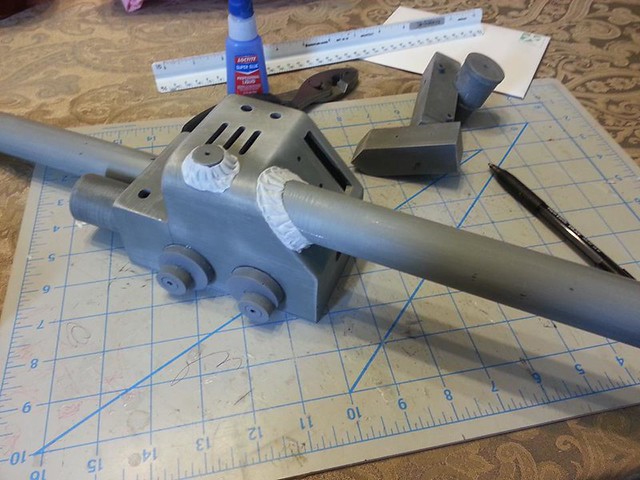
More greebles attached. This thing is a BEAST! -
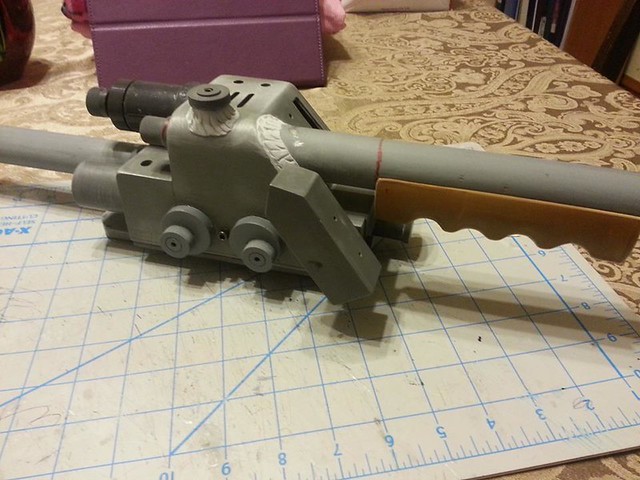
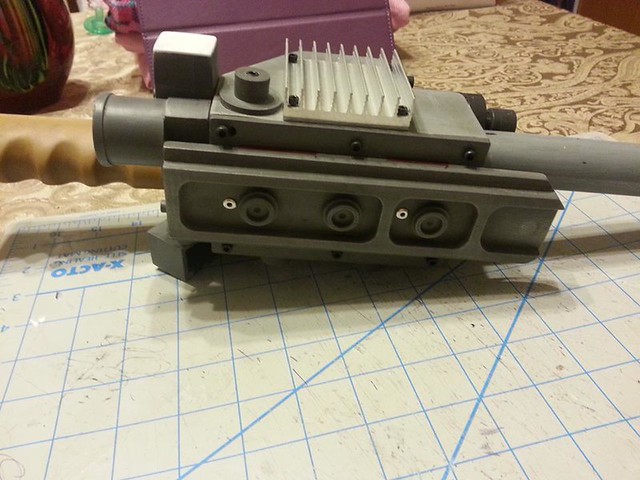
Almost there. Now just need the light kit so I can figure out how best to do the gun ears and the tip.
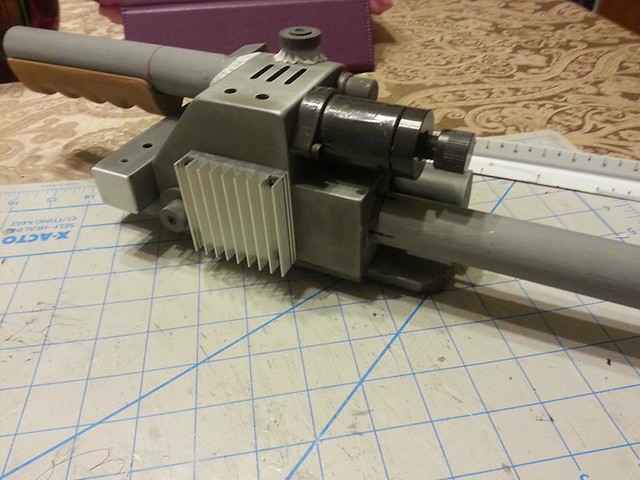
The pack is coming along nicely and I expect it to be done for my buddy for Wizards World without a problem. I added some copper paint to the bellows since I think it’s a nicer look -
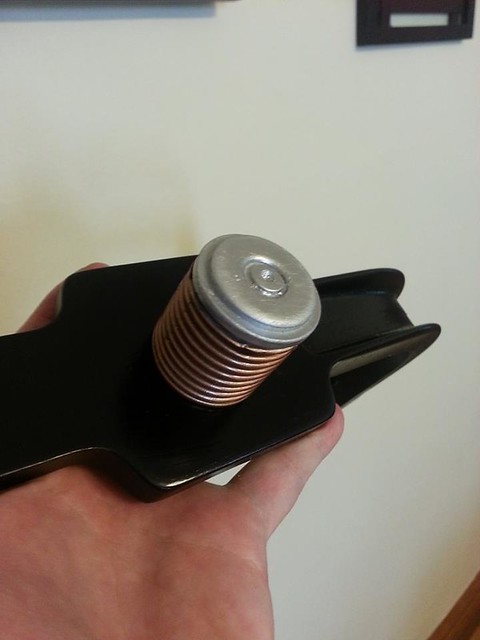
Got the aluminum labels from Joe Luna which look AWESOME!
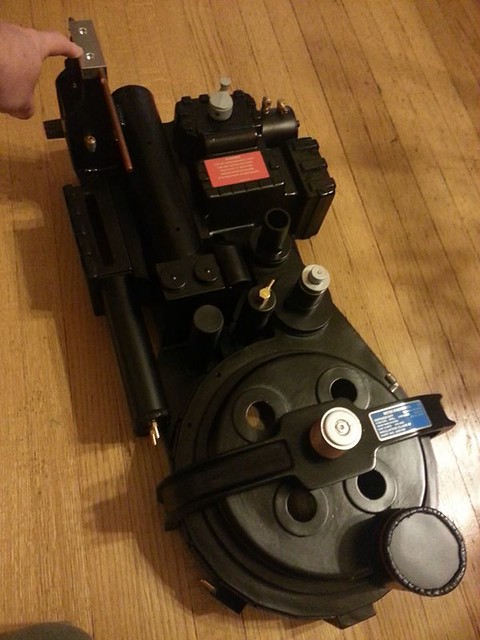
Everything was going swimmingly until I got the bar graph for the thrower and found that the last owner had cut the window JUST A BIT TOO BIG…
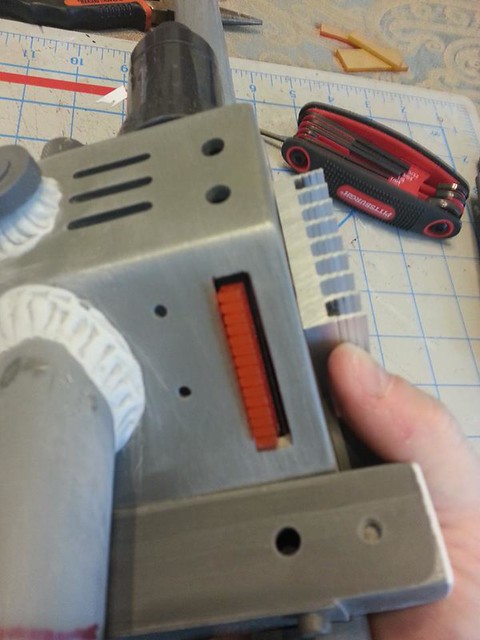
So I made a frame for it -
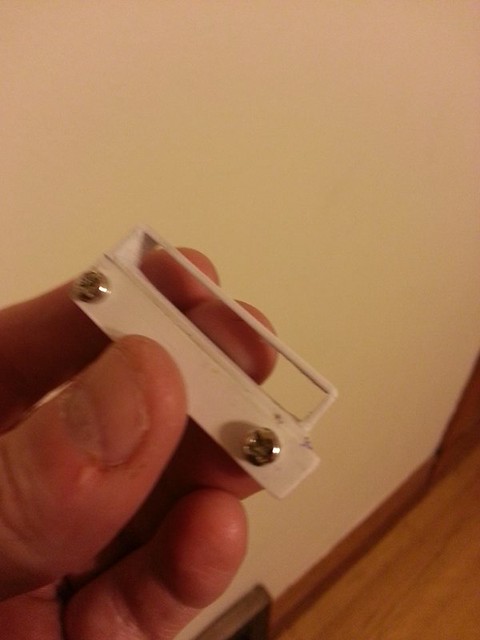
Just need to dab a bit of bondo top and bottom -
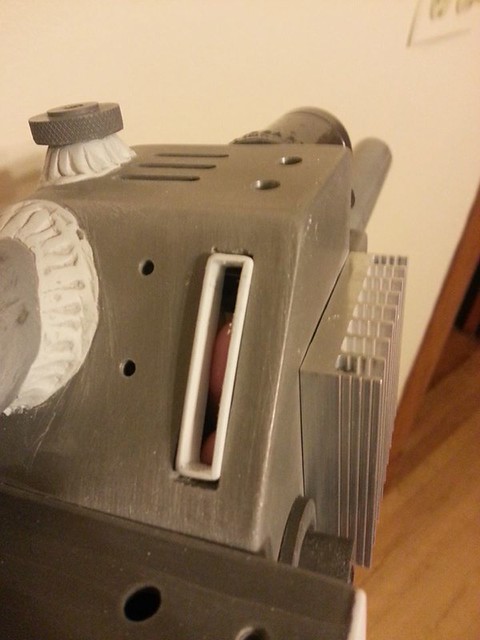
Honestly, this thing is a BEAST! Makes me want to redo mine…
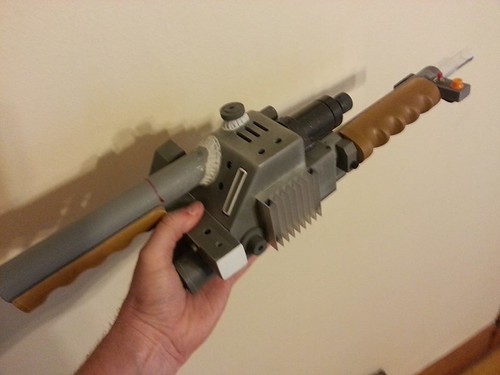
More to come.
1 Like
Nice work! I’m wondering if I should paint my handles brown first on my TC thrower and then come back with the black paint afterward.
I really like the look of weathered black painted brown grips, so I’ll be doing that to my TC kit for sure!
This build is looking great, keep it up! It’s really inspiring to see you working out all those problems.
Time for an update!
This pack will have the Mighty kit in it. Sadly I had suggested to my friend before the whole deal went south. My hope is that GhostGuy will square up with everyone he still owes. But in this thread you will see me installing it. I already have some gripes about the battery he suggested. But we will get to that later.
I made a mount for the vibrating motor out of a 1" PVC fitting that holds it in place and its mounted right under the rear handle so it transfers the vibration well.
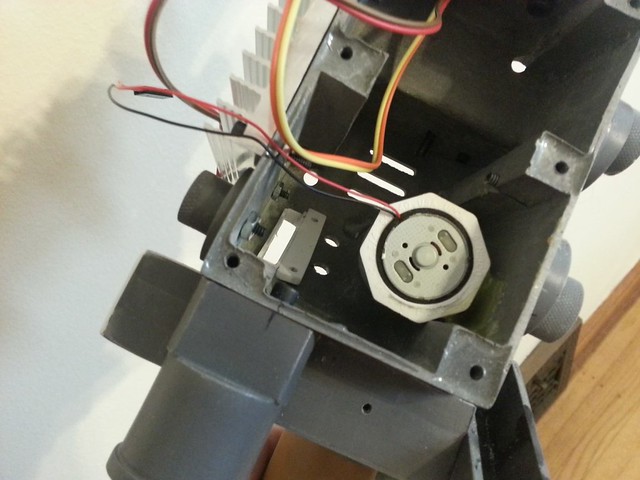
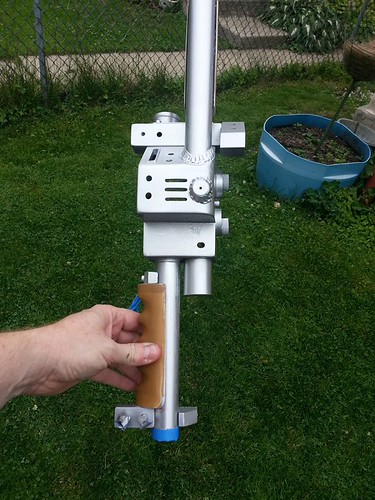
Painted the thrower silver (Not the handles, so those can be weathered.)
Now black -
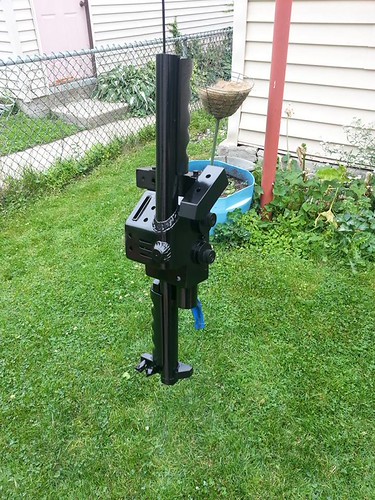
And a fine steel brush and some Turtle Wax -
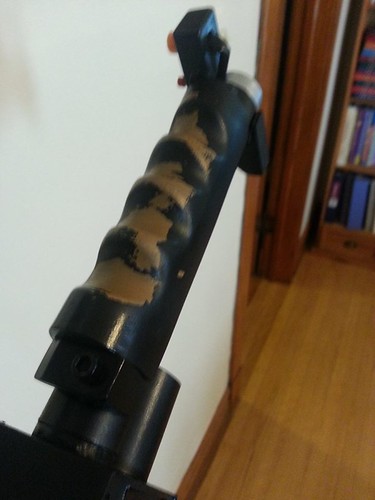
Painted some greebles while I was at it.
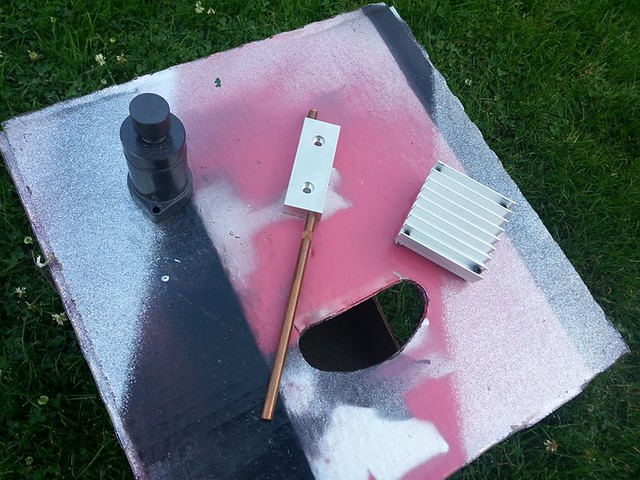
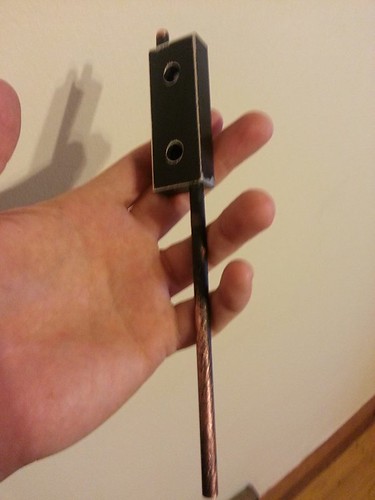
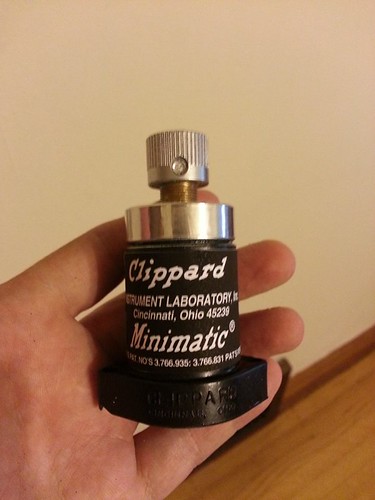
One of Nick’s great cast Clippards -
And now getting the motherboard set up. Sadly, I didn’t take notice that GhostGuy had suggested two 6" speakers. When you combine those with the battery he suggested suddenly there is not any room left in the shell for anything else. My own pack runs a 4" and a 3 1/2" on the GBfans sound board and is PLENTY loud. I digress… First I set up my speaker grill template in photoshop.
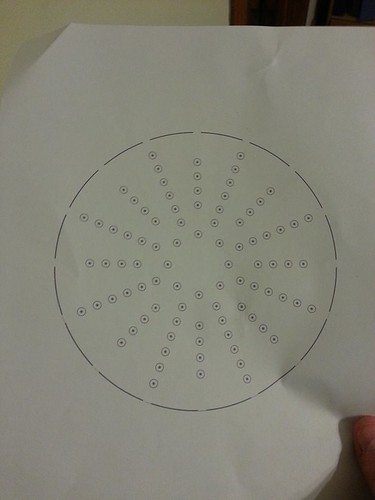
Then drilled that out -
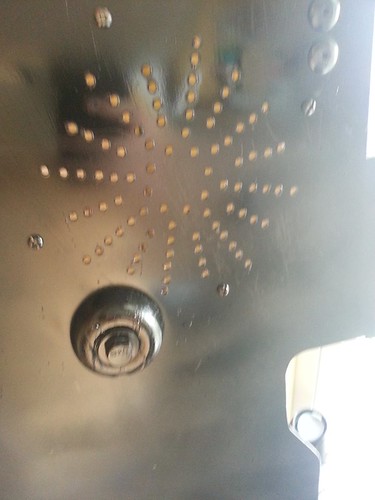
Until I got this set up -
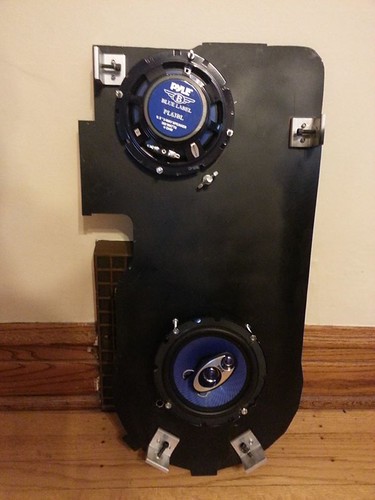
The amp and the battery I decided (reluctantly) to mount on the back of the motherboard. It’s not ideal but after reading about these batteries and how they can catch fire I would prefer my buddy not charge it in the house. So now its set up where he can grab it and charge it in a safe place.
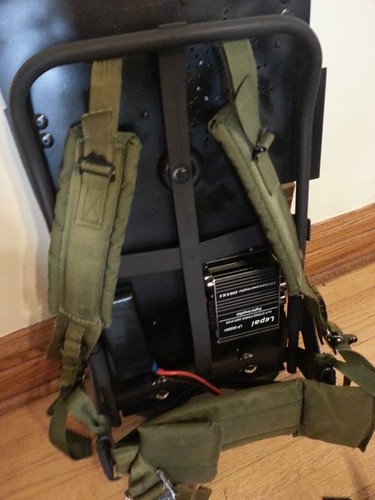
More to come…
This is looking really nice!
Looking awesome man!
Soon I will have to deal with the mighty issue of fitting things in the pack. Hopefully picking my own speakers and power source will pay off…
Trust me it will. Think small…
That speaker drill template looks REALLY helpful! I looked online for one but couldn’t find anything. Any chance you’d share for us lesser talented folks?
Sure, I’ll add it to my Flickr account tonight.
Awesome! Thanks, man!
See if this link works for you. I made a 4" version also. Print full size.
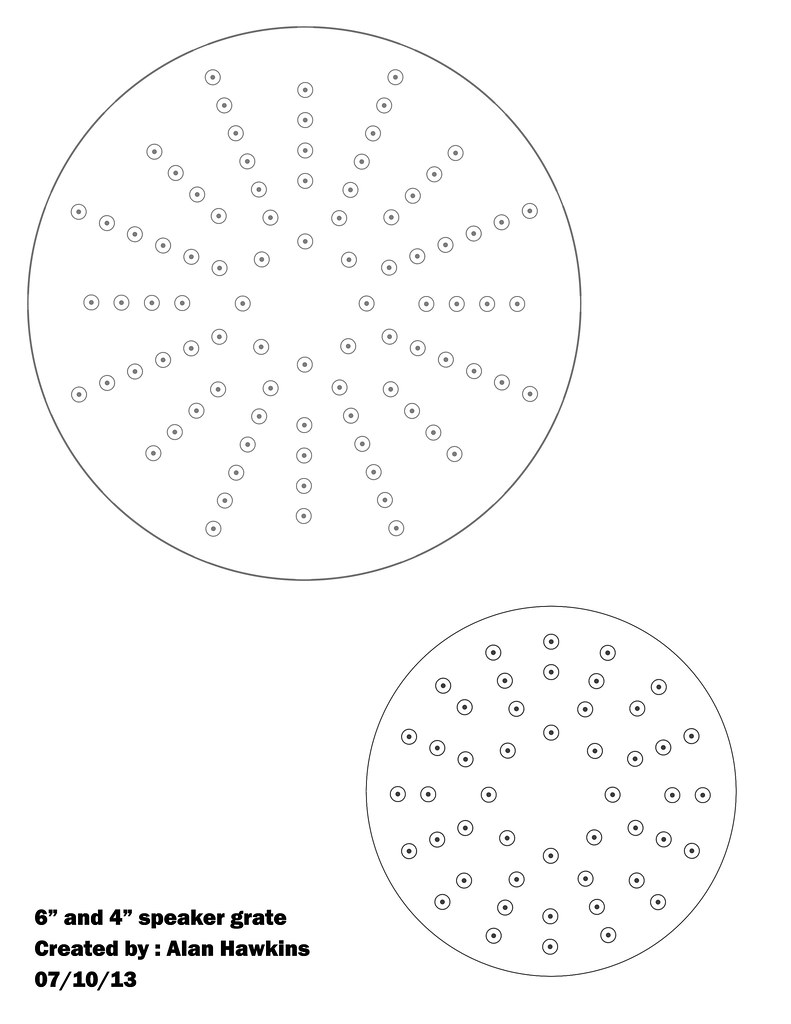
Awesome! 4" is where I’m living!  Thank you so much, man!
No problem
There is a moment when you get a certain amount done on the pack you are building and you discover “Hey! I can be done in a few days!” well, I hit that with this build a full month ahead of schedule. My promise with this pack was that I could get it done by Wizards World Chicago (August 10th) well through a little planning with my buddies better half I was able to get it done for a small comic con that happened today! A full month ahead of schedule. Here are the progress shots I could not post -
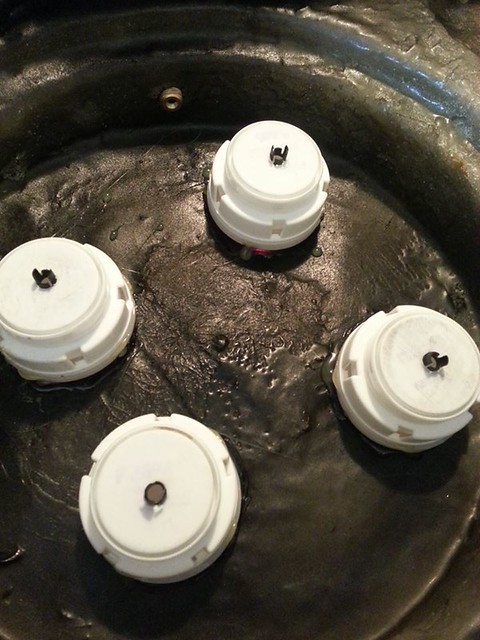
Some Holloween lights make a good top reflector for the thrower vent -
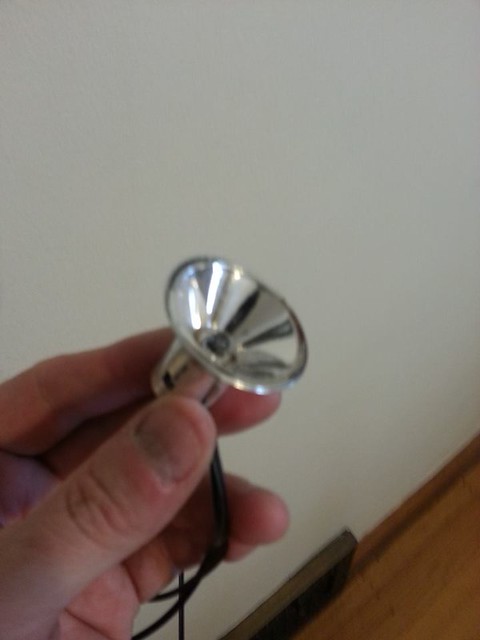
Cut the back off and add a LED clip -
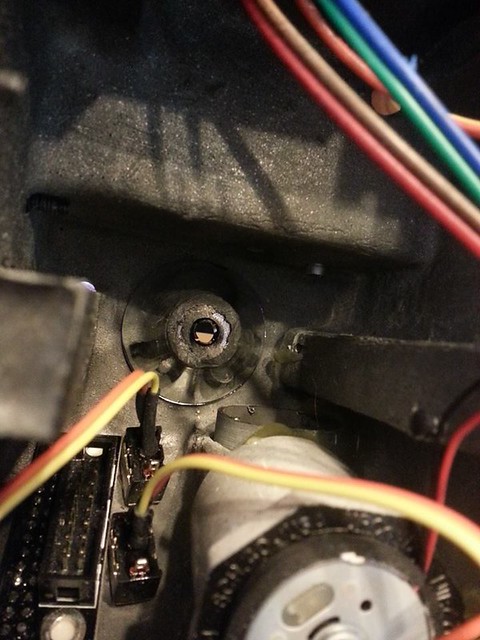
DONE!
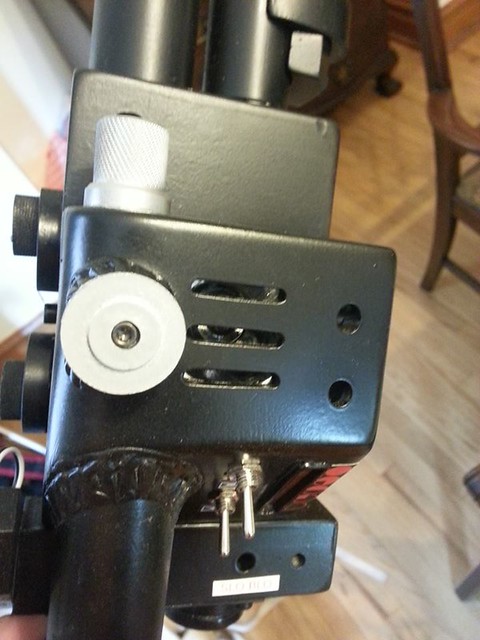
While I was at it I added the Jupiter lenses and my pill bottle caps with LED clips -
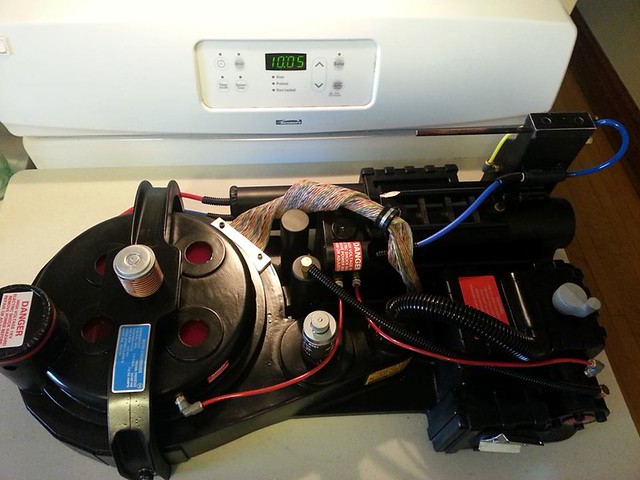
Added all the greebles, hoses and labels!
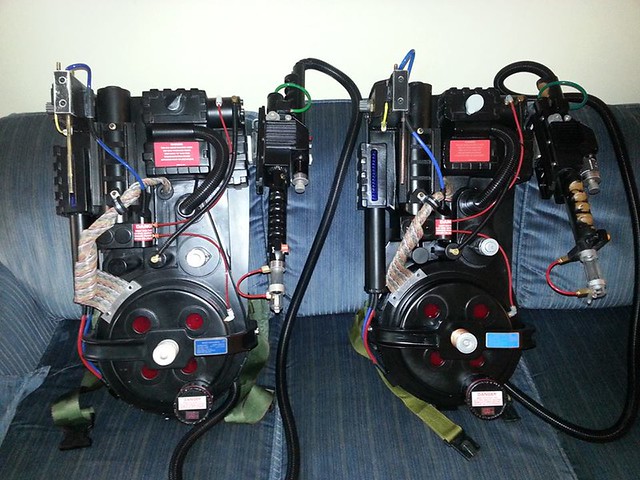
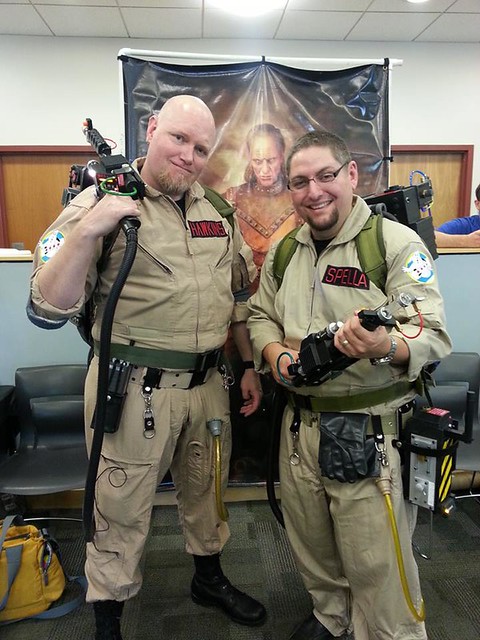
DONE! Here is my pack on the left and Jeffery’s pack on the right -
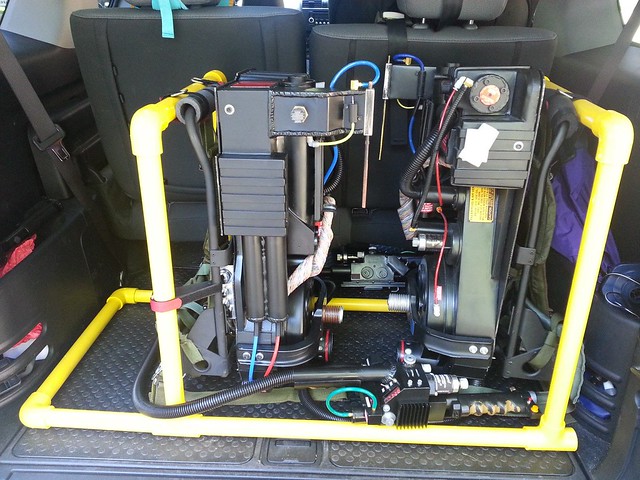
Packed up and ready to go to it’s new owner -
When he walked in, I had his pack set up as a part of the Chicago Divisions booth and just stood by it. He came RIGHT up to me and started chatting. I just stared and turned the crank knob so that it went “click… click… click…” it took a few moments but he finally looked at it and said “Is that MY pack???” Total shock moment achieved!
And the pack itself -
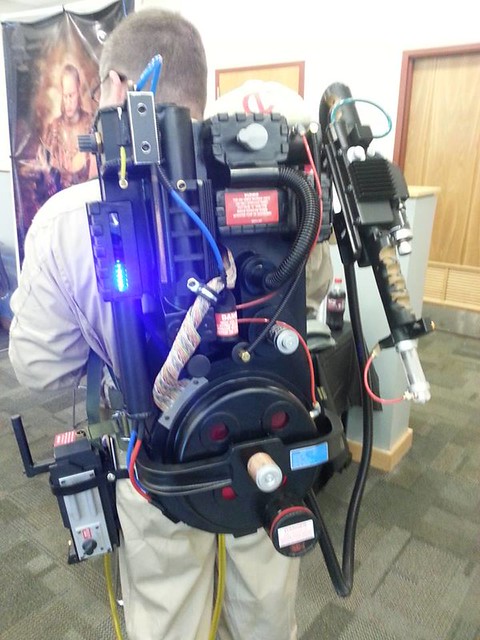
All said and done this was a five month build. Special thanks to Nick for the great parts and support of this build!
Beautiful build -extremely well done.
Thank you sir!
Another amazing looking pack! And also thanks for posting that speaker template. That’ll be a HUGE help.