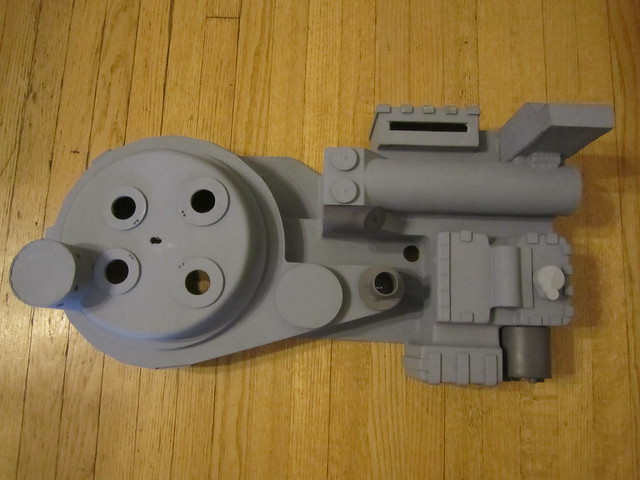
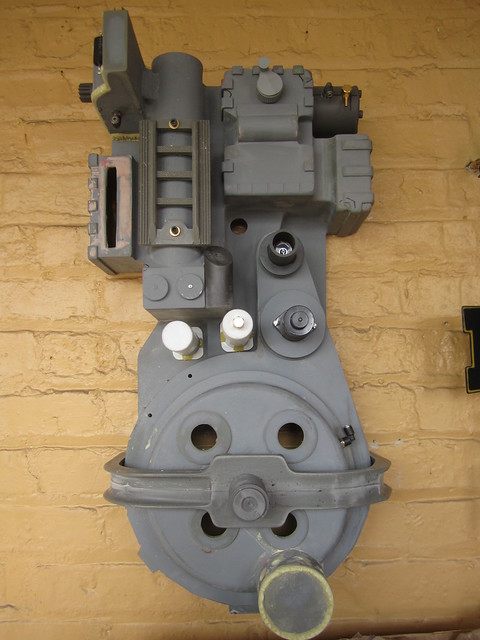
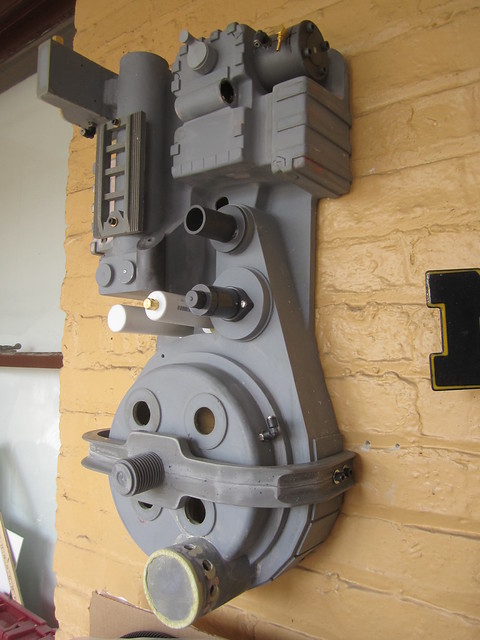
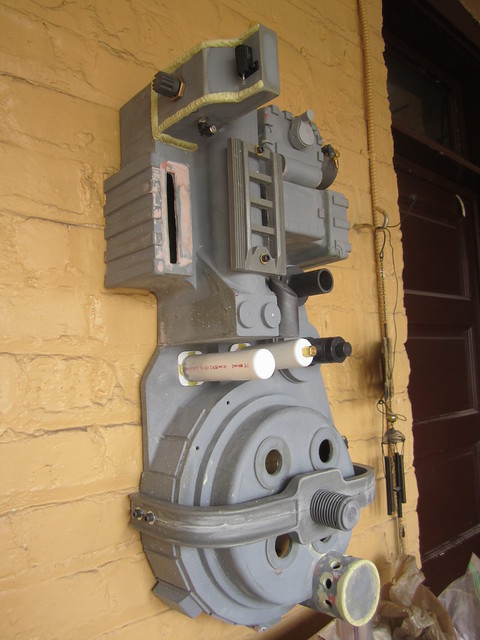
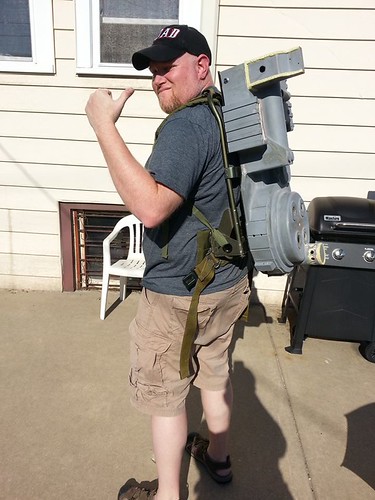
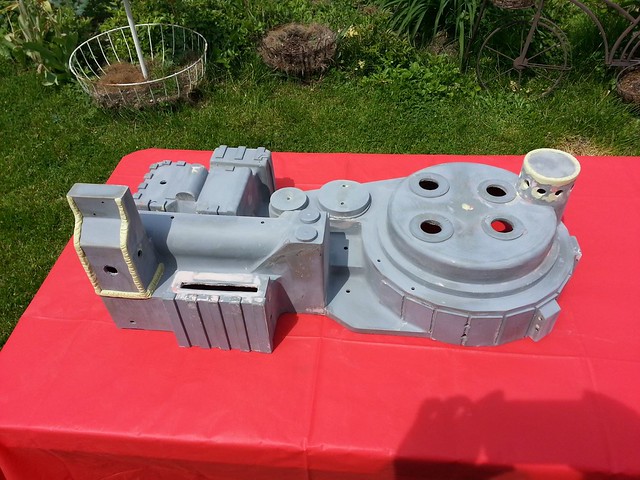
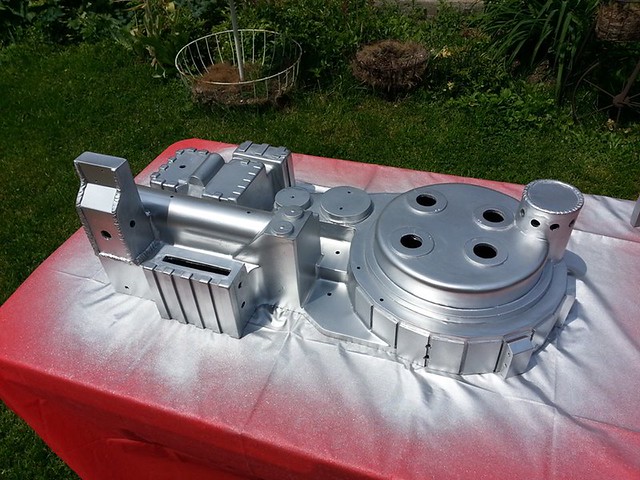
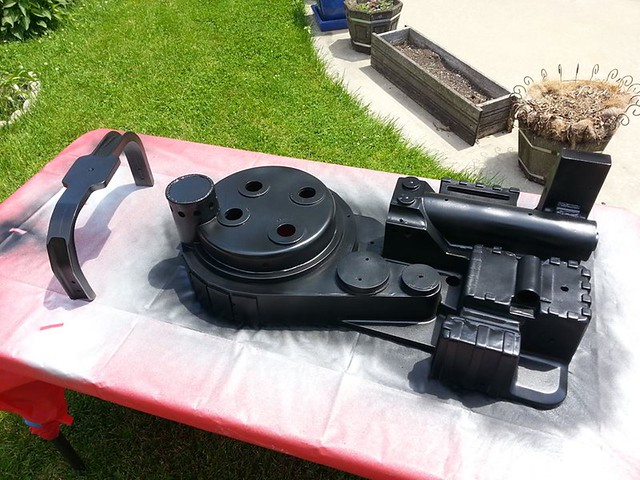
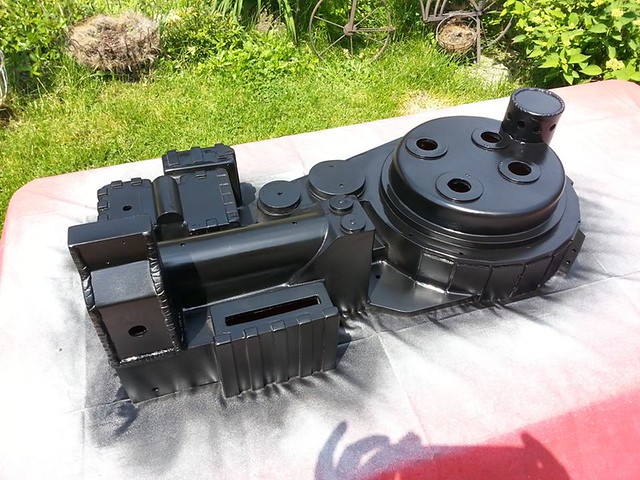
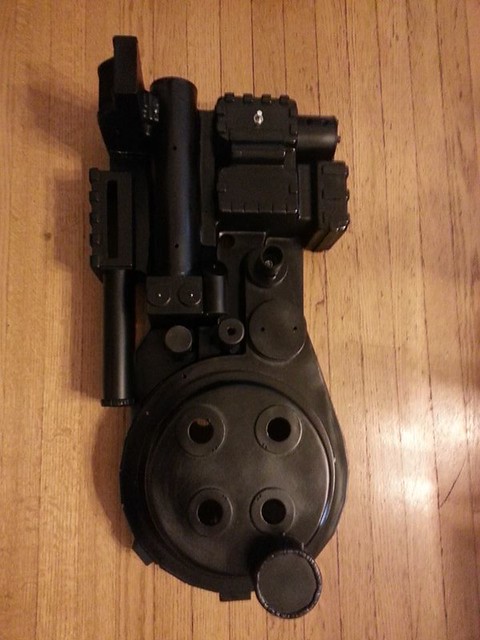
So a friend has commissioned me to build his pack for him. I have really loved the shell that Nick made and when a kit with bumper and a thrower kit came up I suggested it.
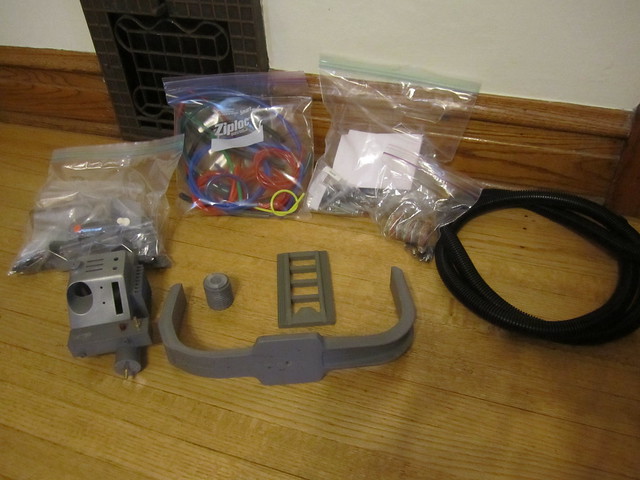
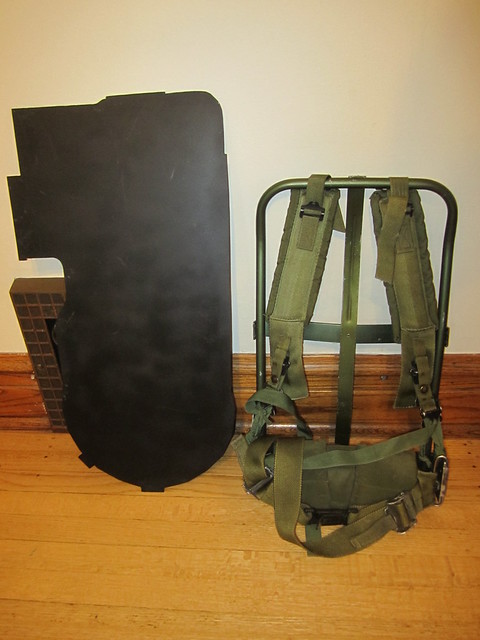
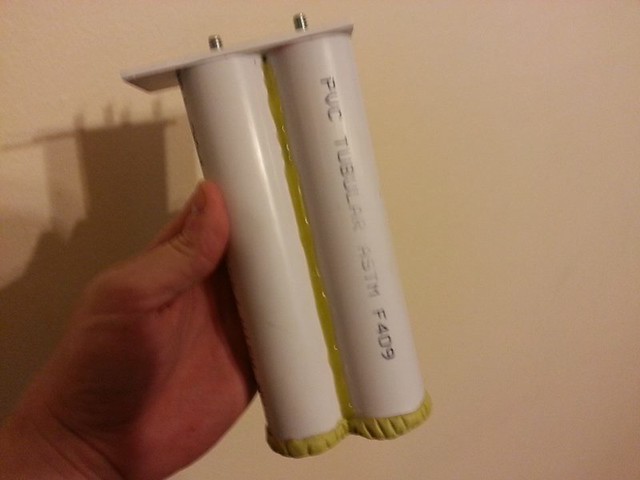
I was lucky enough to snag him the Largis Elbows from ramcuda’s good karma thread (I passed them along for free and paid the shipping myself) and a ribbon cable from Nboucher2392. One of gEkX’s full pack bolt kits and a LC-2 Alice frame round out the collection so far -
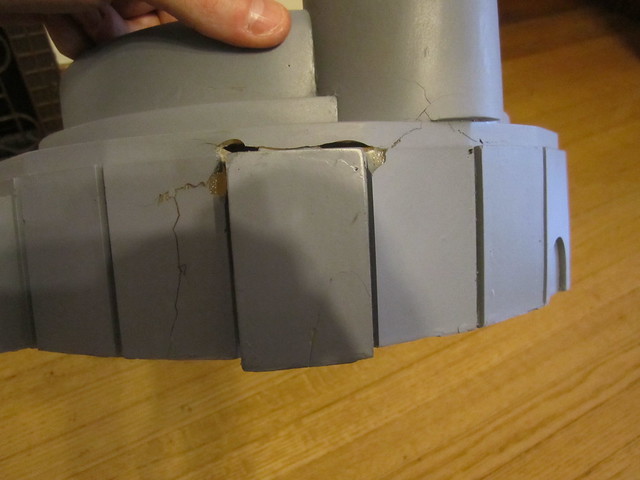
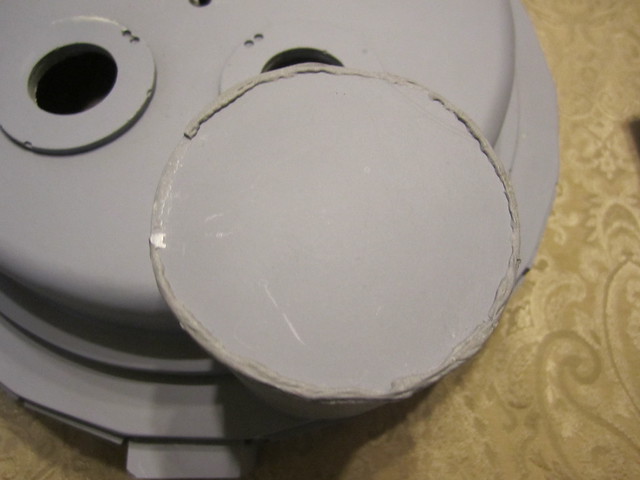
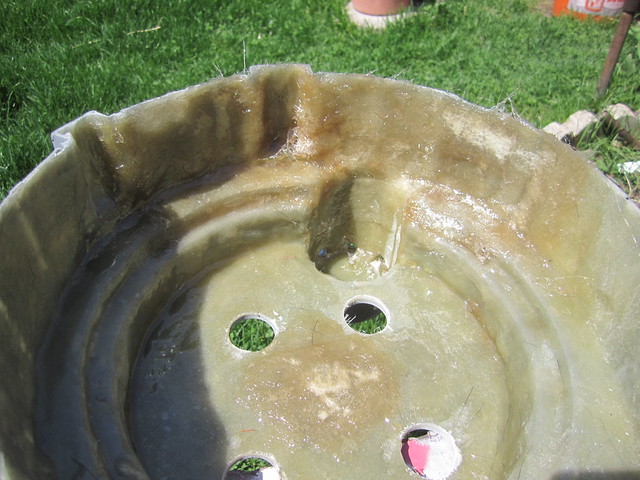
So this will be my first task, undoing the damage on the bottom. I told my friend I would make a build thread so he could watch the progress of his pack. He is also on the list for a Mighty light and sound kit. My goal is to have this done by Wizards World in August for him.
More to come.
PS - I am not taking commissions to build packs. This is a special deal for a local buddy. If you want someone to build you a REALLY nice pack please refer to this thread - GBFans.com
I shall be viewing this with great interest. Given the style of straps on the A.L.I.C.E. frame, I assume your friend is going to have a Ghostbusters II style Proton Pack?
Goodluck with the project, especially with repairing the UPS damage.
I worked at UPS for many years and I can say this, Half the guys in the hub could break a bowling ball.. seriously the handling procedures there are a joke and your never moving fast enough for management.
I guess that’s why they pay millions every year in compensation for damaged packages.
Good luck with the build, and if you guys need anything else from me just let me know.
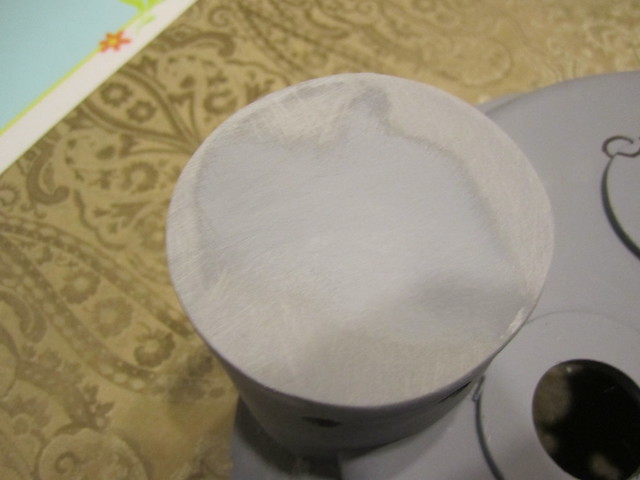
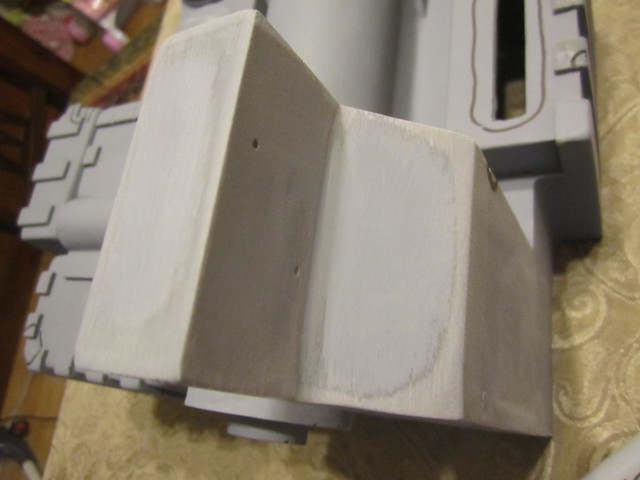
As I wait for spring to arrive is Chicago so I can repair the shipping damage on the shell, I decided to do some prep work on it today. I know the original owner of the shell is a member of our community and I just want to get this out there first. You’re going to see me undoing the work you did on this shell. This is not a statement in anyway about your work. I simply want to start this build with a shell that is as close as I can get to what Nick would send me. I hope that makes sense.
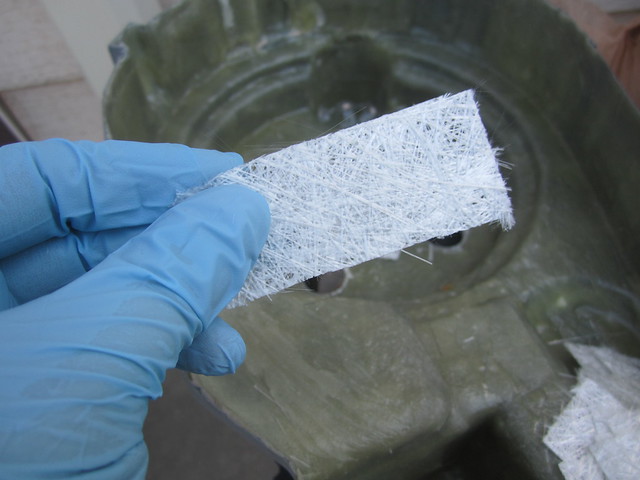
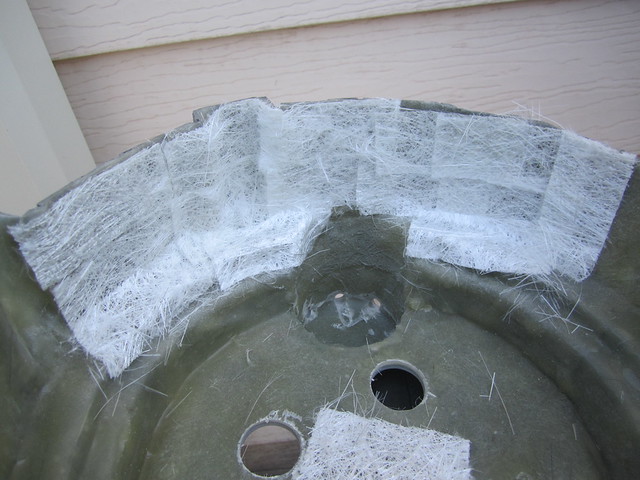
It’s 80 degrees today and it won’t be this warm again for over a week. So I bit the bullet and got some chop matt to fix this shell. Otherwise I am playing the waiting game again. And frankly, I’m over that. Here you see the small rectangles of chop matt I will use to make my patch. Using a technique Proton Charger taught me, I cut small rectangles and glued them in place with spray glue.
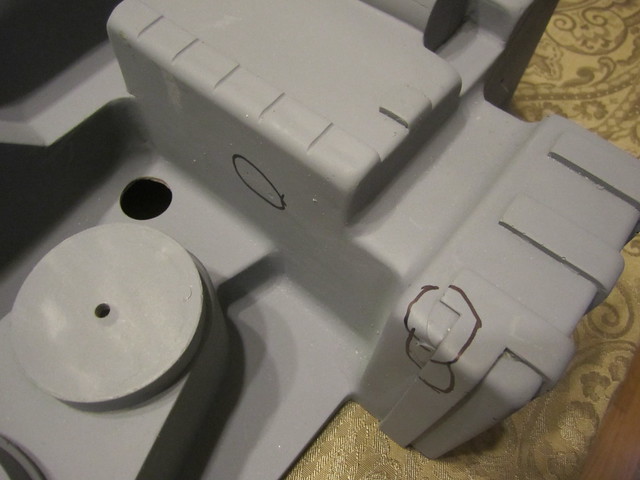
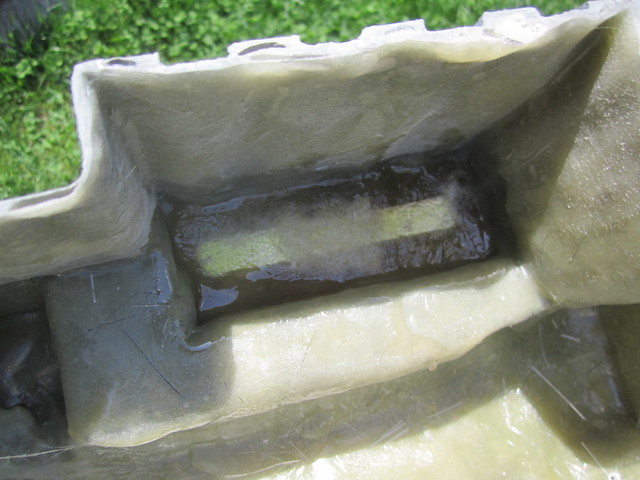
Only the center section is busted, but I want this to be strong so I did the whole bottom. I also did the center of the Cyclotron and am TOTALLY redoing the Power Cell window. I had another plan for it that was MUCH more complicated. This will save me a lot of work and be more screen accurate when I am done.
Made great progress with the body work (will post pictures later) this morning I laid out the N filter holes and went to drill them out and half of them shattered. Looks like I will be splicing in a new one… Sad face.