Con Pack and Thrower Finished!

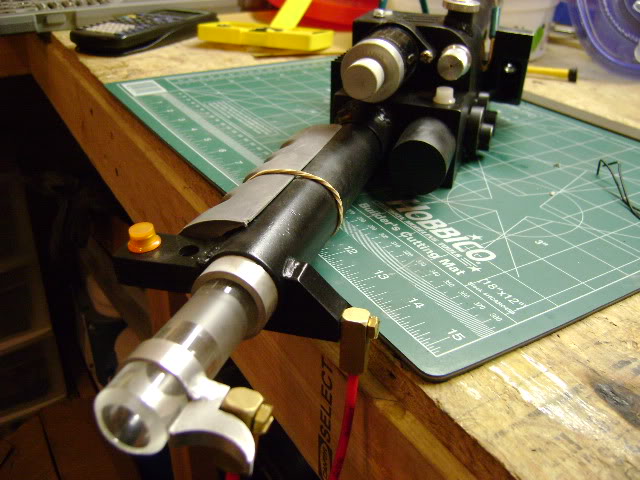
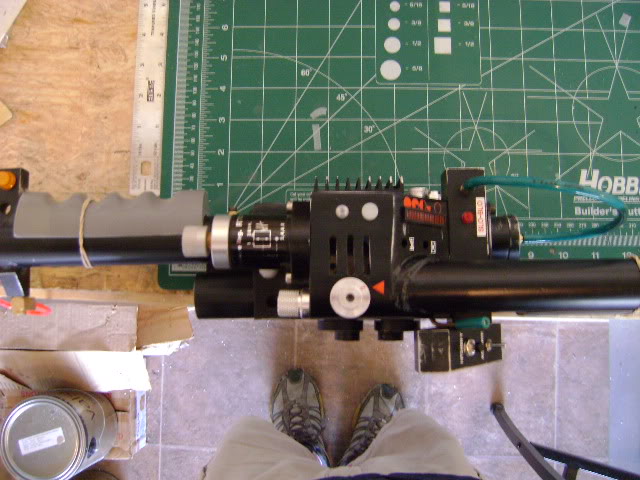
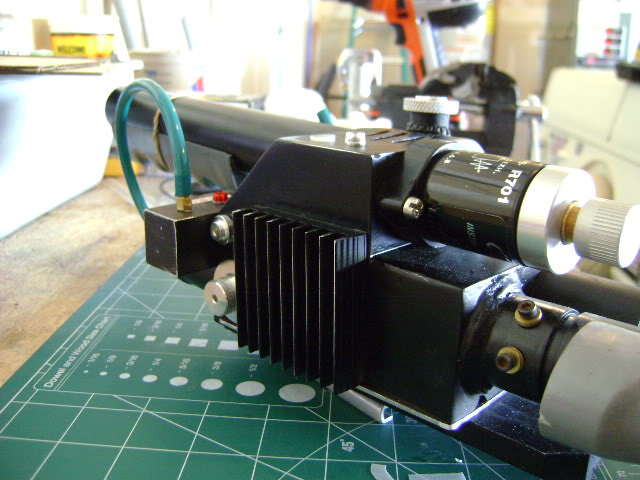
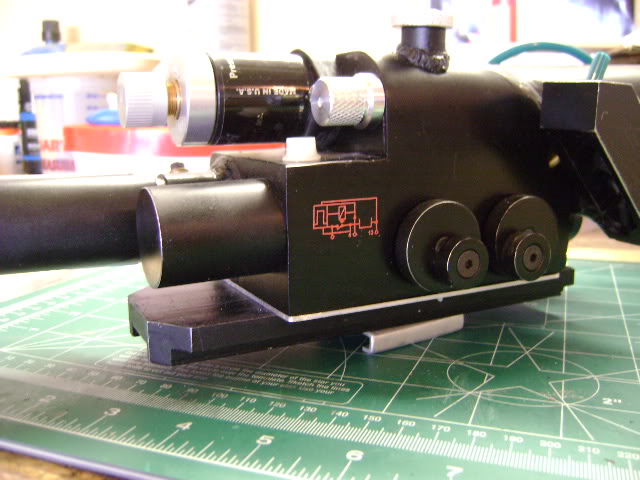
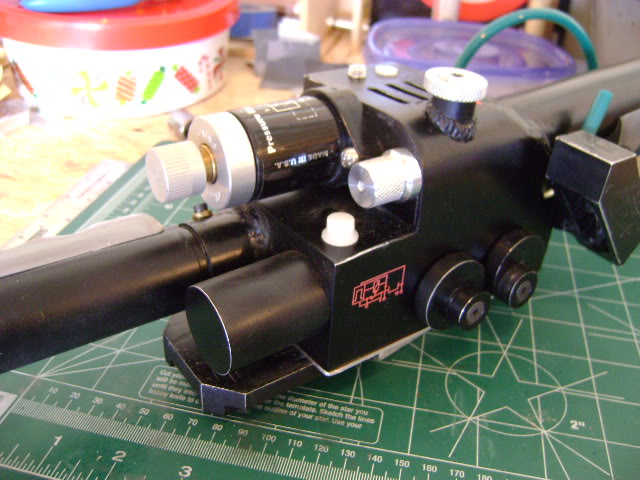
Ok guys, my pack is pretty much completed, but I have never been totally satisfied/ finished with my thrower. So, I’m taking it apart and redoing a few things.

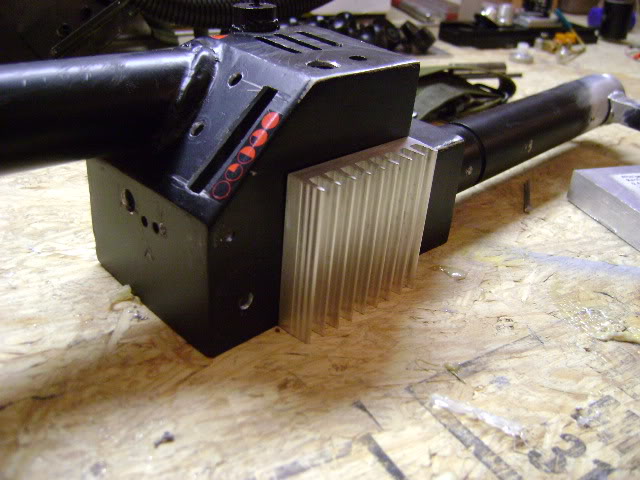
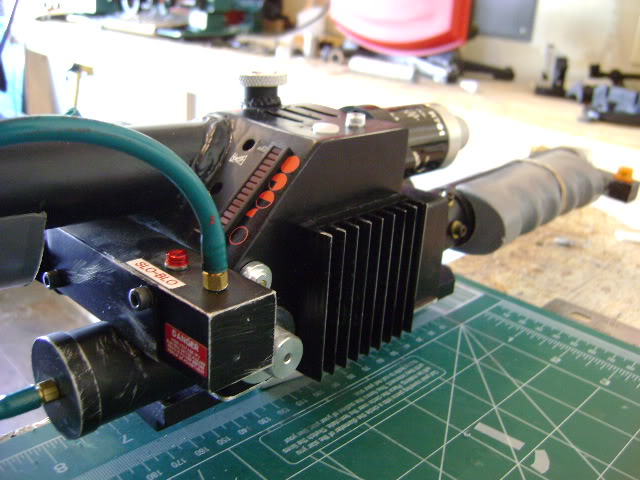
-Straighten and mill the vents. Was in a hurry for halloween, so they were cut by hand.

-Remake the bottom plate. Once again, halloween rush job.

-Make gun track discs

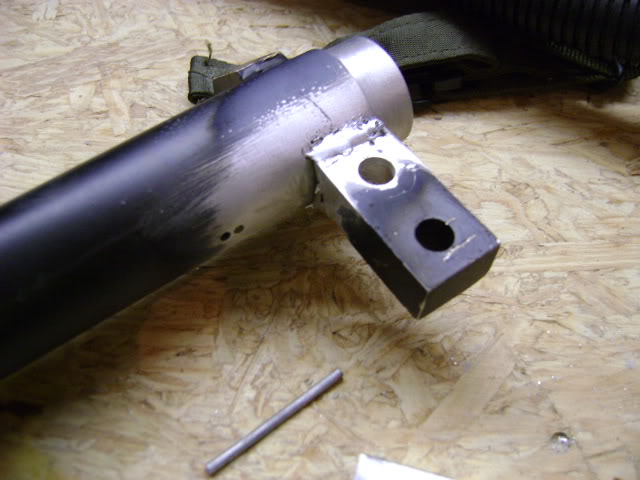
-Reattach the right gun ear. Finished I would much rather weld it, but I dont have access to a tig welder at this time.

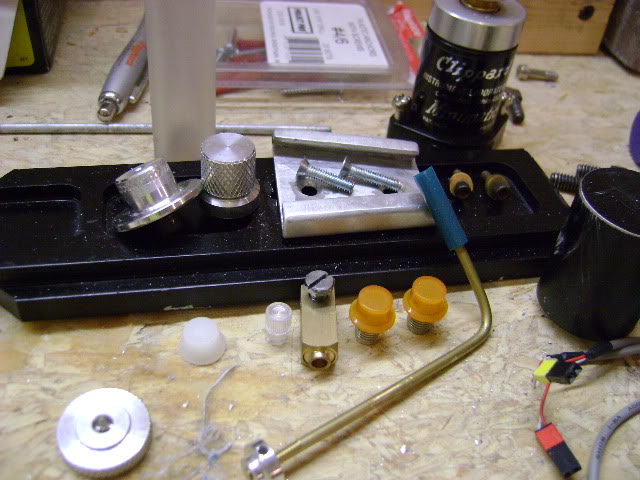
-Add the correct white light caps where needed.

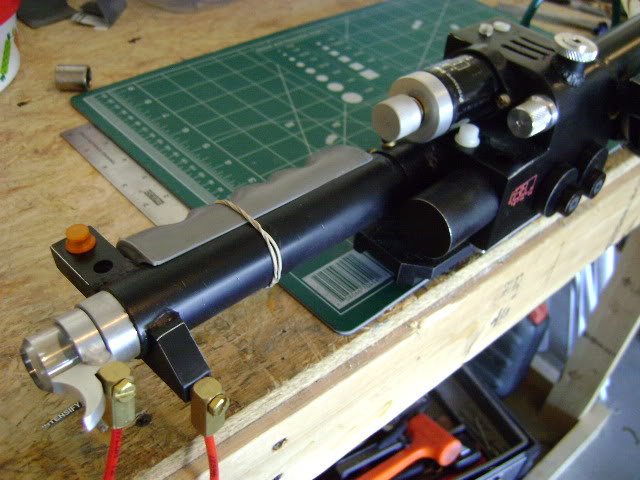
-Order accurate grips. I have Nick-a-Tron’s older style grips on it now. His updated versions are more accurate I believe.

-Mill a barrel lock

-Add a trigger tip

-FINALLY, I am looking into making the trigger release the clear tube.
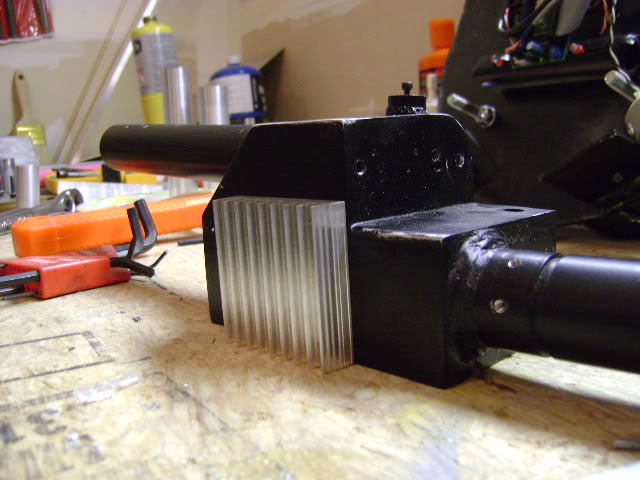
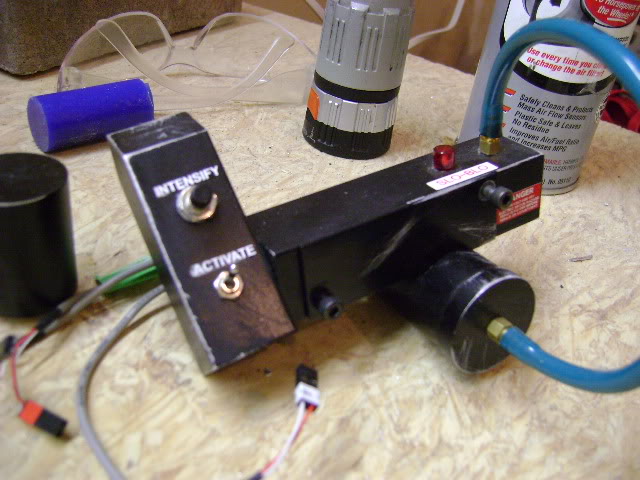
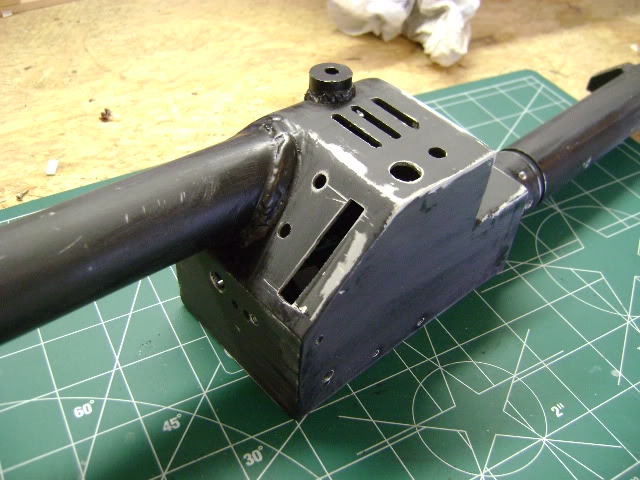
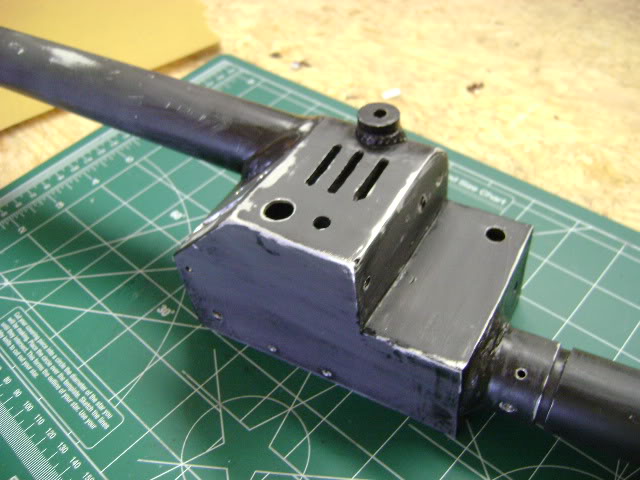
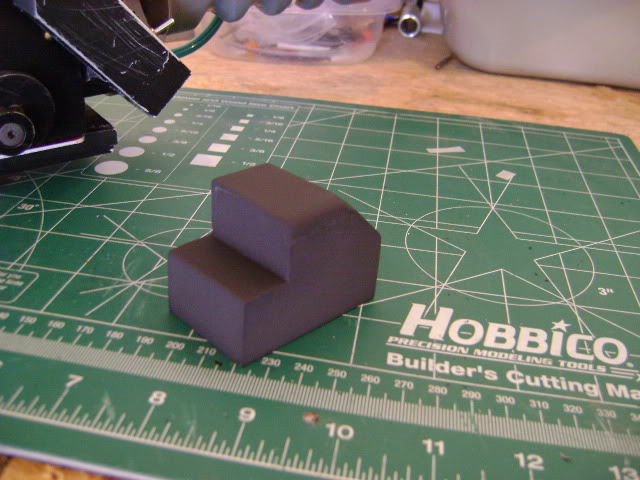
Here are the parts that have been taken off. Some will be reused, others will not.
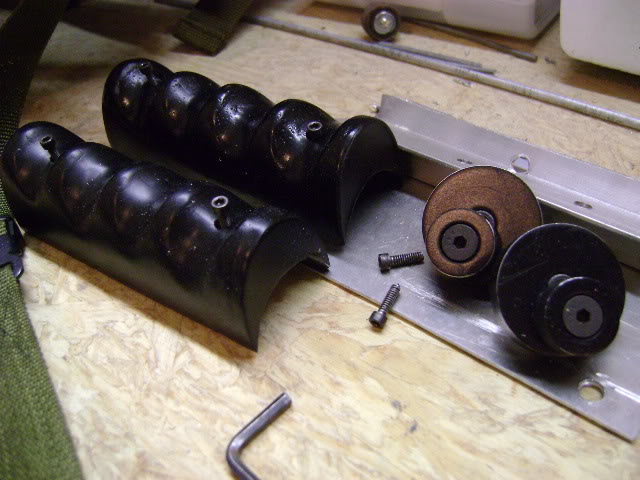
The main reason I am doing this is because I need to get the thrower finished up for a while so I can finish other projects. (pke and trap) Also, I am updating my pack with aluminum filler and beam lines. I have been playing with them on my lathe, but its coming along SLOWLY. “You have to crawl before you walk”. - Jpa35. He’s so smart lol. Honestly, I’ve probably driven him and ■■■■■■ insane the past few weeks since my lathe came in.
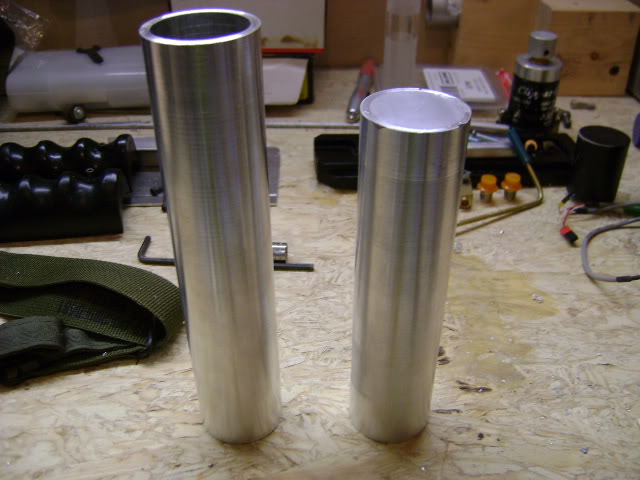
The lines are much straighter on this new gun body. Although, I doubt I will go the solder method anymore. Huge PITA. I have to find access to a welder.

And finally, here is a shot of the inside of my pack. Messy! I chose to do it like this so i could totally take the shell off the mobo and be able to work on the pack without having wires attatched to the shell AND mobo.
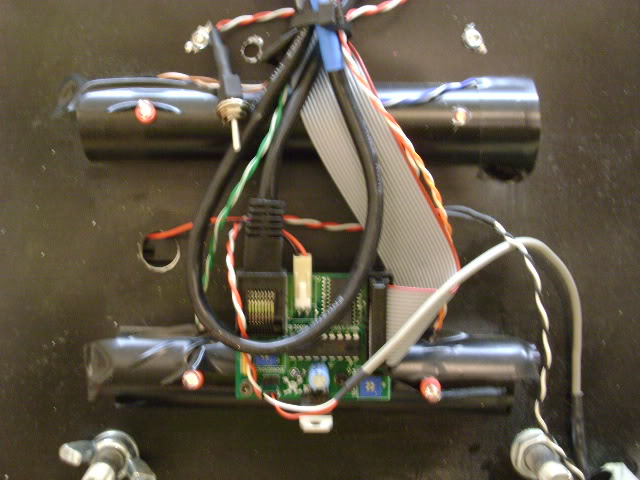
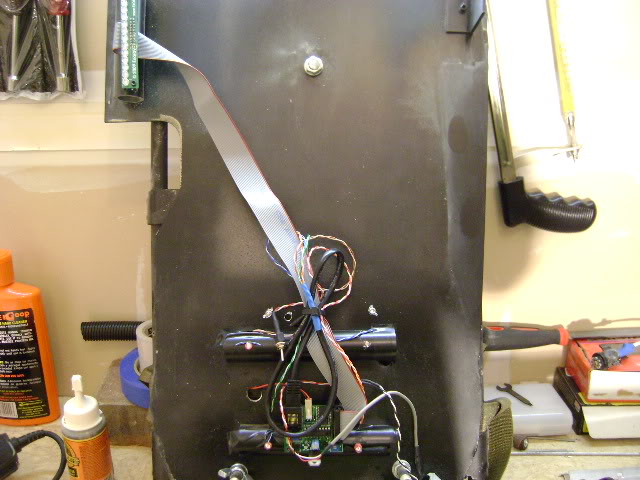
comments and advice welcome

Looks like a great start, what brand lathe have you been using?

It’s always painful to take apart a nice finished project but I am sure the new one will be well worth the efforts. Keep taking those pics!

crix - i am using a grizzley 7x12. so far im pretty happy with it.

timbo - yea i wasnt really excited about taking the gun apart. although, i wasnt totally happy with it, SO it was time to break it down and do it right. and i have a few more pics that need loaded since i made the end cap for one of the tubes. it took forever, but came out really nice.

Let me know if you can’t get access to a welder :wink:

Ok guys, Con is coming up so I had to get motivated and started on a thrower. The biggest issue is time for me. So, instead of building a totally new thrower, I have decided to pick this one back up and give it a quick redo. I plan on setting this one off to the side after Con and starting from scratch. There are a lot of thing I’m just not crazy about with this gun, but it was my first aluminum build and it will do the trick for what I need it for.

All stripped down:

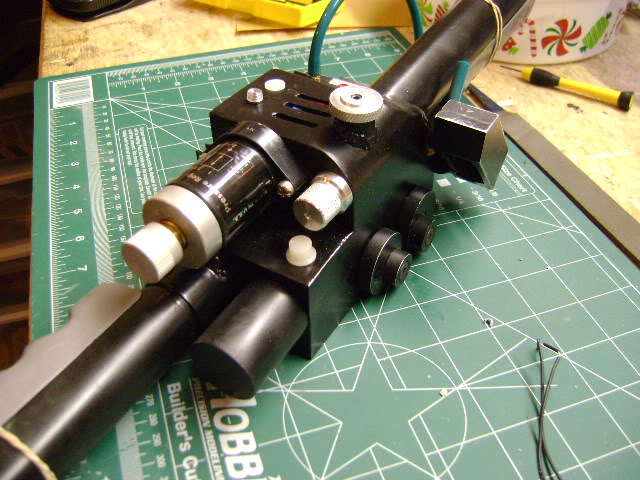
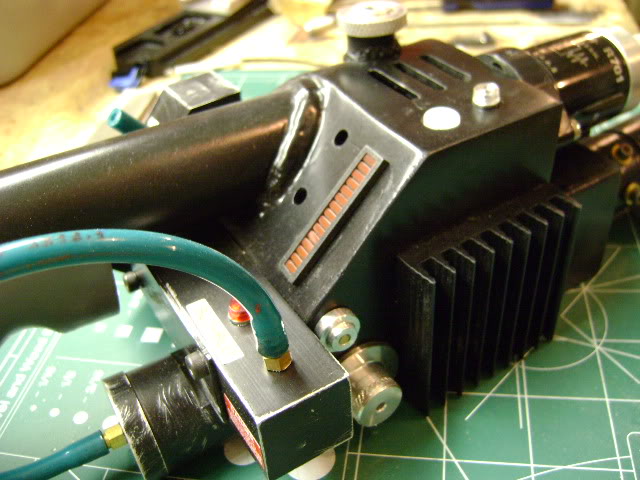
Quick jump to where it sits now. Basically I added Austin’s awesome light cap castings (white caps) and some better alternatives to the clear and red Slo-Blo light caps. Also, I am using Nick a Tron’s newer grips. Those still need to be painted and given the brown resin look. It’s hard to tell in the pics, but i re-shaped the vents a little. Those really should have been done on a mill, but I was in a rush at the time. That mistake won’t be made again.

That’s it for now. I will be wrapping this thing up shortly. I have to make a new set of mounts for the baseplate and mount the lights. Other than that it should be a quick and dirty gun for Con!

Very nice Jimbo coming along really good, as I know your doing this rebuild to be more accurate I thought I would point out that it looks like your Clippard is mounted with phillips fillister screws instead of the accurate slotted fillister screws. Clippard for some reason changed the screws and logo stamp on there new valves.

Good eye Chris. I was thinking the same thing as I was mounting the Clippard last night. I really need to get ahold of some slotted screws.

Luckily Masteryoda sells the replacements :-), also another alternative is buying older Clippard valves off Ebay that have the same slotted screws. I noticed this as well on my new ones but I had a extra R501 from way back when and used the screws off that.

I’ll ask why they switched screws..

Looks pretty COOL… Do you have any green tubing left? For a lever? I only have the translucent tubing that is too large.

Sweet! you haz skycraft orange light capz?!?

It was great to start with, but when I saw the new shots my jaw literally dropped. It really looks like the PH pack thrower. It’s an honour to have my grips used on this build.

That thing is ready to take some abuse at Con! Looking good jimbo

Looks great man! You’ll be able to beat people to death with a solid gun at the same time as having something that looks great!

Thanks for the compliments guys. Tim asked me to be his personal bodyguard at Con, so I needed a good solid club to protect us with…it has nothing to do with accuracy

Today I added some dry-rub transfers, made a bottom plate for the gun track to attatch to, and made the mounts for the bottom plate. I still need to pick up the right SHCS to bolt the plate on though. Finally, I added some weathering. I don’t want to get real crazy with it. I’d rather it occur naturally.

and totally unrelated to this post. This little guy was born recently…(still needs filling and some more wetsanding)

Looking great Jimbo and that mini is going to be bad-ass!

Best key-chain ever!

absolutely amazing work. quite a hefty accomplishment

Just about there…

image

ouch jimmy, such a nice pack and then . . . . .the suit :frowning: