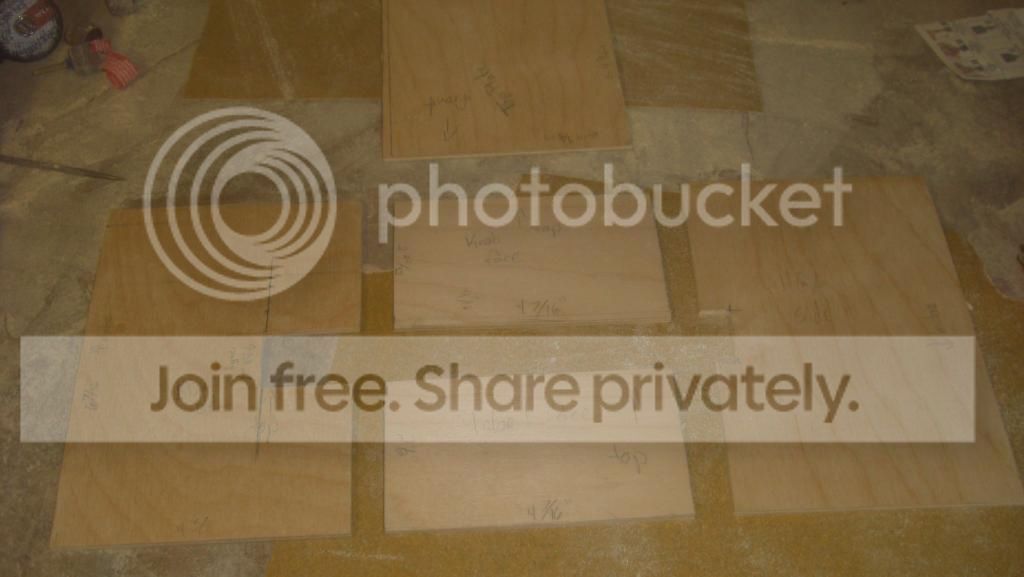
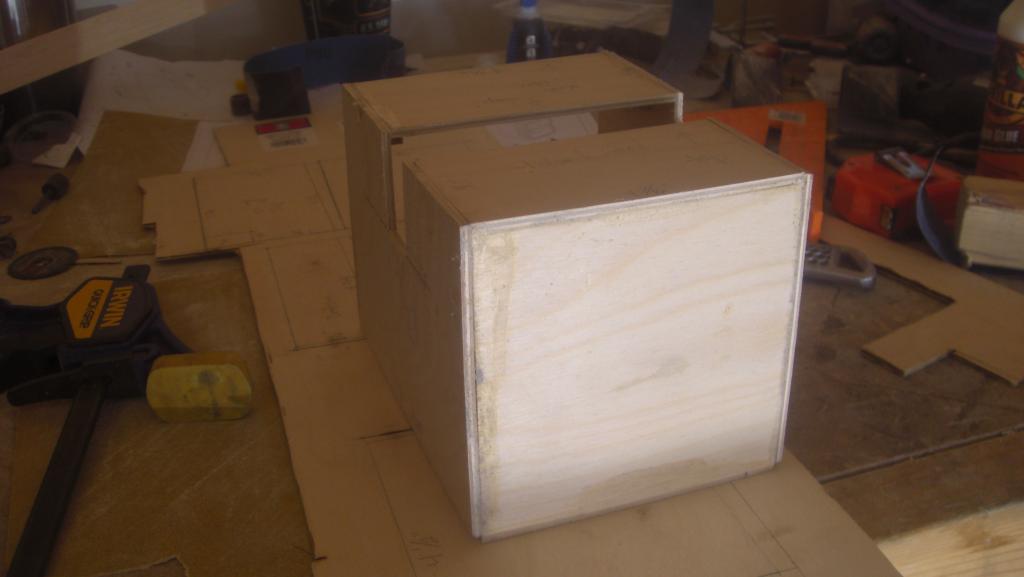
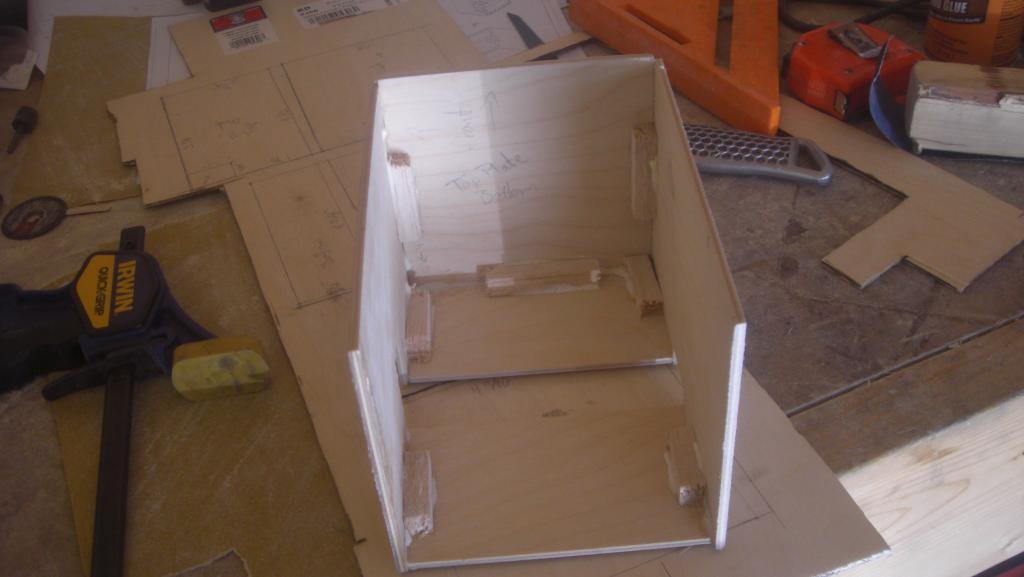
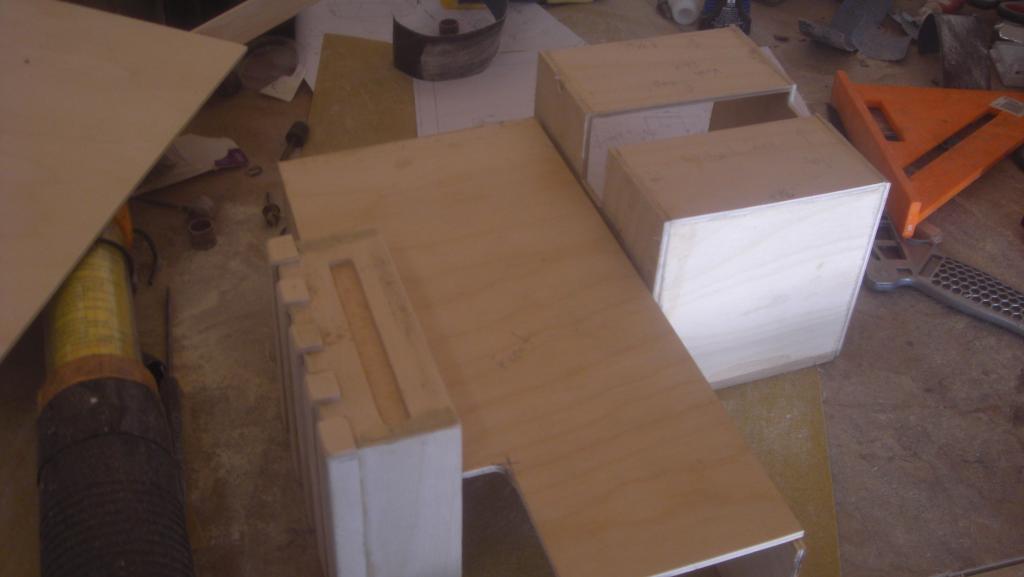
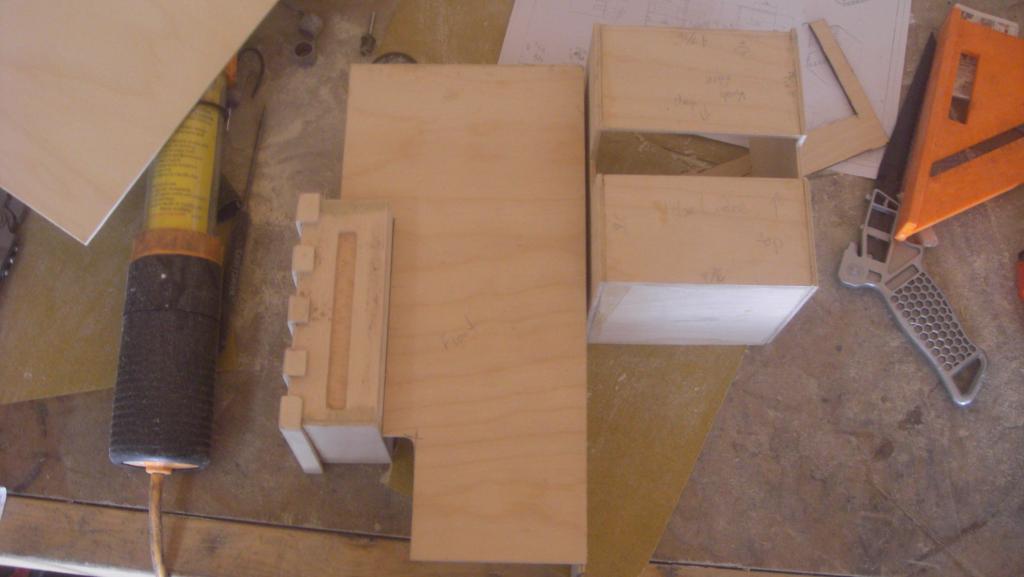
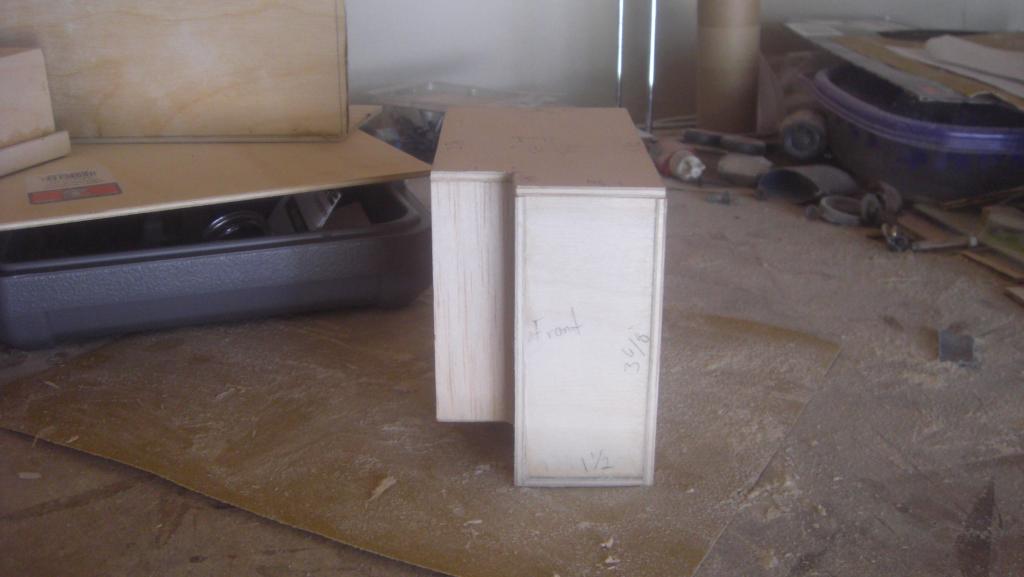
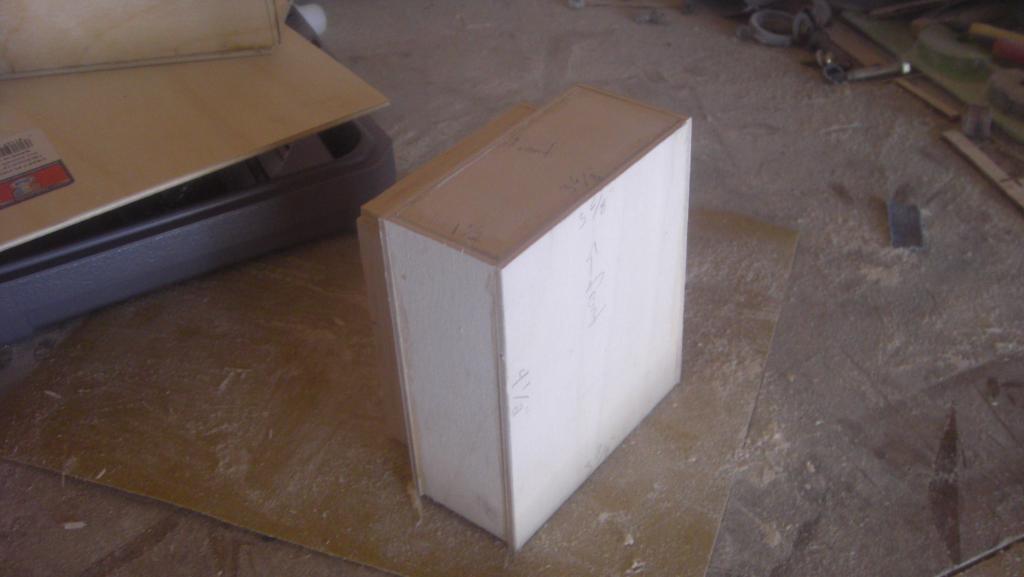
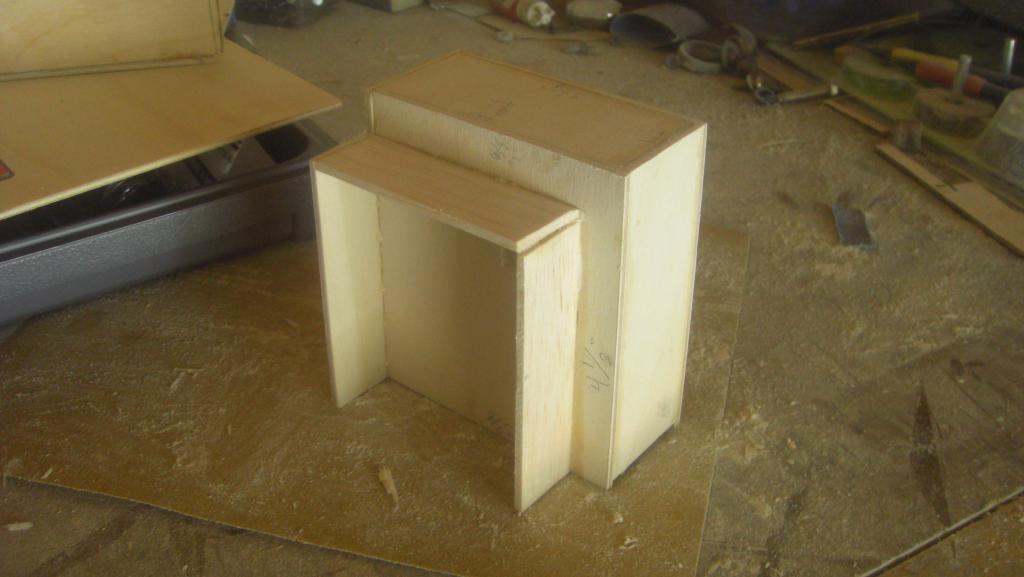
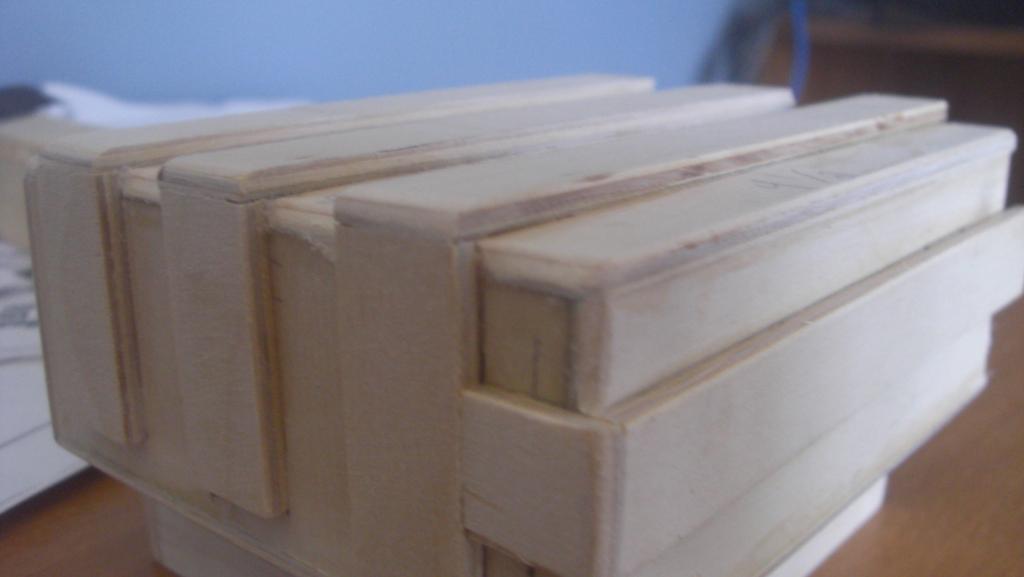
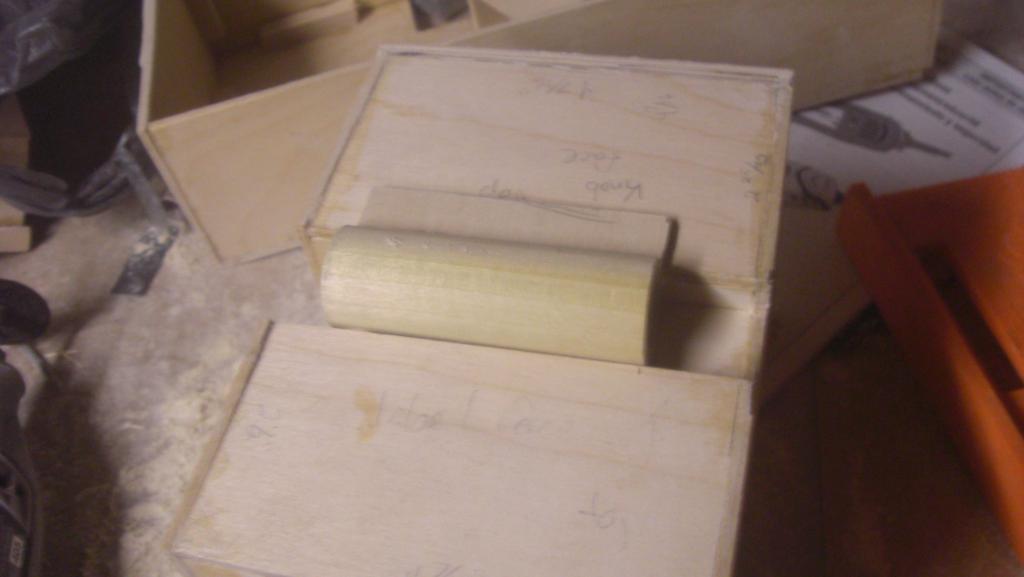
Someone quoted Isaac Newton not too long ago; “If I have seen further it is by standing on the shoulders of Giants.” That really sums up how I’m approaching this pack build. I’m very grateful for everything the community has written and documented. The biggest thanks goes to Ramjet and the others who contributed to the GBFans shell.
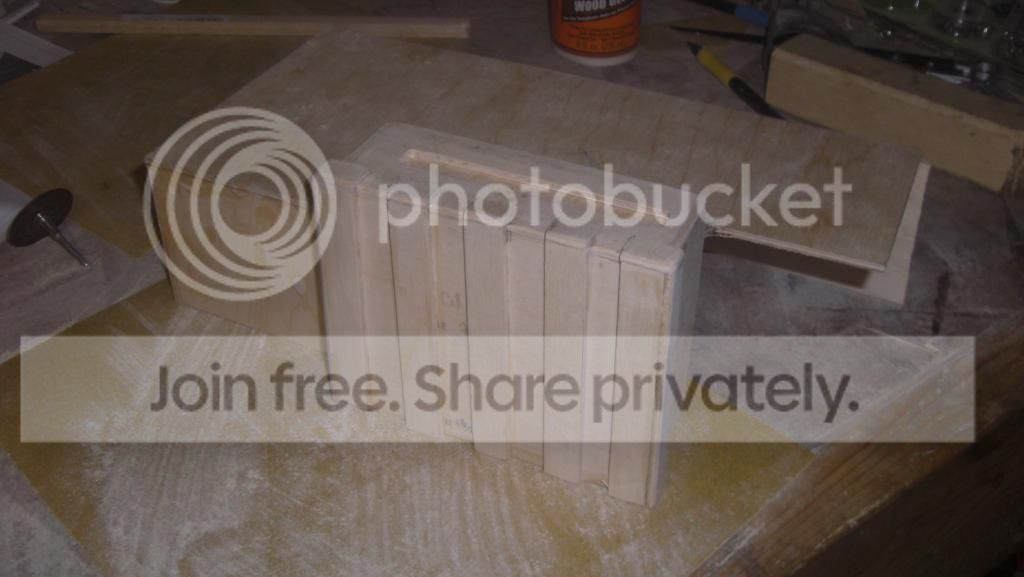
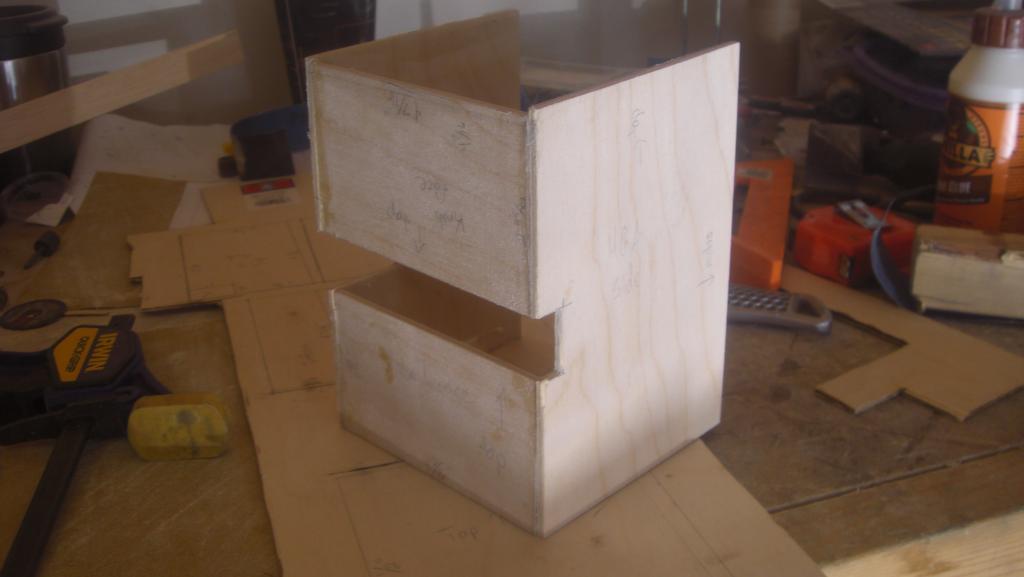
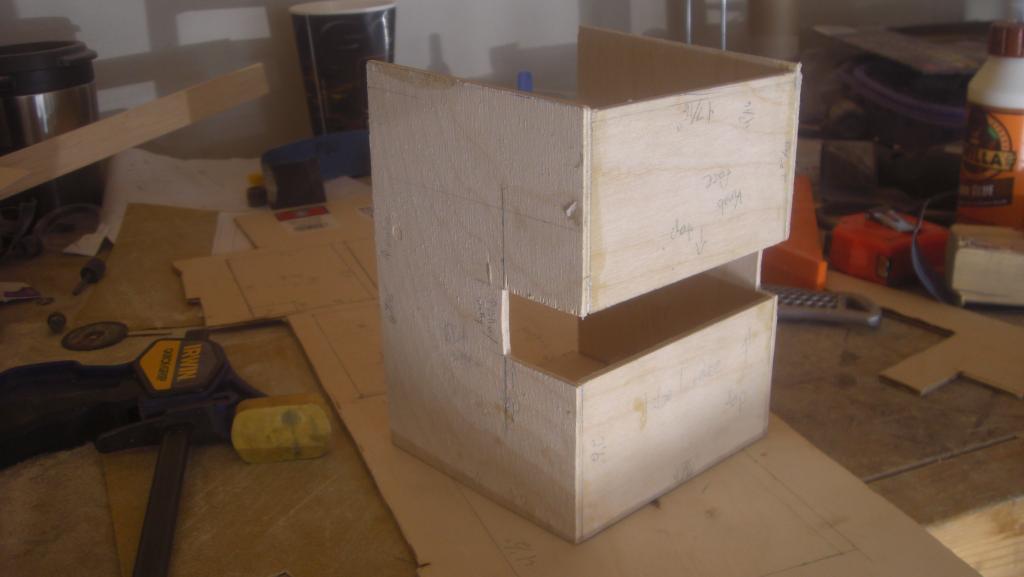
This build is going to be a scratch built build utilizing a mix of the new GBFans shell specs and Stefan’s. I plan on building a buck to pull casts from to make packs for myself and my kids. As a proof of concept, I crafted the powercell from 1/9" balsa wood, and I’m pretty happy with the results. It needs a bit of filler to plug up some gaps, but I think that this should prove the whole project will be doable.
I’ll also be building my electronics from scratch. I have a few options for microcontrollers, but right now, I’m leaning on programming a PIC micro to handle timing duties for the lights as well as relaying sound data from an SD card. One of my colleagues in my engineering classes has a few more options that I may go with depending on cost.
I’m not usually much of a woodworker. That was always my dad’s domain. I was the metal guy in the house, working on cars and fabrication, but I guess spending time in dad’s shop has helped me figure a few things out. This project is also going to remind me why I dislike body work: I hate sanding. I still have a lot more sanding to do on these pieces to finish filling in the gaps and smoothing out some of the inconsistencies in the wood.
But one the whole buck is complete, I’ll pull a silicone and fiberglass mold from it to lay a couple packs. That should allow me to make enough for the family without breaking the bank!
I swear I must be nucking futs to put this much labor into a project!
If you consider yourself nuts, welcome to the looney bin!! Seriously though, that power cell alone looks great, so I for one am excited to see your progress on this bad boy especially in the electronics department. Good luck!,
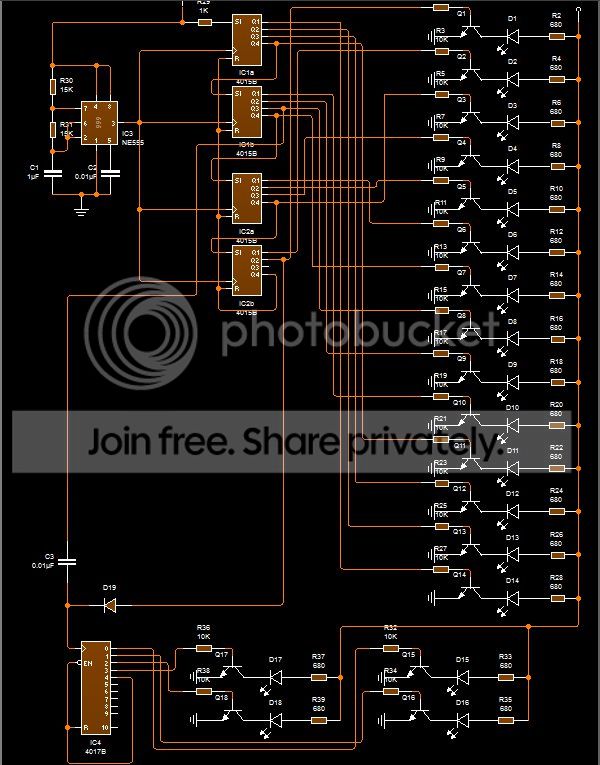
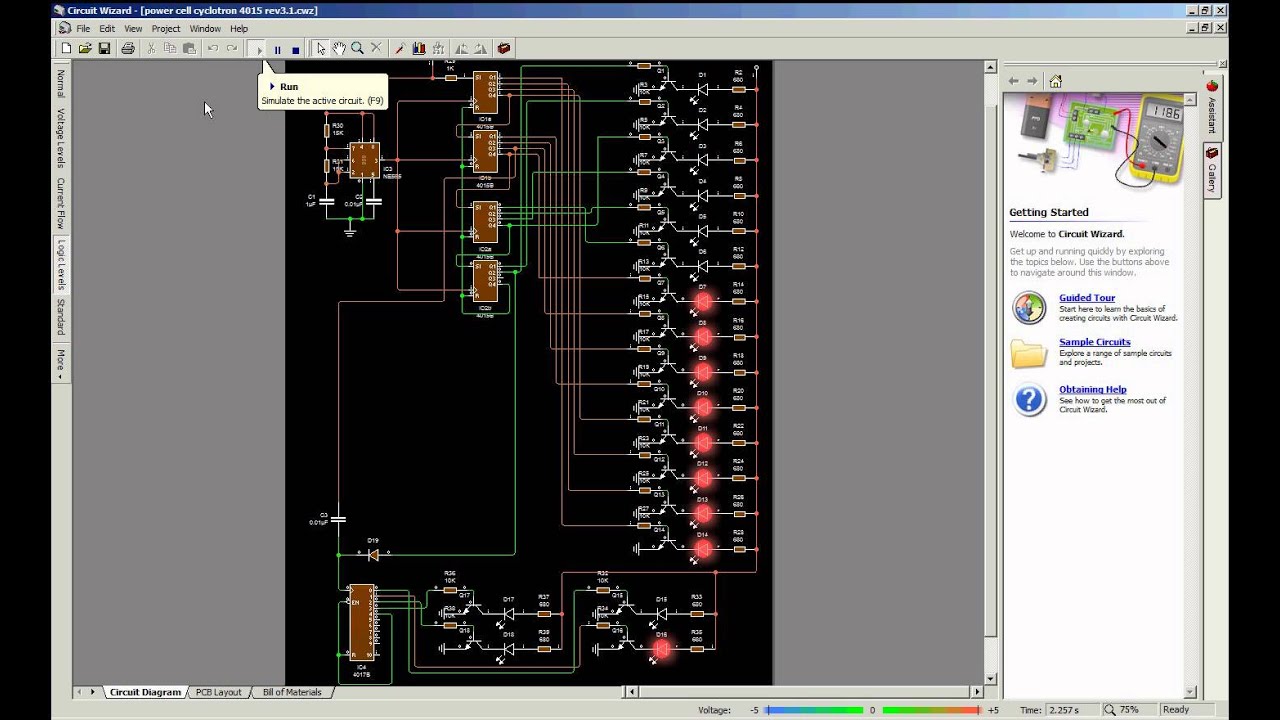
I’ll take some screen shots and a gif loop of the light animation when I get home tonight. My current setup in my simulator is dependet on 555 timers, so I can reduce circuit complexity when I switch to a microcontroller. I’m also gonna start work on the EDA tonight and make way across to the gearbox and gun mount. That should cover most of the GBFans portion for the plans, then I’ll switch over to Stefan’s plans to knock out the synchronous gen and cyclotron.
Looking good so far. Your woodworking skills, judging by your powercell, are fantastic and should be more than sufficient for scratch building your pack. Congrats, and good luck. Can’t wait to see the rest!
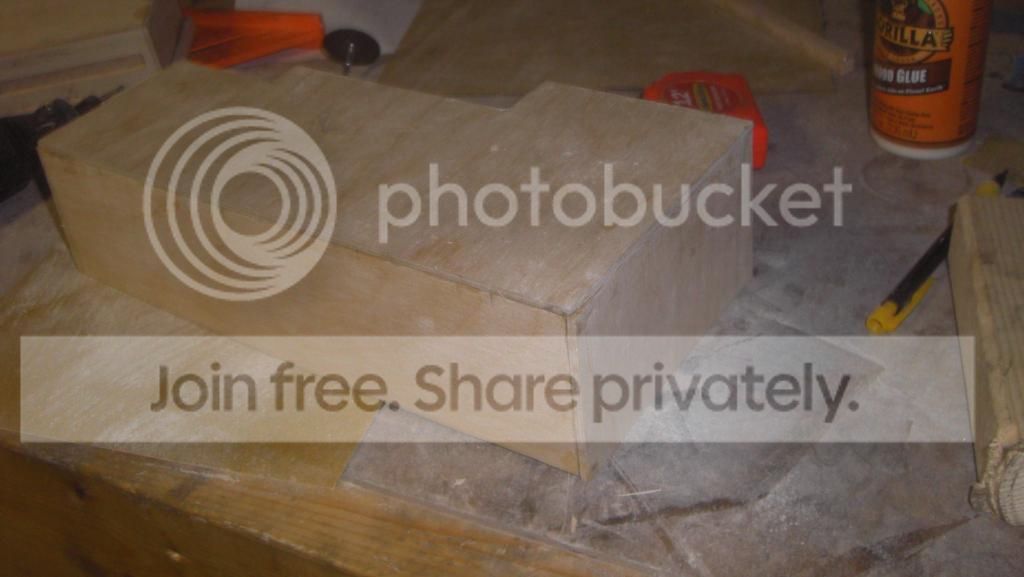
Got a little progress on the EDA today. I didn’t have much time other than cut the front and a few sides to support it. This part’s going to take a bit more filler than I’d anticipated to get true and flat as the wood was more bowed than I’d like. Nothing that wood putty and…sigh…more sanding can’t fix.
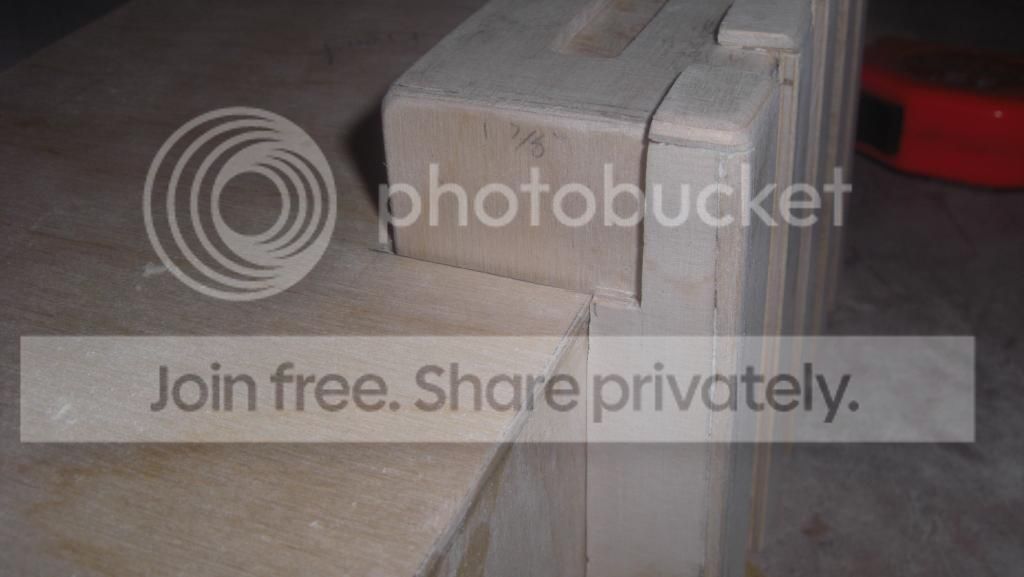
Tomorrow I plan on attaching the EDA and finishing the last few visible sides. The power cell fit pretty well I think. There’s room for some minimal trimming to make it flush.
As for the lights, I took the diagram from the DIY light tutorial and am modifying it to run the lights a bit faster, and more accurate to the screen packs, and I’m timing the cyclotron lights with the power cell lights. Right now, all of that is ran with one 555 timer in the simulator.
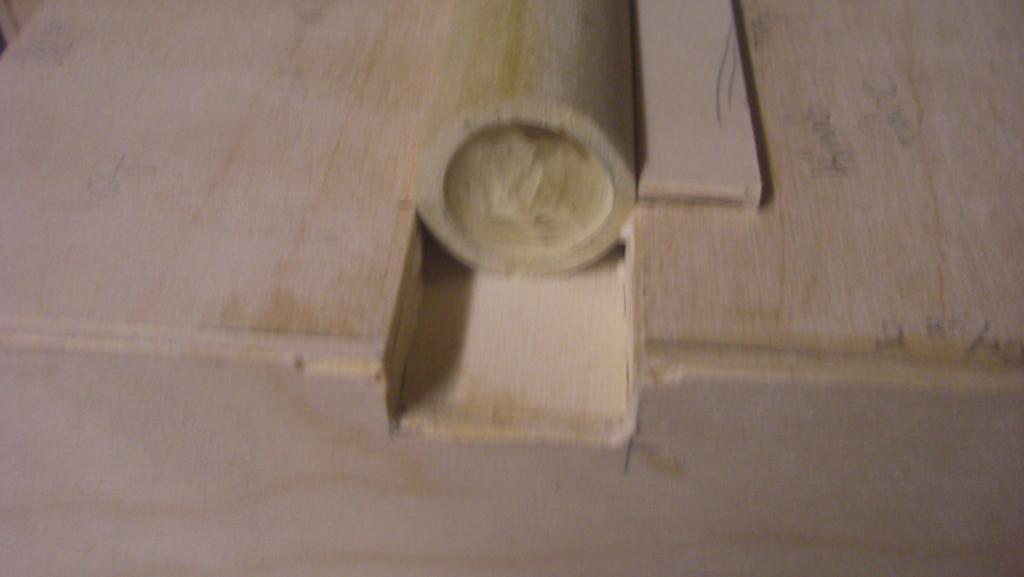
So I moved on to the crank box to rough it out and also traced out the gun mount as well. I’m gonna wait on the PPD for a little bit longer while I look for some pipe or conduit that matches the 1 3/8" ID I need to make the right side of the box.
But as luck would have it, my dremel died from heat exhaustion. The high speed contacts on the switch burned out, so now it’s stuck in low speed, which doesn’t do me much good. I’ll have to replace it on my next paycheck. Boo!
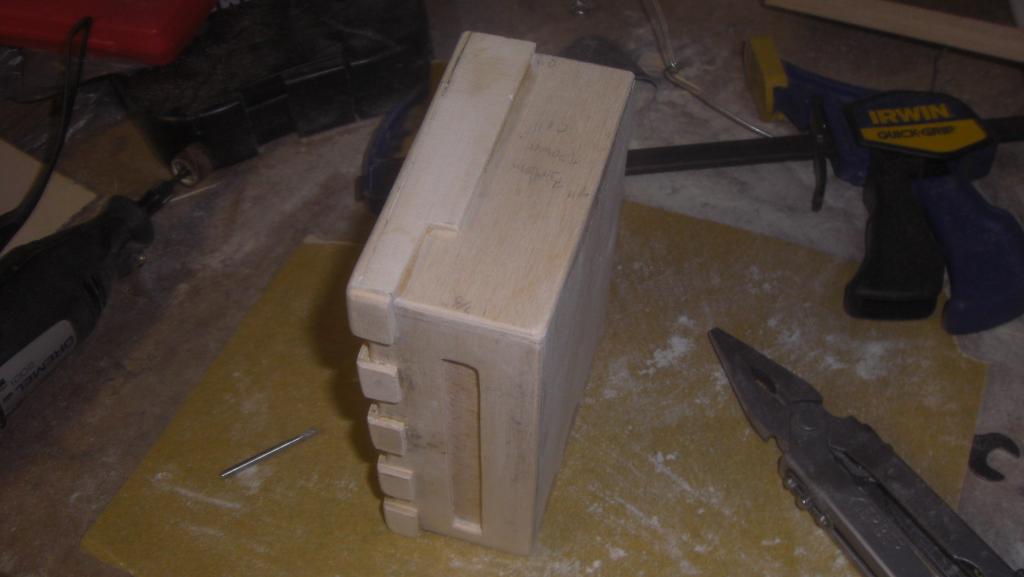
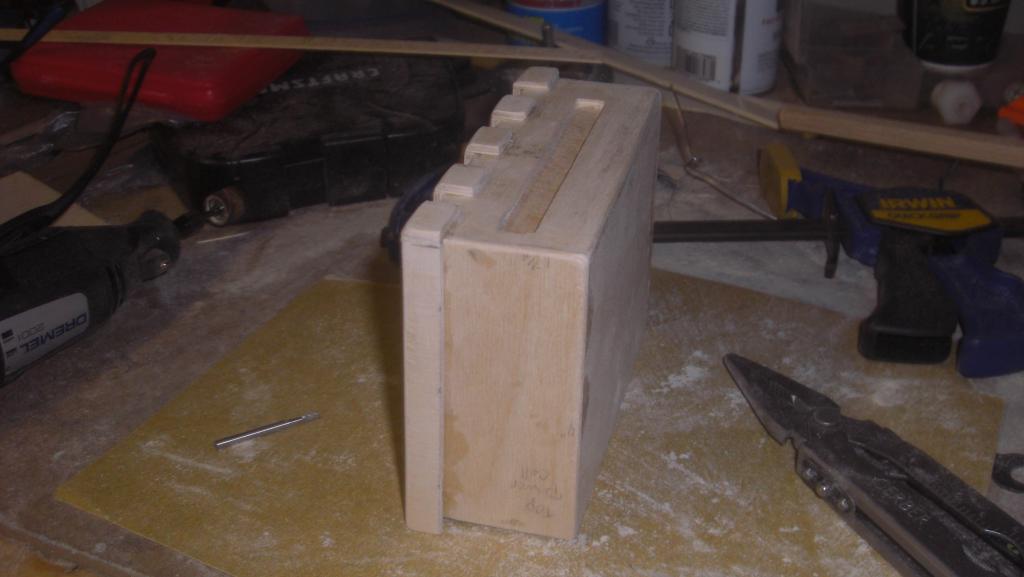
But, I was able to cut out most of the crank box before it bit the big one!
What really kills me is I JUST bought new drum sander and wheel chucks for it today. But even though I couldn’t shave the pieces down with the drum sander, I had hours of time to hand sand! Yay…
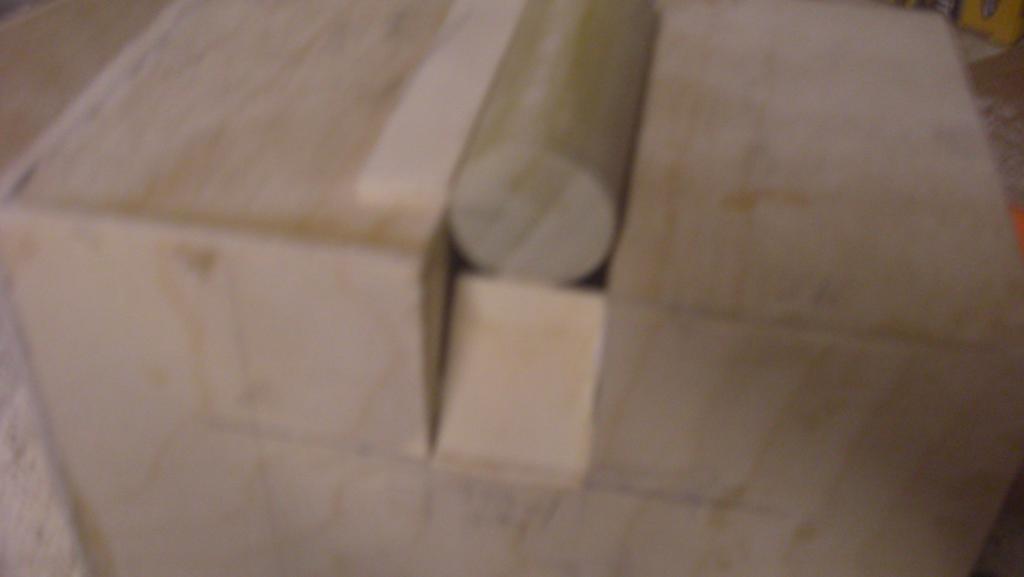
The crank still needs its top cut out, and I need to pick up a 1 1/2" dowel rod to finish the interior pieces. I’m gonna hold off on the fins until I finish the gun mount and just knock all the fins out together.
In the meantime, things are starting to look more like a pack!
Payday was a day earlier than I expected! Picked up a new dremel last night and got back to work today. Was able to rough out the gun mount. Not shown are some of the fins for it, but I’m nearly done with it.
I’m going to pick up some stuff tomorrow to finish out the gear box and wrap up all the upper stuff. Once I finish these pieces, I’ll be switching to Stefan’s plans to finalize the filler areas and cyclotron.
Phil, you’re definitely welcome to come by and hang out.
So I’ve picked up some 1" dowel from work to finish the gearbox, but I’m having trouble finding anythjng with a 1-3/8" ID to use on the PPD. It’s such an oddball size. I’ll have to look into other options to make the radius forthe PPD to sit in.
I’ve been contemplating what would be involved in turning my largely MDF pack into a buck but I’m put off the idea of buying all the supplies to do a glass-fibre shell.
I am getting a bit browned off by the sheer weight of the MDF though and I’m not convinced I can lighten it any more without impacting its strength…
There was something that was driving me insane while I was at work last night. The spacing between the ribs on the screen used packs is a lot greater than what Ramjet had put in. I know that a lot of the guys putting their 2 cents on the project when it was still under full steam had gone with idealized 9/16" ribs. Stefan’s plans, which are the basis for Ramjet’s, called for 1/2" ribss, but there was an 11/16" gap. I like the way the box sits as it is, but my OCD might kick in, and that might end up being redone.
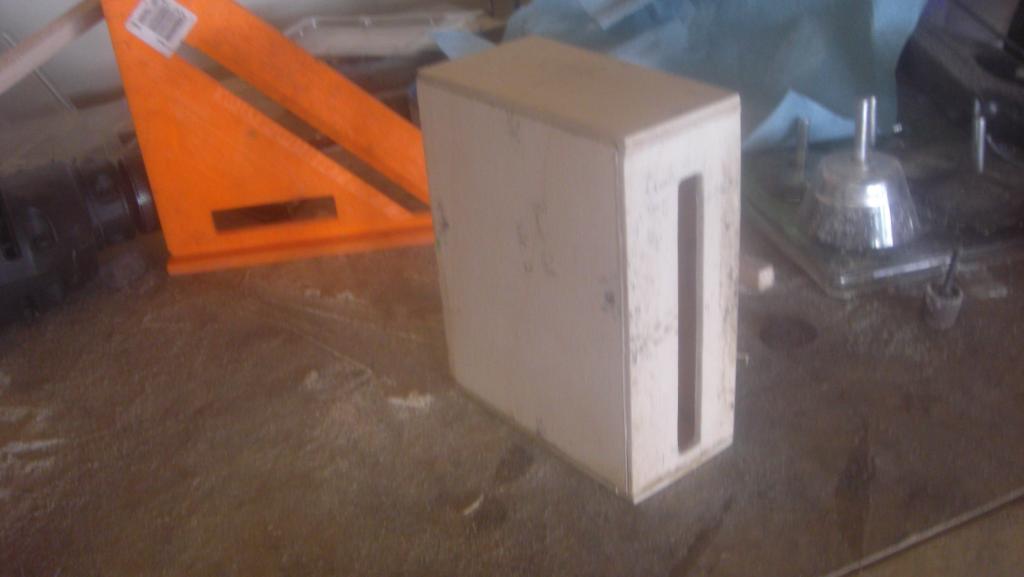
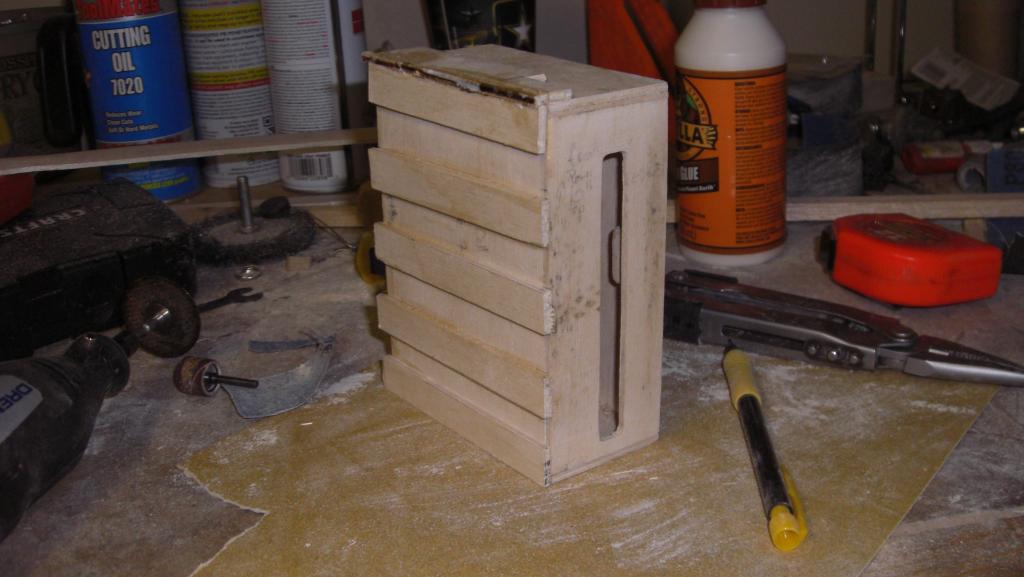
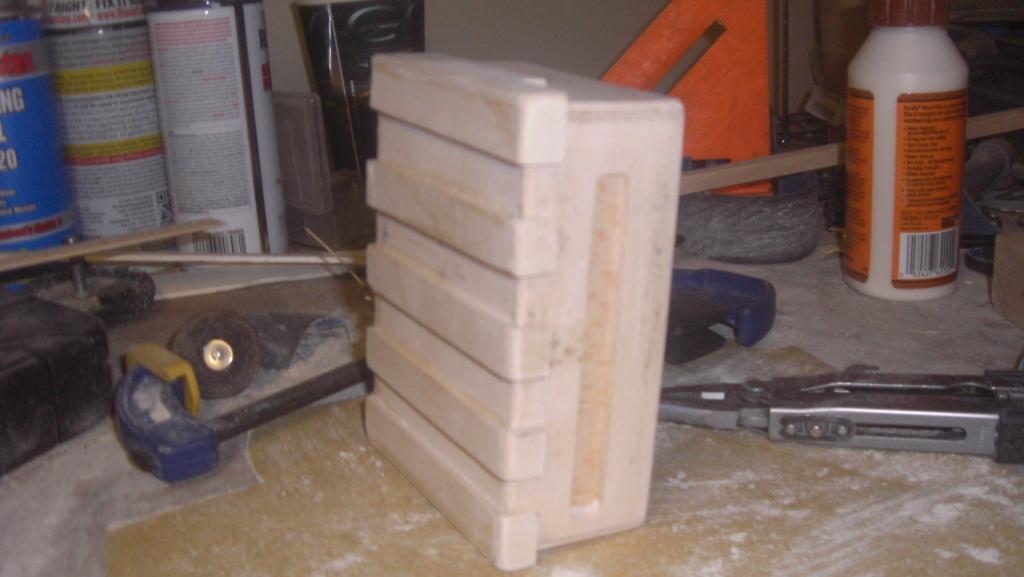
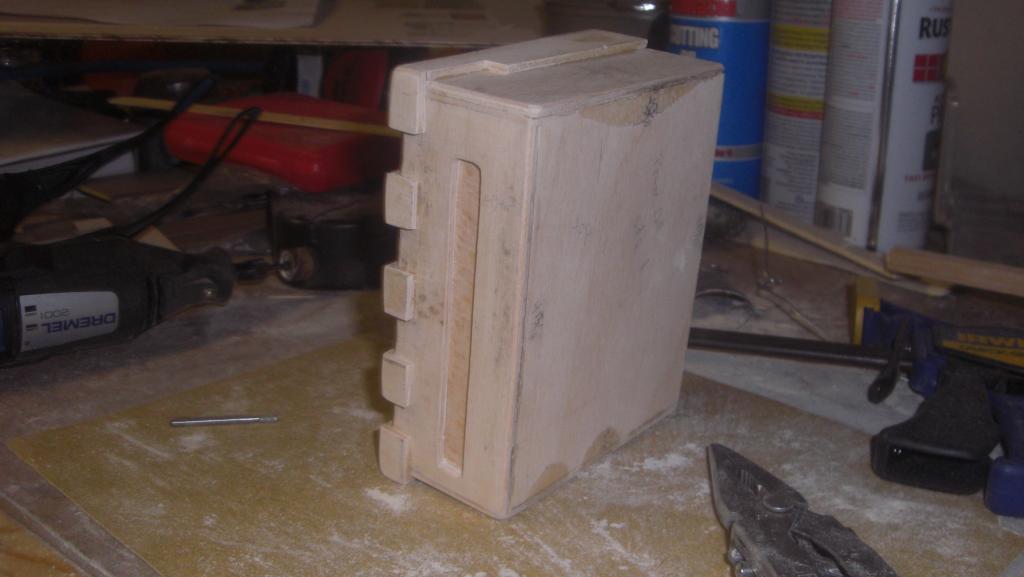
In the meantime, I knocked out some more crank box work. I still need to bevel the edges, fill in a bunch of areas with putty, and make all the ribs.
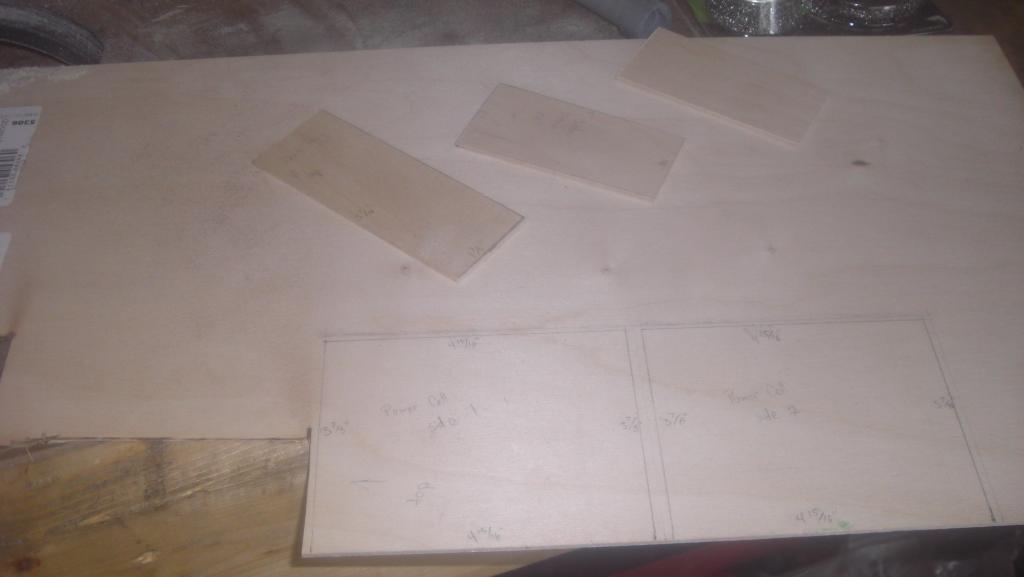

 Looking forward to seeing this come together