Howdy folks!
It seems that I could be making myself a bit helpfull for you, as I got the package from GBFans, including the Clippard R701 valve for the proton gun.
In one thread I was misread to have attched a potentiometer in a real Clippard, where I meant a resin cast from Nick-A-Tron.
I found out a info sheet from Clippard home site, which included a cut out diagram of the Clippard in question, and thought to give the idea a try. Even if I would fail, I could use the real Clippard in a proton gun, no worries there.
Still, I got the work done, here are the pics, sorry for so many pics…
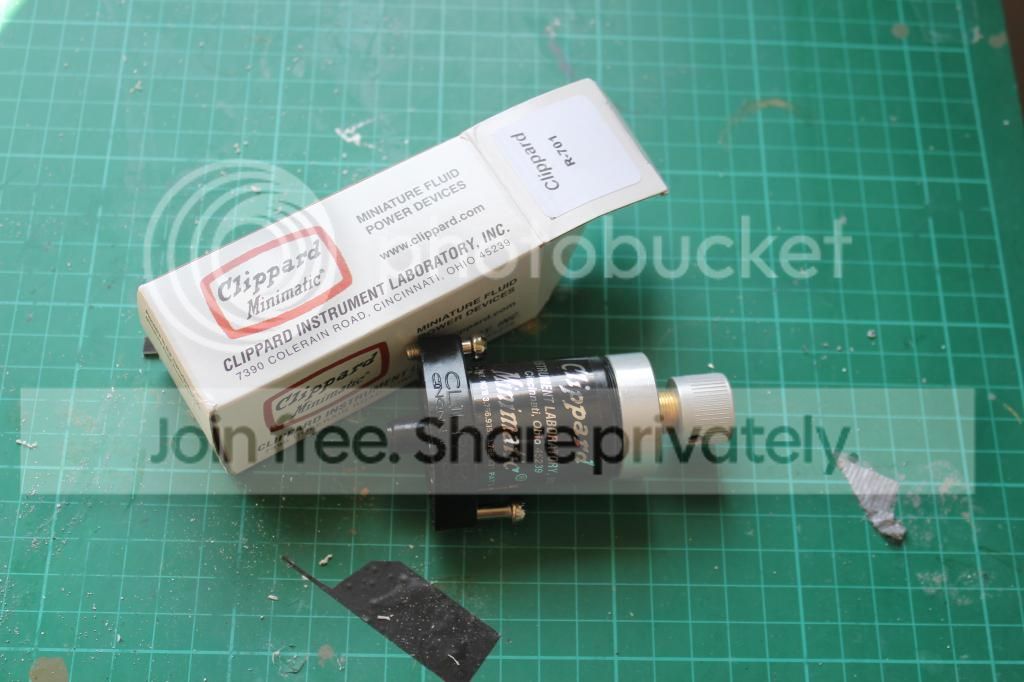
Open up the cardboard for one new Clippard, oh what a thing of beauty… By the way, I had to declare this as engine part, to get it from the tolls… Gotta love the saving programs in our world, where there are not enough hands in the customer service anymore…
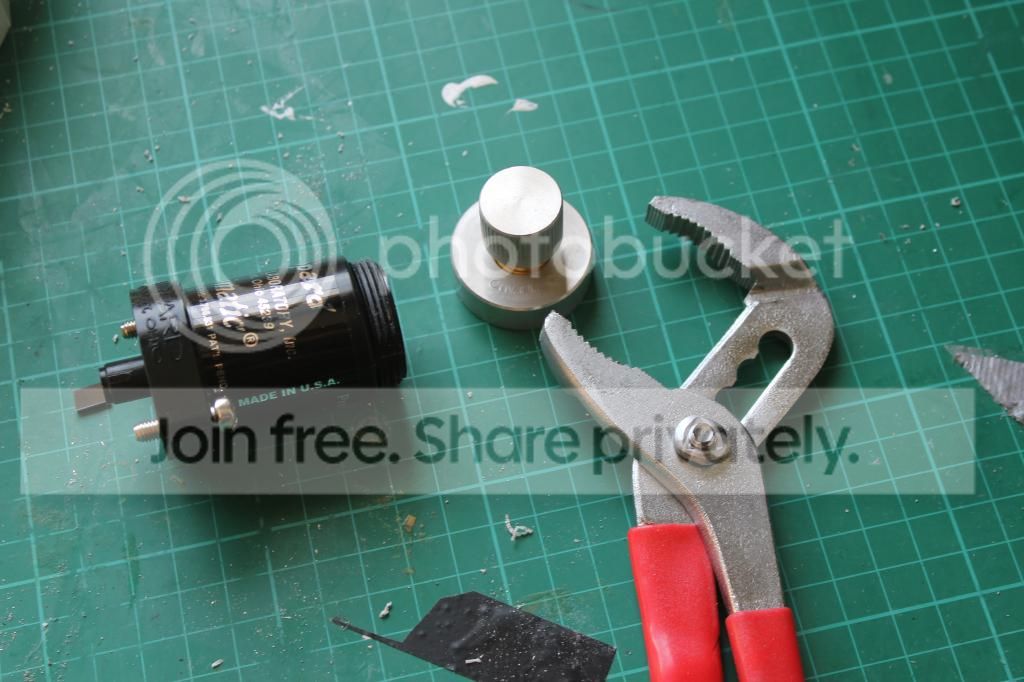
With some tender love, and few twists, the top comes off. Do use a softening between the tool and the Clippard, so as to save the nice finnish.
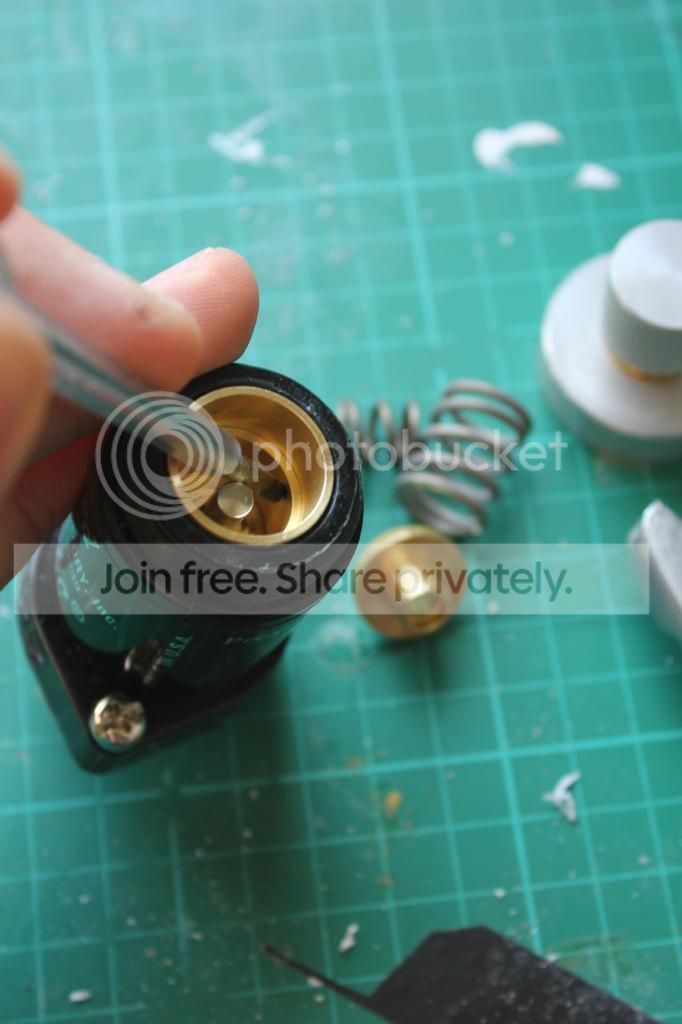
There are small holes inside, which you can use to take the bits out, using a small screwdriver. They come out really easy.
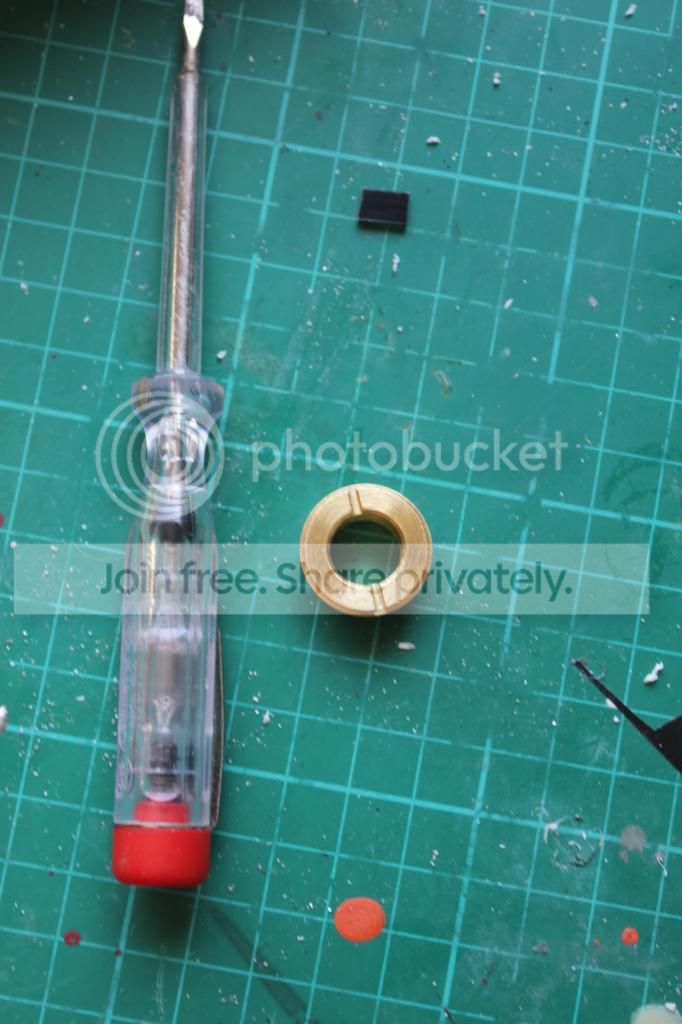
Some parts you need to screw out, but that should be no trouble.
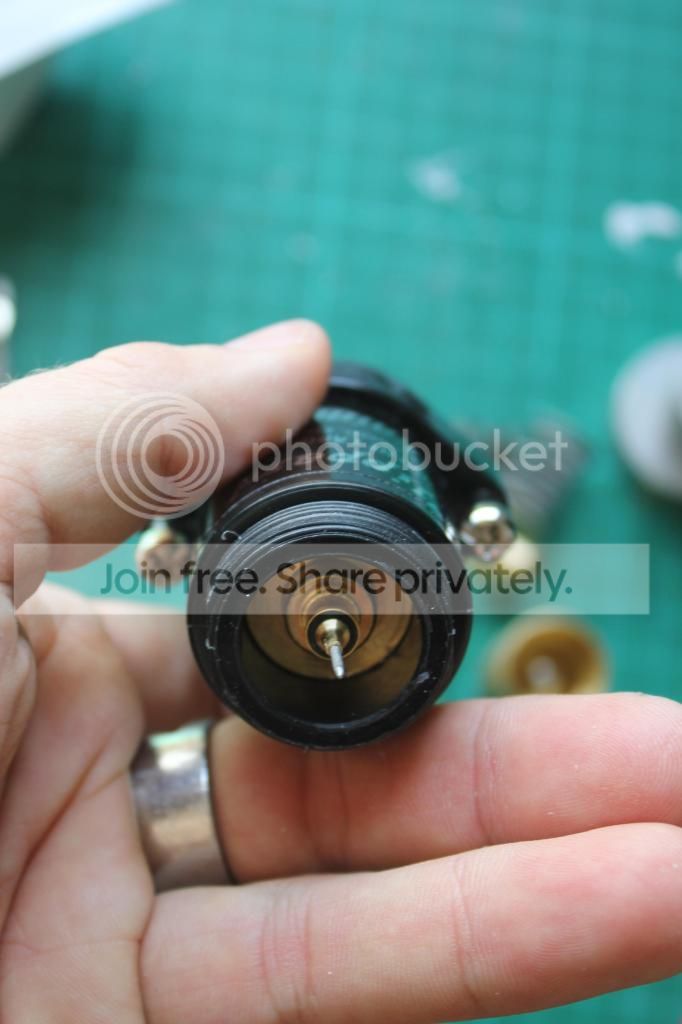
The rest of the stuff comes out by tapping the Clippard on the table, they are held by friction alone. Then you can yank them out with hands.
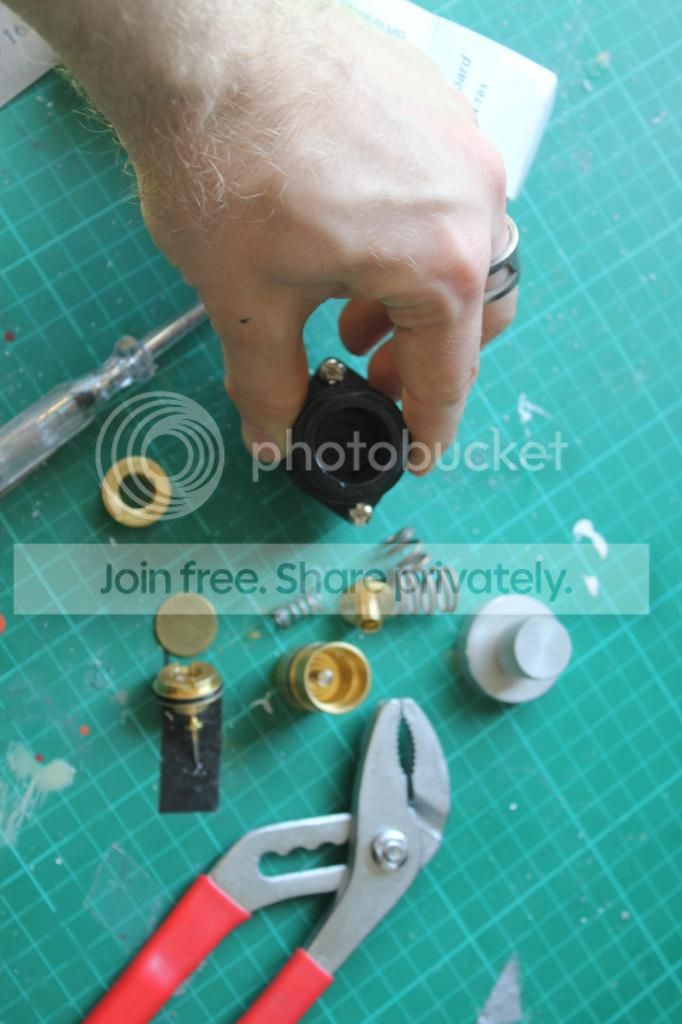
So many parts come out from the Clippard… Might take a while to put everything back inside, and get the valve working again…
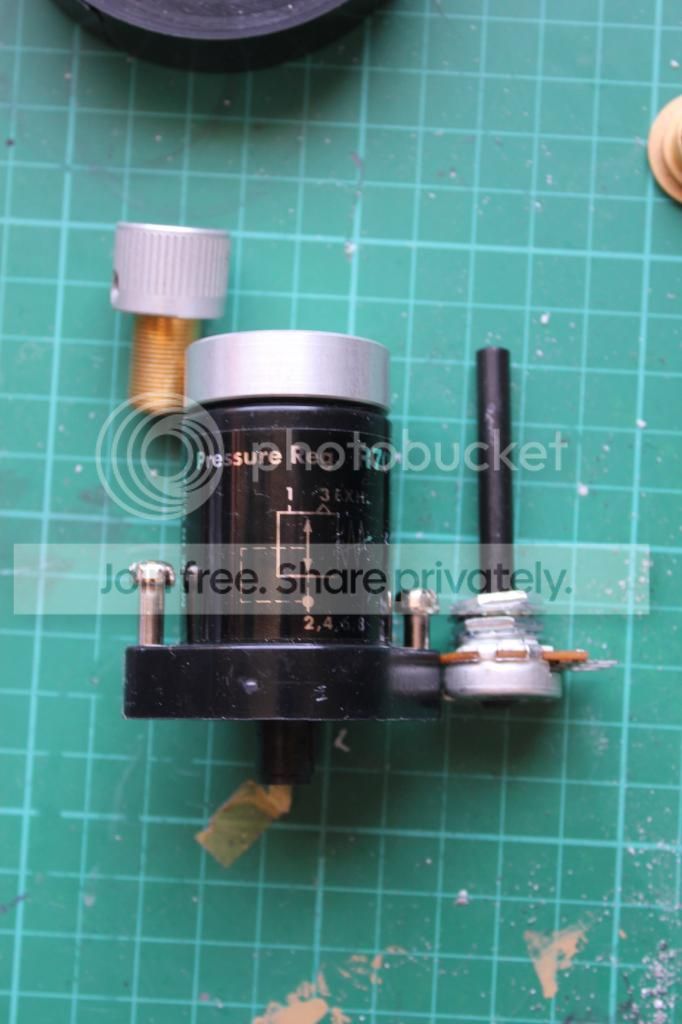
Still that is not the issue here. Crank out the potentiometer you bought for this. Mine is 100 Ohm Potentiometer, I used the same in the resin Clippard, and with the GBFans soundboard, it worked out nicely.
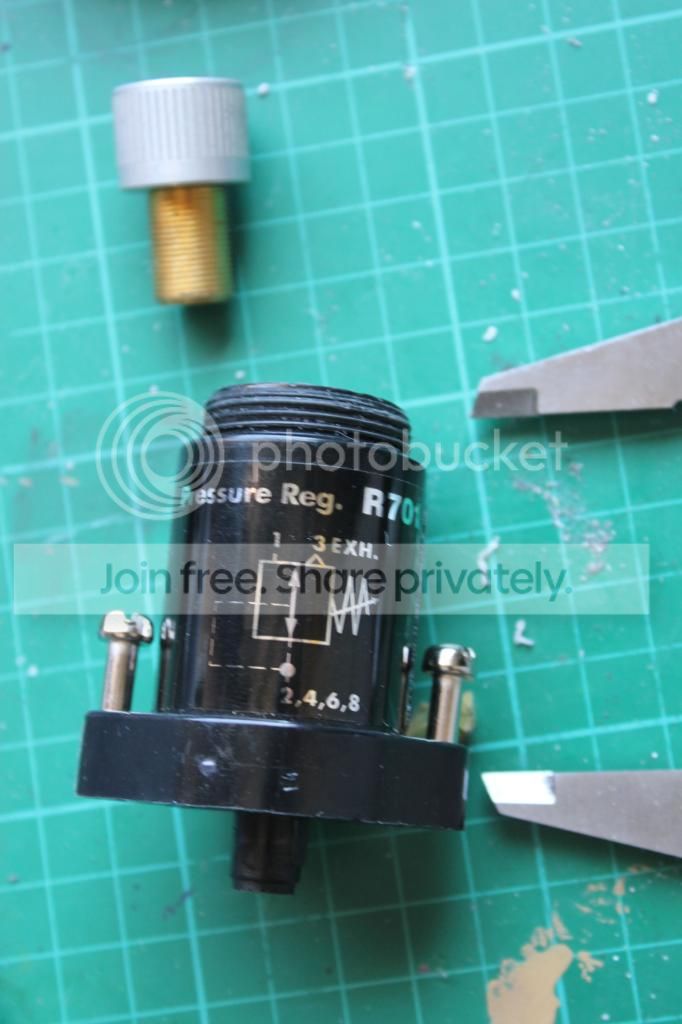
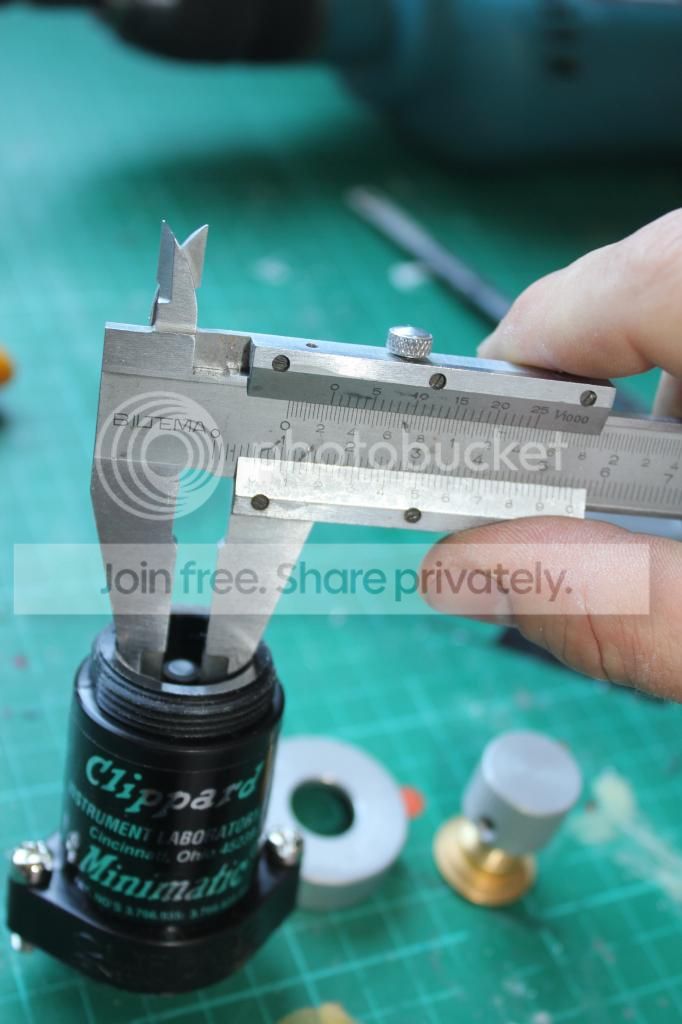
By using a caliper, I measured how deep the Clippard is.
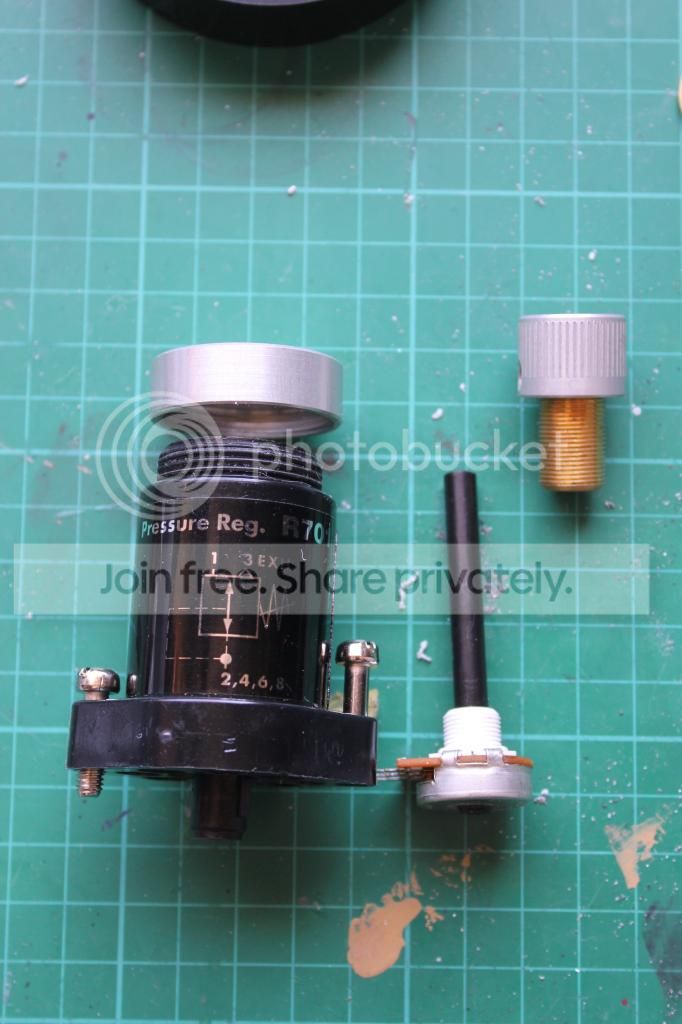
Found out that there is enough room to attach the potentiometer on the bottom, using the attachment screws that came with the potentiometer. Now, that is nice…
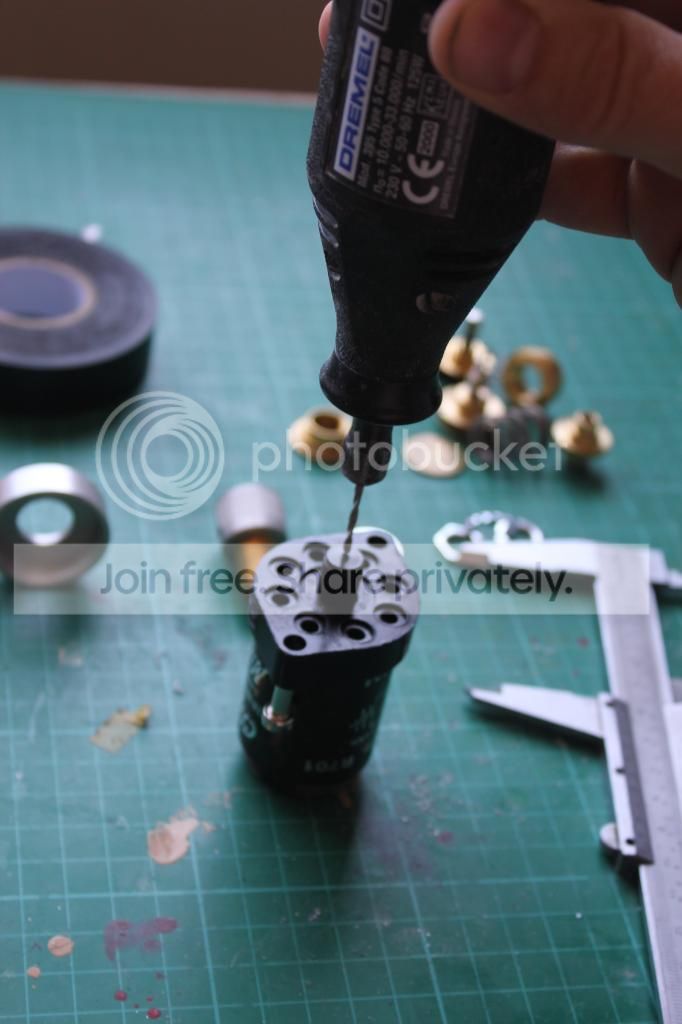
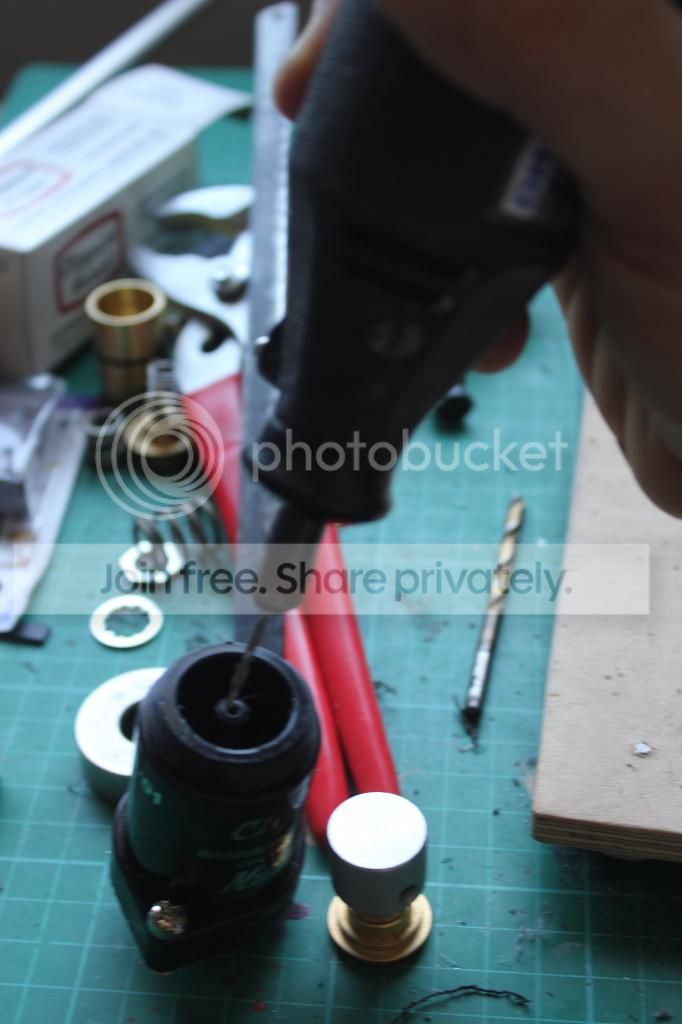
So, by taking out my trusty Dremel, I drilled a center hole through the bottom stem.
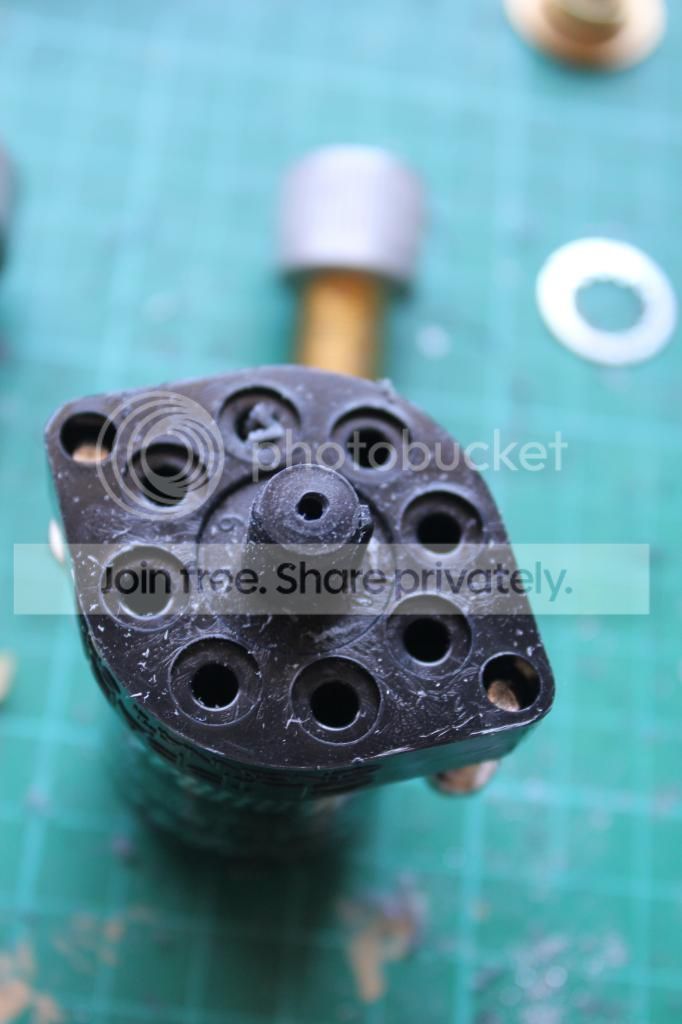
Take your time, this one needs to go in the center, for the allingment of the parts later on.

Light in the end of the tunnel…
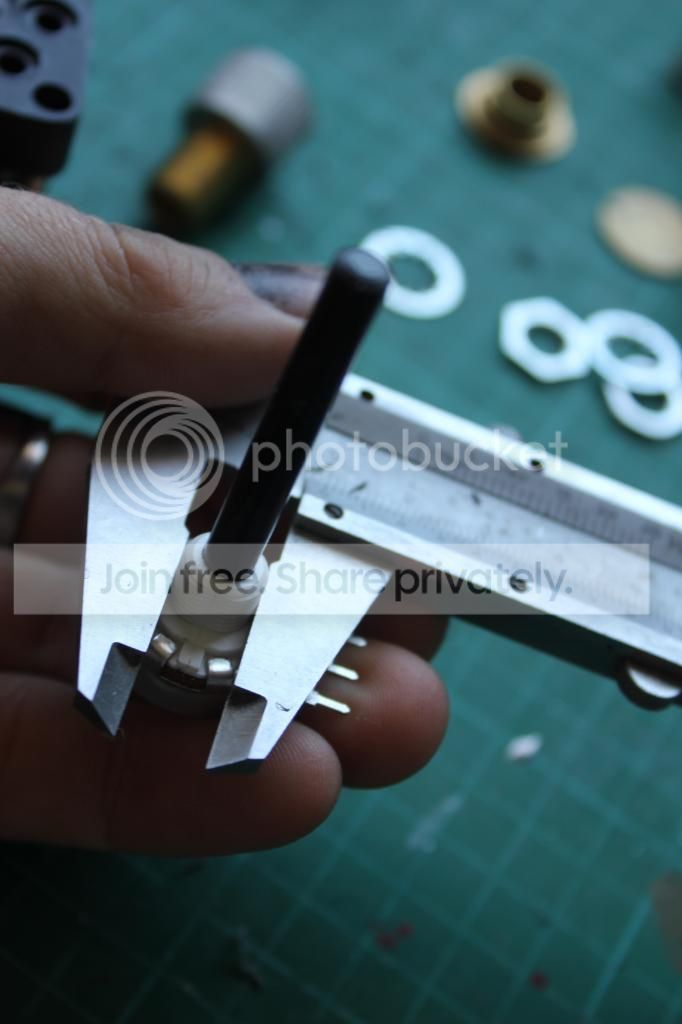
Next measure out the outer measurement of the treads on the potentiometer. Mine was 10mm.
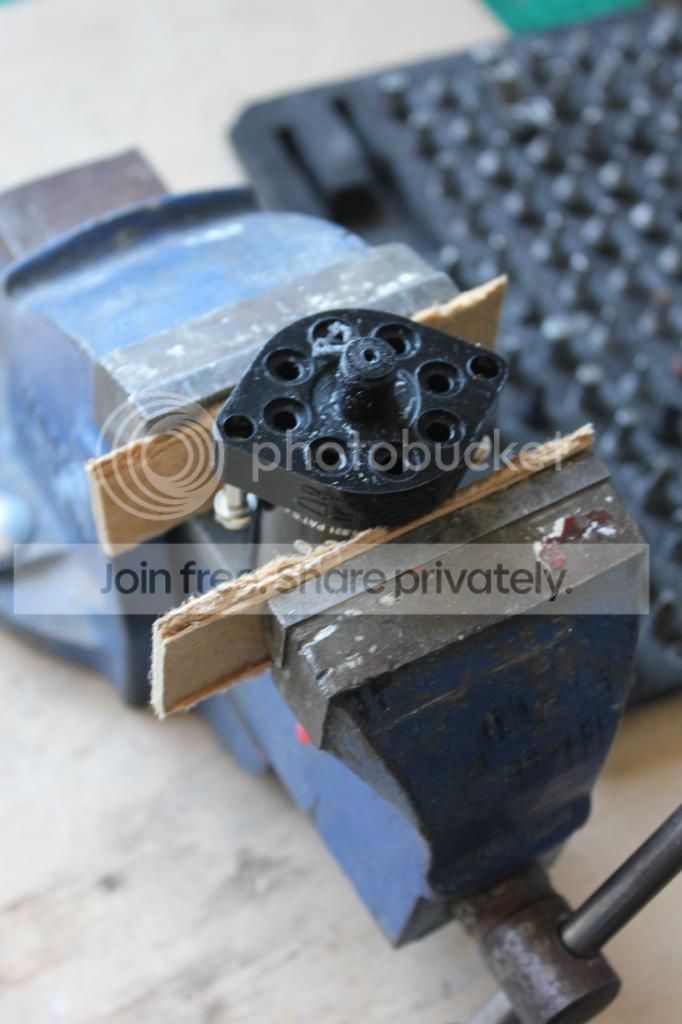
Put the Clippard in to a vice, and do remember to put somethign between the grips and the Clippard. You do not want to mess up with the real labels here..
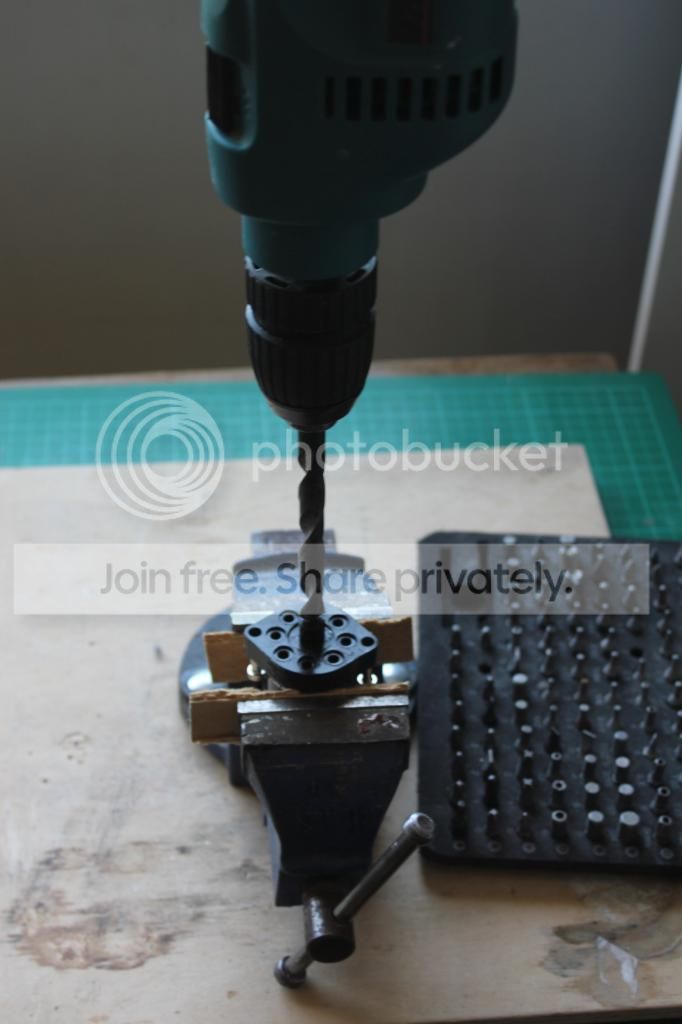
Originally I went straight to the drilling, but the stem is giving a bit trouble…
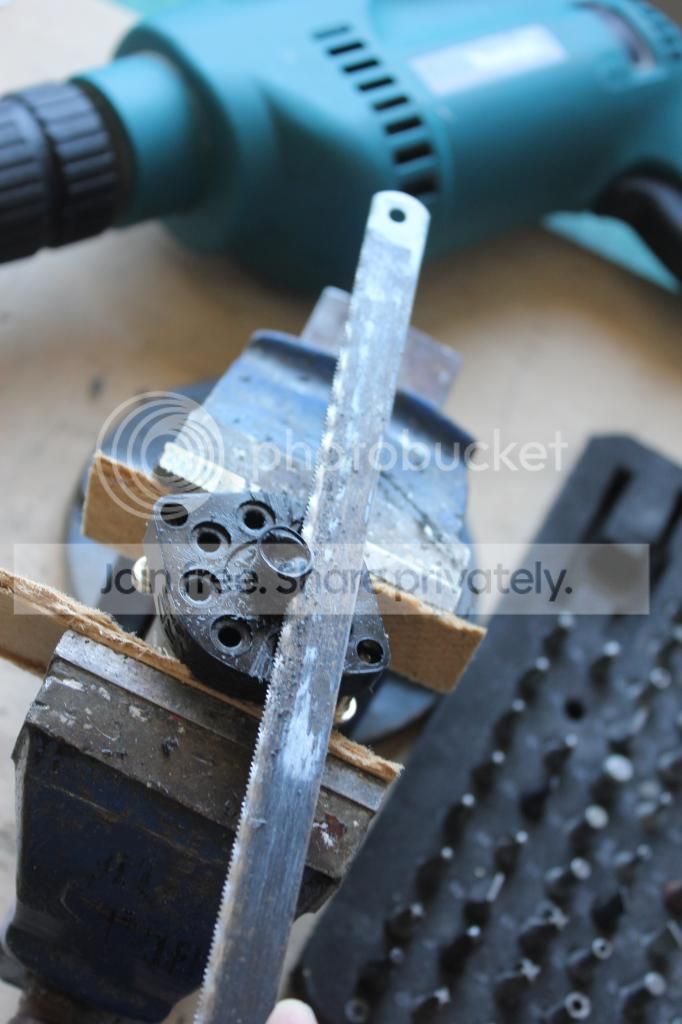
I cut out the stem, by using a small saw blade. It matters little, if you do this, as the pilot hole drilled before is going through the bottom of the Clippard.

THEN take the drill, and drill the hole though the bottom. I messed up a bit, do take your time and get the hole centered, in the first go..
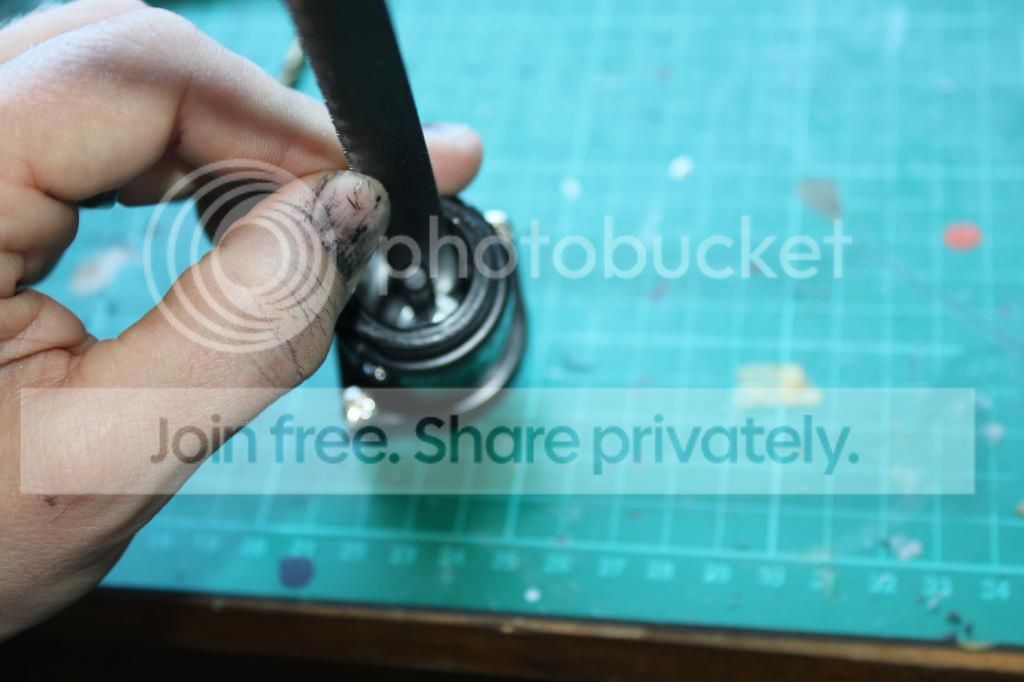
By using the saw blade, I carefully worked the nut on the potentiometer. After it takes on the treads, you can turn the bottom of the potentiometer to get it really thight.
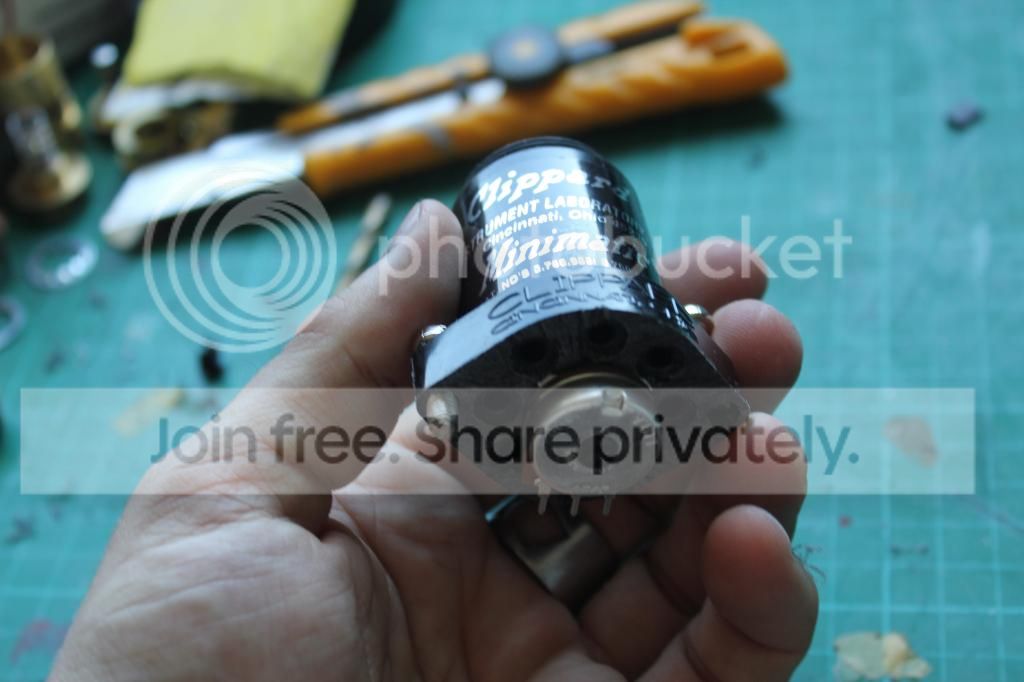
Remember to turn it thight, and allign the potentiometer so that the correct side of the Clippard label goes on top.
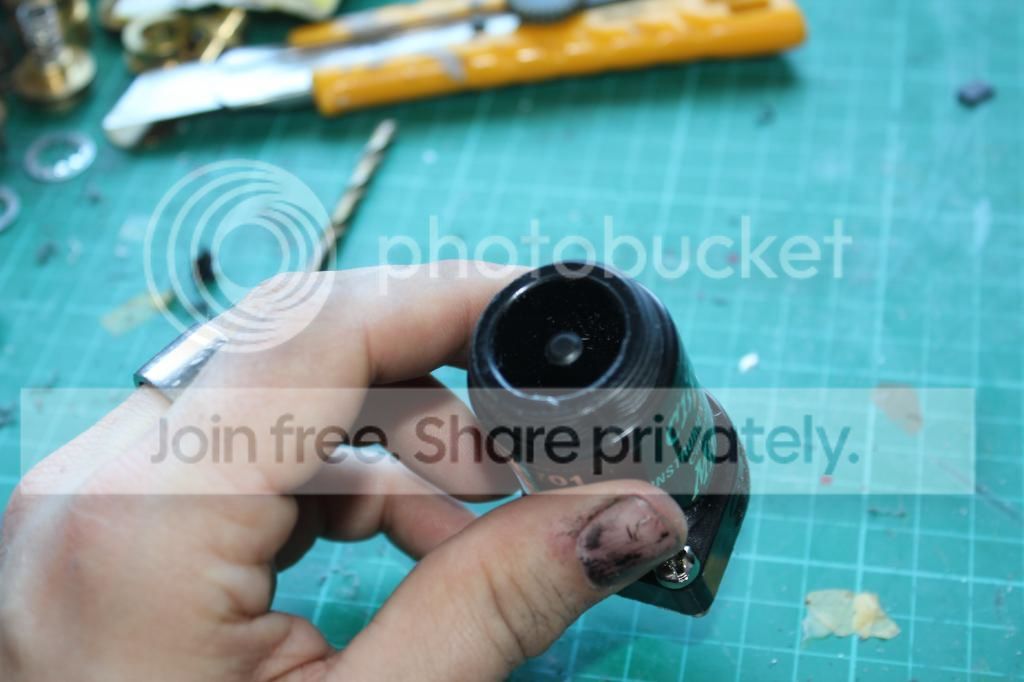
The shaft of the potentiometer does not come out from the Clippard body. We need something to work this out..
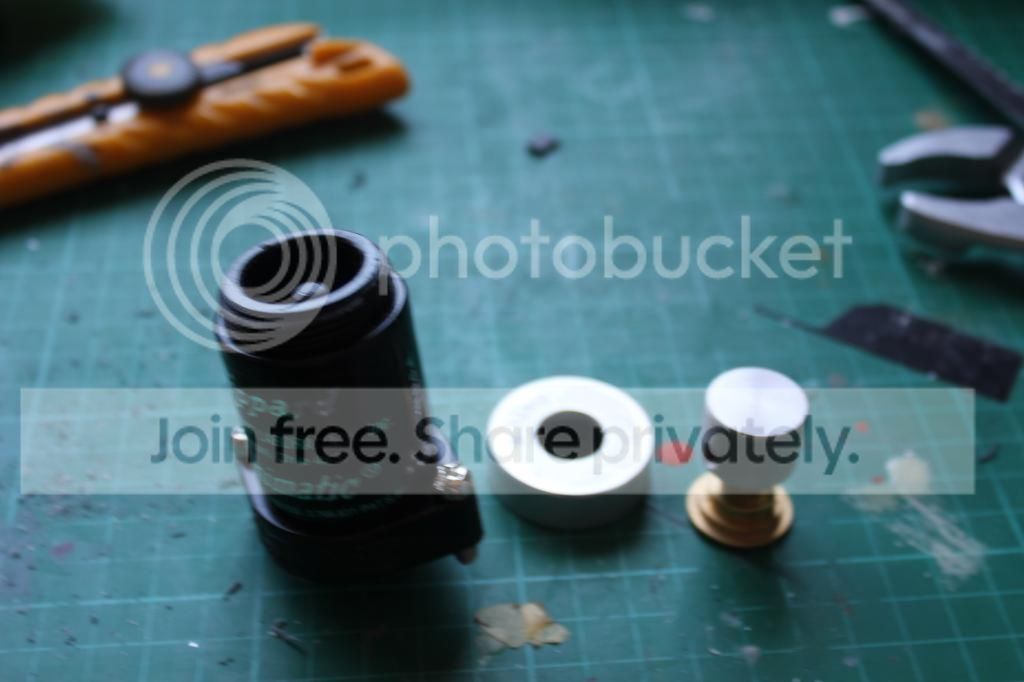
These are the parts you have been fiddling with for some time now. Put them aside for a while.
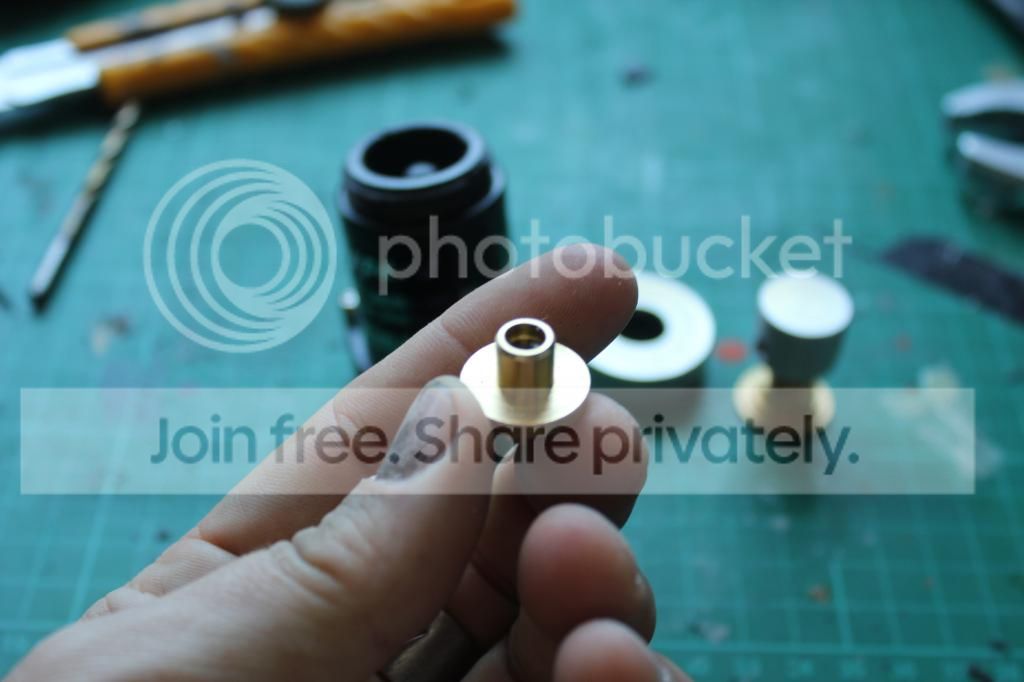
From the leftovers, search for this part.
Measure out the thickness of your potentiometer shaft. Mine was 6mm.
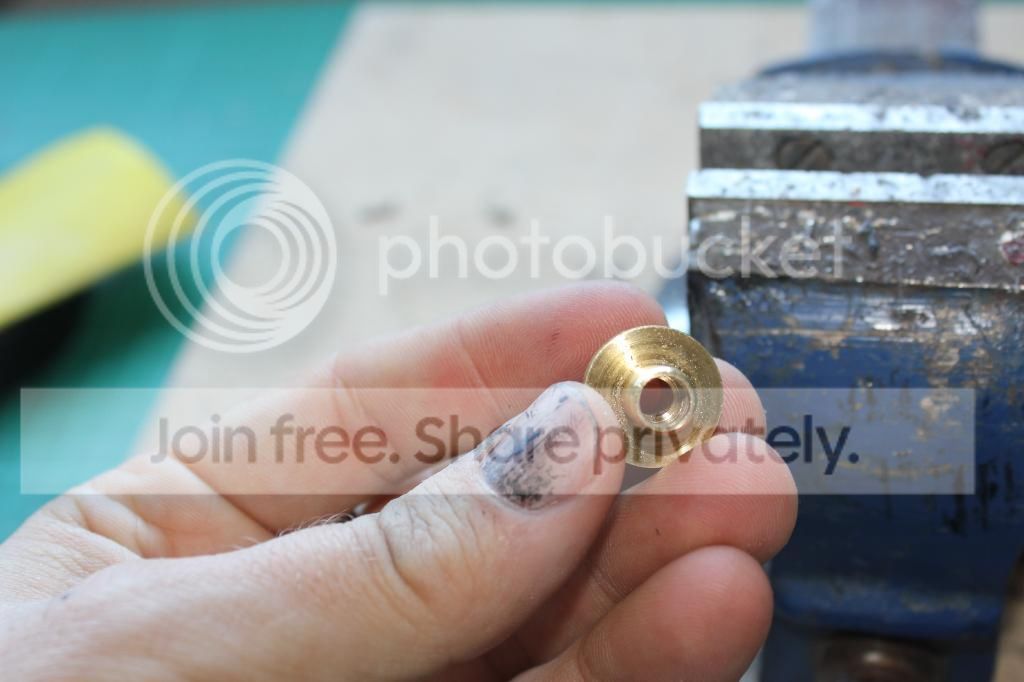
Using a 6mm drill, I carefully and slowly drilled the inside of the bit. Do not go through, just about to the ‘ring’ is enough. And do use a vice on this..
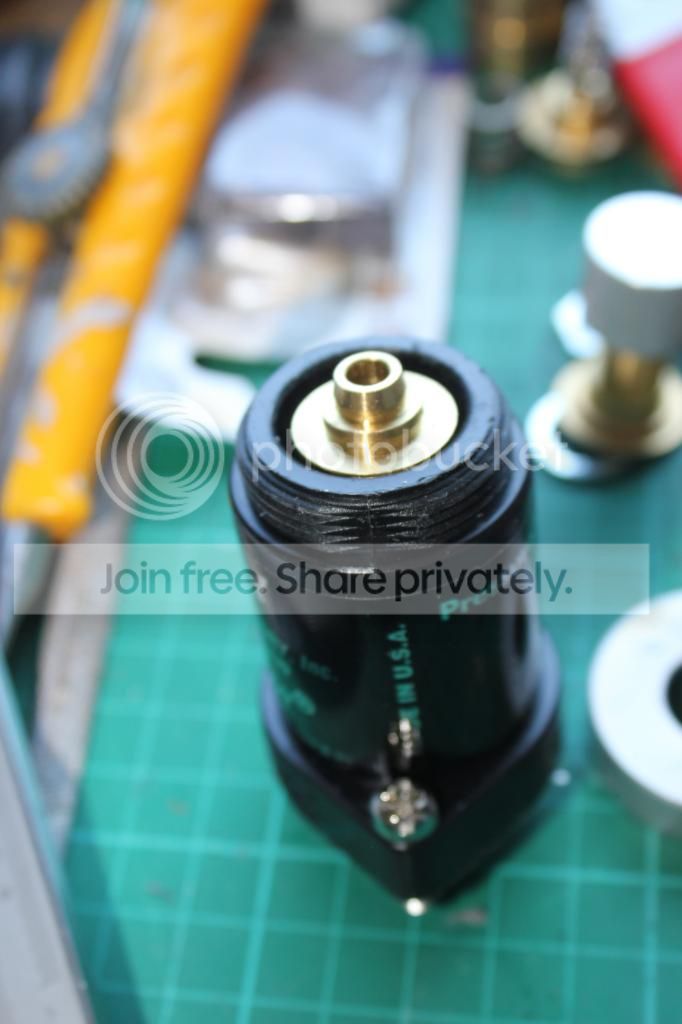
You will want the bit going in about 1-2 mm, on the inside if the Clippard body. You might need to take out the potentiometer, if the shaft is too long. I was lucky, and did not need to file down the shaft.
I drilled out a hole in the center of the potentiometer shaft, so that a screw might enlargen the shaft next to the brass. Do not know if this is necessary, a drip of superglue should do the trick as well..
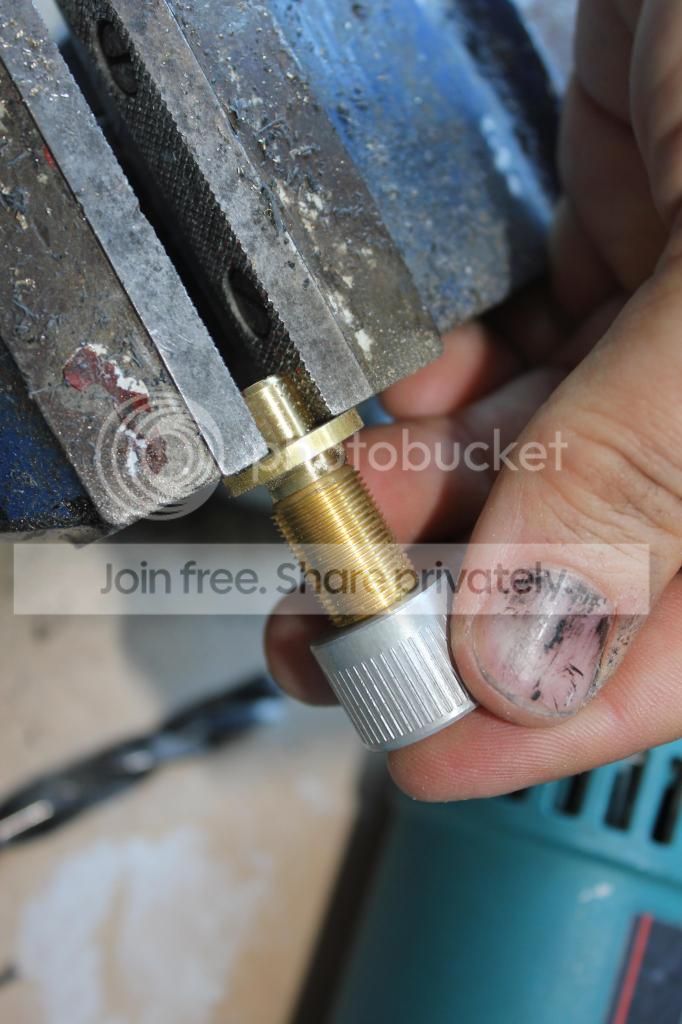
Now that the potentiometer goes in the bit we are using, there is a trouble on the Clippard valve screw bit… It needs to go deeper, for better grip..
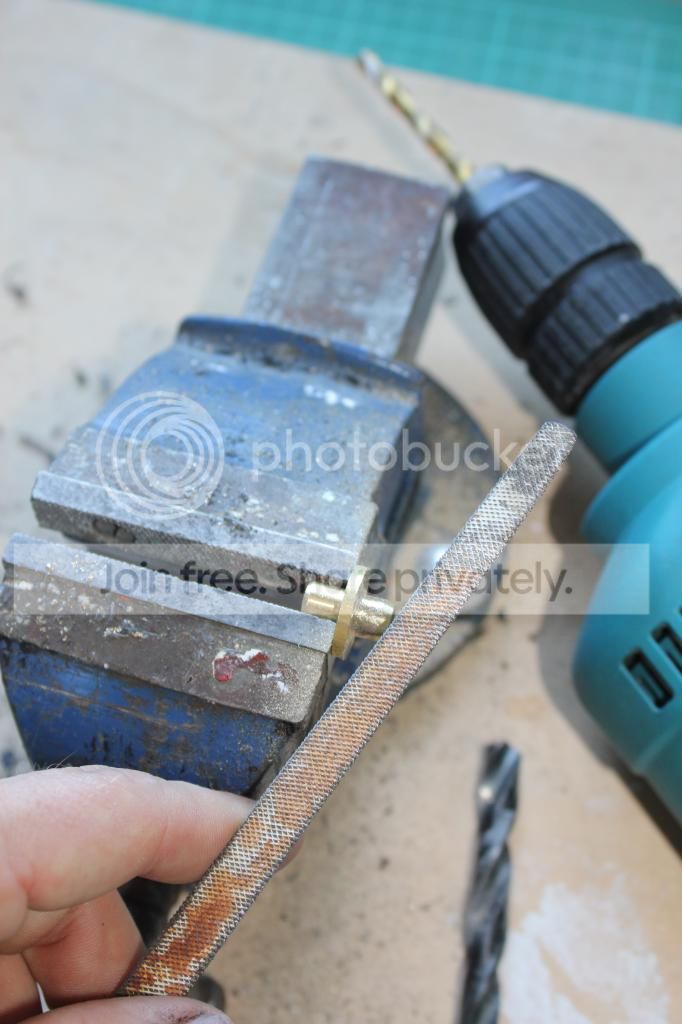
Put the bit in to the vice, now you do not need to be safe with the grips biting, these parts are not showing. File the brass so that the valva top fits in. You do not need afully clean finnish here, a bit rough might help as we are securing the top wiht superglue later on..
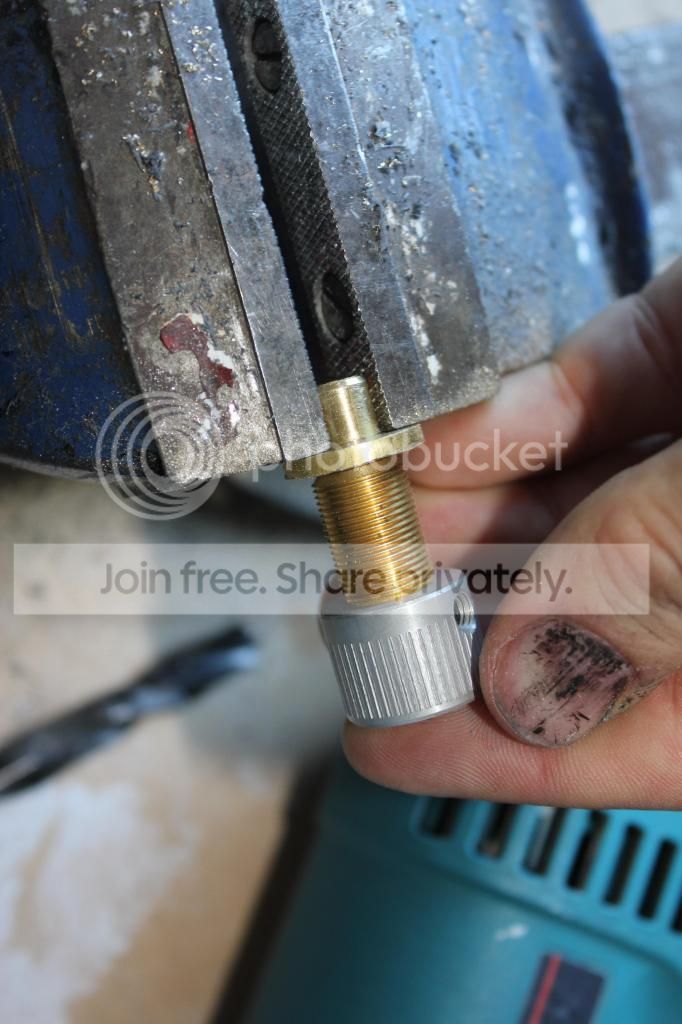
The top should have a snug fit. Still not wanting to rely on superglue alone…
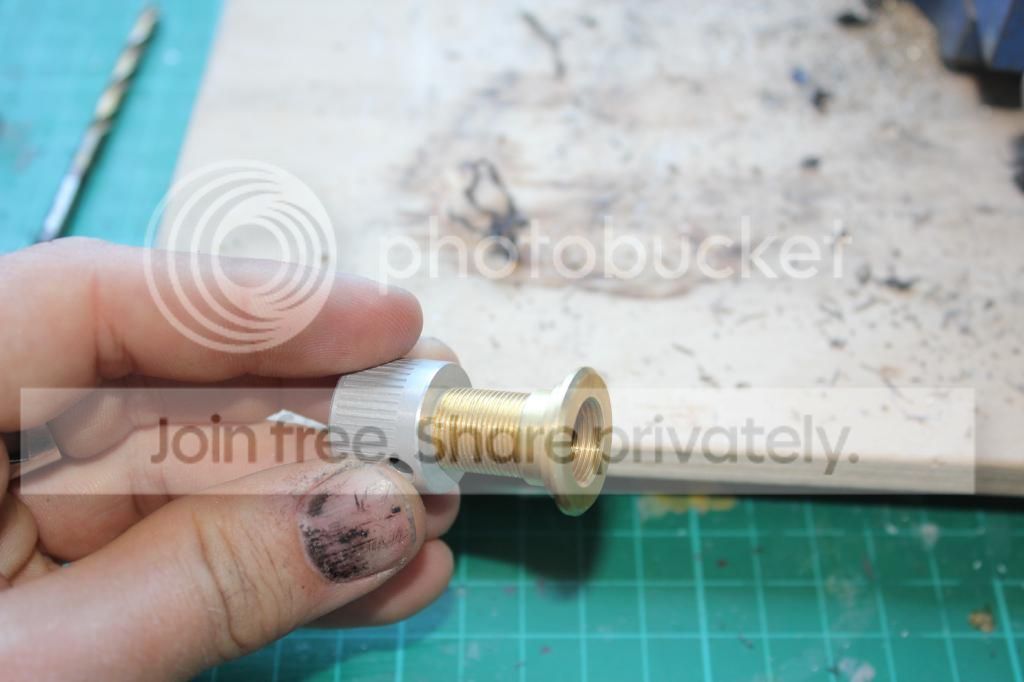
Take the ring that connects the valve top to the cap. and screw it all the way in.
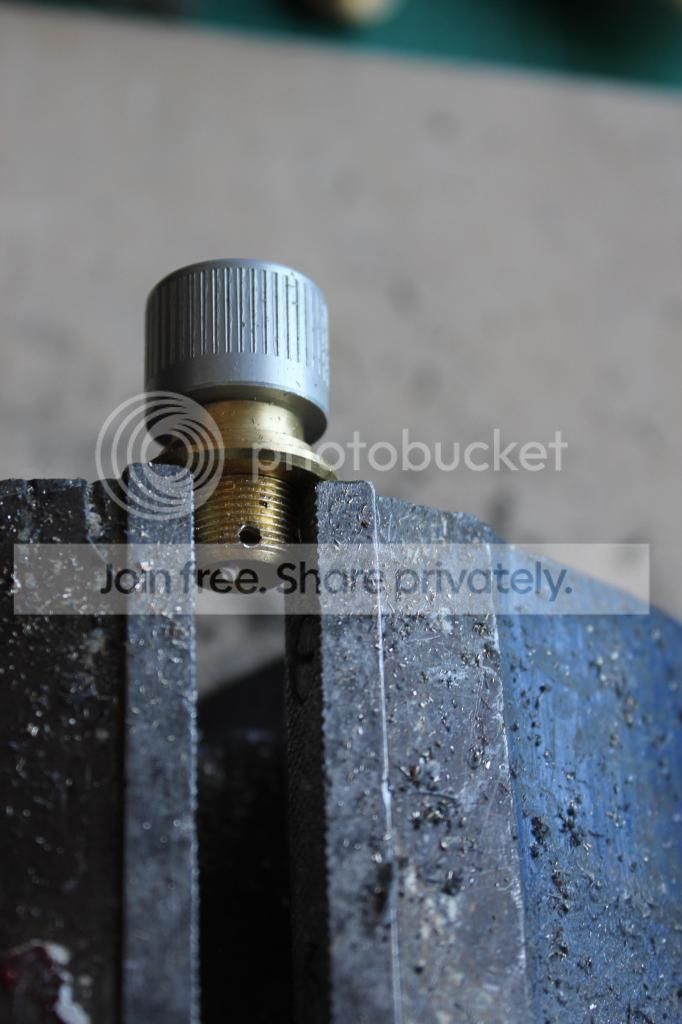
I am going to pin mine, so I drilled a small hole in the bottom of the valve top.
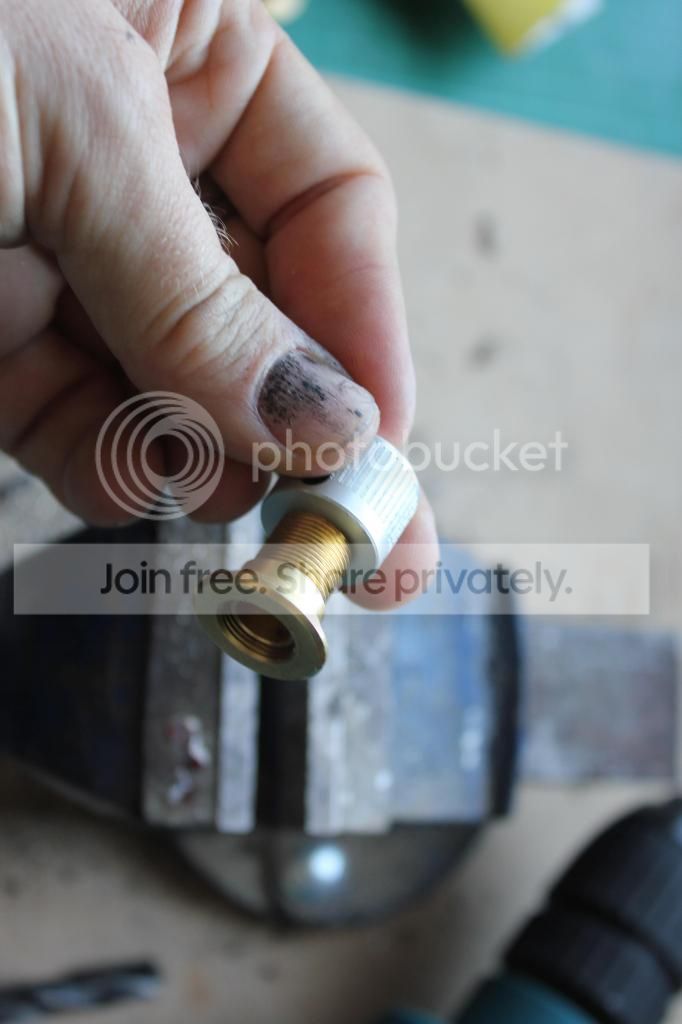
After drilling you can use the ring to clear out the treads from cutout thrash, just work out the ring in and out, few times and the threads are clean again.
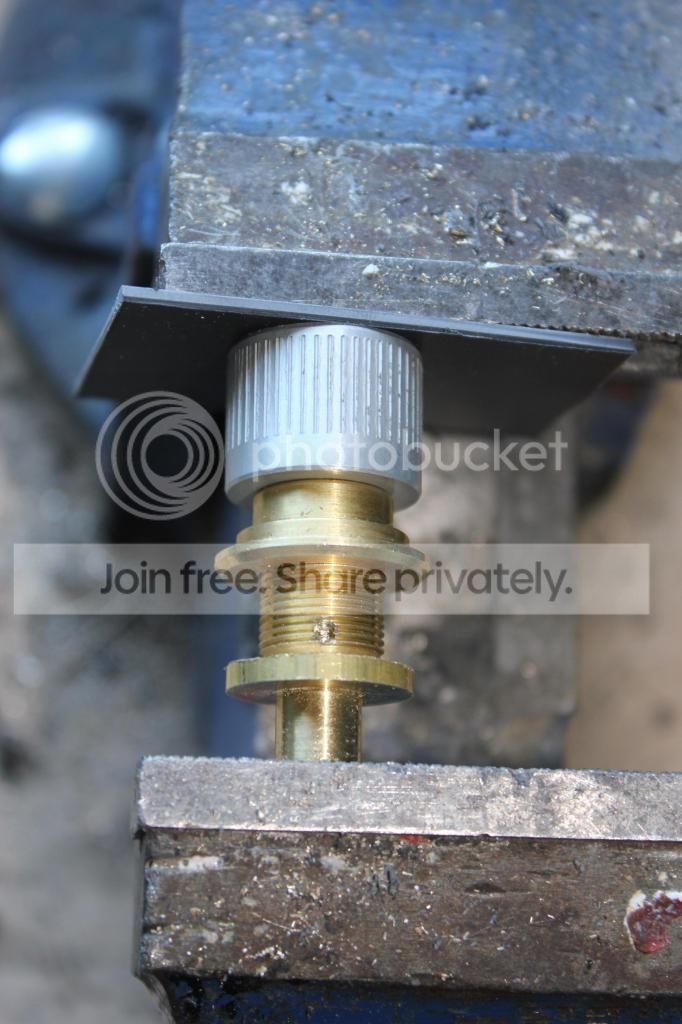
Put the attachment bit we worked on in the top, and secure it on the vice.
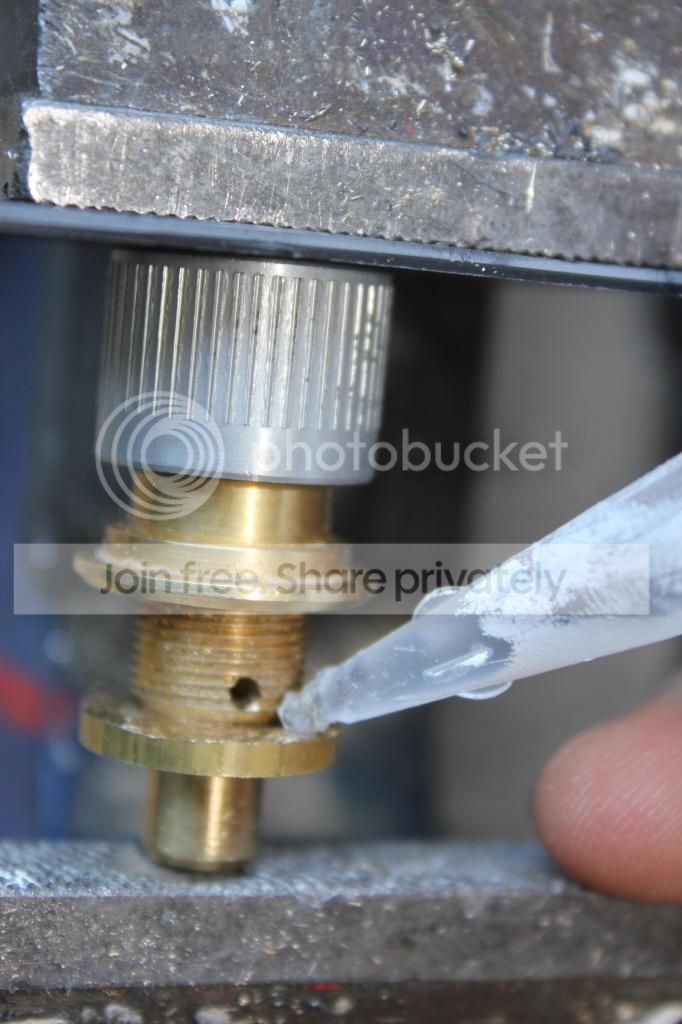
After drilling out a hole in the attachment part, put in a dab of superglue in there, just to secure the parts in place, so you can turn the parts around, and drill the hole on the otherside wihtout messing up the allingnments..
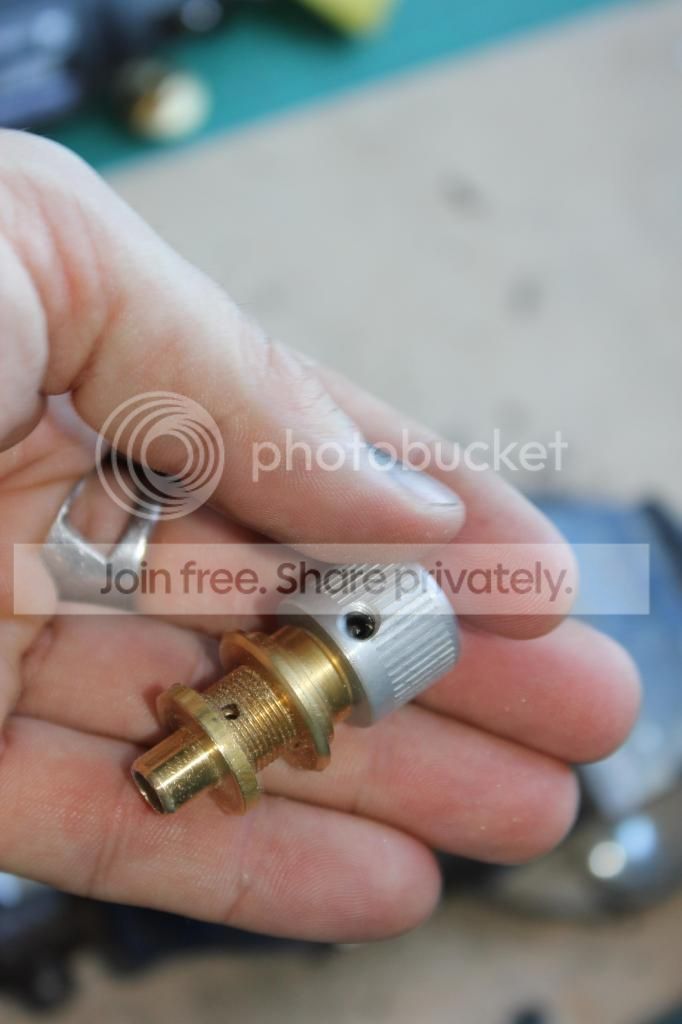
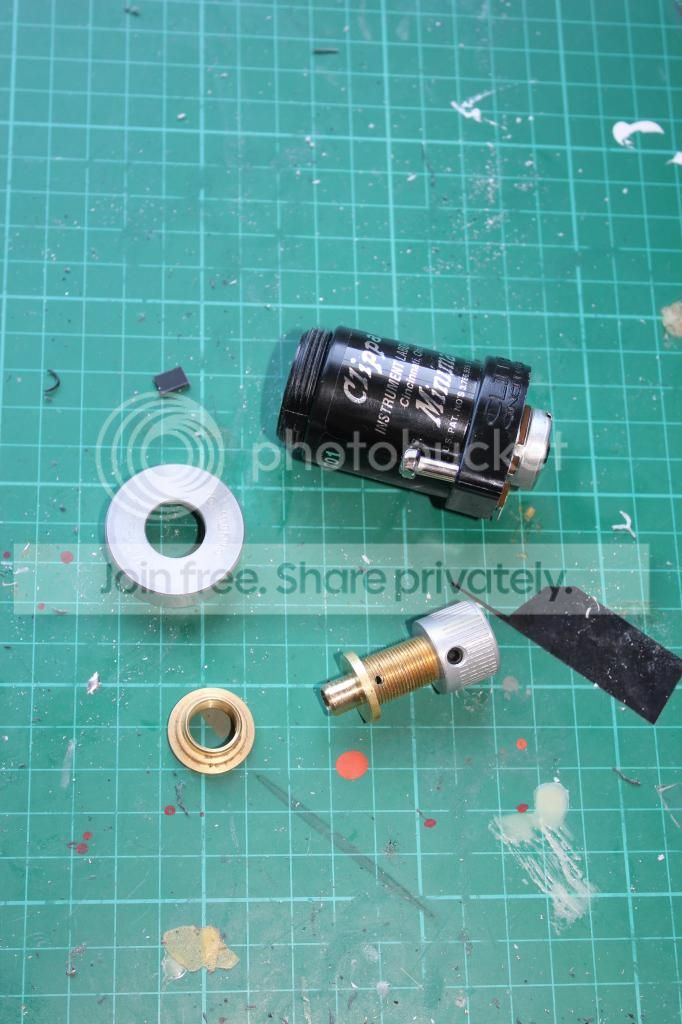
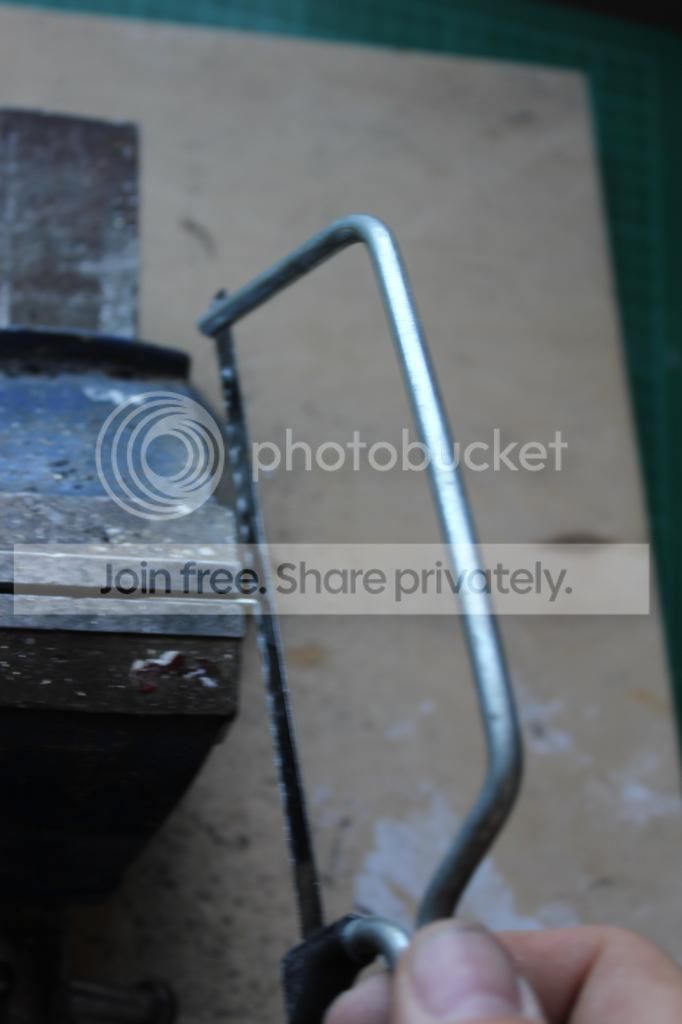
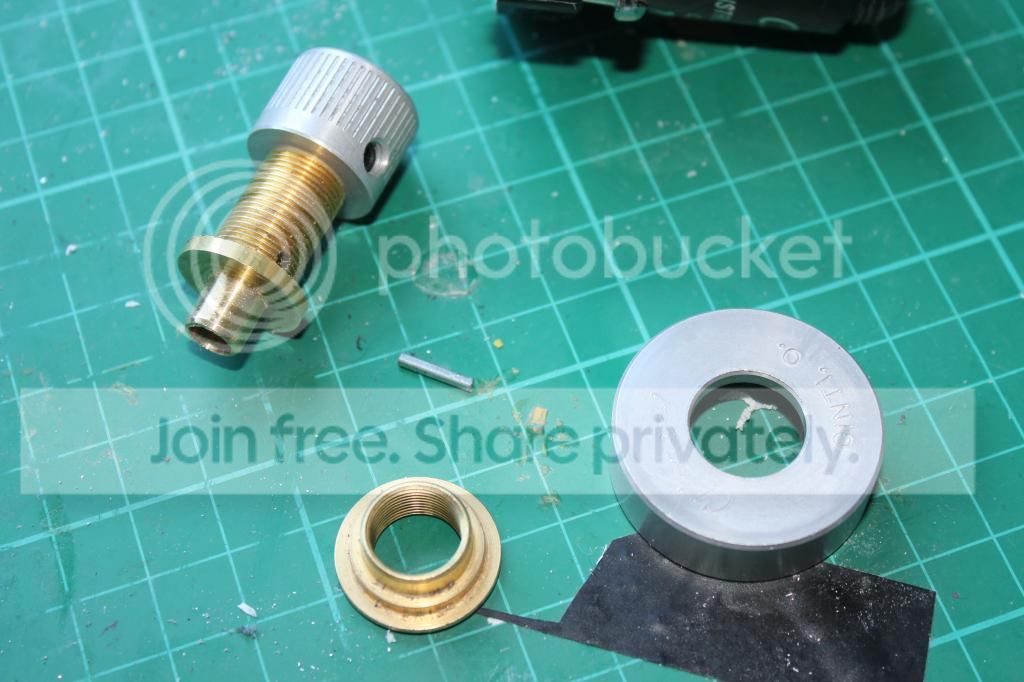
After the pin is cut, you can put the Clippard together.
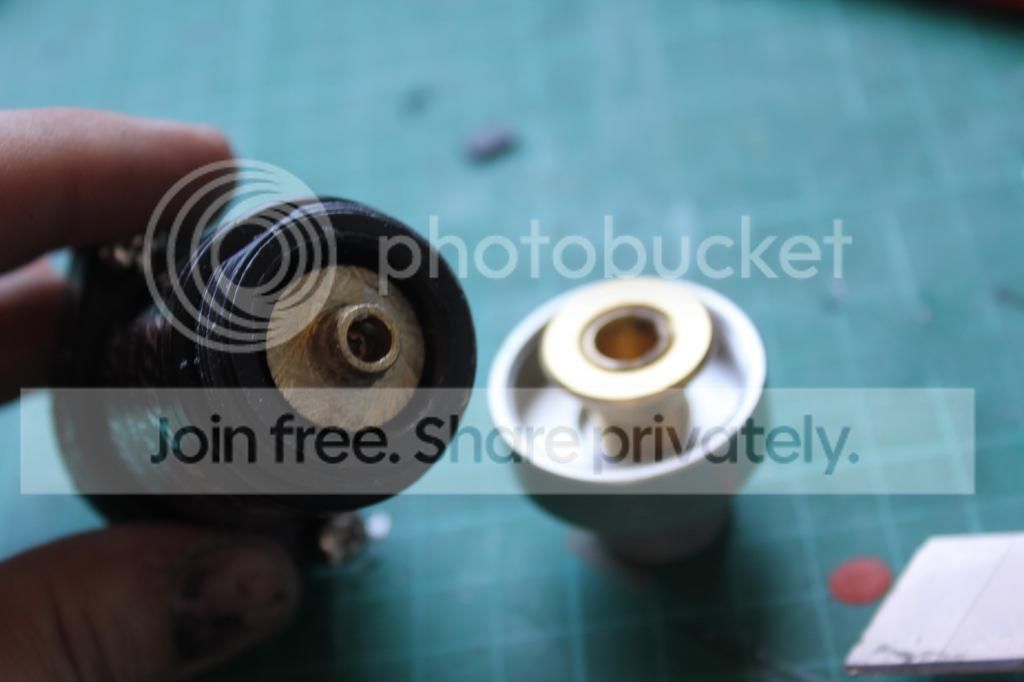
Put the pin you did, in before gluing the parts toghether, otherwise you will not be able to put it there as the holes you drilled are lover than the Clippard body.
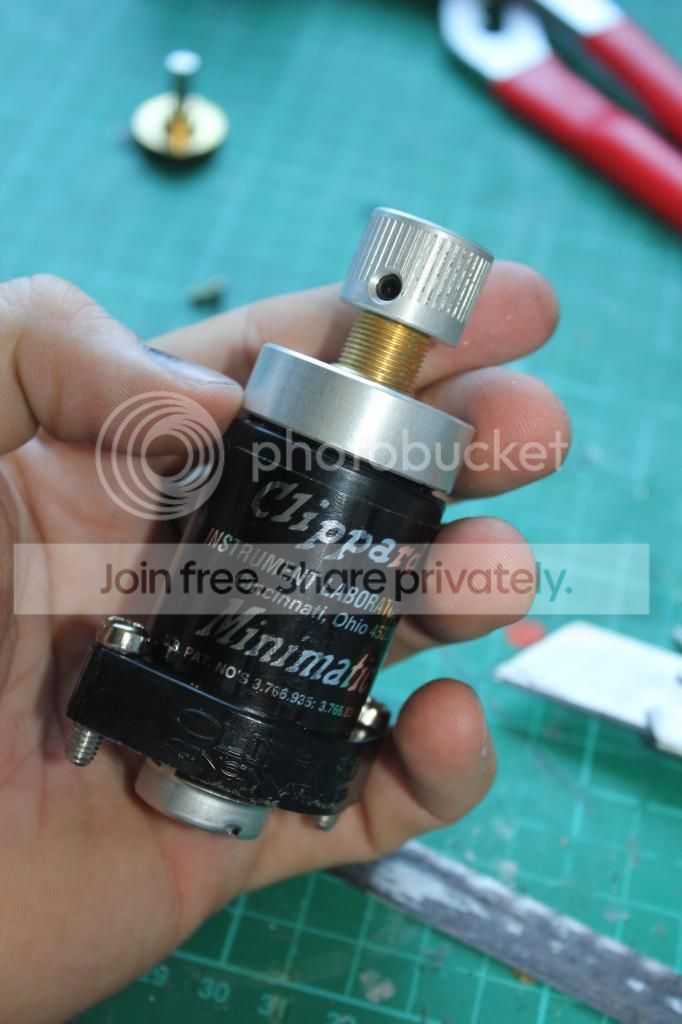
You should be now a having aworking potentiometer inside a real Clippard Valve.
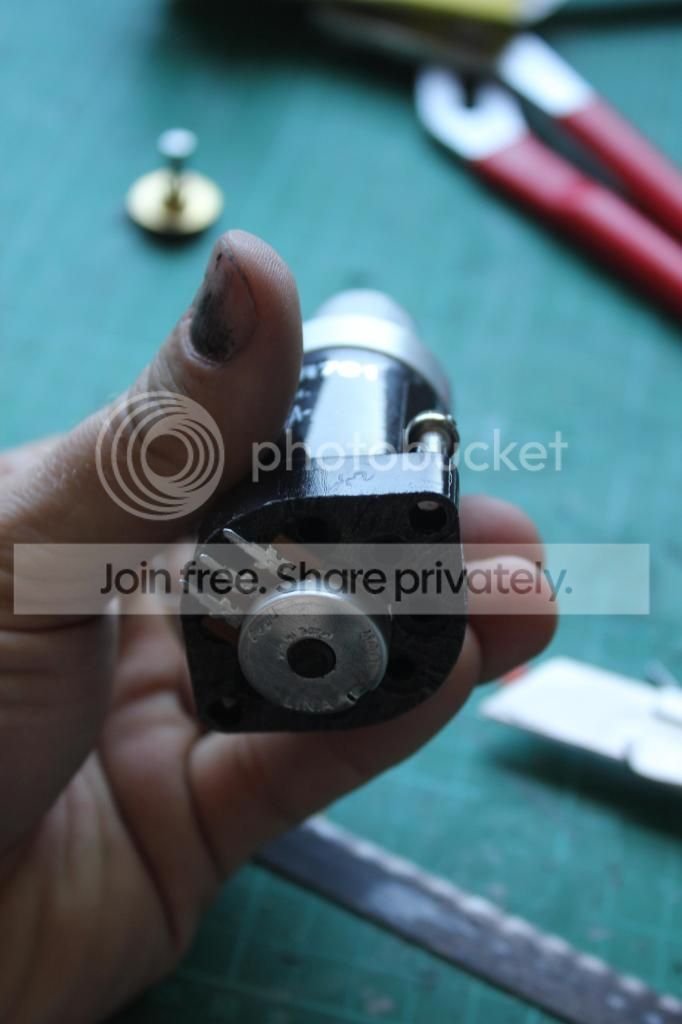
You still need to cut out a bit of the proton gun body, so that the bottom of the potentiometer can go smoothly in with the Clippard. I did this with the resin version as well, but I do not know if there are gunbodies with elevtronics that would prevent this.
Th potentiometer WOULD fit inside the Clippard, totally, wiht few wires only coming out from it. But that would require more work on the bottom, dremelling the bottom so that the potentiometer sinks in. In my proton gun, where this real volume control Clippard is going, I do not need this.
