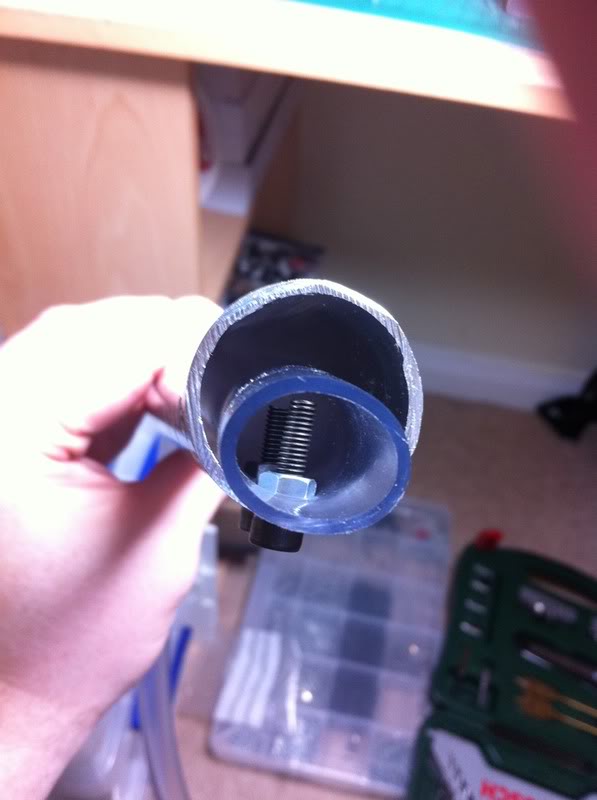
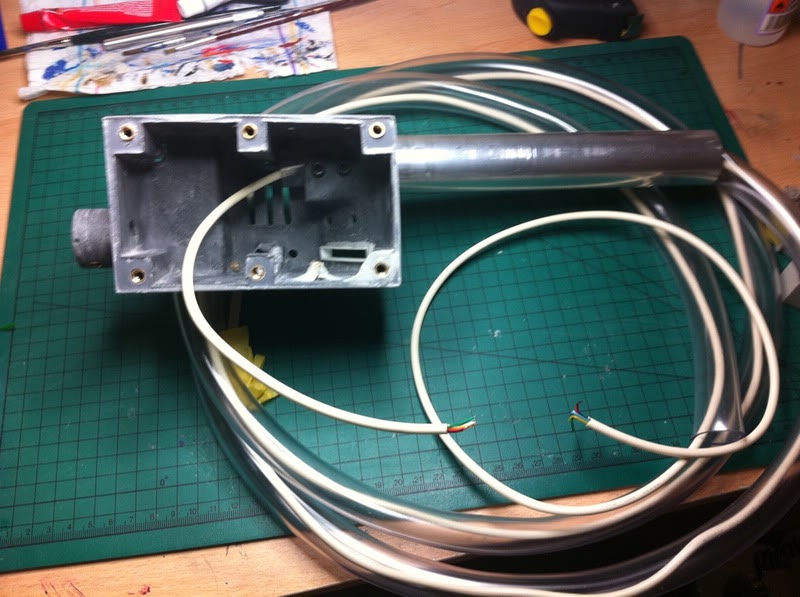
Well it has been a long time coming (23 years in fact), but I am finally going to be joining the ‘Proton Pack Owners Club’. With the arrival of DL4567’s shell this week and Proptronix’s light kit, it was about time to get started.
My current list of pieces I have are:
- DL4567 Shell + Mobo
- ALICE pack
- Crix Sound Kit
- Speakers
- Proptronix Light Kit
- Resin Shock Mount
- Authentic Gray Crank Knob
- Ion Arm cap
- SMC Elbows
- SMC Straights
- Nick-a-tron’s Gun Kit
- AJ’s Ribbon Cable (on order).
As you can see I still need to purchase several other bits (mostly just the Pack greebles) so I have decided to start on the wand build. Having re-read Cheex’s, Stroudy’s and Warrenzo’s builds and browsed GBFans for the best part of a week I feel I am ready.
Oh and lastly I would like to thank everybody for their in-depth builds (especially Cheex), you have all been a great help getting here!
On with the show…
Day 1:
First thing I did was to tape the baseplate to the body and drill out the posts to insert the erm.. inserts! I am still yet to add some putty for the 6th insert.


During this process I was using my drill alot as a screwdriver to save my sanity whilst I was constantly adding and removing the M5 bolts. It was this that caused my first major screw up. I went to remove one of the bolts that was tightened up not realising the drill was in forward mode. The bolt went further into the base plate causing a minor crack in the corner.  I may get this replaced with an aluminium plate at a later date.

I then proceeded to get the Heatsink attached. Nick’s new heatsink looks spot on and has the holes already marked out. I simply drilled them out with a 3mm drill bit and drilled the holes on the gun box. I have used M3 socket head bolts to attach this to the body.


I then opened up the vent holes. You can also see in the pictures that I have drilled a 3mm hole ready for the stream adjuster knob.


Next up I opened a (slightly offset) hole to run the wires to the barrel.

After that was done, I moved onto attaching the Clippard valve. Marked out the holes and used a 4mm drill bit (ready for the M4 Cheese head bolts). I was planning on using an insert as a nut wouldn’t quite fit, however I later fitted this insert properly.


I then opened up the front handle hole a bit, this allowed me to dremel away at the post ready to fit a nut for the stream adjuster knob.

With that done I decided to call it quits and watch Piraha 3D (which was a terrible film).


Day 2:
Day 2 started with a bit more research on GBFans and perusing the Blu-Ray. This lead to an interesting discovery, it seems the plate for the rear instrument bar was never present in GB1 from what I could see.
I then started to work on attaching the rest of the greebles. First up was the tiny side knob. For this I will be using an M2 bolt.


I then quickly tidied up the hole in the handle.

Next up was the palm rest. First I marked it up and drilled a couple of 4mm holes, then I rather trickly drilled another two holes (well 3 actually) on the palm rest and inserted some M4 inserts. The extra hole was due to me accidently using the wrong drill bit.


I then mounted the other side knob again with an M3 bolt sunk in it.


With that done I proceeded to fix the last knob onto the wand. First I marked a hole onto the knob and then drilled a hole ready for the bolt. Throwers in the film appear to have this hole in them, although I’m not sure if I should fill it up or leave it as is. Anybody got any opinions on this?


Onto the side discs next, although I wasn’t entirely sure how to attach these. After giving it some thought I decided to use some trusty M4 inserts. Although because of the thickness I had to insert these into the thicker part. To do that I first used a tiny drill bit and made a hole in each of the fake allen bolts. With that hole I was then able to see where to drill the hole for the insert. I then slowly drilled out the hole being cautious not to drill right through. I still need to get some smaller bolts for these, as well as add a pin to the centre so they don’t spin around, making them offset.


Looking back at the attachment for the Clippard I wasn’t too happy with it. I decided to drill the hole bigger and add an insert. Whilst doing that I also added the inserts for the Clippard valves/green hose like Dr Cheex used in his build.


With that done (and not much more to do) I called it quits for the day.


I’m really happy with how this going so far, although I wish I could drill straighter holes!
I have a couple of questions at the moment:
- Does the hole in the knob next to the Clippard look really bad?
- Should I fill it in (leaving the bolt inside) or leave it as it is?
- Should I go with PVC or Aluminium handles?