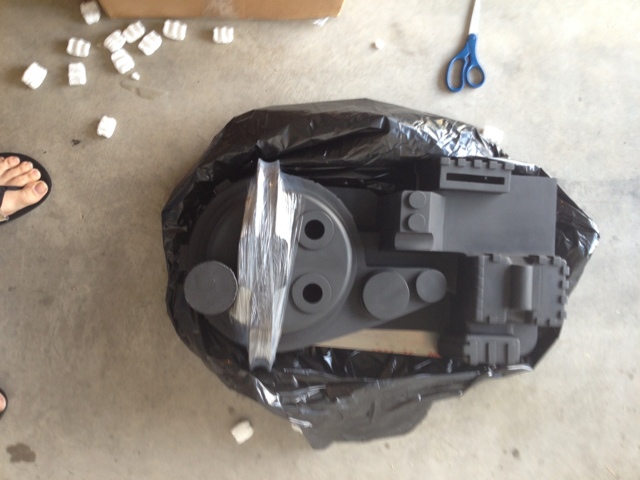
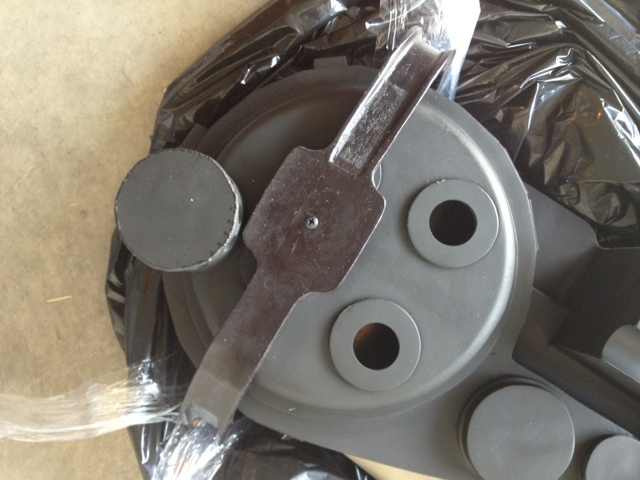
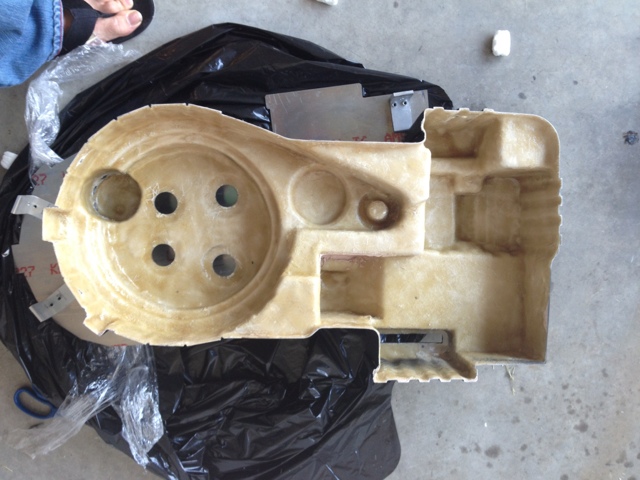
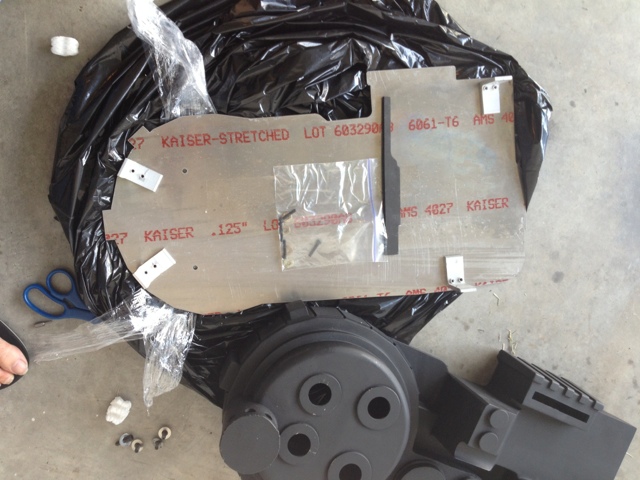
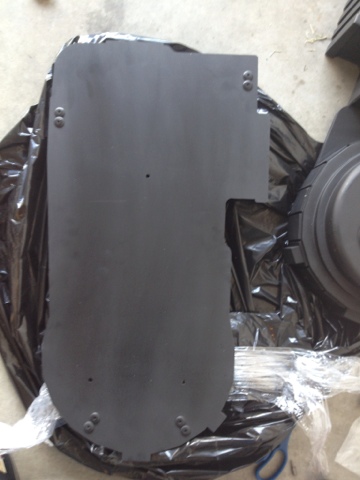
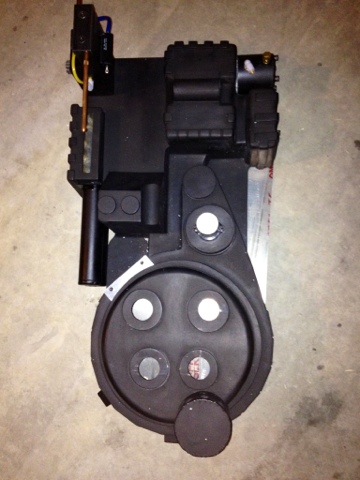
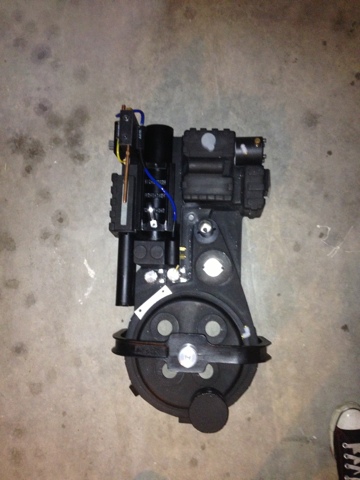
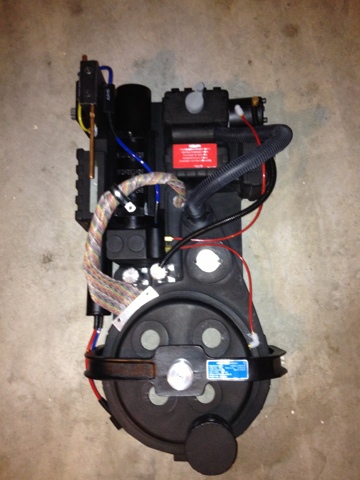
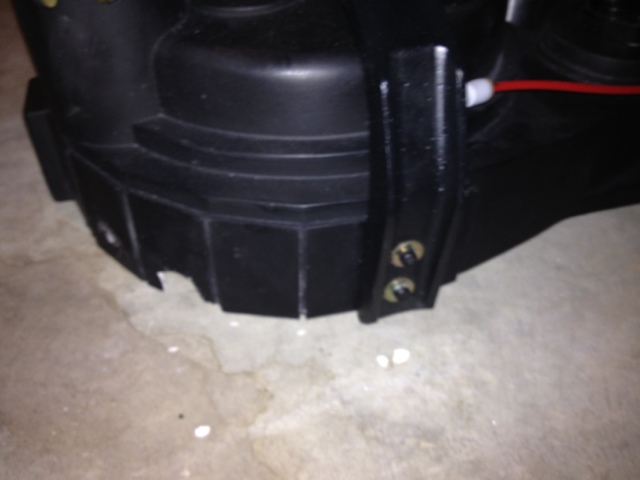
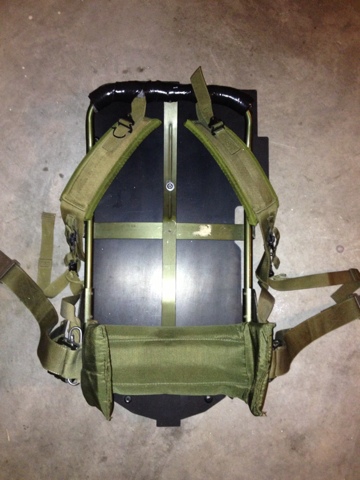
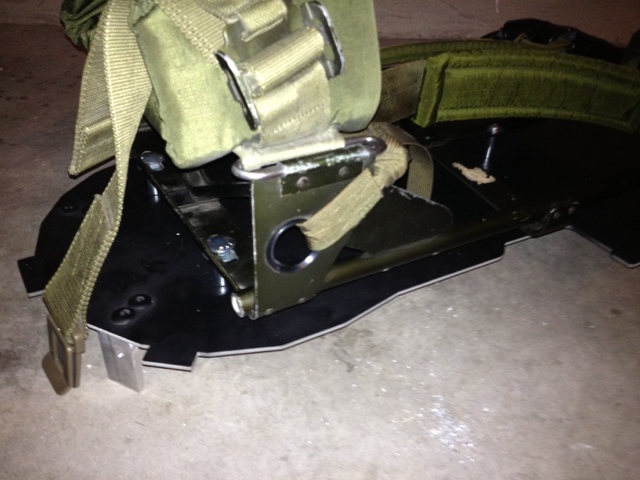
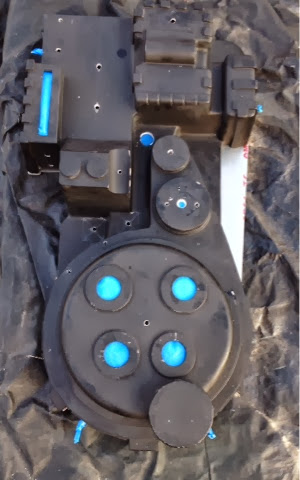
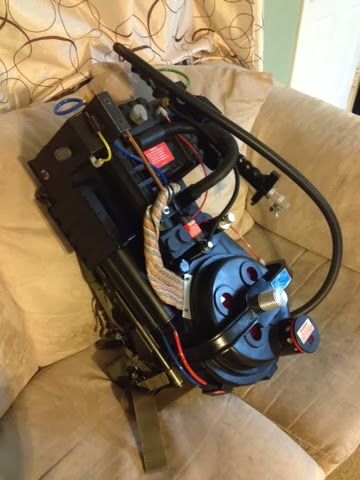
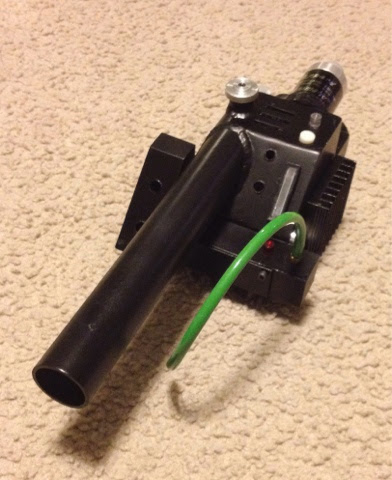
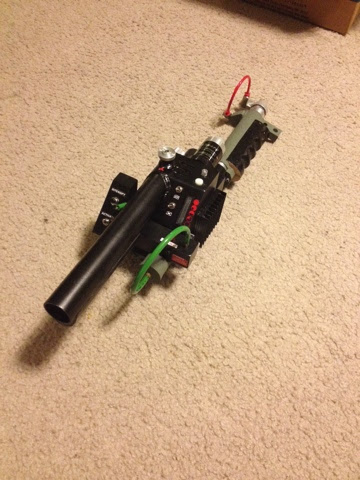
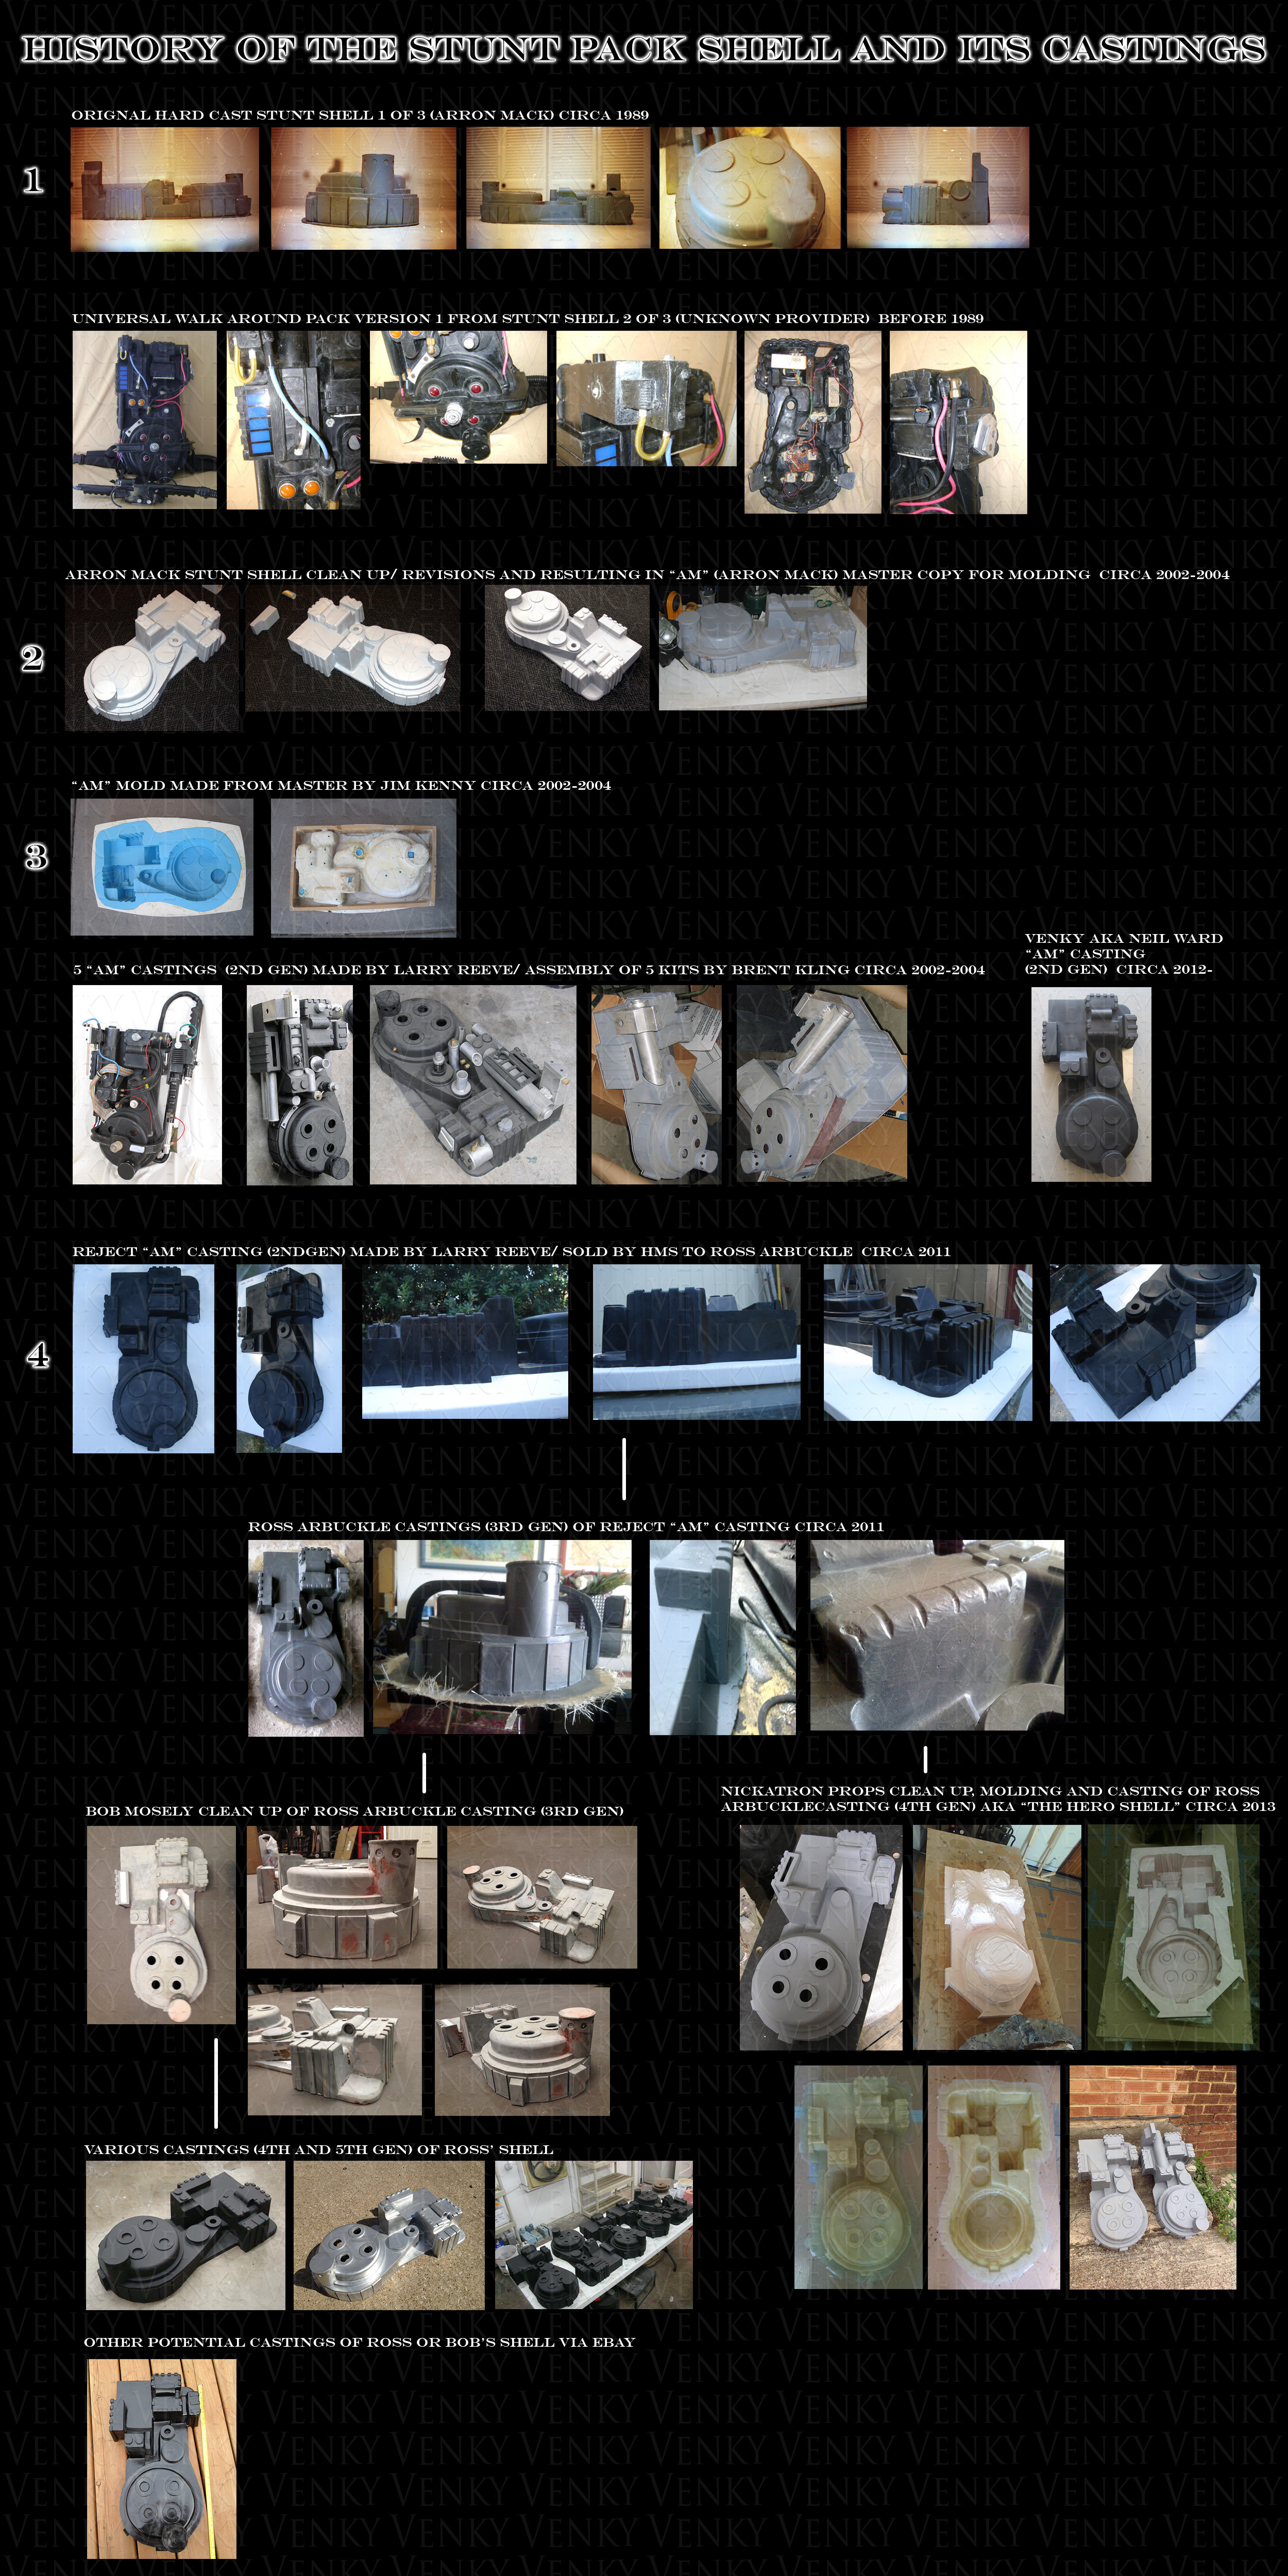
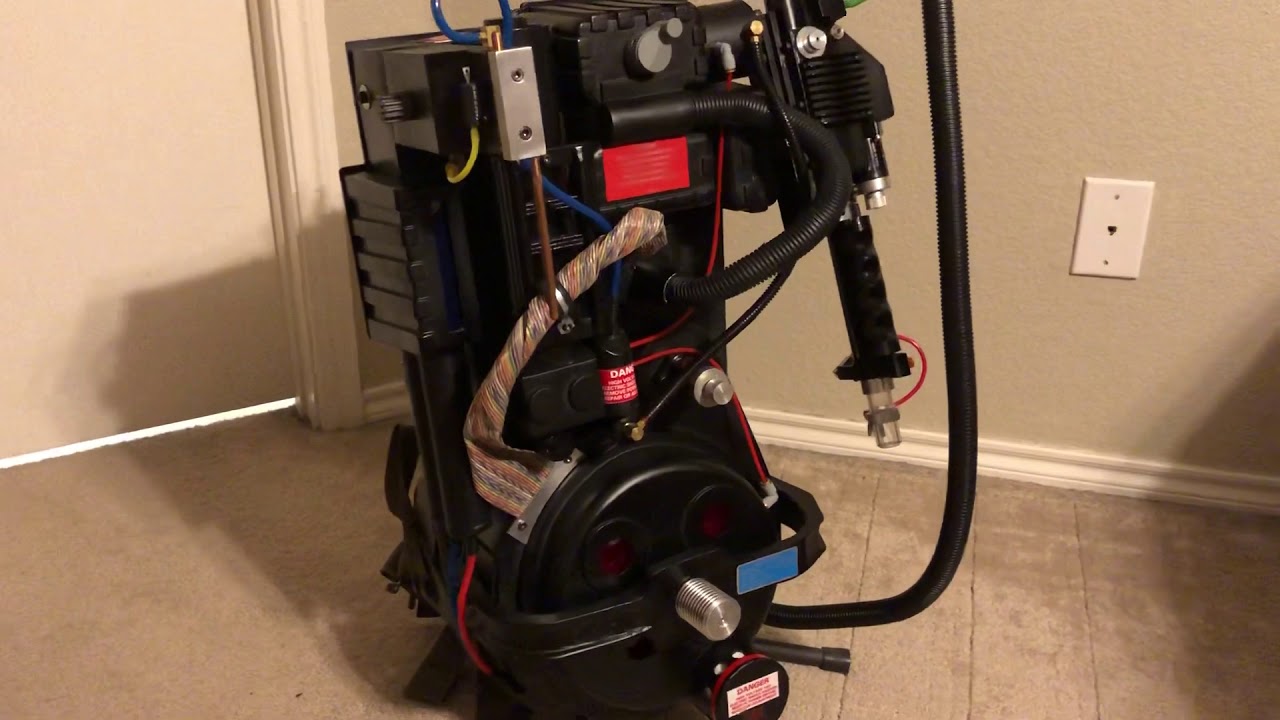
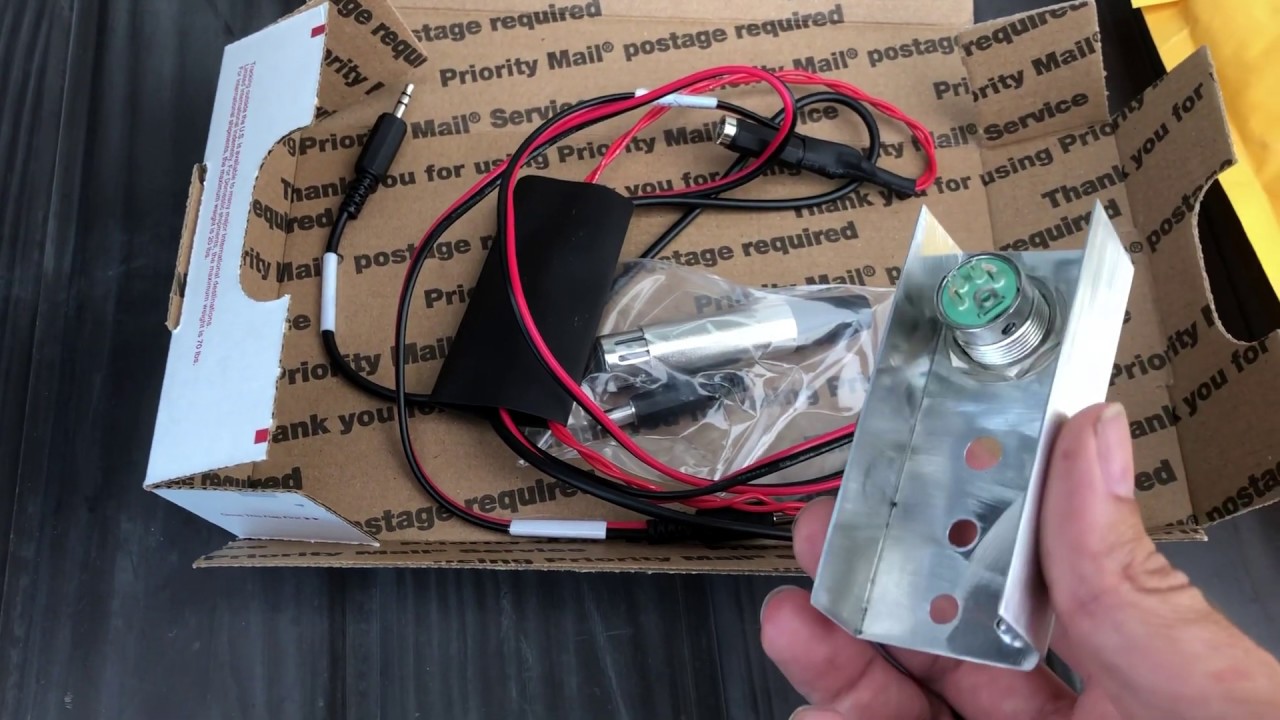
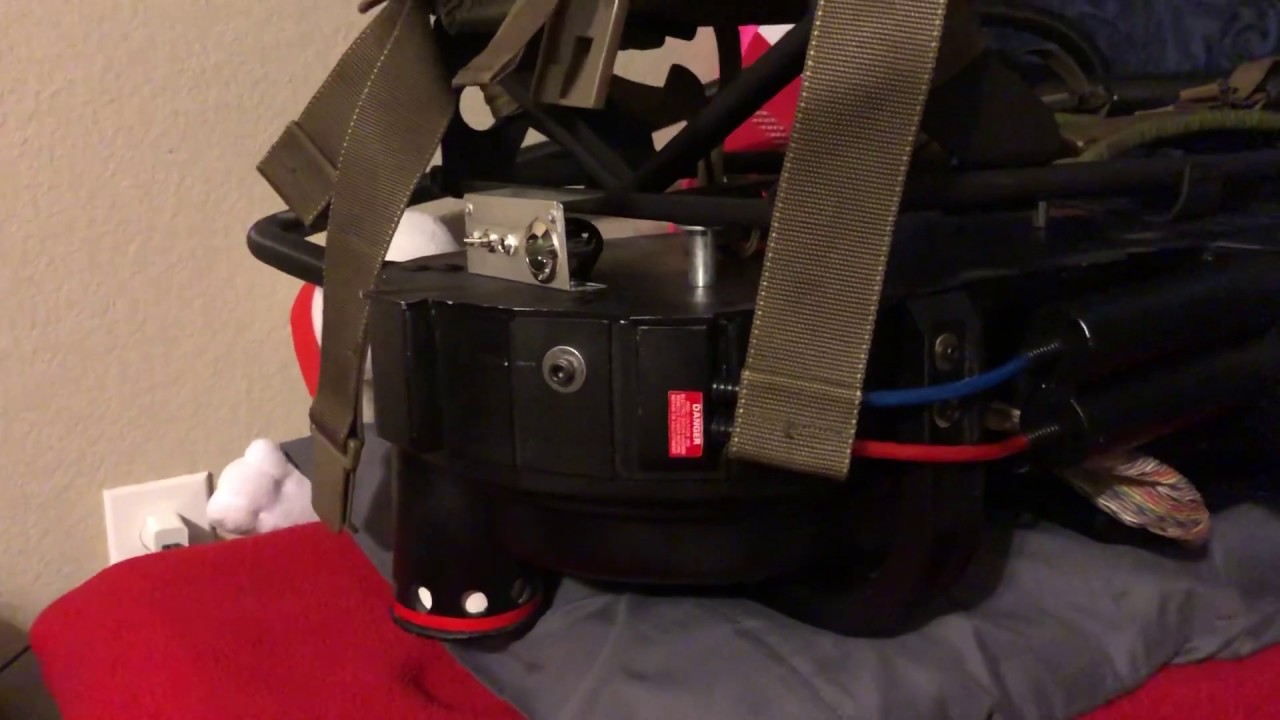
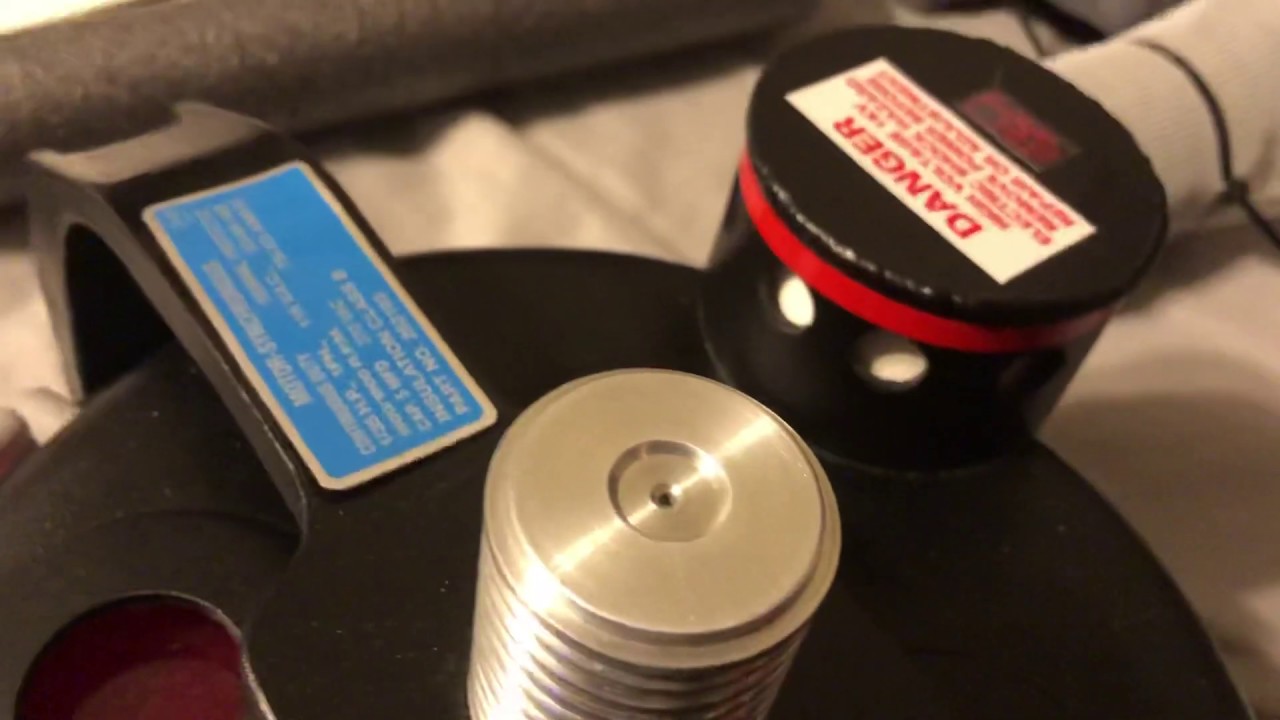
I’ve had my shell in hand for just over a week now. I’ve been busy with it, taken a few pictures, but haven’t uploaded any here until now. I’ll space things out a bit and just start with the unboxing pictures for this first post. Sorry the pictures are at weird angles, I had trouble getting image shack to cooperate.
My kindergartener had fun with the Styrofoam peanuts
Wrapped securely inside in a trash bag.
The bumper was strapped down to the shell for shipping.
(I should have edited out the gross stains on the garage floor, sorry about that.)
A couple nights later I added the booster tube assembly, PPD, bumper, ion knob, vac tube, crank knob, filler tubes, v-hook, and drilled holes for the Legris straight replicas and the SMC fitting, as well as the holes for the tubes coming out of the injectors into the cyclotron.
And yes, I know the bumper looks a little crooked. I was just happy that I got it to line up right over the center of the shell. The bumper that comes with the shell overhangs a little on both sides of the shell, so it’s a challenge to tighten the screws evenly on both sides, especially when I didn’t already have the ion knob hole drilled through the shell or bumper at the time.
I think that brings me up to date. I plan on getting some nuts and washers to hold down some of the screws that are in place (bumper, Clippard, ribbon cable clamp), and get a spade bit to drill out the ribbon cable hole that I crudely started with a smaller bit, as well as the loom hole at the bottom of the pack. I’ll test fit some more cables just for the fun of it, do a little work with the mobo and ALICE frame, then it should be ready to tear down and start painting.
I got sick at the end of this week, but got some work done on the pack mid week. Things are cooling off here so an opportunity to paint this baby is imminent.
Just about everything is drilled and fit, and I couldn’t stop myself from wiring it up to see how it looked.
However I did have a boo boo. When drilling the mouse hole for the loom it bit too hard right before I was done and chipped off too much. I’ll find a way to fix it later, but I was a little bummed that I dinged it up. Any advice to fix it is welcome.
I also test mounted the mobo to my ALICE frame. The holes at the bottom of the mobo were too small for the carriage bolts I’d already bought, so I drilled those out and they fit well now. Yes, I know the foam at the top of the frame looks wrong, I’ll tinker with that later.
Time for an update. I’ve been busy. I decided to shrink down my pictures so the thread won’t be so pic heavy. If you guys prefer the bigger size or something in between let me know.
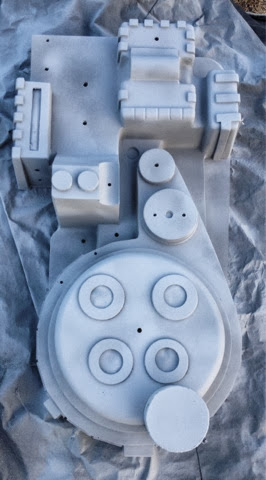
Prepped:
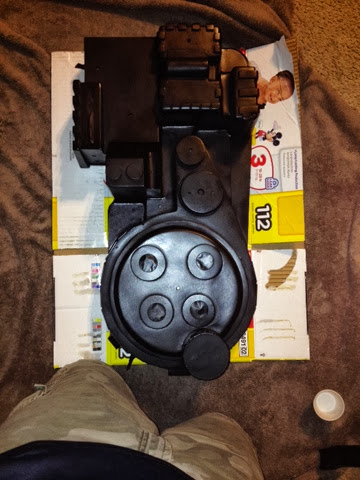
Primed:
Painted:
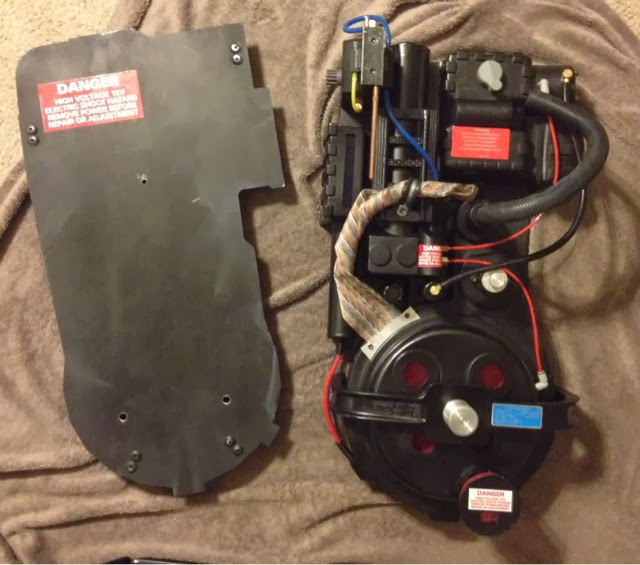
Mostly assembled:
I’ll probably go back over the back of the motherboard with another coat of paint. As you can see from the pictures my painting skills are shaky at best, so there’s some issues with the paint job, but I’m satisfied enough to leave it for now.
I rigged up the lights for a quick test. Here is the requisite video.
The cyclotron lights look orange, but are red LEDs (proptronix) behind red acrylic (GBFans shop). I might go back and diffuse the acrylic so it’s not so transparent. Also, this was just a test fitting so the power cell lights are slightly crooked. Sound is a work in progress that may or may not be involved this Halloween. Going low budget with that part this year. I spent plenty on aluminum parts and a new shell, amongst other things.
I’ve been posting there for over a month, more regularly than here, and with the purpose of showing off my build for my friends who don’t know what goes into prop building. Take a look through the whole thing if you want, or just a few posts. I’ll eventually show off some pictures here, but probably not until after Halloween.
I lost a lot of my pre-build pictures when image shack stopped hosting them, but I rescued some build pictures from my blog and revived them in this thread where I could.
This thread is from 2013, and I never included pictures of upgrading to my aluminum thrower in 2014.
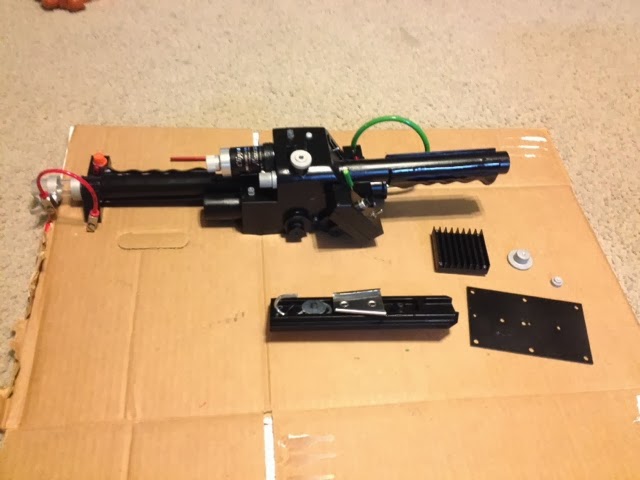
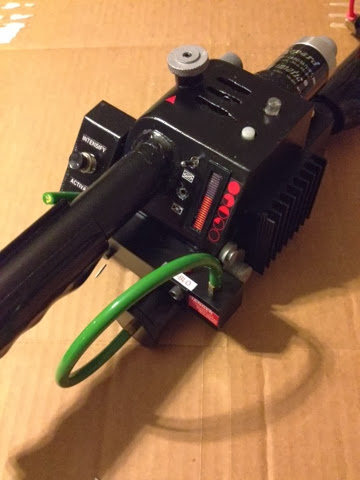
Resin thrower repaint in 2013:
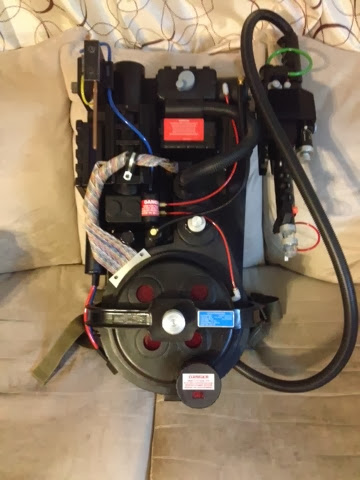
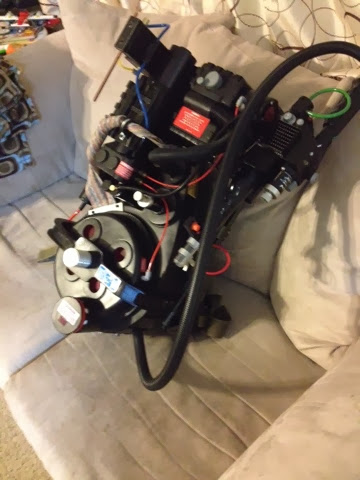
Pack as it sat complete for Halloween 2013:
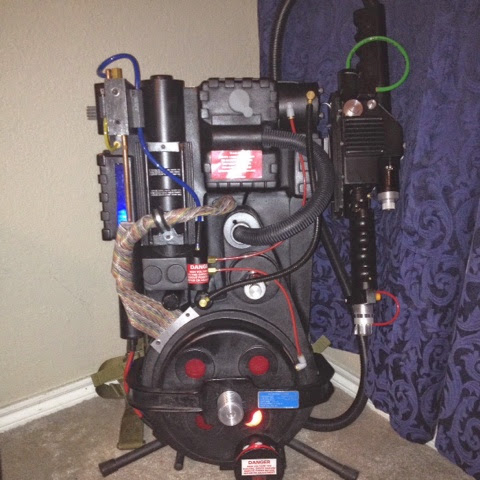
In 2014 I upgraded to an aluminum thrower, and upgraded lights and sounds with the GBfans/Spongeface kits.
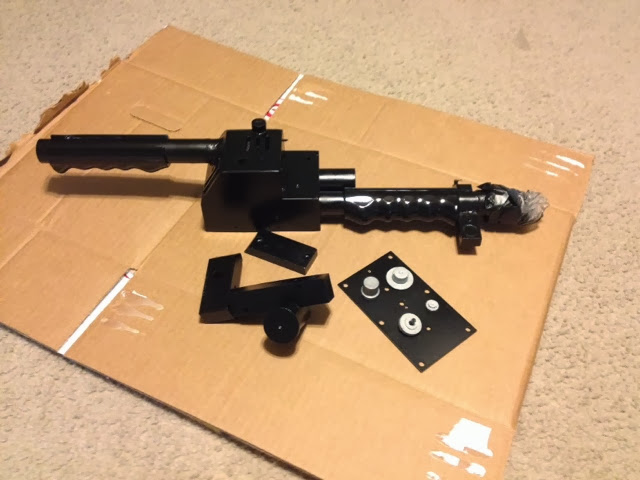
Aluminum thrower build progress:
Pack complete in 2014, roughly as it sits today:
Thanks to all who contributed to this build thread and all the makers of these beautiful parts. I’m still very proud of this heavy beast and I show it off at every opportunity.
If I ever decide to make more changes I’ll try to remember to update this thread.
I’ll have to look back and see. It’s been over 5 years and I don’t remember. The front handle nub was bent so I got it at a discount. I straightened it up and it looks good. I’ll give credit when I have time to go back through my messages.
I started a video series about my pack in preparation of making a few changes. This first video gives a historical overview of this pack and some explanations for the laymen that might watch. I’m going to use videos to post my pack updates.
Do yourself a favour and don’t try to find him. I don’t believe he’s making stuff anymore, and even if he were, you might end up waiting a long time for something that may never arrive.
I upgraded my N-Filter mesh with a $2 piece of gutter filter and leftover pipe foam insulation. Credit to Spongeface for first mentioning the gutter filter in 2011. It’s still available for the same price at Home Depot 9 years later!